When you click on links to various merchants on this site and make a purchase, this can result in this site earning a commission. Affiliate programs and affiliations include, but are not limited to, the eBay Partner Network.
And so finally. Last week I at last finished assembly of the rear suspension. Considering how long it took ( on and off , about a year) I am pleased with how it came out. Big improvement over the questionable job that had been done previously by our friend Bubba.
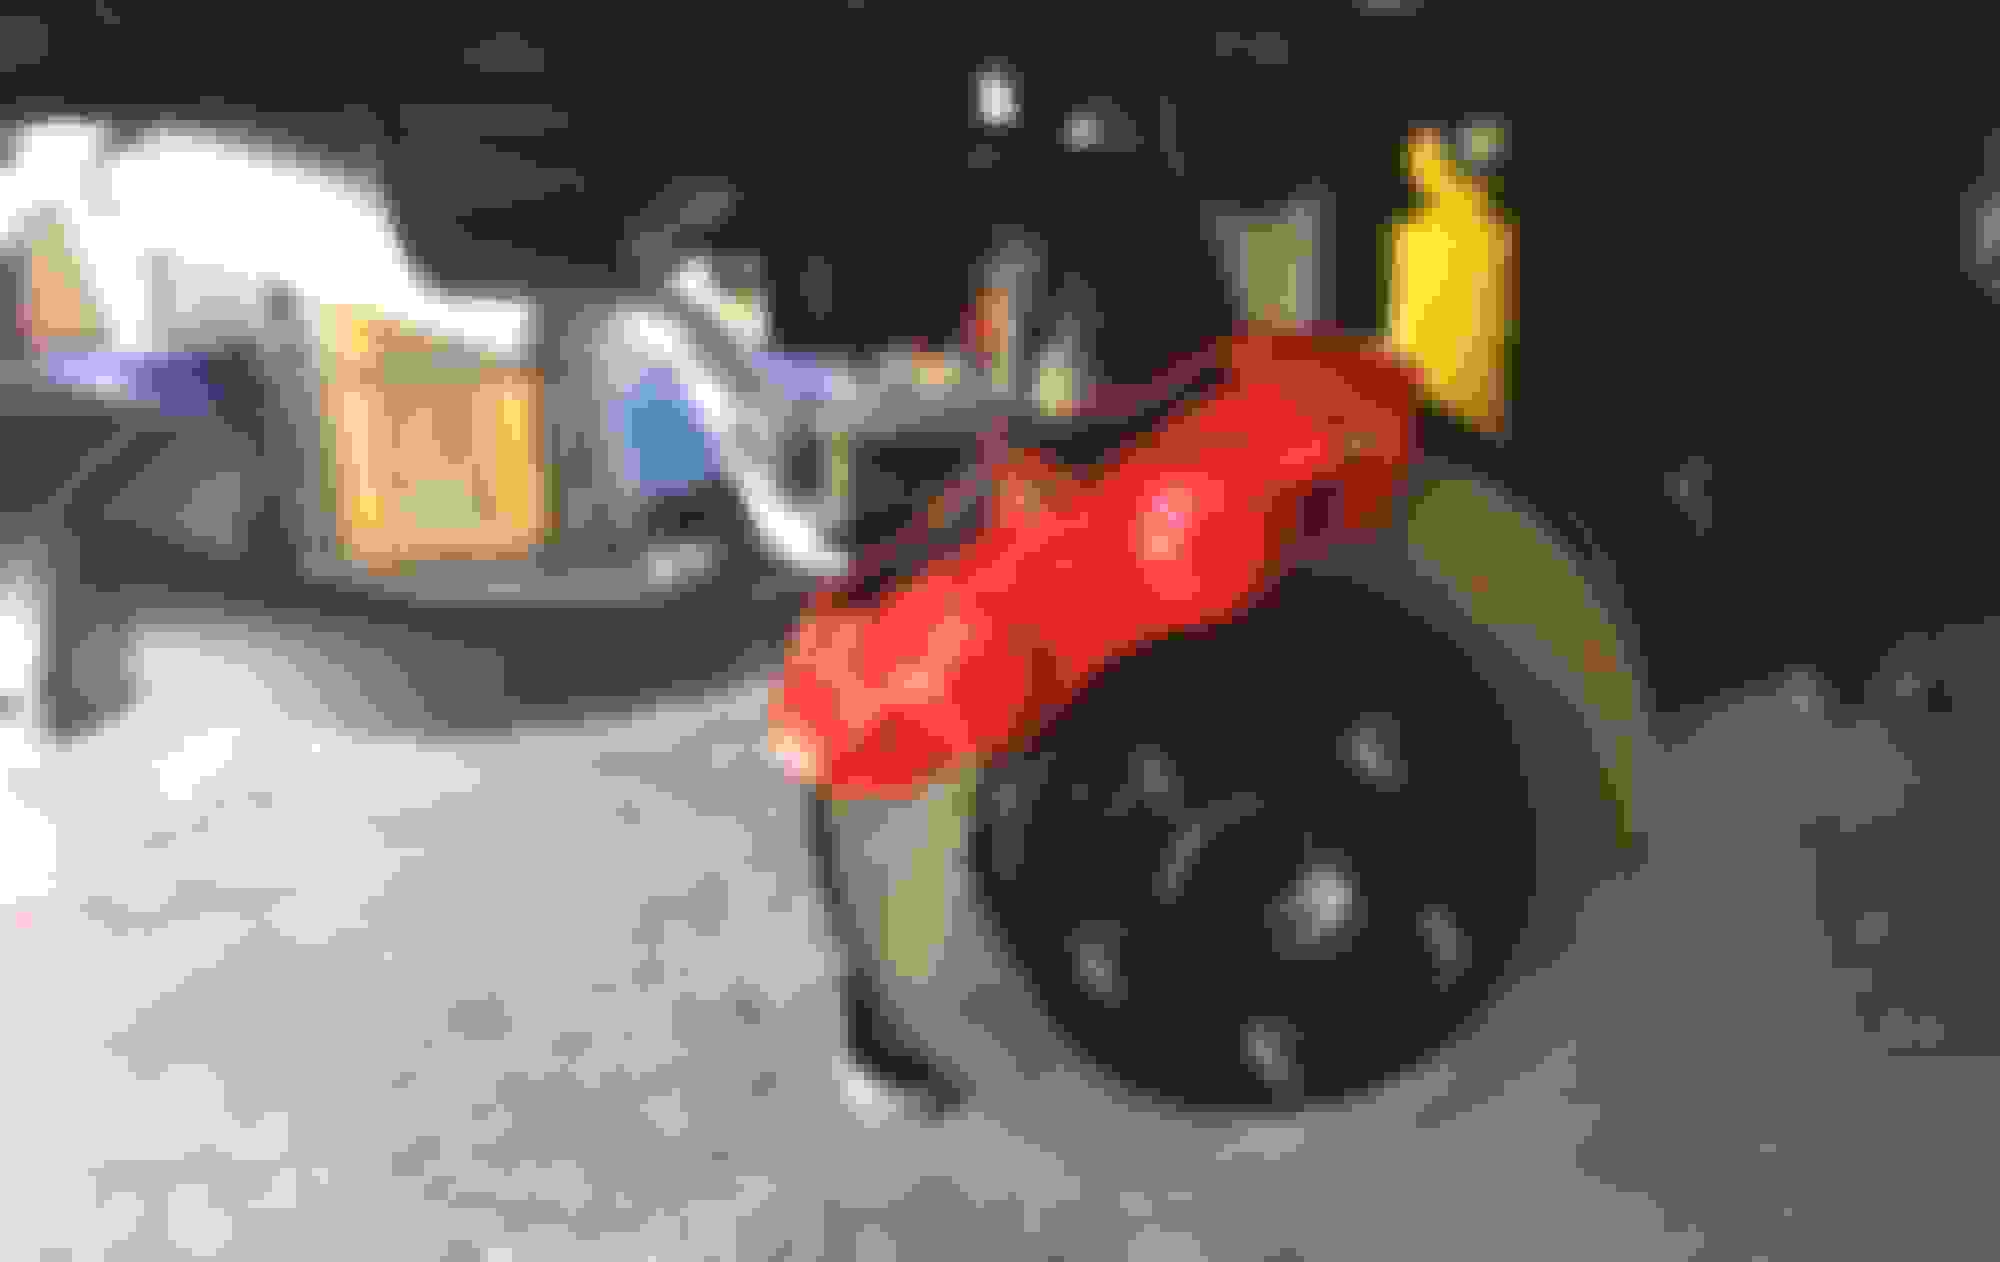
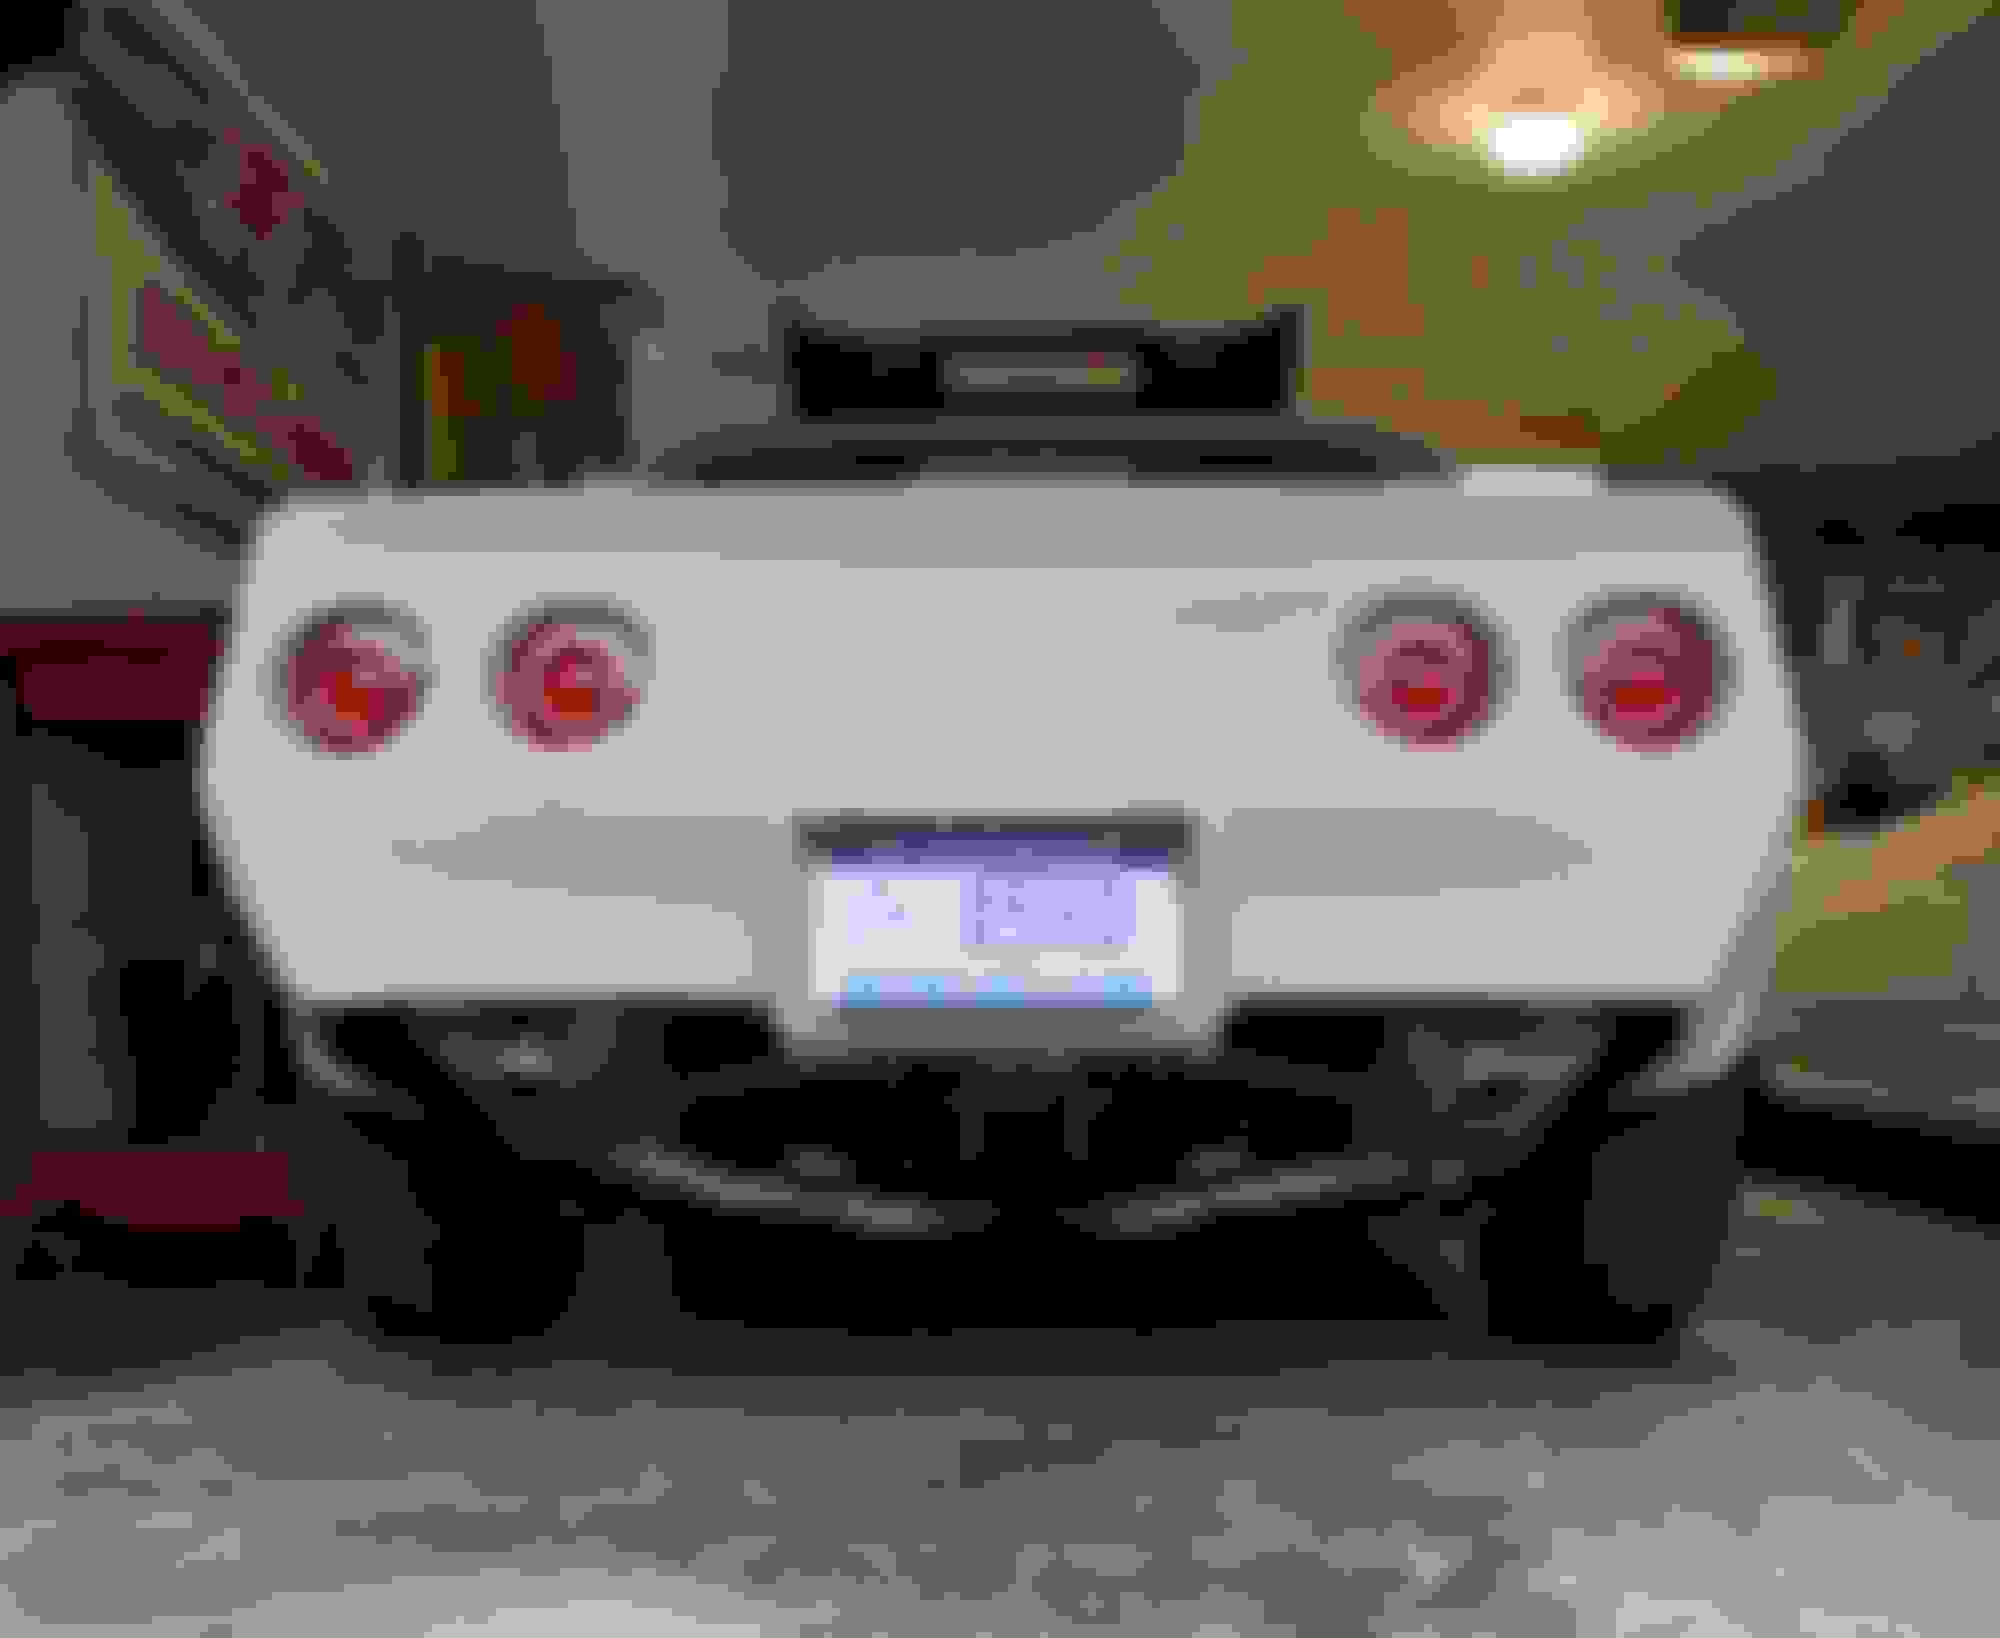
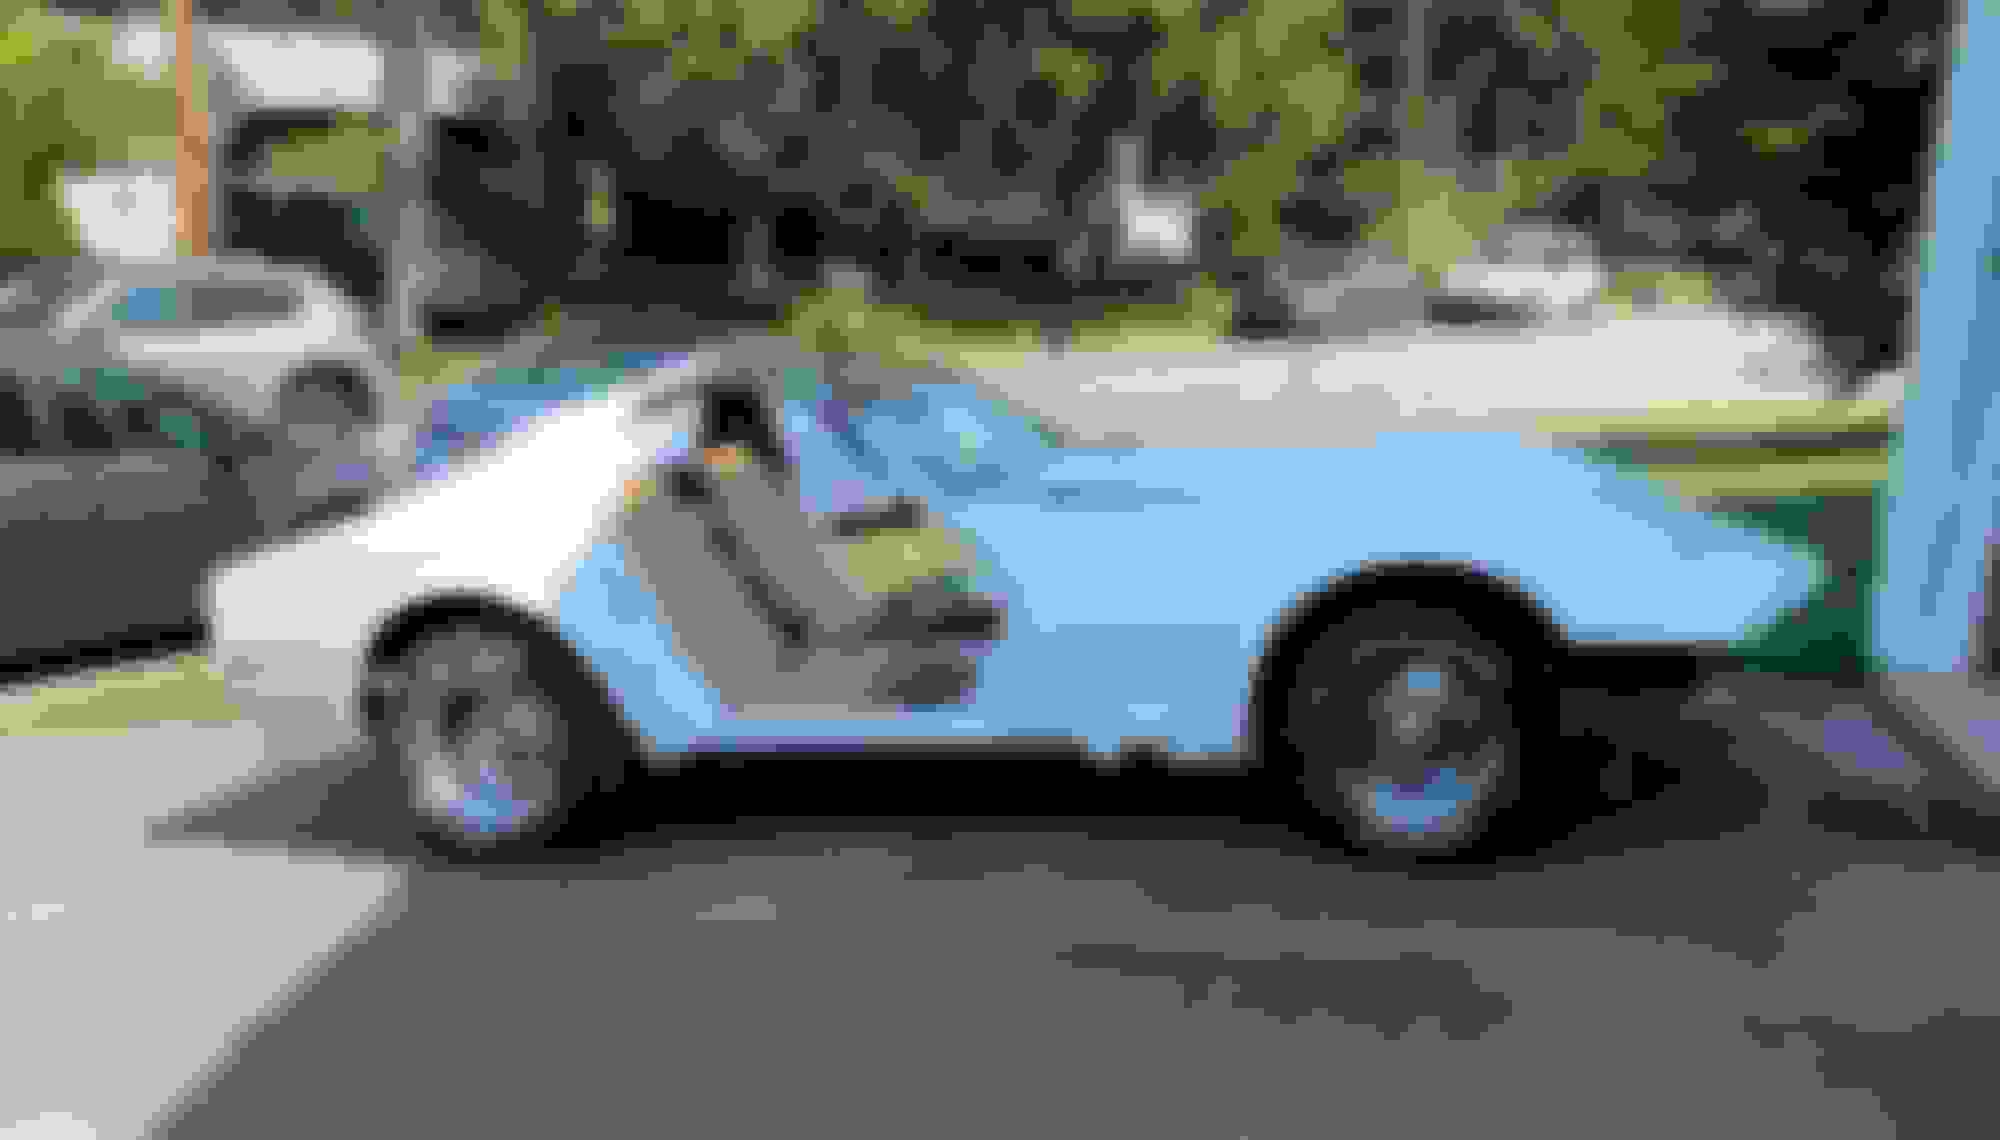
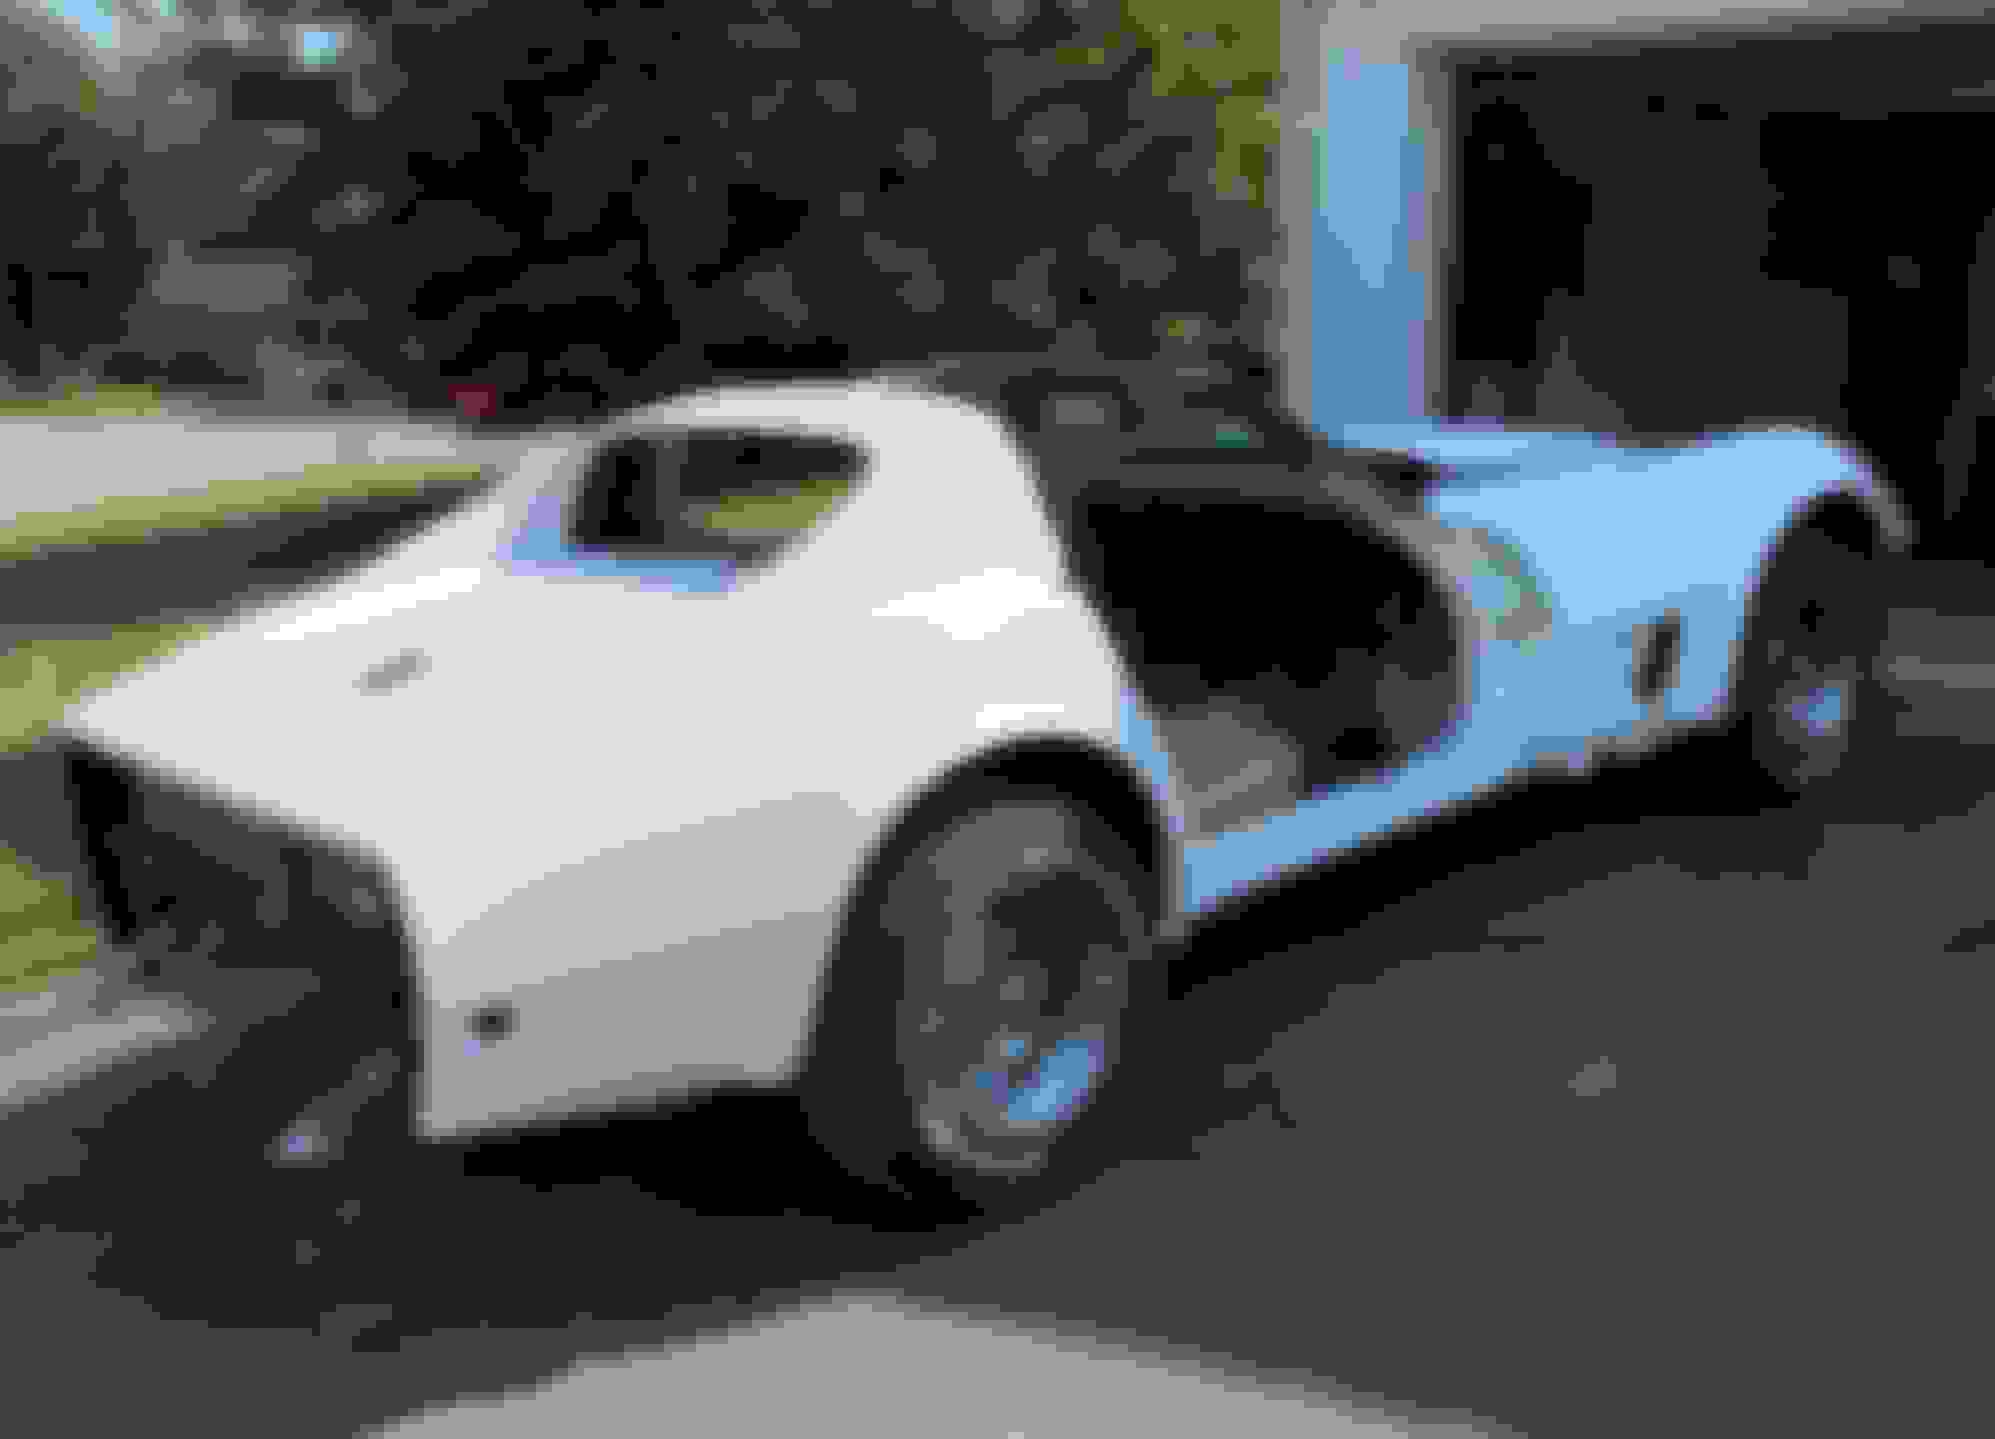
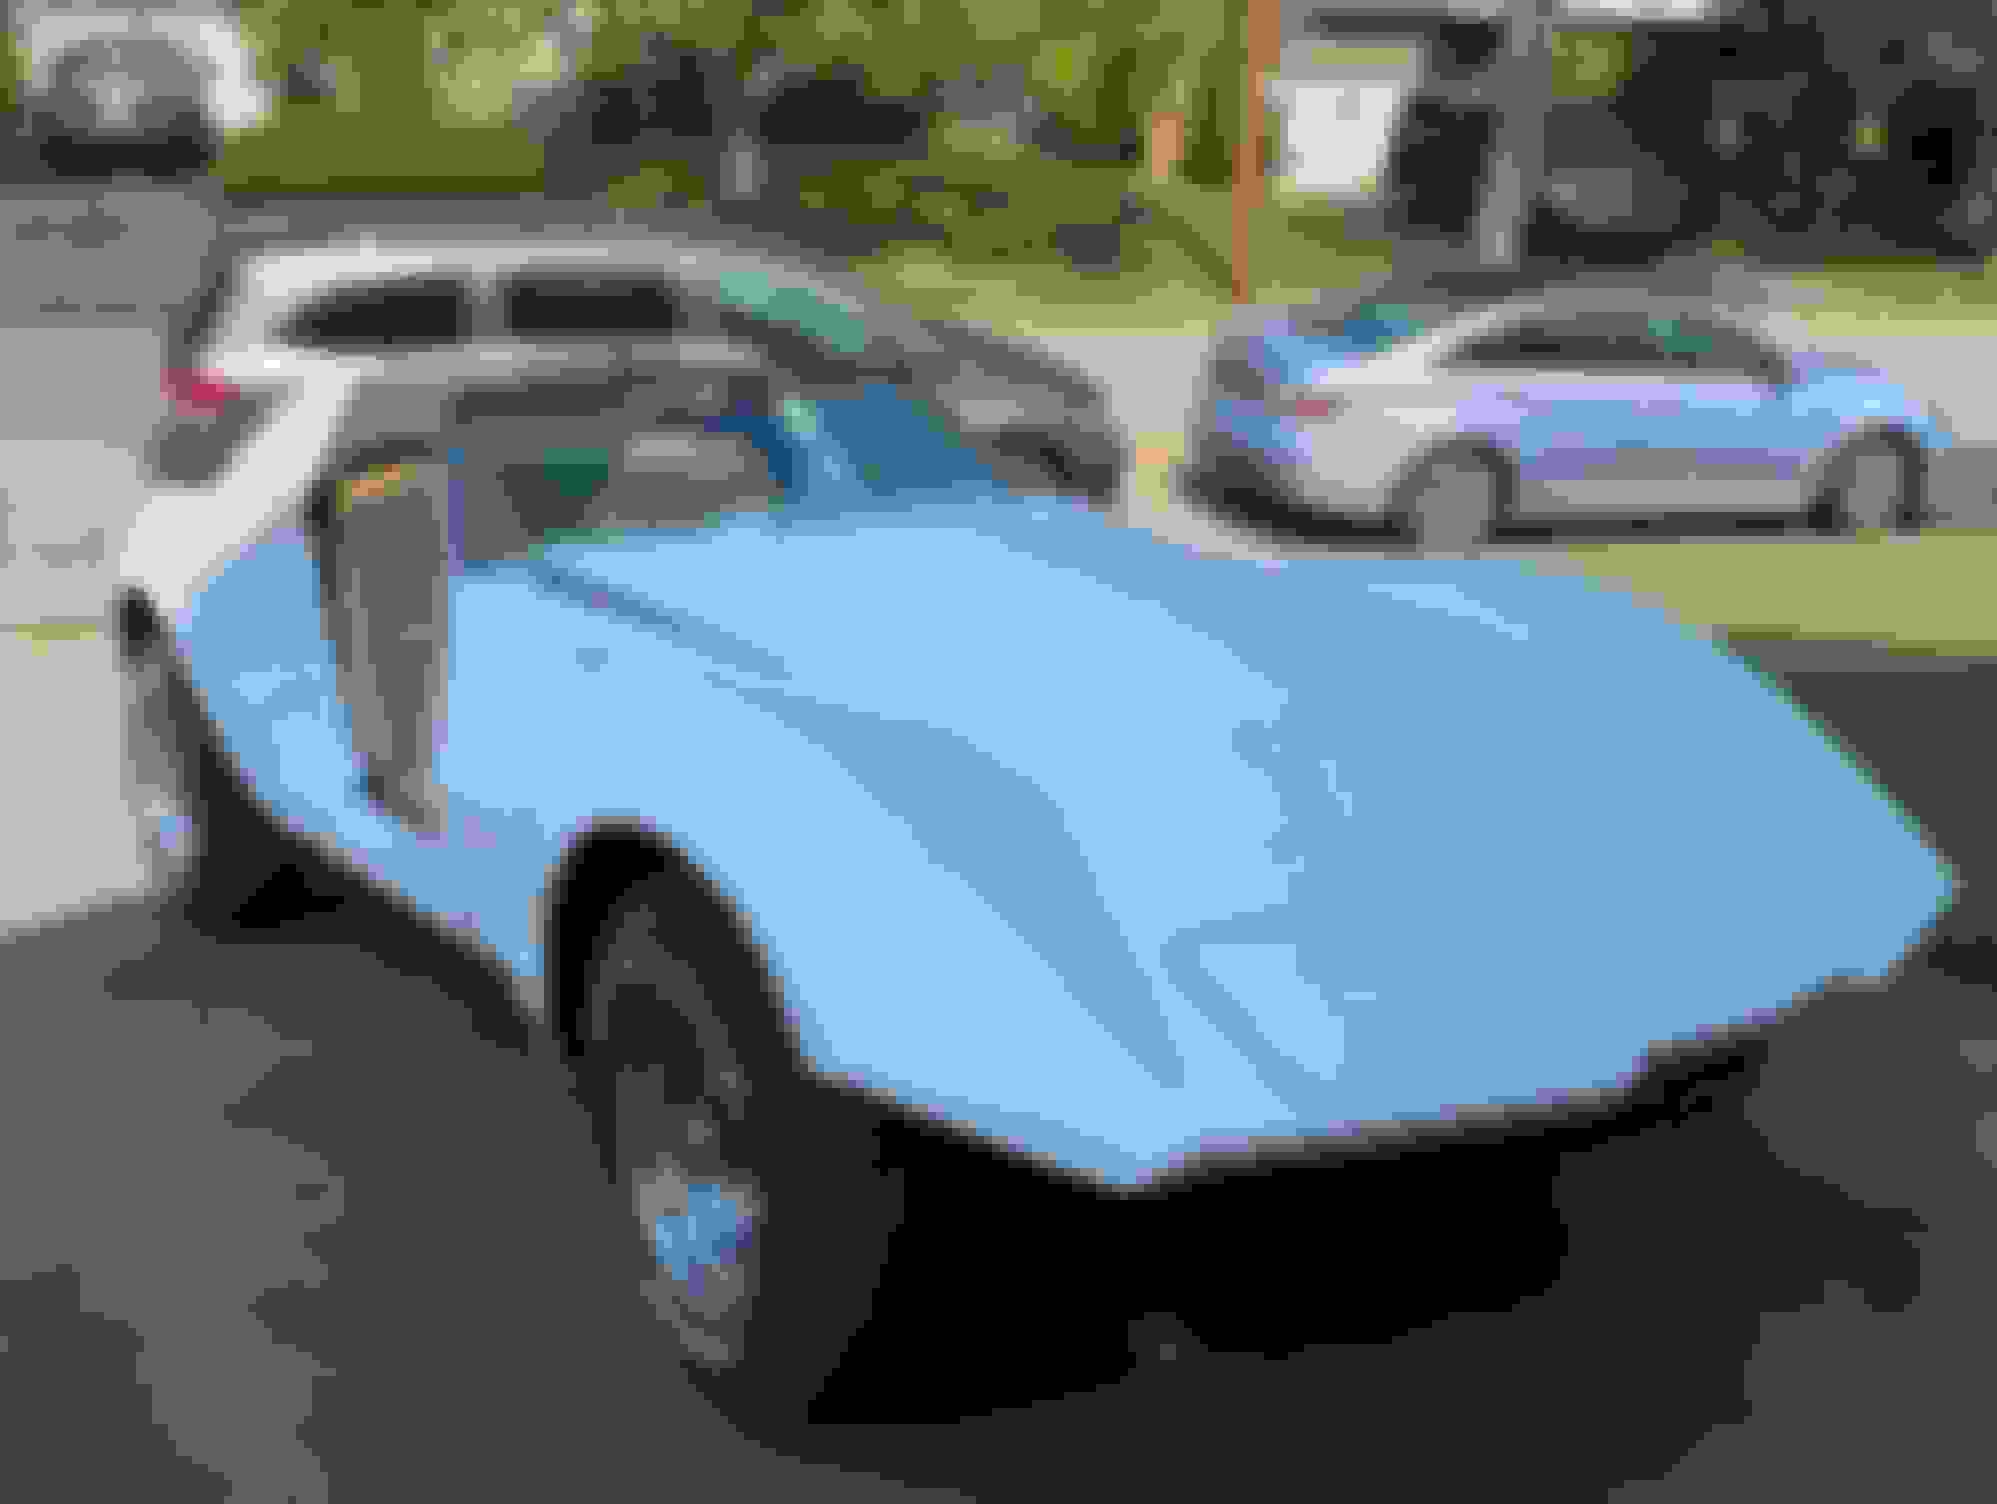
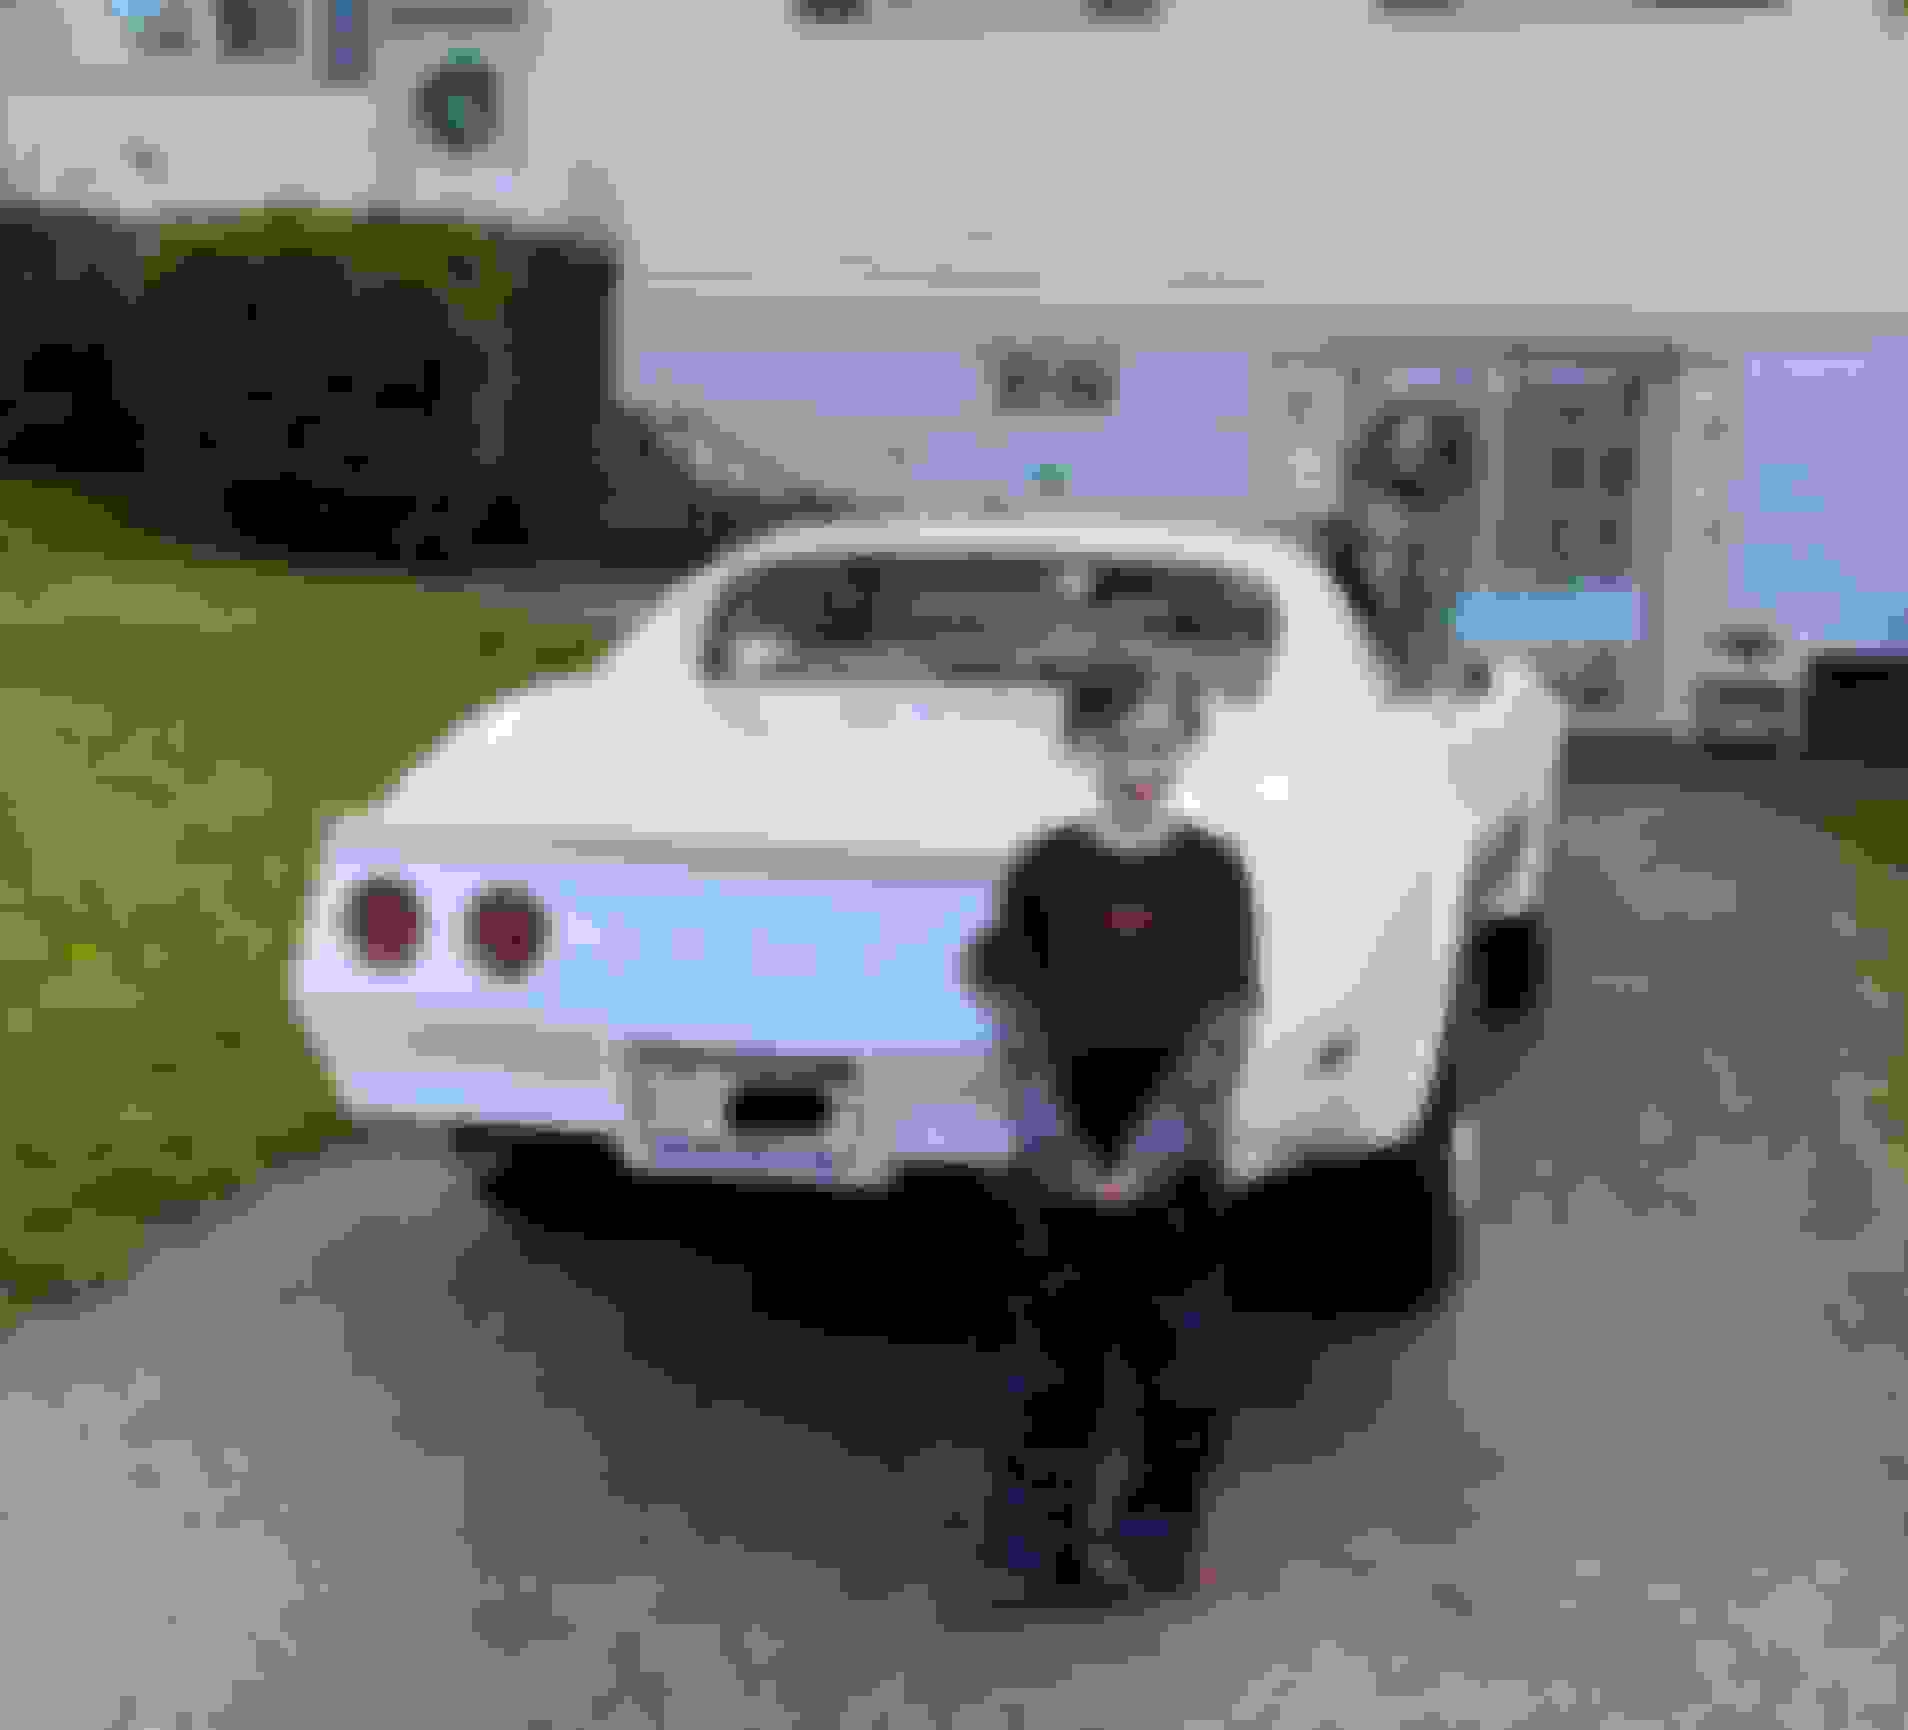
To to was a good day for me as I have the car running nicely and with the rear suspension back together, I was now read to take it he car outside for a couple of easy runs up and down the block. I was really stoked as this was officially the first time I have really driven this thing and the first time I have driven a c3 in a really long time. So the drivetrain is pretty much all done now. I can go back to finishing the body and interior. I thinking of in the next couple of months that I may just put some tailights on it and register and insure it so that I can properly break in the new motor. I figure I can continue to work on it and drive it at the same time. We shall see. In any case I was pleasantly surprised at how much gitty up a it has. Not a whole lot compared to most of you folks here but more than enough to put a smile on this old farts face. So here are a couple of pictures and a short video. Of me and two of my grandkids terrorizing our neighborhood.
I was going through this whole thread last nite since it has been quite awhile since I’ve done so and I realized that I hadn’t added the A/C and heater box rebuild and blower motor upgrade.
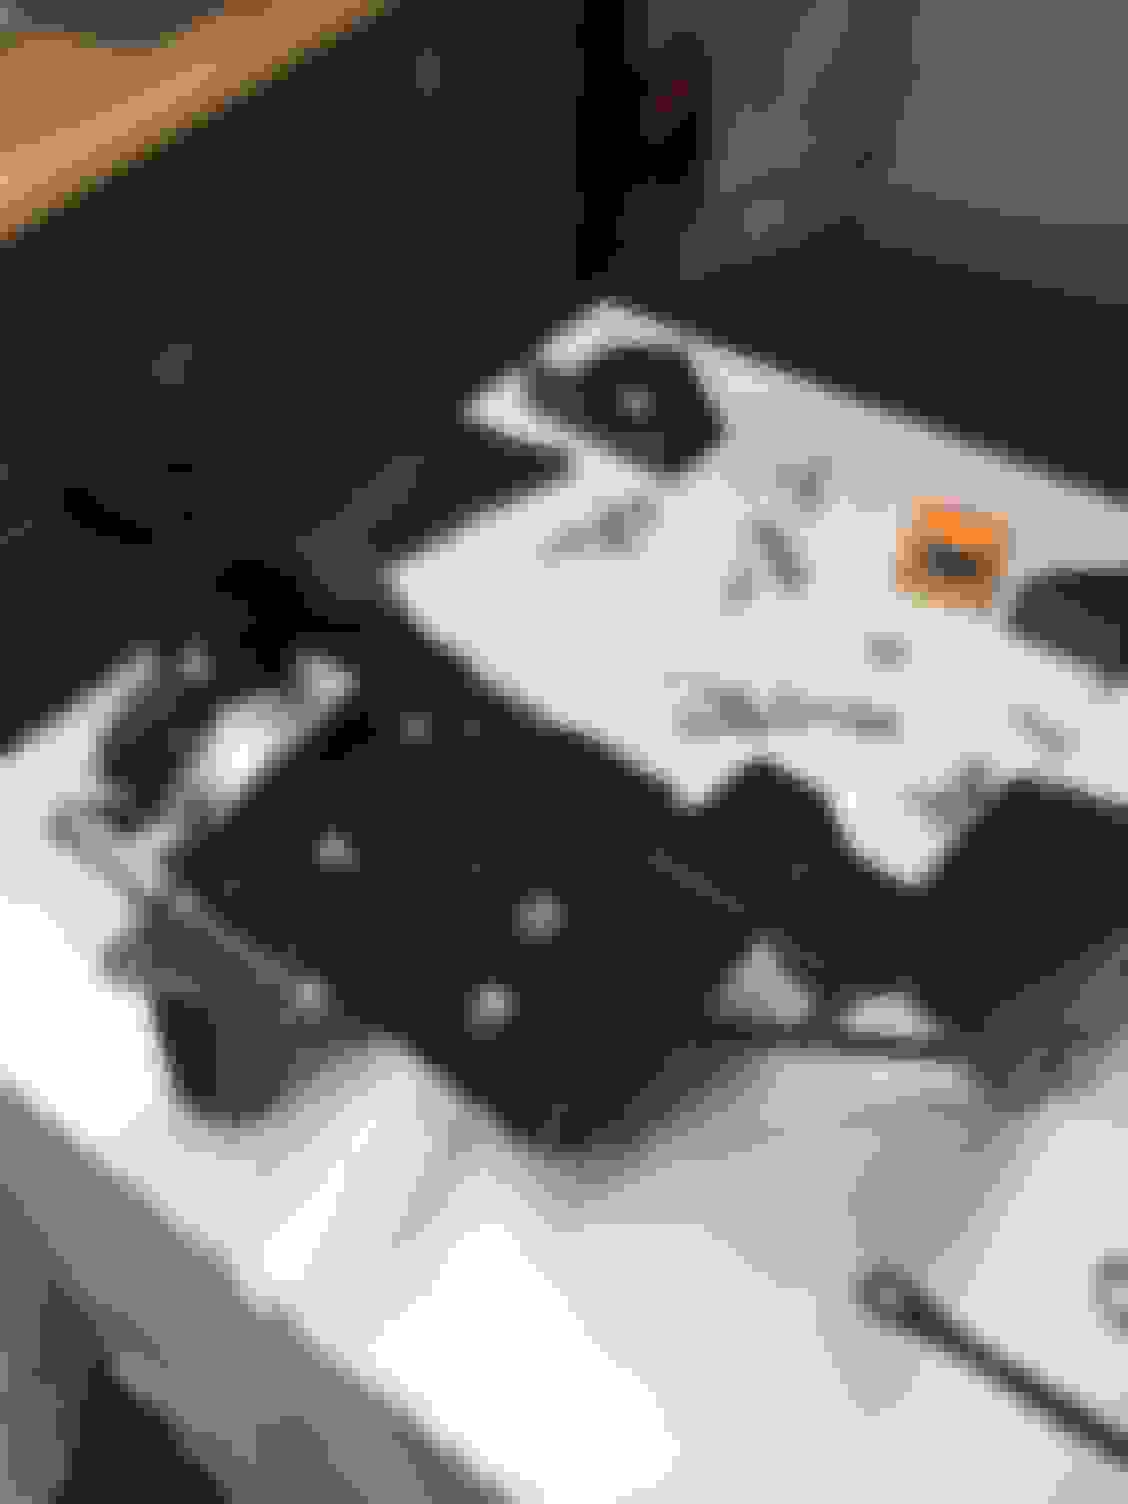
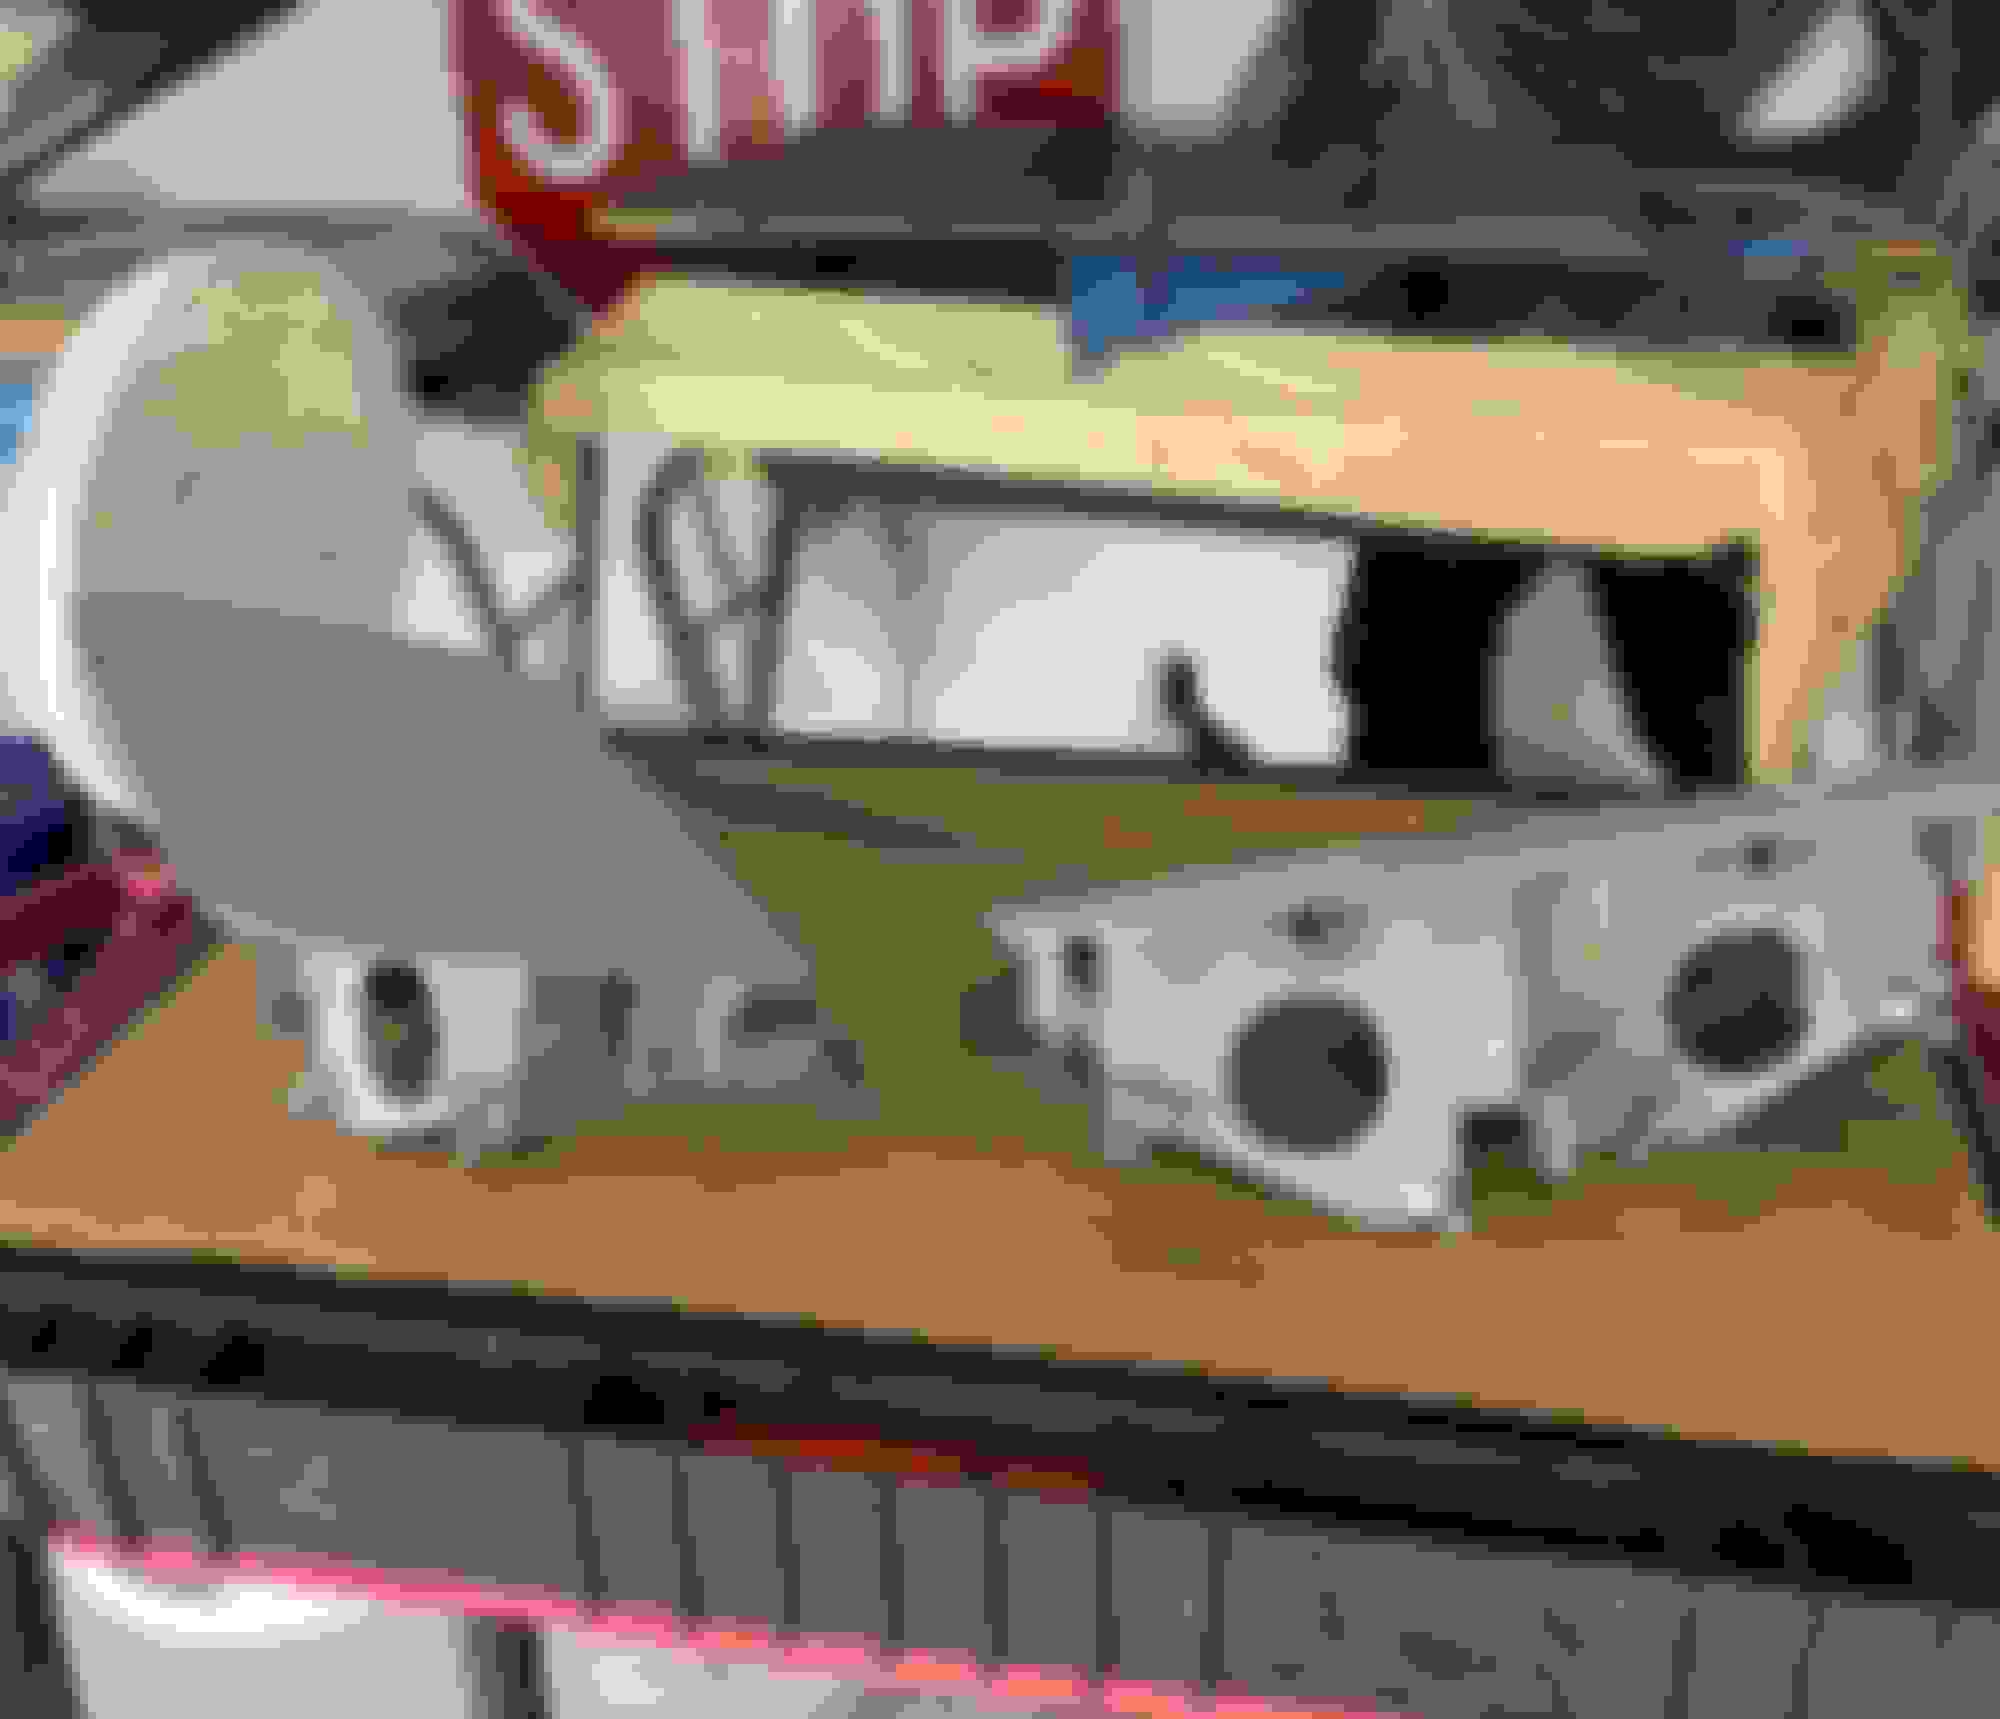
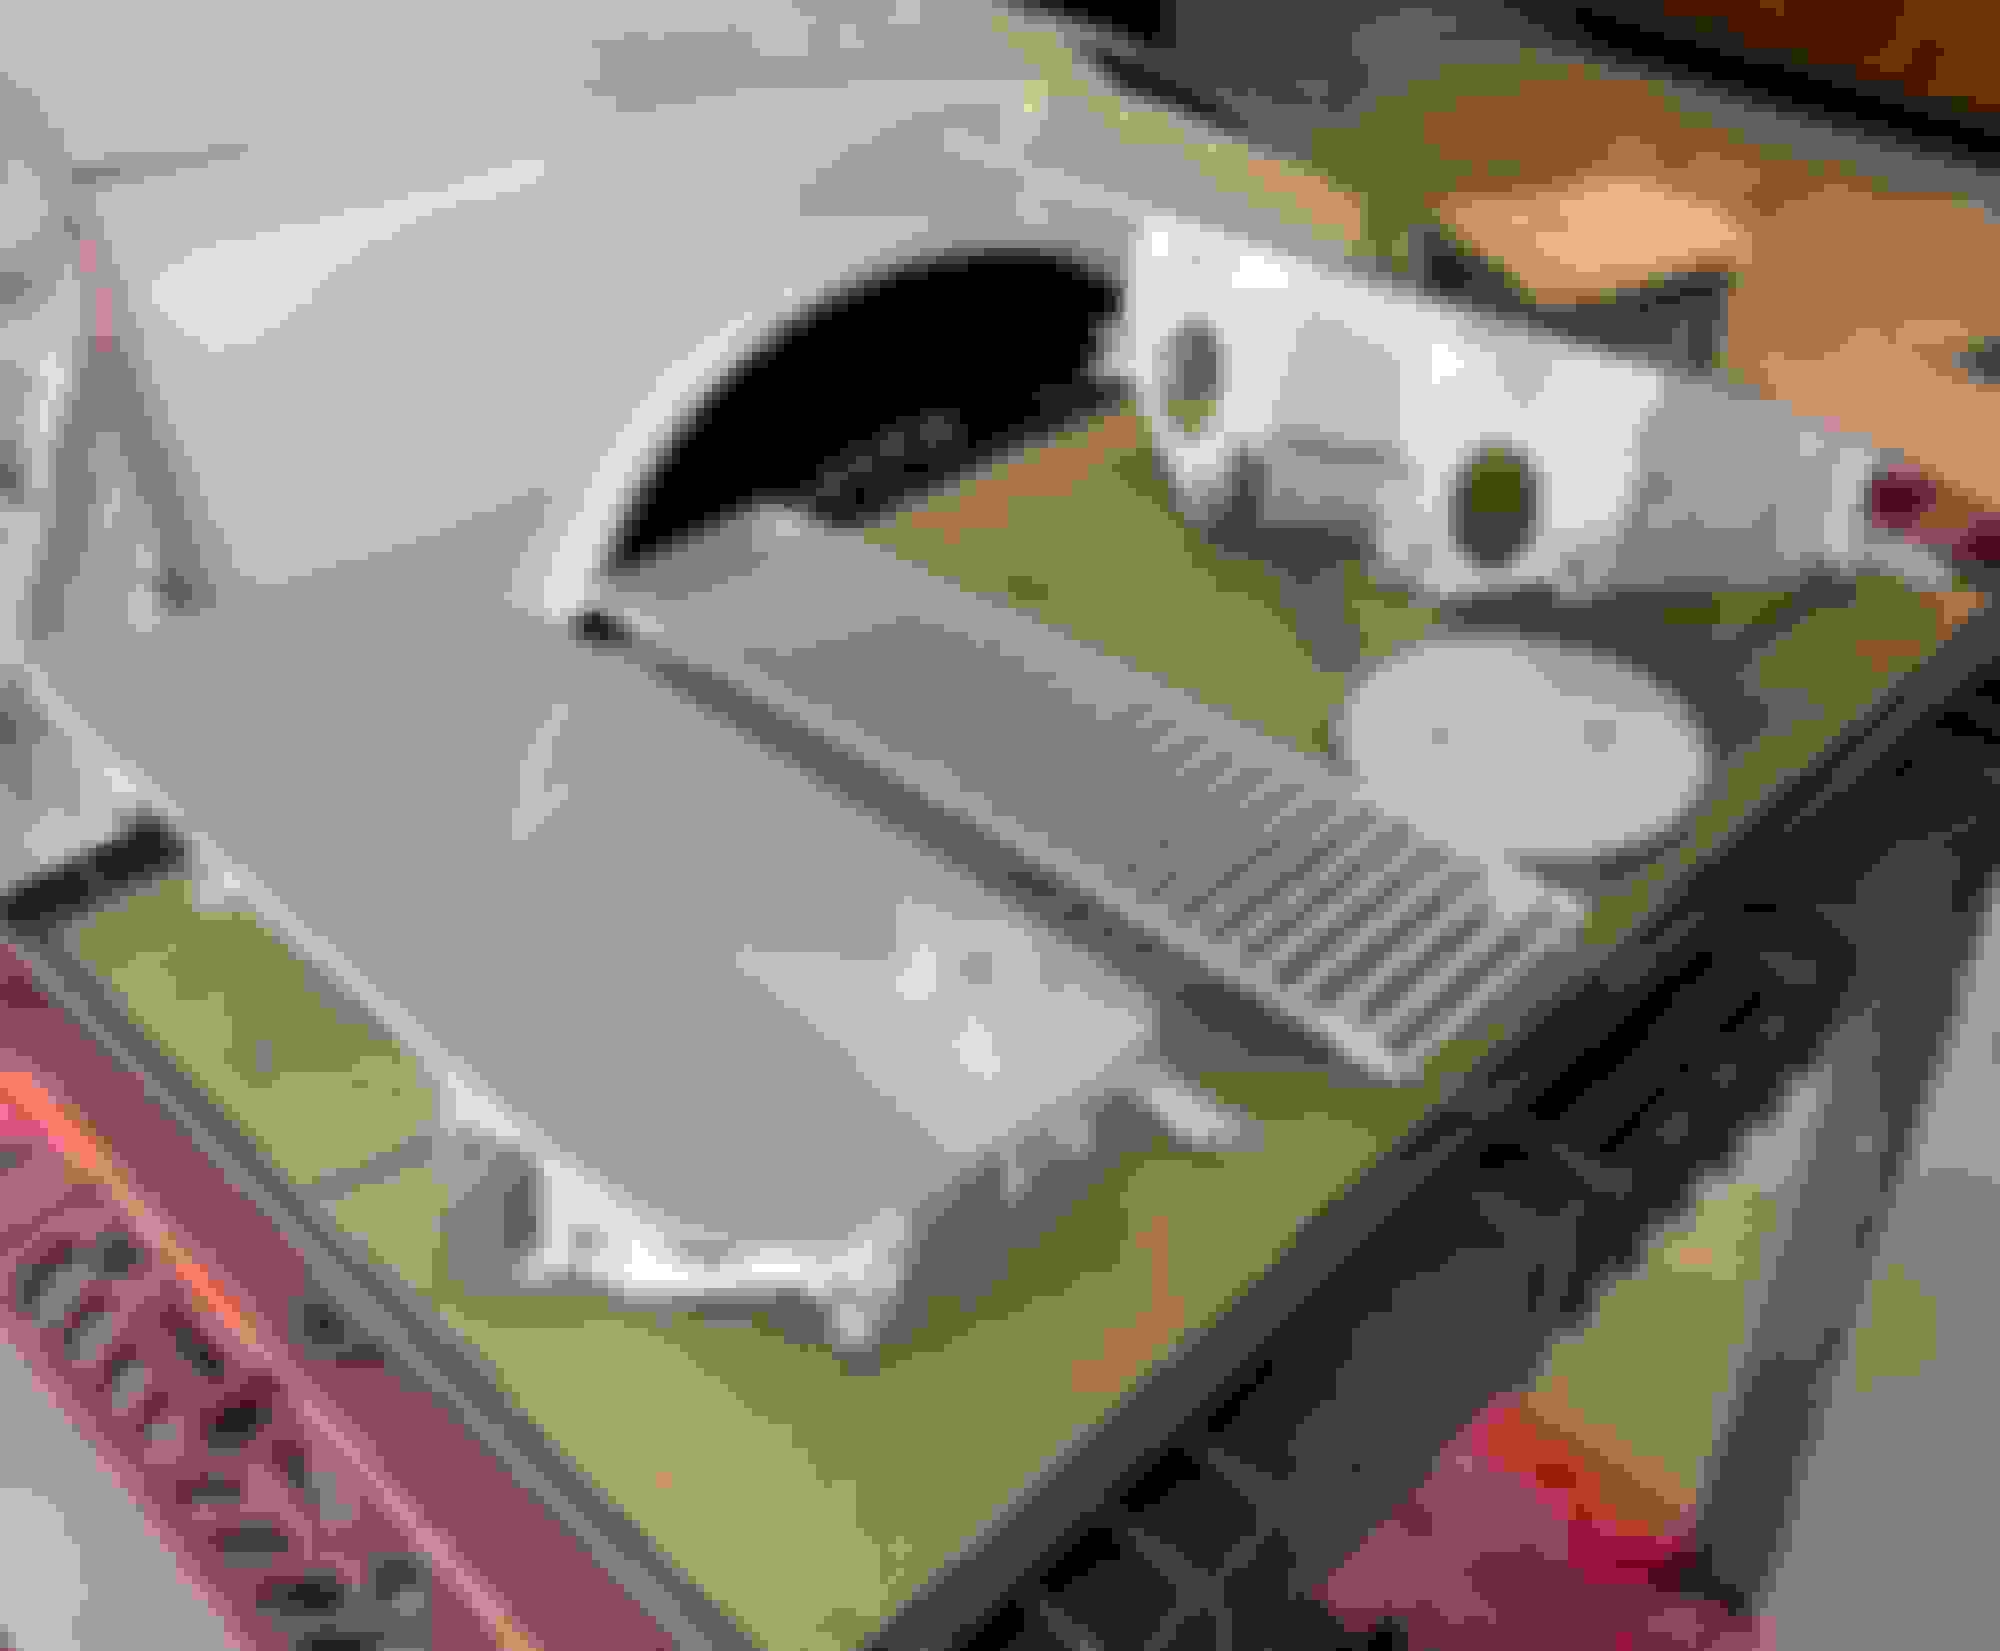
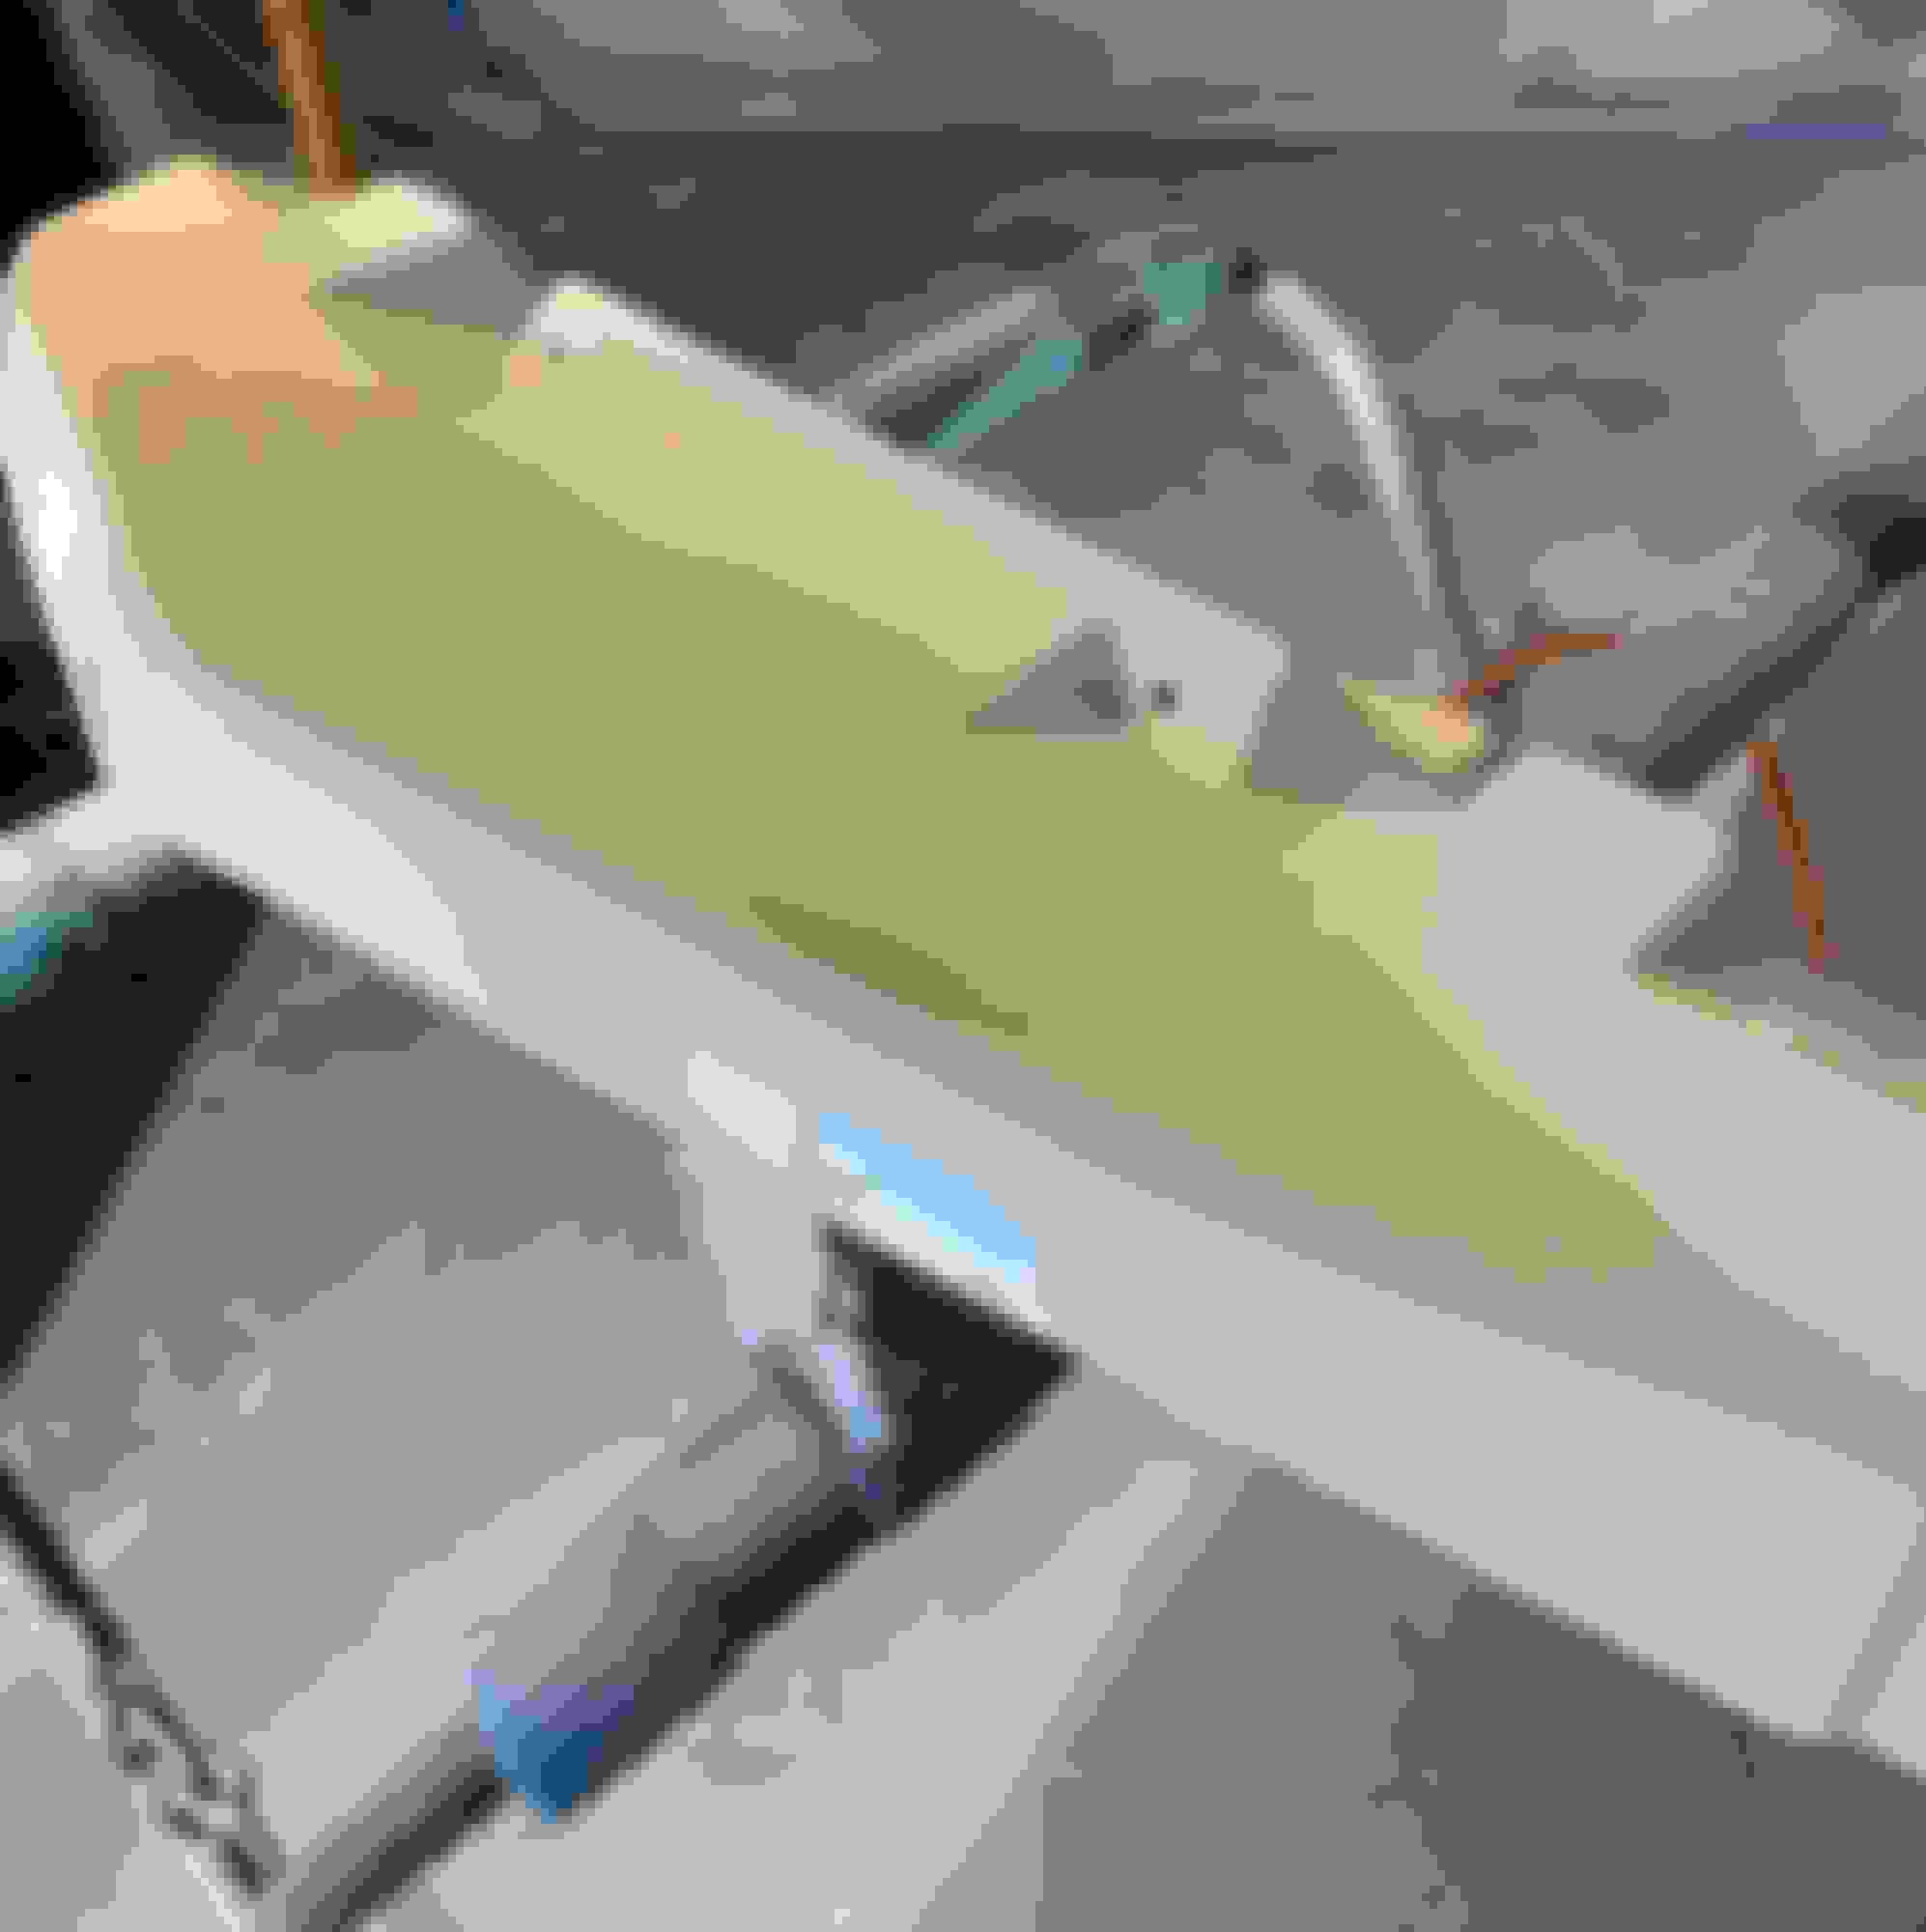
i started by obviously removing both the heater and evaporator units. My idea was to replace all of he seals, modify the evap box to accept the later C4 blower and replace the evaporator with the later model one that came in the 79-82s. I started with a used unit out of an 82 that I picked up cheap to replace one half of my 77 box that had a big hole in it from I guess the last owner pulled or installed the engine. Also I can reuse the evaporator itself and just put in a new receiver dryer. I cut the top of the blower mounting flange and add about a 3/4 inch more height to it by laminating with epoxy resin and mat. Here you can see the difference in height from the original box half. With some VPA and some sanding afterward , I was ready for primer and paint. I made sure the inside was nice and smooth with no rough transitions. I used the original metal bracket that was attached to the inside of the box were the screws would screw into and instead welded small bolts to it so that I can now use nuts and washers to install the new blower motor. Sanded it all down and primed it all with epoxy primer and the 2 coats of 30%gloss black single stage urethane. Here it is done and ready to install. Now when the time comes I will install a modern compressor, parallel flow condenser and proper barrier hoses and hope I did everything right.
All the parts were clean and or blasted, painted or powder coated. The heater core was new being replaced by the previous owner so I saw no reason to not reuse it. The heater box was just cleaned and sprayed with clear spray can urethane. Installed.
Here is the heater box as I was ready to reassemble and after it was installed back in it he car.
Hi my name is Ryan,
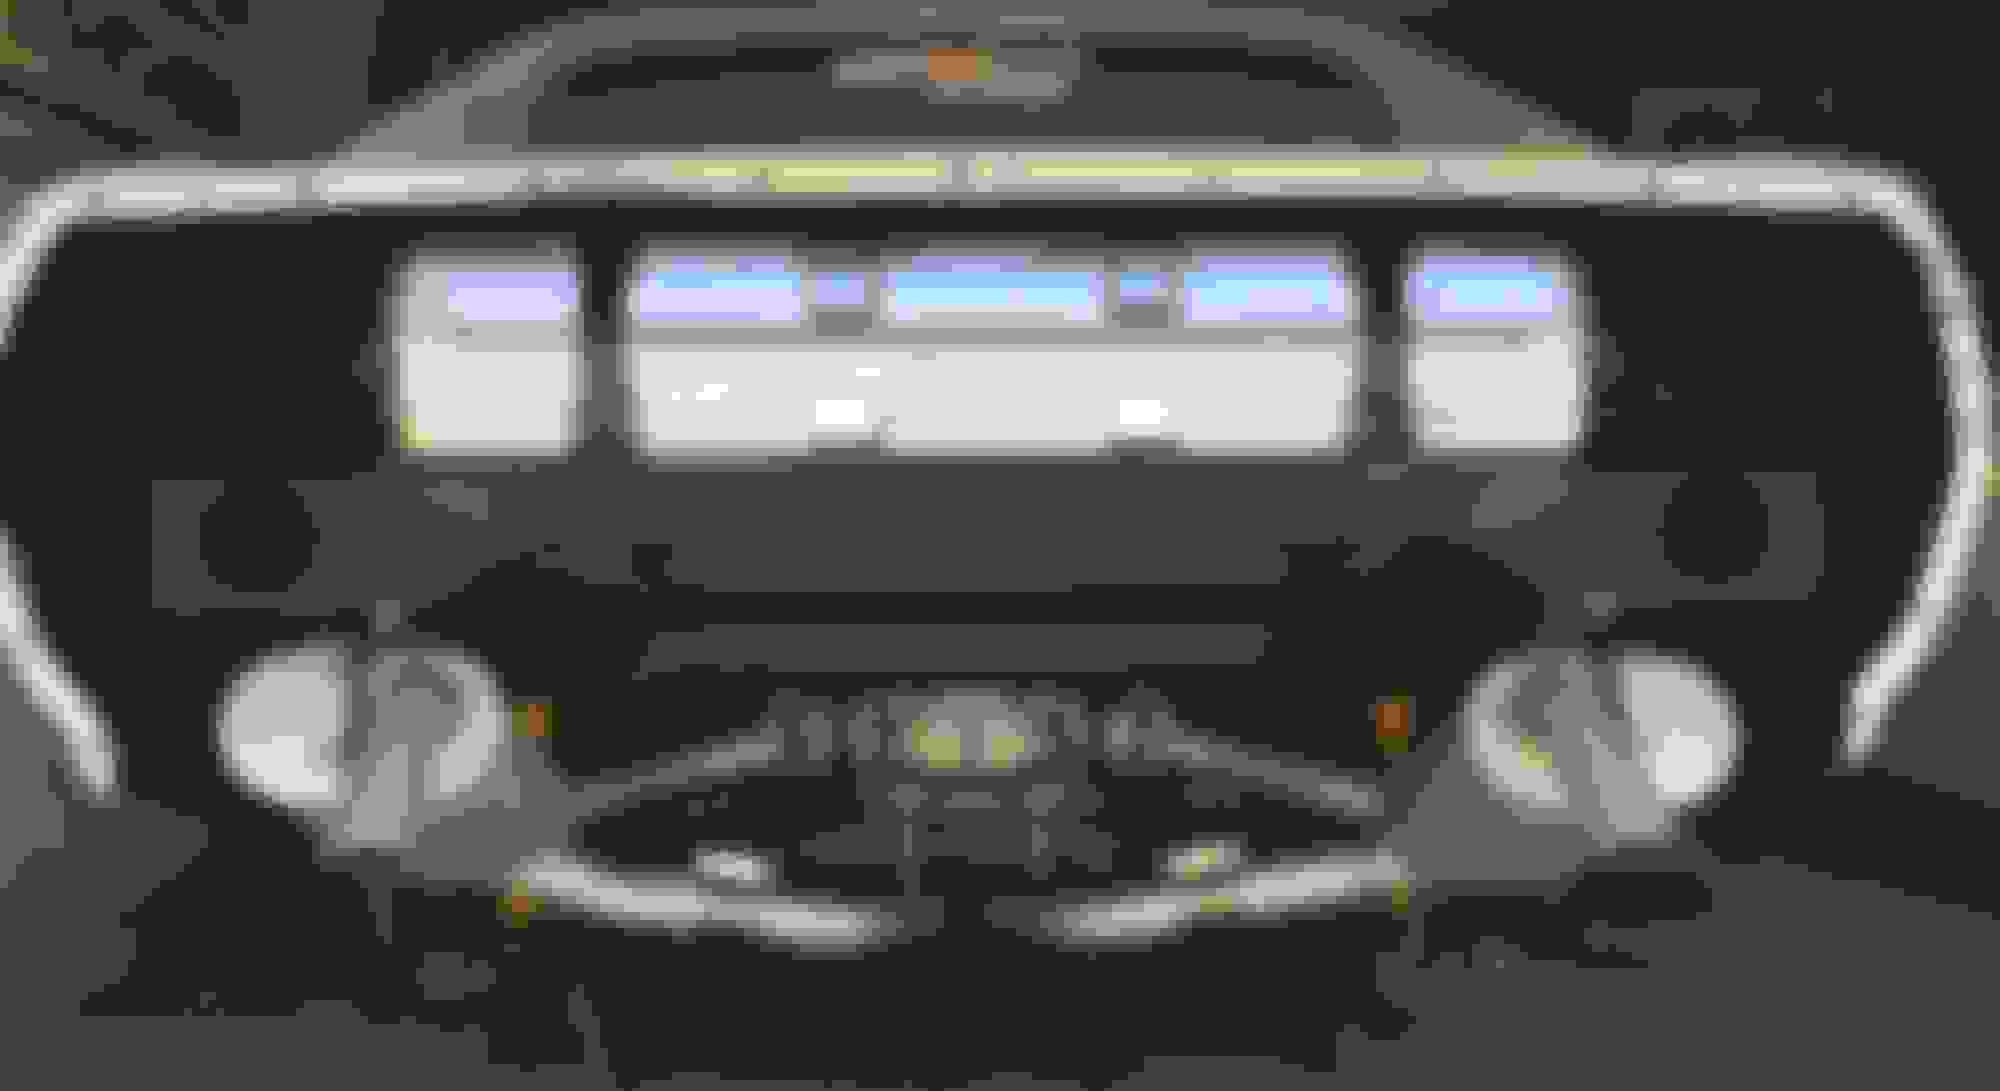
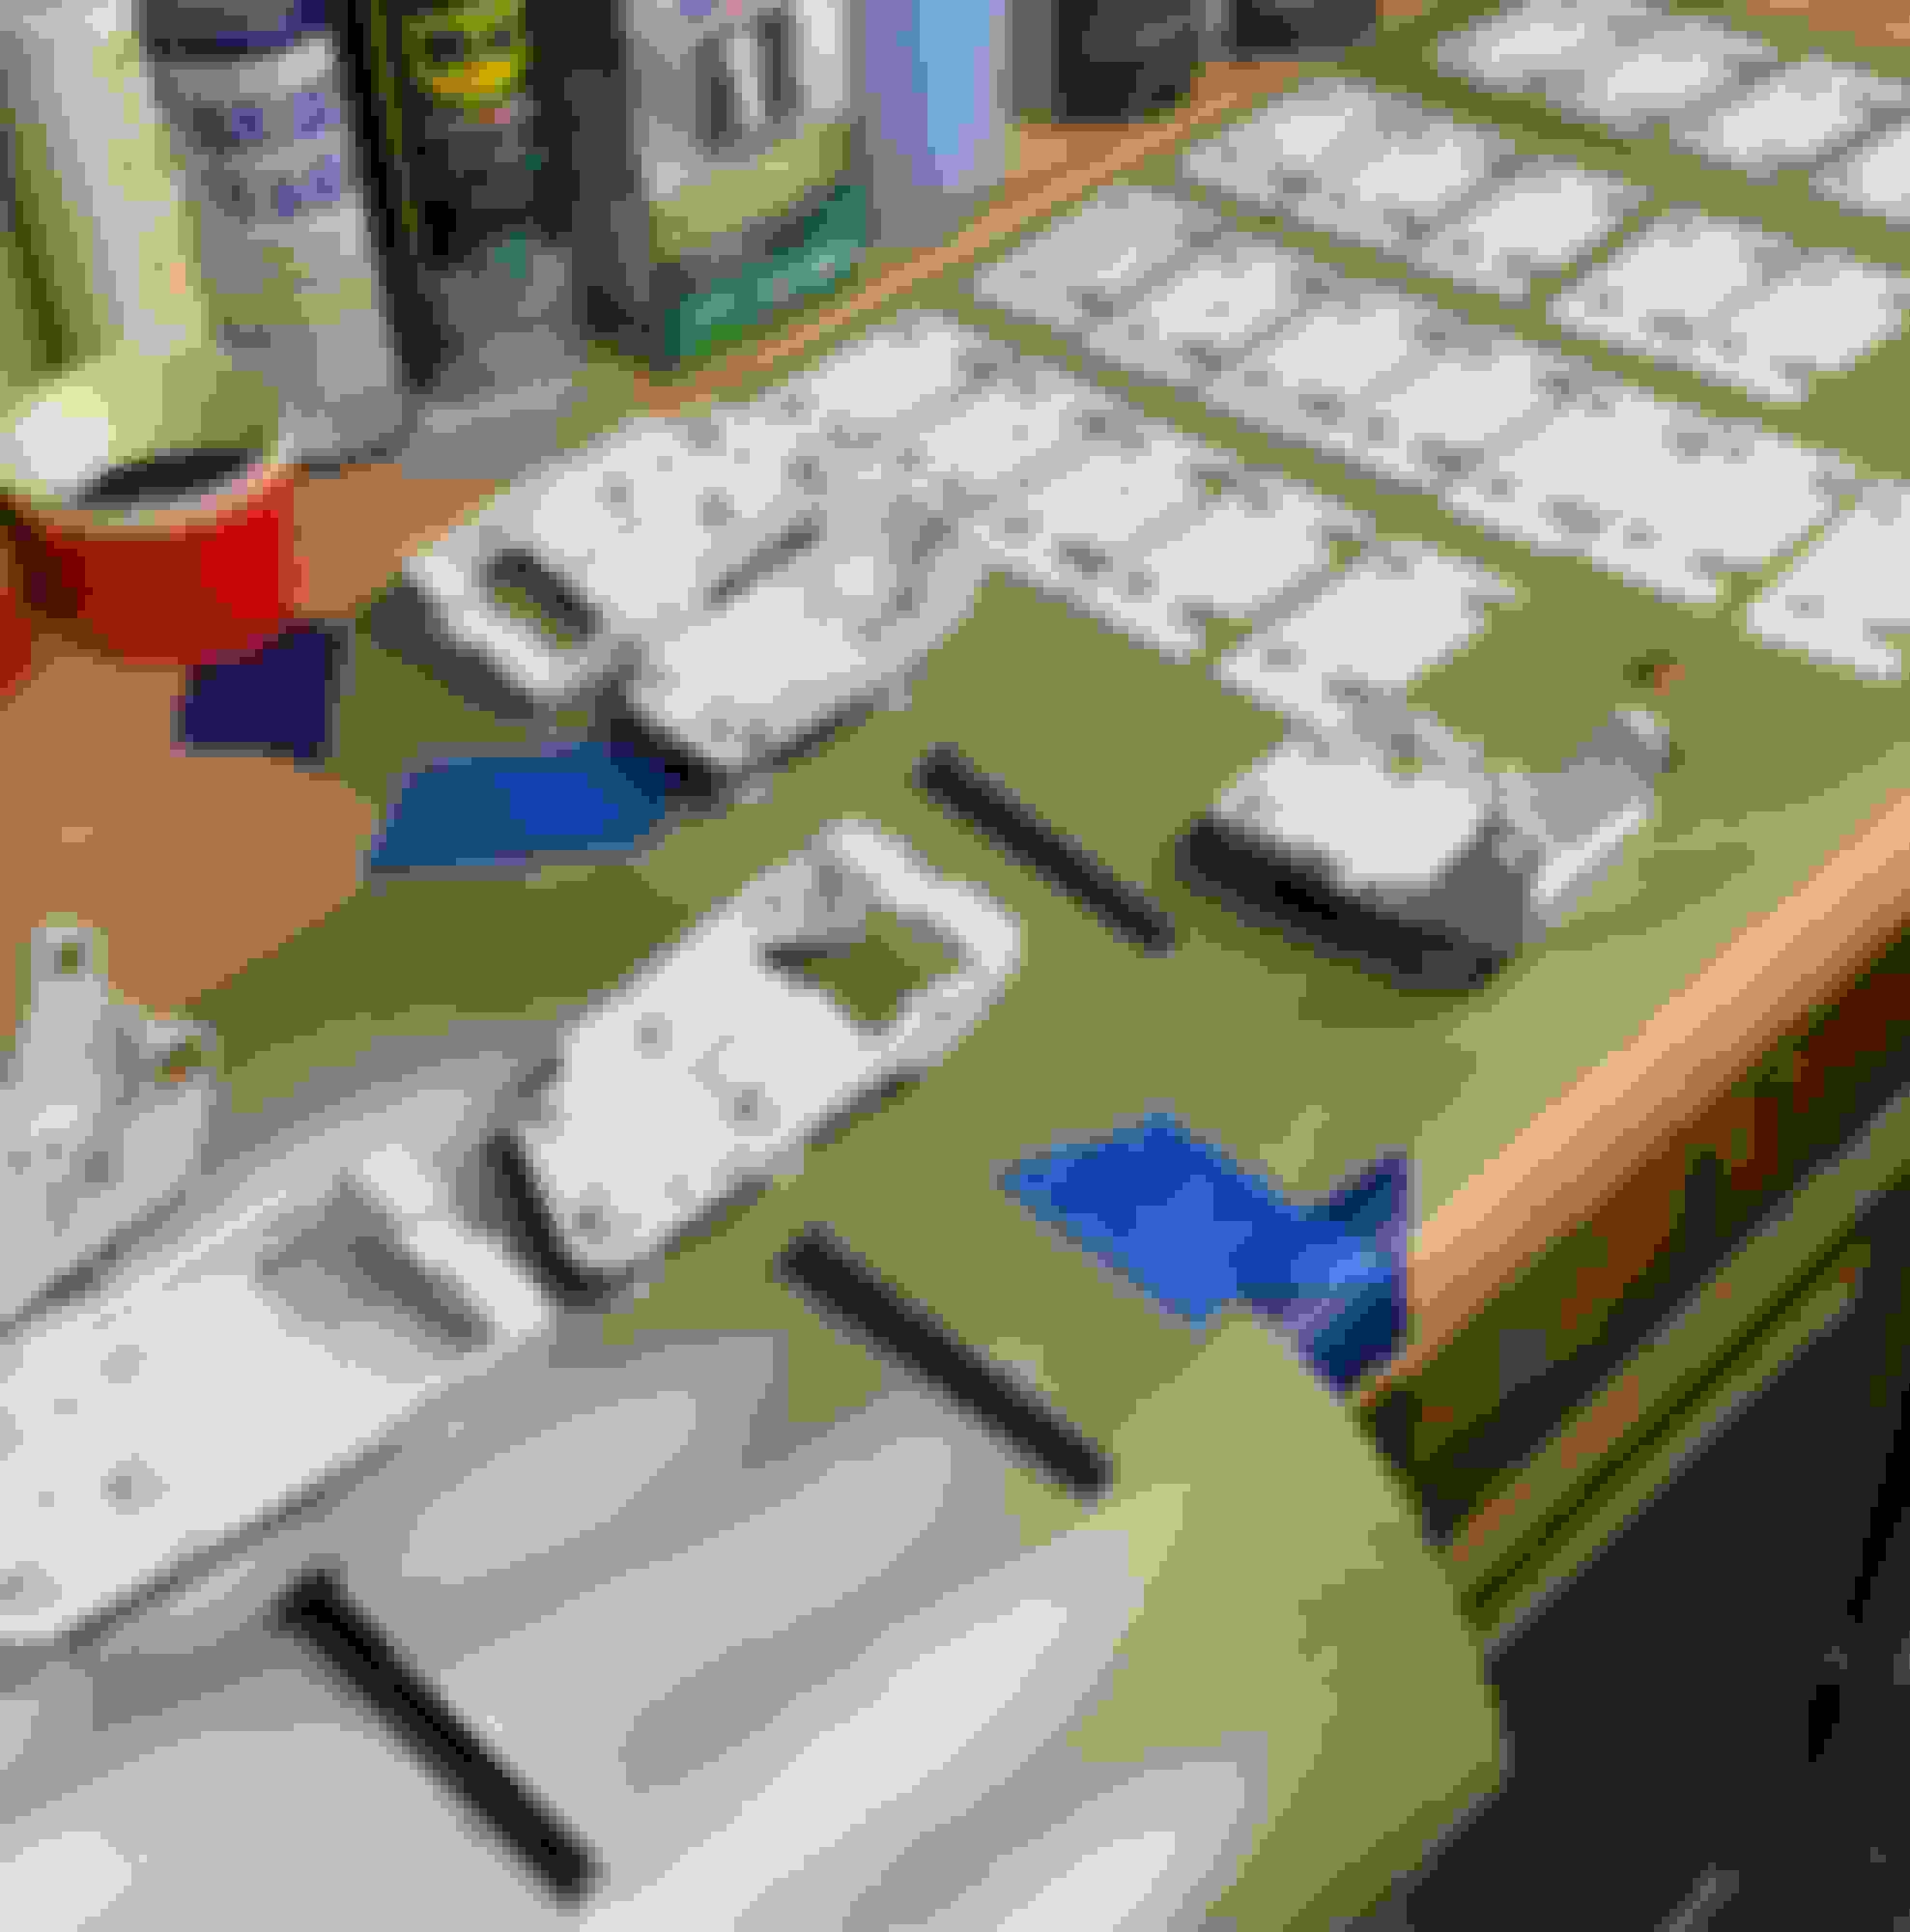
I am 4 years old. My grandpa asked me if I can help him this week getting some stuff done on his project car. Of course I said yes. He told me that even though it is not quite ready for paint yet, it is just about ready to start driving around a bit to get the new engine properly broken in. All it really needs is the two headlight assemblies and the rear tailights installed and it’s ready to go. So we started by having him blast and powder coat all the headlight parts while I made up the electrical harness and built the actuator rods for the two Miata motors he has had sitting on his workbench for a couple of months. My little hands are perfect for this work. All finished and ready for the other side. Both assemblies are now in. Now for the doors. My grandpa like how these came out. The stainless steel heim and hardware should stay looking nice for a long time. After I check our work and made sure everything moved freely, I will then have grandpa helped me wire it all up.
Hi my name is Ryan,
I am 4 years old. My grandpa asked me if I can help him this week getting some stuff done on his project car. Of course I said yes. He told me that even though it is not quite ready for paint yet, it is just about ready to start driving around a bit to get the new engine properly broken in. All it really needs is the two headlight assemblies and the rear tailights installed and it�s ready to go. So we started by having him blast and powder coat all the headlight parts while I made up the electrical harness and built the actuator rods for the two Miata motors he has had sitting on his workbench for a couple of months. My little hands are perfect for this work. All finished and ready for the other side. Both assemblies are now in. Now for the doors. My grandpa like how these came out. The stainless steel heim and hardware should stay looking nice for a long time. After I check our work and made sure everything moved freely, I will then have grandpa helped me wire it all up. Stay tuned
It has been a long while since I�ve posted on this thread so I am here to update it . A few weeks ago after waiting forever for Pa. DMV to sent me my plates, I was at last ready to really start driving my car at long last. I plan on driving it as much as I can until cruising season is over. The I will put her back up on jack stands for the final push to get her ready for paint next spring. Anyhow, I spent the first few days dialing in the engine and breaking in the rear with a series of figure eights in the supermarket parking lot. Some old lady walking by thought I was crazy but, aw well. So at first she ran ok but not what I was expecting. So I got out my stuff and hooked her up. It was running ok but had bad of idle power and was just not running right. I found it to be a bad vacuum advance that although did work and was new, did not want to adjust the timing back. After replacing the faulty advance and set it the car ran great. She will now fry the tires and gets up nice when I step on it. I admit to having a huge smile on my face. After all these years and all the hard work so far. I feel it has been so worth it. I am a happy camper. Final numbers for all the motor heads out there are, initial at 17 degrees, total timing at 36 degree all in by 2800 rpm. Timing at idle with direct manifold vacuum comes in at 30 degrees and 17 inches of vacuum. Sorry for the long story but I guess I�m a little excited. As soon as I can will post a short video.
It sure has been a long time since my last update on where I’m at with my car. Life and health issues sure have slowed my progress down for sure. I must continue to push forward though as I’m getting close to the finish line. It’s taken me eight years to get to this point.
So . About a month ago I at last was ready to finally start blowing so color on the car. Throughout this build I have gone back and forth in my mind as to the color I was going to paint it in. It came down to either yellow or white. So I chose white because it is the car’s original color which is funny since this car is far and away anything but a correct restoration.
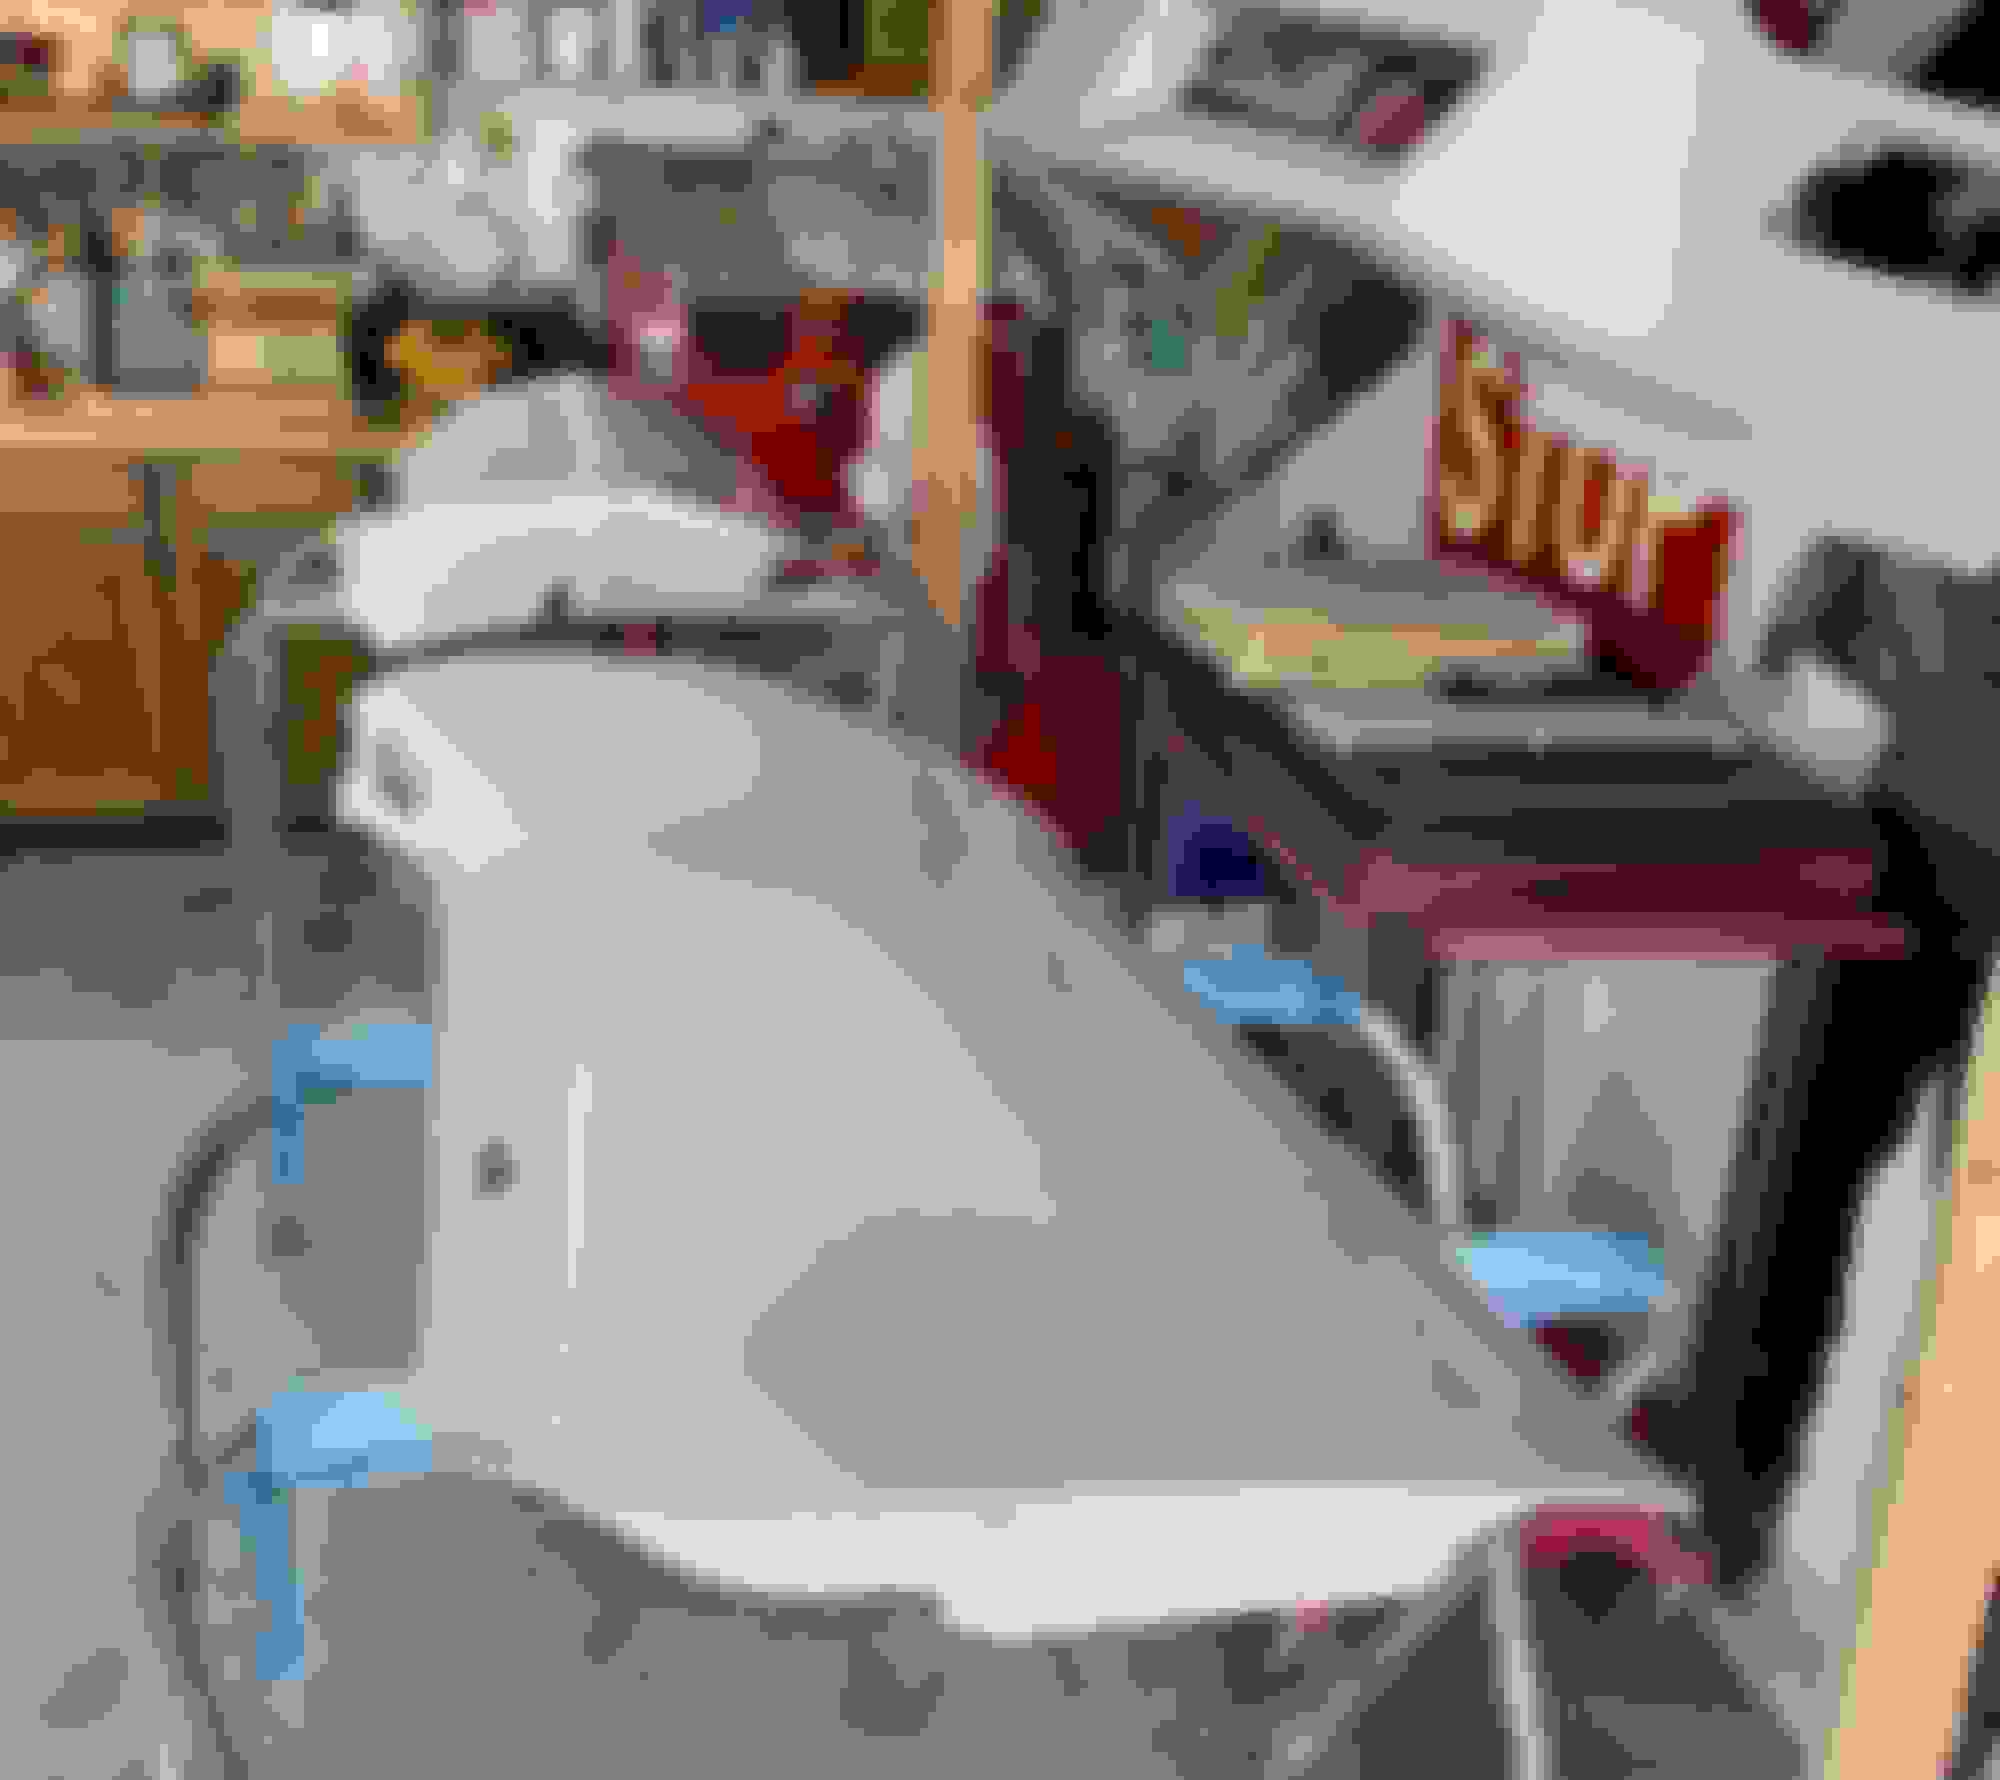
Here is where I am so far. I started by taking the doors off and disassembled the hinges and sand blasted all the parts including the shims . Although I had already replaced the bushings and a couple of the pin prior to the bodywork, I went and replaced all the bushings and all the pins on the hinges. I stripped and made any cosmetic repairs to the hinge pillars and then gave everything a couple coats of white epoxy primer and seam sealer.
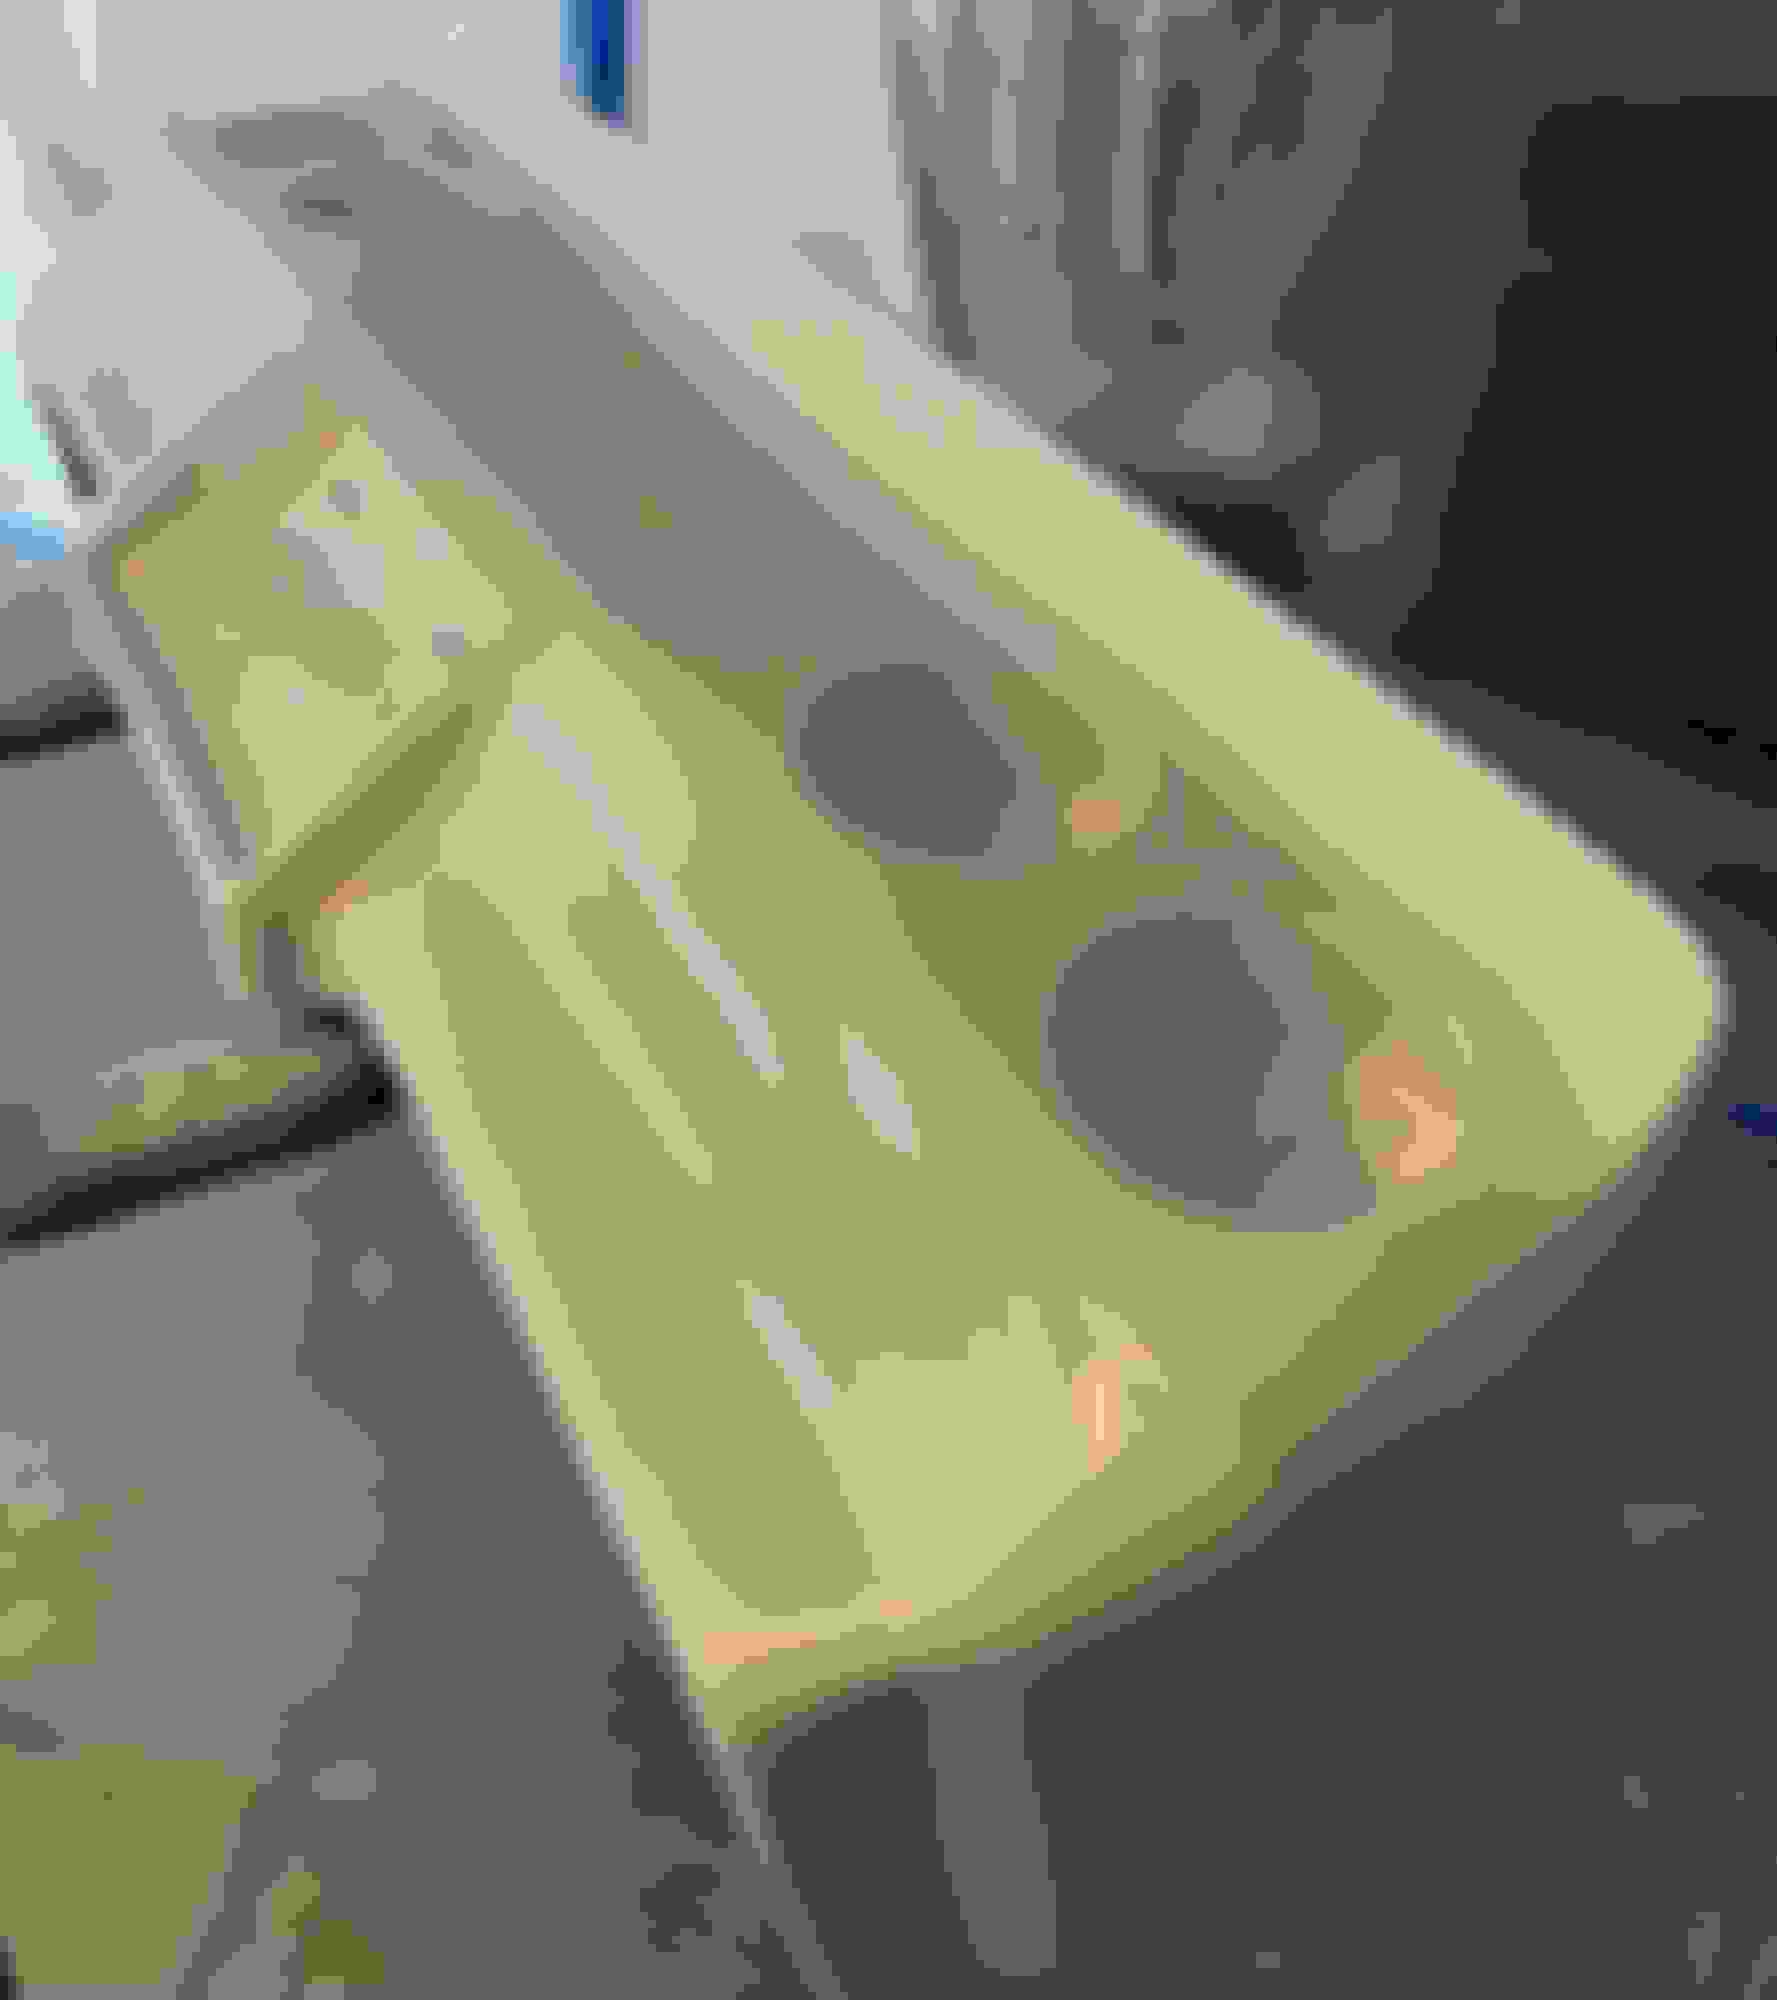
After I epoxy primed the hinge parts and hinge pillars. I then installed the doors one more time just to double check their adjustment and door gaps. I didn’t want to mess with the hinges after they and the hinge pillars are fully painted. In this and the next picture are both pillars painted.
I had already stripped and primed the doors awhile back. So all I needed to do is sand them down and paint. A coat of sealer anyway we go. I hung them from a wooden frame in constructed out of 2x4 so I can do the inside and outside all at once. So here they are after painting along with athe hinge pillars.
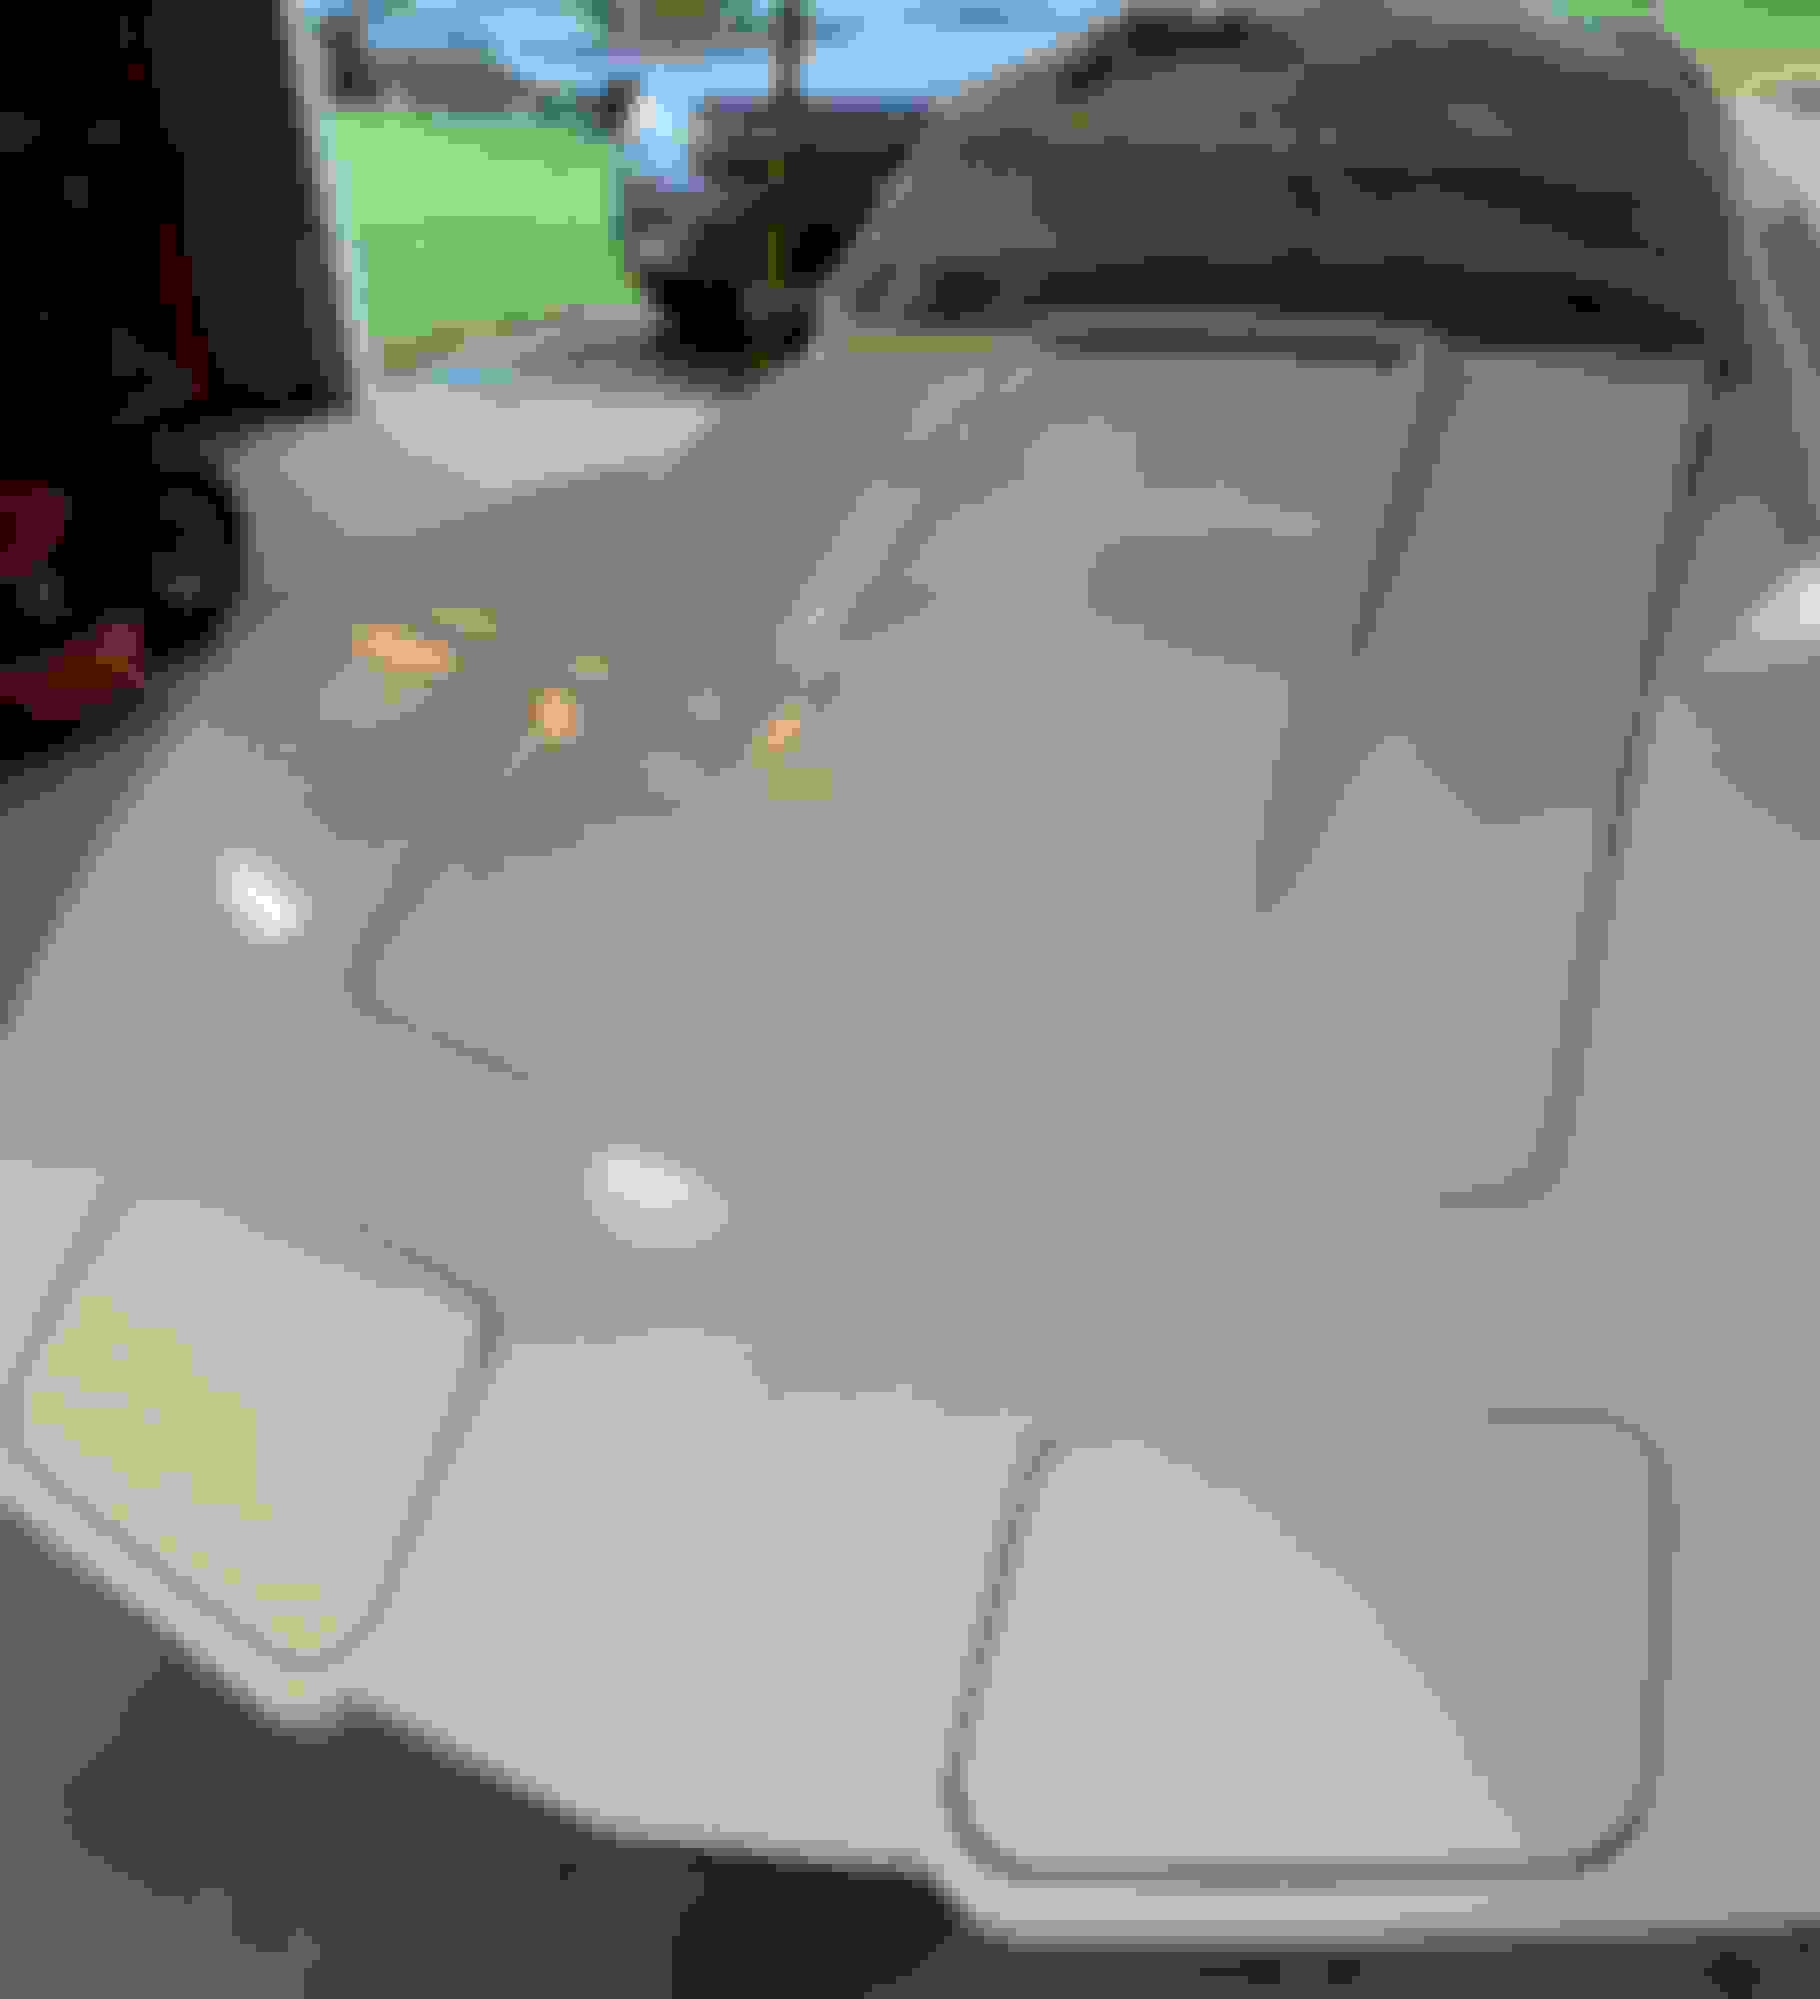
Next was the fun part. Wet sanding the body and the hood.
And here we are.
I took a small brake and decided to paint some smaller stuff for now and leave the bumpers for last. Here is one of the headlight doors ready for a coat of epoxy primer. Anybody want to guess what’s different about this headlight door ? The clue are both hanging on the wall to the left of the Pepsi sign in the third picture. Before epoxy primer. Can you tell Sahara going on yet? Primed and painted. The h/l doors , hood grill and gas fuel door cover. Look on the wall to the left of the Pepsi sign. Done.
The answer to what is going on with the headlight doors are these two covers. I was lucky enough to come across a complete quad conversion kit from a guy in south Jersey. Here is one side all fitted up and ready for refinishing.
So, I�m back into the home stretch of painting my car. The bumpers and the sport mirrors are all that left to do. The mirrors are not quite ready and are not a big deal so I will finish them later on. I will concentrate on the bumpers so I can finish this part of the process and move along to color sanding and buffing out the entire car. The front and rear bumpers were already fitted and primed and were ready for wet sanding and paint. Before I did final prep, I drilled the holes in the rear bumper for the 74-75 rear emblems.
Here they are. Front lower valance. Now I can color sand and polish the whole car.
After compound and before final polishing. This is a huge milestone fore me and for a guy who hasn�t painted an entire car in almost ten years, I�m very pleased with the outcome so far. Out in the sun. BTW. The paint I used was from from SPI. I used their white base coat and their 4100 universal clear. I must say that I have never used their clear before and now I can see why it is so popular with the classic car community. Took me a bit to adjust as I�m a bit rusty. But I found it to be very forgiving and use friendly. That�s all for now.
Beats me....washer squirters for headlamps...perhaps?
The paint looks great!
Thank you DG.
Good eye , the guy that sold me the quad headlight kit did have headlight squirters on his car.
Also the reason was asking if anybody noticed if something was different about my headlight doors was that anyone who�s done the conversion knows that you must cut and permanently modify your headlight doors to accommodate the new rectangular lamps that you cannot easily return your doors back to the original round lamps. And I know there are a few of you here who have done it and know what I�m talking about.
I have the same kit, no mods to the covers, just the bucket where the back of the bulb sits.
Here is the original docs for the install.
Thank you Mod75.
It just so happens that it is a thread that you posted these on for a member here for, I think was Quank that I used as a guide for the install of the kit as it was complete with no missing parts but the guy who sold it to me didn�t have the instructions. So I Thank you again for posting them.
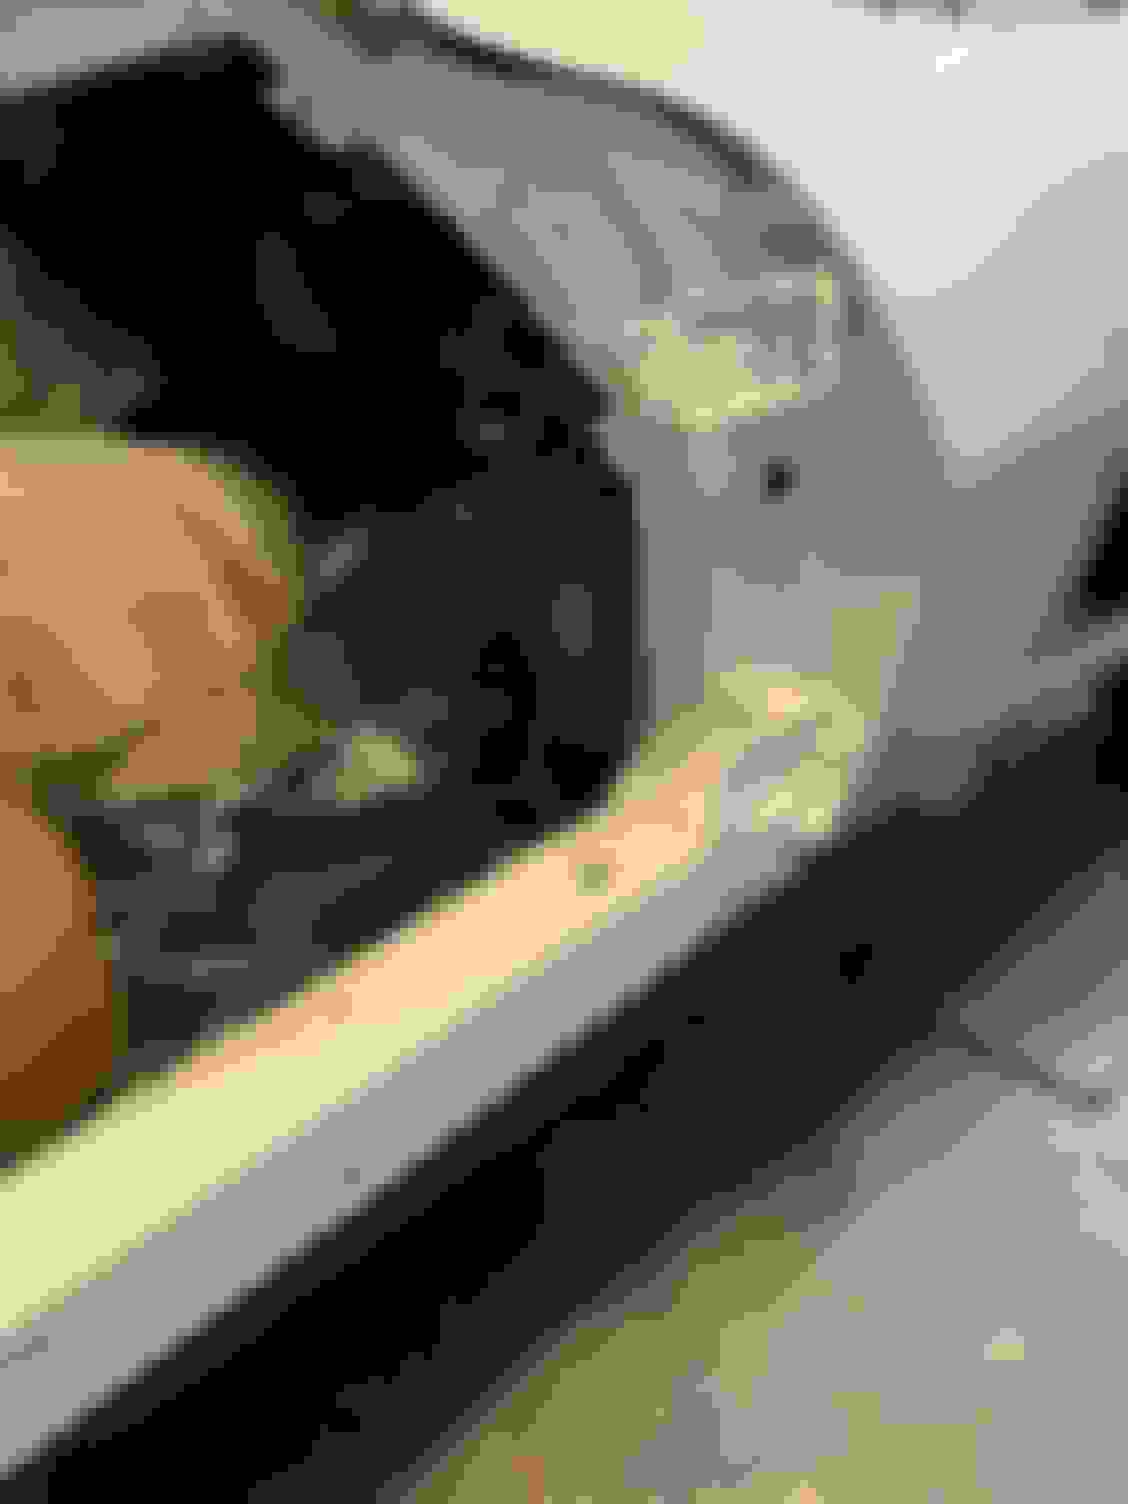
I did have to cut open the round hole behind the bulb housing and the three protrusions that supported the original round bulb buckets. That is why I said the this conversion is not easily reversible. The headlight covers themselves are fiberglass and have a hole in them for the headlight squirters that came on the earlier cars. The three protrusions cut flush and the round center hole enlarged by about a half inch.
Here is one of the covers after I stripped all the black paint off. The arrow points to the hole for the squirters that I need to fill before painting them and the two sport mirrors which are all that�s left to do.
It�s been a year since my last post here. A lot of stuff has been going on including a family relocation out of the northeast to fly over country. Oklahoma, to be exact. A nice little rural town call Bethel Acres. So the car has been sitting mostly. I�m ok with that as getting it painted late last year was the last major hurdle for me. The rest will have to wait till the final move. Also, I�ve started riding and now the Vette has to compete with my new bike. Can�t wait to get out of here as it�s gotten to crazy in and around the big cities.
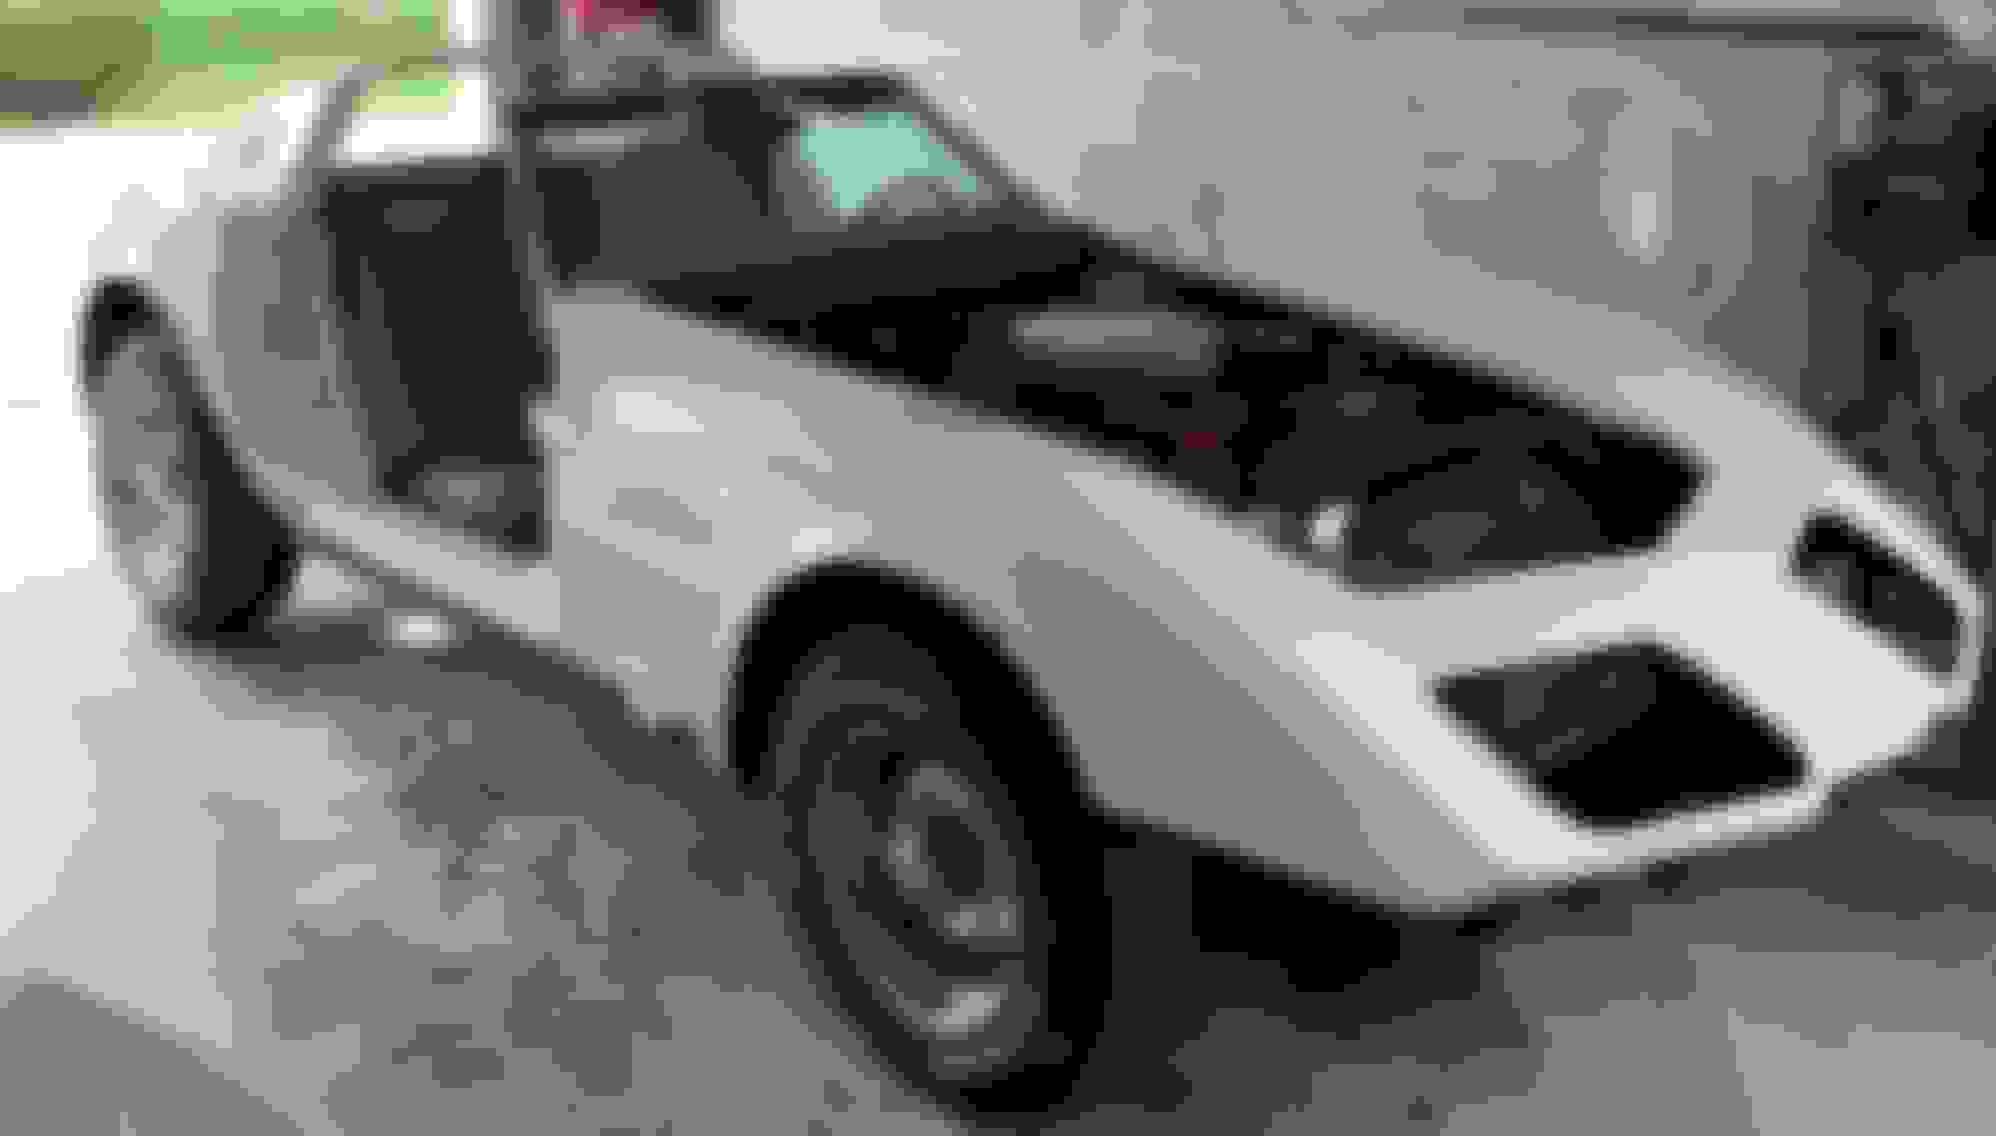
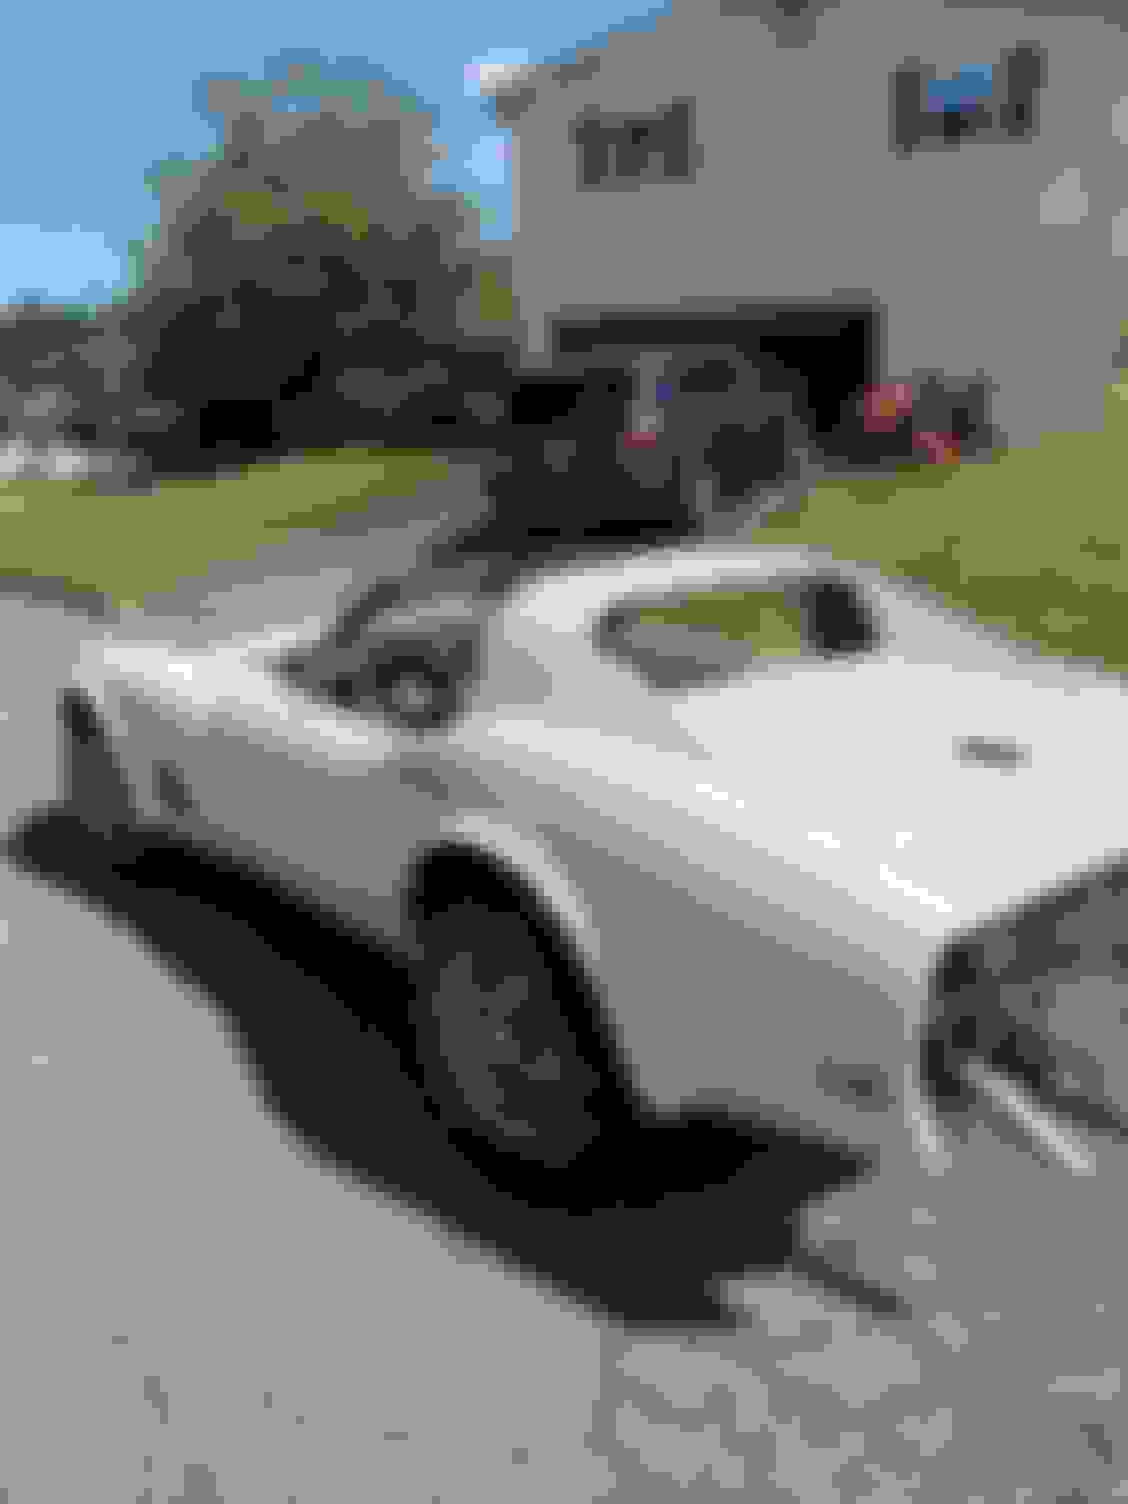
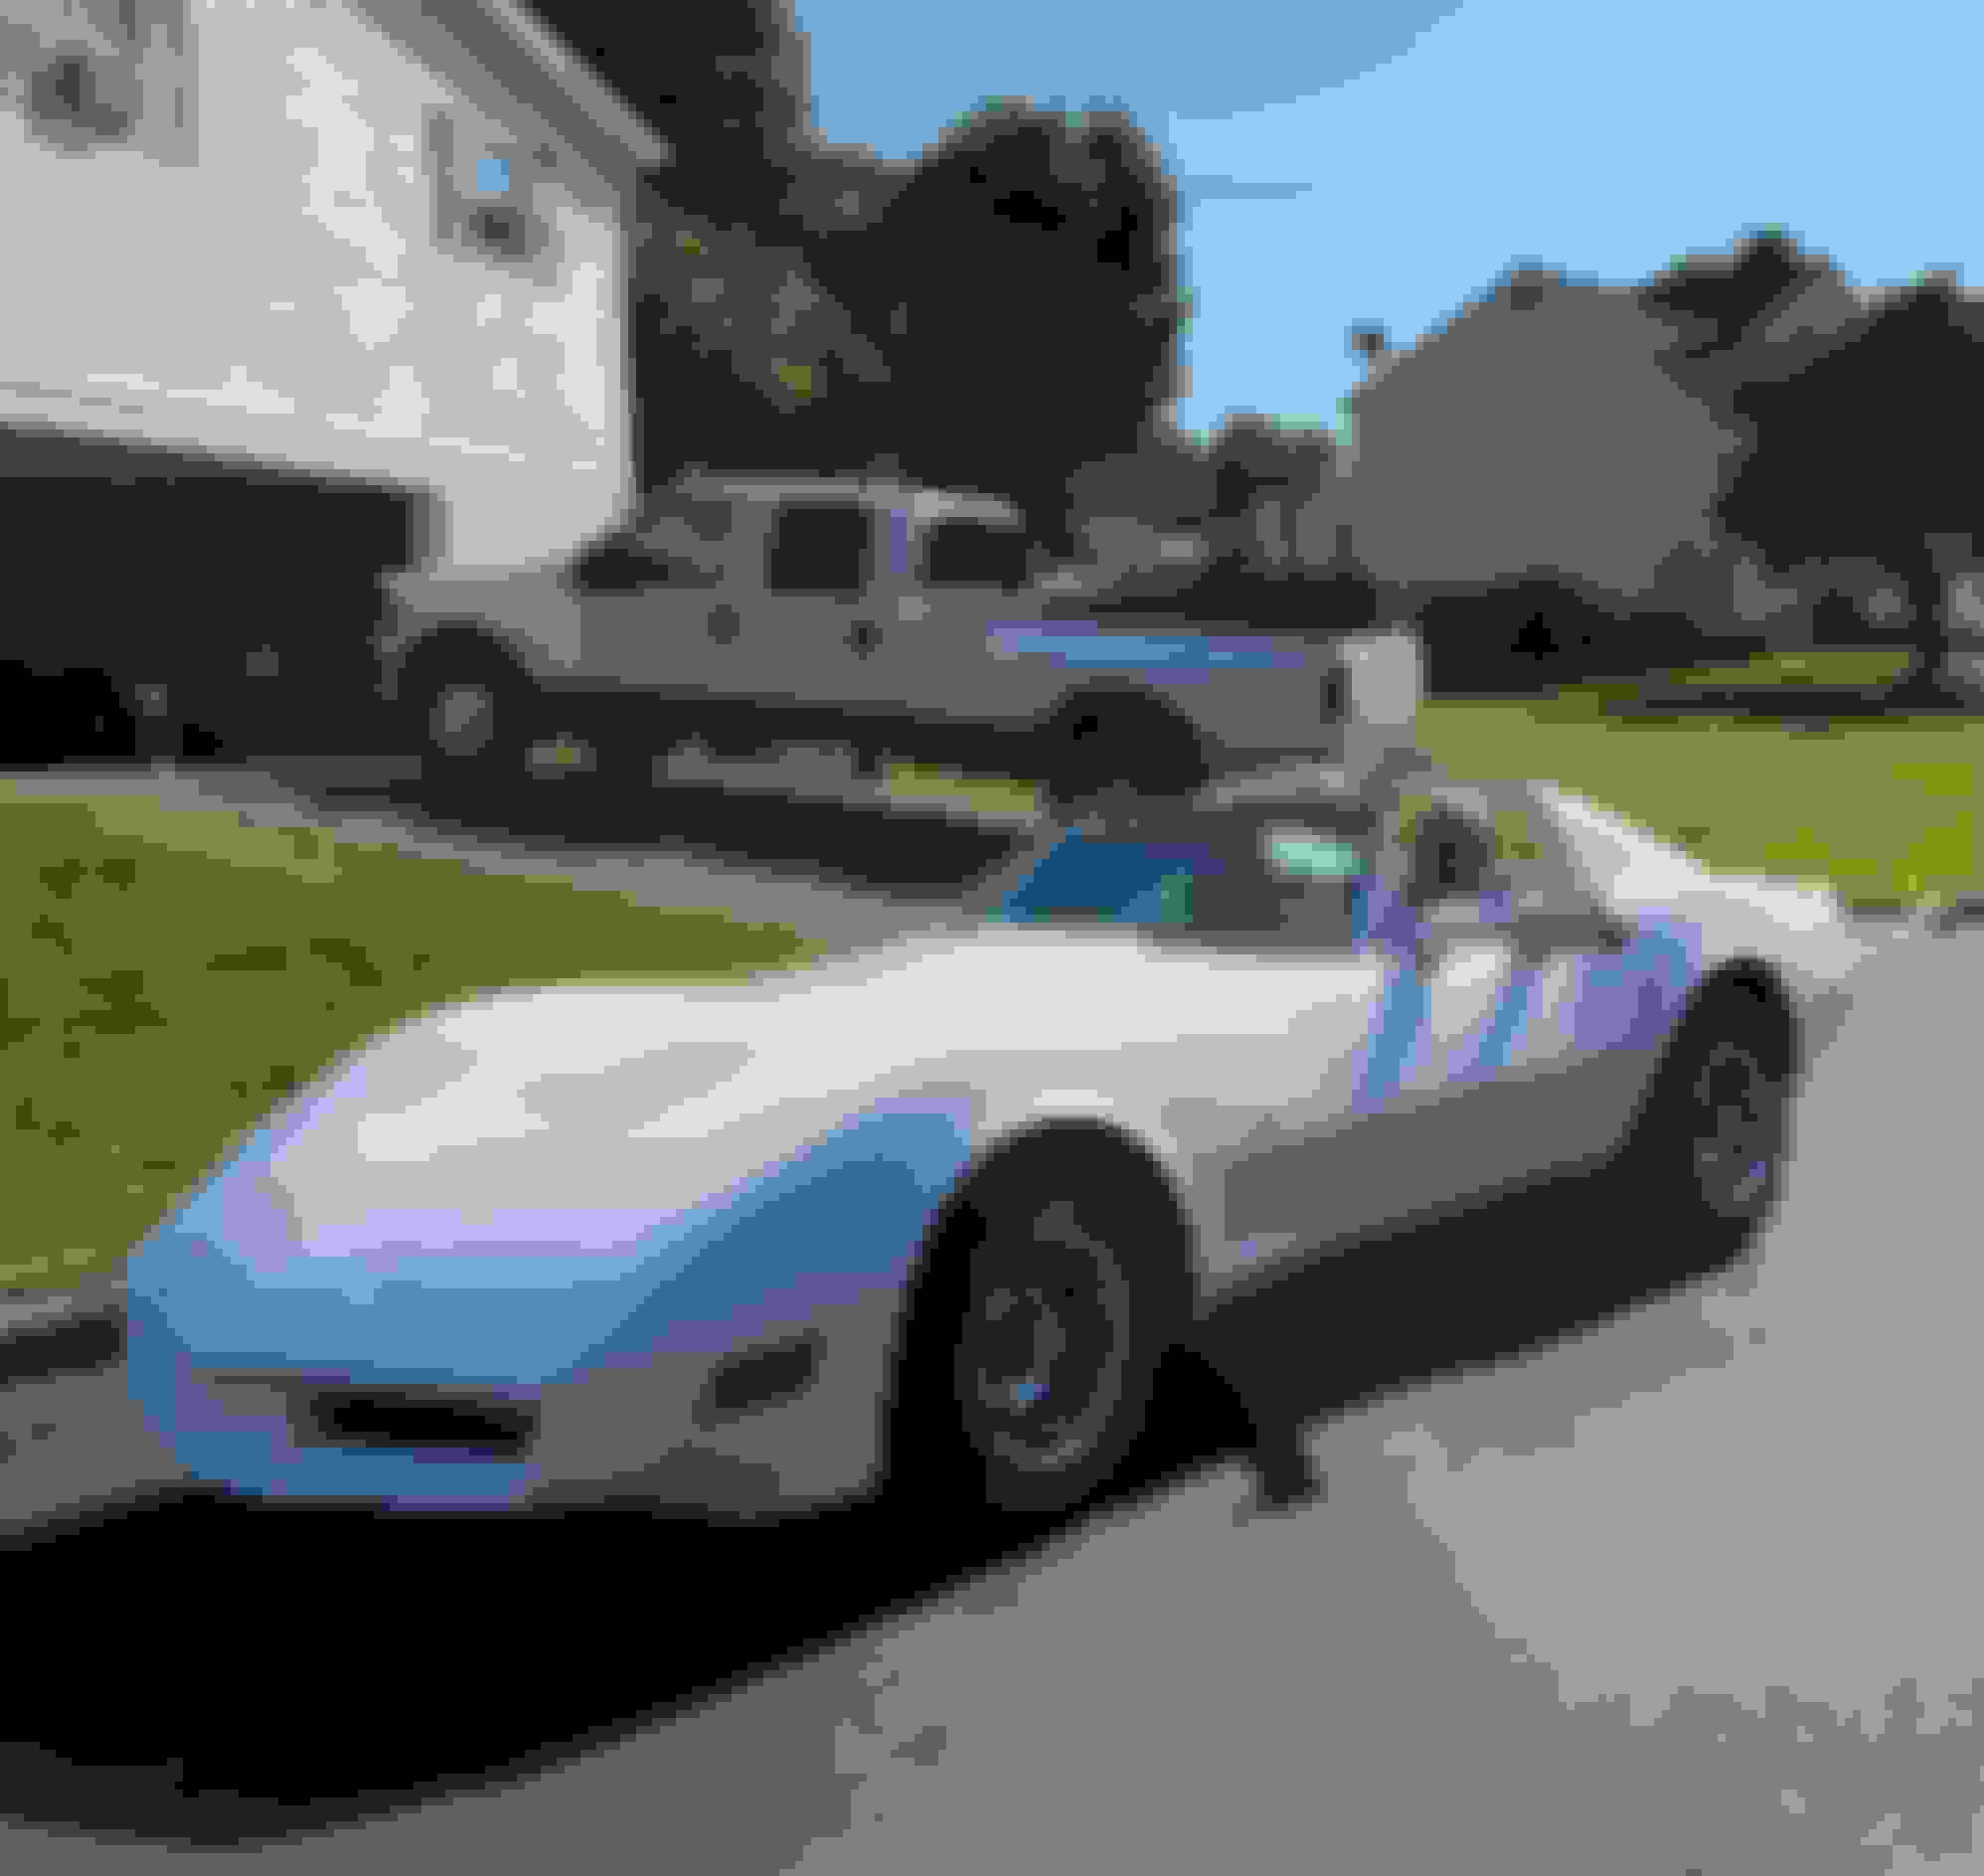
Anyway here is a picture of how the car looks now. Pretty complete except for some of the interior still needs reassembling.
Here is my 77.
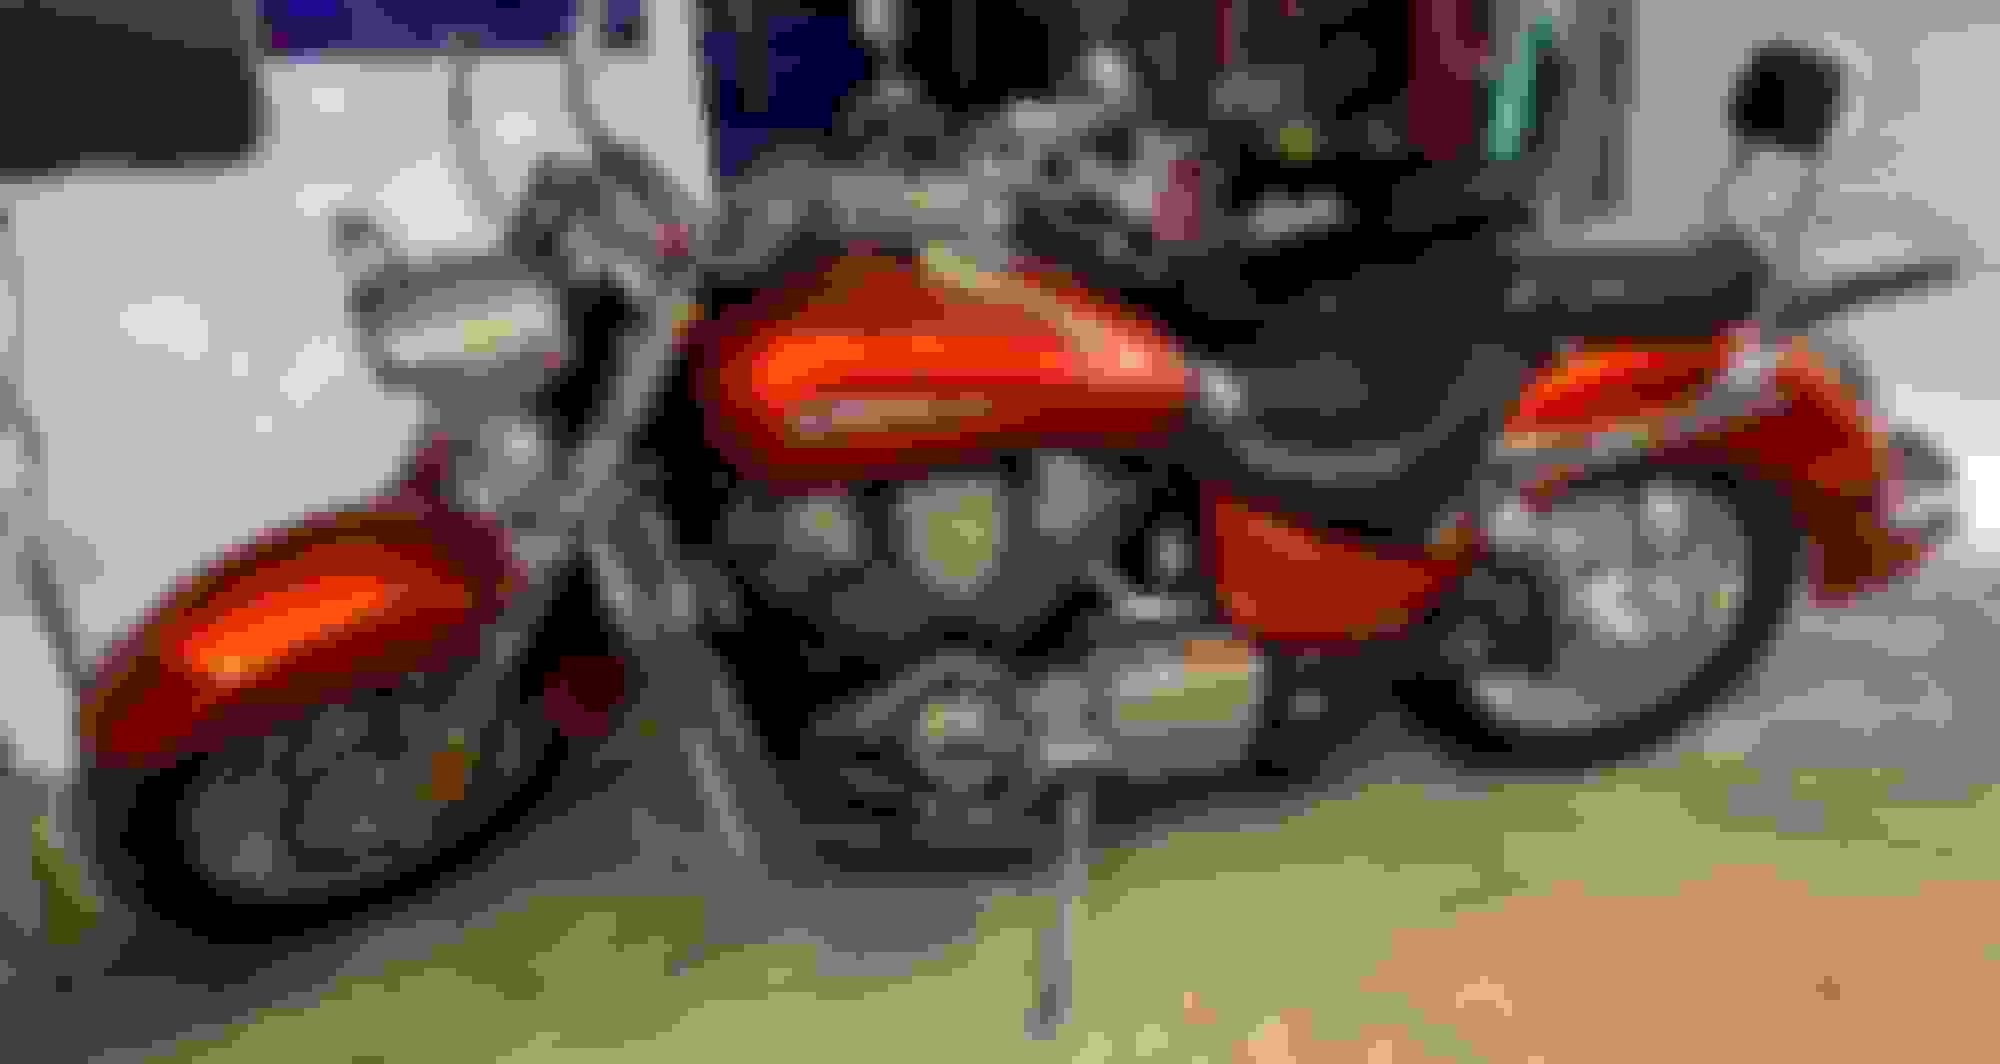
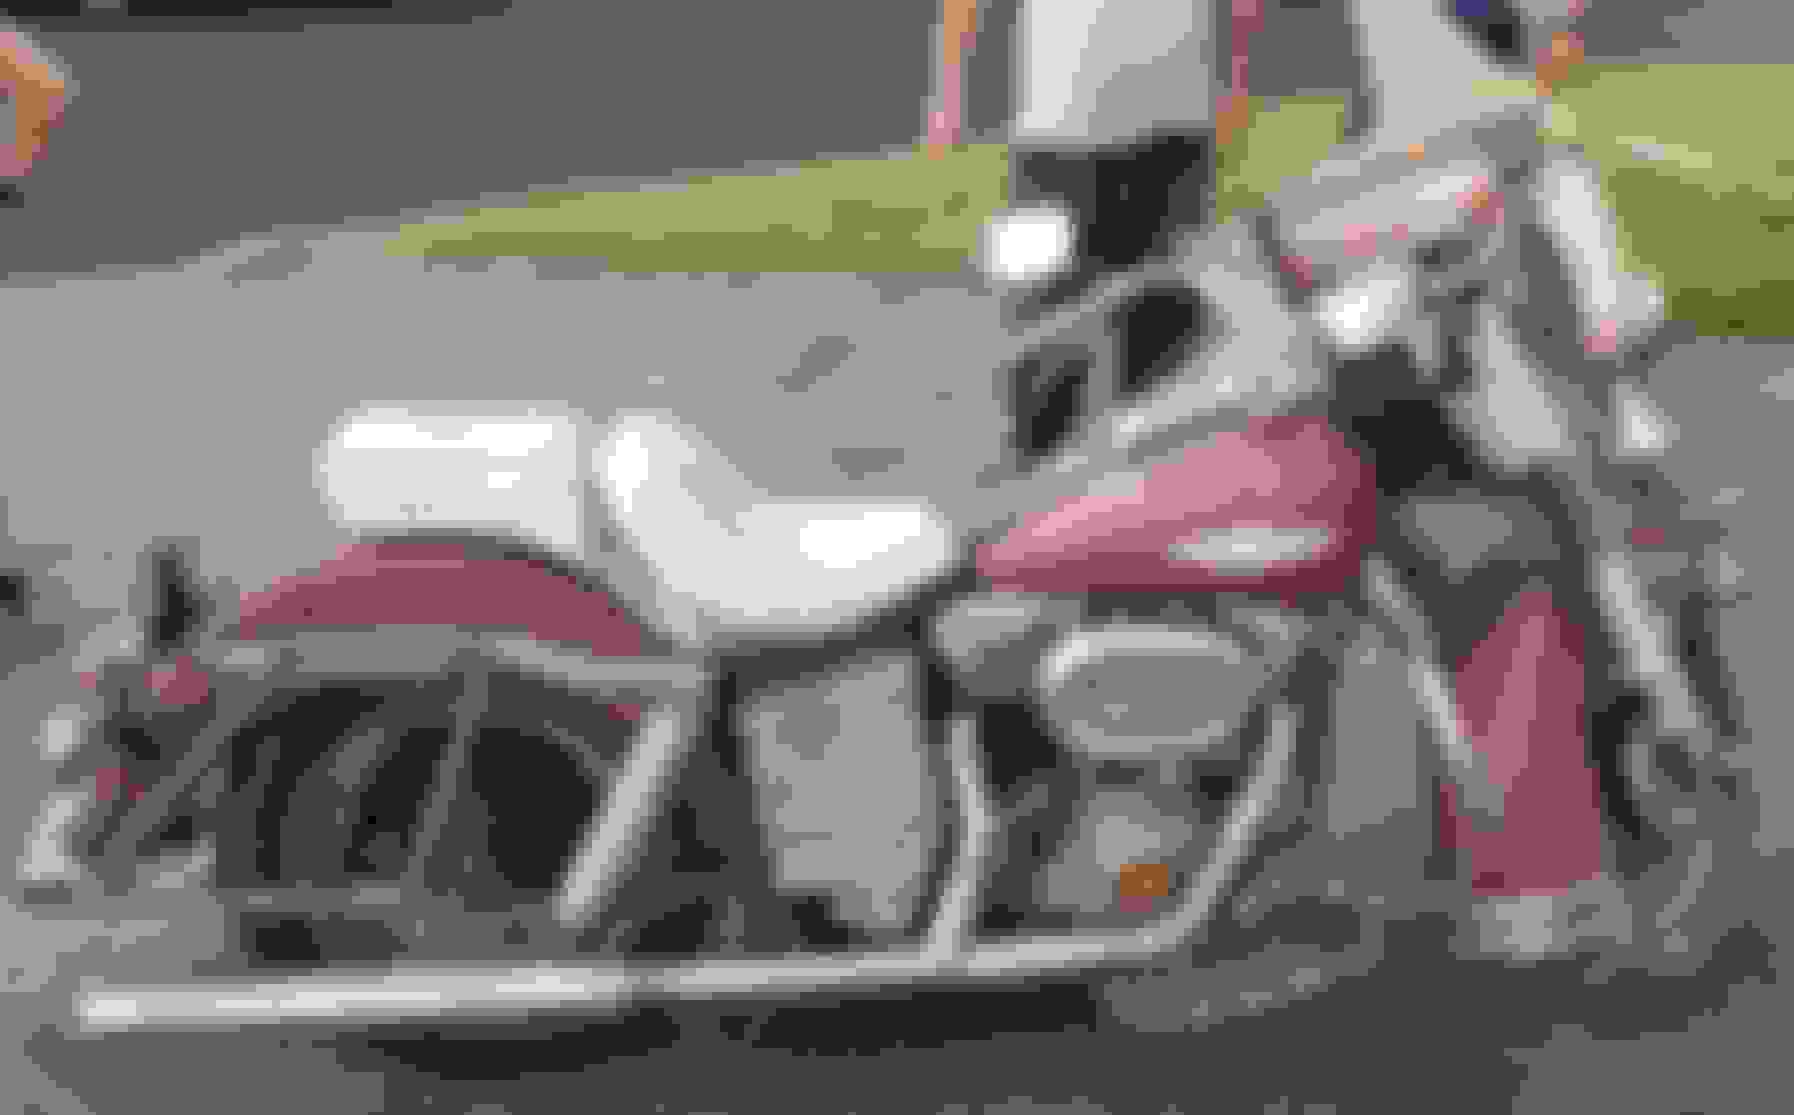
I�m very pleased with how it�s turned out so far. Here is my 2004 Honda VTX1800R. I�ve been wanting one of these since the early 2000�s . Absolutely spotless with only 11,000 miles and it�s a beast. I do plan on getting a Harley, but not for about a year or so. A fatboy is my second dream bike after my VTX. 1972 Harley Davidson Electra Glide that I�m helping to restore for my son in law. The bike has been completely disassembled since we took this picture and I�m currently building the motor while the frame and swing arm are being powder coated. I�m trying to get as much of it done before I move away and at that time he will have to finish the rest. Unless I take it with me and finish it at our new place.
Many thanks to my little helper Ryan. Couldn�t have done it without ya!

 06-14-2019, 11:05 PM