When you click on links to various merchants on this site and make a purchase, this can result in this site earning a commission. Affiliate programs and affiliations include, but are not limited to, the eBay Partner Network.
Welcome & congrat's I have a similar 75 coupe white/blk. C3 's are great drivers & fun to cruise around not that many on the street. Tonight we went to get ice cream T tops off of course.
Good luck
Mine sat for 19 yrs took several months to get it going
Welcome & congrat's I have a similar 75 coupe white/blk. C3 's are great drivers & fun to cruise around not that many on the street. Tonight we went to get ice cream T tops off of course.
Good luck
Mine sat for 19 yrs took several months to get it going
3rd pic. look at the brake pedal pad. now lift door up while open. if car has 165 on it, the hinge pins will have slop, and somebody replaced the brake pedal pad. this car has 65k. when any car from mid 70's has 150k+ on it, it is a rattletrap that needs everything redone.
Last edited by derekderek; 07-27-2015 at 12:43 PM.
3rd pic. look at the brake pedal pad. now lift door up while open. if car has 165 on it, the hinge pins will have slop, and somebody replaced the brake pedal pad. this car has 65k. when any car from mid 70's has 150k+ on it, it is a rattletrap that needs everything redone.
Good eye. The pedals are relatively "fresh", all things considered. I haven't lifted the doors, but they open and close relatively well. I'm inclined to believe the 65k is valid. That's the mileage on the title, so it must be correct!
Make no mistake, it needs a lot of work. The paint is a mess. But it sat outside a long time. It needs some love. I'm trying to give it some.
Making some progress. One thing just leads to another, though.
After I got the front bumper pulled, I figured I might as well clean up and repaint the support structure behind it. And while that was off, it's a good time to rehab the headlights. Lots and lots of parts to pull off, de-rust, wire wheel, primer, re-paint, put back together, and re-install on the car.
Half way done with the headlight modules.
The actuators are still in good shape. Just had to clean them up and replace the rubber boots.
I'll be taking more pics as I put things back together.
Long ways to go!
Yes, your picture of cleaning stuff becomes a very familiar picture after awhile. Nice job!
ZIO
the rubber headlight vac hoses are 40 years old. change them out, or at least cut half an inch off each end so they hold to their hose nipples better. lot of progress for a couple of months. sway bar bushings, idler arm, and especially the bushings where steering ram attaches to the frame.
the rubber headlight vac hoses are 40 years old. change them out, or at least cut half an inch off each end so they hold to their hose nipples better. lot of progress for a couple of months. sway bar bushings, idler arm, and especially the bushings where steering ram attaches to the frame.
Still working on the passenger side headlight bucket, but I got the driver's side reinstalled and somewhat aligned. I decided to hook up the hoses and block off the passenger side ports and test it out. Lo and behold, the vacuum system is operational!
In addition to trimming the hose ends a little, I used spring clamps on the actuators and the vacuum reservoir lines. Unable to do that on the relays. Why did chevy make the top and bottom ports oval instead of round???
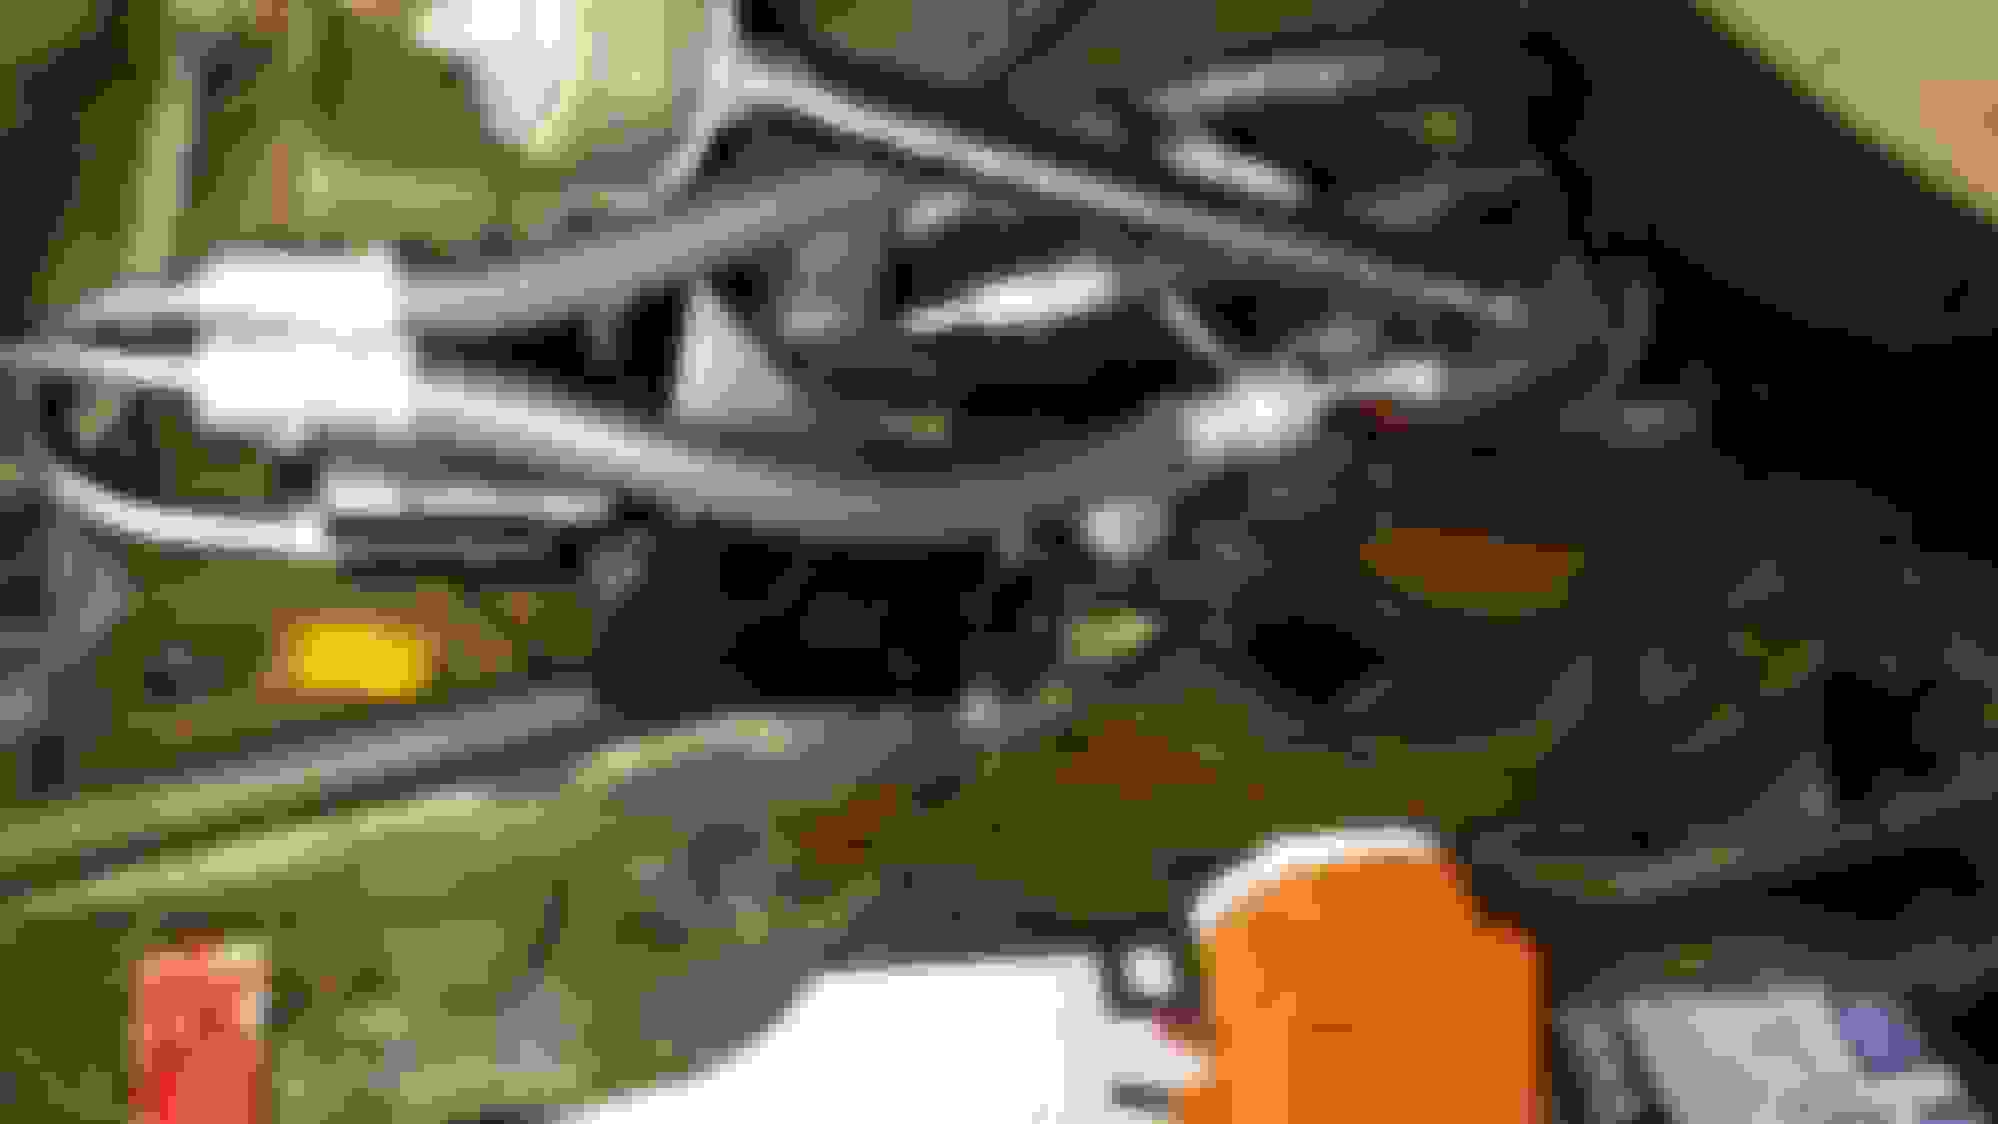
New upper radiator hose....which lead to removing the t-stat housing to get that cleaned up. It was rusty and pitted and I thought I'd have to go buy a new one, but after soaking overnight in rust remover, it's still solid. I took my wire wheel and grinder to it to get it back in decent shape, then shot a coat of clear over it to keep it looking good for a while.
I also found that the previous owner had removed the t-stat. Installed a new 180 degree unit.
New power steering belt of the correct length. The old belt was a bit too short, which left the steering pump pulled in towards the engine block and the cap to the pump directly under the alternator bracket. Had to remove the alternator to add steering fluid! Now, it sits correctly with the cap accessible outboard of the alternator bracket.
New transmission seal and filter. That was fun. Note to self: Never remove all the pan bolts, even if the RTV seems to be holding it tight.
As soon as I started prying the pan loose, it fell and douched my garage floor with ATF. That took a while to clean up!!!
Best for last, fixed the leaky power steering control valve. Installed a rebuild kit, put it back together, added fresh fluid, turned the steering wheel lock to lock a couple times and no leaks!
Got the front and rear bumpers installed temporarily, just to see how things line up. They will need some massaging, but it's nice to have a face and a butt on the old girl.
Had a pretty serious brake caliper leak on the right front, so I pulled the caliper off to refurb it with new seals and brake hoses...and hell, while I've got that off, might as well put new ball joints on....going to be fun drilling those out, and the A arms look like hell, might as well pull those and install the new bushing set I've got sitting in the garage...can't put those new bushings in rusty old A arms....etc., ad nauseum.
But hey, now I've got a brand new Harbor Freight blasting cabinet to clean up all my greasy, rusty parts!!! That's already speeding things up.
Great progress, mine was originally white also with 50k on the odo. I originally thought it was 150k till I took the engine apart, original number matching with virtually no cylinder wear.
New upper radiator hose....which lead to removing the t-stat housing to get that cleaned up. It was rusty and pitted and I thought I'd have to go buy a new one, but after soaking overnight in rust remover, it's still solid. I took my wire wheel and grinder to it to get it back in decent shape, then shot a coat of clear over it to keep it looking good for a while.
I also found that the previous owner had removed the t-stat. Installed a new 180 degree unit.
New power steering belt of the correct length. The old belt was a bit too short, which left the steering pump pulled in towards the engine block and the cap to the pump directly under the alternator bracket. Had to remove the alternator to add steering fluid! Now, it sits correctly with the cap accessible outboard of the alternator bracket.
New transmission seal and filter. That was fun. Note to self: Never remove all the pan bolts, even if the RTV seems to be holding it tight.
As soon as I started prying the pan loose, it fell and douched my garage floor with ATF. That took a while to clean up!!!
Best for last, fixed the leaky power steering control valve. Installed a rebuild kit, put it back together, added fresh fluid, turned the steering wheel lock to lock a couple times and no leaks!
Sooooo many more things left to do.
What number was the belt if you don't mind me asking?
Very nice progress! Could you provide a link to those bumper covers and would you recommend them over the soild fiberglass? I need to purchase both for my '75 project.
Very nice progress! Could you provide a link to those bumper covers and would you recommend them over the soild fiberglass? I need to purchase both for my '75 project.

 07-26-2015, 09:52 PM


 Note to self: Never remove all the pan bolts, even if the RTV seems to be holding it tight.
 That took a while to clean up!!!