Plastic Fantastic tew

 07-22-2019, 12:29 AM
#342
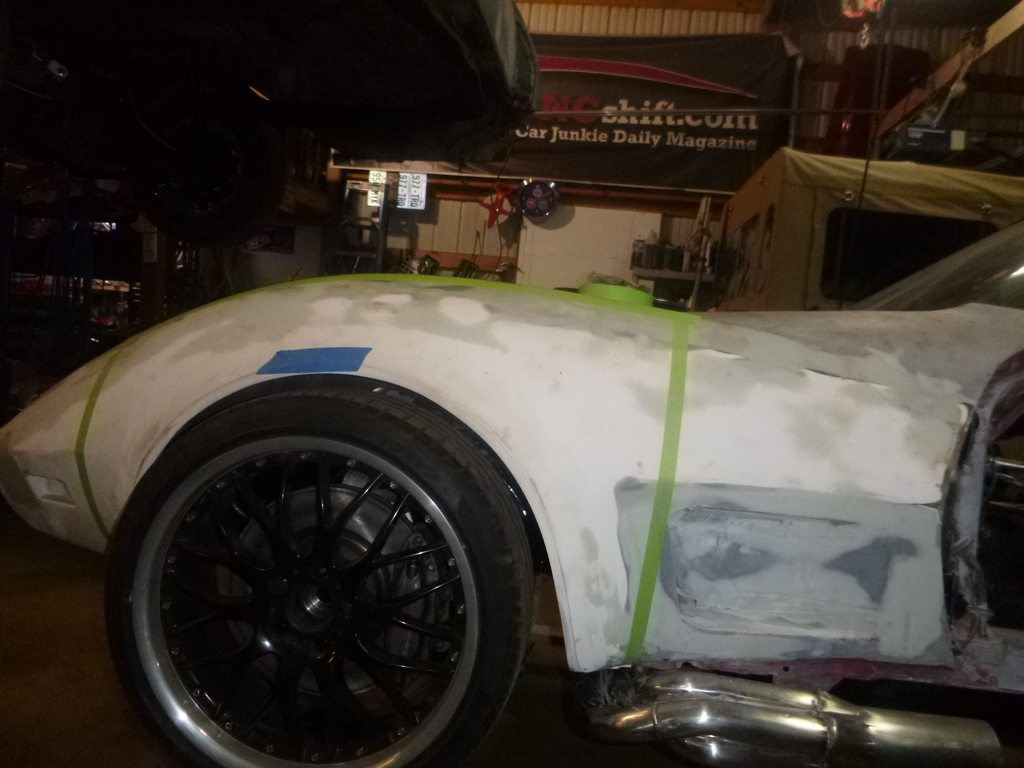
Melting Slicks

This 80 degree weather is killing me
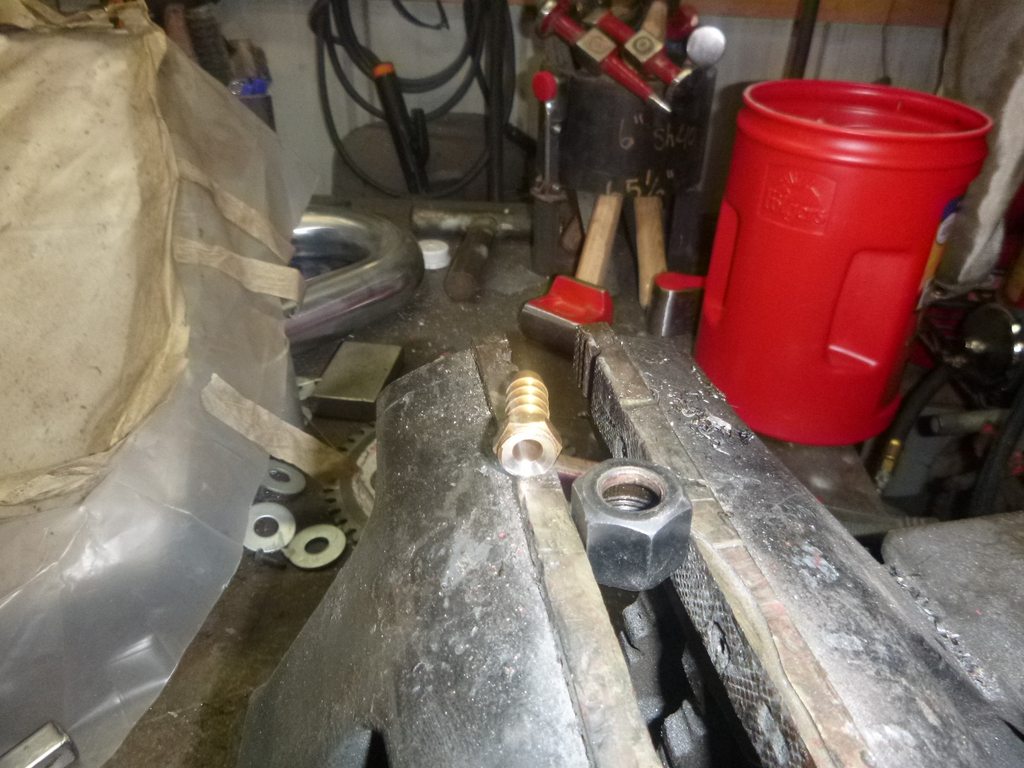
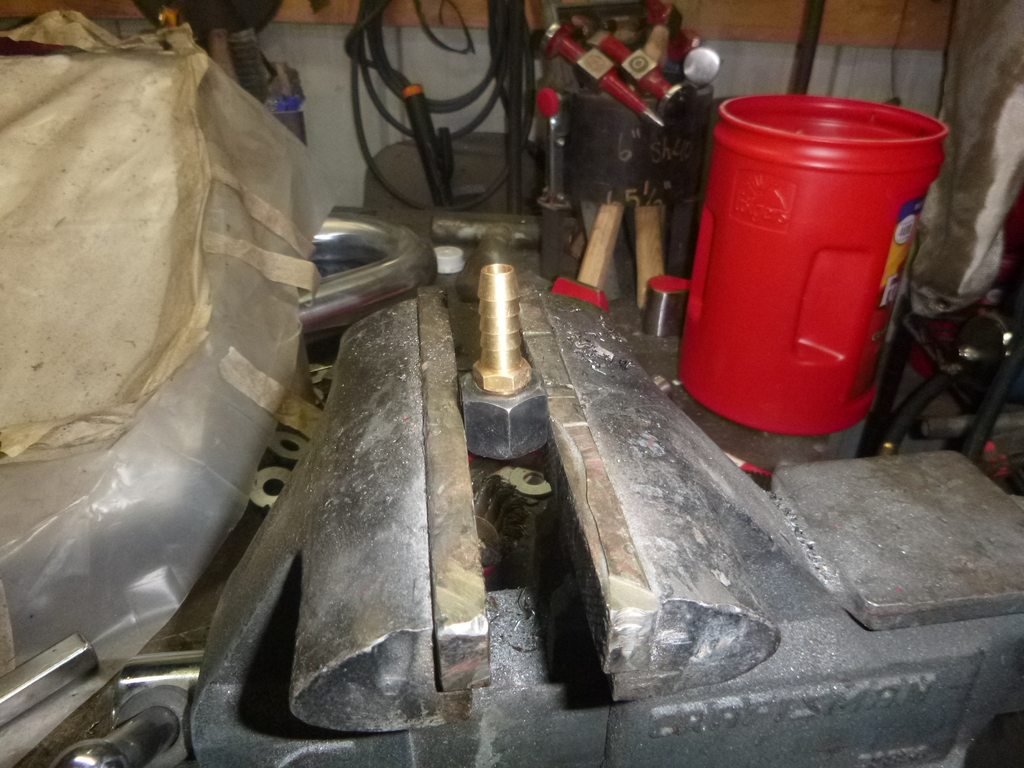
tank vent
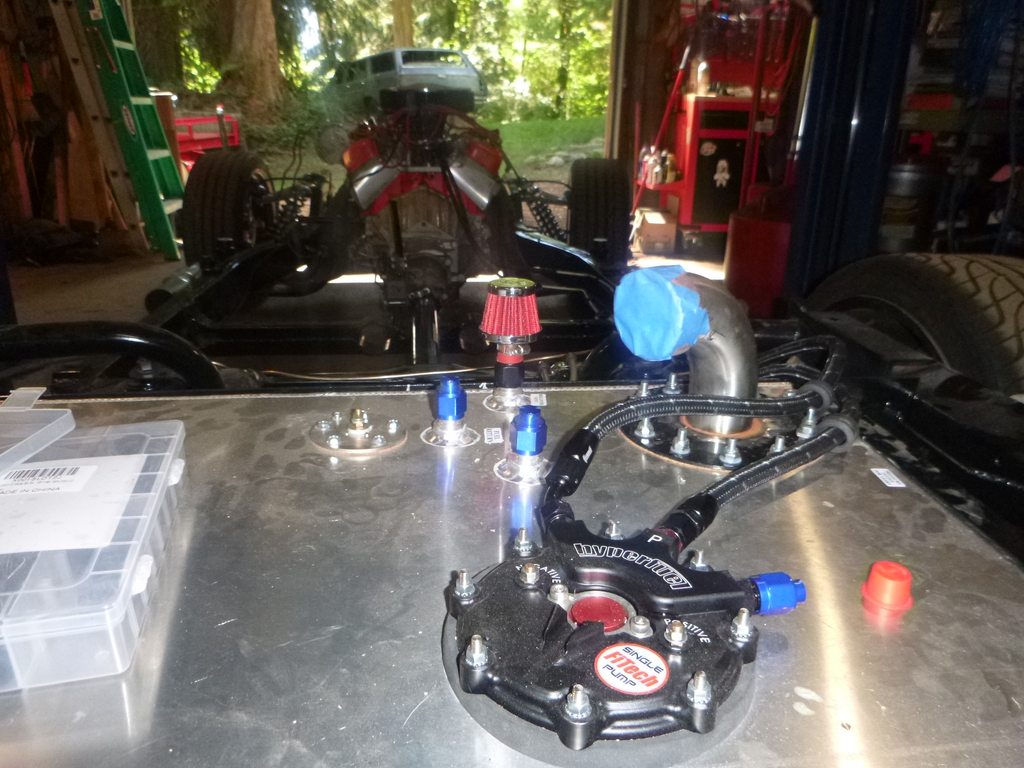
something like this
but alas, must weld
ah ha, that's where I put that Iron welding rod
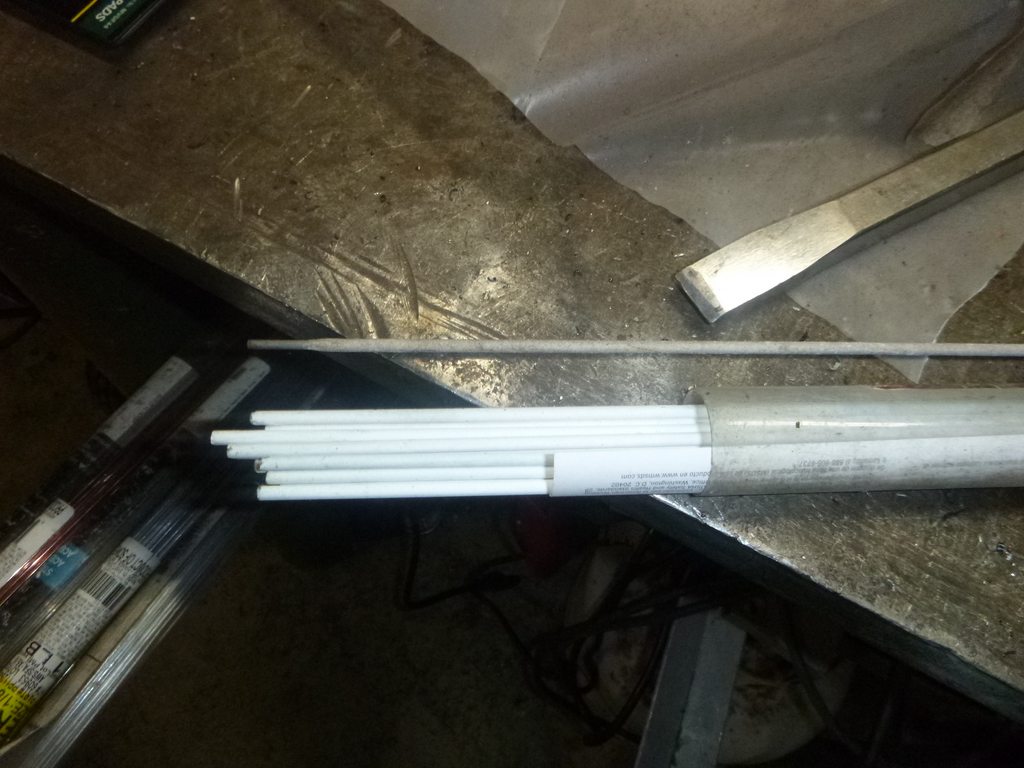
and finish brake lines
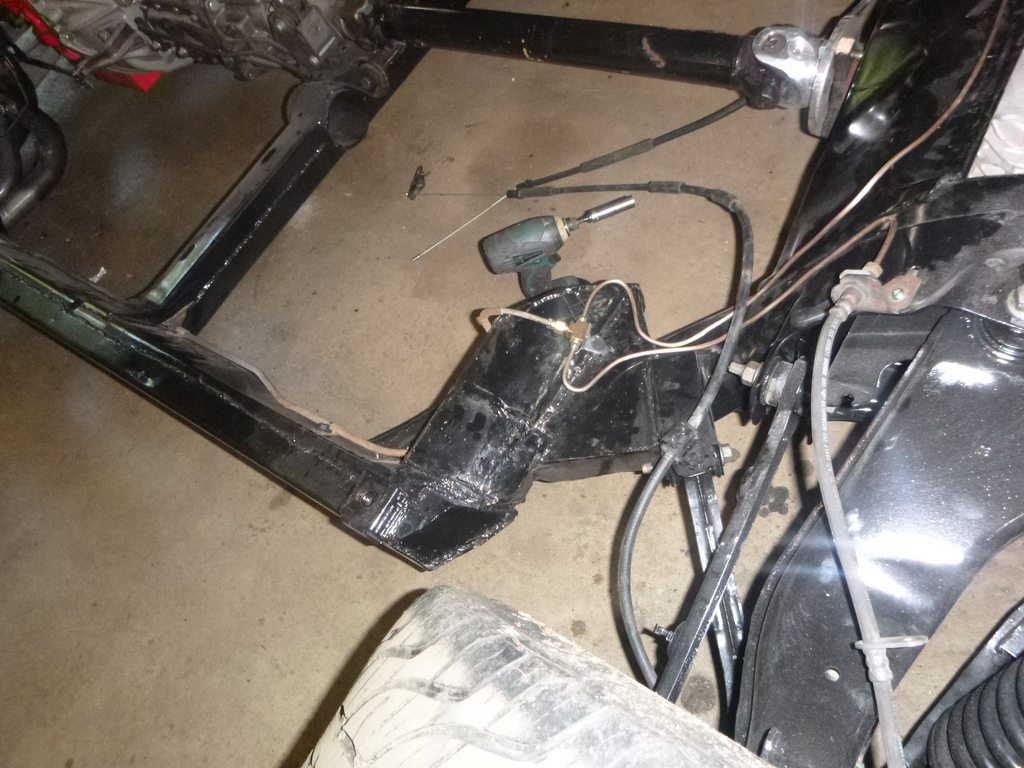
and rebuild rack
tank vent
something like this
but alas, must weld
ah ha, that's where I put that Iron welding rod
and finish brake lines
and rebuild rack
The following 2 users liked this post by SuperBuickGuy:
caskiguy (07-22-2019),
gtmsomeday (07-22-2019)


 07-22-2019, 08:40 PM
#345
Nam Labrat


Member Since: Sep 2013
Location: New Orleans Loo-z-anna
Posts: 33,899
Received 4,179 Likes
on
2,739 Posts

It doubles the size of the cargo area when it's low......
I forgot.....where did you say the gas cap will be located?
I forgot.....where did you say the gas cap will be located?
Last edited by doorgunner; 07-22-2019 at 08:44 PM.
07-22-2019, 10:43 PM
#346
Instructor

07-23-2019, 12:19 AM
#347
Melting Slicks
It's the eastwood flaring tool
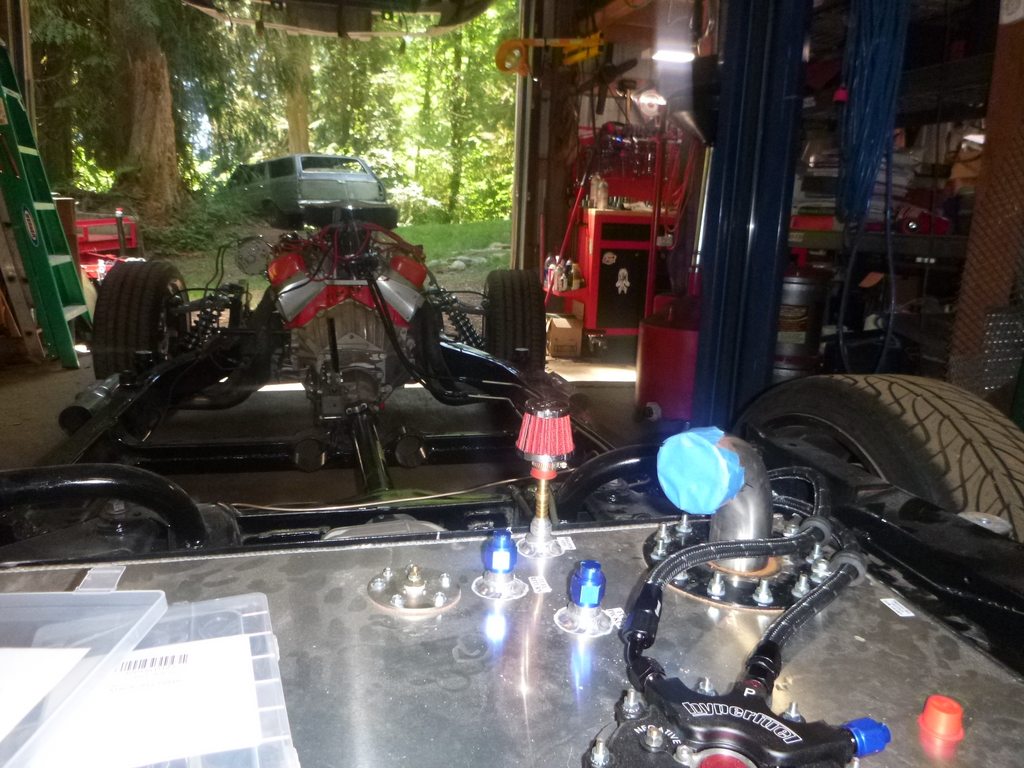
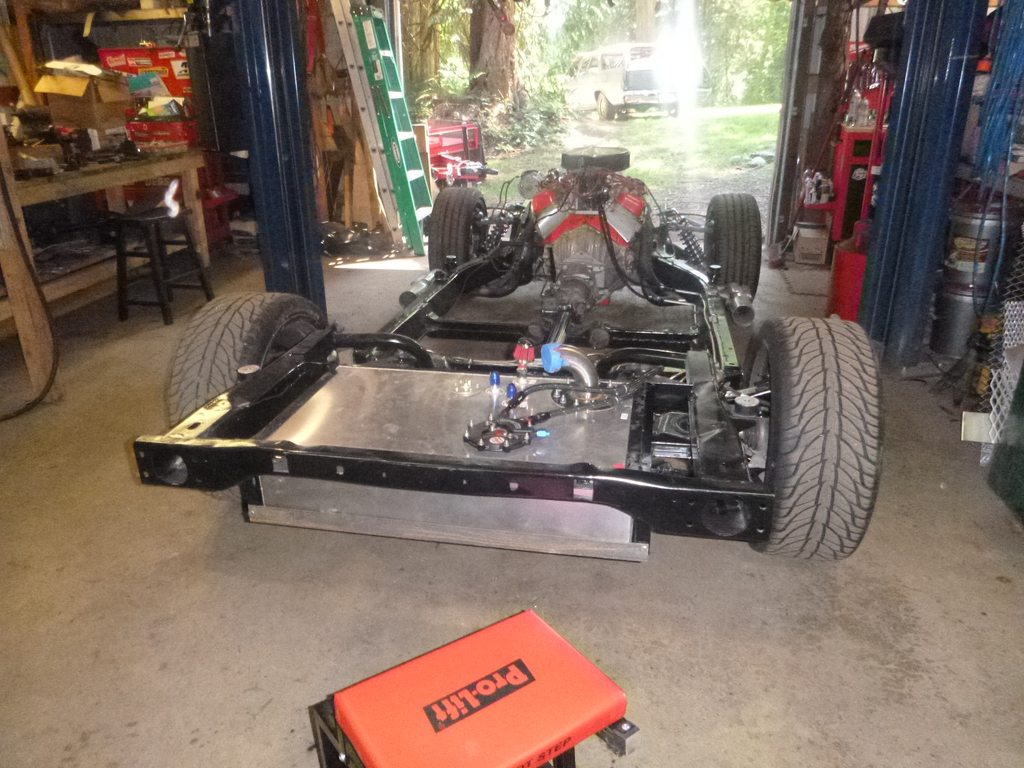
gas cap is in the pictures somewhere, I'll get onto mounting it soon.... it screws into place. that said, I may yet mount it in the sail panel....
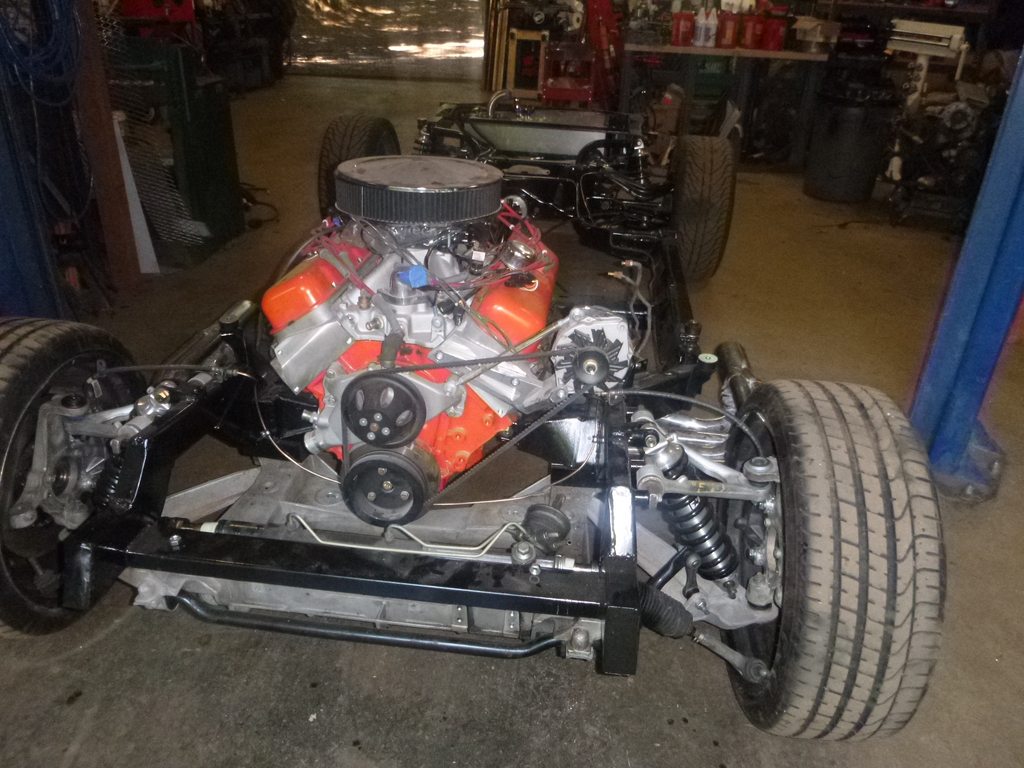
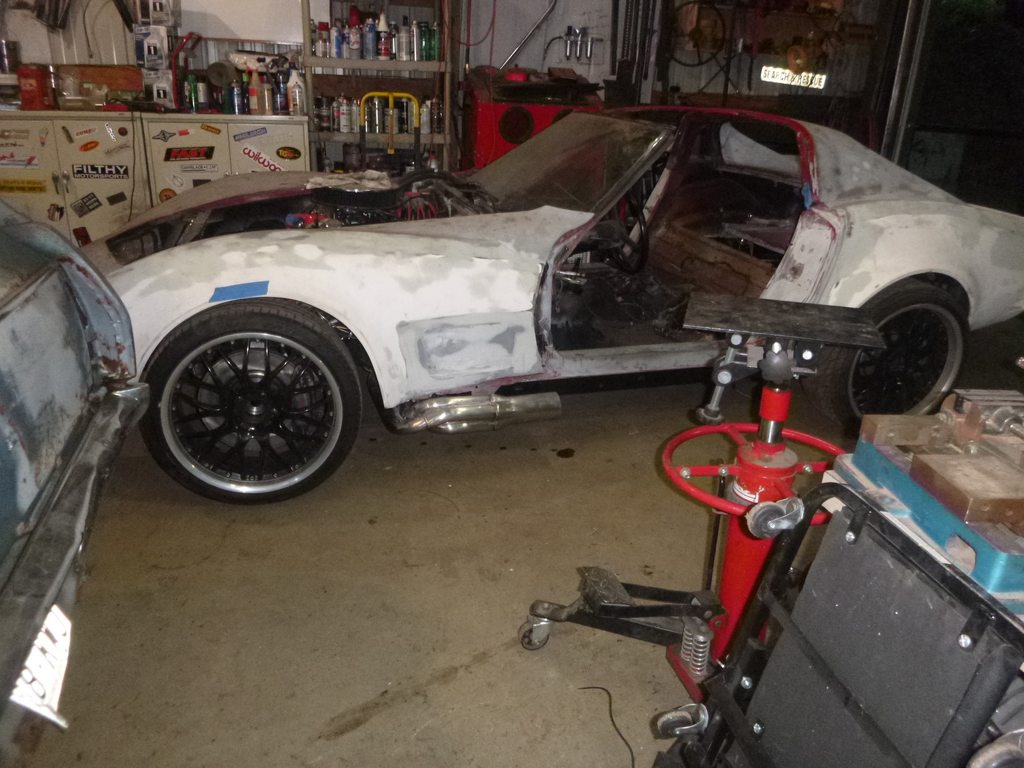
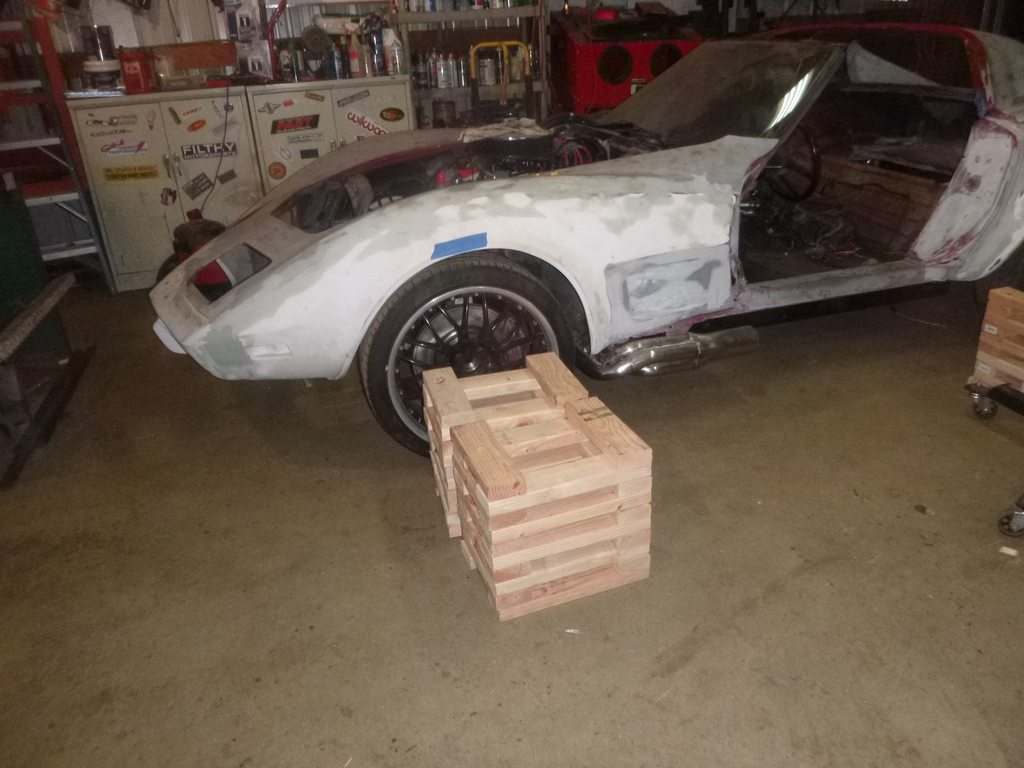
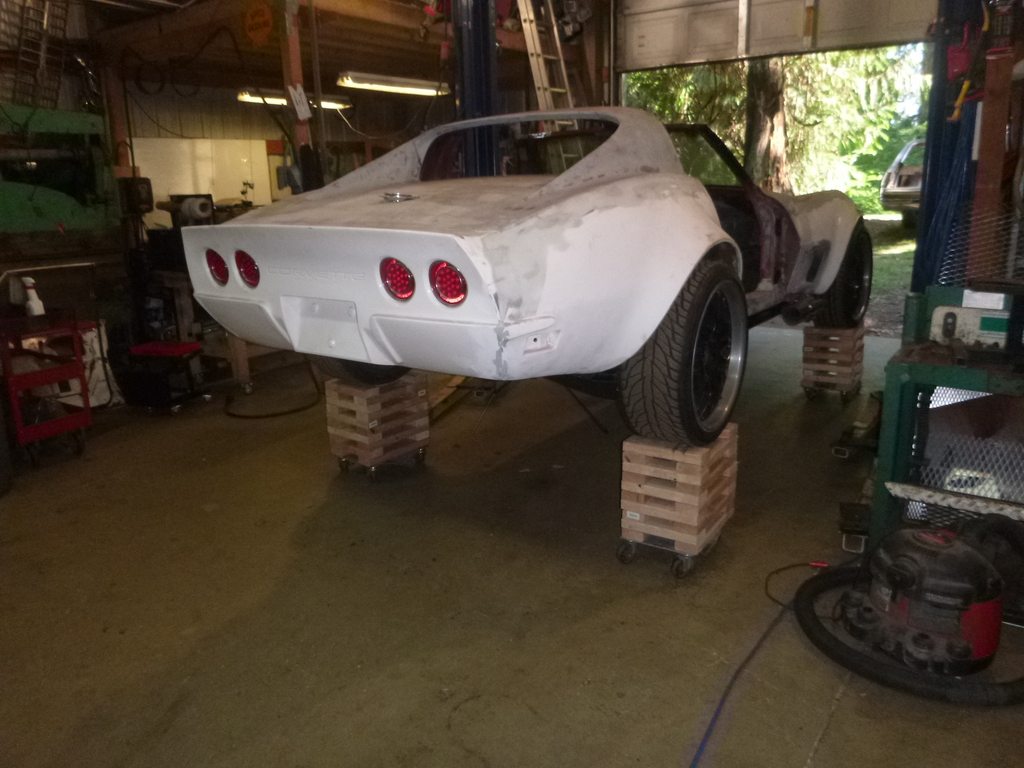
body back on frame - this time without a nose support bar
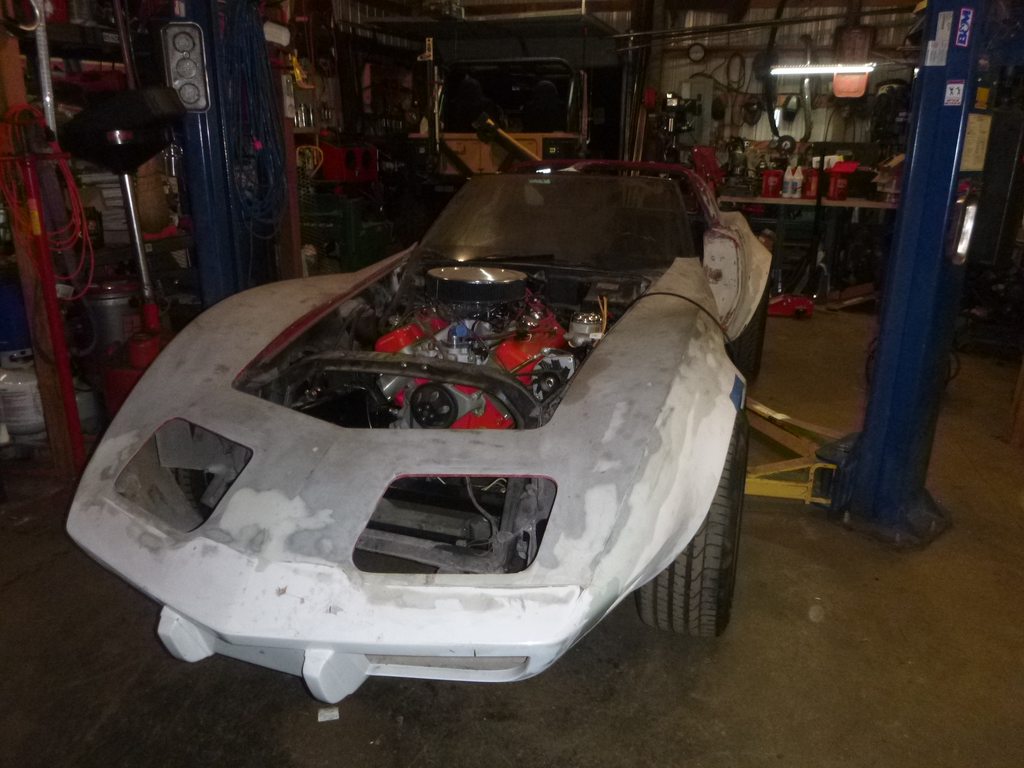
gas cap is in the pictures somewhere, I'll get onto mounting it soon.... it screws into place. that said, I may yet mount it in the sail panel....
body back on frame - this time without a nose support bar
The following users liked this post:
gtmsomeday (07-23-2019)
07-24-2019, 03:57 AM
#348
Melting Slicks
it is probable that this frame design will be available to purchase once it's been validated.... I've had enough interest in it - but that's cart-before-horse... first step is finish it, then see if it's worth the work.
Last edited by SuperBuickGuy; 07-24-2019 at 03:59 AM.

 07-24-2019, 05:13 AM
#350

Here is a photo of my take on a Camaro gen 5 cradle to a C3 chassis this is a 74 frame , it will be going under a 69 model.
Last edited by bfit; 07-24-2019 at 05:24 AM.
07-24-2019, 12:53 PM
#351
Melting Slicks
very cool,
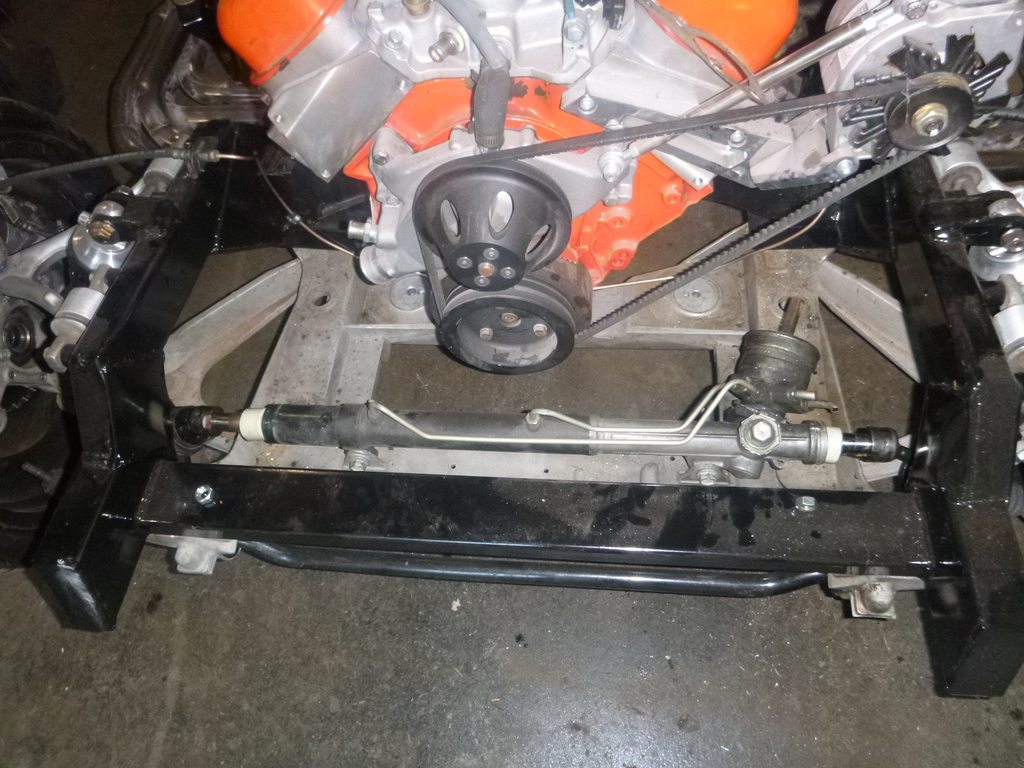
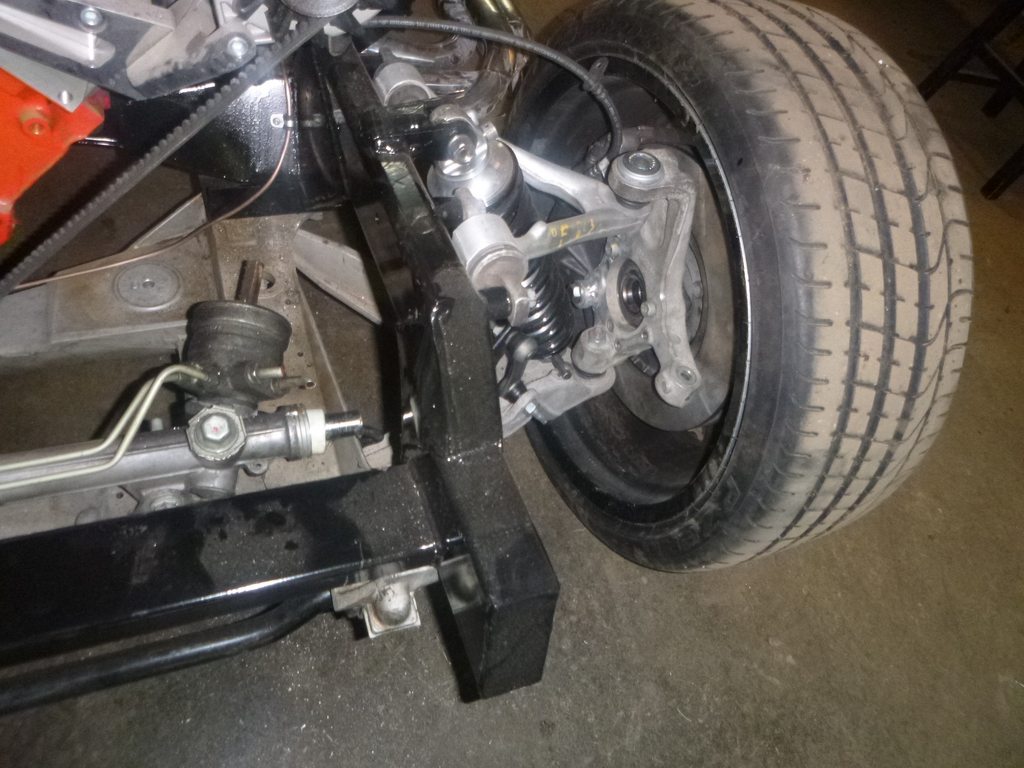
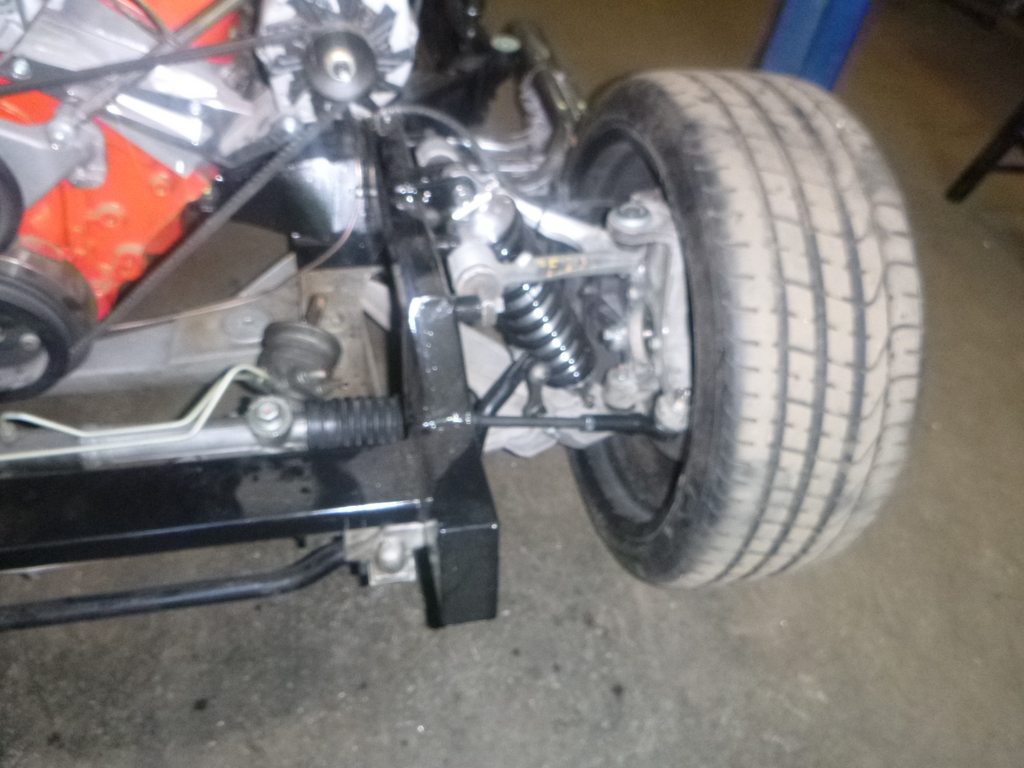
I cut the entire rise off - the cradle is welded to the C3 frame at the cross member.
Attachment 48347114
the impetus to do the surgery was putting the coil over in a spot that made the most sense.... bonus is I can now carry my Astro top and have a cage (something I couldn't do in my last C3). That said, if I do take the next step of production, I think all of the attachment points will be part of the frame rails - so the builder simply uses the a-arms, diff, etc.... I like the Camaro structure because it is light years stronger, but to many the cutting of the battery box out would be a non-starter....
 07-27-2019, 04:33 PM
#353
Safety Car

this isn't a discussion, but an answer to your query. Should you wish a debate, please, do it elsewhere.
I've done this before in side pipes and what I'm doing works well. Not just that but I've put it where you have yours and had trouble.
The issue with your location is mainly exhaust heat, if the O2 sensor doesn't get warm enough 2 things happen, first it gives an incorrect reading because it's too cold and getting reversion and second it gets loaded with soot and stops working. (this isn't to mention that it also puts your sensor in harm's way and the best location is 22 1/2 degrees not perpendicular with the ground.)
Ultimately what you suggest is fundamentally problematic - if your motor isn't balanced across the exhaust then your have a motor problem, not a O2 location problem. Even with the most radical of cam (which this motor has), your exhaust temp at the port shouldn't vary more then about 50 degrees at a maximum.
The ideal location is in the collector, but that collector should not be more then 20" from the exhaust port.... if it is, one cylinder sampling is fine. With all of that said, originally I was going to run a carb so there's another O2 sensor on the other side of the motor - thus, I can tune and program based on 2 sensors on opposite banks if necessary..... but that said, I'm not giving up sidepipes.
What really bugs me in all of this, though, is the utter lack of information from the suppliers. When I did my first system, it was an EZ EFI system.... and we all know how great their cusstomer service is... it took weeks to get them to answer a phone call. When I finally did get someone, he was super helpful and the result of that discussion was move my O2 sensor from where you have yours to closer to the motor (still didn't solve all the problems but at least I wasn't going through $100 sensors every month) yeah, that looked awesome since I'd paid to ceramic coat the pipes. But all of it boils down to temp, where you're at could be okay if you have the pipes wrapped in the engine bay and if you have the quietest mufflers in your pipes - ultimately, the advice and choice follows what most instruction manuals have for running an O2 sensor on open pipes.... get it away from the end because reversion brings cooling and incorrect O2 readings.
I had the bung for the O2 bung welded into the RH collector, according to conventional thinking that it should be in the exhaust stream of all four cylinders on one side of the engine.
However, it seems to be running richer than I think it should based on fuel consumption - additionally, the exhaust smells rich.
I think I might be experiencing reversion, causing an artificially lean reading by the O2 sensor.
Based on your post, I'm thinking of getting a new O2 sensor bung welded into one of the primary tubes - closer to the head.
 07-29-2019, 12:17 AM
#354
Melting Slicks
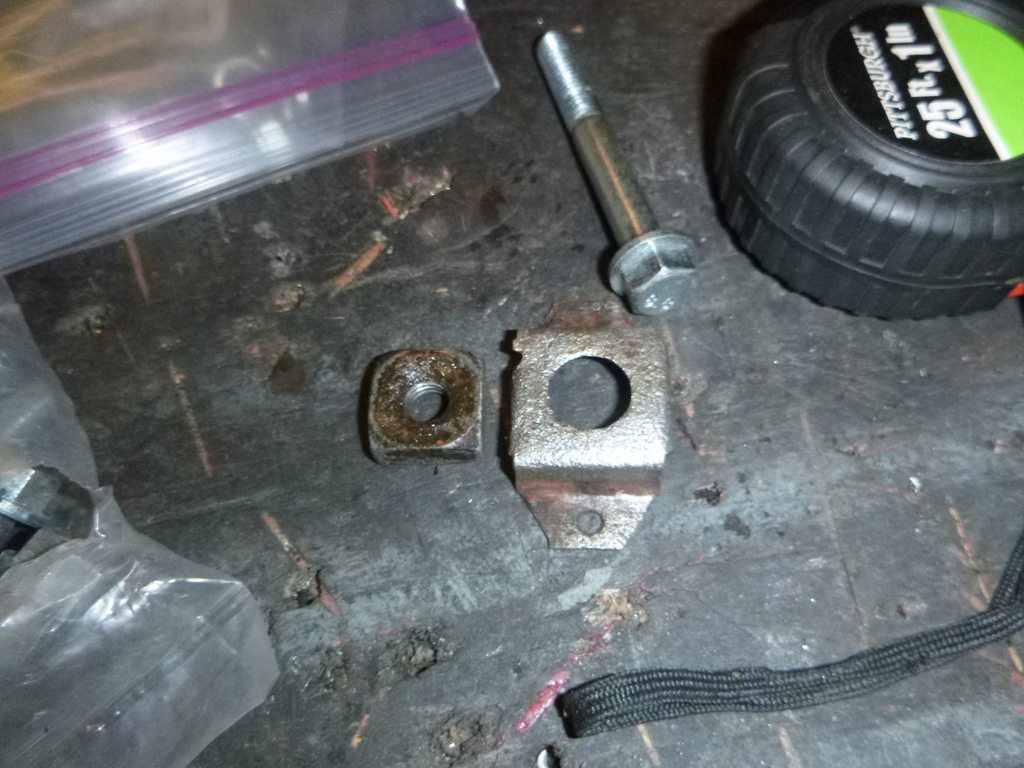
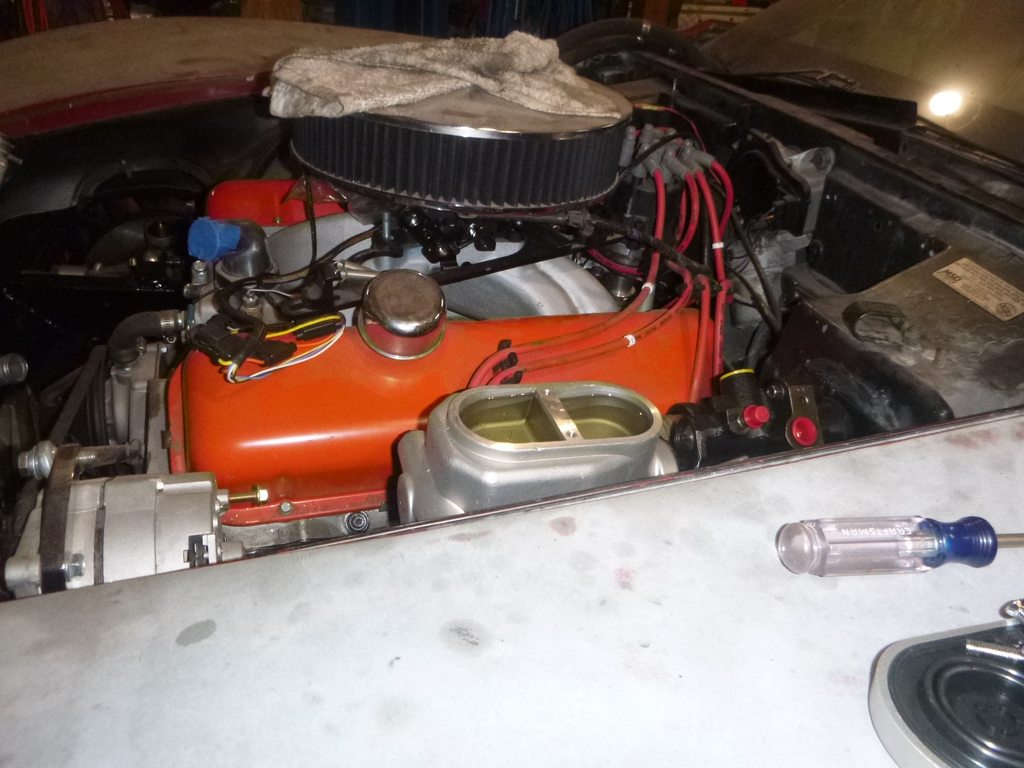
thread cleaners arrived (and got used)
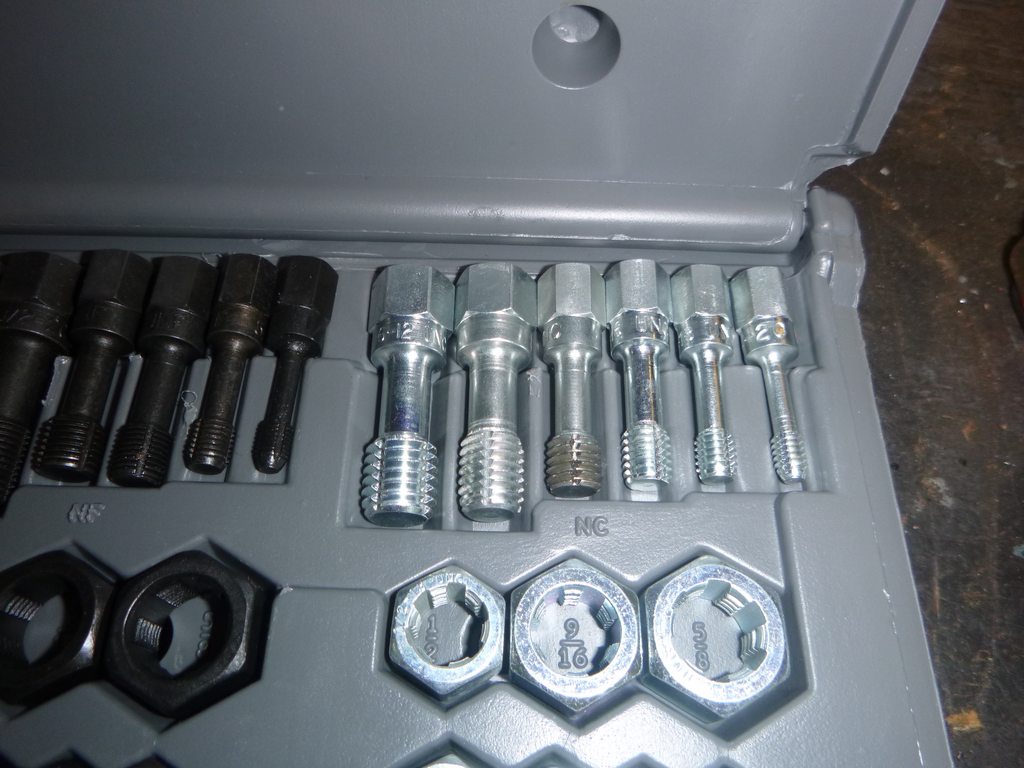
now I can put this together forever
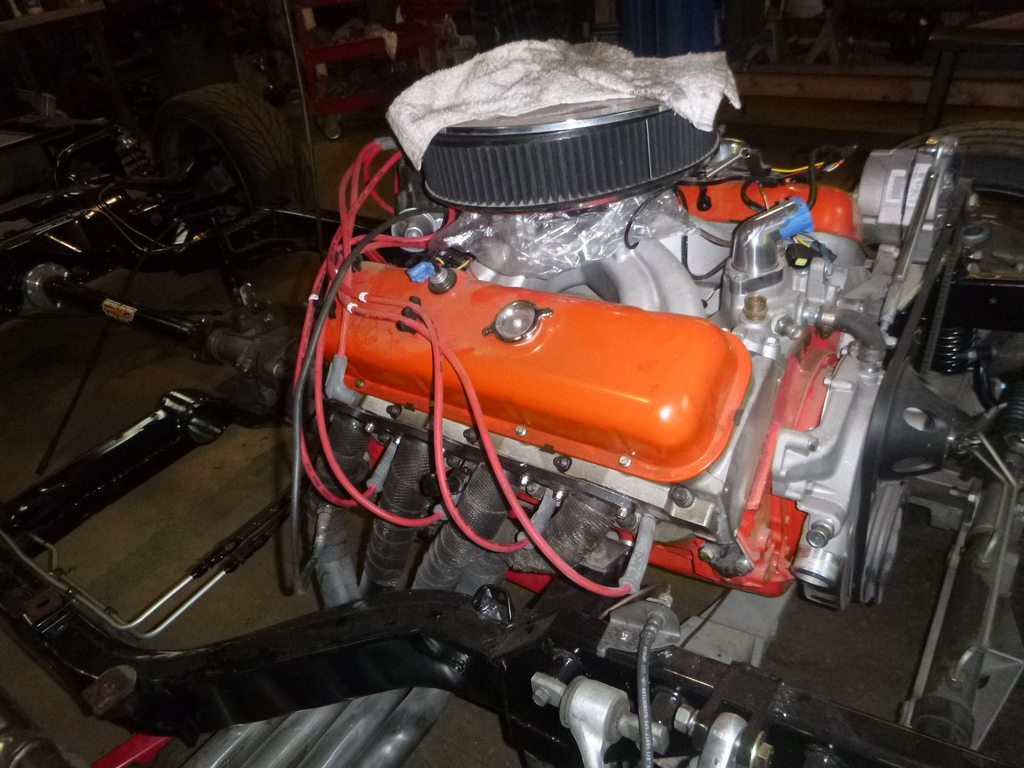
I took advantage of the body off one last time to put the sidepipe headers on
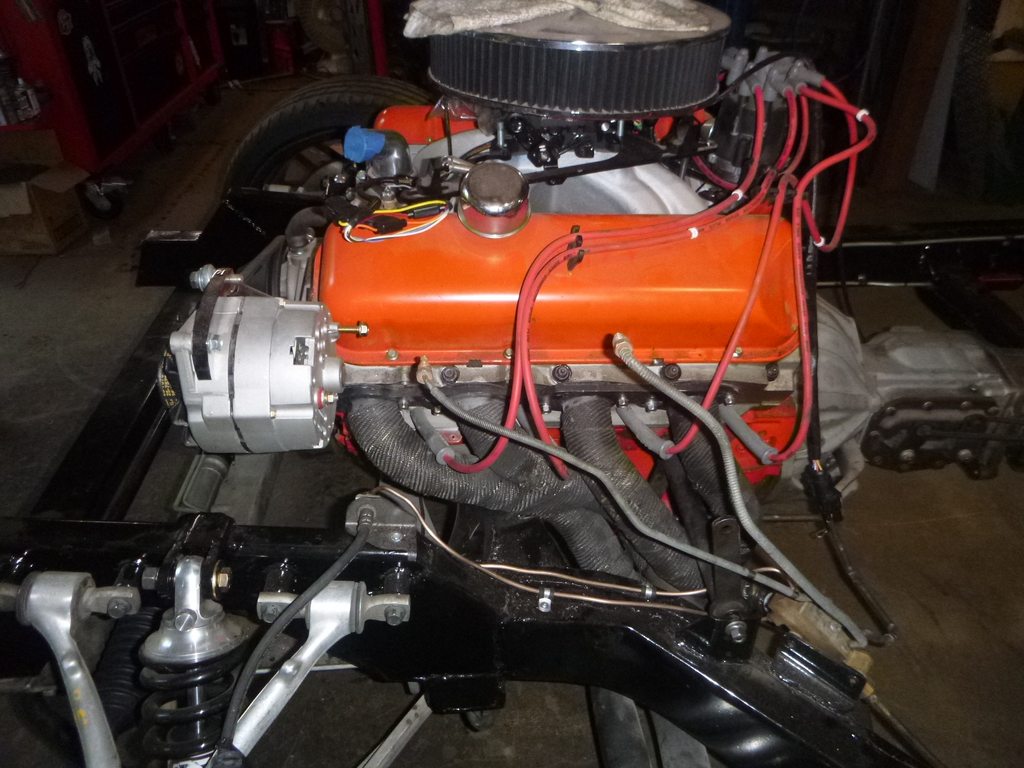
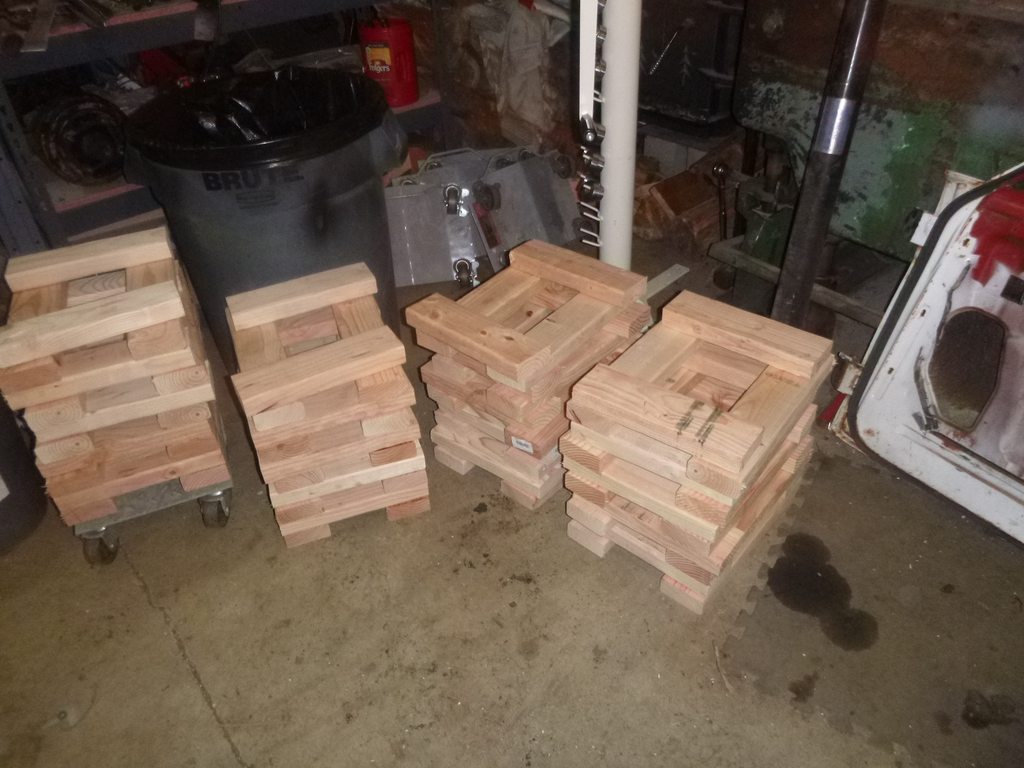
starting the bolt down process.... all the bolts are loosely in place, I'll build stands then shim and tighten it down
now I can put this together forever
I took advantage of the body off one last time to put the sidepipe headers on
starting the bolt down process.... all the bolts are loosely in place, I'll build stands then shim and tighten it down
The following users liked this post:
caskiguy (07-29-2019)
The following users liked this post:
caskiguy (08-02-2019)
08-04-2019, 11:44 PM
#357
Melting Slicks
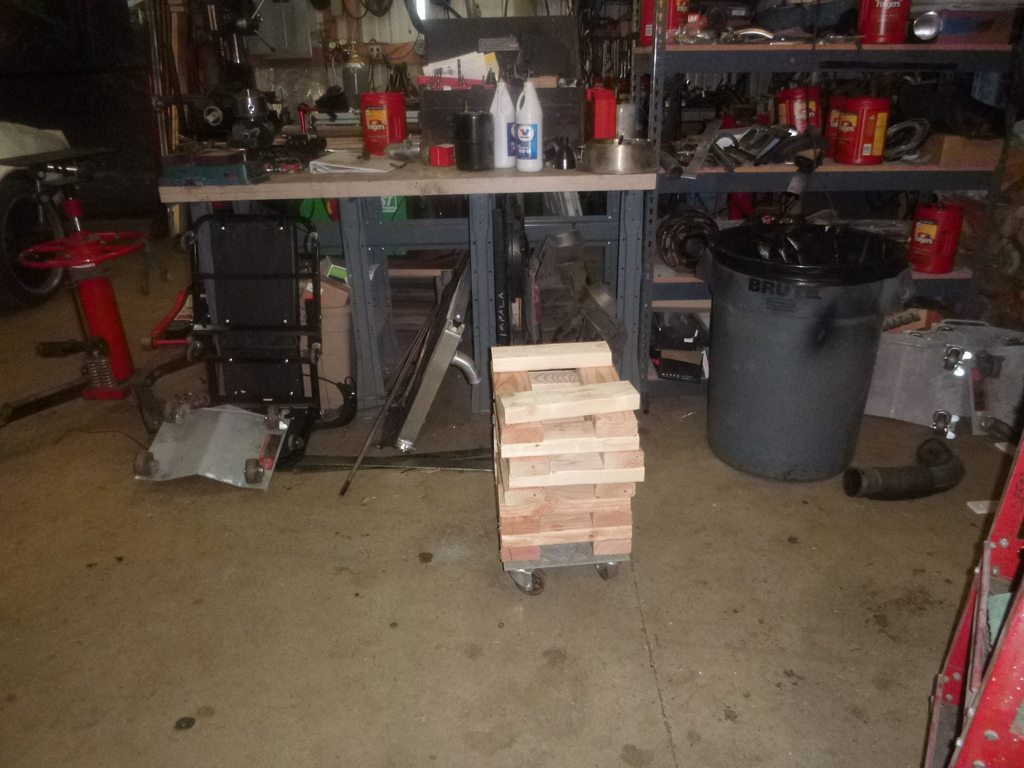
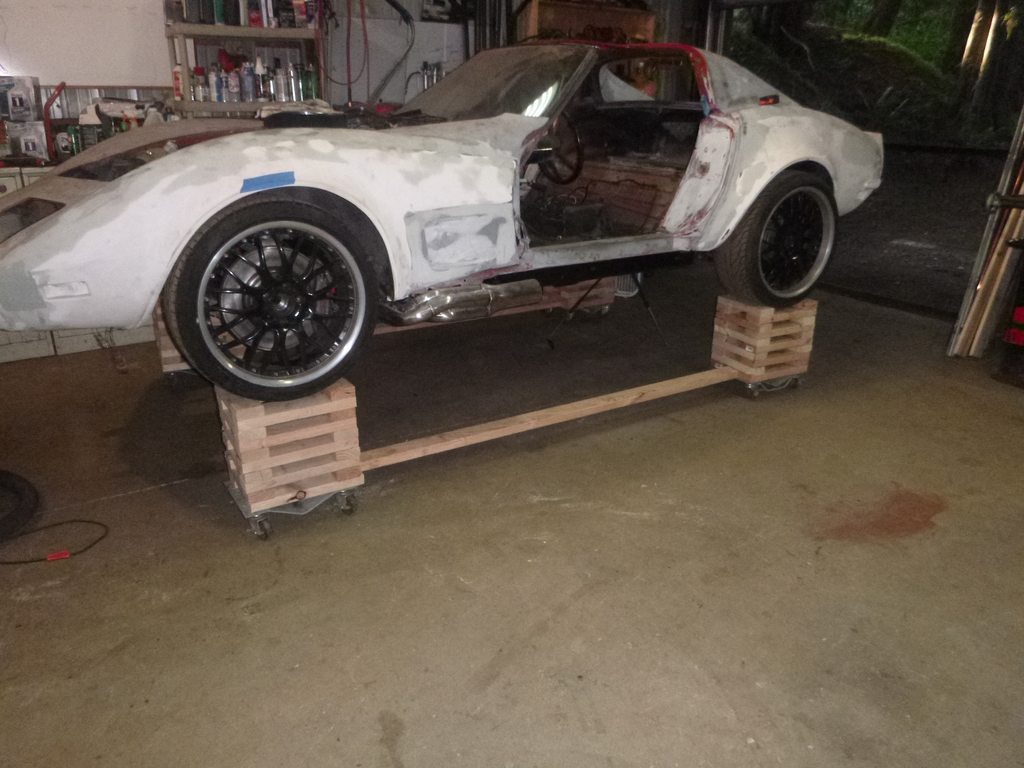
blocks built
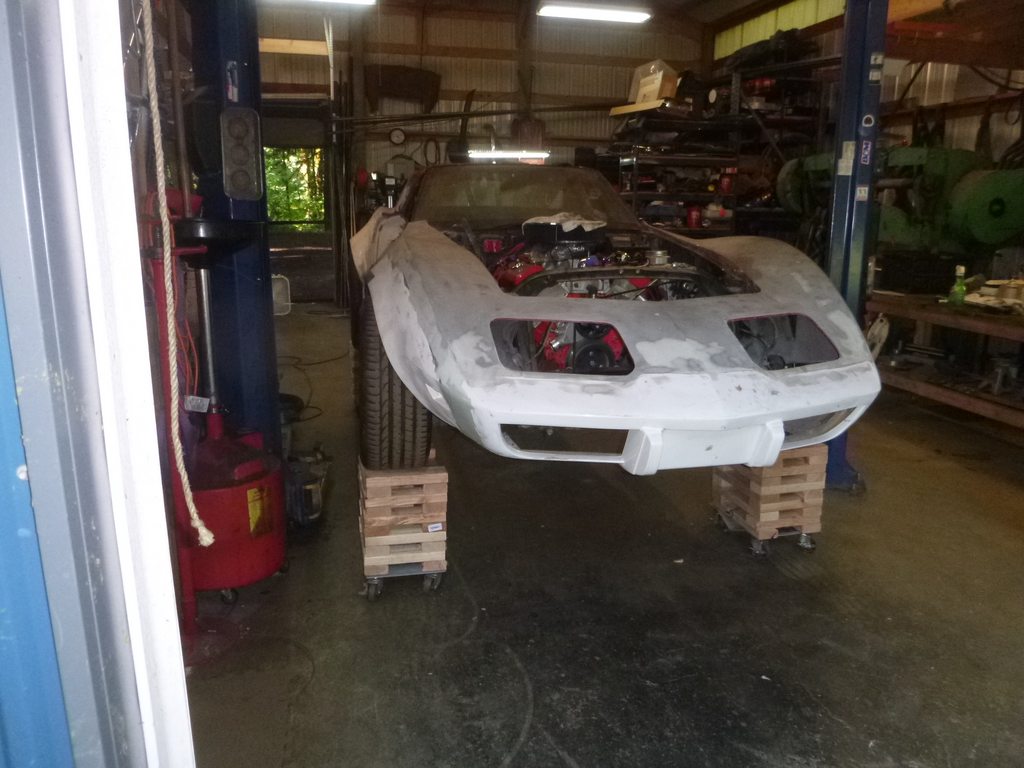
For those wondering what next....
- finish bolting down the body
- finish the cooling system
- make it run (wire the EFI, etc)
- give it a test run - yes before doors, or anything is back on the car
there is no way hotrod garage beats me to finish on this.... sure, you can copy me but I still win
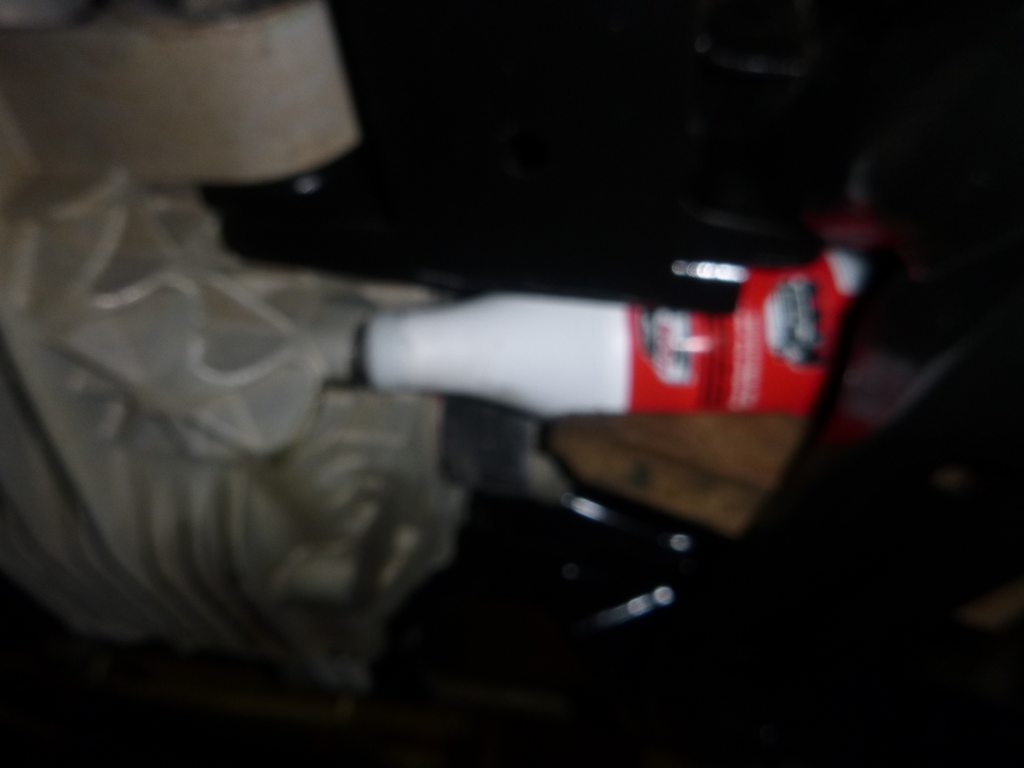
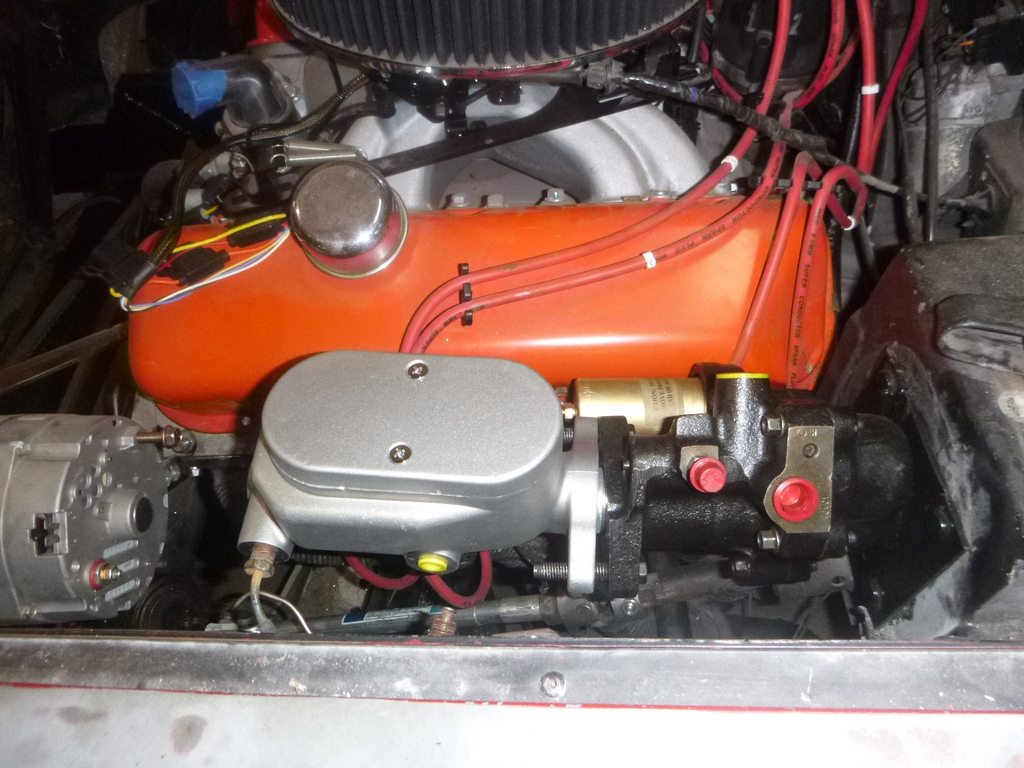
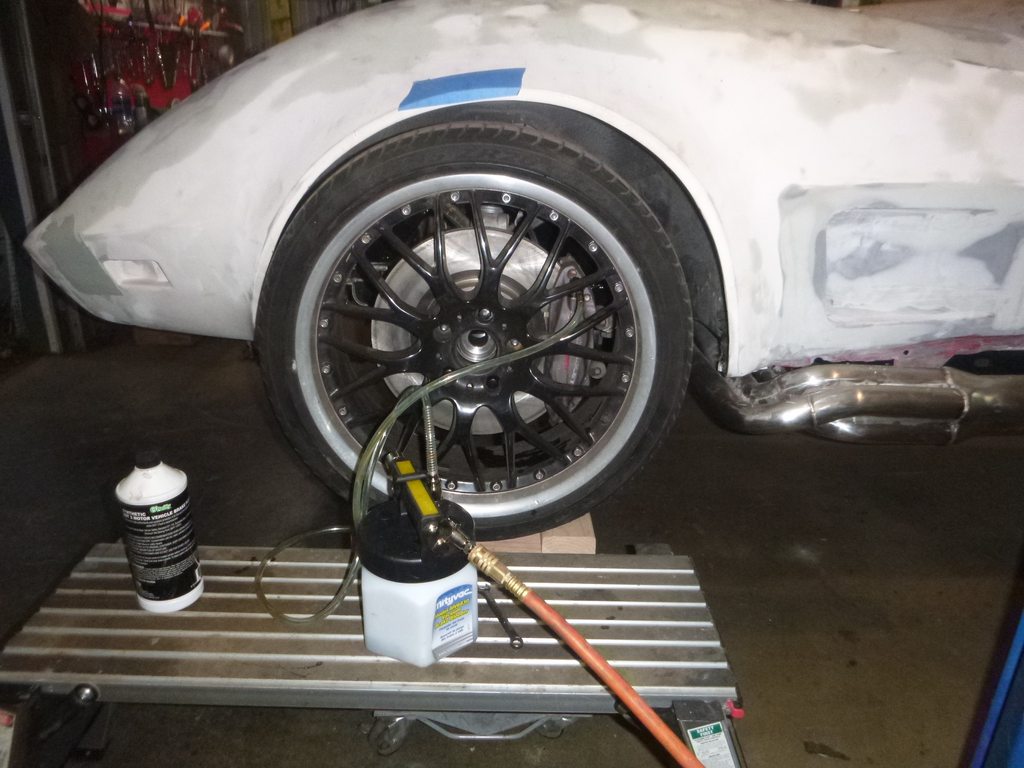
brakes bled
I love my power bleeder, it made this so simple
For those wondering what next....
- finish bolting down the body
- finish the cooling system
- make it run (wire the EFI, etc)
- give it a test run - yes before doors, or anything is back on the car
there is no way hotrod garage beats me to finish on this.... sure, you can copy me but I still win
brakes bled
I love my power bleeder, it made this so simple
Last edited by SuperBuickGuy; 08-05-2019 at 12:21 AM.
The following users liked this post:
caskiguy (08-09-2019)