
Plastic Fantastic tew
 01-28-2019, 10:18 AM
#241
Advanced

Welding on the frame has to be really satisfying. Are you going to powdercoat it?
Last edited by gtmsomeday; 01-28-2019 at 04:33 PM.
 01-29-2019, 09:41 AM
#242
Melting Slicks

 01-29-2019, 11:42 PM
#243
Melting Slicks
how to eat an elephant

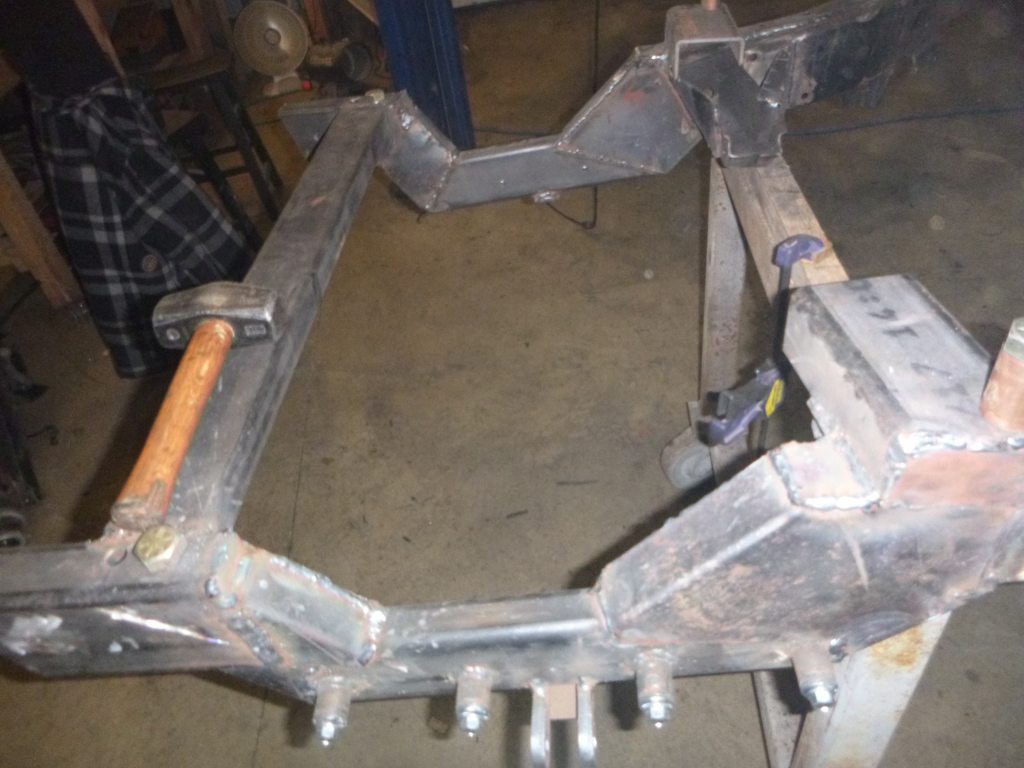
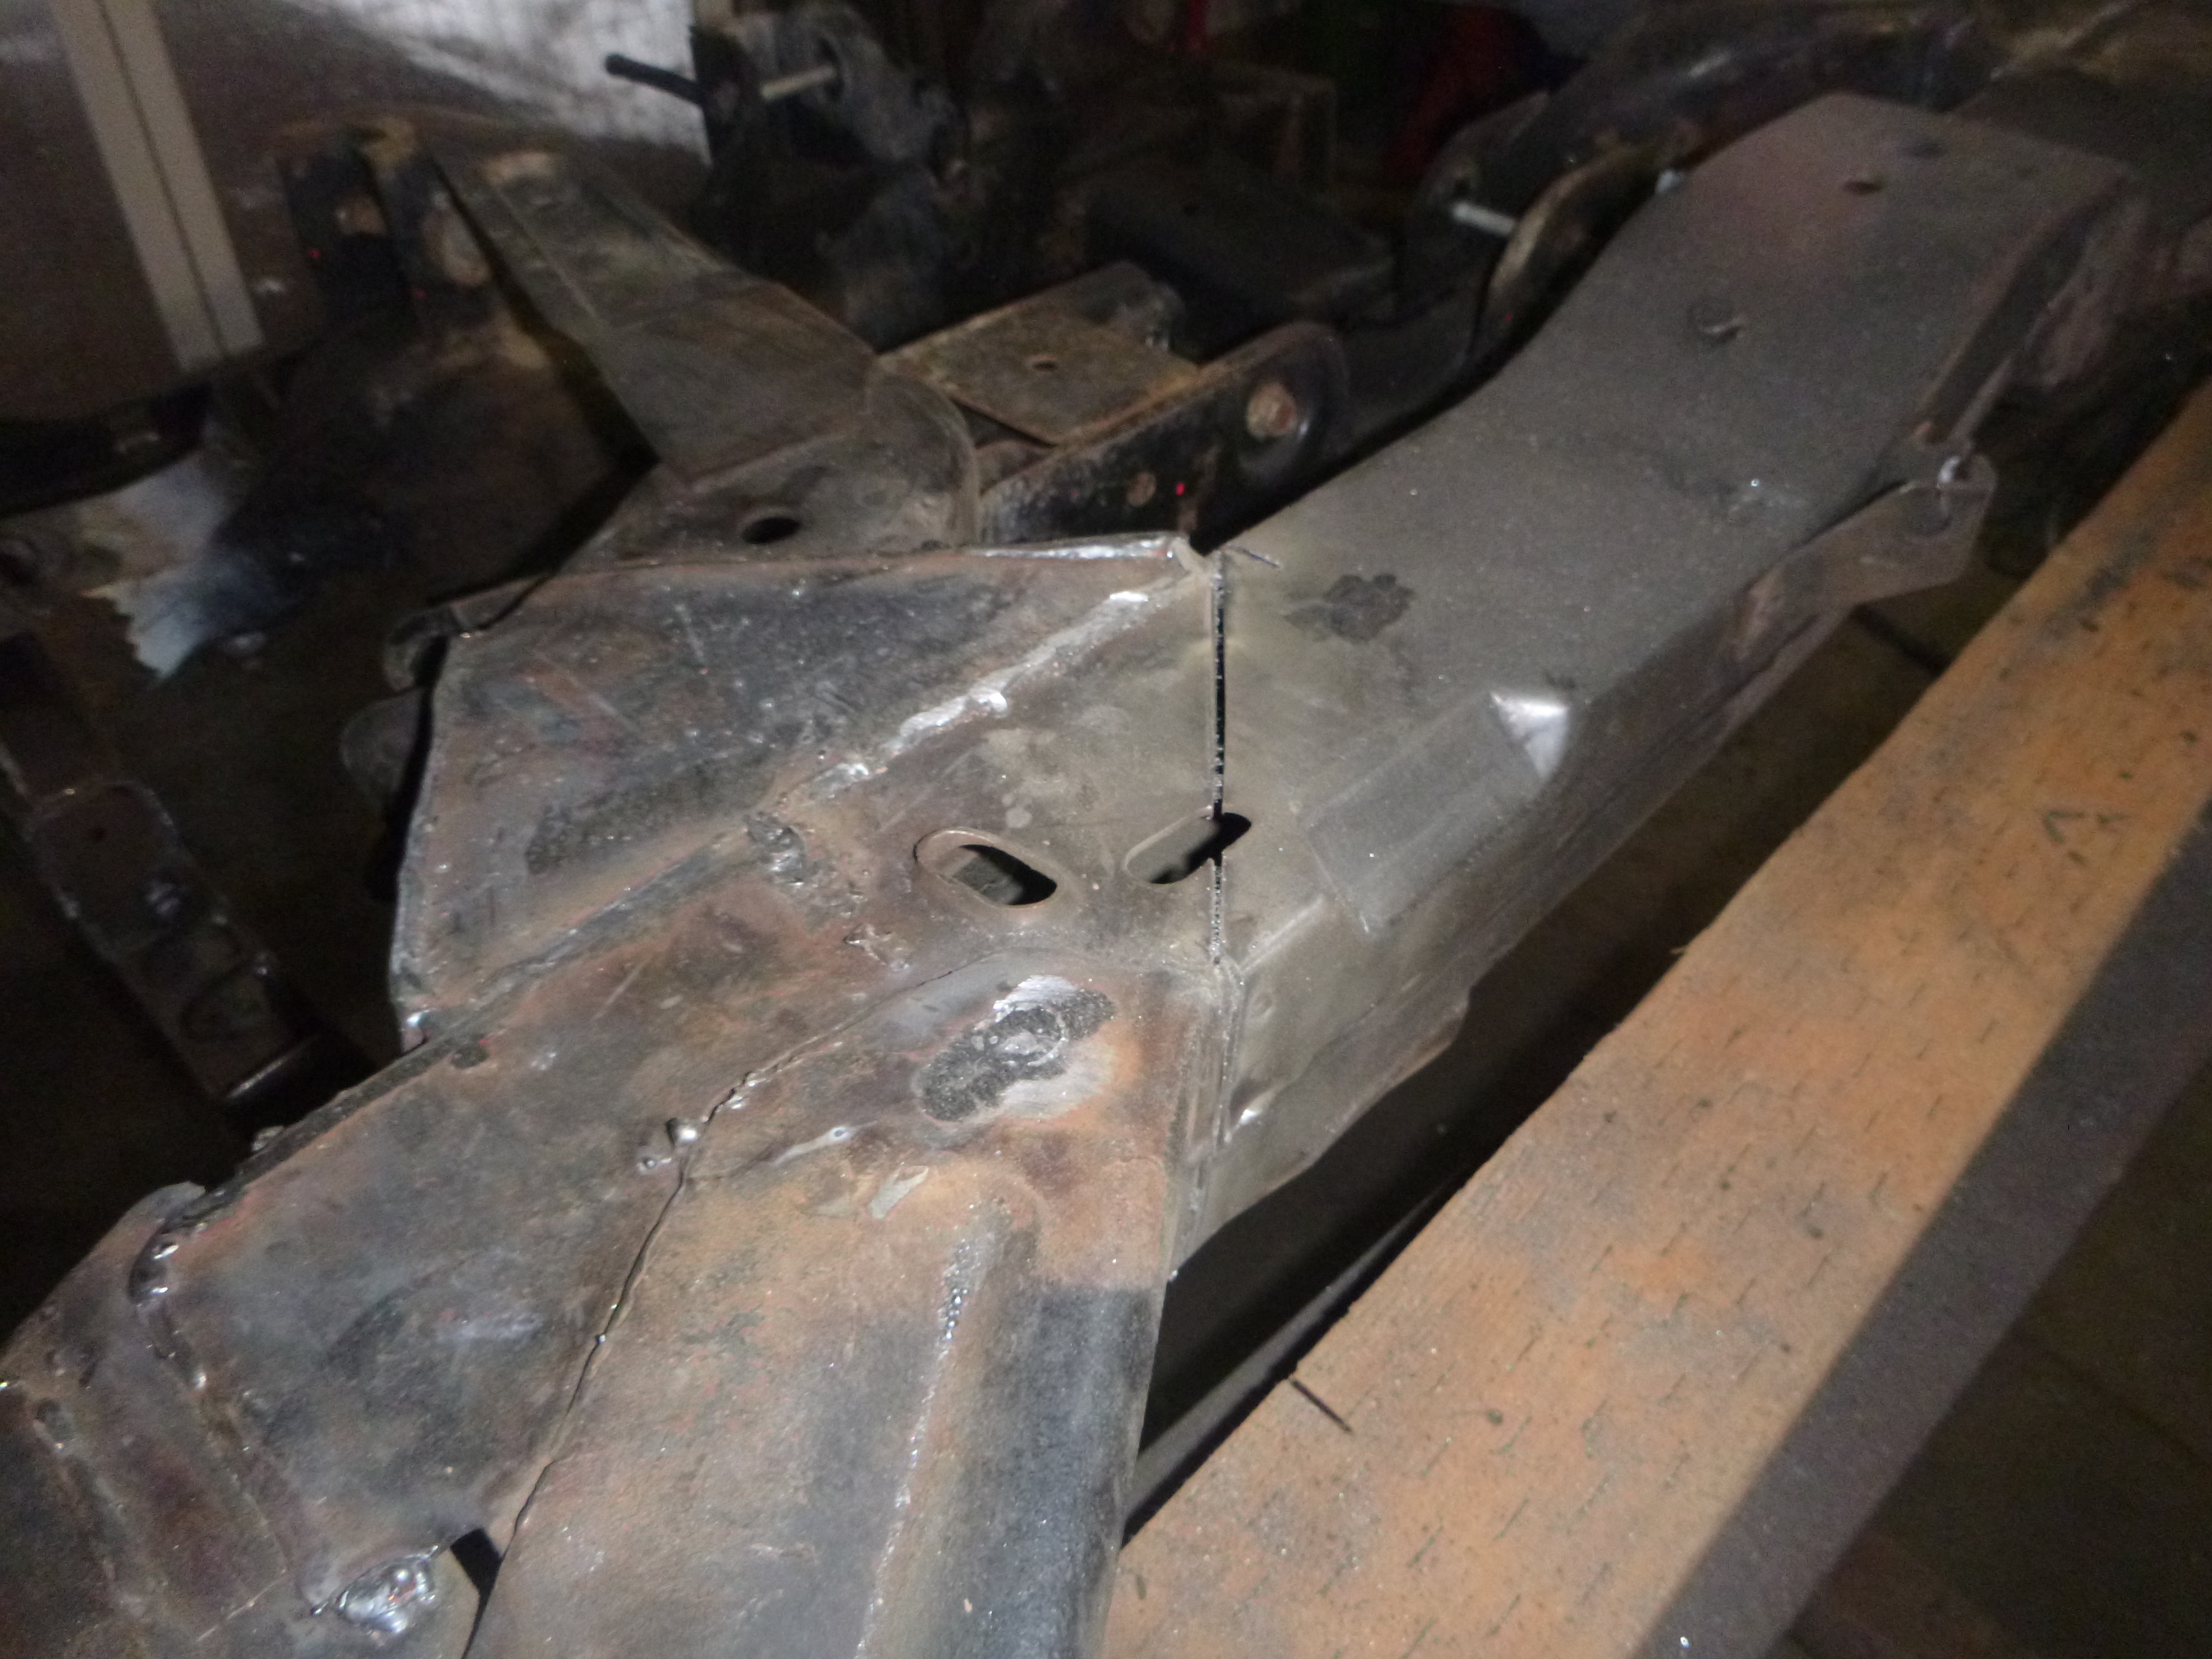
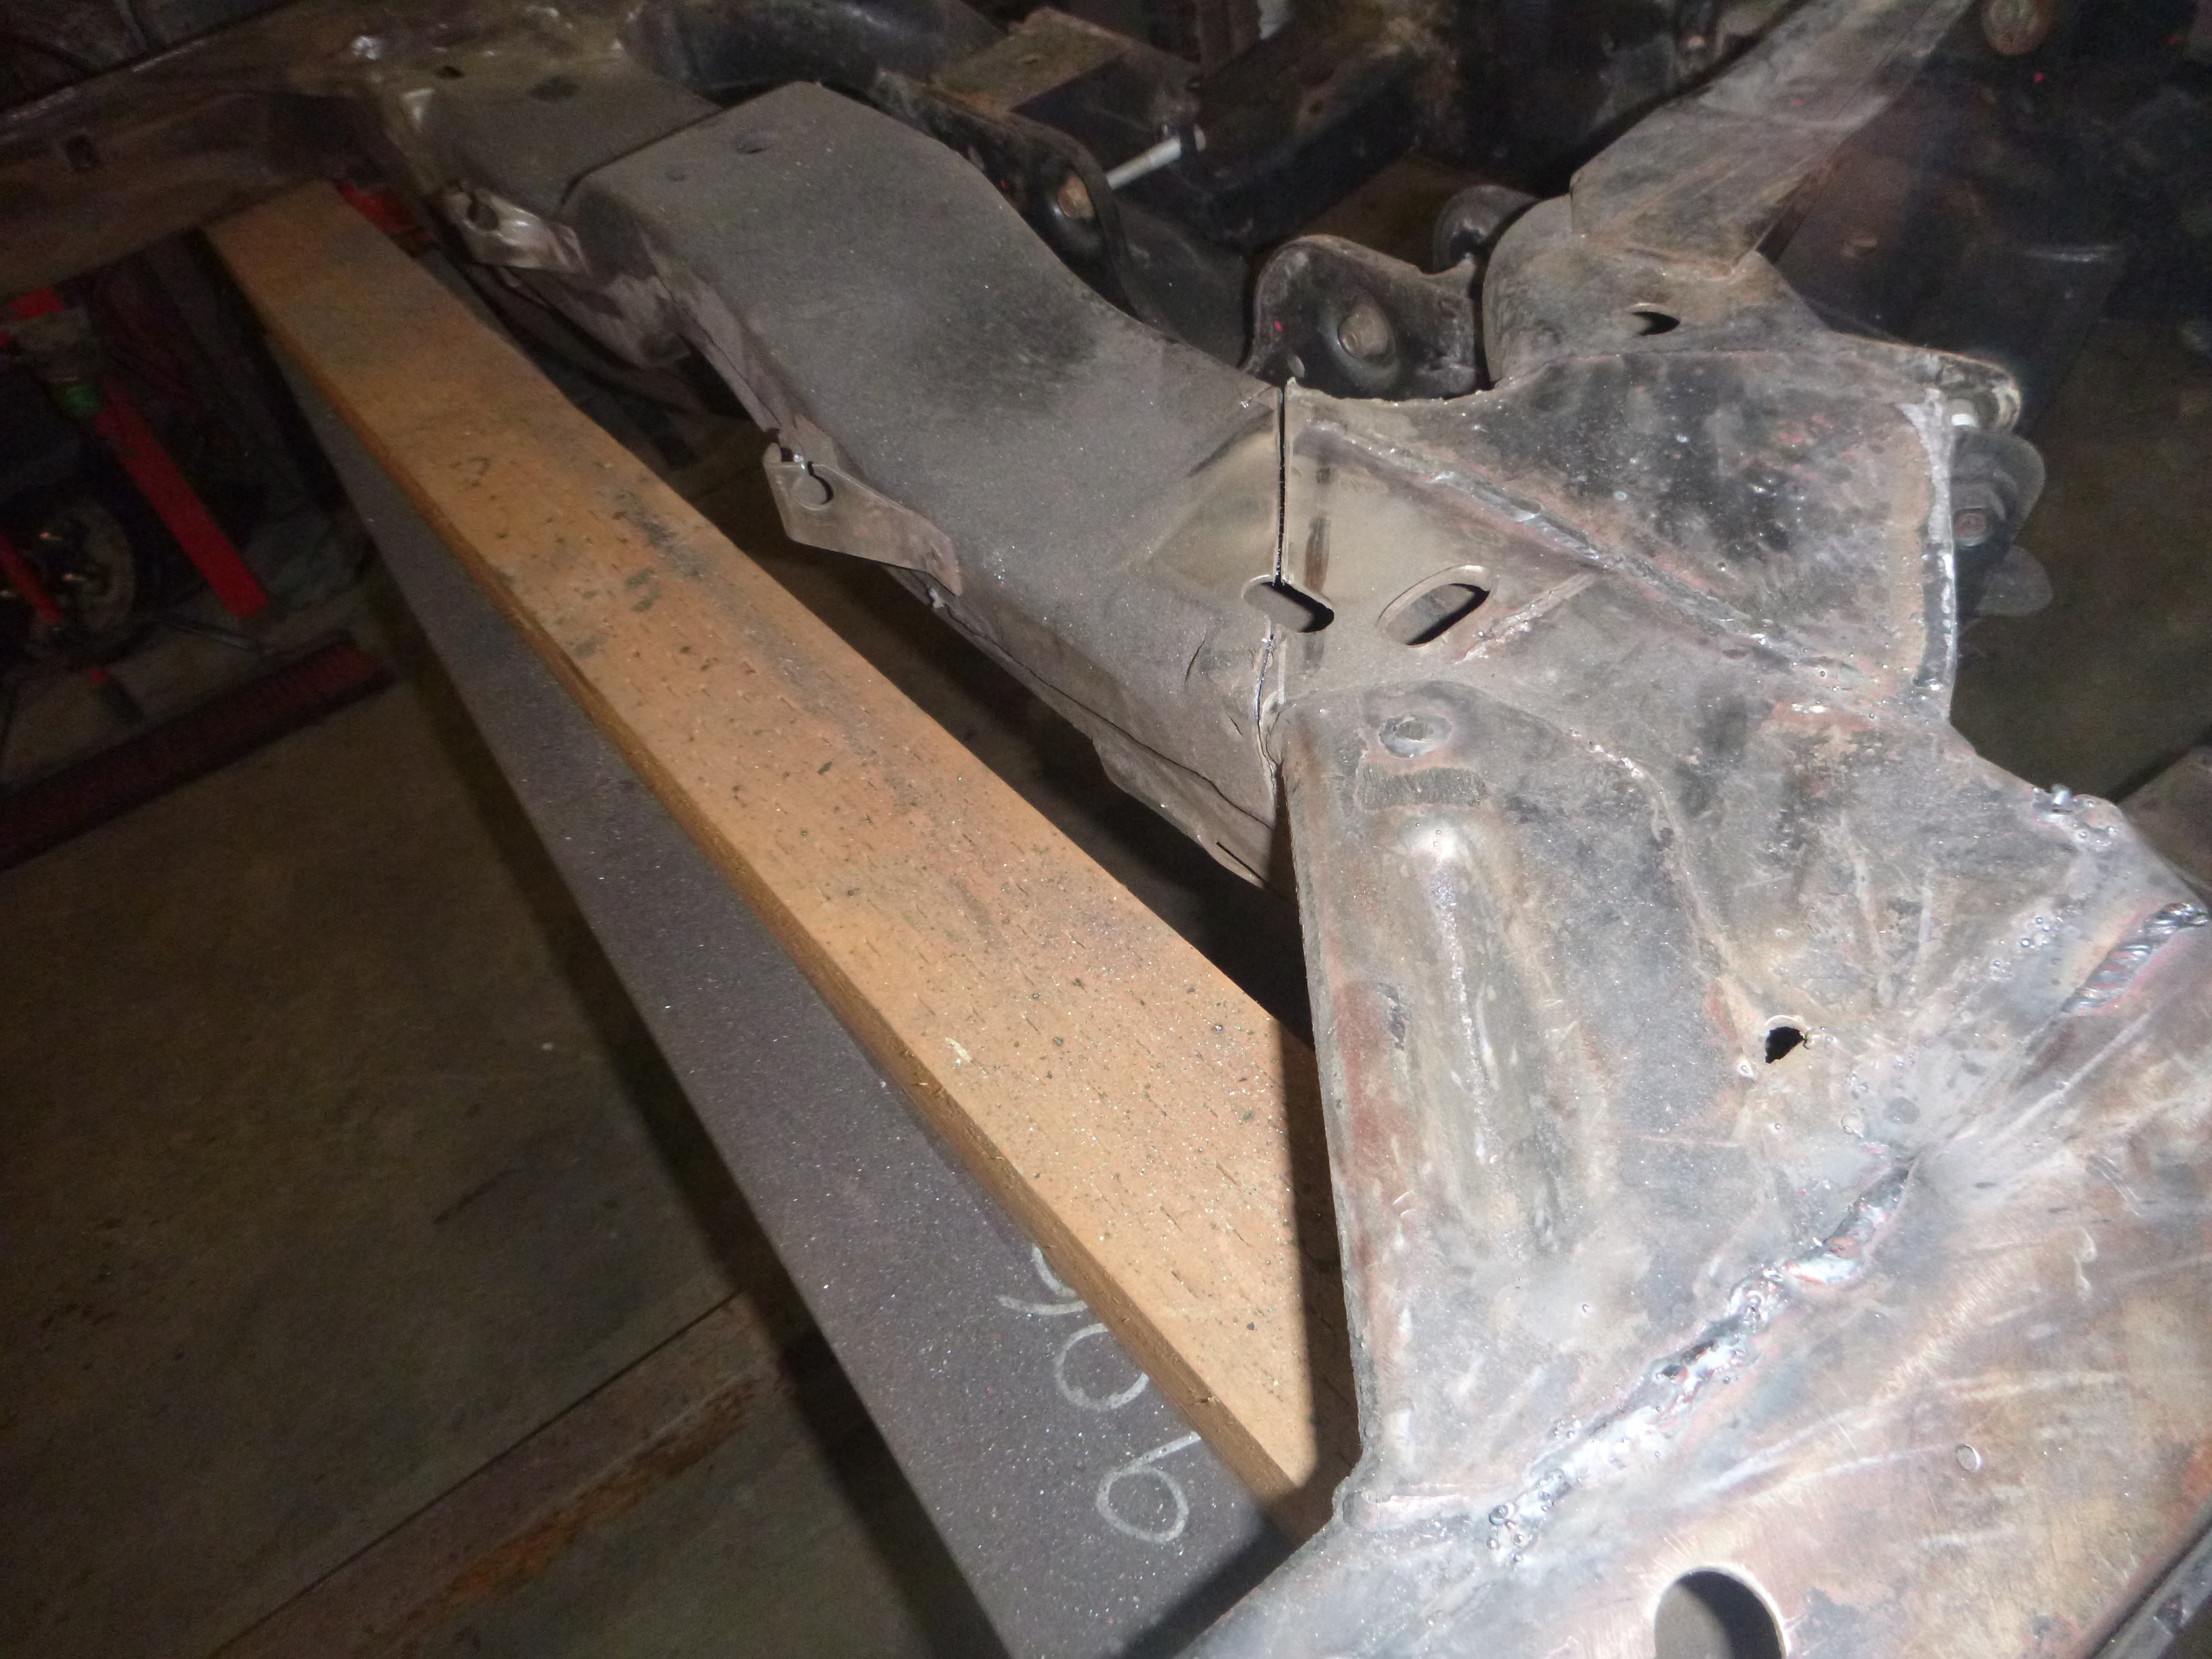
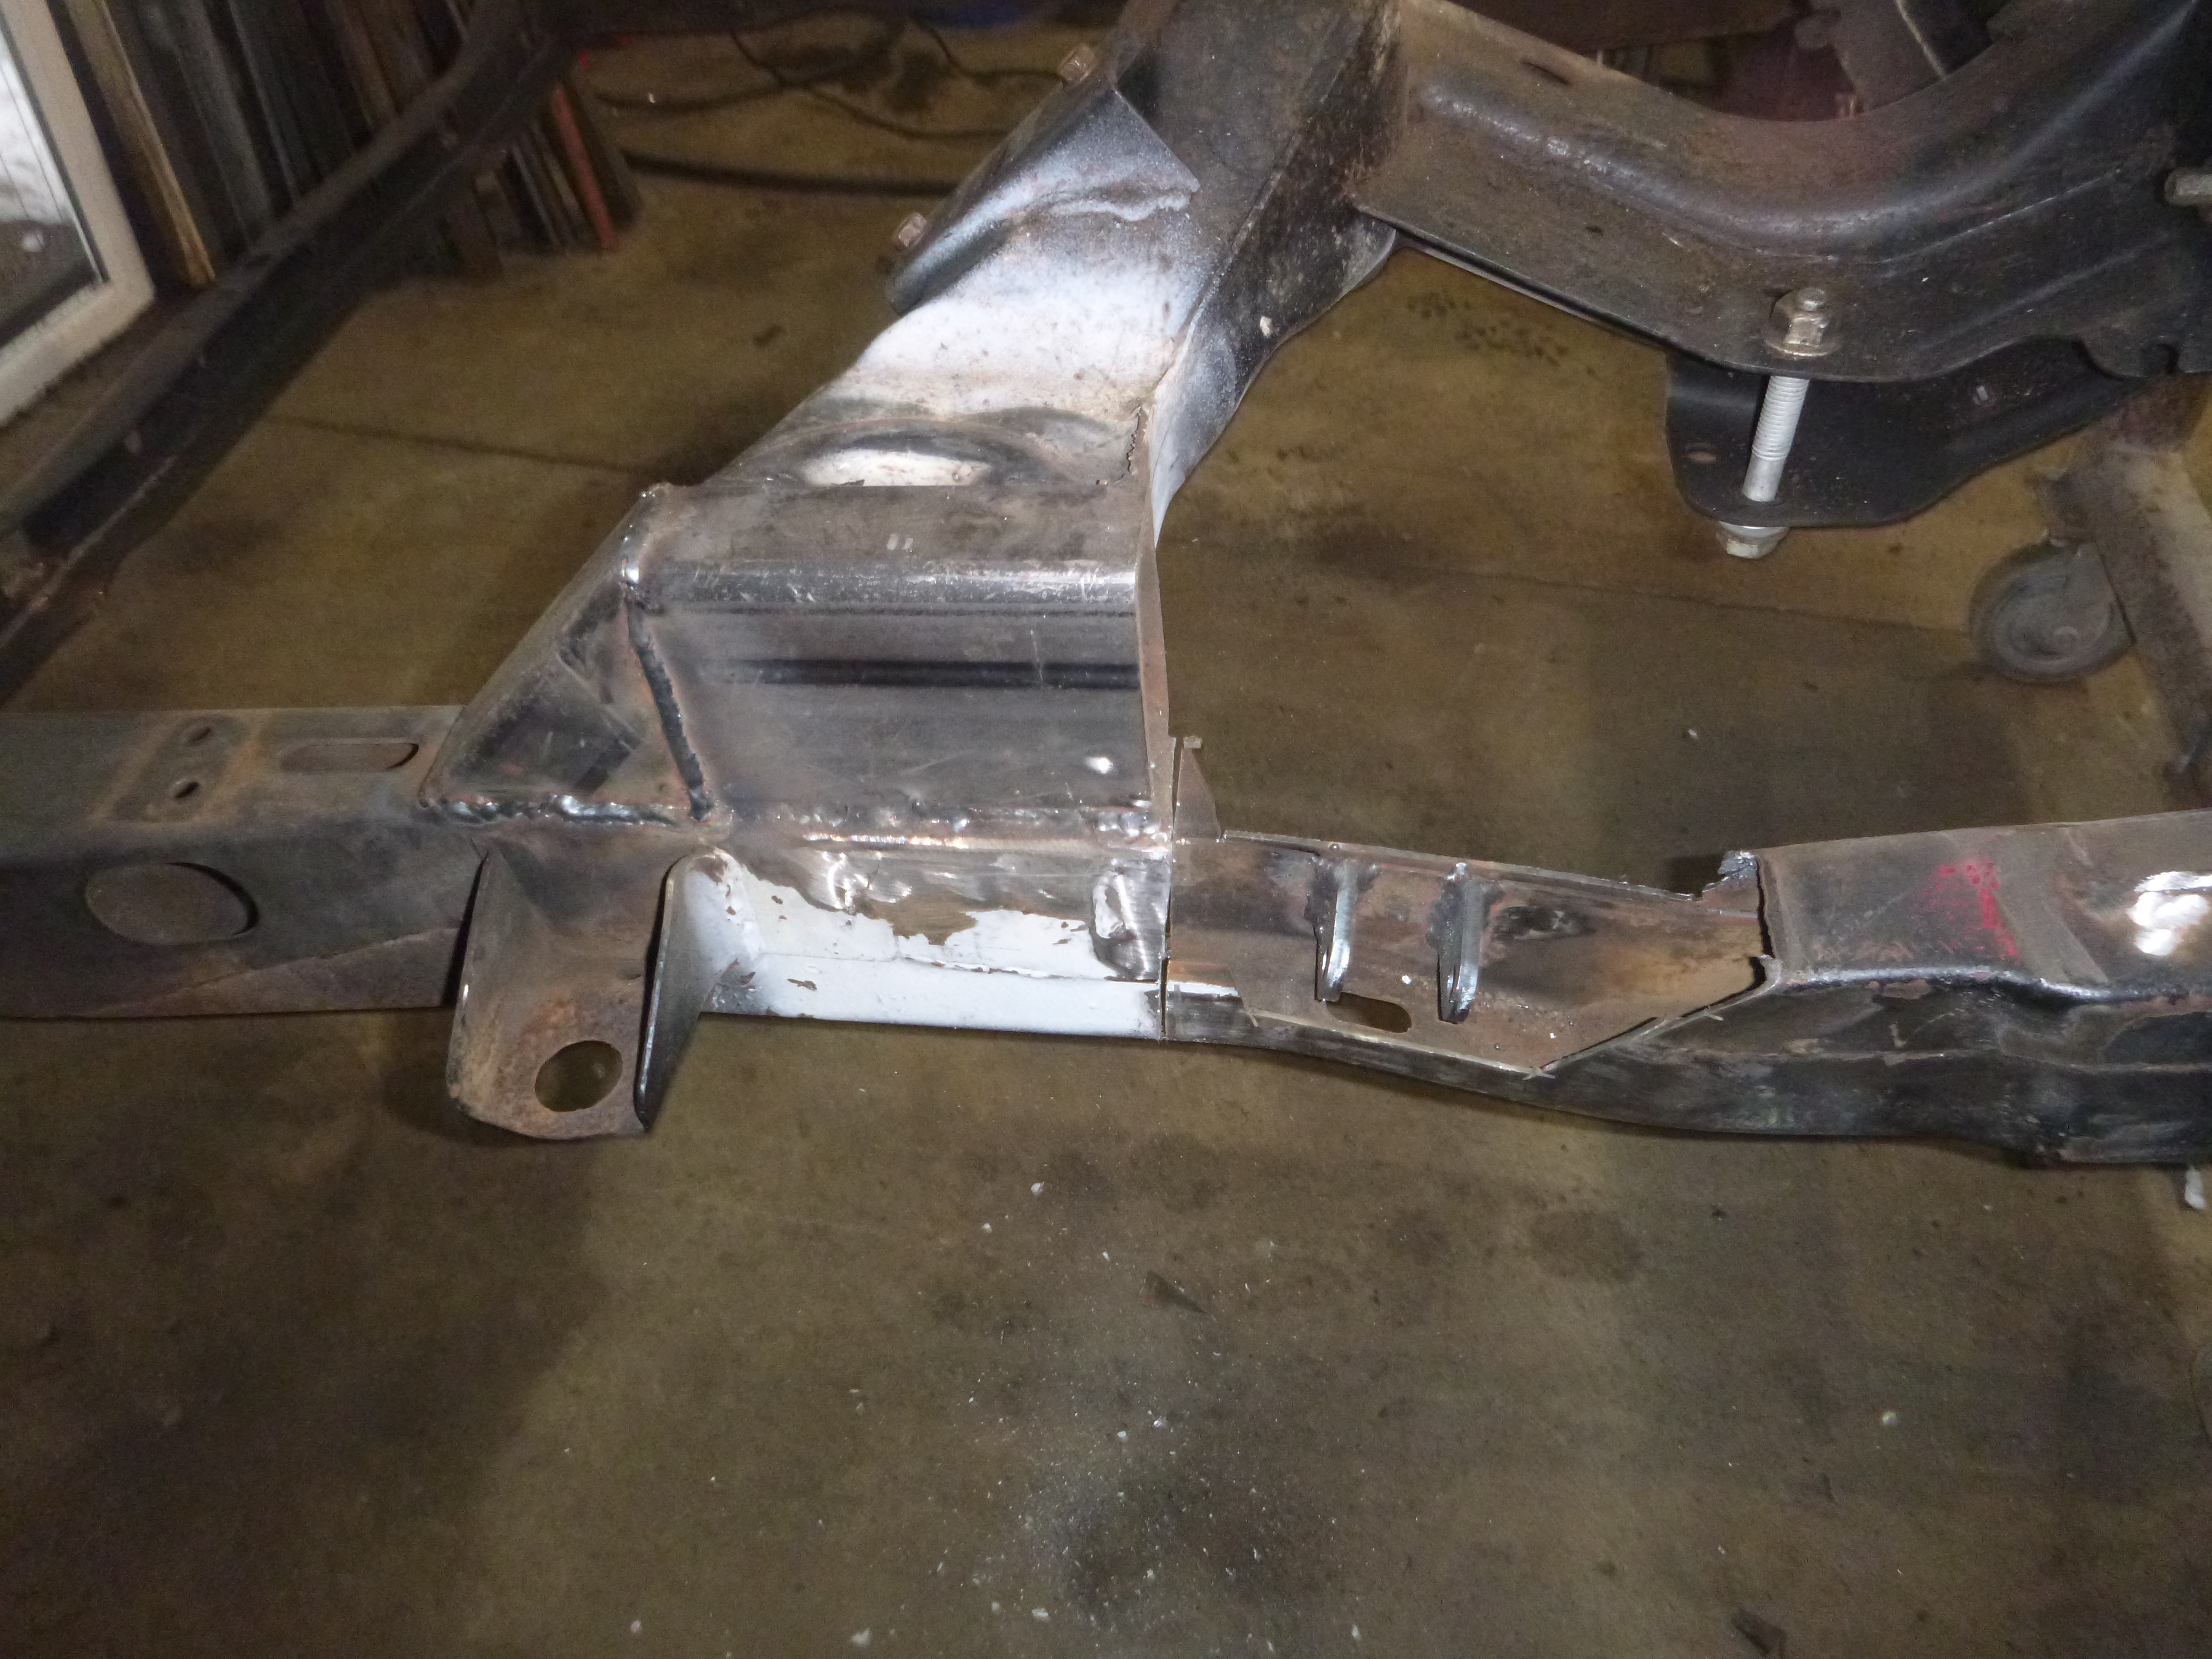
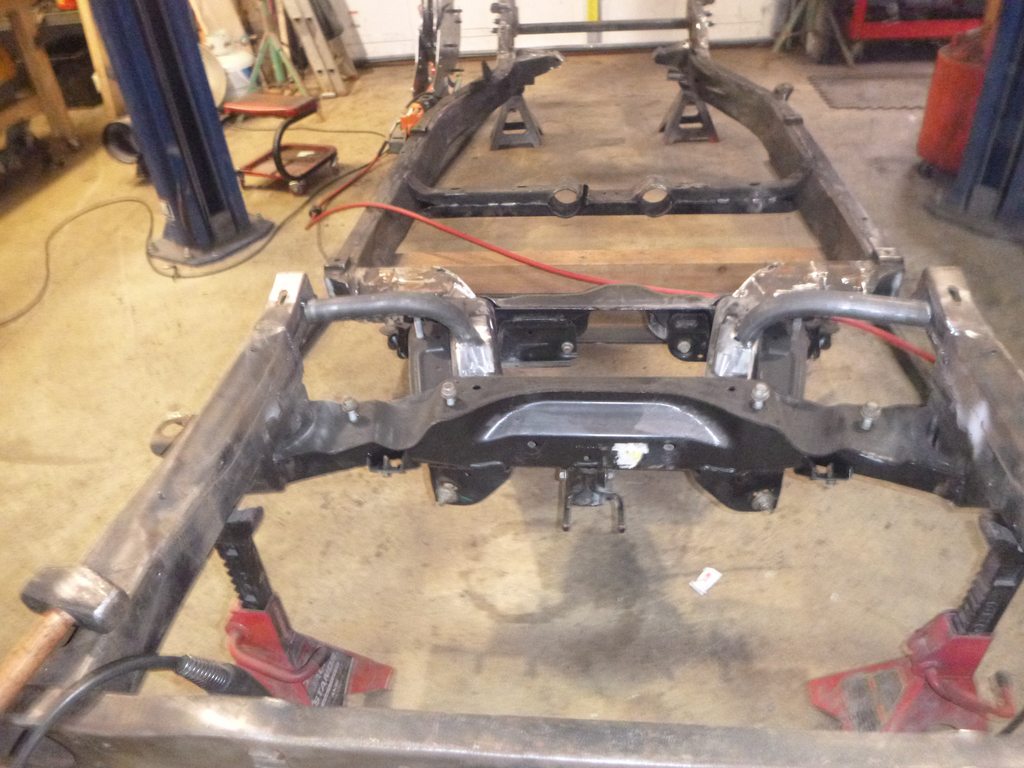
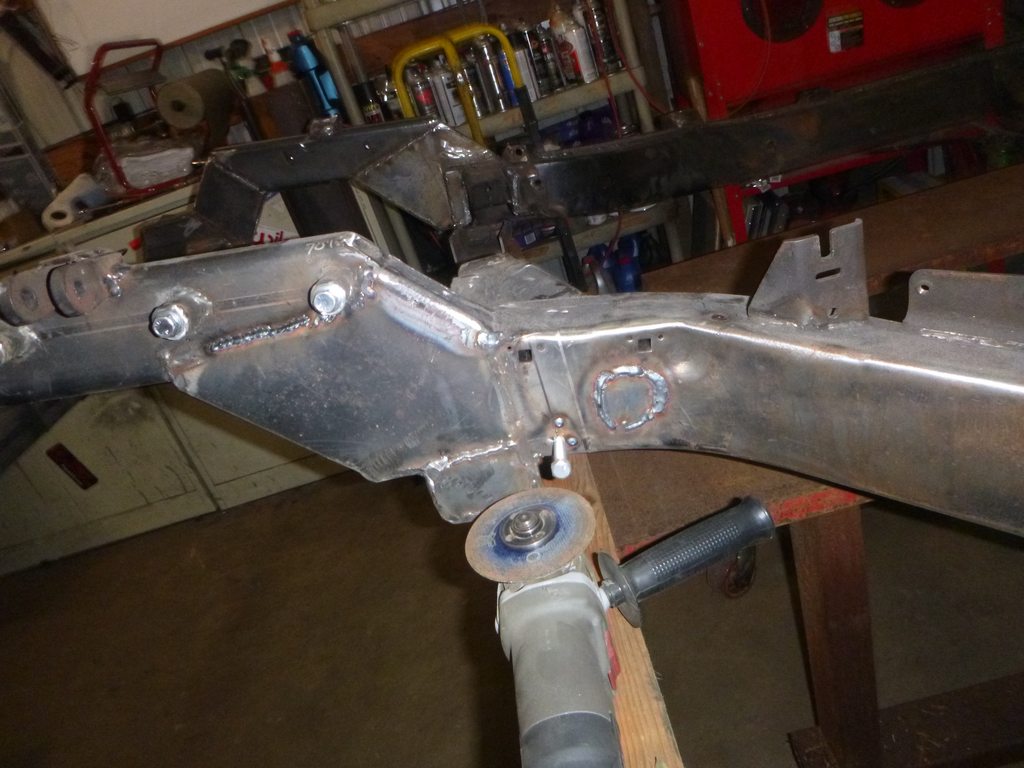
time to fill holes
make squares
weld into place
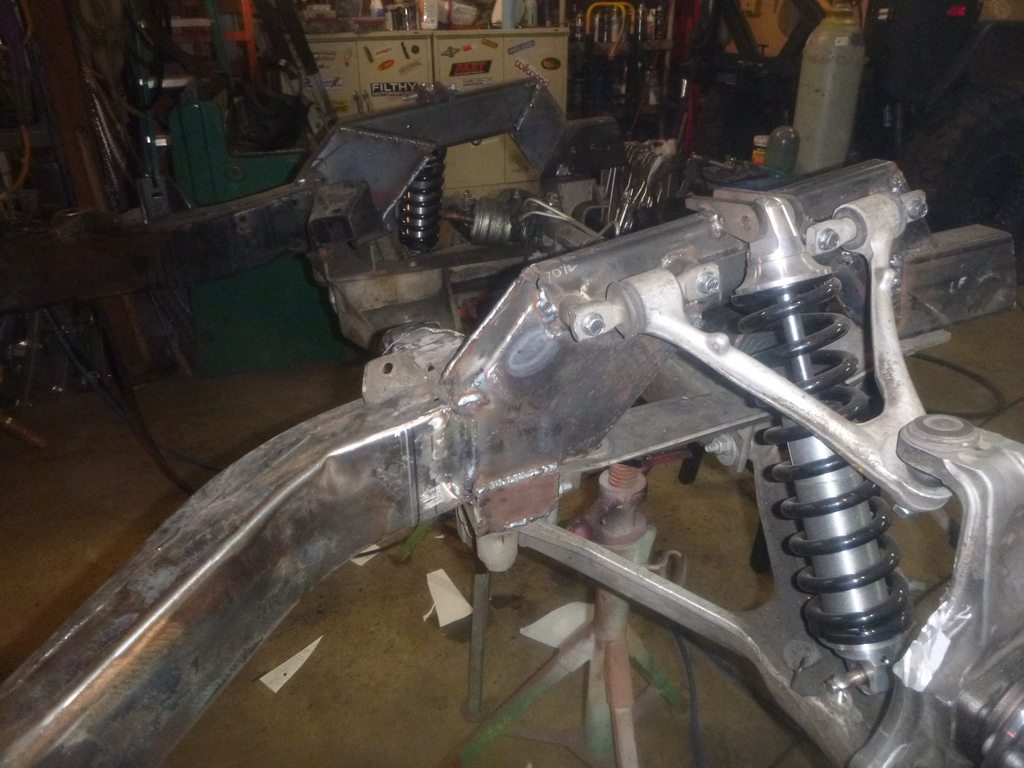
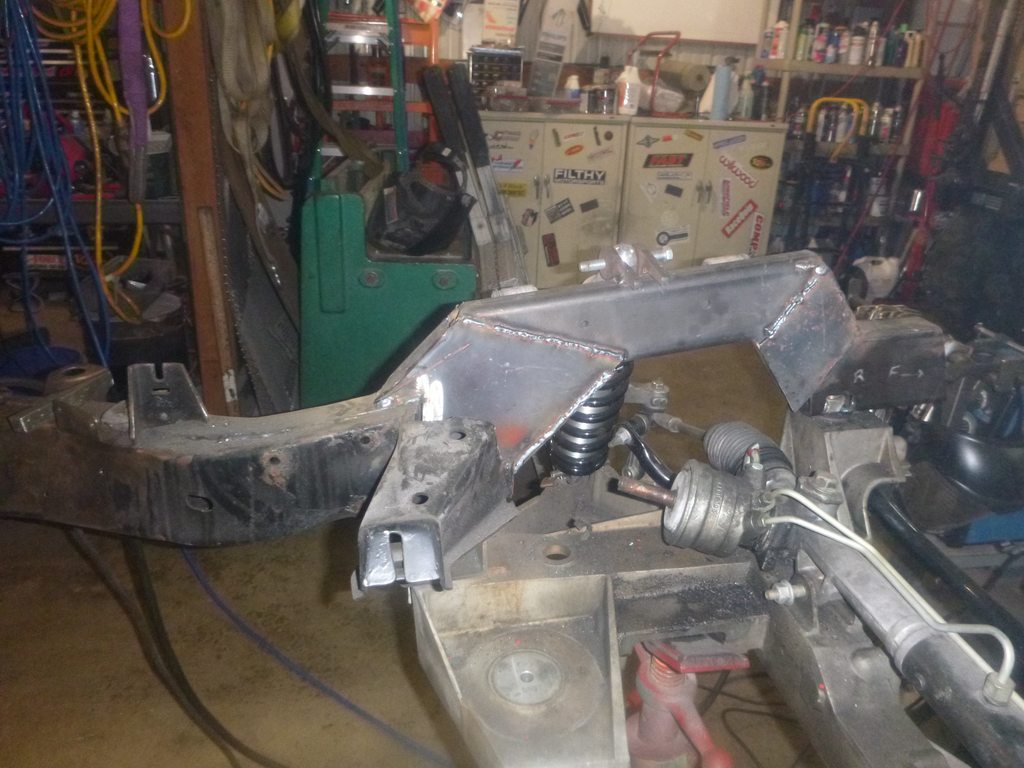
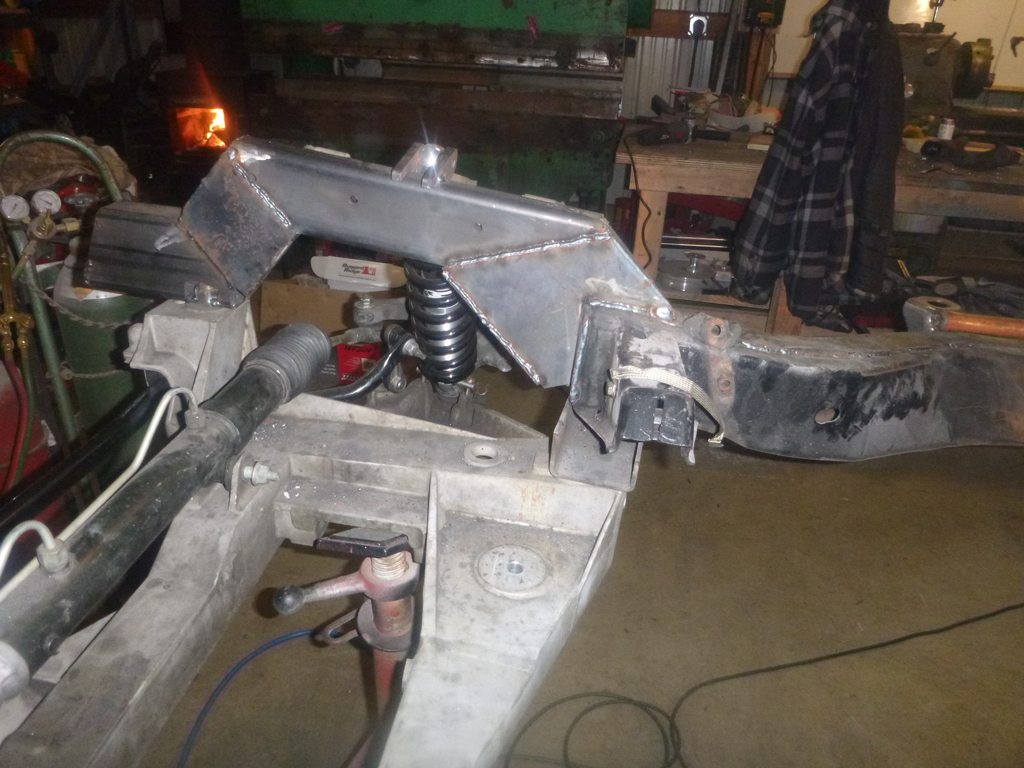
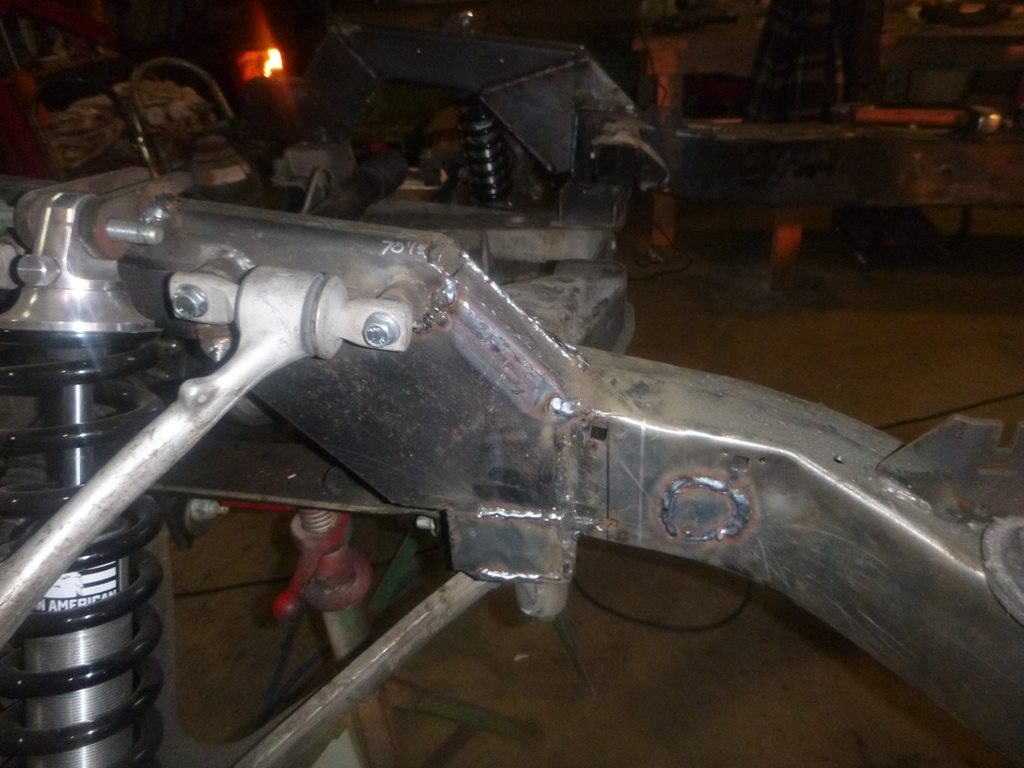
this brace isn't totally needed but it will keep the frame solid when I drop the cradle
finally weld the upper shock mount
more soon. I need to finish up, the more I look at this frame the worse it is.... passenger rail actually bows up.... for those curious, the datum line is the bar that runs behind the seats. it's square and squares everything I put on.. so where the metal goes to reach that point (as long as it doesn't interfere with the body) is fine.
time to fill holes
make squares
weld into place
this brace isn't totally needed but it will keep the frame solid when I drop the cradle
finally weld the upper shock mount
more soon. I need to finish up, the more I look at this frame the worse it is.... passenger rail actually bows up.... for those curious, the datum line is the bar that runs behind the seats. it's square and squares everything I put on.. so where the metal goes to reach that point (as long as it doesn't interfere with the body) is fine.
02-01-2019, 12:47 AM
#244
Melting Slicks
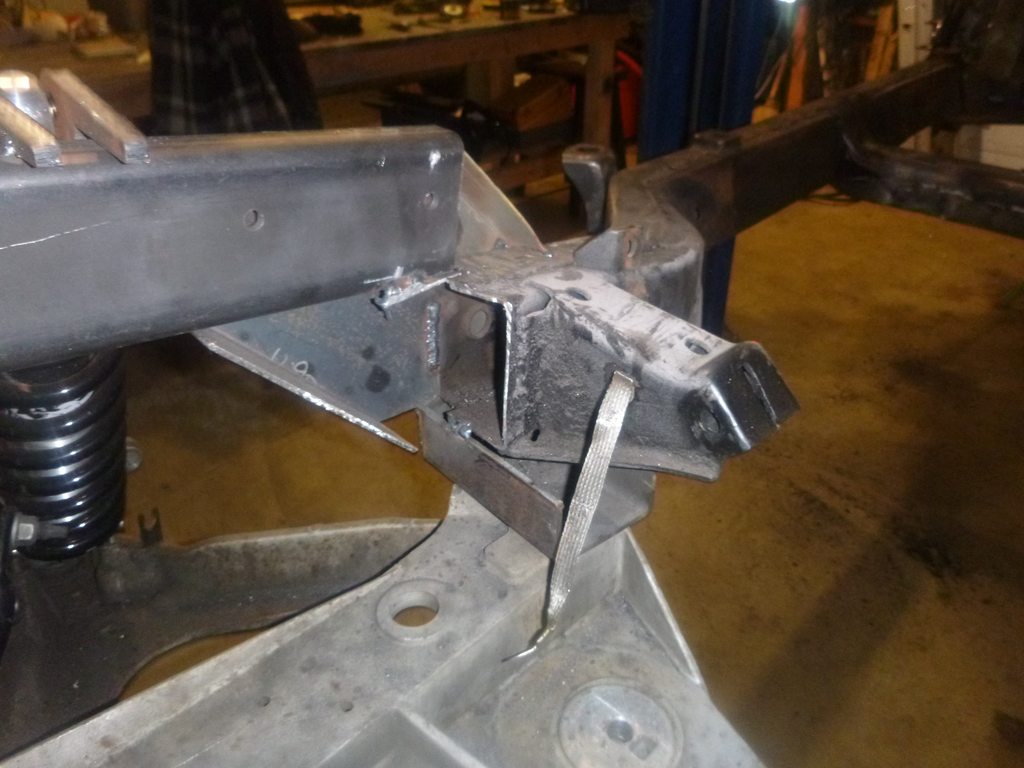
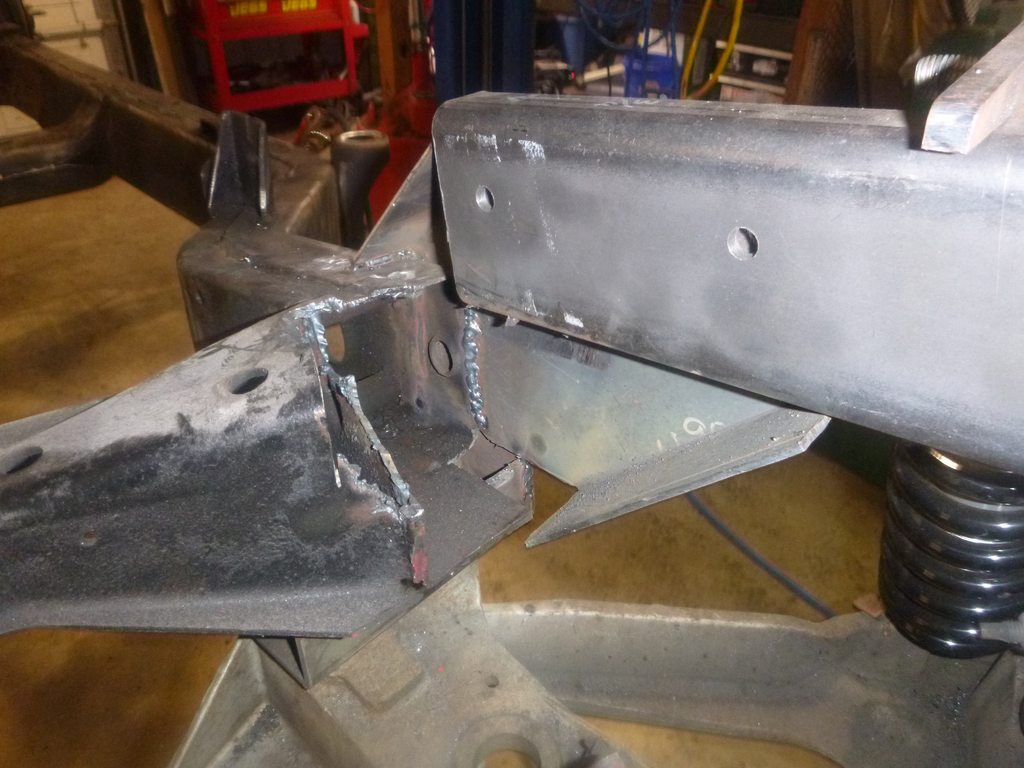
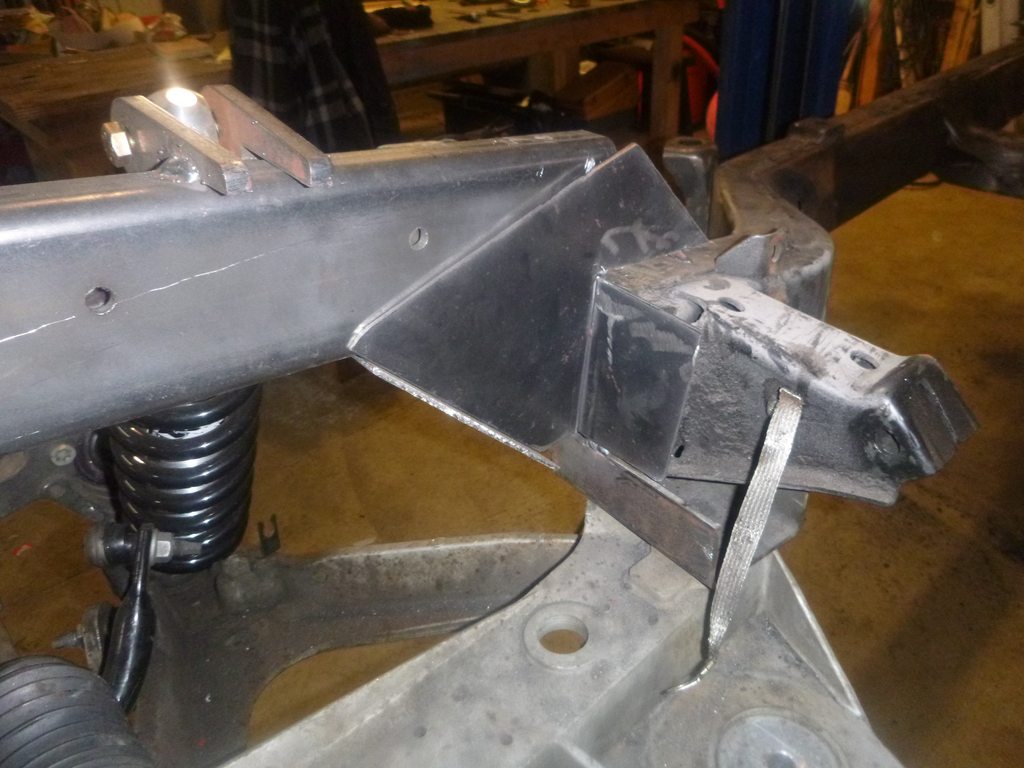
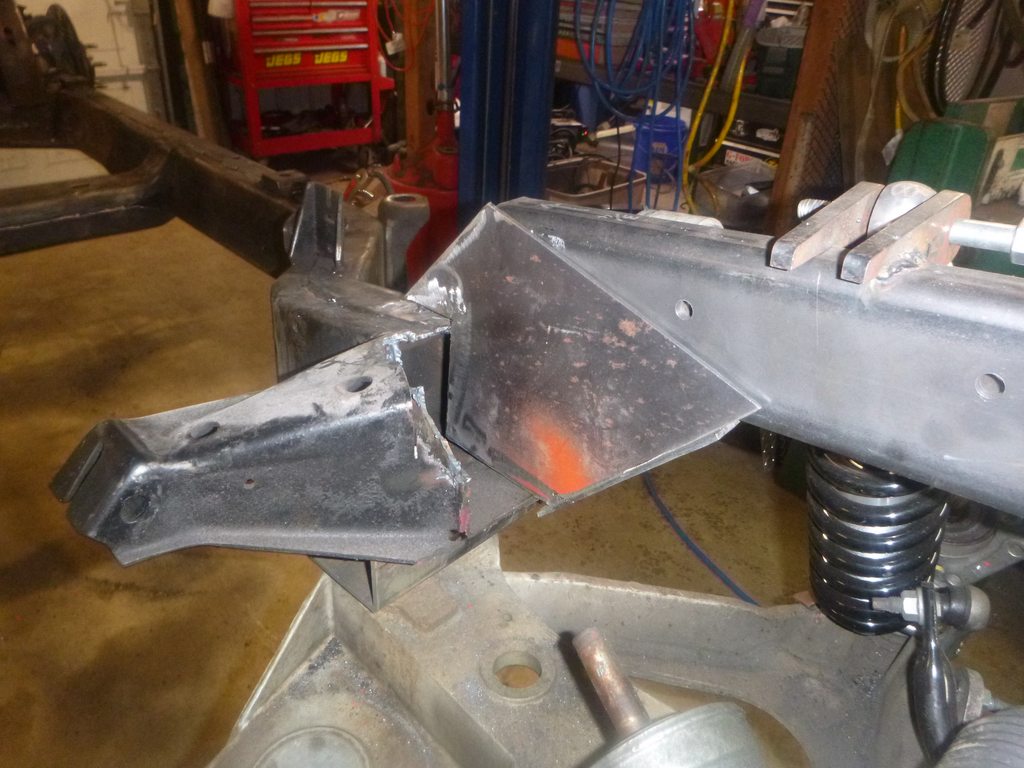
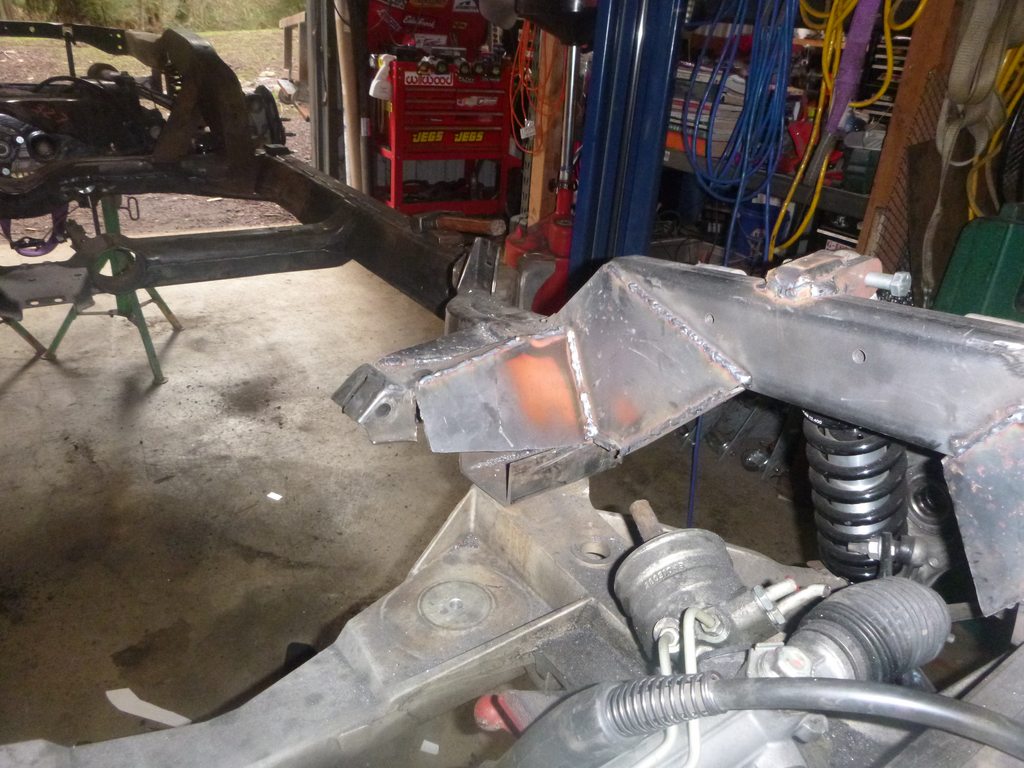
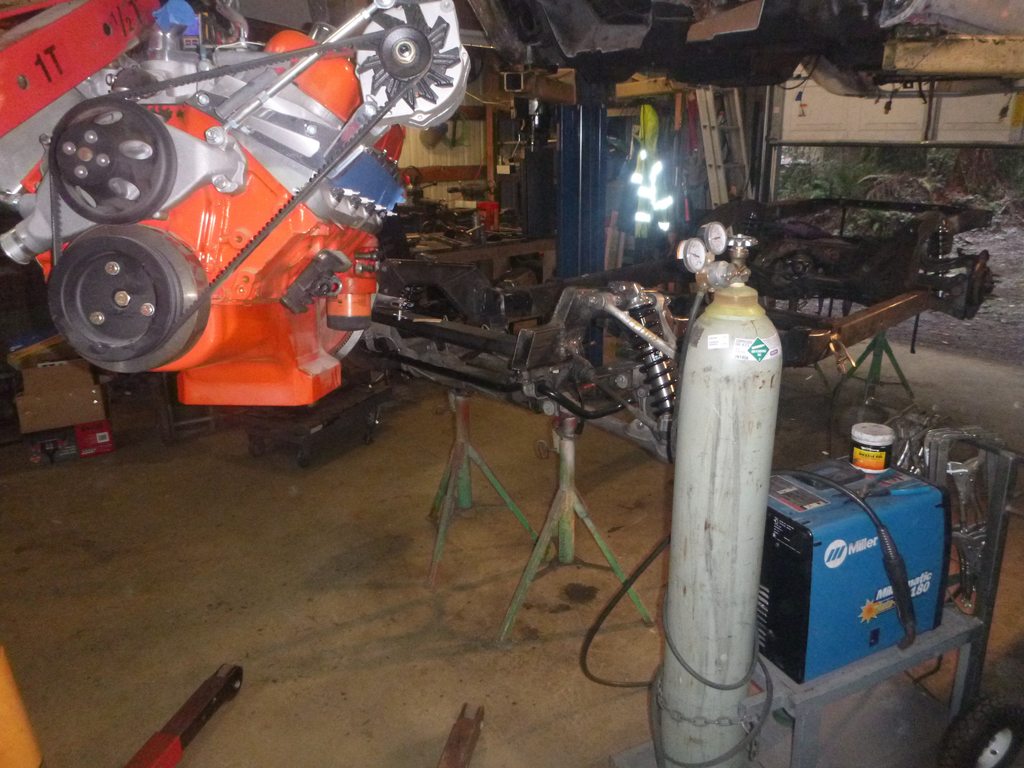
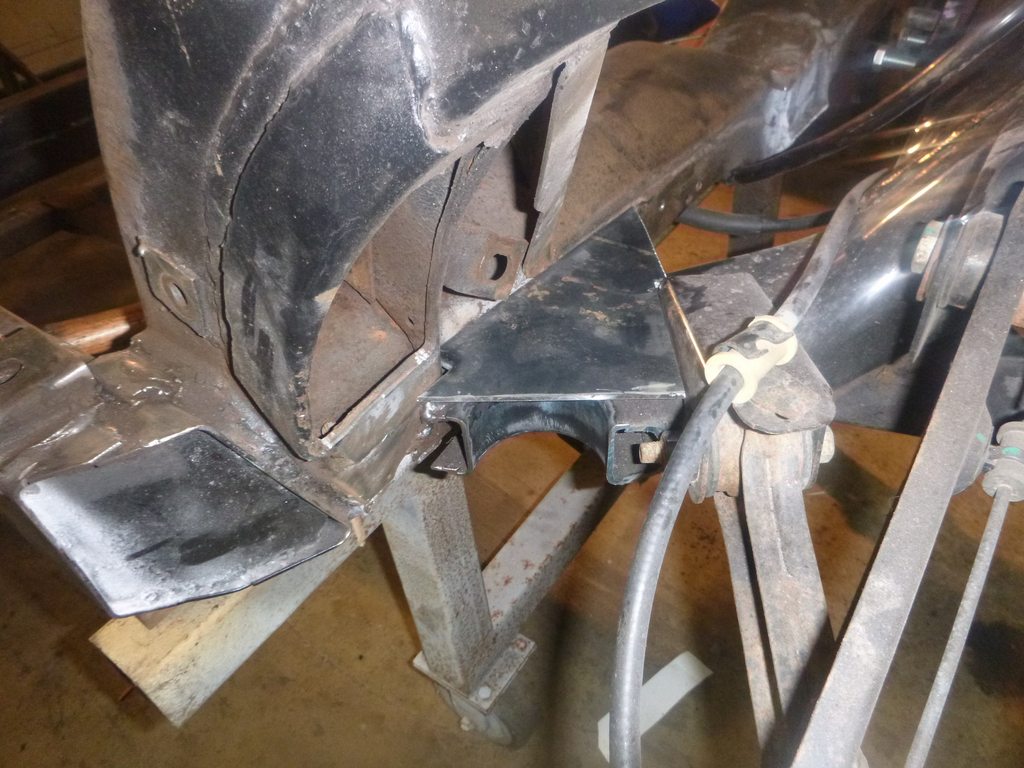
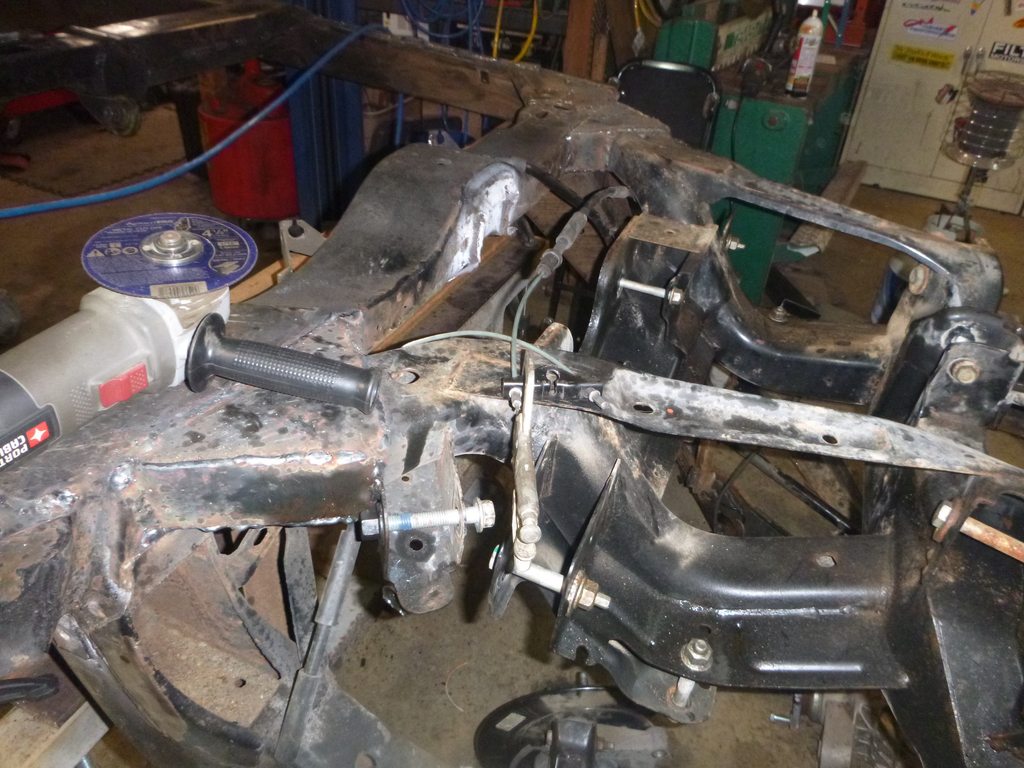
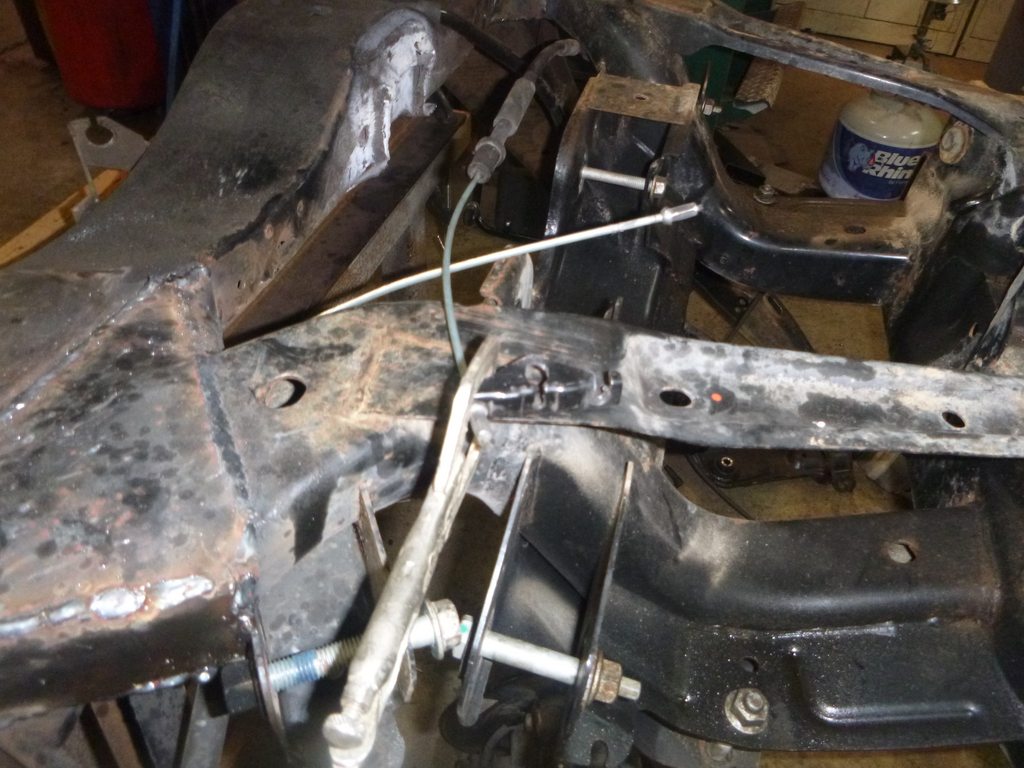
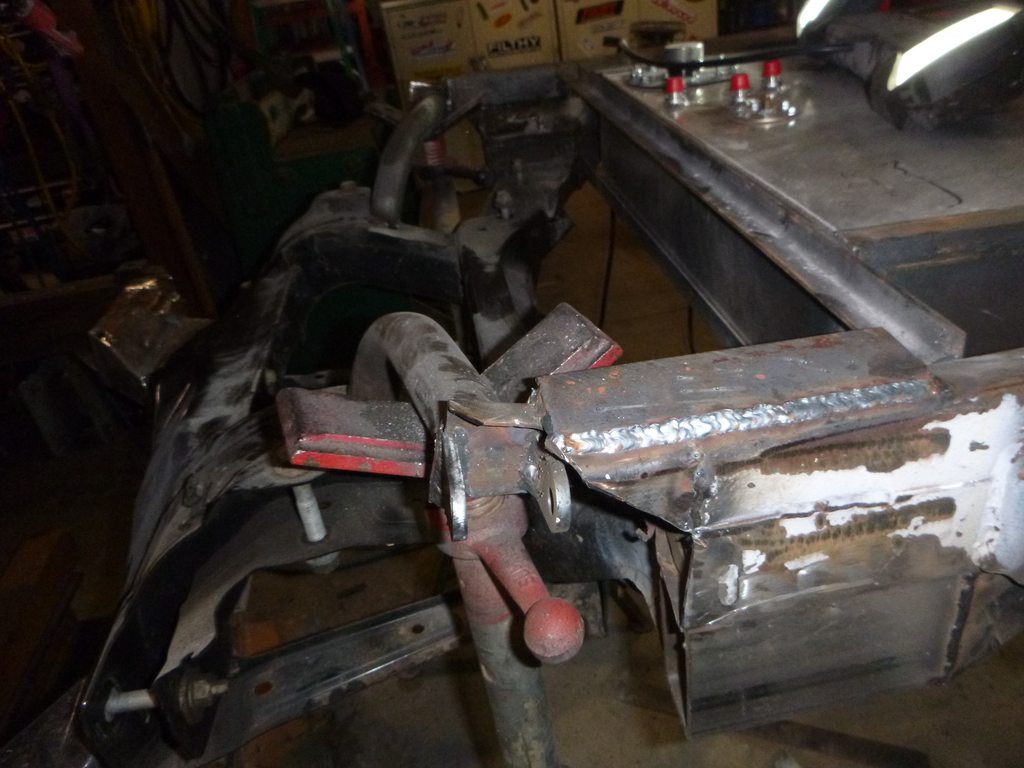
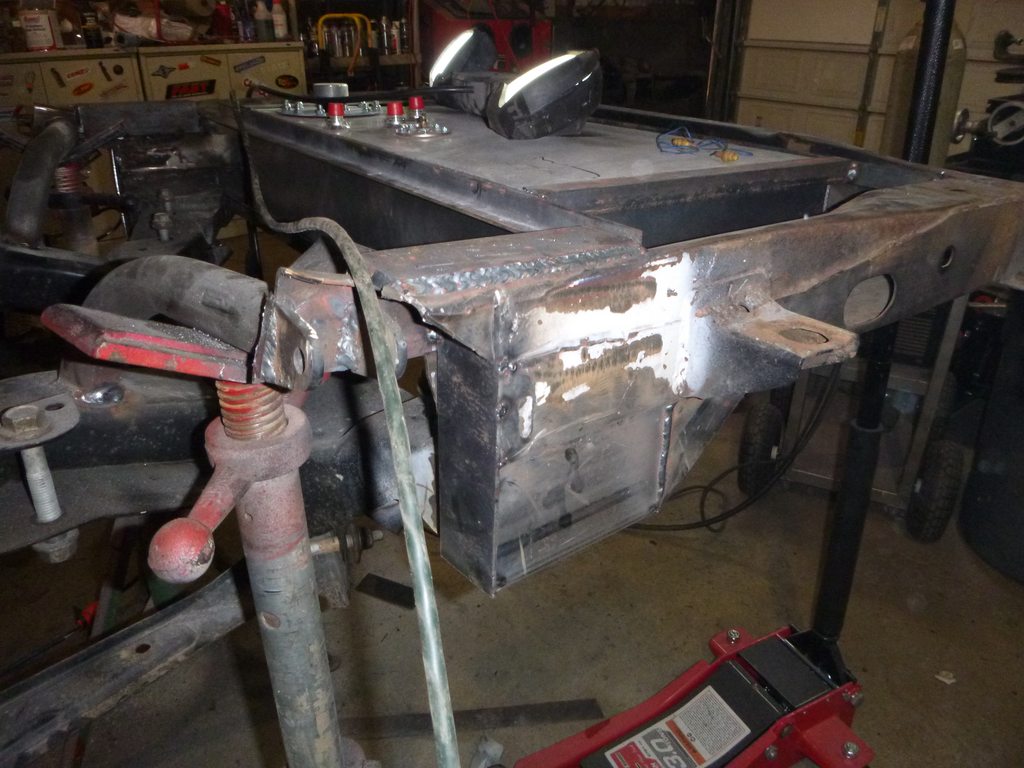
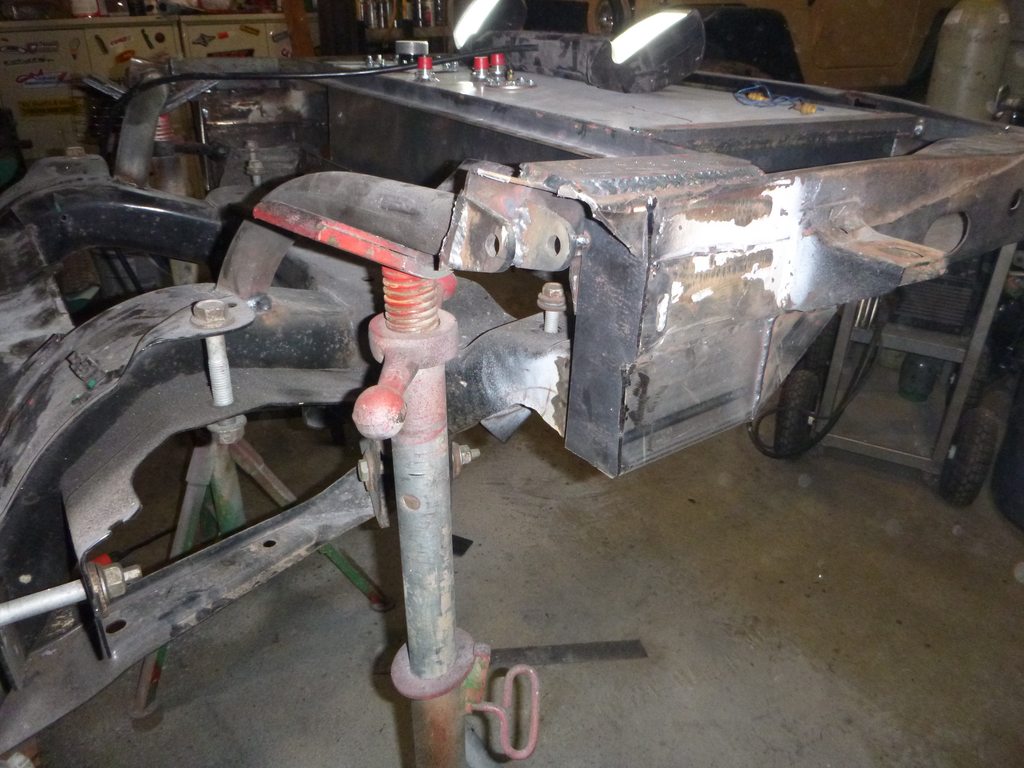
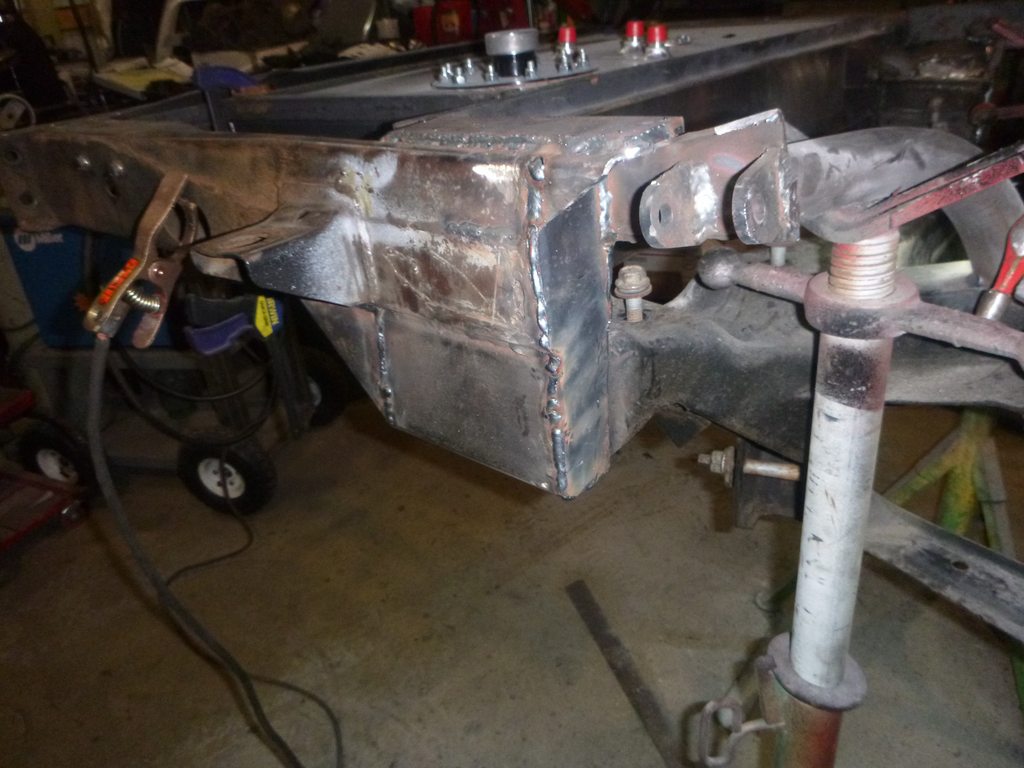
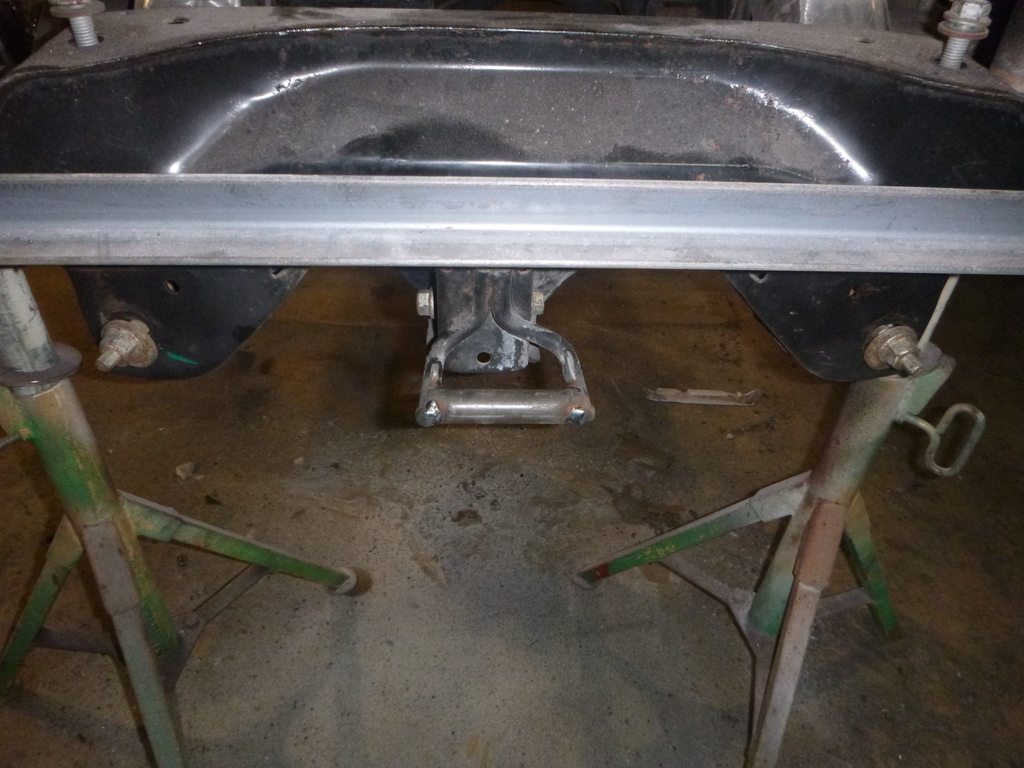
today's fun, motor mount
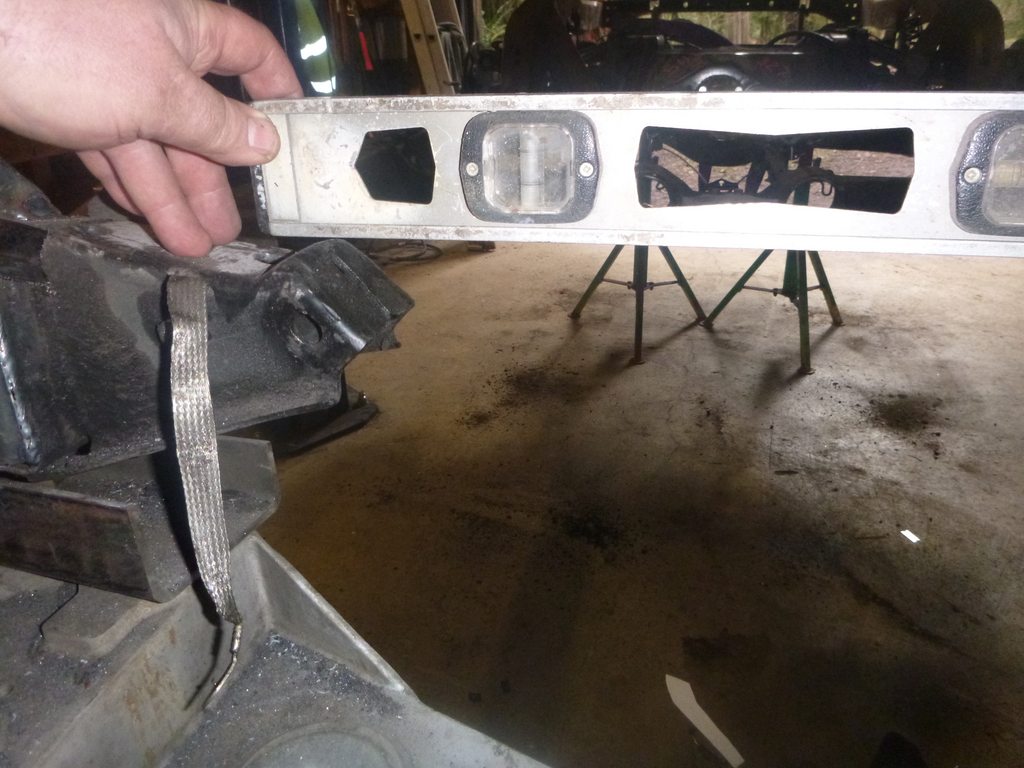
the problem, passenger side is low

CAD assisted design
now in metal
I need to do the front side now.editededited
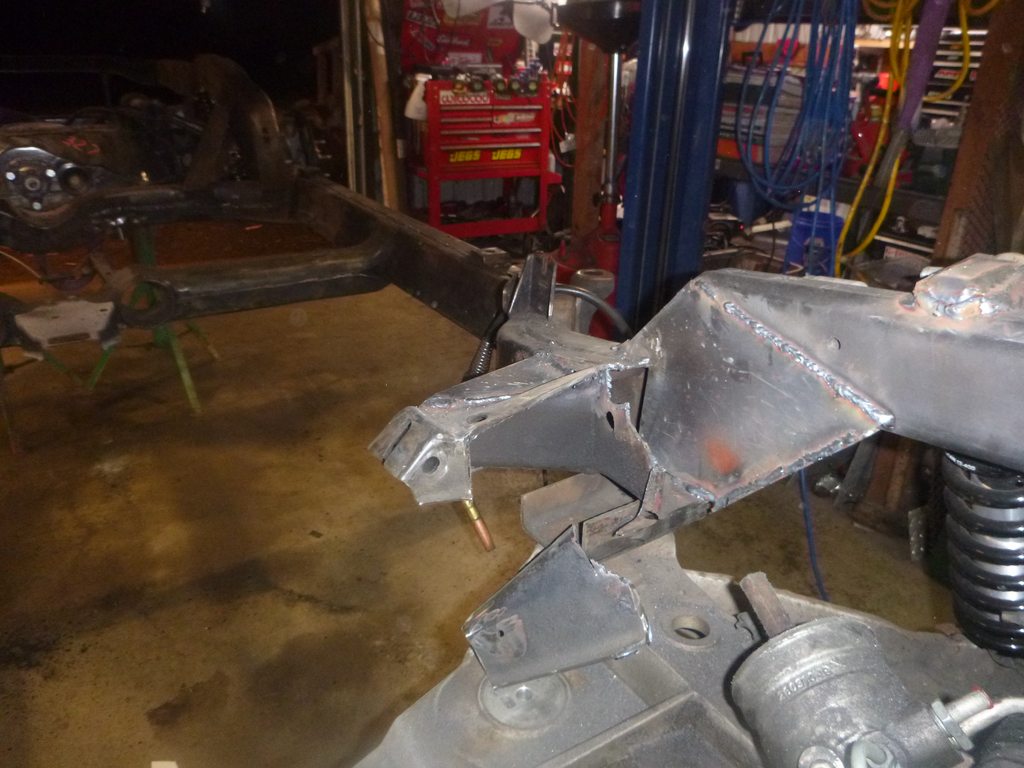
Then onto the passenger side.edited I started here because the mount was pretty floppy with all the metal removed, now it isn't so I can move back to leveling the motor in the chassis (once I'm finished with the driver's side)
the problem, passenger side is low
CAD assisted design
now in metal
I need to do the front side now.editededited
Then onto the passenger side.edited I started here because the mount was pretty floppy with all the metal removed, now it isn't so I can move back to leveling the motor in the chassis (once I'm finished with the driver's side)
The following users liked this post:
Metalhead140 (02-02-2019)
02-02-2019, 08:38 PM
#245
Melting Slicks
and for those curious. my pictures are loading faster because I figured out the issue with Imgur. Imgur was trying to load the full picture. Many forums downsize the pictures before putting them on the forum. CF doesn't do that (which is nice for detail shots), but it makes for a long, long load. From here on - they're loading as large thumbnails - so if anyone wants the detailed pictures, do ask.... but for now, you get a bit blurry and a lot faster loading.
02-03-2019, 09:15 PM
#246
Melting Slicks
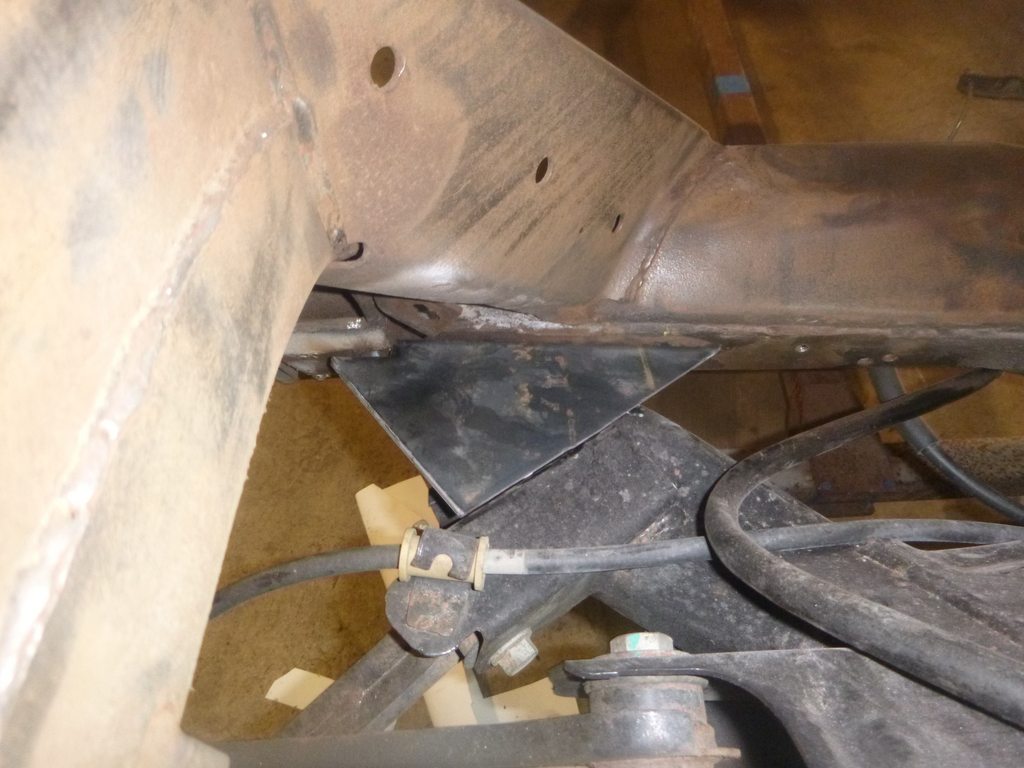
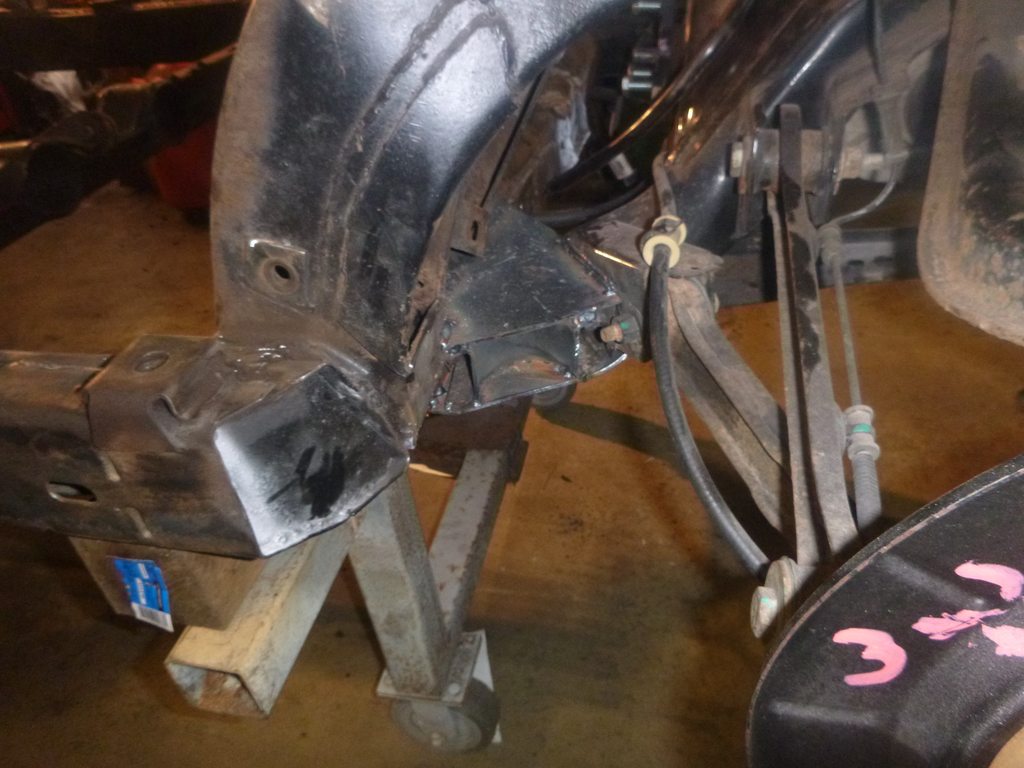
time to finish up the front
driver side
passenger side
off a bit
which meant a quick install and removal of the motor
chop and move up

then turn it around and get to work on the back
driver side
passenger side
off a bit
which meant a quick install and removal of the motor
chop and move up
then turn it around and get to work on the back
02-04-2019, 11:35 PM
#247
Melting Slicks
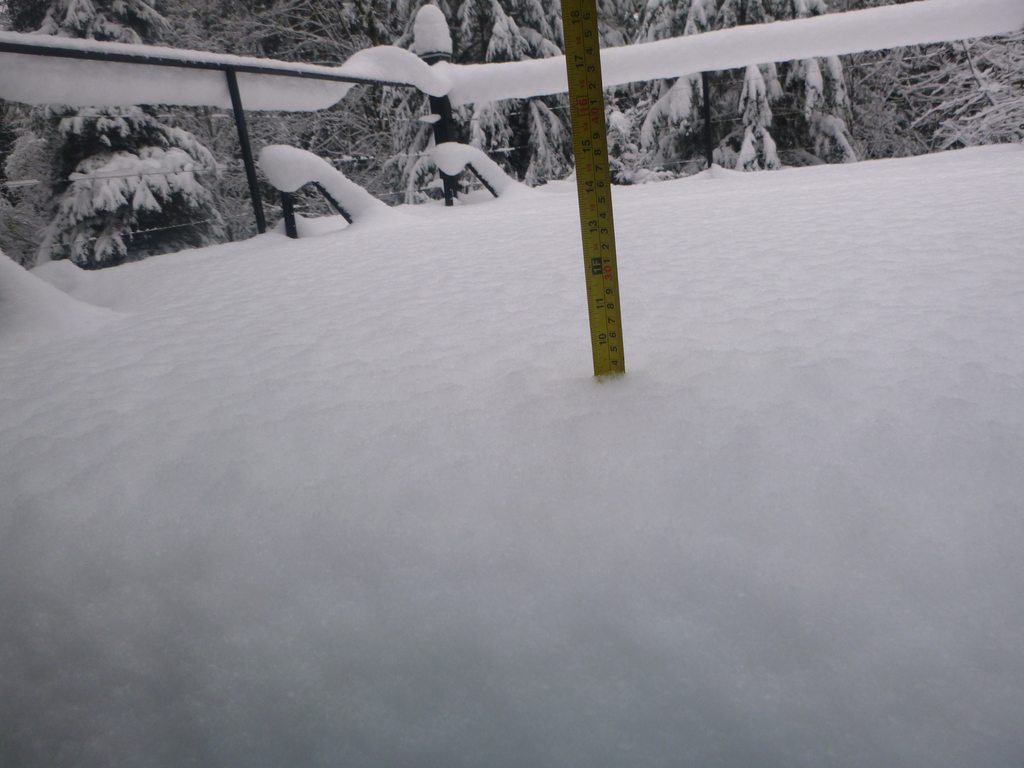
so we got a bit of snow today
as is normal, everything shut down. I went to work, enjoyed the commute because it was pretty much just me
so I came home and did stuff
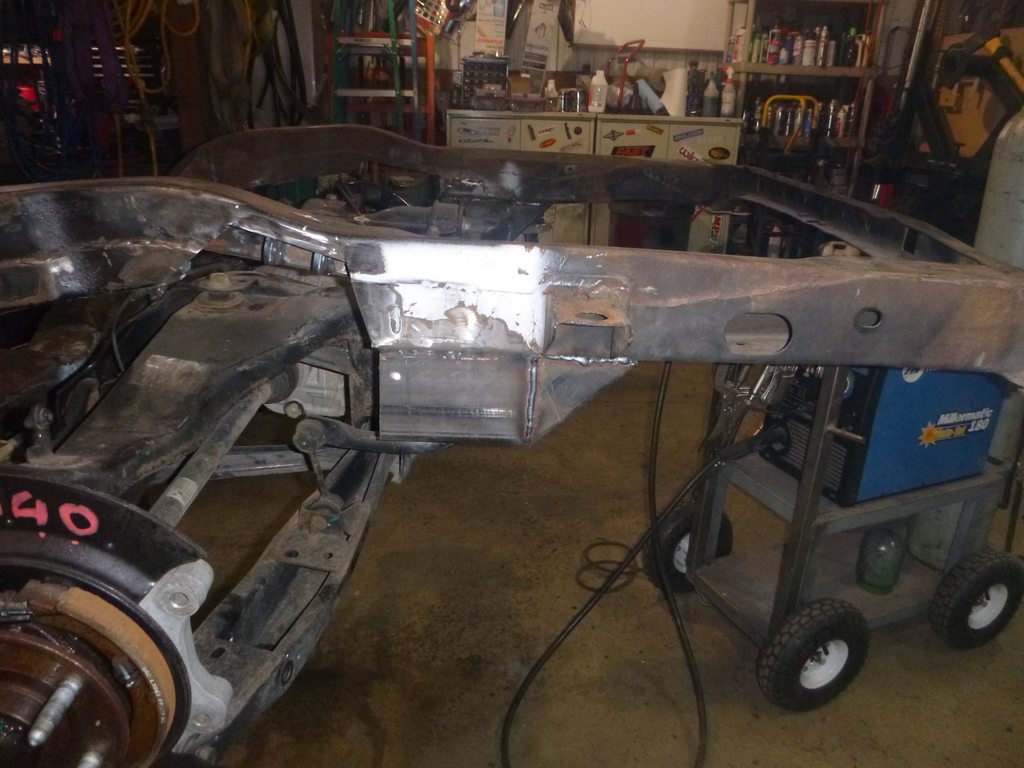
first box the rear attachment points in
started boxing the bottom - my plan is to flip the frame over the weld the bottom
what I haven't decided is if I need to attach the kick-ups to the cross bar on the old frame....
the frame could use some strengthening and perhaps now is the time to try some new things.... I dunno
as is normal, everything shut down. I went to work, enjoyed the commute because it was pretty much just me
so I came home and did stuff
first box the rear attachment points in
started boxing the bottom - my plan is to flip the frame over the weld the bottom
what I haven't decided is if I need to attach the kick-ups to the cross bar on the old frame....
the frame could use some strengthening and perhaps now is the time to try some new things.... I dunno
Last edited by SuperBuickGuy; 02-04-2019 at 11:36 PM.
02-05-2019, 11:40 PM
#248
Melting Slicks
first step tonight was figuring out what is wrong with this stupid thing.... it goes through consumables very quickly. blew the dust out... didn't make a difference. checked the torch (pulled it apart), nothing there seemed terribly amiss.... but now I'm out of consumables...
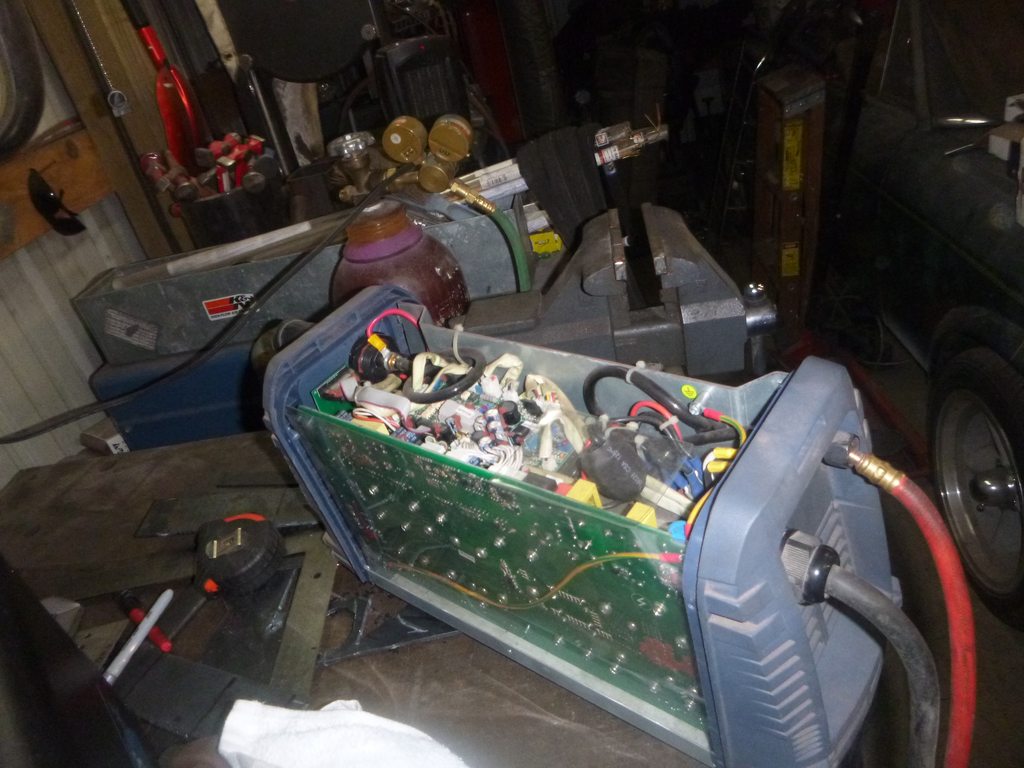
then boxed this
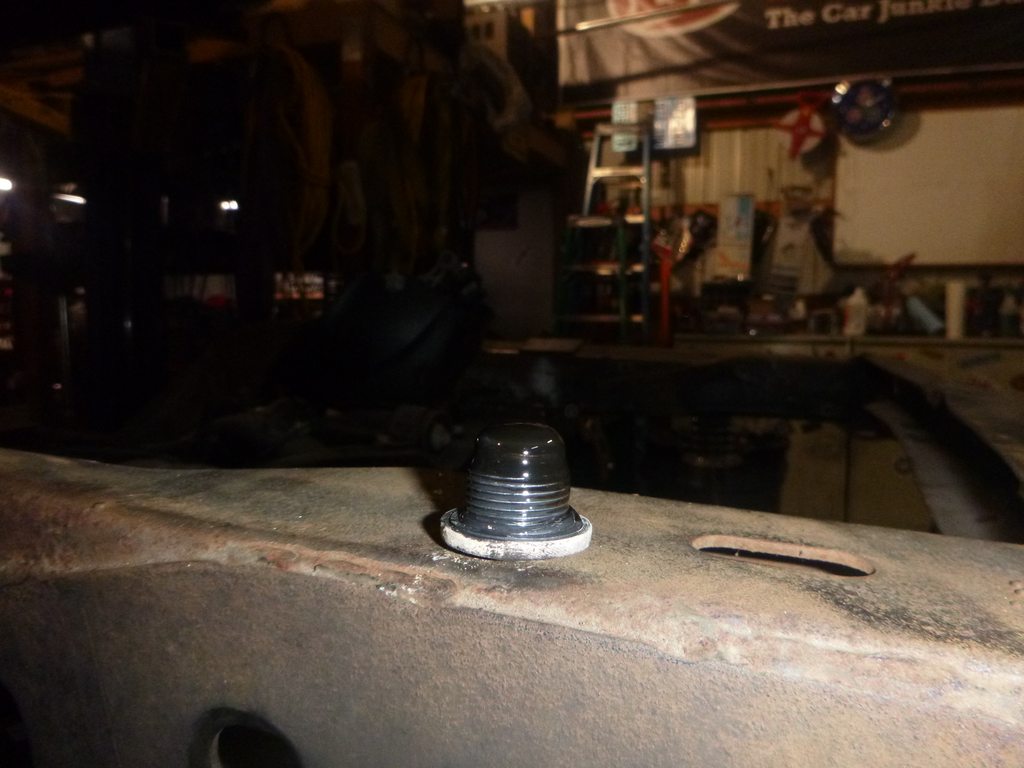
next is flip the frame over... so I don't make a mess... drain the diff...
looks good, only had 30k miles..
then boxed this
next is flip the frame over... so I don't make a mess... drain the diff...
looks good, only had 30k miles..
 02-11-2019, 10:34 PM
#250
Melting Slicks
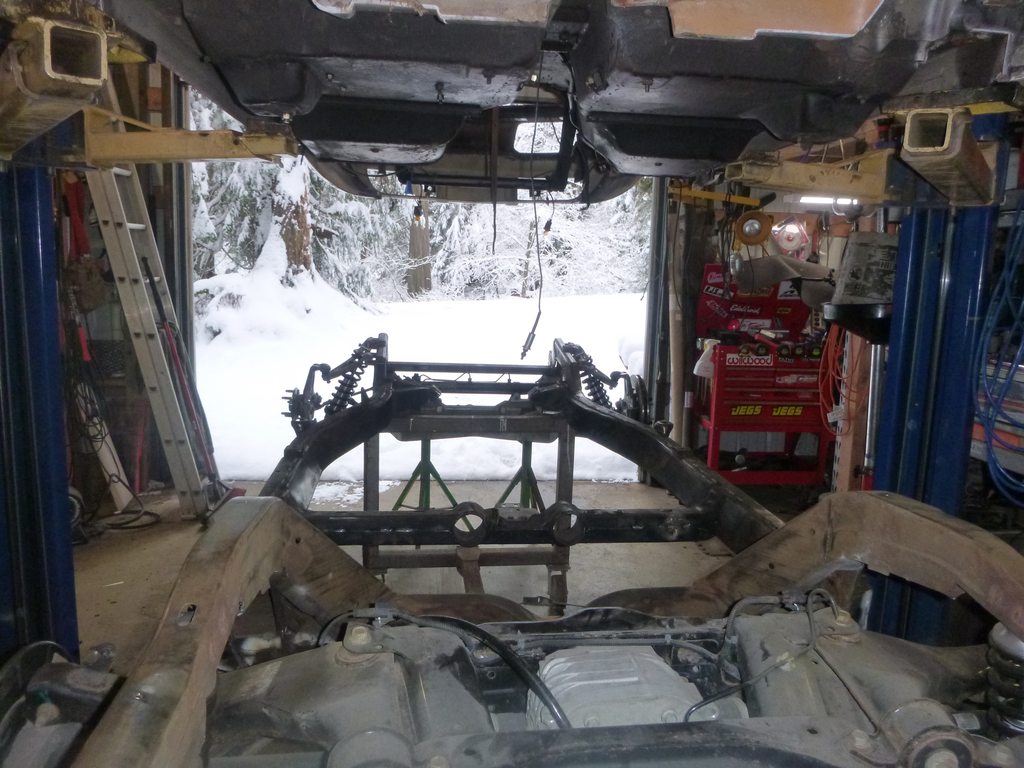
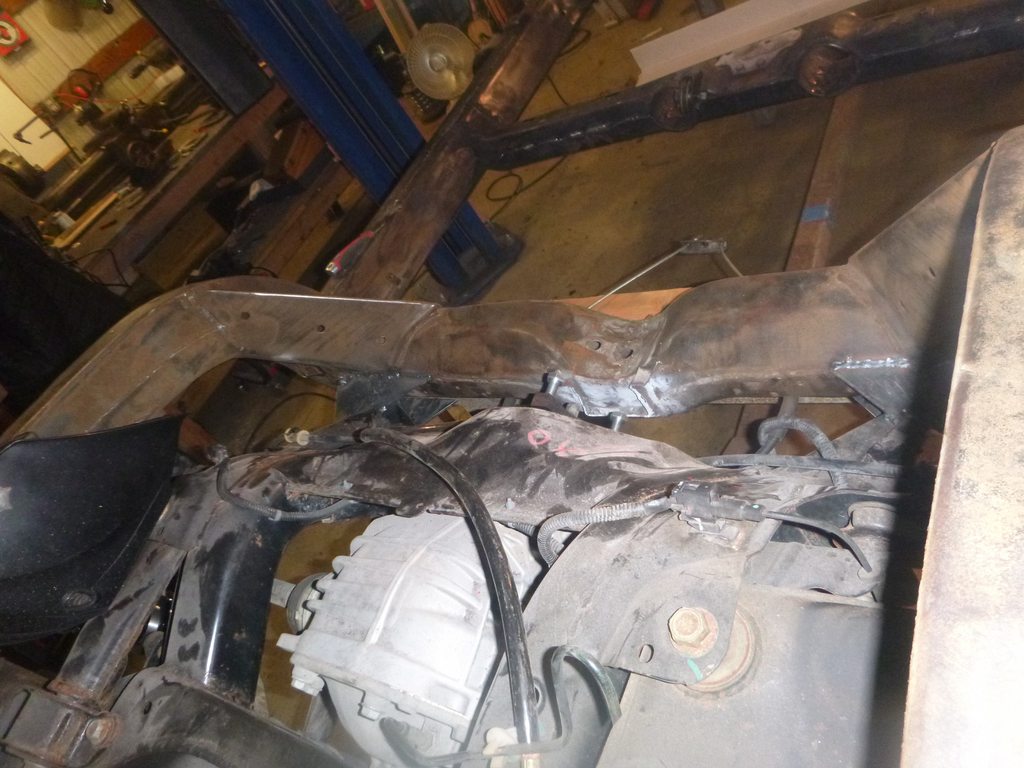
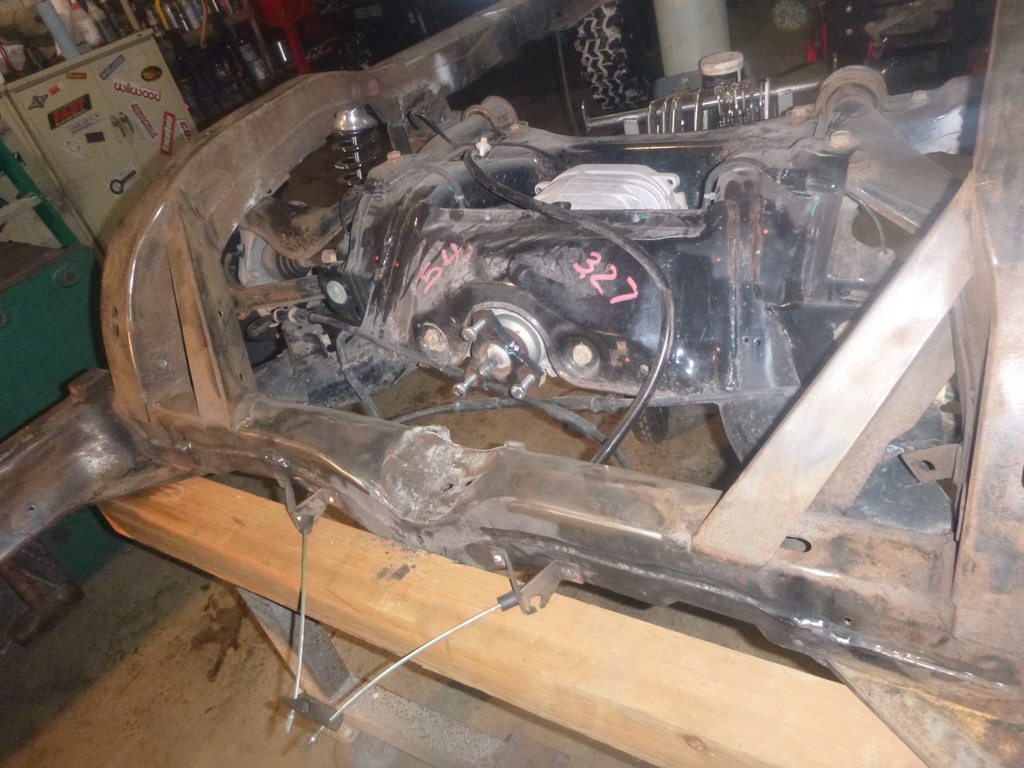
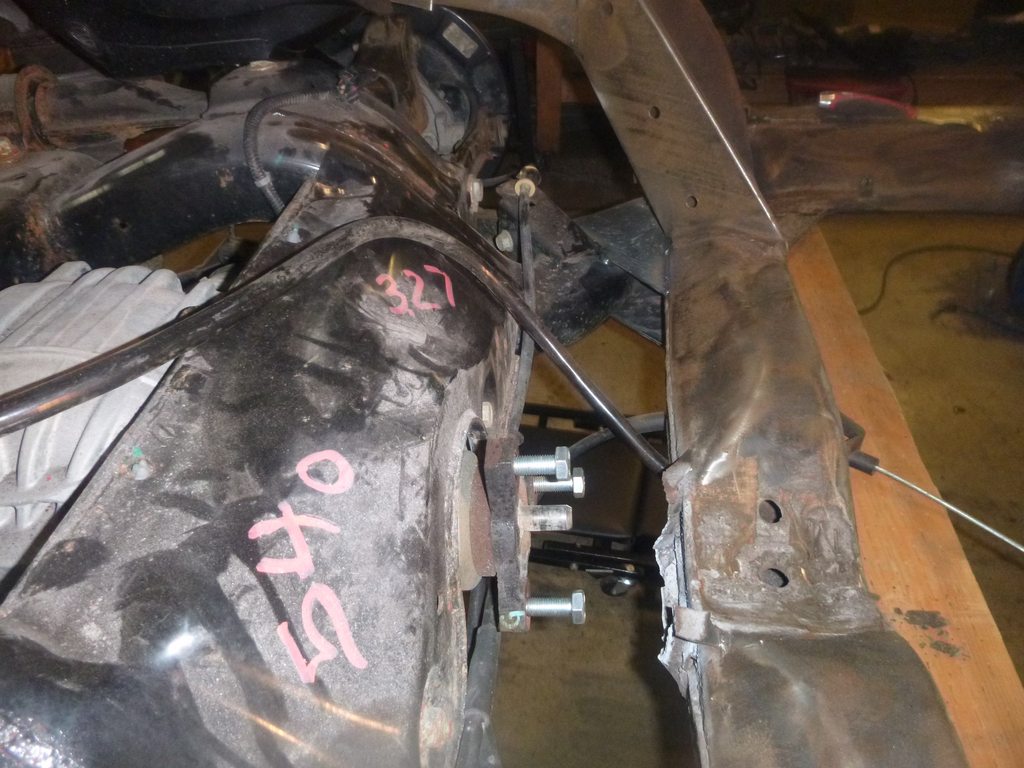
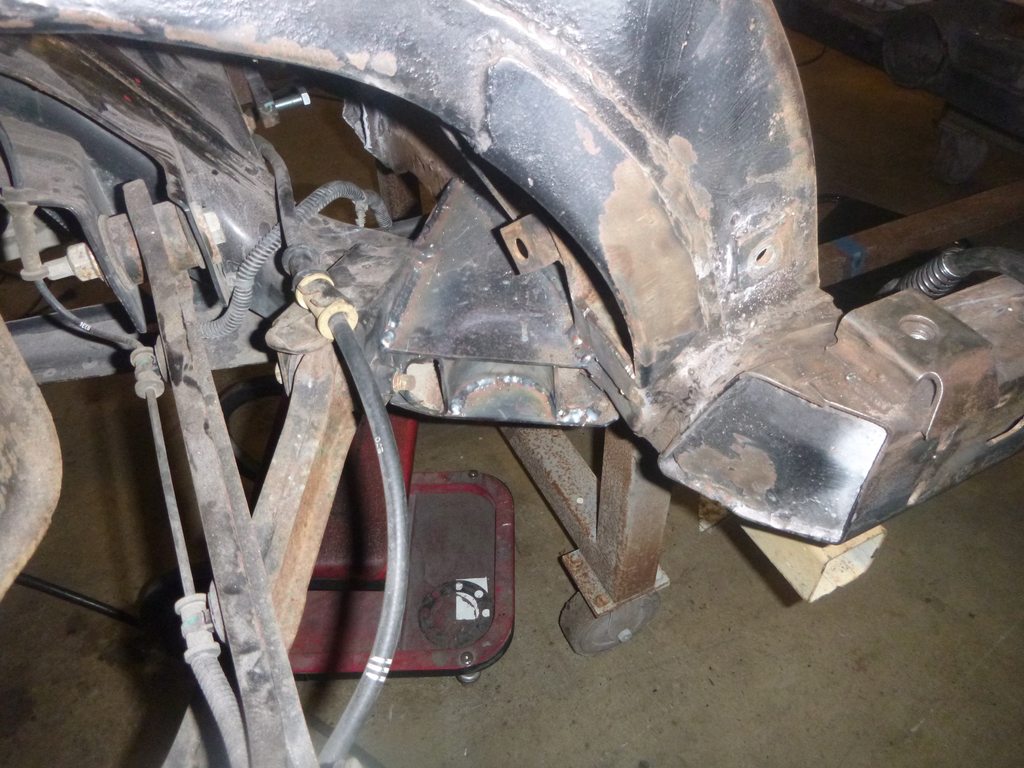
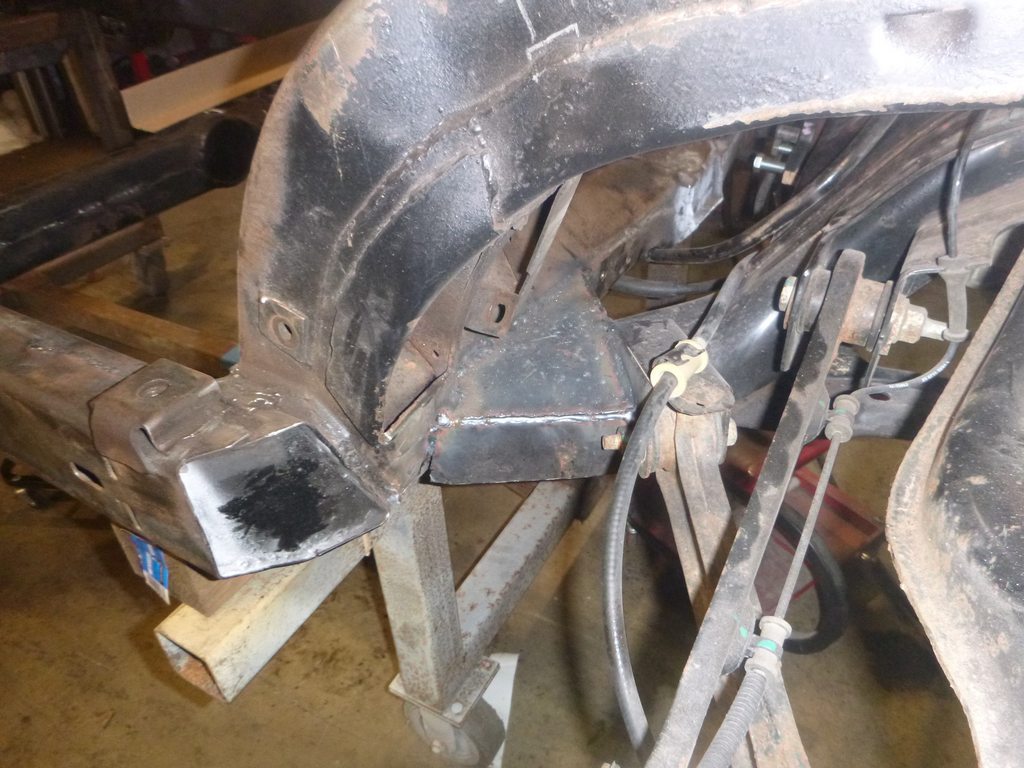
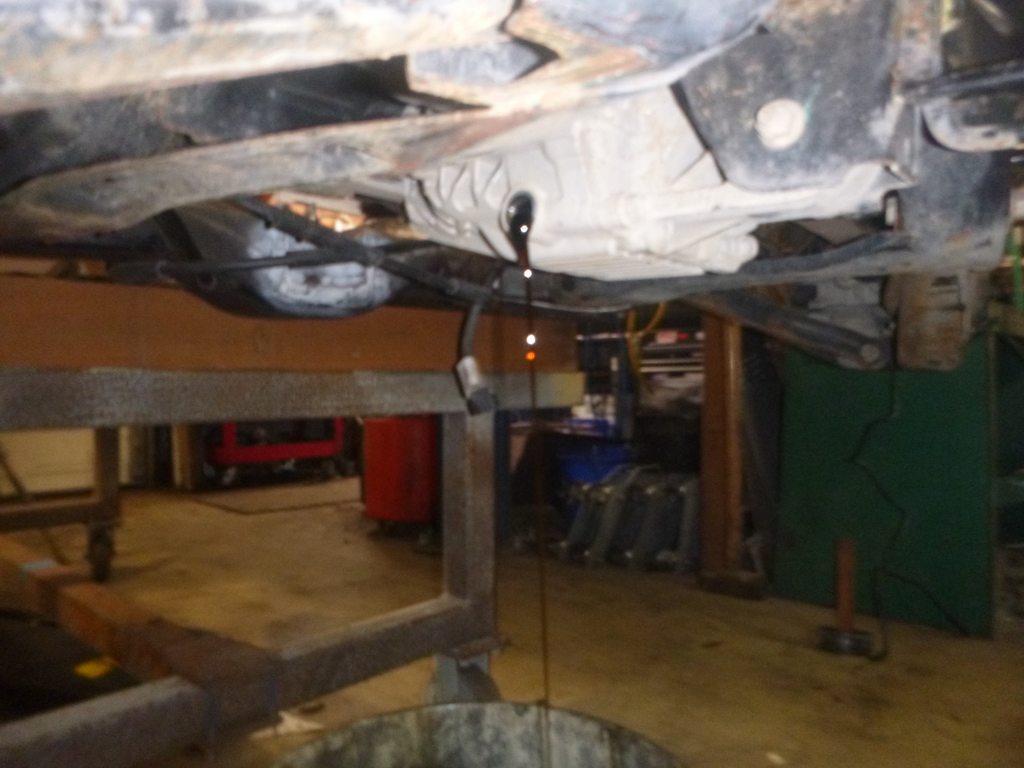
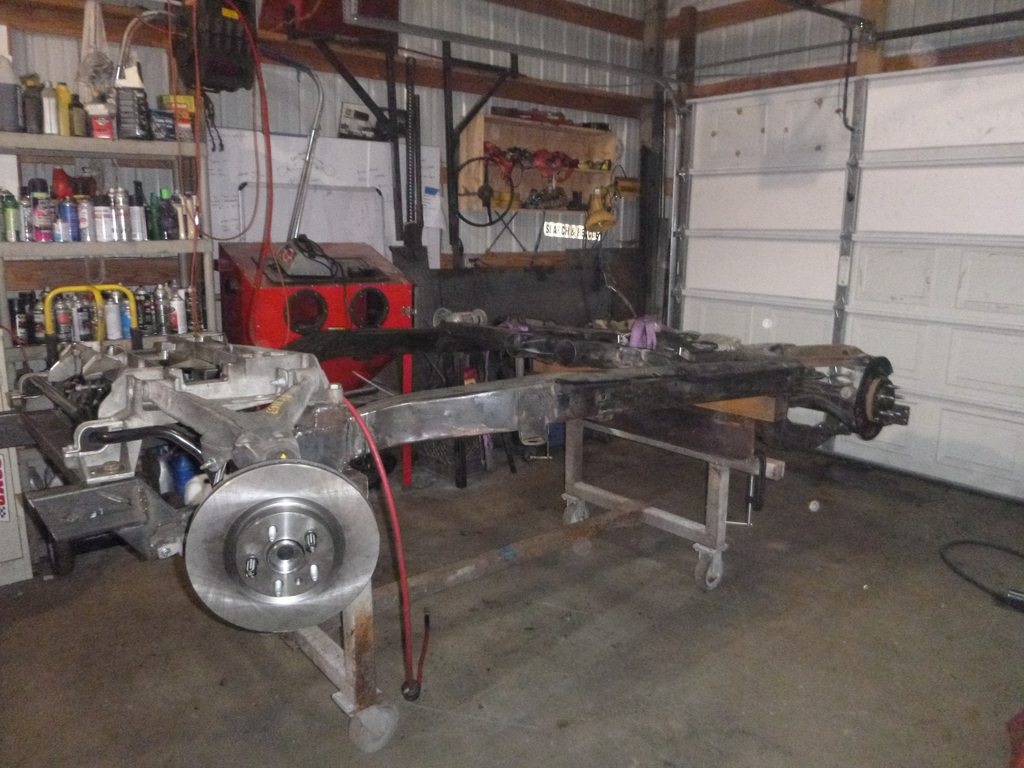
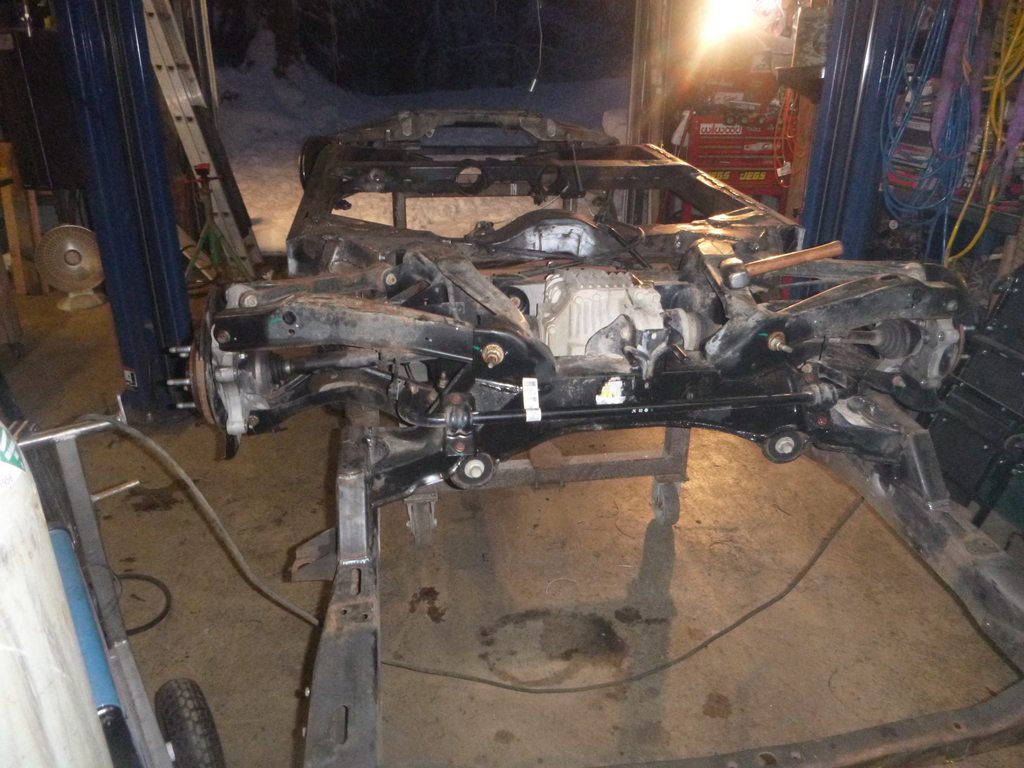
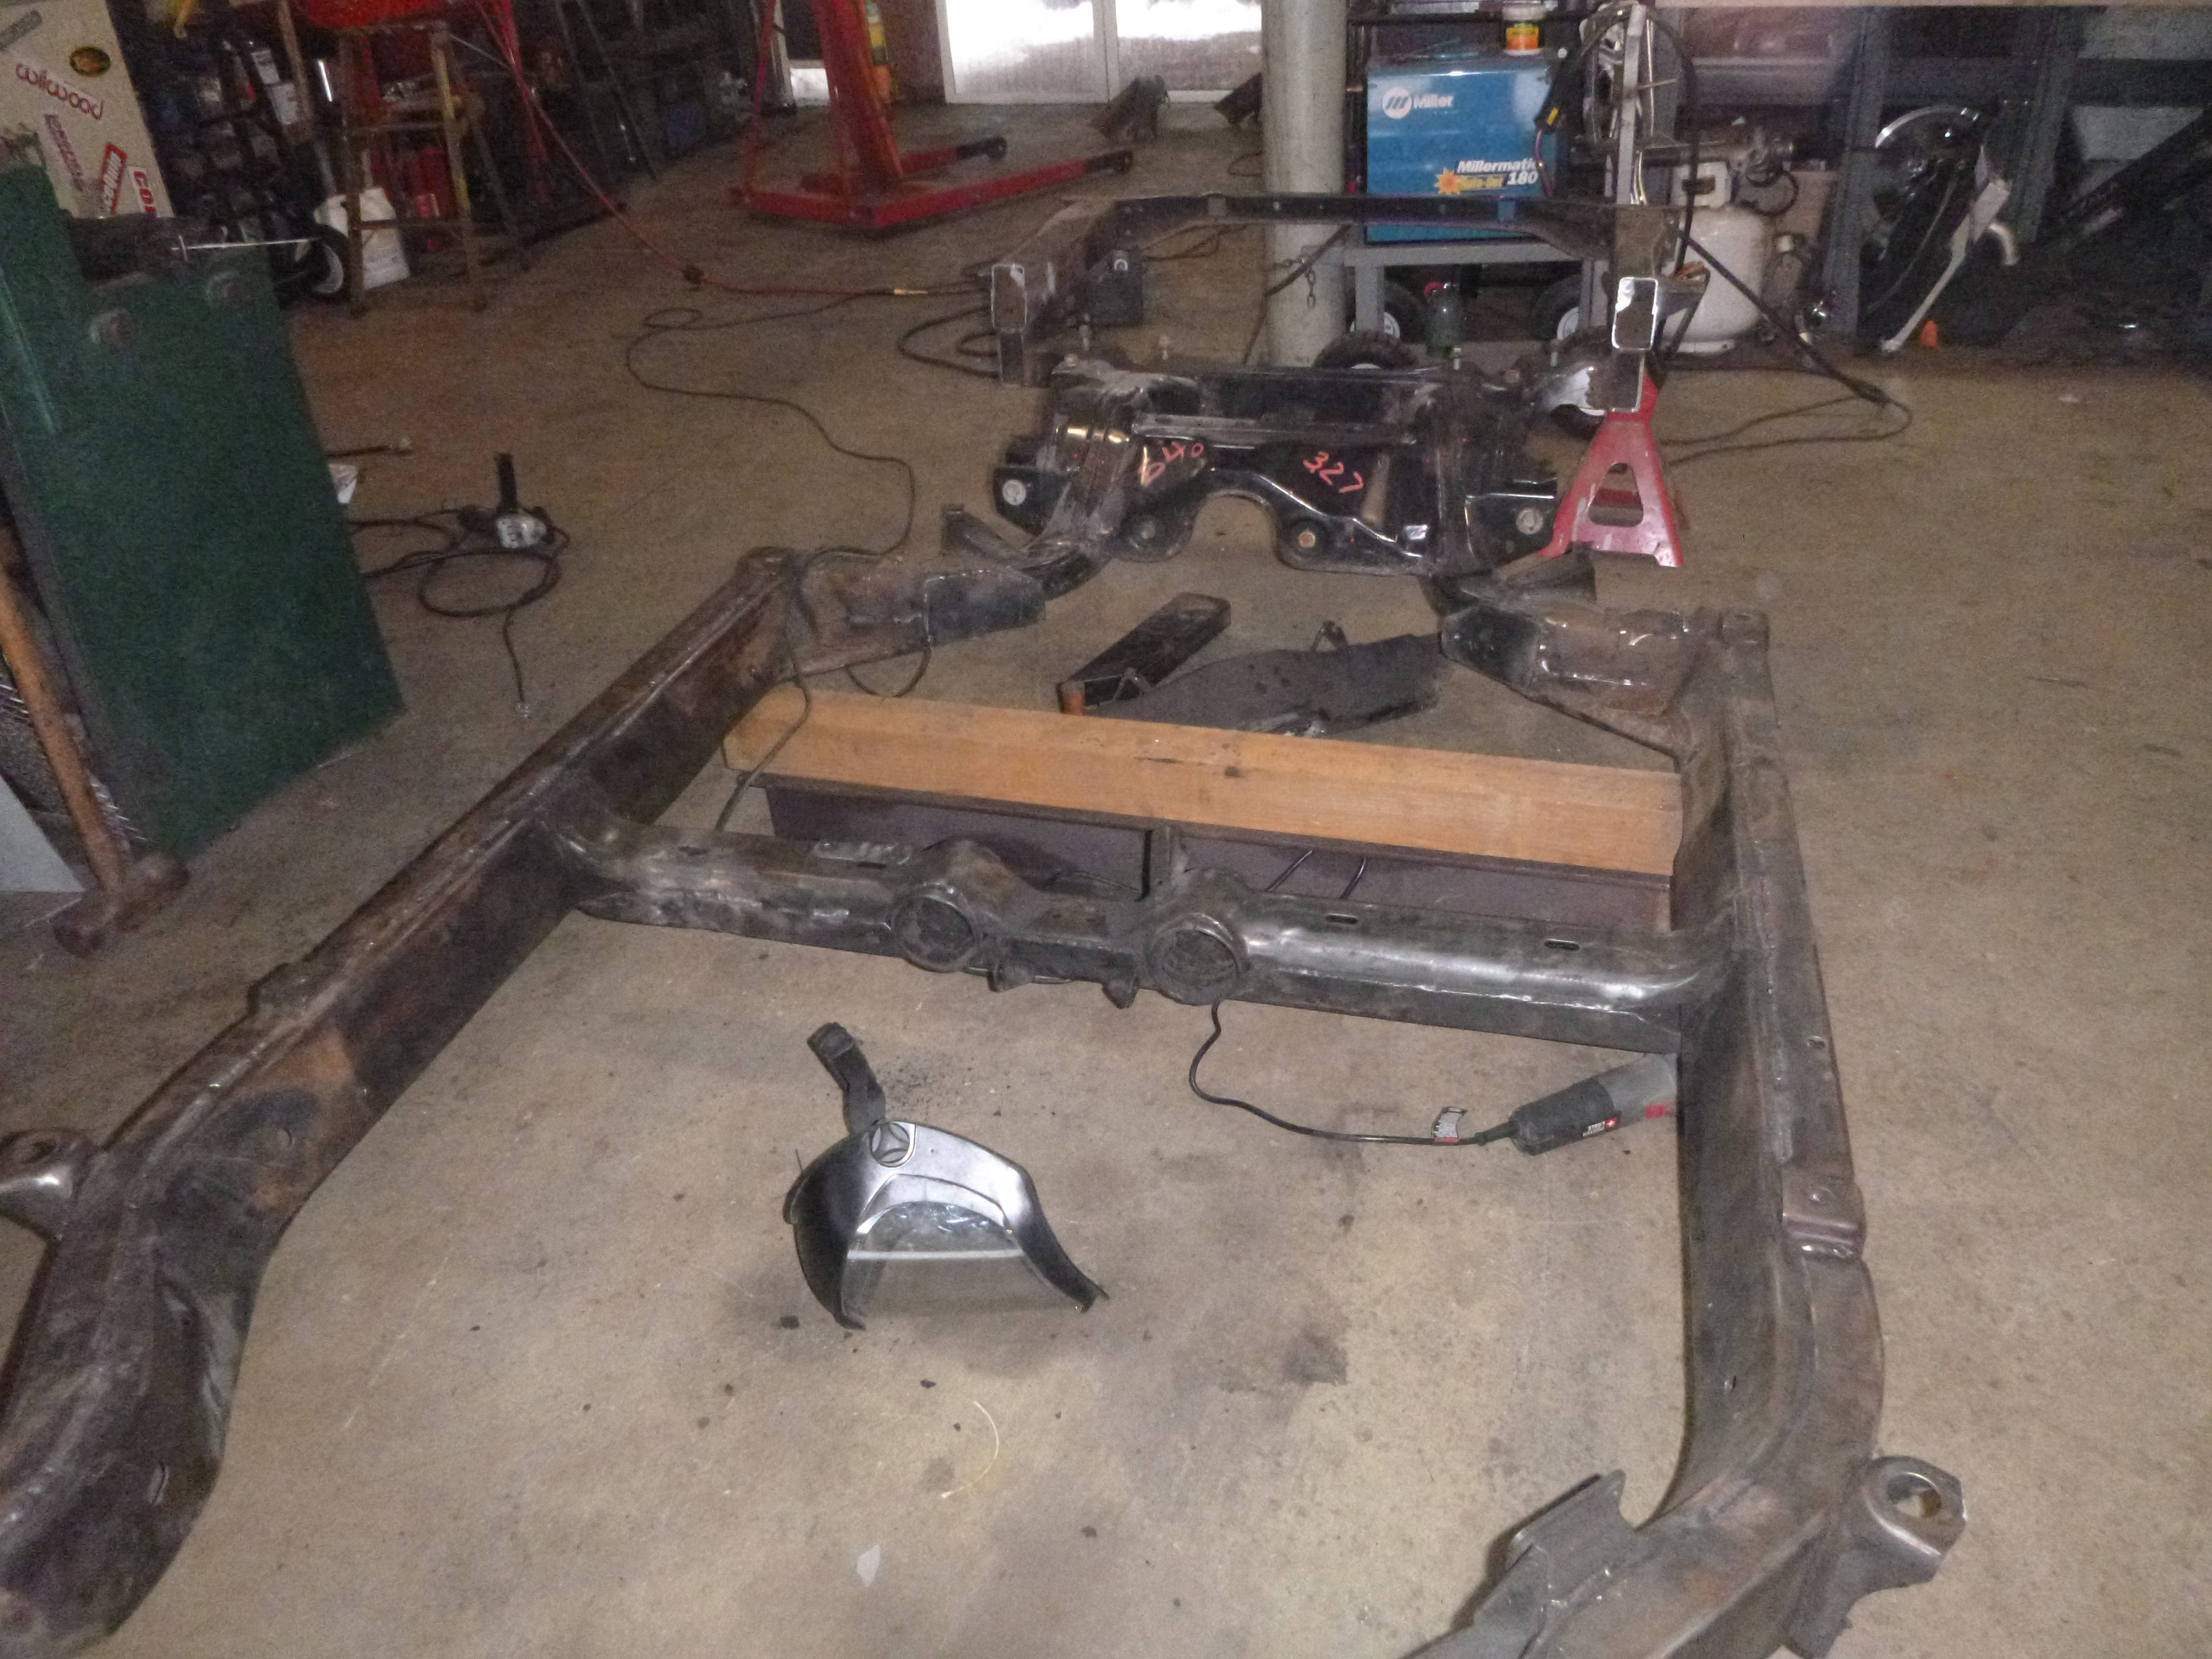
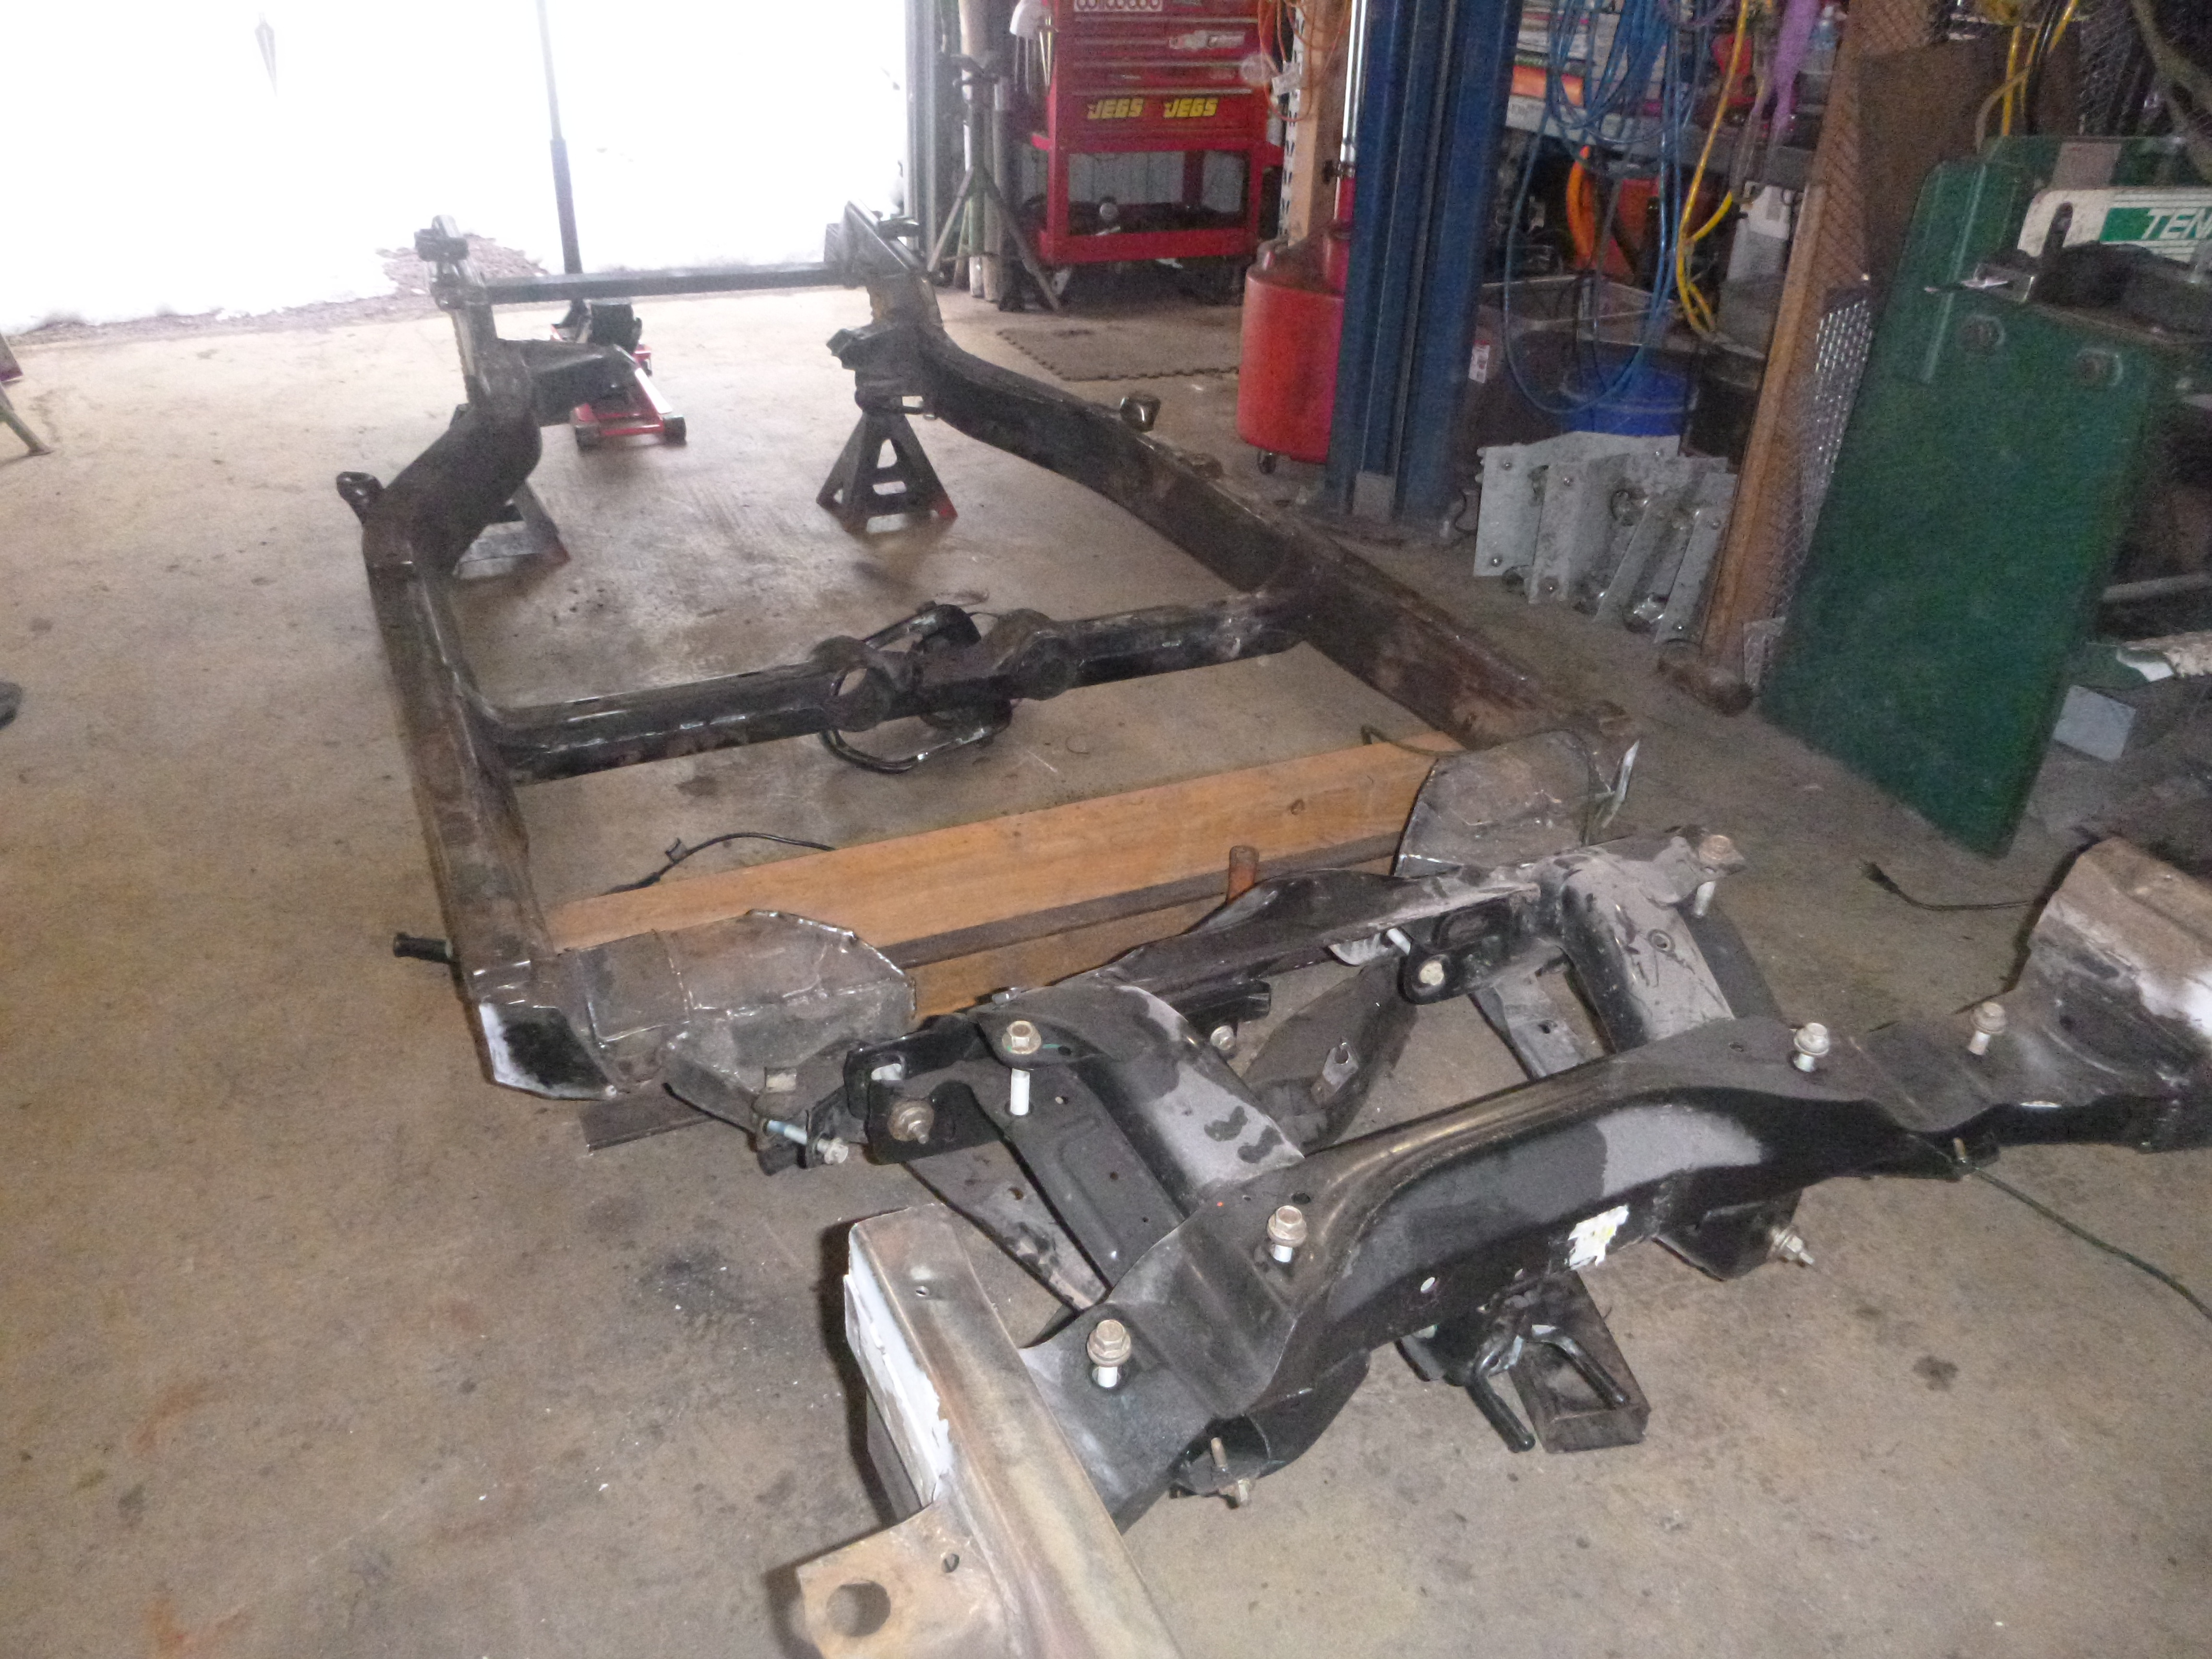
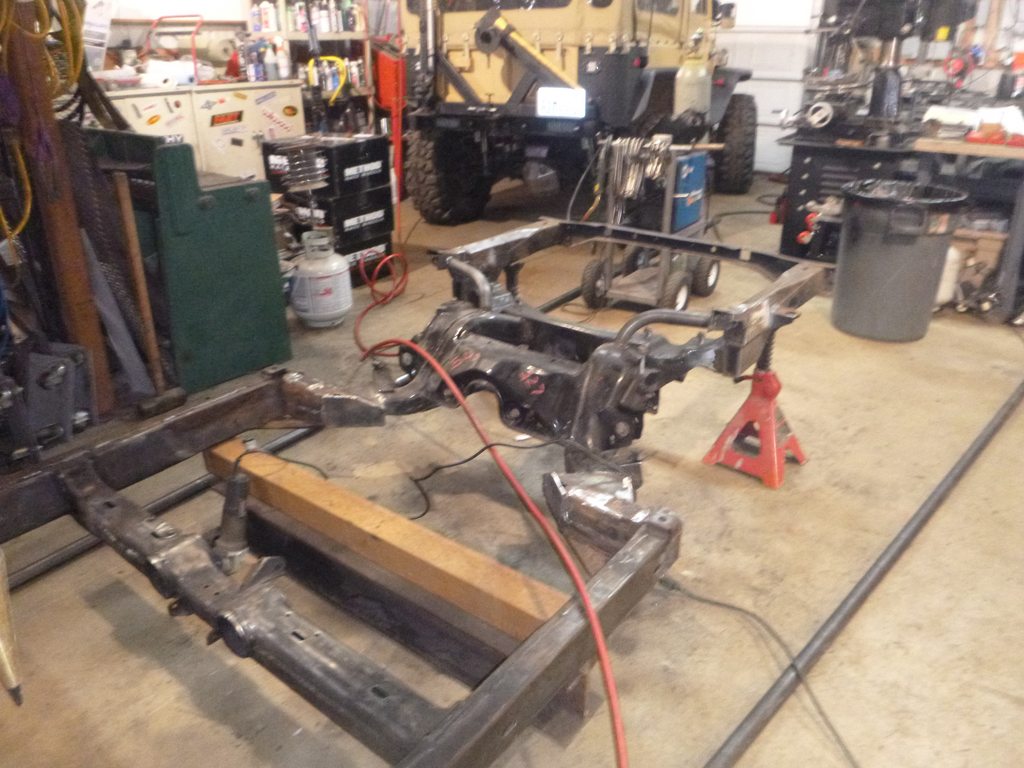
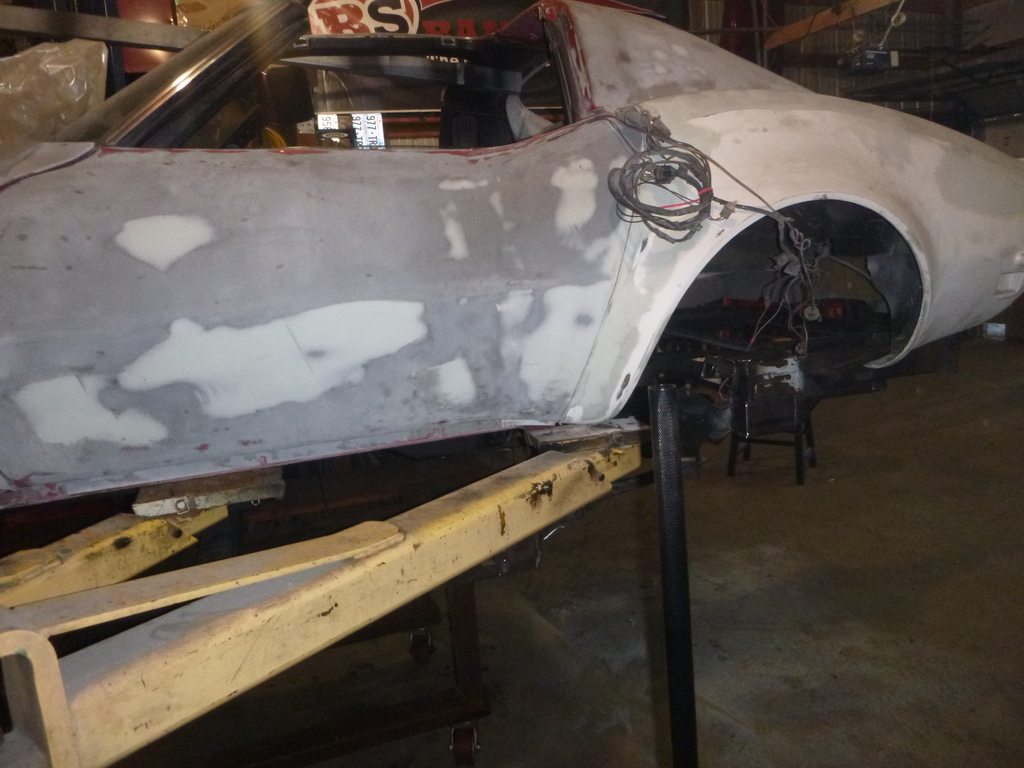
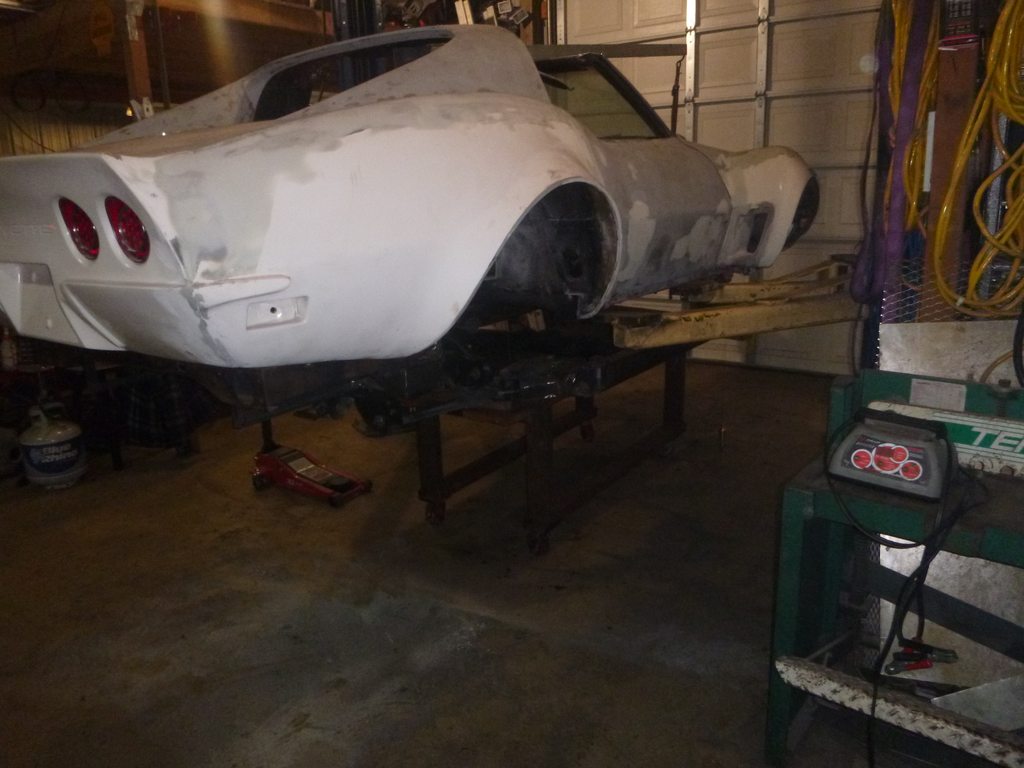
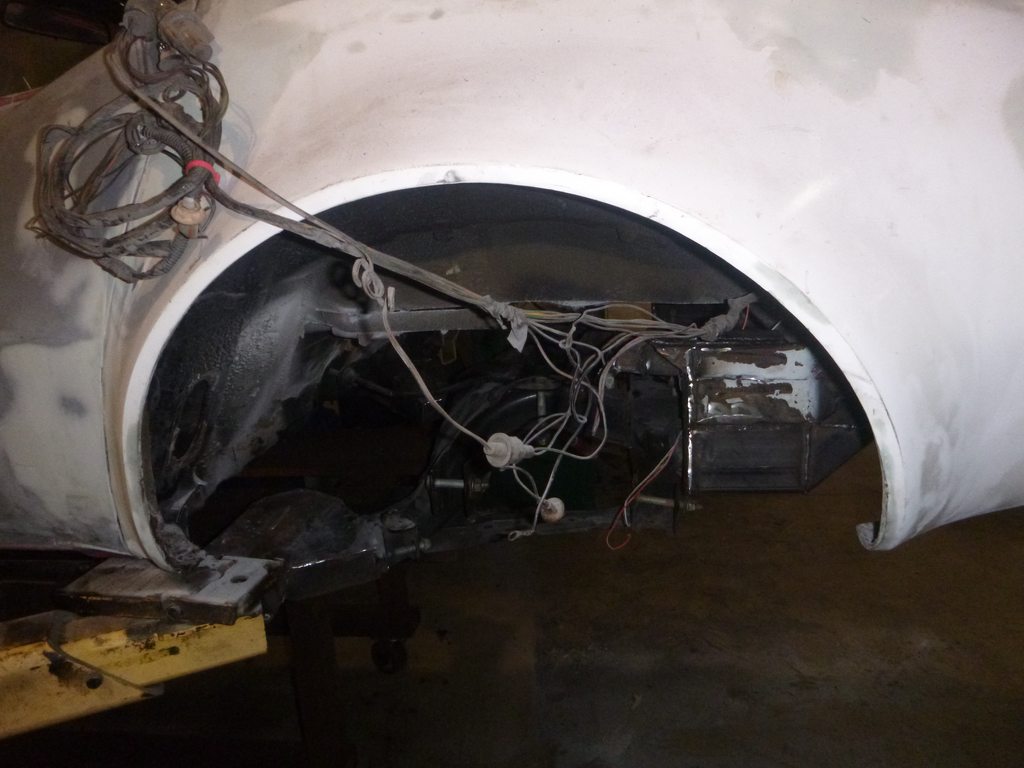
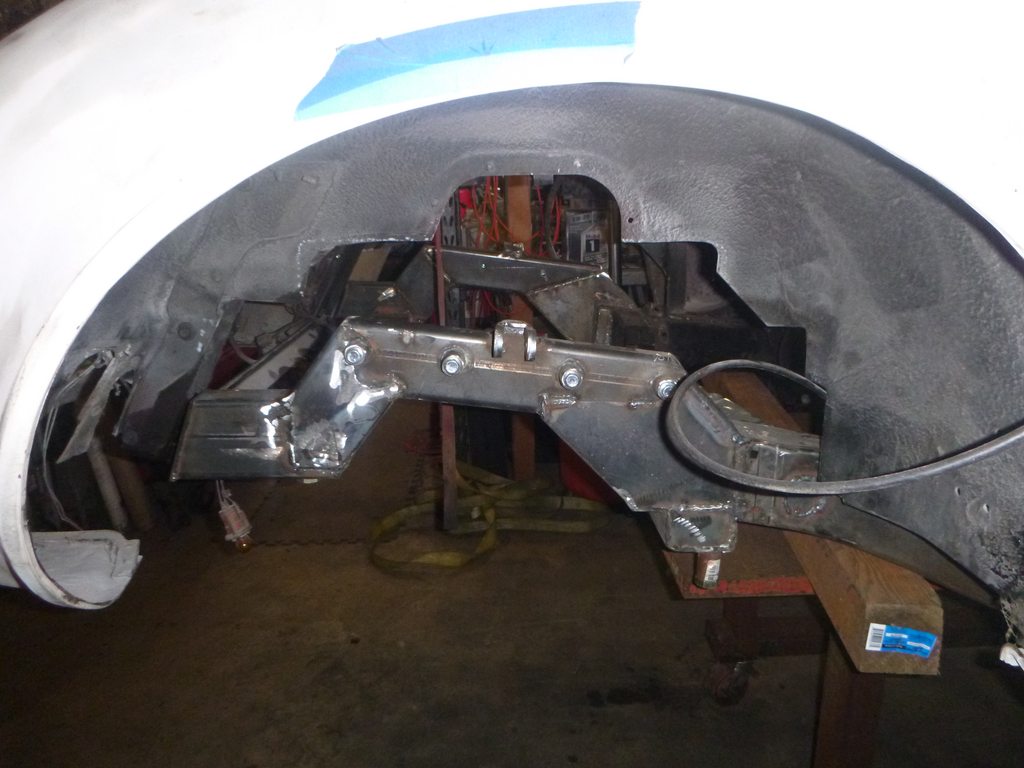
the snow is great, best of all, I get more time on this
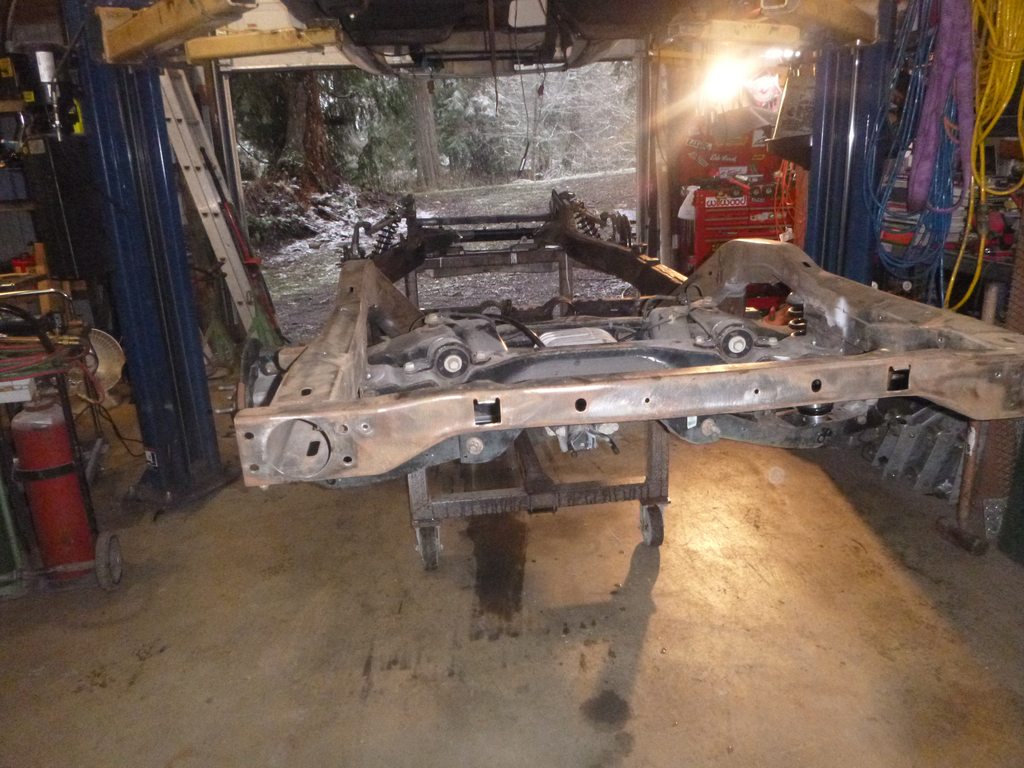
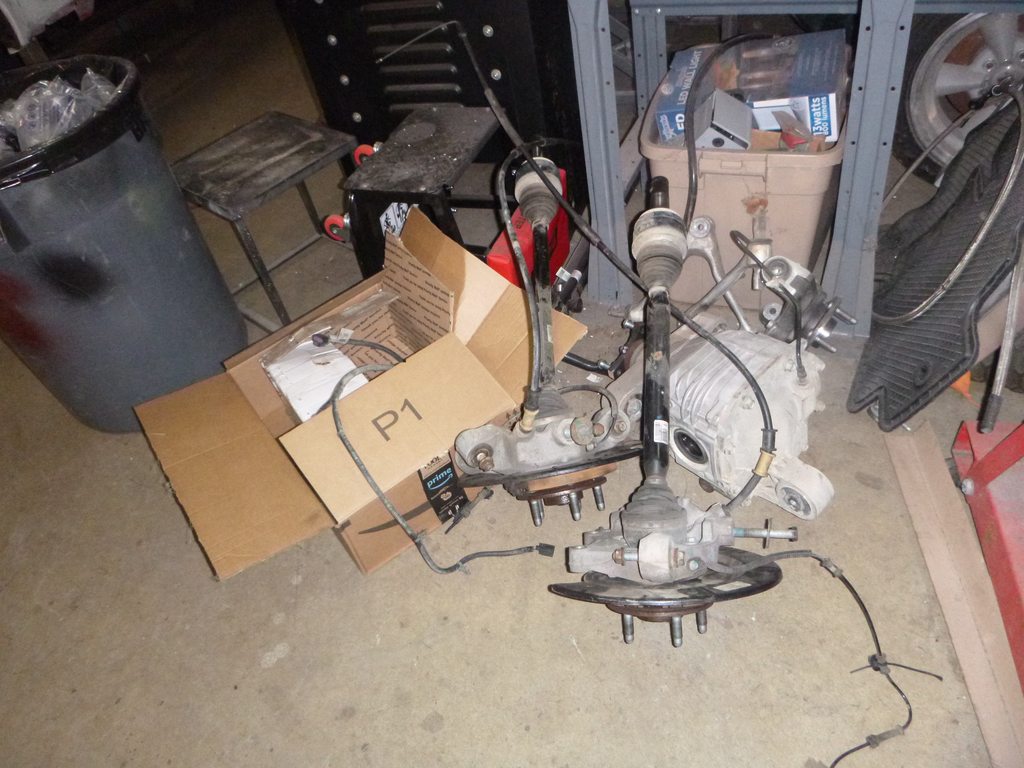
front end disassembled
mental note, that makes the rear heavier....
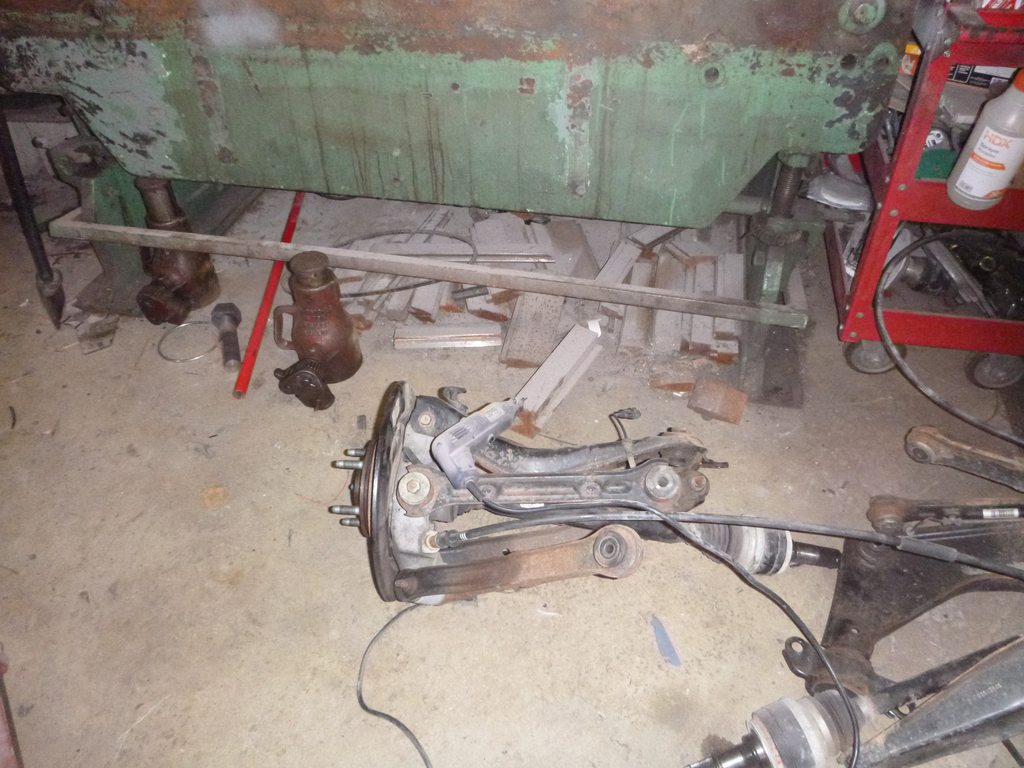
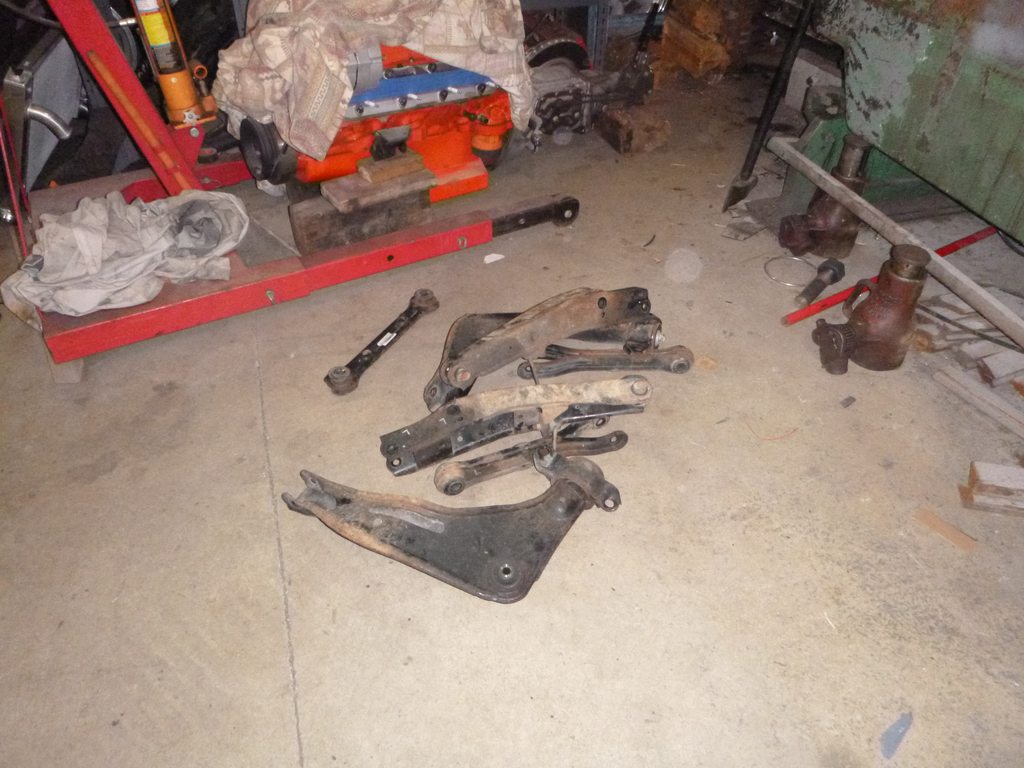
so let's disassemble it as well
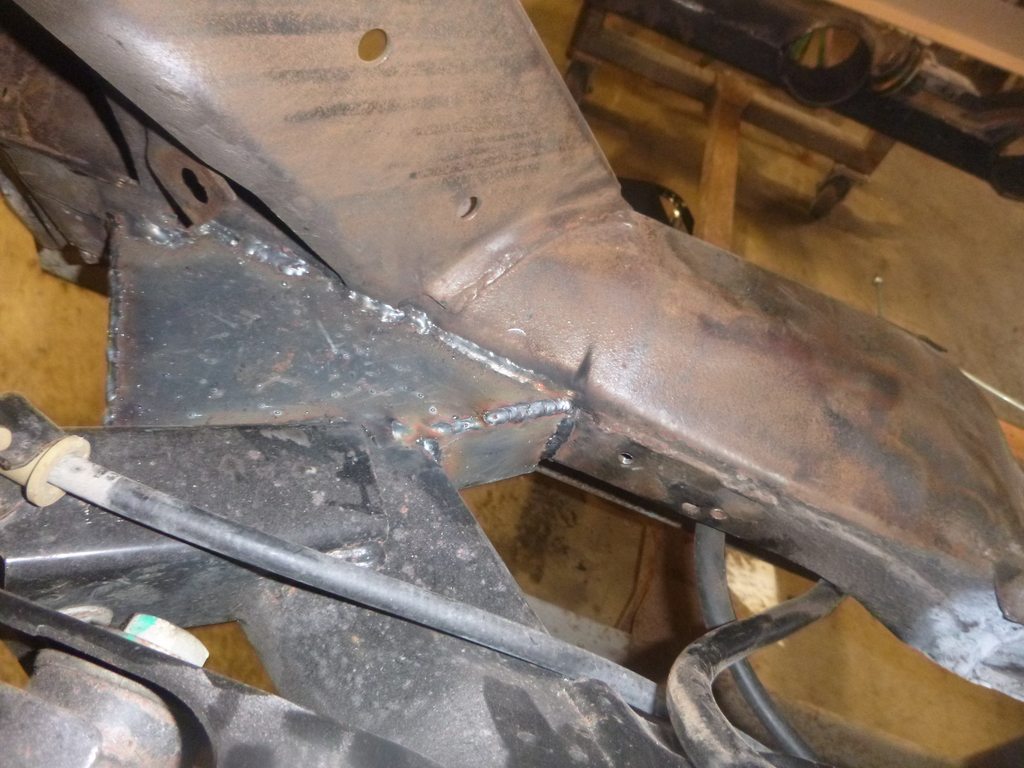
I did get more welding in on the frame rails
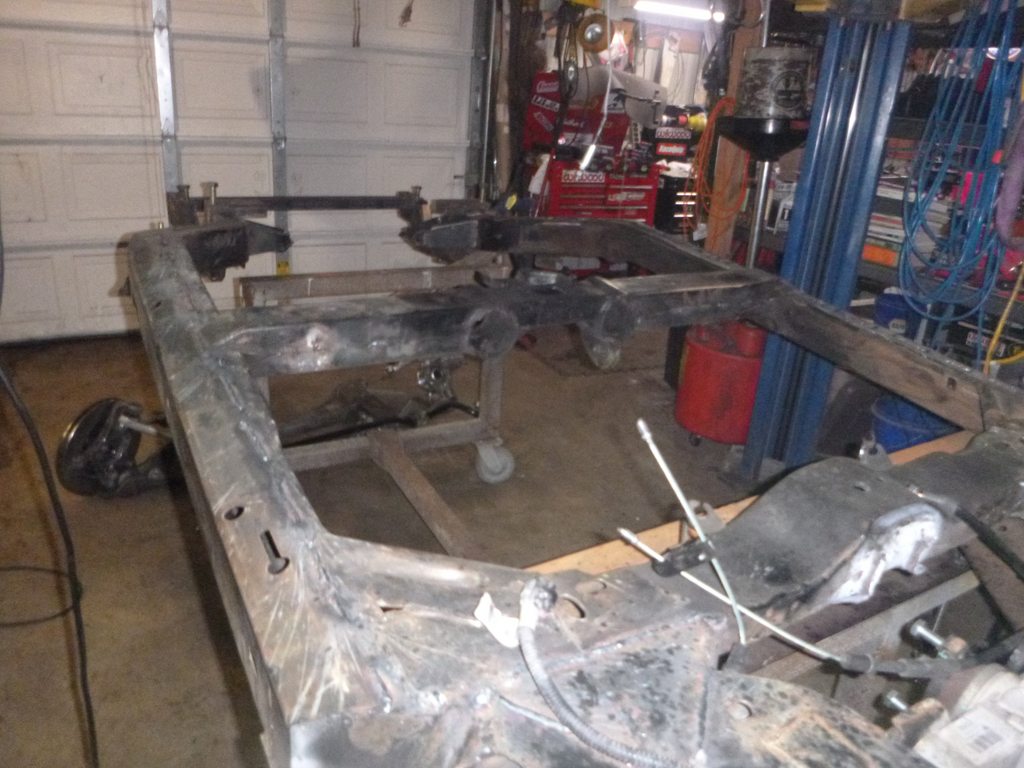
what is that term - it's a 50/50 chance you did it wrong... wrong, I think it's more like 100%... in the case I have to cut the e-brake cable bracket to remove the rear assemblies
it's apart
and now, because of the snow, I'm wondering if I should just clean it well then paint it... I'll have to decide after tomorrow - there is a bunch more welding to do.... once that's done, it'll be time to get it clean so I can paint and start reassembly for real.... which is good, I'm running out of places to stash C3 parts.
front end disassembled
mental note, that makes the rear heavier....
so let's disassemble it as well
I did get more welding in on the frame rails
what is that term - it's a 50/50 chance you did it wrong... wrong, I think it's more like 100%... in the case I have to cut the e-brake cable bracket to remove the rear assemblies
it's apart
and now, because of the snow, I'm wondering if I should just clean it well then paint it... I'll have to decide after tomorrow - there is a bunch more welding to do.... once that's done, it'll be time to get it clean so I can paint and start reassembly for real.... which is good, I'm running out of places to stash C3 parts.
02-12-2019, 11:27 PM
#251
Melting Slicks
thread protectors
hey look, cheap disks explode - it's why I wear expensive, safety gear
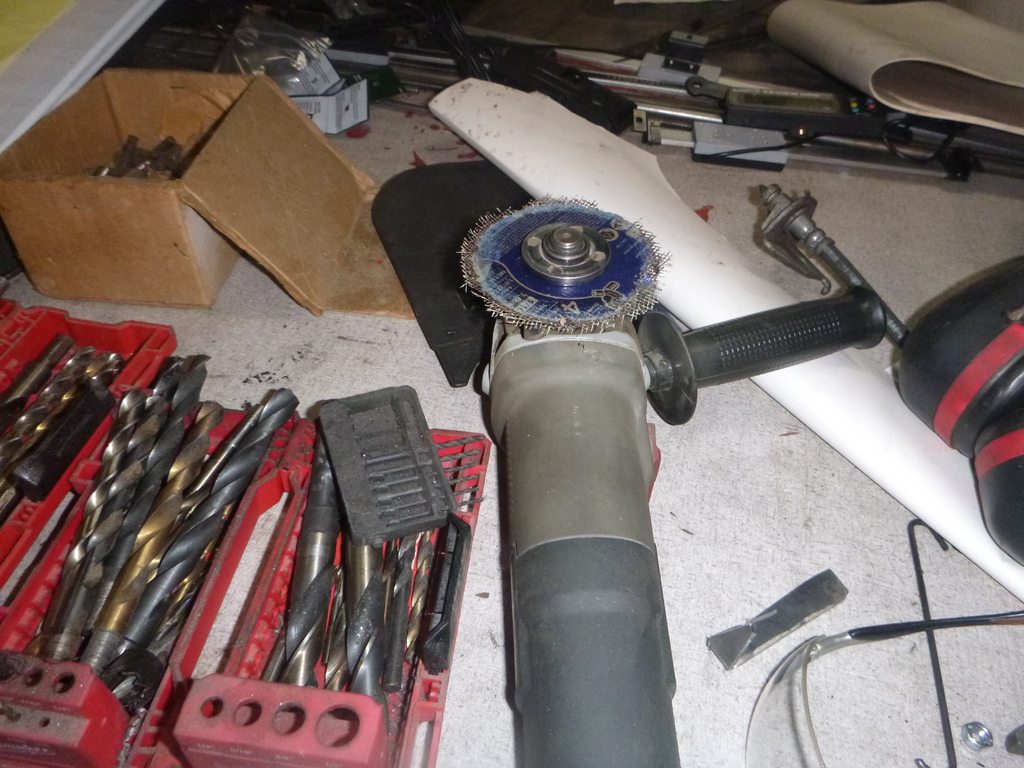
welding up final holes
Tomorrow, grinding then hoping the snow goes away enough to take the frame to be blasted.... if not, I'm sure I'll think of something
hey look, cheap disks explode - it's why I wear expensive, safety gear
welding up final holes
Tomorrow, grinding then hoping the snow goes away enough to take the frame to be blasted.... if not, I'm sure I'll think of something
02-17-2019, 06:13 PM
#252
Melting Slicks
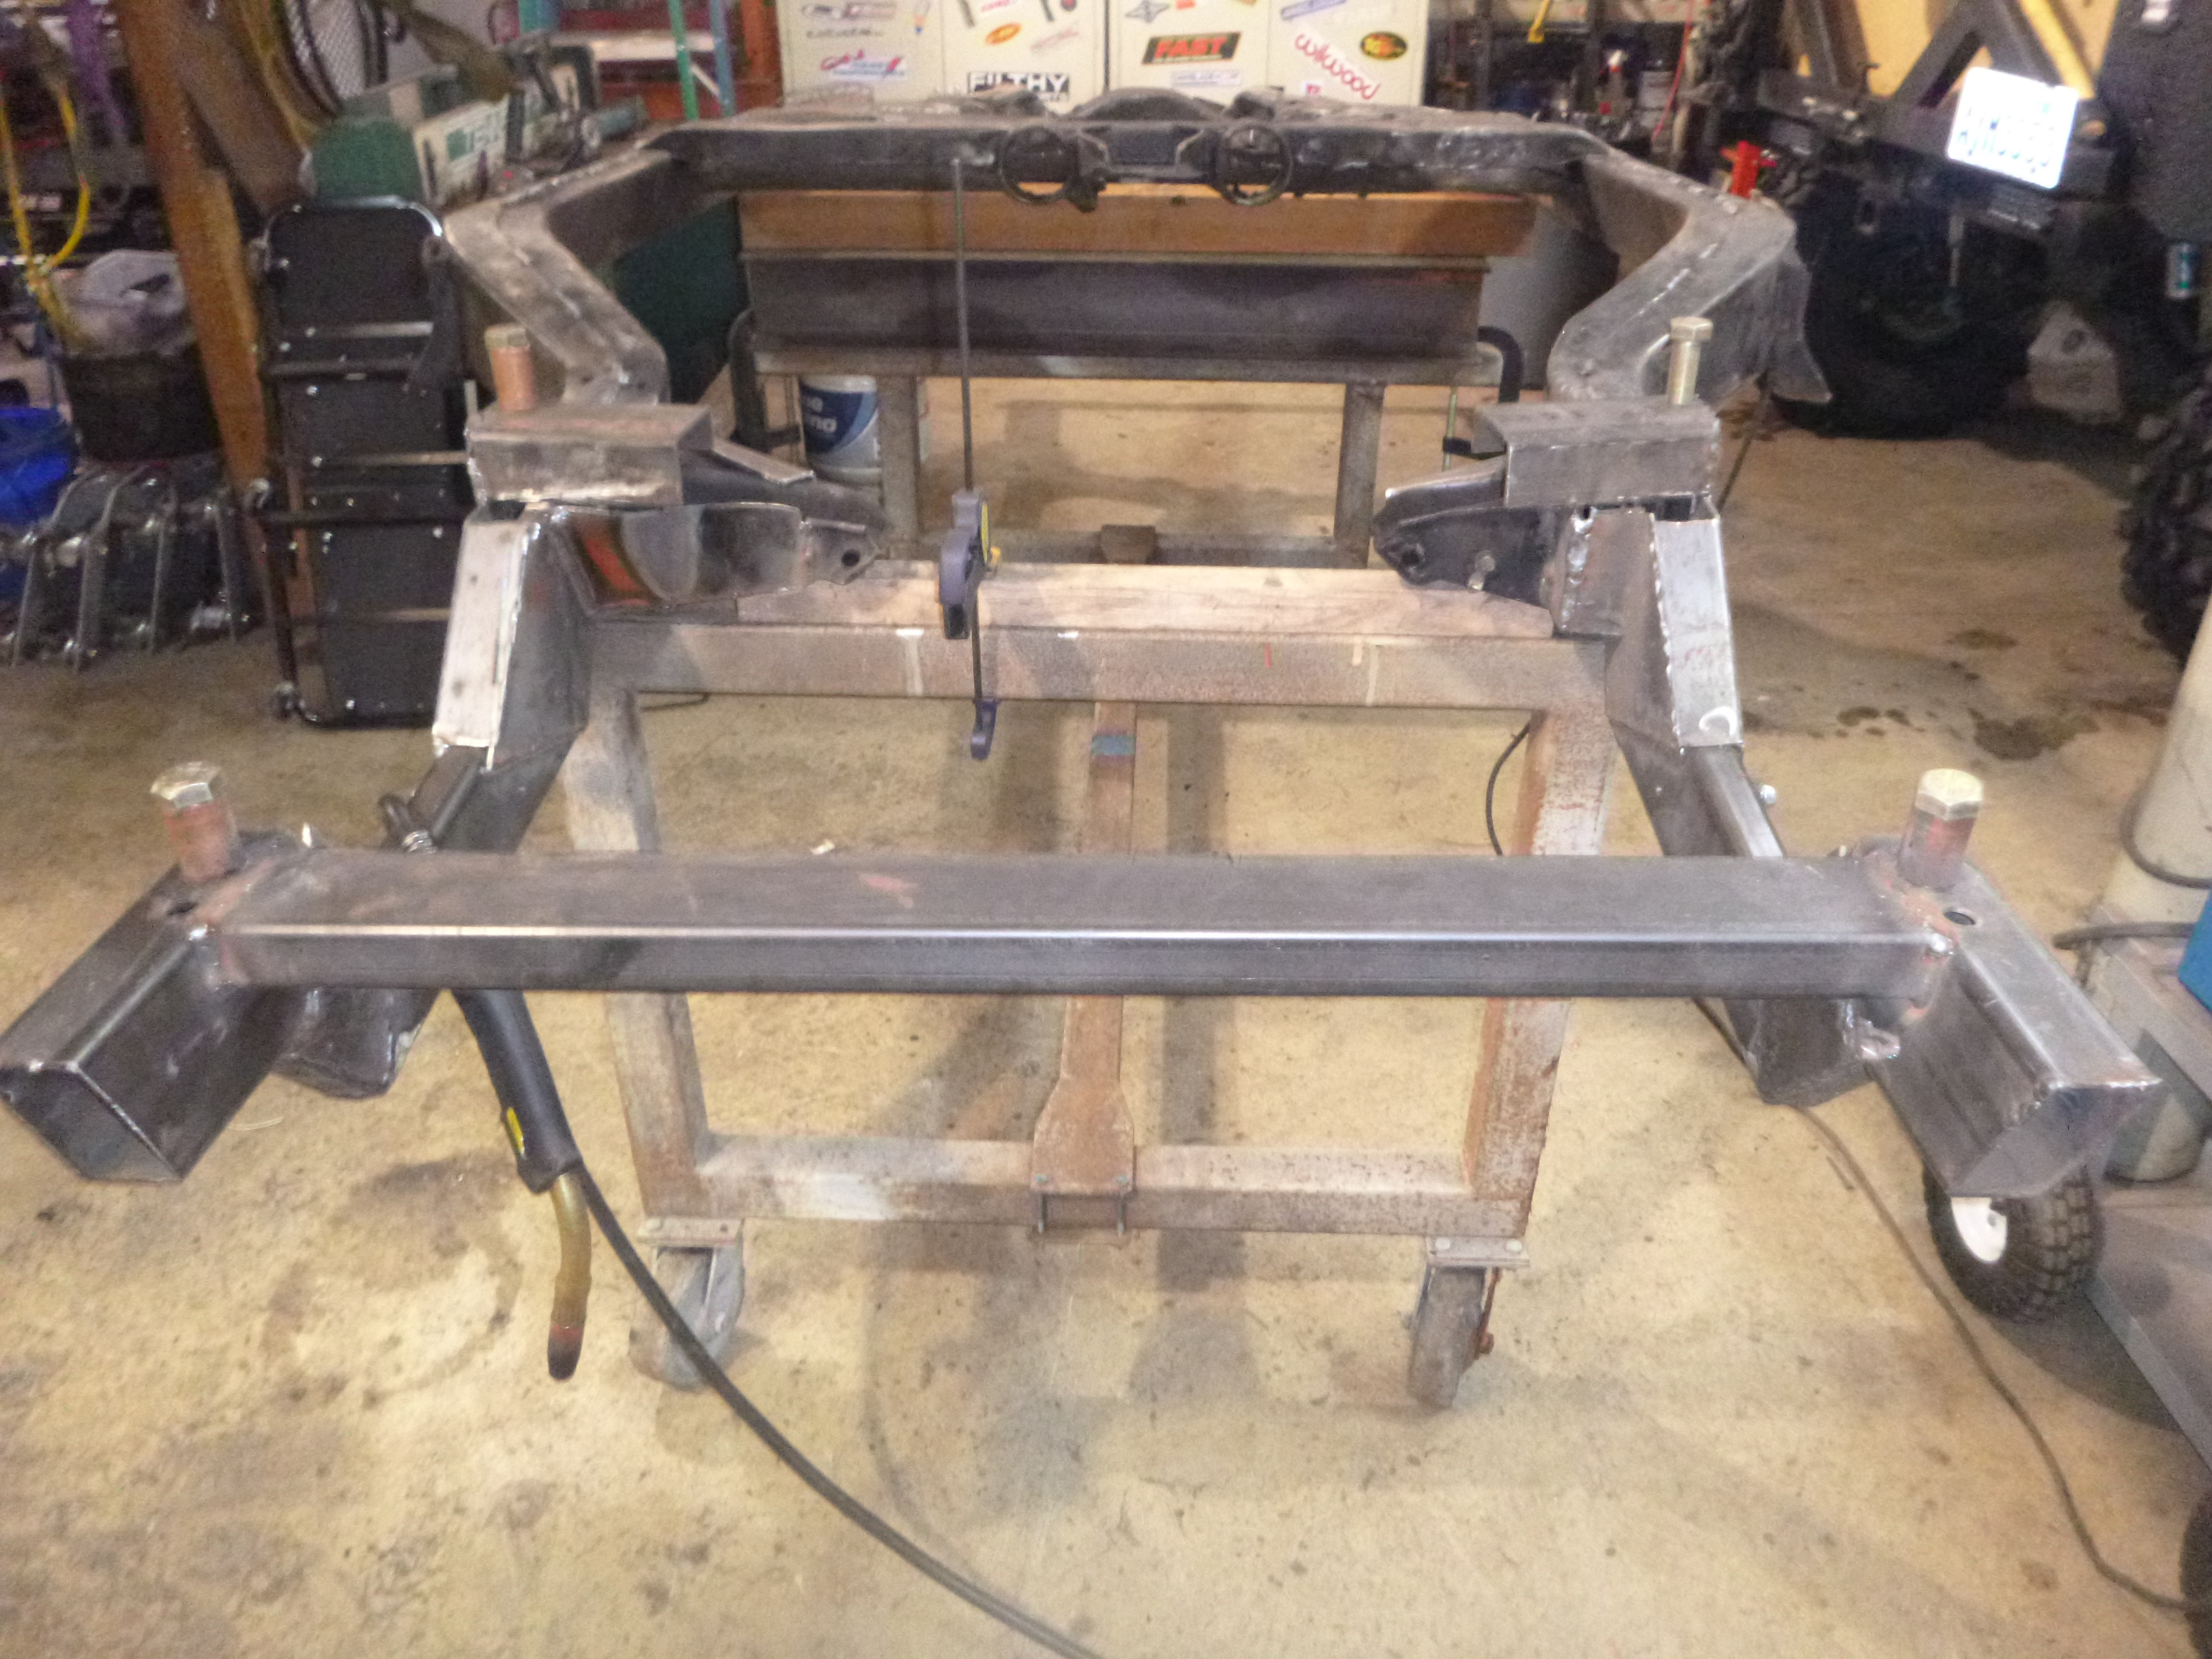
today started with deciding I'm not using this (still).... it's an aftermarket, bolt-in cross member but I think the stock, welded cross member is stronger
So I did what was naturally the next step, I cut out more of the frame (so the purists will cry, I guess)
just for the record, this isn't a discussion - this is what I'm doing, like it, hate it.... don't care.
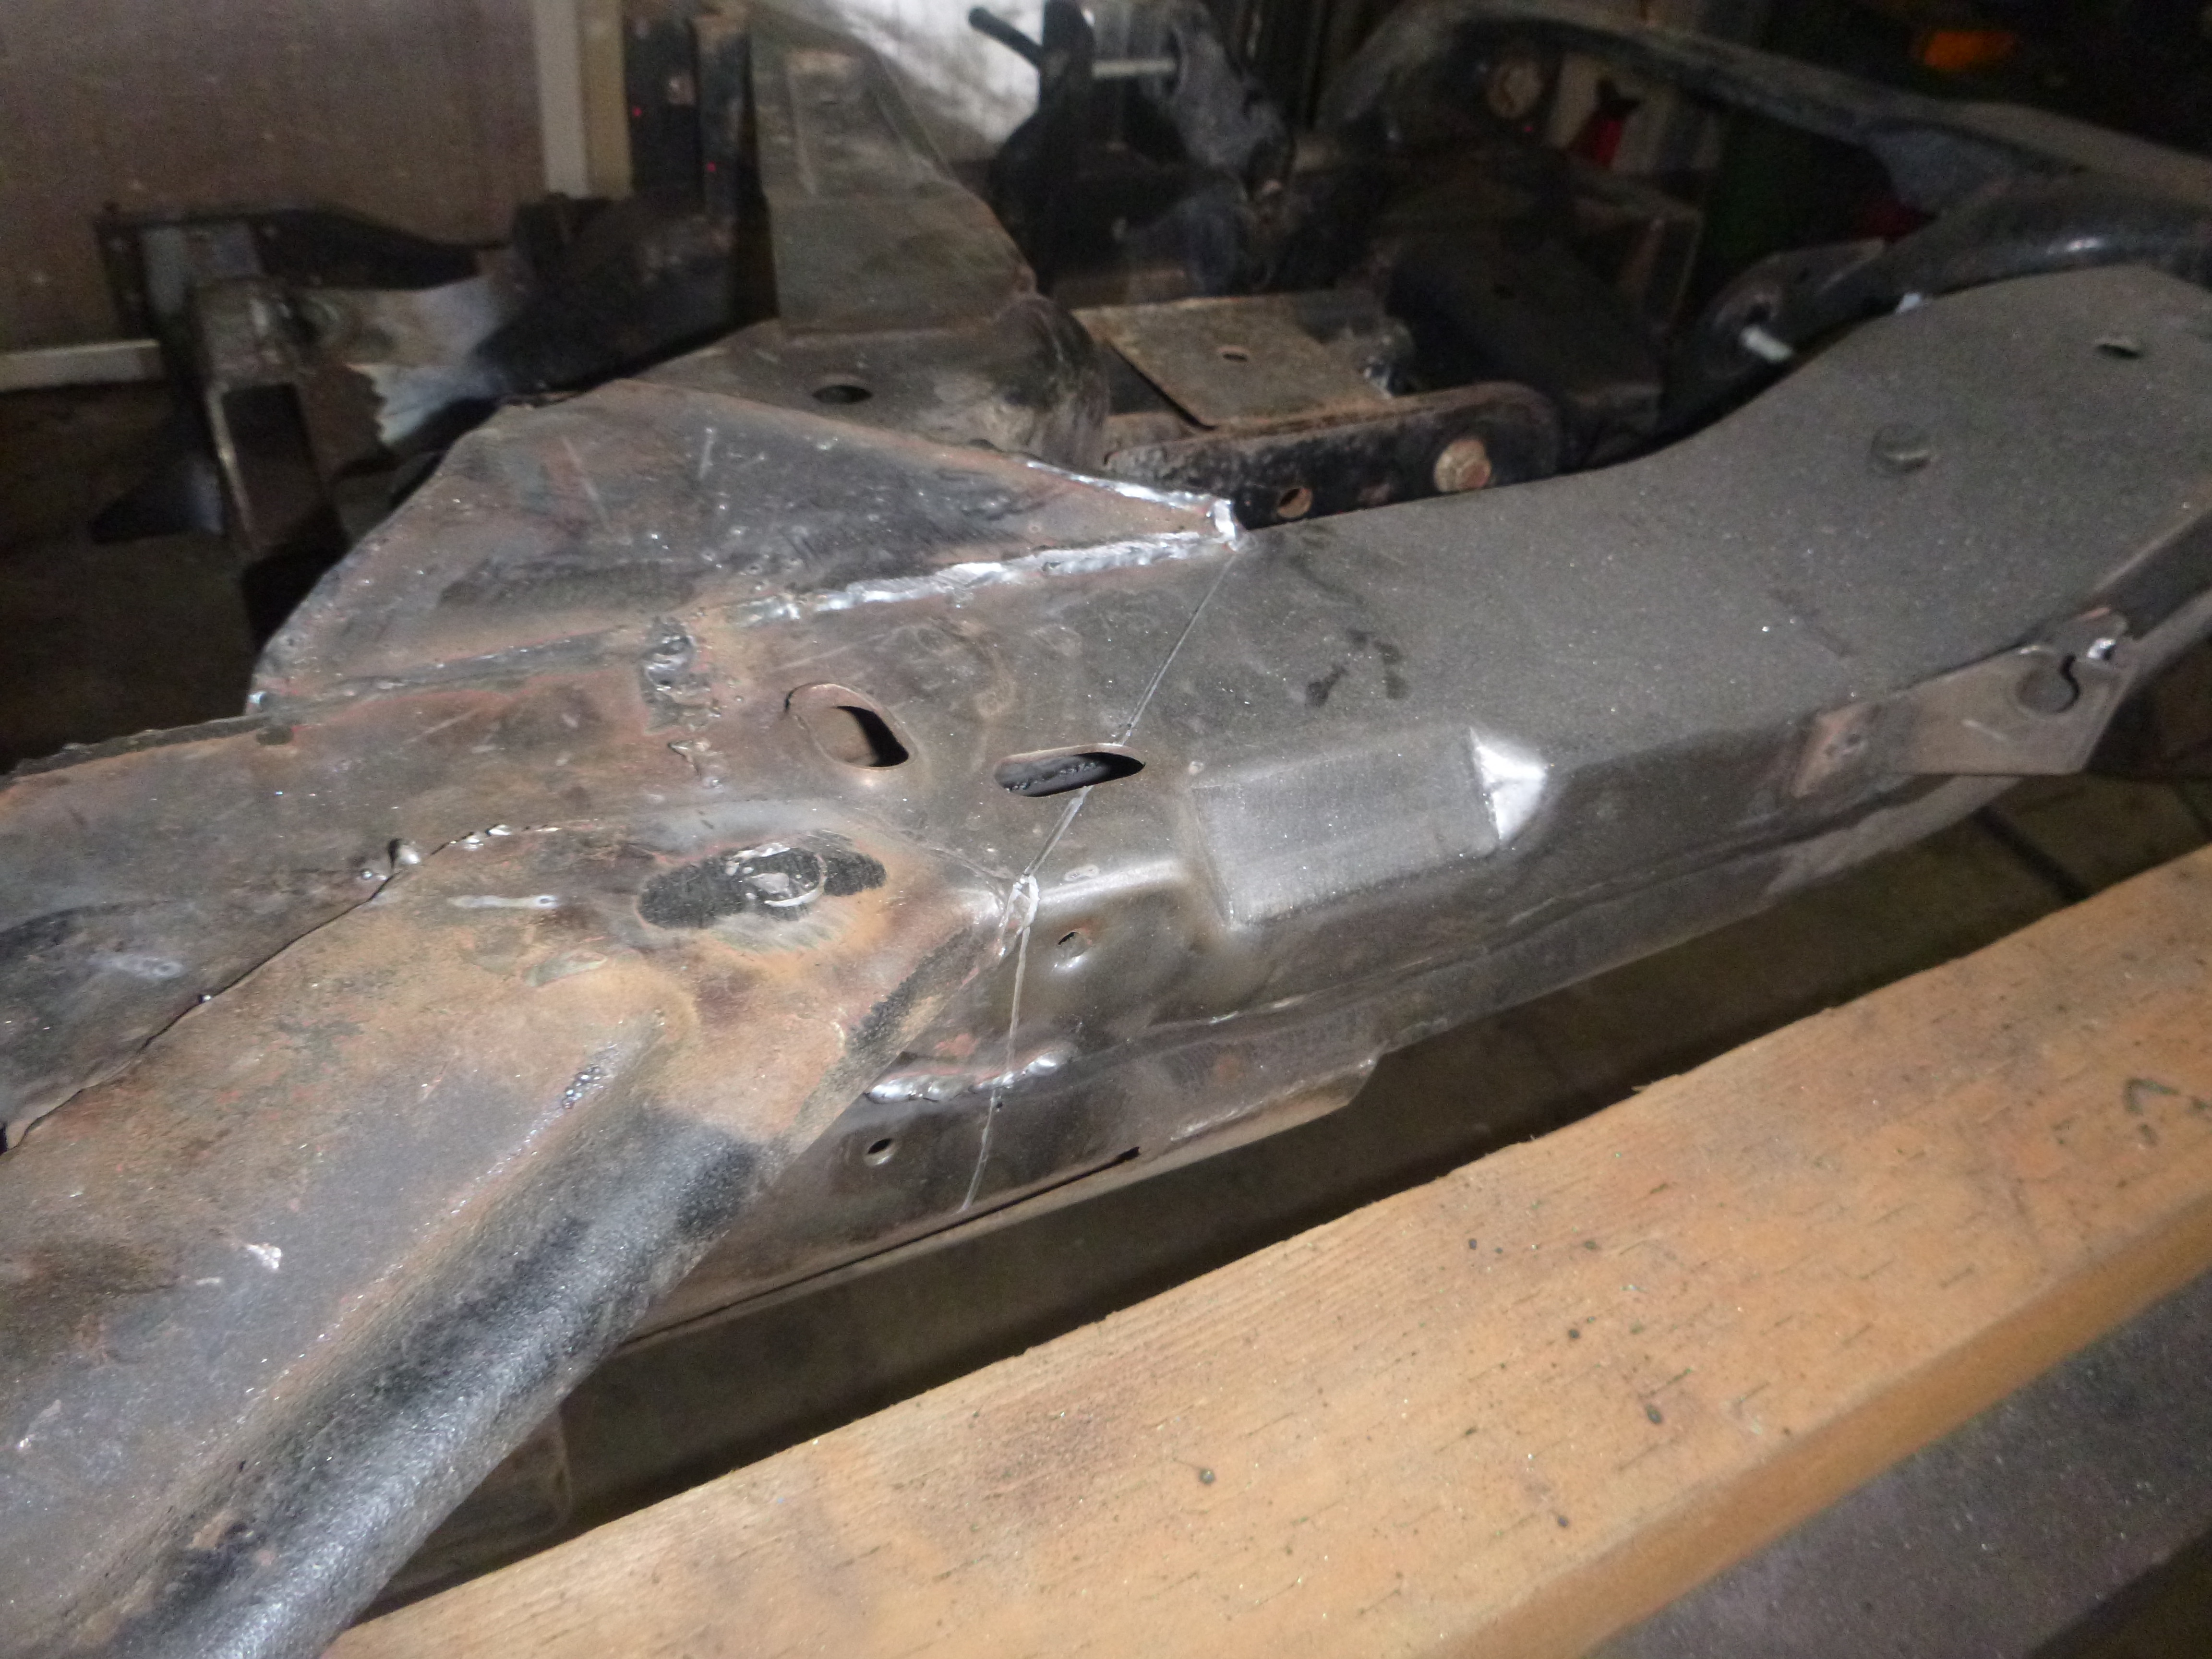
as I cut it apart, nothing popped out of shape - which is good, considering how pretzelled this frame is
and just like that, 40# lighter
now to figure out how to put the upper shock mount back... no... how much floor I'm willing to cut out to put the shock in the right place
isn't there anymore.
So I did what was naturally the next step, I cut out more of the frame (so the purists will cry, I guess)
just for the record, this isn't a discussion - this is what I'm doing, like it, hate it.... don't care.
as I cut it apart, nothing popped out of shape - which is good, considering how pretzelled this frame is
and just like that, 40# lighter
now to figure out how to put the upper shock mount back... no... how much floor I'm willing to cut out to put the shock in the right place
isn't there anymore.
02-19-2019, 09:08 AM
#253
Advanced
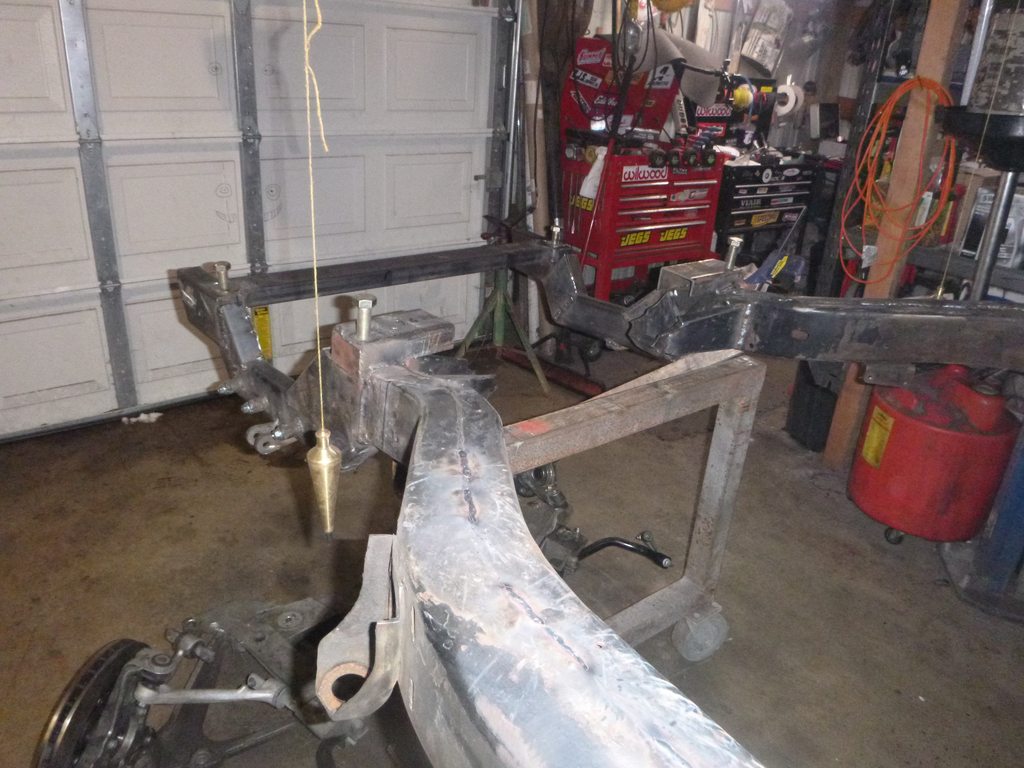
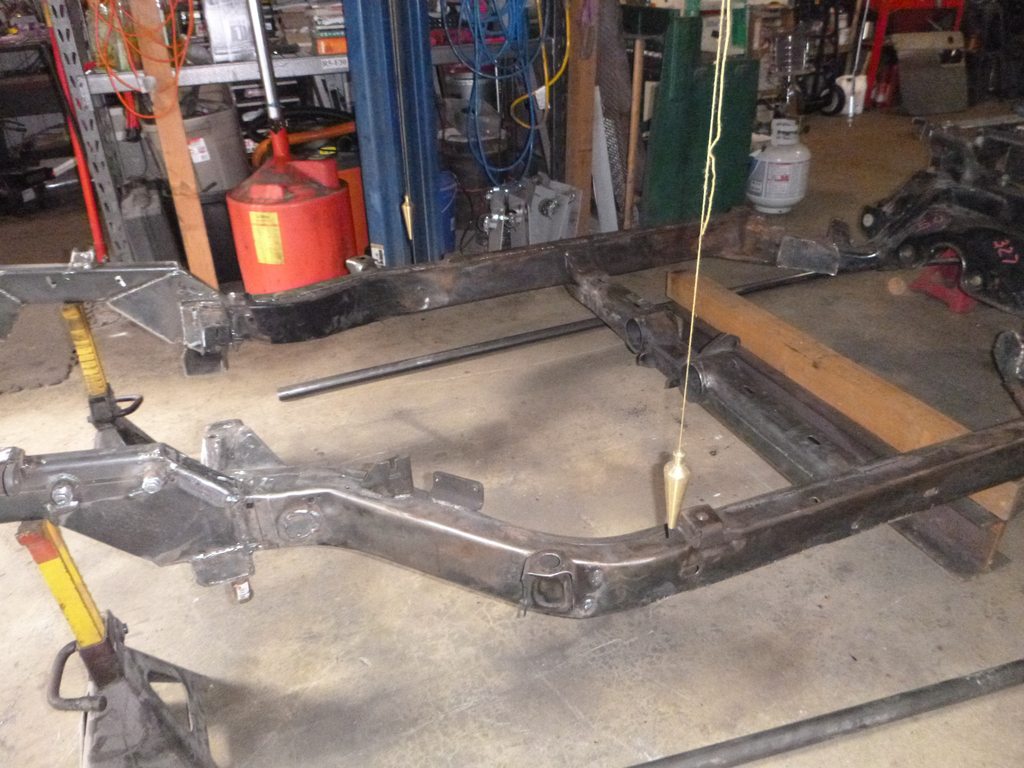
so close to blast... tie bar for the rear coil overs and off
 [/QUOTE]
Plumb Bob photo bomb! BLAST IT!!! It is SO pretty!(I know you don't care) This is Awesome. I'll take two!
[/QUOTE]Plumb Bob photo bomb! BLAST IT!!!
It is SO pretty!(I know you don't care) This is Awesome. I'll take two!
Last edited by gtmsomeday; 02-19-2019 at 09:13 AM.
 02-25-2019, 12:11 AM
#255
Melting Slicks
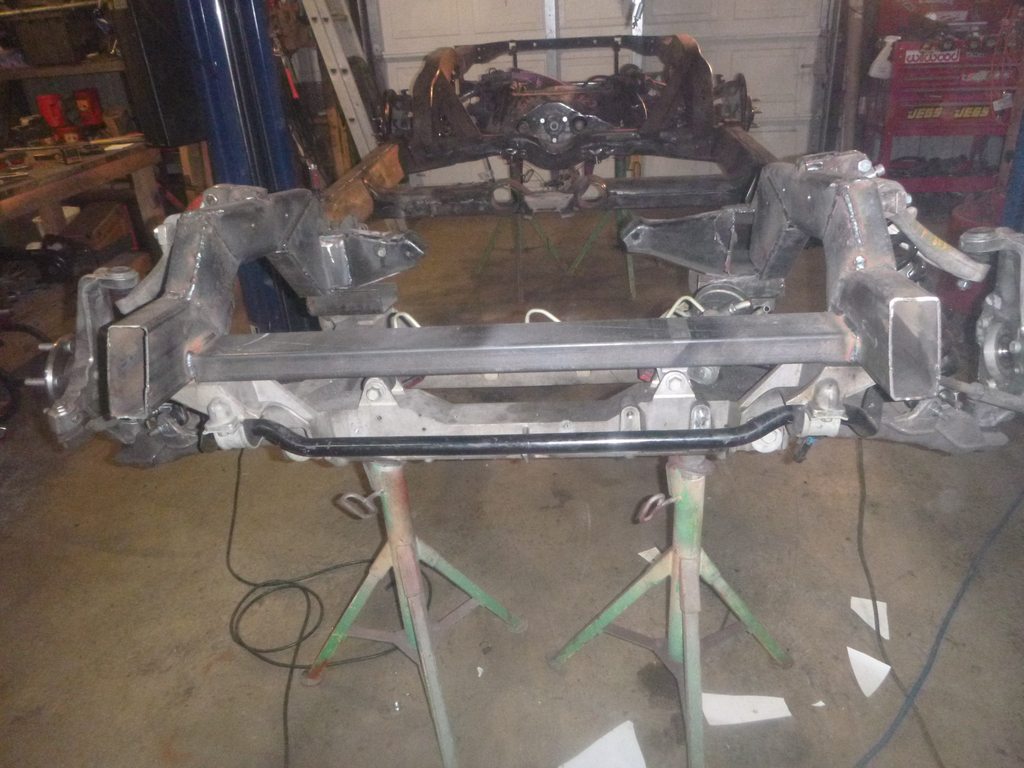
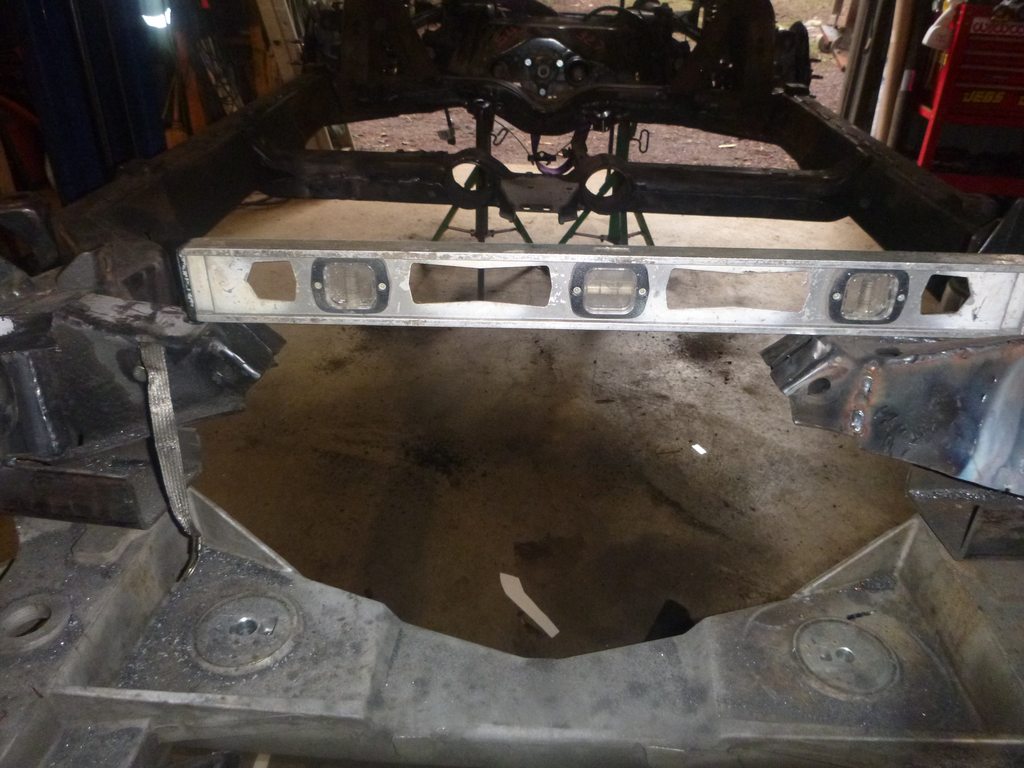
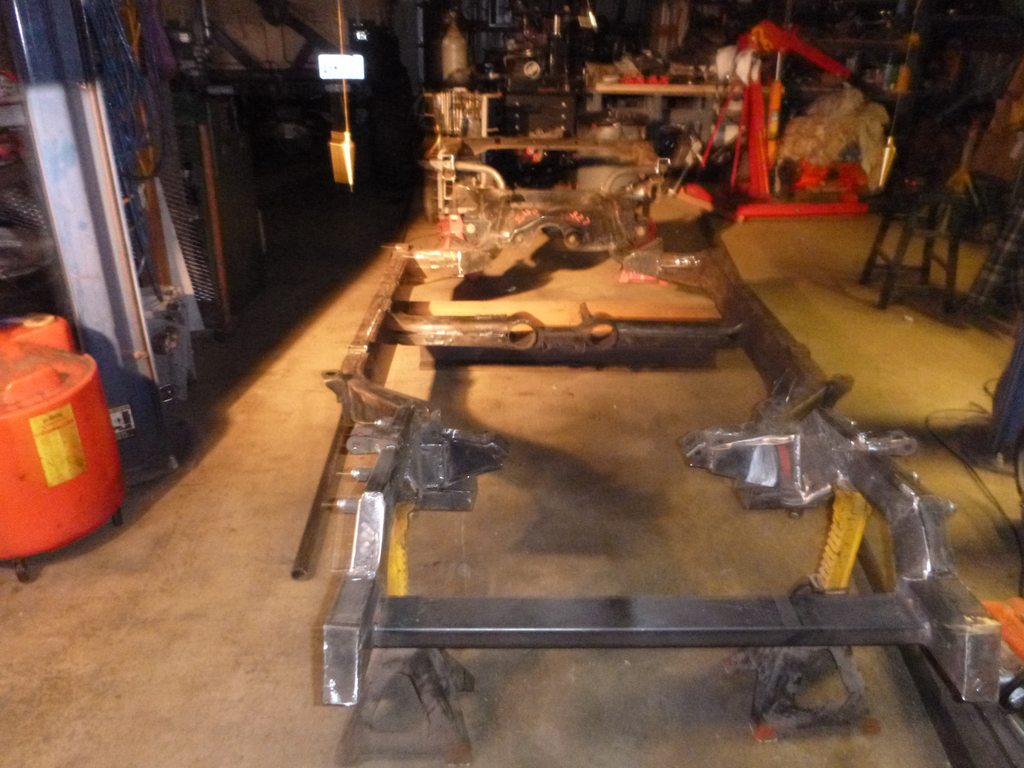
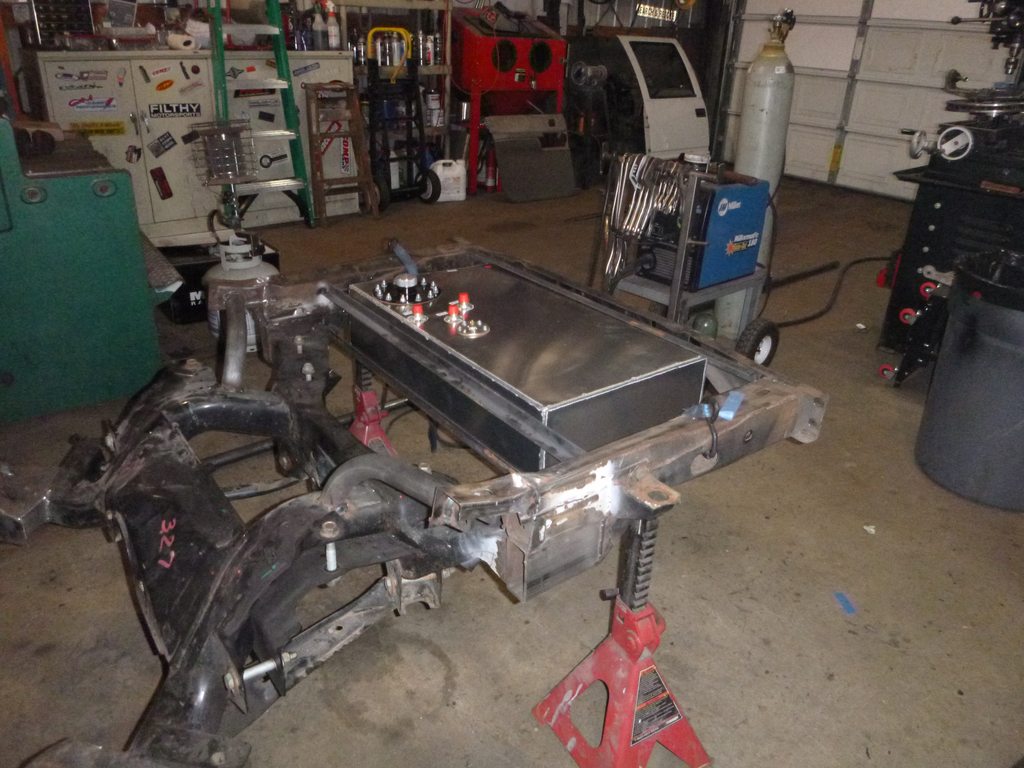
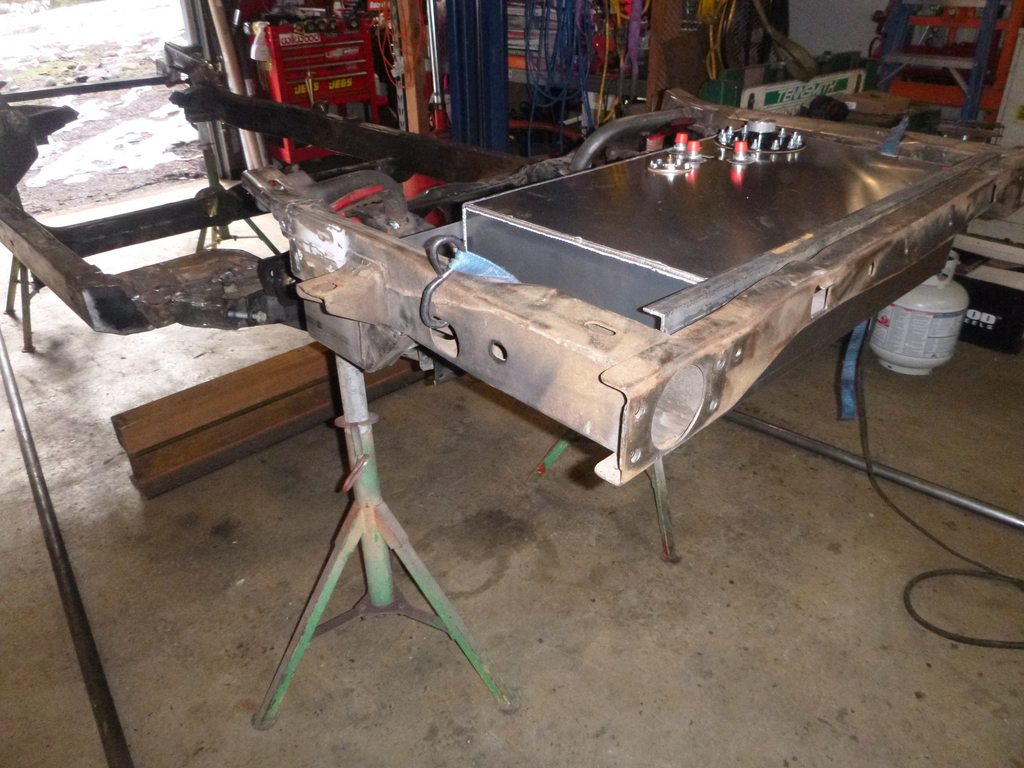
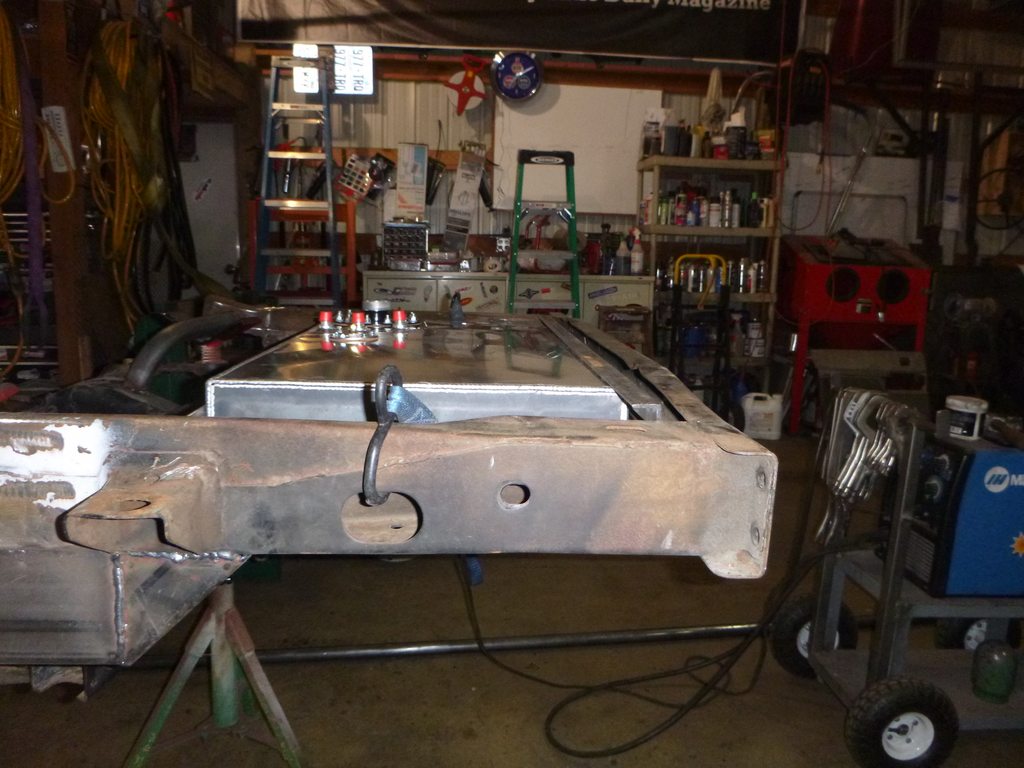
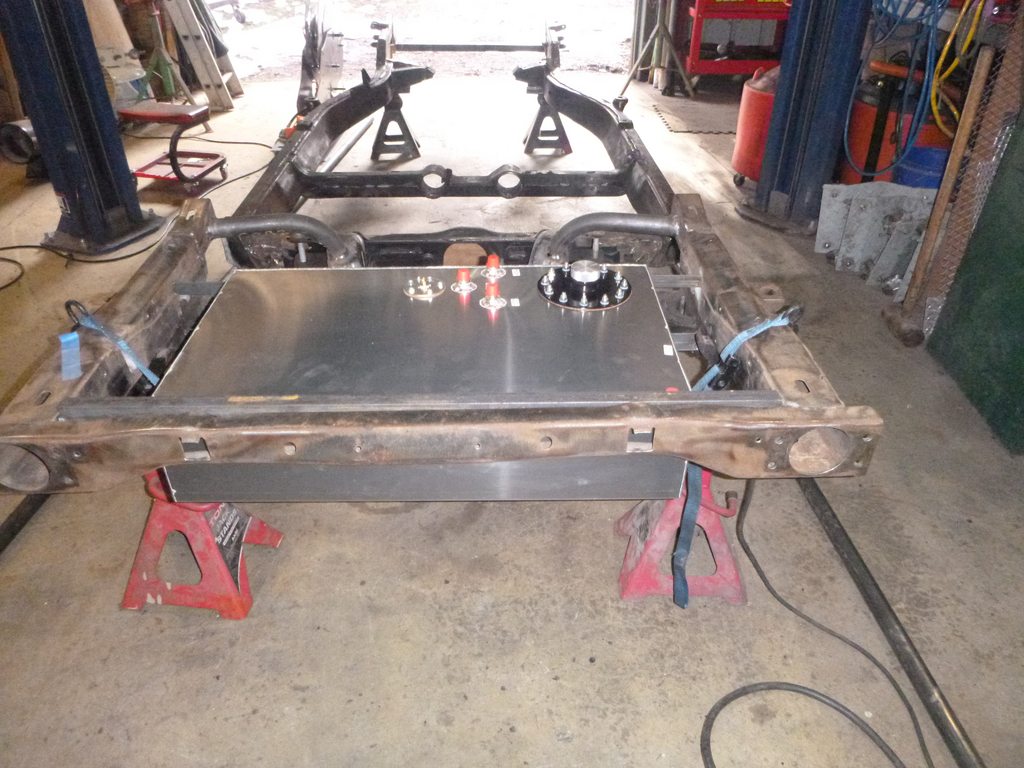
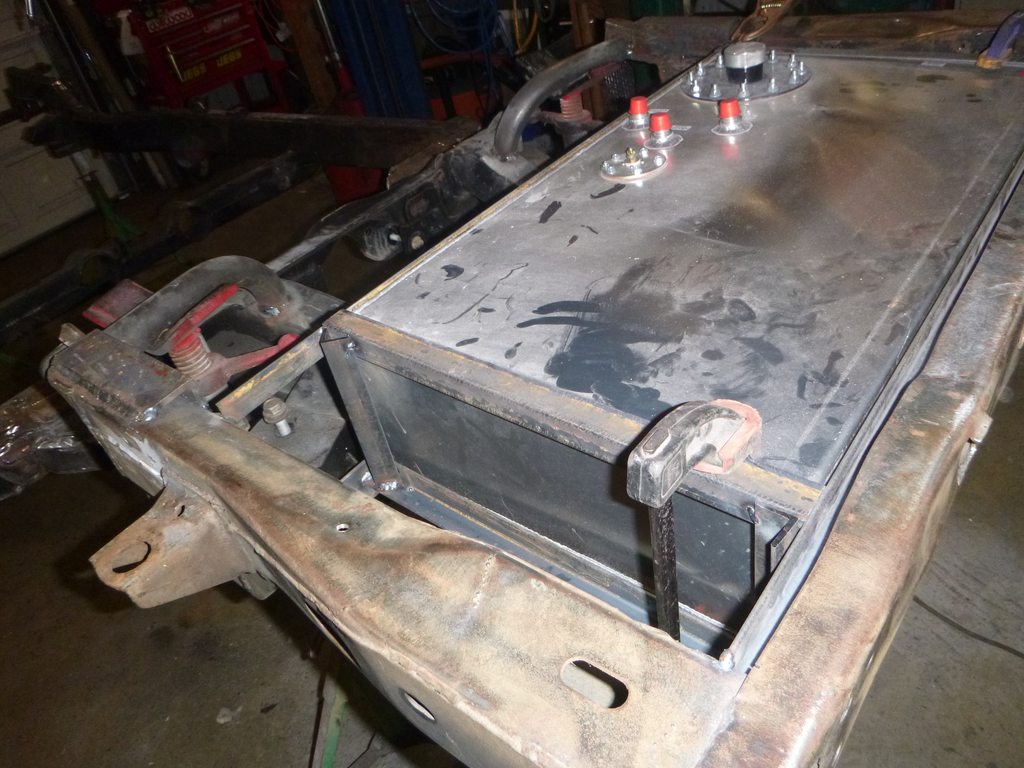
17 gallon tank....

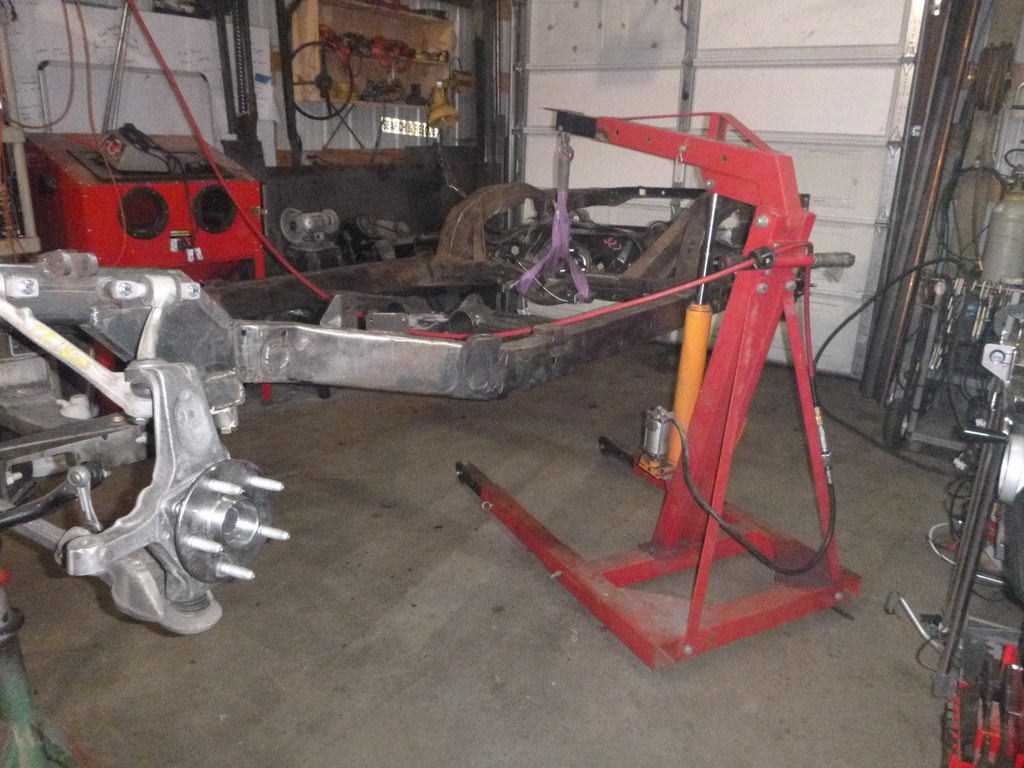
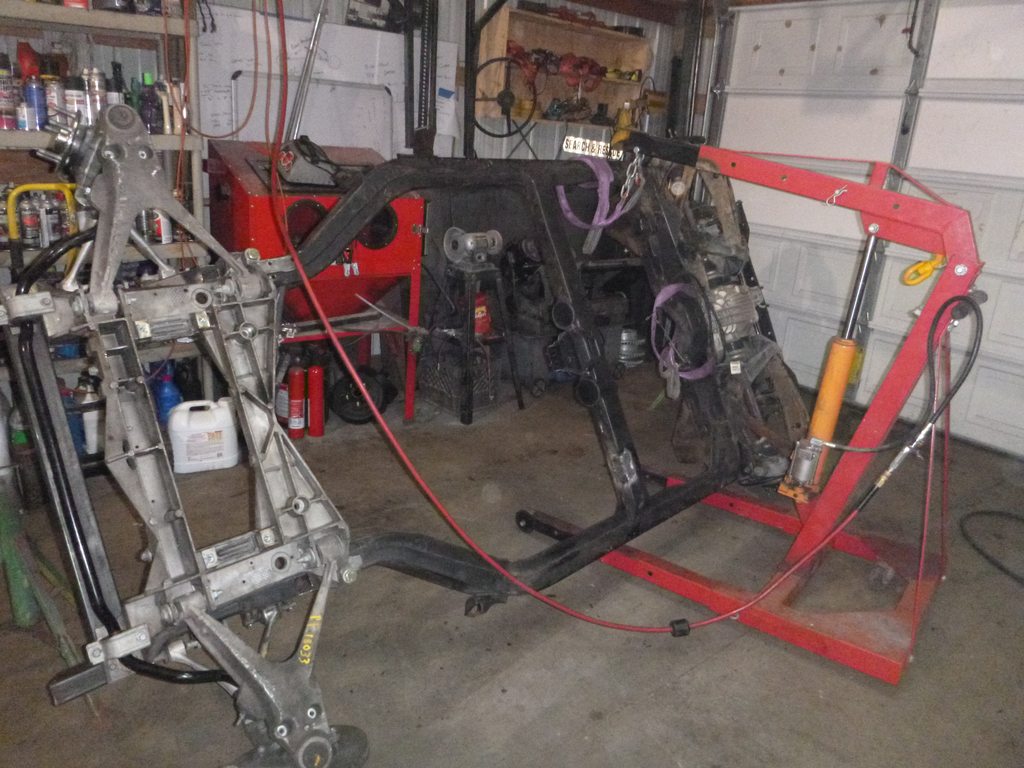
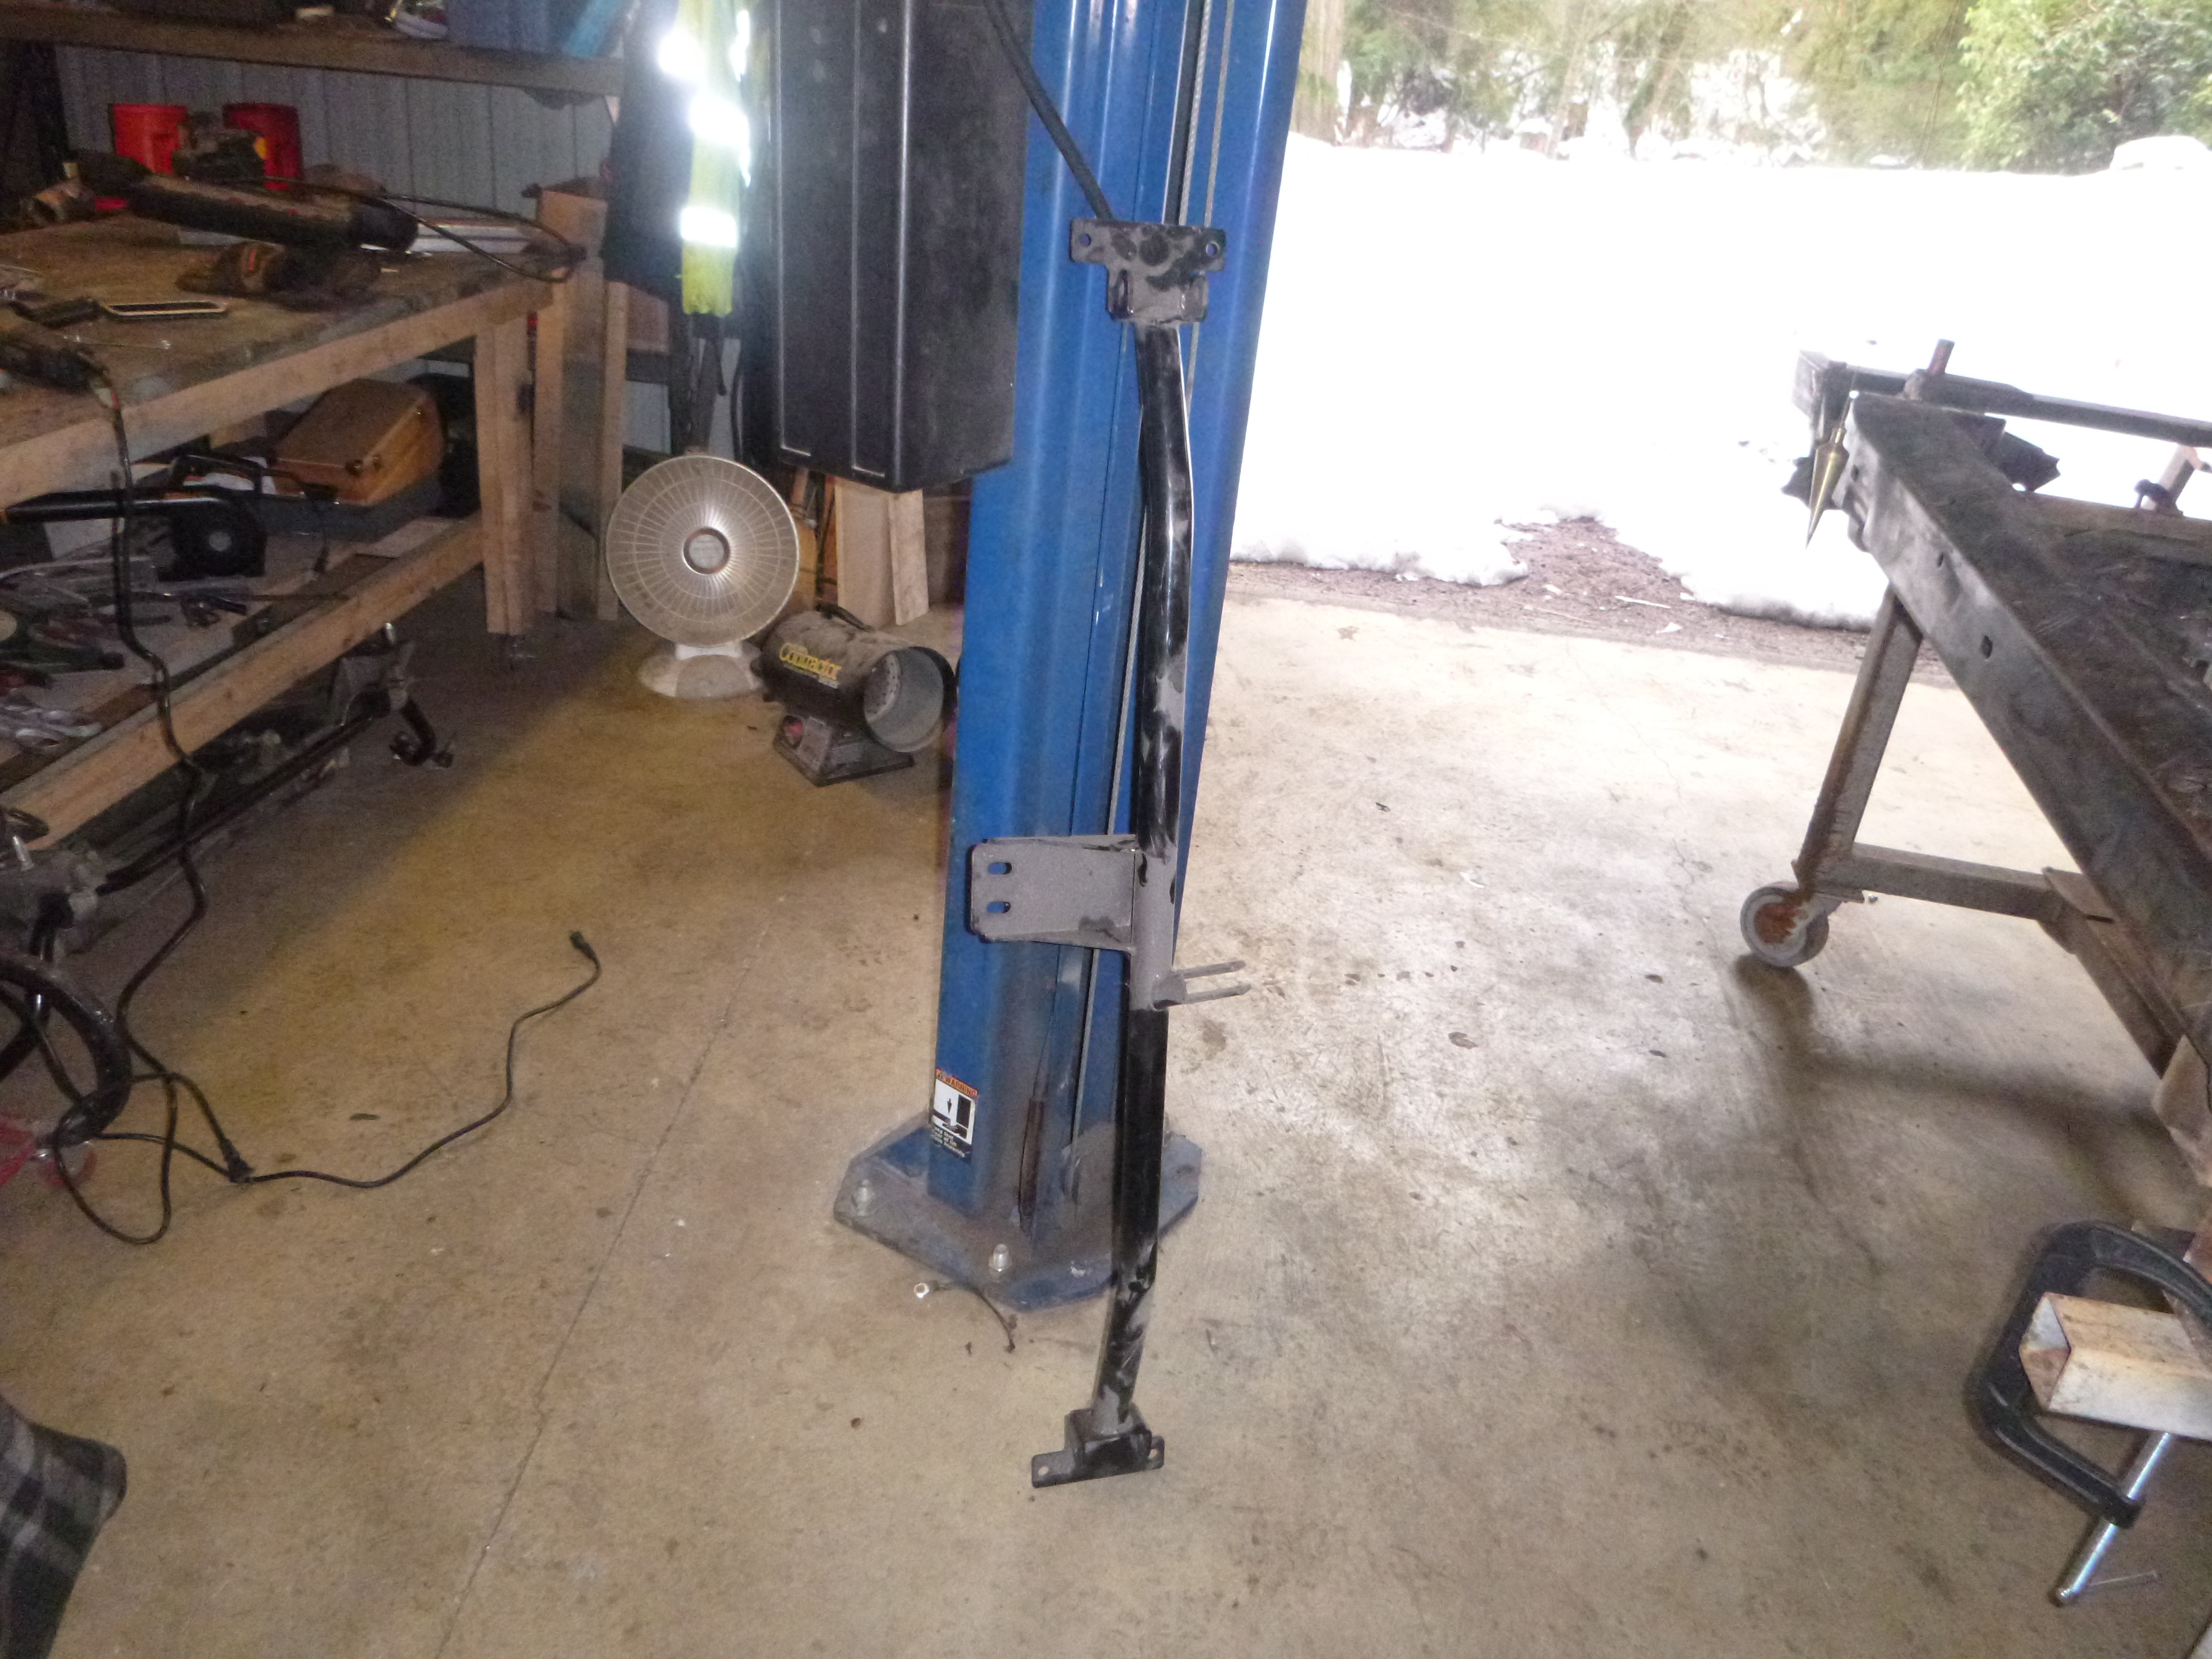
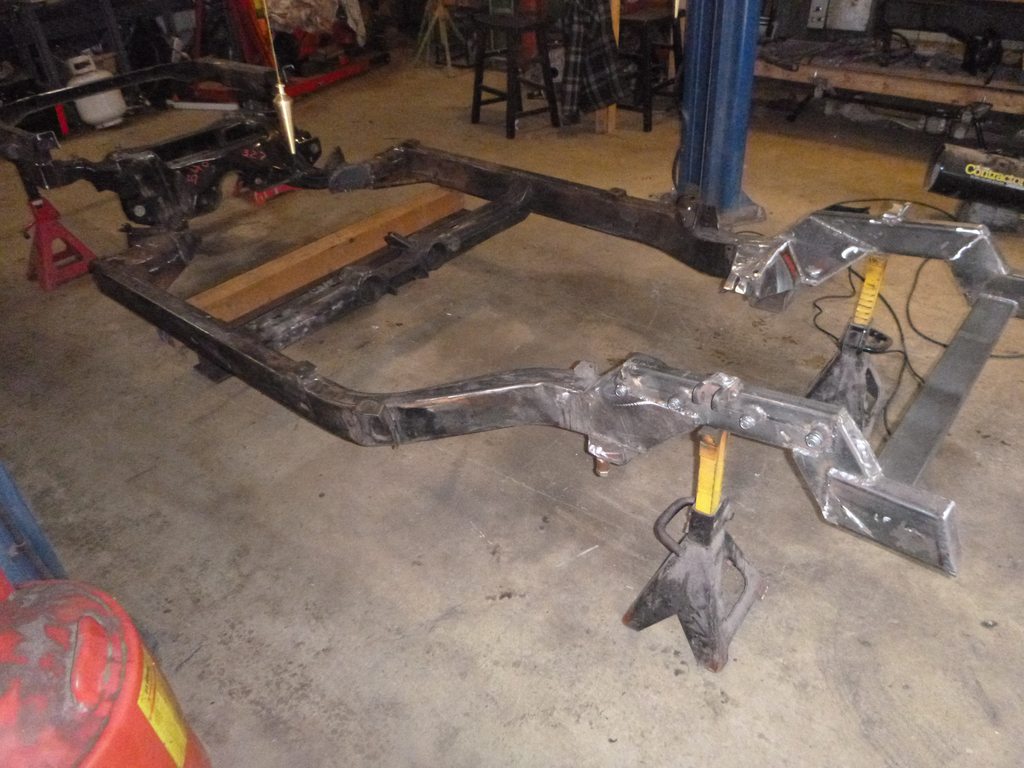
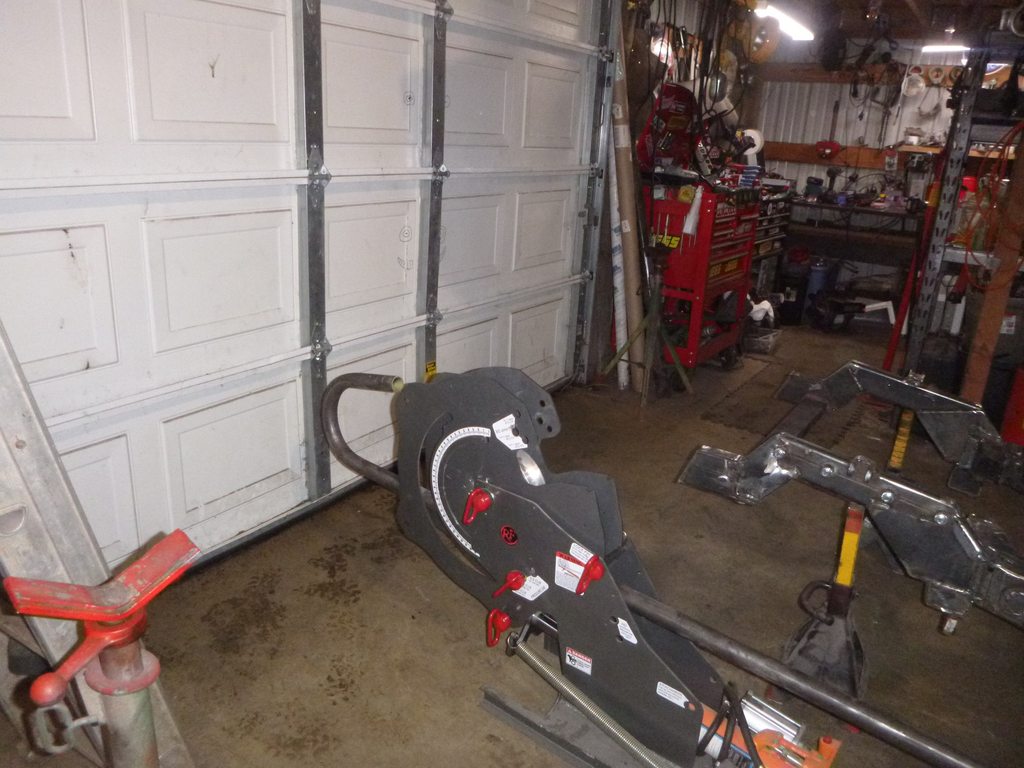
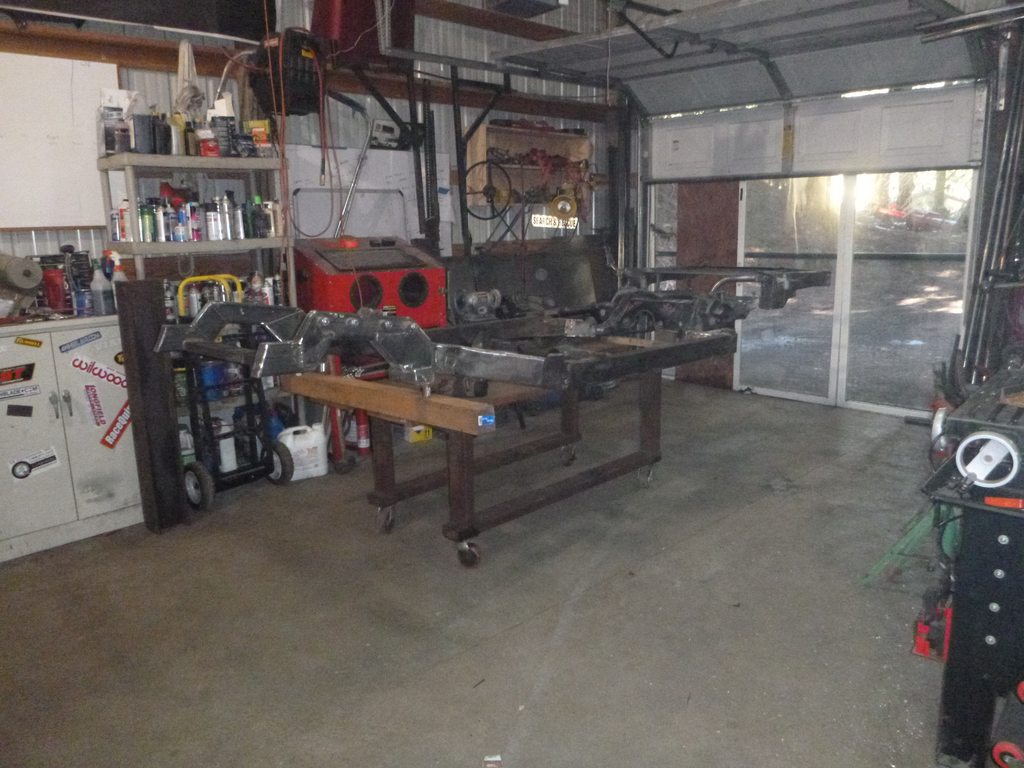
move the frame up to where I can work on it easily
and fasten it in place


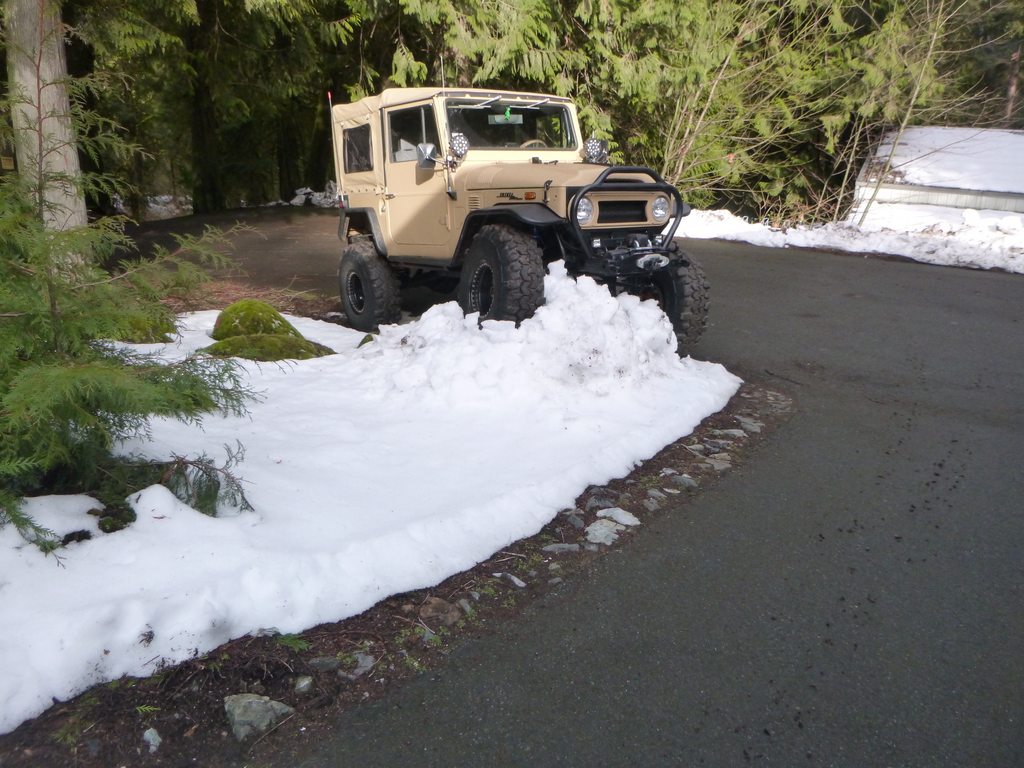
and sometimes you just gotta take a break and park on the snowbank
move the frame up to where I can work on it easily
and fasten it in place
and sometimes you just gotta take a break and park on the snowbank
Last edited by SuperBuickGuy; 02-25-2019 at 12:22 AM.
02-27-2019, 12:15 AM
#256
Melting Slicks
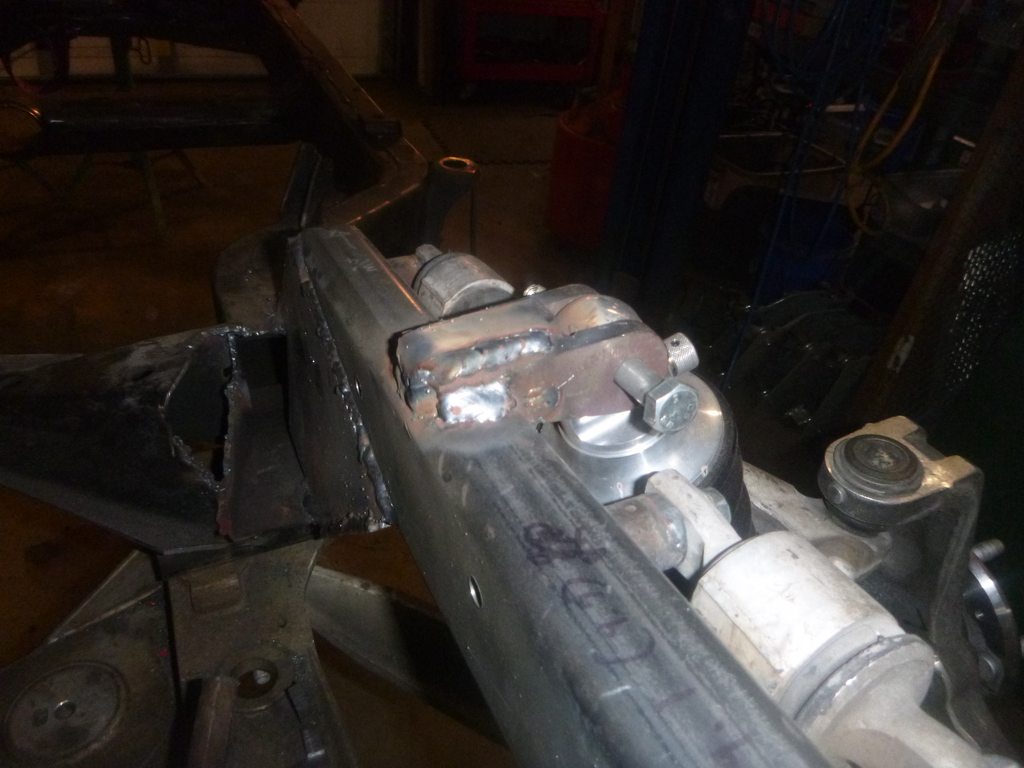
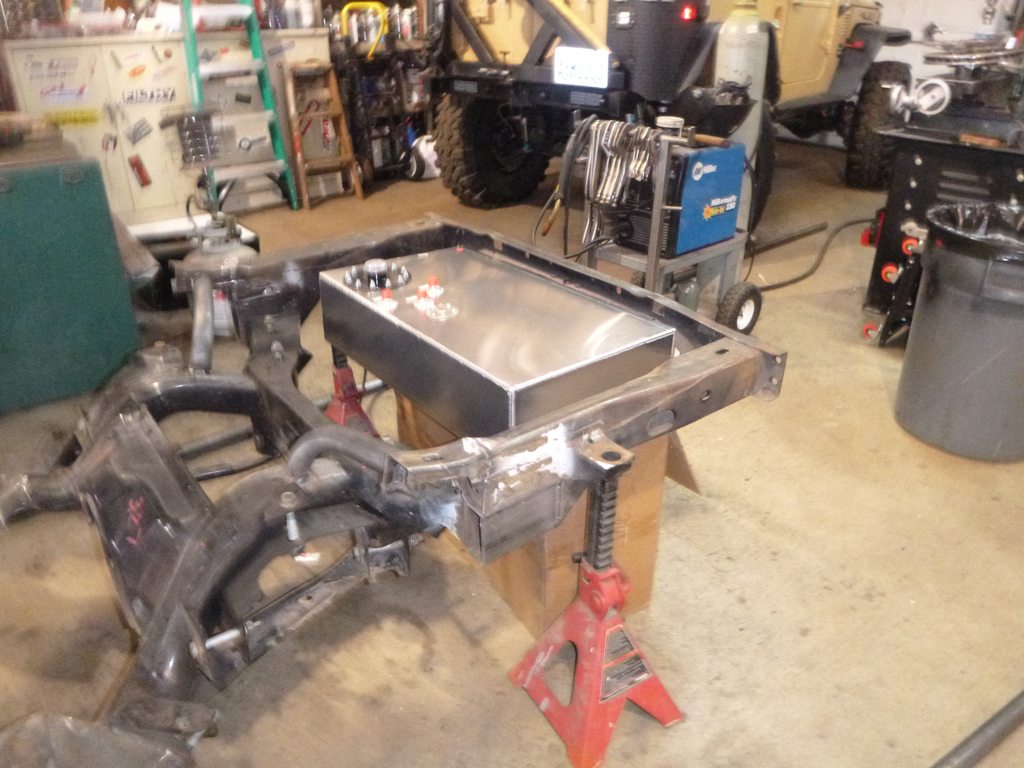
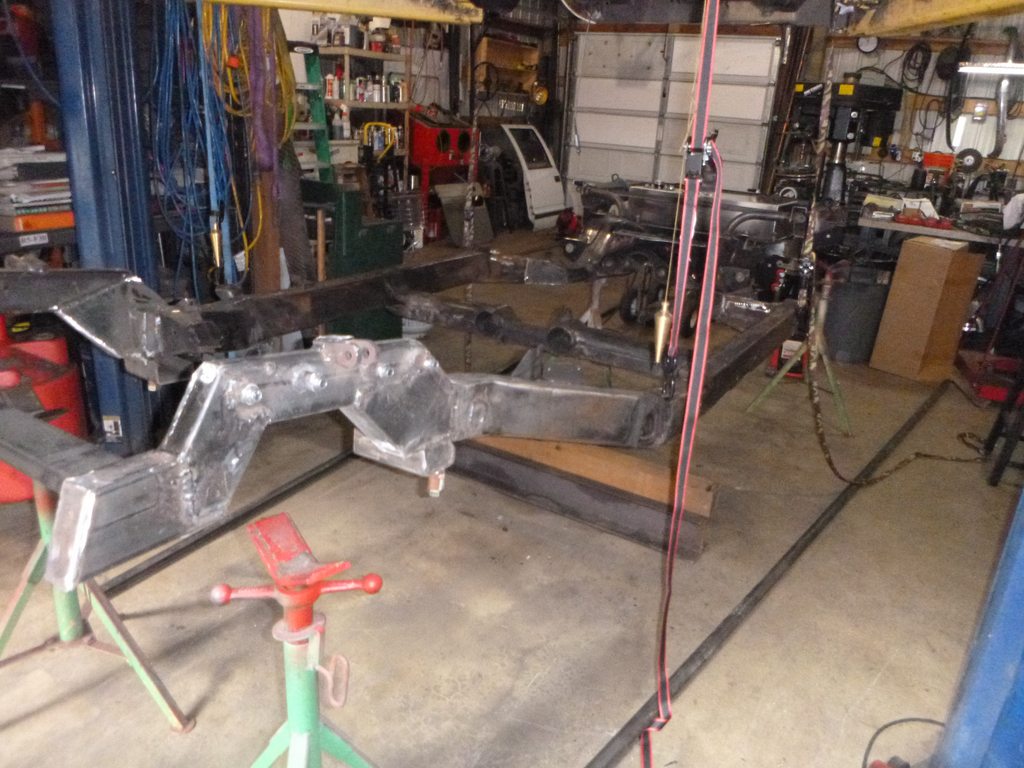
last few things.... first brace the shock mount
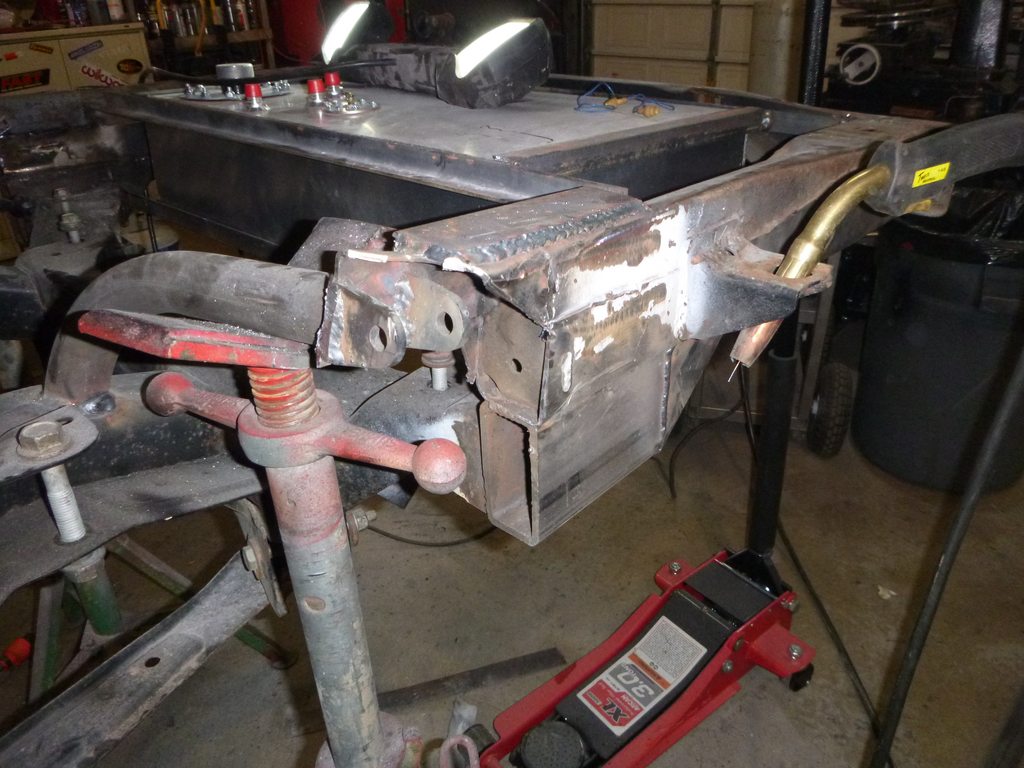
then box the end
all that is left is finishing the tank mount, then off to blast. I expect to haul it there on Friday.
in other news I finally pulled the trigger on the Miller multimatic 220. I'll offset the cost by selling my other tig machine and probably my mig as well (I say that with a lump in my throat because that machine is kick-*** and I really don't want to see it go)

 03-03-2019, 11:33 PM
#259
Melting Slicks
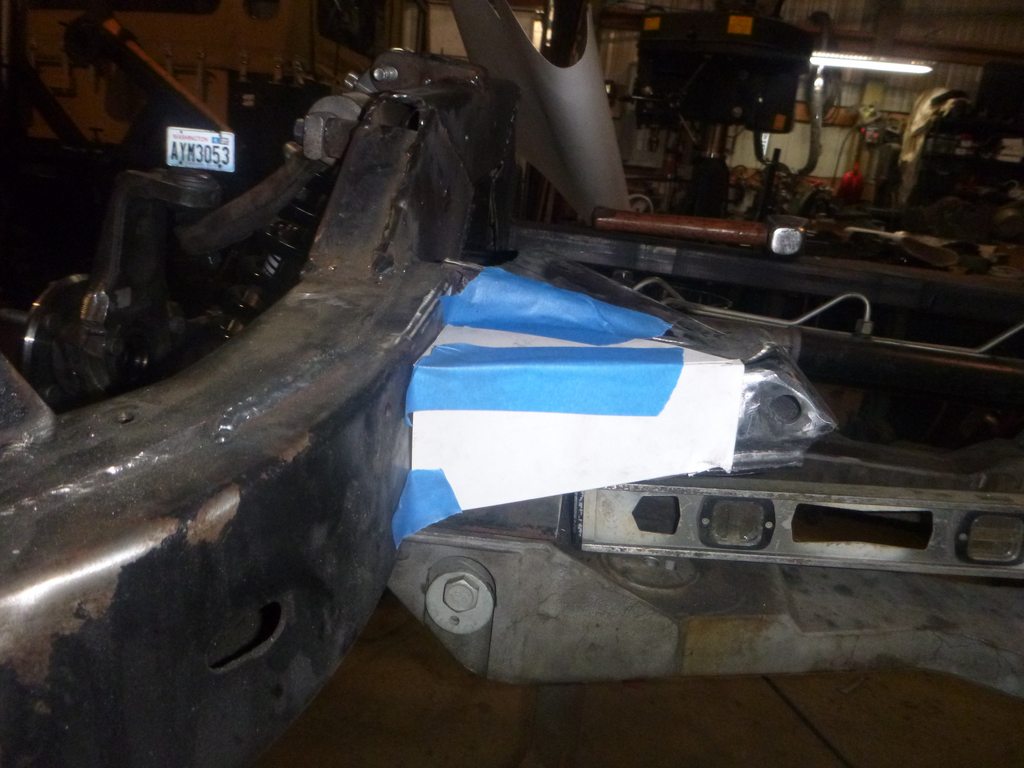
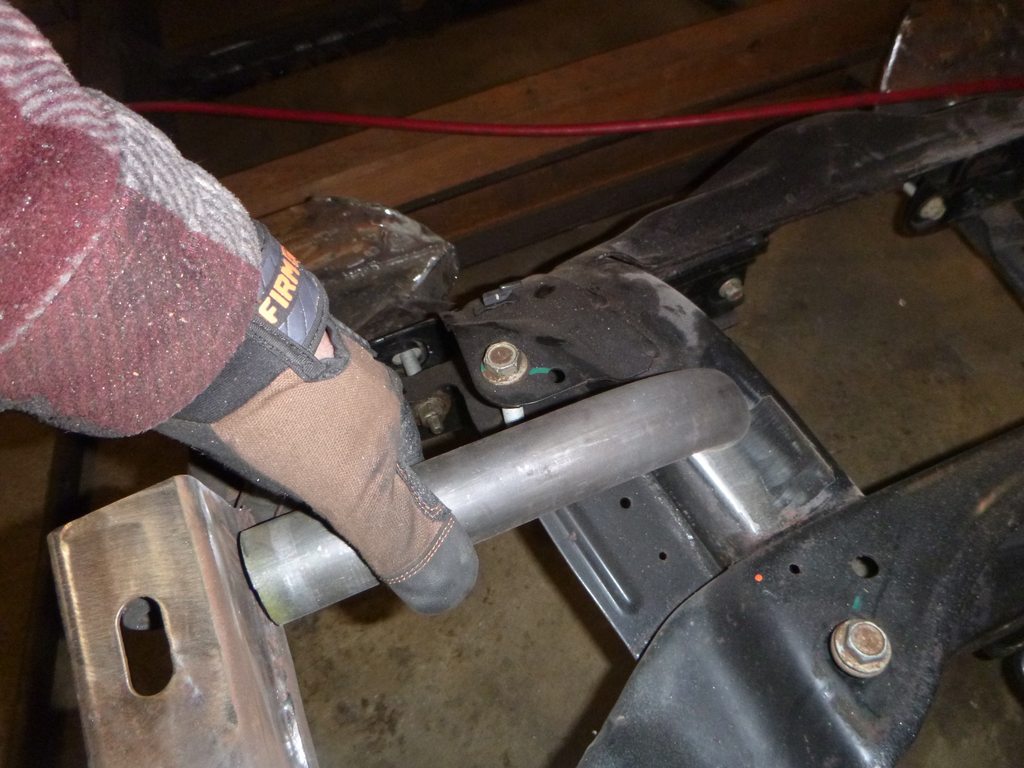
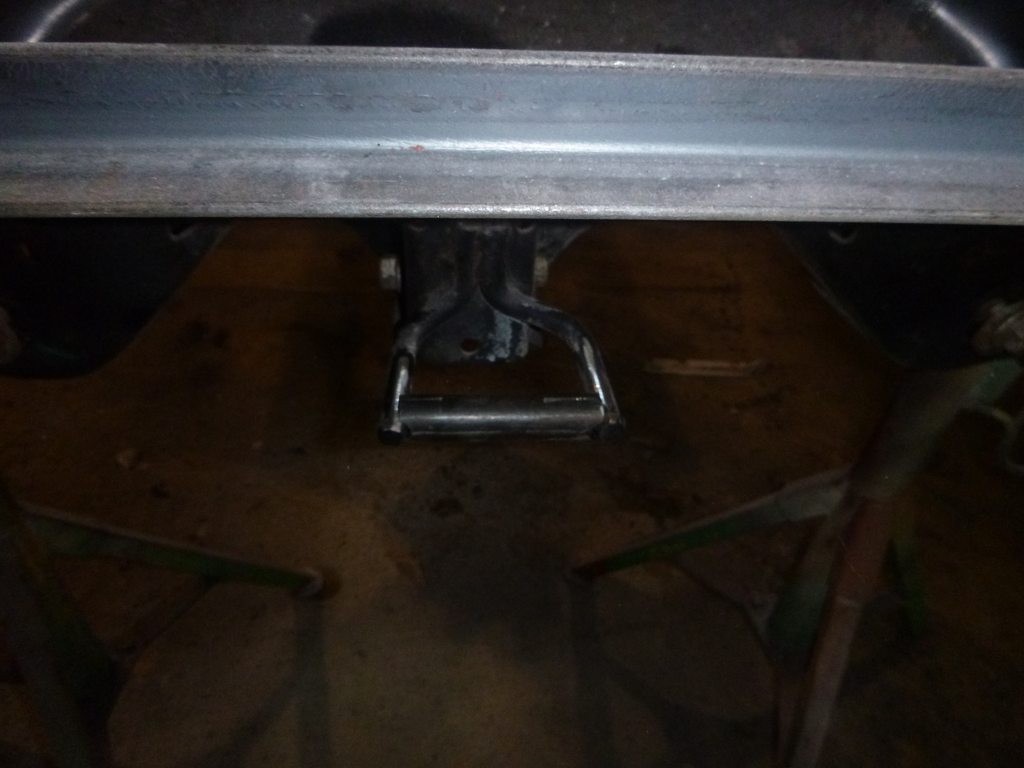
back to the tank
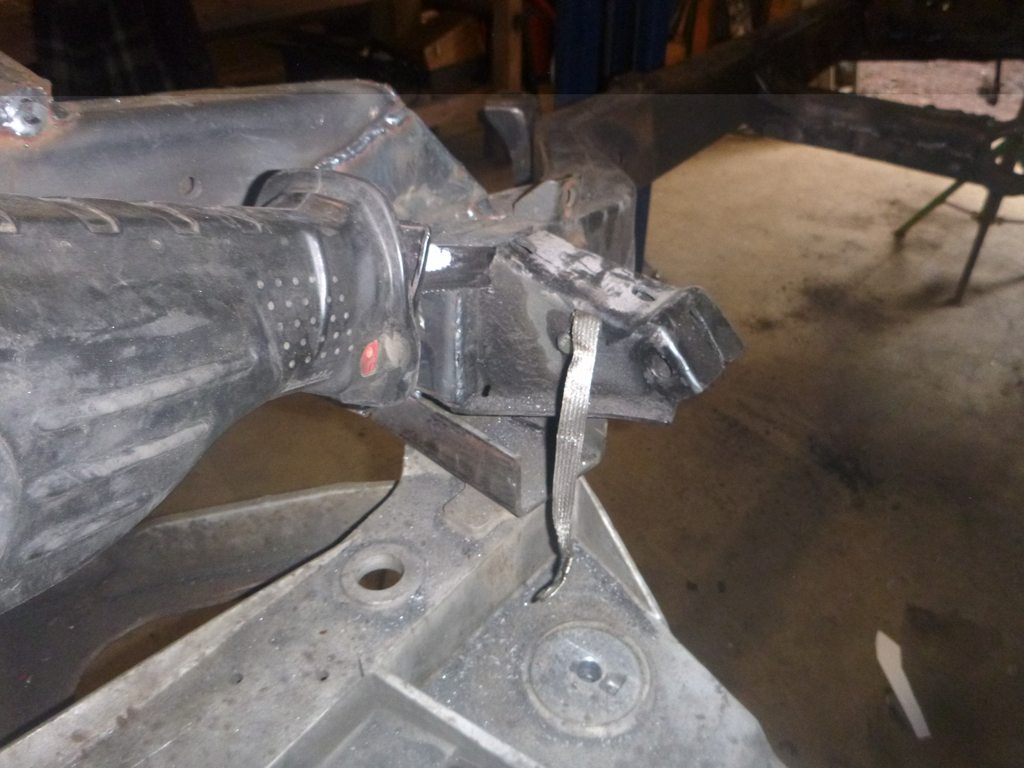
there's a muffler hanger that, if closed, would make a great tie-down-pull-point, so I did
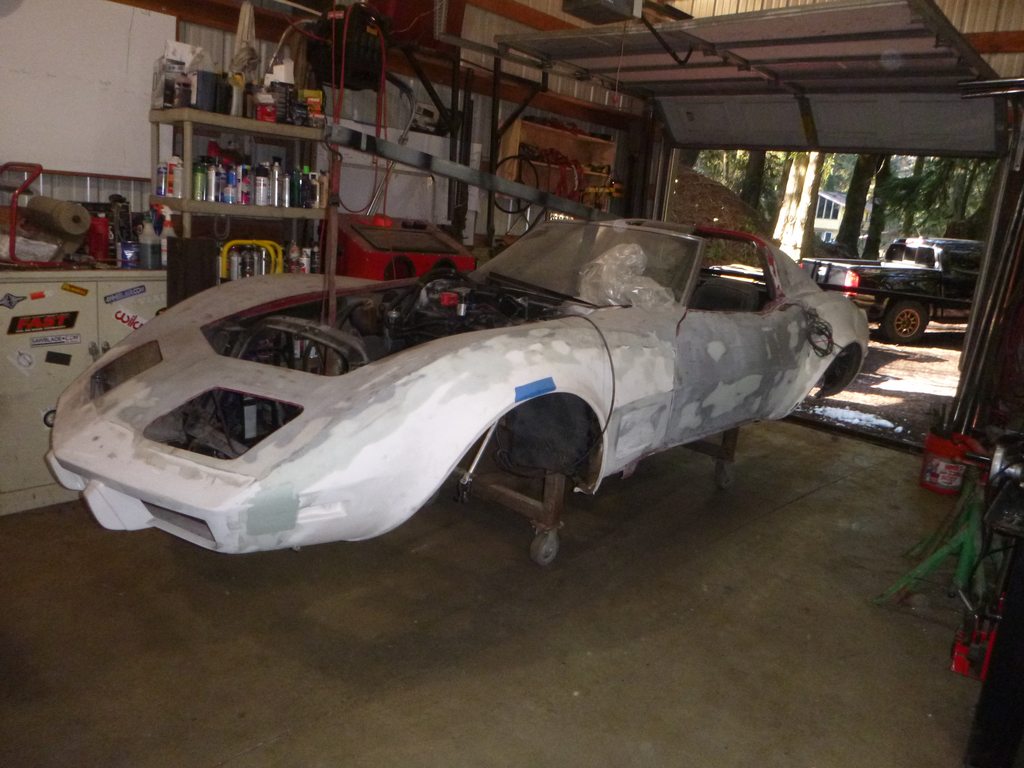
one more body test fit
I'm glad I did, more clearance work necessary
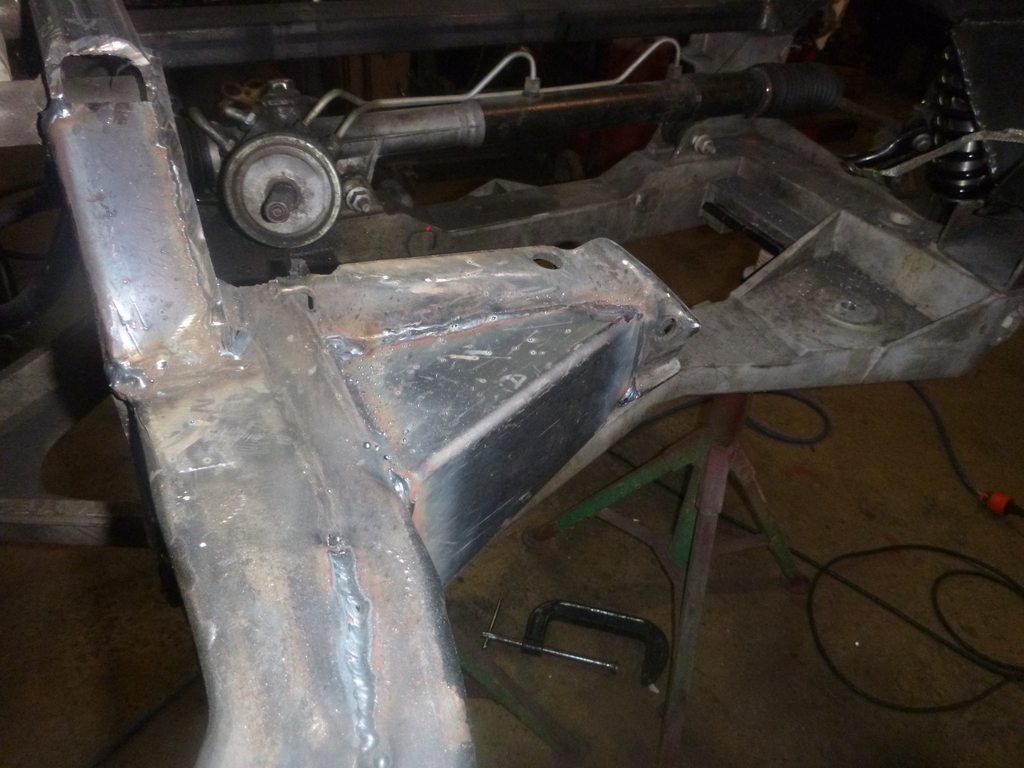
final fill of holes and making sure all the welding is done
front looks good enough
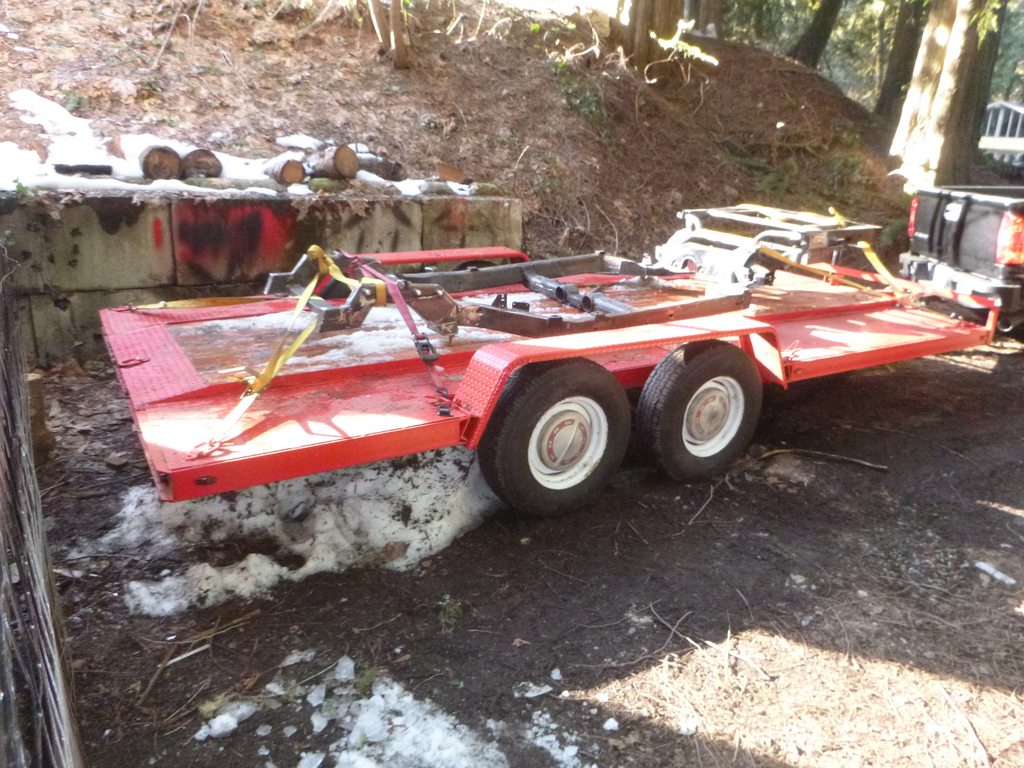
there.... apart and ready for blast and paint
and on the trailer for a ride to blasting.... getting the trailer out was an adventure... ugh
back on its dolly
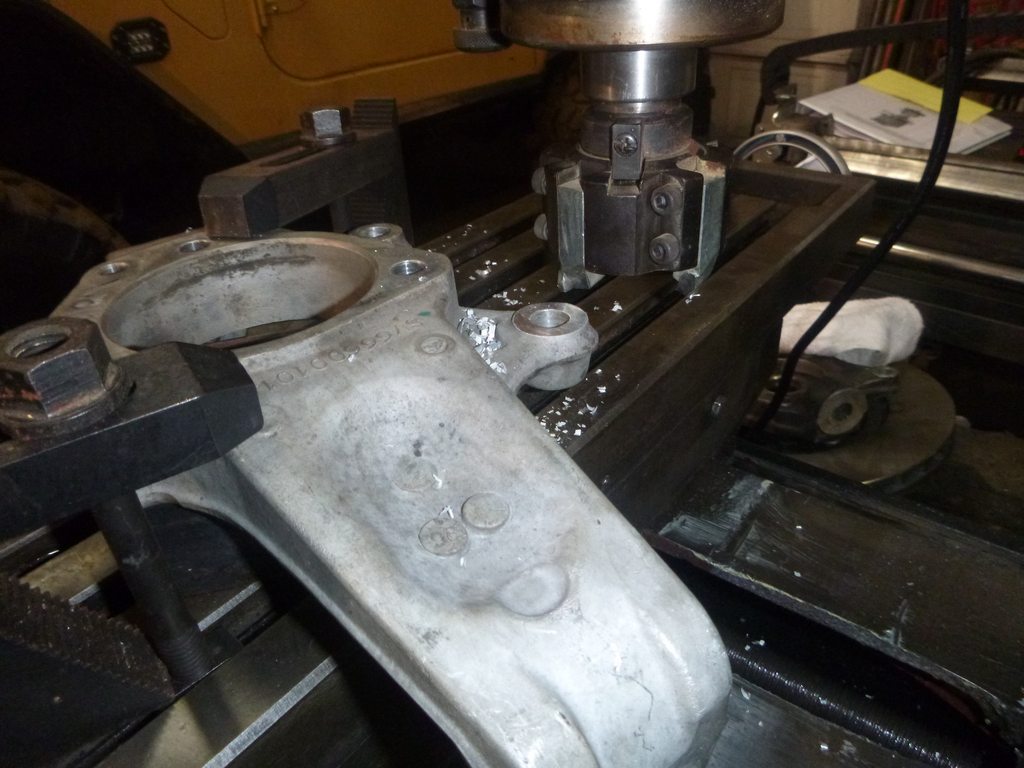
then spent a bit of time tonight milling on the other spindle
there's a muffler hanger that, if closed, would make a great tie-down-pull-point, so I did
one more body test fit
I'm glad I did, more clearance work necessary
final fill of holes and making sure all the welding is done
front looks good enough
there.... apart and ready for blast and paint
and on the trailer for a ride to blasting.... getting the trailer out was an adventure... ugh
back on its dolly
then spent a bit of time tonight milling on the other spindle
03-05-2019, 12:38 AM
#260
Melting Slicks
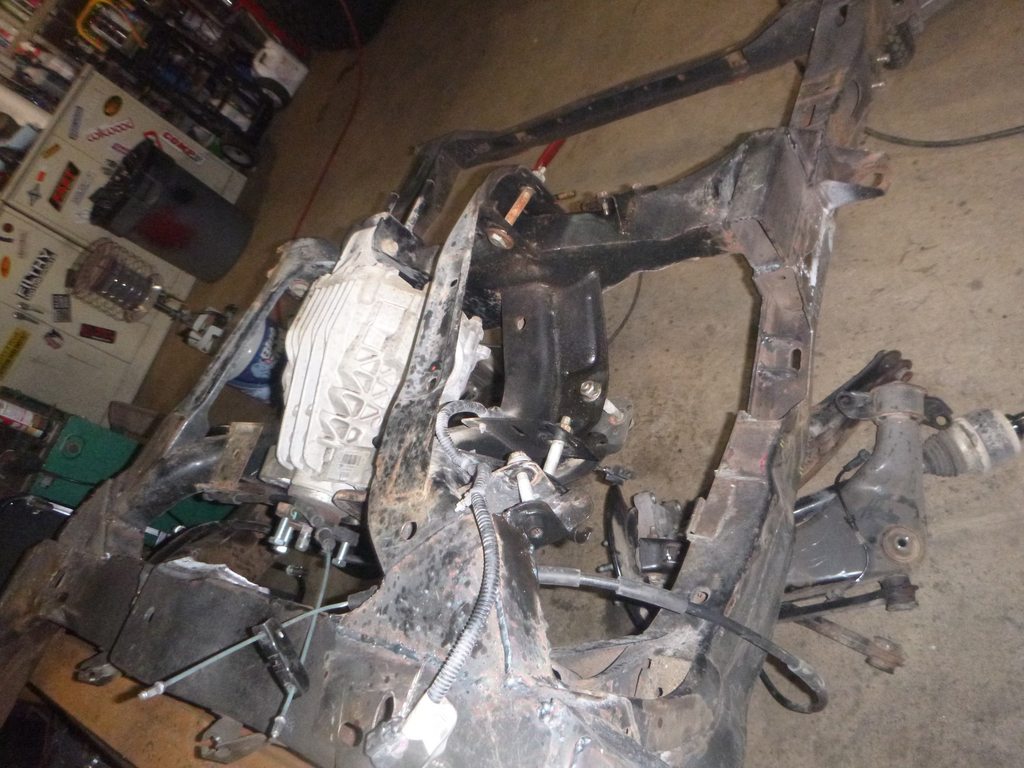
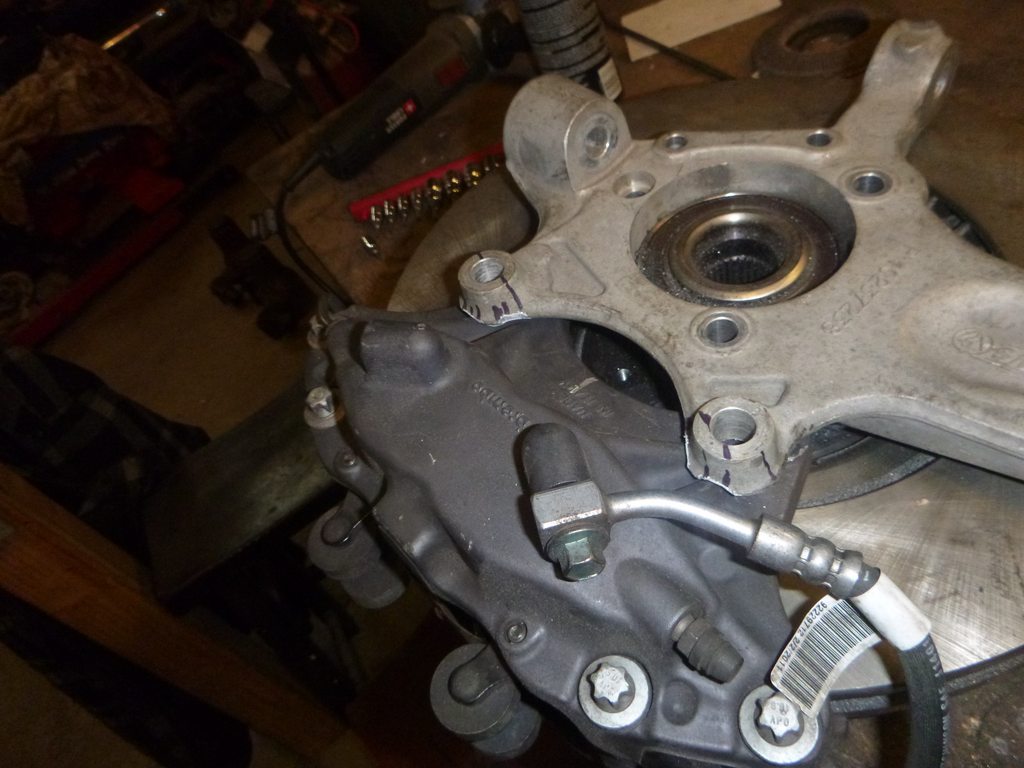
Sand blasting happens next week, to prepare.... time to blow the rear apart
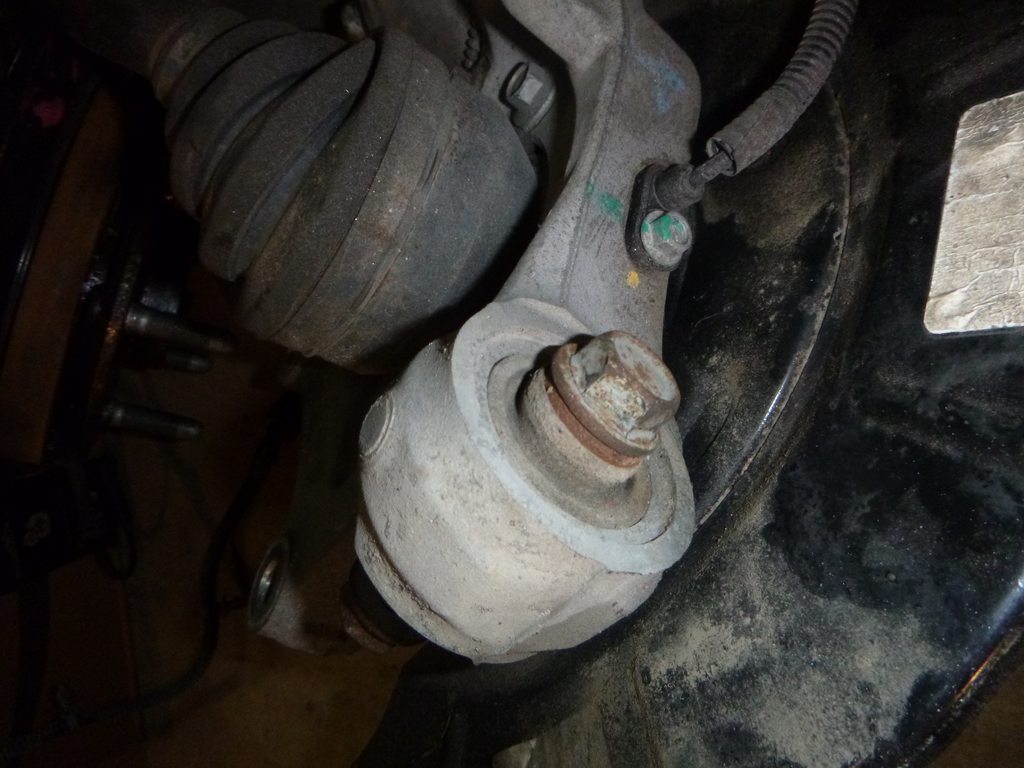
but first, GM uses johnny joints.... since these suckers cost $80 each in the wild, there may be another source
together
all marked and ready to be stripped
that johnny joint thing, though.... it makes me happy....
but first, GM uses johnny joints.... since these suckers cost $80 each in the wild, there may be another source
together
all marked and ready to be stripped
that johnny joint thing, though.... it makes me happy....