When you click on links to various merchants on this site and make a purchase, this can result in this site earning a commission. Affiliate programs and affiliations include, but are not limited to, the eBay Partner Network.
My wife's 79 has been up on the Kwik-Lift for too long, currently half-way through a Borgeson steering conversion. Other than a day or two, spring has not yet arrived. I'll need to insulate the garage for next winter.
In between the snowflakes and bomb-cyclones, I'm trying to keep something ready to drive for when the weather is above 40. I've had the 80 on the road a few times since swapping over to manual steering. The dead spot in the center is concerning, but I can't do much about it until I get the Kwik-Lift back. Still a blast to drive.
I put most of the important interior parts back in, with some minor upgrades. Still no carpet (I'm hoping to clean and dye the oyster takeouts from the 79), but that's a job for when it warms up.
I picked up a can of zinc chromate green primer (Thanks Alan 71 for the suggestion!). It seemed to do a good job on the center armrest support. The new red cover really shows the green. The radio is gone. I'll replace that with a three-**** HVAC control (no urgency on that, since the heater core is out). That left a hole in the center panel where the stock HVAC control used to be. I 3D printed a replacement for that panel. It fits well enough with a bit of sanding. I can print out a new panel in the future with mounts for switches, or a display, or a Batman logo, or whatever.
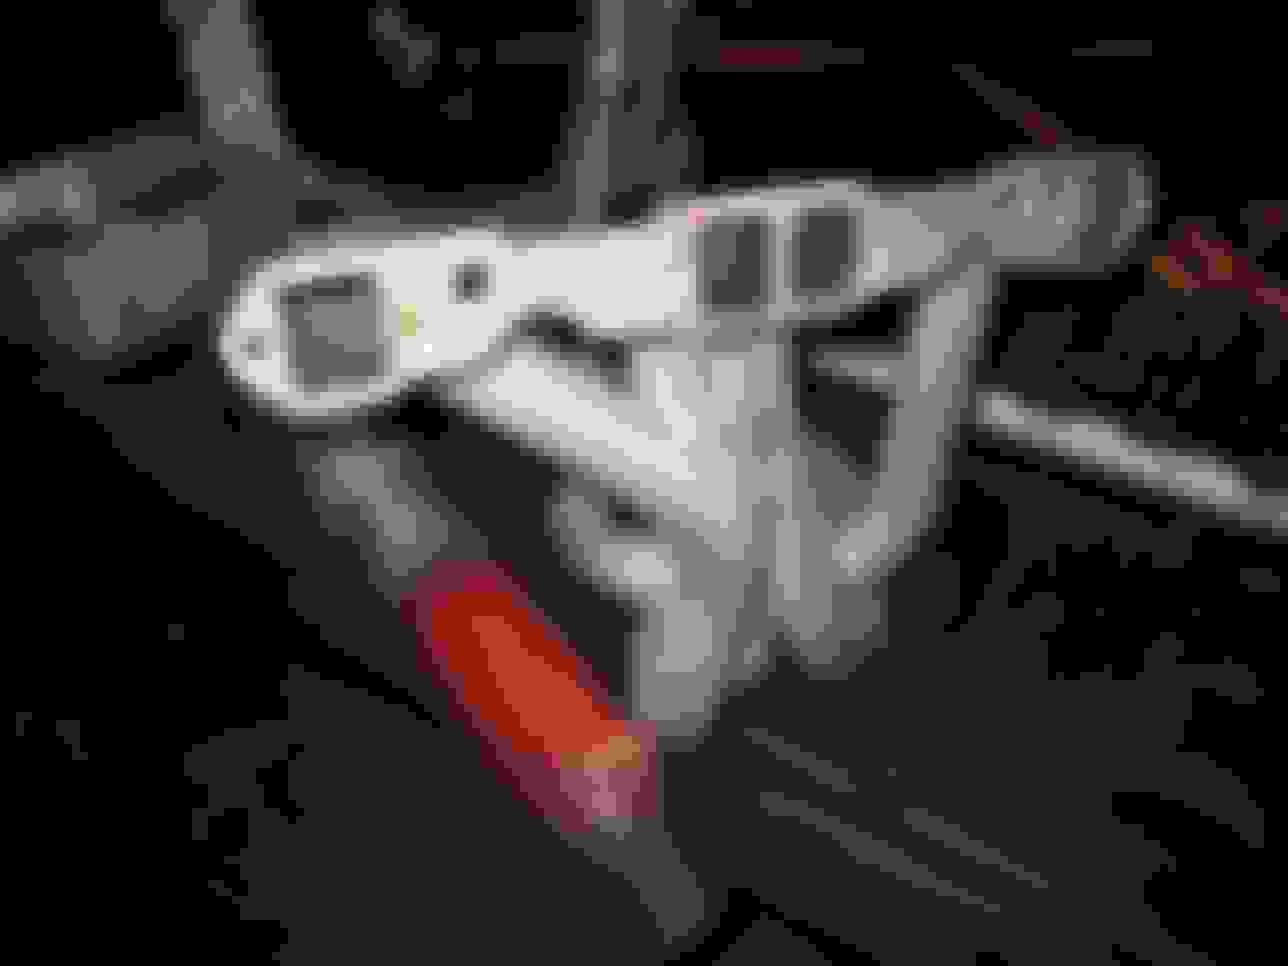
Bonus photos, I also 3D printed an antenna blockoff plug. There was a bit of a printing error, but the idea seems solid.
Winter finally ended. We never had a spring. It is full-on summer now.
The 79 is finally off of the Qwik-Lift at the completion of a brake replacement and Borgeson box installation. The 80 went up there yesterday after one last test-drive.
I have a bunch of rear suspension parts to put in. I have a VB&P rear leaf spring, shortened and marked 385 lbs. I should have all of the parts in stock, or on order, for a 3/4" rear sway bar. And I have heim jointed strut rods on order.
I pulled out the spare tire. I'll probably keep the tub in case I ever want to switch back, or convert it into a cooler or something. The spare was shot, the rim rusty, and there was a mouse nest. Yuck.
I also discovered that the yellow Bilstein shocks I had glimpsed before actually say "Monroe" on them. So that will be expensive to fix...
Here she is now. The tires will be replaced with slightly used Cooper Cobras (ick, but free) as soon as I get her off her wheels. I got a new set of seats from 79C3tnd to further the conversion back to her original red interior. They aren't leather, and they don't have the correct embroidery, but they are a great 80% solution for 20% of the price of full-tilt refurbished seats, so a huge win. That frees me up to redo the original seats, or just turn them into gaming chairs. 79C3tnd did a great job restoring these seats, so I don't need to do anything to them, except take them out again when the carpet finally gets put in.
Fortunately, with the Qwik-Lift, I have plenty of space to work. I can sit up on a creeper under the rear deck, which is handy when pulling out the half-shafts.
Now the quandry, do I pull the rear differential, which could escalate into replacing the entire exhaust and transmission crossmember. The batwing bushings are in fine shape, and I'm not looking forward to cutting them out after my trailing arm bushing experience, but there's no way they could be as bad as that. The rear differential clearly has a leak, likely at the passenger side yoke. There is also a bit of endplay at this yoke. I have a separate thread on what to do about this, here: https://www.corvetteforum.com/forums...uspension.html
The trailing arms and half-shafts got sent to Bair's today. I was told they use Moog/Precision U-joints, not Spicer 1350, so I don't know how I feel about that, but I'm happy to not have to do that job myself (if I had a press, I'd feel different, but I don't). They will relocate the parking brake bracket, and I should have the trailing arms back before I'm ready, assuming I proceed with my plan to wire-wheel the rear frame and repaint with POR-15.
Before anyone asks, here's the BOM of what's going back in:
385 lb VB&P composite leaf spring (that's an odd size, I hear you say, it's because it is an inch shorter than stock from the factory and marked as 385).
The spring bolts the spring came with, plus a set of 2-inch longer bolts, to see what works better
Bilstein Sport shocks (I didn't want to go with QA-1 double adjustables without trying these first).
Heim-jointed strut rods from Mid-America
OEM-style sway bar mounts
OEM 9/16" sway bar, used, from a Forum member
Stainless braided brake lines
New brake rotors
And, soon, rebuilt trailing arms from Bairs, which include new parking brake hardware
I have to go through my collection of calipers and see if I have two worth rebuilding, or if I'll end up buying a rebuilt O-ring set. I doubt I'll get Wilwood aluminum calipers for the rear, due to the bleeding issue.
It's been a busy summer, but I finally turned a corner. Parts are going back into the car, and I hope to have her on the road soon. Here are a few photos showing how it is possible to install a trailing arm without a helper. I used the dental floss trick I learned from the Forum (I used kevlar fishing line, which is a good thing, since the dental floss would have broken with what I was doing). I took my time to wire brush everything I could reach from the fender wells (not so much from underneath), then I coated it all with Ospho 605 rust converter, wiped it all down with alcohol, then brushed POR-15. It came out okay enough for the frame of a non-collectable Corvette.
My body mounts look pretty shot. That might be a winter project, along with sidepipe headers and some front suspension work.
Looks good! I just did the same thing a few weeks ago. Man it is way easier putting the trailing arms in with new bolts and SS shims than it is getting them out when the bolt is rusted in there!
How are you liking the POR 15? I just wire wheeled and primed/painted a few areas of the underside, but I was considering getting some POR 15 for the frame.
I've been following your thread too. I'm glad to see you are back on the road.
The SS shims go in so much easier. I burned up several Sawz-all blades getting the arms out. On the drivers side I had to cut the bolt in three places and still soak the bolt head end in Kroil and force it out of the frame with a prybar.
The POR-15 seems to work well enough. I've used it before on floorpans and suspension parts. It is surprisingly thin, brushes on easily, and will stick to your skin for days or weeks until it wears off. If you ever were to have the frame blasted, it is difficult to remove, so I didn't try to paint areas that I couldn't clean correctly. Even then, there were a few areas that I should have skipped, as the wire wheel was insufficient. I went back and forth for a while on this. If you see a frame-off in the next few years, standard primer might be the way to go (there is black self-etching primer).
Wow! Sounds like you had it worse than me! That sucks, cause I REALLY hated that part of the job. I found that one of those "Diablo" sawzall blades worked really well, but it still took some time to get through the bolt.
Thanks for the heads up on POR-15! I don't have major rust issues, just some surface rust, and a few areas with minor scaling, so eventually I'd like to clean it up and paint it a bit.
Glad you are about to be back on the road!
Those bolts were not fun. The carbide Diablo blade made it through. I burned up several of the standard Diablo blades. Here's a shot of what was left of the pocket after I cut off the trailing arm. Wet with Kroil, there is still another hour or two of work just to get the rest of the bolt cut out and the stub forced through the inboard hole. The surface rust has many colors, but looks worse than it is. A wire wheel took care of most of it.
I'm really happy to be back to the bolting on part, but I still have a pair of calipers to rebuild. That will be another post.
I thought the cinnabar was pretty cool, too. But I'm committed to red, now. I ordered a new red steering wheel, a red shift boot, red shift ****, and a red parking brake console cover. Without a back seat, this is the best I could do for a photo.
I also made a trade with Forum member mobird, so I was able to finish off my oyster upper interior with a set of visors. Thanks mobird! They cleaned up really well with some SEM soap.
I also removed most of the HVAC system to fix the heater core. I have a bunch of "while I'm in there"s on the punch list now, but nothing that prevented me from taking a quick drive with no gauges.
Heat would have been nice, though.
I bought my '80 L48 in 1997. It had over 96K miles, tired drivetrain and interior but NEW paint. Also, it was ALL there. Was nice to have a baseline to work from. 21 years later, new drivetrain, interior and pretty much gone thru from nose to tail. Now, some of the work is getting tired; my 700R4 seals are going and the Jet-Hot coated Hedman headers are developing some surface rust. Amazed I have gotten over 16 years out of the headers... Just freshened the top end for a 2nd time since 2013 (bad cylinder head rework, good shops are getting harder to find). The interior is in really good shape save for the original dashboard that will need replacing someday. Door panels, carpet, leather seats/foam and other bits all replaced as of 2004 (it sits in garage so very little aging). I pretty much have the engine where I want it (Comp full roller valvetrain) with true duals and even swapped in a new, unused service replacement Dana 44, blueprinted with 3.54 spicer gears. A little over $20,000 spent including the purchase price since 1997. In the process, I bought a lot of mechanics tools and do much of the 'work' (save for machining) myself so I also have all of the manuals and 'how-to' books. My point is, it will never be a priceless vette but I have the title and it is paid for. Lots of fun driving and working on it in the time I have had it.
I bought my '80 L48 in 1997. It had over 96K miles, tired drivetrain and interior but NEW paint. Also, it was ALL there. Was nice to have a baseline to work from. 21 years later, new drivetrain, interior and pretty much gone thru from nose to tail. Now, some of the work is getting tired; my 700R4 seals are going and the Jet-Hot coated Hedman headers are developing some surface rust. Amazed I have gotten over 16 years out of the headers... Just freshened the top end for a 2nd time since 2013 (bad cylinder head rework, good shops are getting harder to find). The interior is in really good shape save for the original dashboard that will need replacing someday. Door panels, carpet, leather seats/foam and other bits all replaced as of 2004 (it sits in garage so very little aging). I pretty much have the engine where I want it (Comp full roller valvetrain) with true duals and even swapped in a new, unused service replacement Dana 44, blueprinted with 3.54 spicer gears. A little over $20,000 spent including the purchase price since 1997. In the process, I bought a lot of mechanics tools and do much of the 'work' (save for machining) myself so I also have all of the manuals and 'how-to' books. My point is, it will never be a priceless vette but I have the title and it is paid for. Lots of fun driving and working on it in the time I have had it.
Thanks for the comment! That's just about what I'm looking to do. Some stuff here and there, keep it on the road, and make it better over time. Hopefully a long, fun time.
I'm finally making some progress. All of the rear suspension is in place. All that is left is to put the rear brakes back together, and she's back on the road! (That sounds easier than it will be, I'm sure).
But getting the rear end almost complete isn't even the most interesting thing that happened today. Someone right down the street for me was selling a pair of sidepipe headers for a good price. I had figured I'd buy a set of Doug's headers, inserts, and extensions at some point, possibly this winter. But I got these for a tremendous discount. I have the 4" extension pipes, too, that the PO had fabricated from some diesel truck exhaust stacks. Whatever works, I s'pose.
I still want to get the rear end done, and drive the car this week (I have a car show to attend on the 25th), but now I can get rid of the rusty, stock-ish single pathway exhaust.

 03-11-2018, 01:25 AM