When you click on links to various merchants on this site and make a purchase, this can result in this site earning a commission. Affiliate programs and affiliations include, but are not limited to, the eBay Partner Network.
While I'm (not) in there: 1980 Diff and Rear Suspension
My 1980 (L48 Manual) has been up on jack stands for too long already. Just tonight, I finally cut out the trailing arms. I had hoped to just swap the strut rods, but I could not hammer out the strut rod/shock mount bolt without knocking the car off the jack stands. So that quickly escalated to a "while I'm in there" situation involving the entire rear suspension. After getting the half-shafts out (I had to cut several straps), and seeing what shape they are in, I'm really glad I did the extra work.The trailing arms were probably fine, but now they'll be extra-fine.
My exhaust is in the way. I'd have to cut it out to get the differential out, which I am hesitant to do. However, there is a sizable grease stain on the passenger side, above the right side yoke. That yoke also has a bit more endplay than the driver side yoke, but only on the order of 30 to 50 thousandths (I'll try to find my micrometer tomorrow). Other than replace the gear oil, is there anything simple I should do? My preference is to button up the car and enjoy driving her in the fall. I know that if I pull the diff, that will escalate into a complete exhaust replacement, plus transmission crossmember, and odds are I wouldn't drive her again this year.
Also, one more question, what is the best answer for U-joint straps and bolts? I'm going to use Spicer 1350X non-greaseable U-Joints, per the spec for the 1980 manual transmission cars. Would these work? https://www.jegs.com/i/Spicer/094/3-70-28X/10002/-1
Until just recently, my car had a mix traditional U-joint bolts (half of them stripped), and hex heads from the hardware store (which worked). If I'm going to be taking the diff out again in the near future, I'd like bolts that I can use more than once.
I know this site runs on pictures, so here you are. A photo showing the stain above the differential before everything came out, and another showing my poor car, as light as she is likely to be for a long time. Yes, I pulled the trailing arms out with the strut rods still attached!
I know this site runs on pictures, so here you are. A photo showing the stain above the differential before everything came out, and another showing my poor car, as light as she is likely to be for a long time. Yes, I pulled the trailing arms out with the strut rods still attached!
Well, I am just buttoning up my 1980 rear diff and suspension which I started doing in December. Hope to have the exhaust back on tonight, drop it on the wheels, and possibly do a driveway run. What to say, what to say. First, I wish I had your setup for working on it - quicklift I believe with bridges? I did buy one from another member but only about a month ago. So my lift is in the the basement waiting for the car to come off the 4x4 blocks. If you check my posts there is a lot in there about what did and advice others gave that was useful.
History of the car. Bought it new in 1980. Drove it until 2004. A few years in there with minimal to no driving, maybe 3 years total. After 2004 sat and occasionally started until maybe 2010 and then never started until late 2017. Starting in 2015 replaced entire brake system, had radiator serviced, had carb rebuilt and rejetted/tuned for appropriately for L82. Started the car in fall of 2017. Worked out a few kinks (like the heater core blowing out, getting idle mixture correct, etc.). Drove it around maybe 20 miles total. Got me to the point where I could start working on the main reason I quite driving it. A lot of noise in the rear of the car - both suspension and rear end.
So the plan was primarily get the rear end out and send it for a rebuild with new 3.54 gears. Not a single bolt snapped or had to be cut. The car was never driven in winter despite being registered in NY and PA for 22 or its 24 driving years (other 2 yrs were in TX). I chalk that up to preparatory work of squirting everything with JB blaster for a 3 or 4 evenings before I started disassembly - or maybe I was just lucky.
Obviously getting the rear end out a lot of stuff had to come off - batwing, half shafts, spring, strut backet and the bracket end of the struts, back half of exhaust, spare tire cover. I found only one immediate issue that added to job.
Now, other items that were added as long as I was in there and I eventually wanted to do or found I had to do
- Must Do: Most bushings were shot, so all new poly bushings. Strut bushings were a disaster and likely most of the suspension noise I was hearing. This led to needing to pull the other end of the struts which meant pulling the J-arm which you've noted having trouble with. There's a post of mine on that issue. Recommendation from others was with the shocks pulled try rotating the arm to break it free. I got it to rotate and maybe it helped little. But there's a limit to how much it can rotate. Ultimately I took a big copper rod, which is soft, reversed the castle nut so it would protect the threads on the J-arm, and basically beat the c#@p out of them until they gave up. Another bushing issue to note, major pain on batwing bushings - there's post on that with good advice if you check my posts. Ultimately when they came out I felt that they were still good enough to have kept in.
- Wanted to do: Change to mono composite spring. Went with VS 360 lb, 1/2 shortened to accommodate change to 16 or 17" rim. Note, don't get the 1/2" shortened spring for this reason. Fact is there are very few tire options in the 16 or 17 inch rims. But 18" has lots and the rim is so big the regular spring will stay inside it even it you change the offset. That 1/2" shortening does make life somewhat difficult on the install.
- Had to do for the new spring: Change shocks to go with the spring. Lots of options. I ultimately went with QA1 single adjustable as I didn't know what ride to expect and wanted some flexibility. A bit prices, $160 each or so. But good options exist in the $100 range if you don't want adustability.
- Wanted to do: Change out all u-joints. Went with Spicer non-greasable. Bought at Denny's driveshafts - best prices I found and way less than the major suppliers. For your question on the new straps I would call Denny's.
- Wanted to do: Clean up and pretty up shafts and struts. Had shafts sand blasted then coated with Por 15. Struts and sway-bar just cleaned up myself and coated with Por 15. Don't need more than 4 ounces for that - in fact less was used.
- Found something that to a want to do item: Saw the build sheet still legible hanging over the front end of the gas tank. So I pulled the tank and retrieved it. A lot of extra work, mostly on getting the tank back in - posts exist on all this.
Back to the differential and your issue of taking it out. I had my rebuilt at Bair's. Item 1 which they and others will tell you is the Dana 44 is limited in the power it can handle. Lot's of people state they are using them at 400 gross hp without issues and some say they use it higher. But is it a weaker rear end. My opinion is that those that are blown out are a mix of power, transmission, how they've been driven and maintained, and just the dumb luck of unit to unit variation in manufacturing quality. Most have worn shafts internally due to some soft metal used at the time. Replacement is likely a good idea. That said, when Bair's pulled mine apart they found the shafts looked pretty much pristine. They felt them must have been replaced, but I'm 98% certain they were not. However, that 2% is because I did have seals replaced once and I don't think the guys knew what they were doing. Should not have had to go internal for this or even drop the rear end. But little things I won't list tell me maybe they messed up and more went on than they wanted to say. Anyway, just mentioning the shaft issue so you can use as you want. Also, there's a post I did on the weakness of the cast aluminum bearing caps. I didn't replace them as it's a customer job at $400 to $500 per cap if you go there. I figured they lasted through the beating I gave them in my 20's. Hopefully I'm better behaved now.
On the issue of getting the rear half of the exhaust off, it's only 10 nuts, the 2 U-bolt hangars in the back, 2 screws on the rubber mount to the cross member and 4 at the catalytic converter or whatever may be in its place Even if rusted frozen, usually a good crank with a breaker bar can either free 'em or break 'em. Your pipes look much cleaner than mine so I think they might come off OK. Again, maybe giving them a few nights with PB blaster to think about their fate will convince them to come along quietly.
Last edited by vince vette 2; 06-26-2018 at 01:15 PM.
I would do the differential while you are there, if you have the half shafts, struts, springs, and trailing arms off already off already you are basically already there except for cutting the exhaust, disconnecting the drive shaft and dropping the cross member down with the differential. A good muffler shop will be able to weld you back up when you are done, you wont need to rip the exhaust system out, just cut out some of the pipe for clearance. Plus have you ever seen what happens if a half shaft fails? It will tear up everything you just fixed underneath, and more, in a matter of seconds. Were you able to pin point the leak to see if the fluid is coming from the seal cover or from the yokes?
My 1980 (L48 Manual) has been up on jack stands for too long already. Just tonight, I finally cut out the trailing arms. I had hoped to just swap the strut rods, but I could not hammer out the strut rod/shock mount bolt without knocking the car off the jack stands. So that quickly escalated to a "while I'm in there" situation involving the entire rear suspension. After getting the half-shafts out (I had to cut several straps), and seeing what shape they are in, I'm really glad I did the extra work.The trailing arms were probably fine, but now they'll be extra-fine.
When you rebuilt your trailing arms, did you install new wheel bearings as well?
Literally just a few days ago my driver side rear wheel bearing went (as in wheel wobble got dramatic all of a sudden). Turns out my trailing arm bushing is in bad shape as well, so I am planning to do a full rebuild. Funds are tight right now, so I'm gonna do it myself, so just curious how difficult you found it and what special tools you ended up using?
On the issue of getting the rear half of the exhaust off, it's only 10 nuts, the 2 U-bolt hangars in the back, 2 screws on the rubber mount to the cross member and 4 at the catalytic converter or whatever may be in its place Even if rusted frozen, usually a good crank with a breaker bar can either free 'em or break 'em. Your pipes look much cleaner than mine so I think they might come off OK. Again, maybe giving them a few nights with PB blaster to think about their fate will convince them to come along quietly.
Thanks for the very thorough replies!
Yes, that is a Qwik-Lift. I found it on Craigslist, with two bridges. I feel much better getting under the car knowing it can only fall so far. I can sit on a creeper and sit up under the rear end, which helped a lot getting as far as I did. I've been following some of your other posts. I can see the build sheet, but so far I am resisting the urge to drop the tank. If I switch to EFI, I'll do it then, but for now I want to maximize driving time. The strut rods (finally free!) were shot. The remaining rubber in one of the ends just fell out like cottage cheese. The trailing arms actually function fairly well. The bushings are mostly intact, and the bearings are tight. There are signs that the car has been serviced at some point in the past, to include fresh rivets on the brake backing plate (which I cut off with a Sawzall to get to the bushing bolts) and stainless hardware in the parking brake.
So far, to go back in I have:
385 lb VB&P composite leaf spring (that's an odd size, I hear you say, it's because it is an inch shorter than stock from the factory).
Bilstein Sport shocks (I didn't want to go with QA-1 double adjustables without trying them first).
Heim-jointed strut rods from Mid-America
OEM-style sway bar mounts
OEM 9/16" sway bar, used, from a Forum member
And, soon, rebuilt trailing arms with a relocated parking brake bracket.
That is good advice on the exhaust. I took a look, and sprayed some Kano Kroil on the four Cat bolts (it smells MUCH better than PB Blaster, which I will never use again, and seems to work at least as well). My problem is that if I have to cut the exhaust, I'll just redo the whole thing, headers and all. But if I can remove it in one piece, great! Perhaps the bolts will come loose.
I would do the differential while you are there, if you have the half shafts, struts, springs, and trailing arms off already off already you are basically already there except for cutting the exhaust, disconnecting the drive shaft and dropping the cross member down with the differential. A good muffler shop will be able to weld you back up when you are done, you wont need to rip the exhaust system out, just cut out some of the pipe for clearance. Plus have you ever seen what happens if a half shaft fails? It will tear up everything you just fixed underneath, and more, in a matter of seconds. Were you able to pin point the leak to see if the fluid is coming from the seal cover or from the yokes?
Thanks! Yup, your advice is very sound. I'd like to do the differential this winter, and actually drive the car for a month or two before the snow flies, but that would mean undoing a lot of work twice. I don't like that.
I'll post some photos in a bit. It looks like the leak is from the passenger side yoke. I don't know how else it could get sprayed on the underside, but I s'pose it could be from the rear seal. Either way, once I get the batwing off, I'm 90% of the way to pulling the differential.
When you rebuilt your trailing arms, did you install new wheel bearings as well?
Literally just a few days ago my driver side rear wheel bearing went (as in wheel wobble got dramatic all of a sudden). Turns out my trailing arm bushing is in bad shape as well, so I am planning to do a full rebuild. Funds are tight right now, so I'm gonna do it myself, so just curious how difficult you found it and what special tools you ended up using?
Hi mobird! I saw your post. Your video was pretty scary.
The trailing arms came out last night, so I haven't rebuilt them yet. Here's a picture of the special tools I'm using to have them rebuilt, though.
My preference is to rebuild things that I can do well and easily. Years ago, I fought with half-shafts on my Corvair for a LONG time (basically the same rear suspension as a C3), bought and arbor press, and still didn't do it quite right. I don't want to repeat that, and Bairs will rebuild my half-shafts, and paint them, for $100- each. The trailing arms will cost more, but they can weld on a new parking brake bracket, blast and recoat the arms, and they have the tools to redo the bearings and the bushing. My garage is full, so I don't have space for a press or any of the other specialized tools. It would make economic sense to DIY this (especially if I have to do it for my wife's C3), but I just don't want to be bothered right now, I just want to drive my car.
Anyway, that's how I did it. There's plenty to do, including wire-brushing and POR-15ing the frame, and possibly pulling the differential.
Here's the passenger side of the differential. This is the only yoke that I could get all of the bolts free from. Bairs will have to EZ-out the wheel bearing yokes, and I'll have to get the one on the other side.
Here's the stain, without anything else in the way of the photo.
One of the trailing arms. With a combination of a MAP gas torch, Kano Kroil, and pounding on the end of the bolt, I was able to remove one of the strut bolts intact and reusable. The other had to be cut out. The bolts are splined, and fit into a D-shaped hole at the threaded end, so I don't think twisting is advised (I didn't).
Does anyone know what the "HD" refers to? It's marked on both trailing arms.
Last edited by Bikespace; 06-26-2018 at 08:20 PM.
Reason: HD strut rod?
Yes, that is a Qwik-Lift. I found it on Craigslist, with two bridges. I feel much better getting under the car knowing it can only fall so far. I can sit on a creeper and sit up under the rear end, which helped a lot getting as far as I did. I've been following some of your other posts. I can see the build sheet, but so far I am resisting the urge to drop the tank. If I switch to EFI, I'll do it then, but for now I want to maximize driving time. The strut rods (finally free!) were shot. The remaining rubber in one of the ends just fell out like cottage cheese. The trailing arms actually function fairly well. The bushings are mostly intact, and the bearings are tight. There are signs that the car has been serviced at some point in the past, to include fresh rivets on the brake backing plate (which I cut off with a Sawzall to get to the bushing bolts) and stainless hardware in the parking brake.
So far, to go back in I have:
385 lb VB&P composite leaf spring (that's an odd size, I hear you say, it's because it is an inch shorter than stock from the factory).
Bilstein Sport shocks (I didn't want to go with QA-1 double adjustables without trying them first).
Heim-jointed strut rods from Mid-America
OEM-style sway bar mounts
OEM 9/16" sway bar, used, from a Forum member
And, soon, rebuilt trailing arms with a relocated parking brake bracket.
That is good advice on the exhaust. I took a look, and sprayed some Kano Kroil on the four Cat bolts (it smells MUCH better than PB Blaster, which I will never use again, and seems to work at least as well). My problem is that if I have to cut the exhaust, I'll just redo the whole thing, headers and all. But if I can remove it in one piece, great! Perhaps the bolts will come loose.
You're right about the PB smell, it doesn't stand for peanut butter. I'll have to see if I can come up with some Kano.
I hear you on just wanting to get some driving time. I'm basically the same but just reversing the order - did the differential but left the trailing arms for later. As I was finishing up putting it all back together the last couple of nights I kept thinking about how I'm going to have to pull the half shafts, struts, spring bolts, and shocks again to get the trailing arms off. But I really want some driving time this year. It's been 5 years since I started and I've only driven it maybe 30 miles during a few weeks last fall.
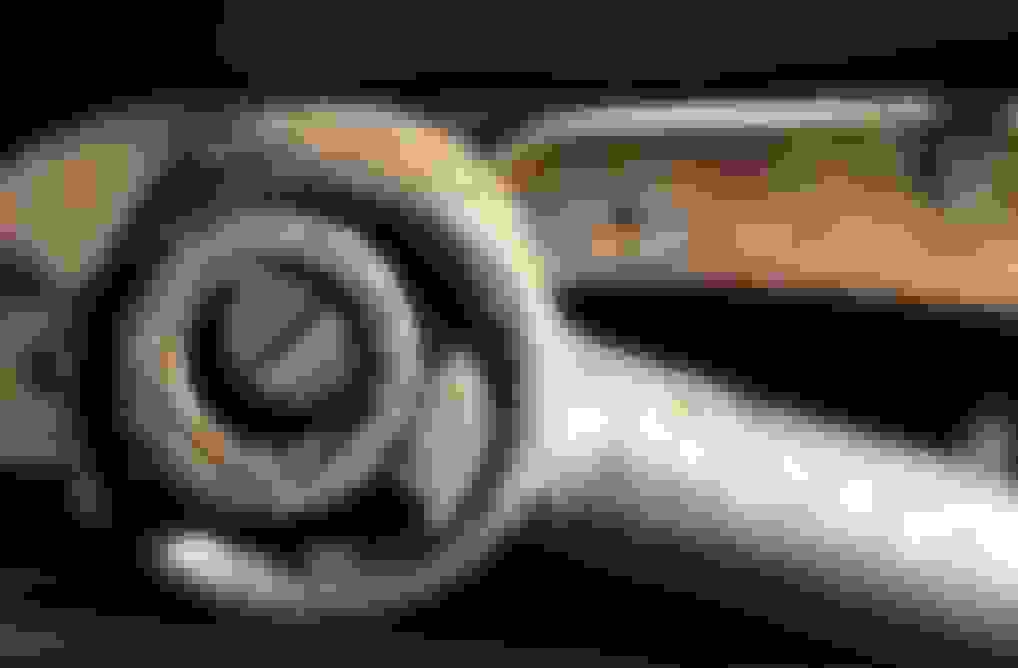
Concerning mounting the fiber spring, you may want to replace the two long bolts that hold the spring up to the differential with with something 10 mm longer. The bolts are M12-1.75 grade 10.9, 80 mm long. If the combined height of the VB&P spacer and spring are even a couple mm more than the original spring I'd recommend getting 90 mm bolts. The mounting holes for them in batwing are threaded all the way though so they can take the extra length. And the originals go in only about 12 or 13 mm. On my VS spring the thickness was about 5 mm thicker. And the idea of losing that thread engagement when bolting steel into aluminum bothered me. I'll post a photo of the the install later. But I have a meeting in 4 minutes.
Here's photo of my spring mounting. These are 90 mm bolts, 10 mm longer than stock. Note that these are just popping out of the top of the holes they thread into. The one on the left is just flush and the one on the right is out about 2 threads. That's because the black mounting plate under the spring spacer block is deformed on that side. Some dingus over torqued it (not me) years ago I suspect when they replaced seals on the side shafts (don't know why the messed with the spring). I may or may not have to deal with that at some point as I think the threads are degraded so I'm staying a little light on the torque spec on that side.
The important thing is that the 90 mm can provide a full engagement before running out of threads. And if it is a little long it's nothing that can't be solved by adding a washer. The gain in getting full use of all the threads in the batwing seems worth it given that the more threads engaged, the less stress there is on them and thus less creep in aluminum which only gets worse with temperature.
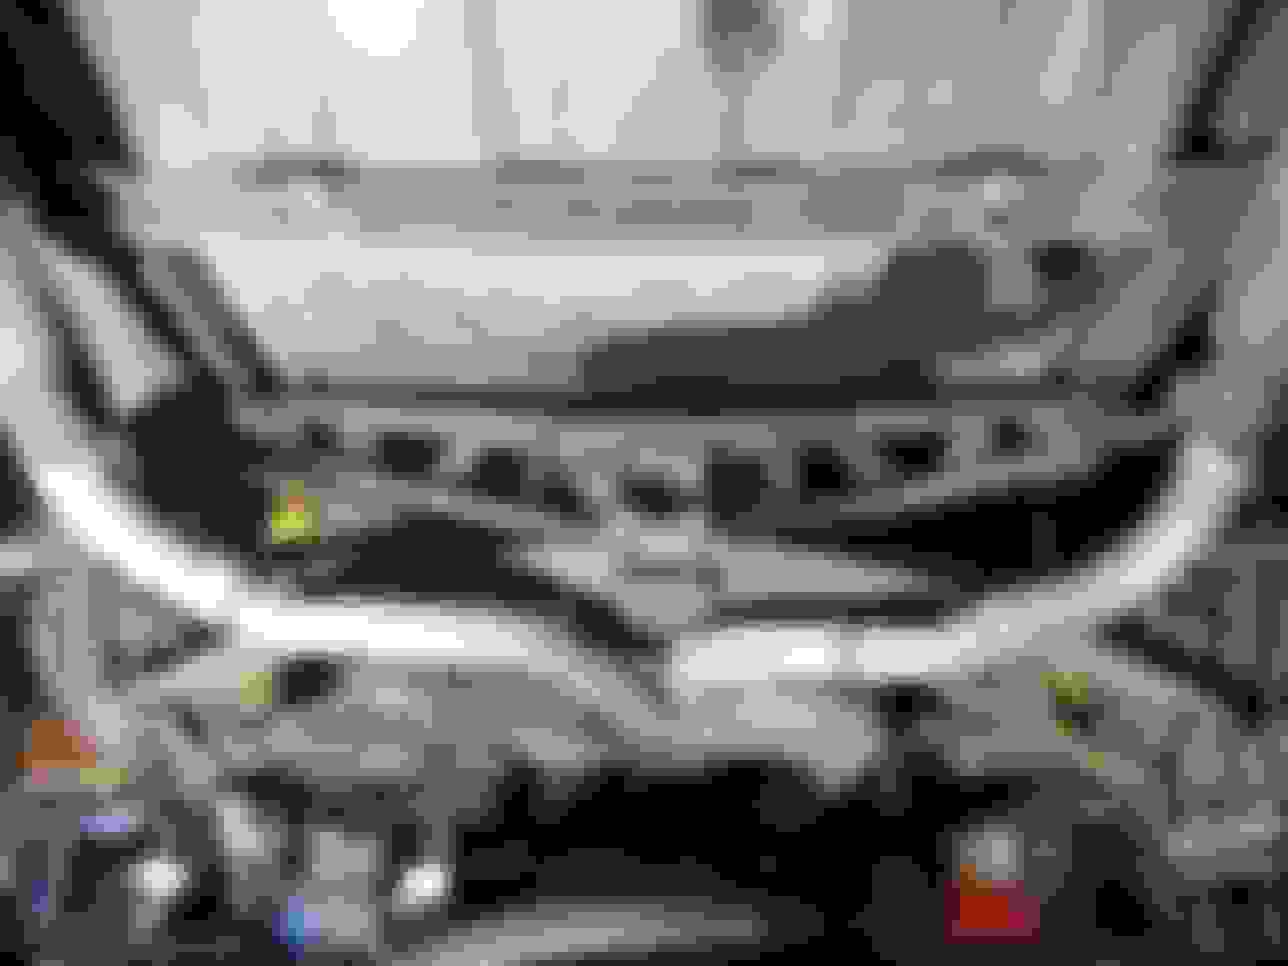
Also, you mentioned worn strut bushings. Did they look similar to this. I removed no rubber. This is what I was riding on.
Here's photo of my spring mounting. These are 90 mm bolts, 10 mm longer than stock. Note that these are just popping out of the top of the holes they thread into. The one on the left is just flush and the one on the right is out about 2 threads. That's because the black mounting plate under the spring spacer block is deformed on that side. Some dingus over torqued it (not me) years ago I suspect when they replaced seals on the side shafts (don't know why the messed with the spring). I may or may not have to deal with that at some point as I think the threads are degraded so I'm staying a little light on the torque spec on that side.
The important thing is that the 90 mm can provide a full engagement before running out of threads. And if it is a little long it's nothing that can't be solved by adding a washer. The gain in getting full use of all the threads in the batwing seems worth it given that the more threads engaged, the less stress there is on them and thus less creep in aluminum which only gets worse with temperature.
Also, you mentioned worn strut bushings. Did they look similar to this. I removed no rubber. This is what I was riding on.
Thanks! I pulled out a mix of strap bolts and U-joints with my half-shafts. The spring was no different, with two different long bolts (only one was long enough). I just checked, and one of the holes had already been heli-coiled, perhaps due to damage caused by the same chucklehead that got to your car.
Yup, that's exactly what one strut rod end looked like. The metal part fell out when I turned it on its side.
My VB&P spring did not come with a spacer that looks like that. The total thickness/height is the same as what came out of my car (2.25"), but there is a hard rubber spacer with a nubbin on the top of the spring. I can see that what you have would help lower the car an extra inch or so.
Also, I just realized that the spring that came out of the car is 2.5" wide, while my VB&P is 2.25" wide, so I'll need a spacer of some sort. I don't expect VB&P is returning phonecalls. The good news is that the bolts they provided are 3.5", 89mm long.
Last edited by Bikespace; 06-26-2018 at 11:24 PM.
Reason: More measurements.
Hi mobird! I saw your post. Your video was pretty scary.
The trailing arms came out last night, so I haven't rebuilt them yet. Here's a picture of the special tools I'm using to have them rebuilt, though.
My preference is to rebuild things that I can do well and easily. Years ago, I fought with half-shafts on my Corvair for a LONG time (basically the same rear suspension as a C3), bought and arbor press, and still didn't do it quite right. I don't want to repeat that, and Bairs will rebuild my half-shafts, and paint them, for $100- each. The trailing arms will cost more, but they can weld on a new parking brake bracket, blast and recoat the arms, and they have the tools to redo the bearings and the bushing. My garage is full, so I don't have space for a press or any of the other specialized tools. It would make economic sense to DIY this (especially if I have to do it for my wife's C3), but I just don't want to be bothered right now, I just want to drive my car.
Anyway, that's how I did it. There's plenty to do, including wire-brushing and POR-15ing the frame, and possibly pulling the differential.
Ha, I can totally understand that!
I'm still on the fence. "Fun Money" doesn't really exist right now for me, and the Vette is a toy, not daily driver transportation so it has to take a backseat to other pressing financial needs. Which is why I'm considering rebuilding them myself even though they will be a huge pain in the butt. But I need to go through and thoroughly add up what it will cost me to do it myself after tool costs and such and see if it is actually worth it.
Thanks for the info. And good luck getting your rear suspension back together! Car is gonna handle nice and solid! I have a similar setup to you (VB&P 360 spring, Bilstein Sport shocks, rebuilt half shafts with spicer1350 u-joints, adjustable control arms) and it completely changed the handling on the car, very solid and confidence inspiring....at least until my wheel tried to come off haha.
I am very much looking forward to seeing what a difference the suspension improvements make.
Having done the budget classic car thing before, if I didn't want to spring for a rebuilt trailing arm right away (and it sounds like some knowledgeable Forum folks suspect it may be more than just the bearings, which will get more expensive), I'd look around Craigslist or perhaps the local Corvette club to see if someone is parting out a car. If you can buy a trailing arm, or a pair, with good enough bearings, you can much more easily replace the bushings yourself, and then you'll be able to drive the car around for the rest of the summer. I did this once with my Corvair, and got an entire 3.55 posi transaxle (2-speed powerglide transmission plus a differential, with the diff located between the transmission and engine), for $250. I pulled out the drivetrain in a gravel driveway, bolted it all back together, and put thousands more miles on the car, including Auto-X, road racing, and a half-way across the country trip.
Anyway, another option to consider. We will see in a few days if the Cat bolts come out of my car, then it really is a simple and reversible matter to get the exhaust out, and I'm only a few more bolts from the entire differential.
Dang, that is a heck of a deal you got!
And thanks for the tip. I actually just found a local Corvette shop that has a good reputation, and am currently emailing back and forth with the owner to see what all they do in their trailing arm rebuild. They have a reasonable price ($350) and I wouldn't have to pay shipping. I'm just sort of "quizzing" the owner to see what all goes in to it and what end play they achieve on the bearings.
Just thought I'd let you know I got all of my rear suspension put back together and took it out for three short runs via Bair's instructions for rear end break in. Didn't have time for much more so I can't really evaluate any change in suspension yet.
The QA1 single adjustables certainly have range though. After getting everything together and setting the shocks to 1/3 of their range I bounced it up and down. Something was wrong though. Very different stiffness between the two sides. Decided to actually look at the ***** rather than just reach in and turn them. Reset to 0 and found one was at 12 clicks, the other at 6. So, fixed that and took it out. Nice ride, but as I said, can't really judge yet.
One downer, a little knocking I've hear back in the rear for years is still there. I figured originally that it was the rear end as it started immediately after a dealer replaced seal back in the 90's. Then when I saw the strut bushings, what was left of them, I thought that was probably the issue. But those are now ruled out. My guess - trailing arms. I had hoped this winter would be a transmission swap - maybe still, but certainly trailing arms also at this point. They have 90,000 on them.
Well, anyway, yee-haa! I'll get some miles on it on the fourth.

 06-26-2018, 12:22 AM


 Even if rusted frozen, usually a good crank with a breaker bar can either free 'em or break 'em. Your pipes look much cleaner than mine so I think they might come off OK. Again, maybe giving them a few nights with PB blaster to think about their fate will convince them to come along quietly.