When you click on links to various merchants on this site and make a purchase, this can result in this site earning a commission. Affiliate programs and affiliations include, but are not limited to, the eBay Partner Network.
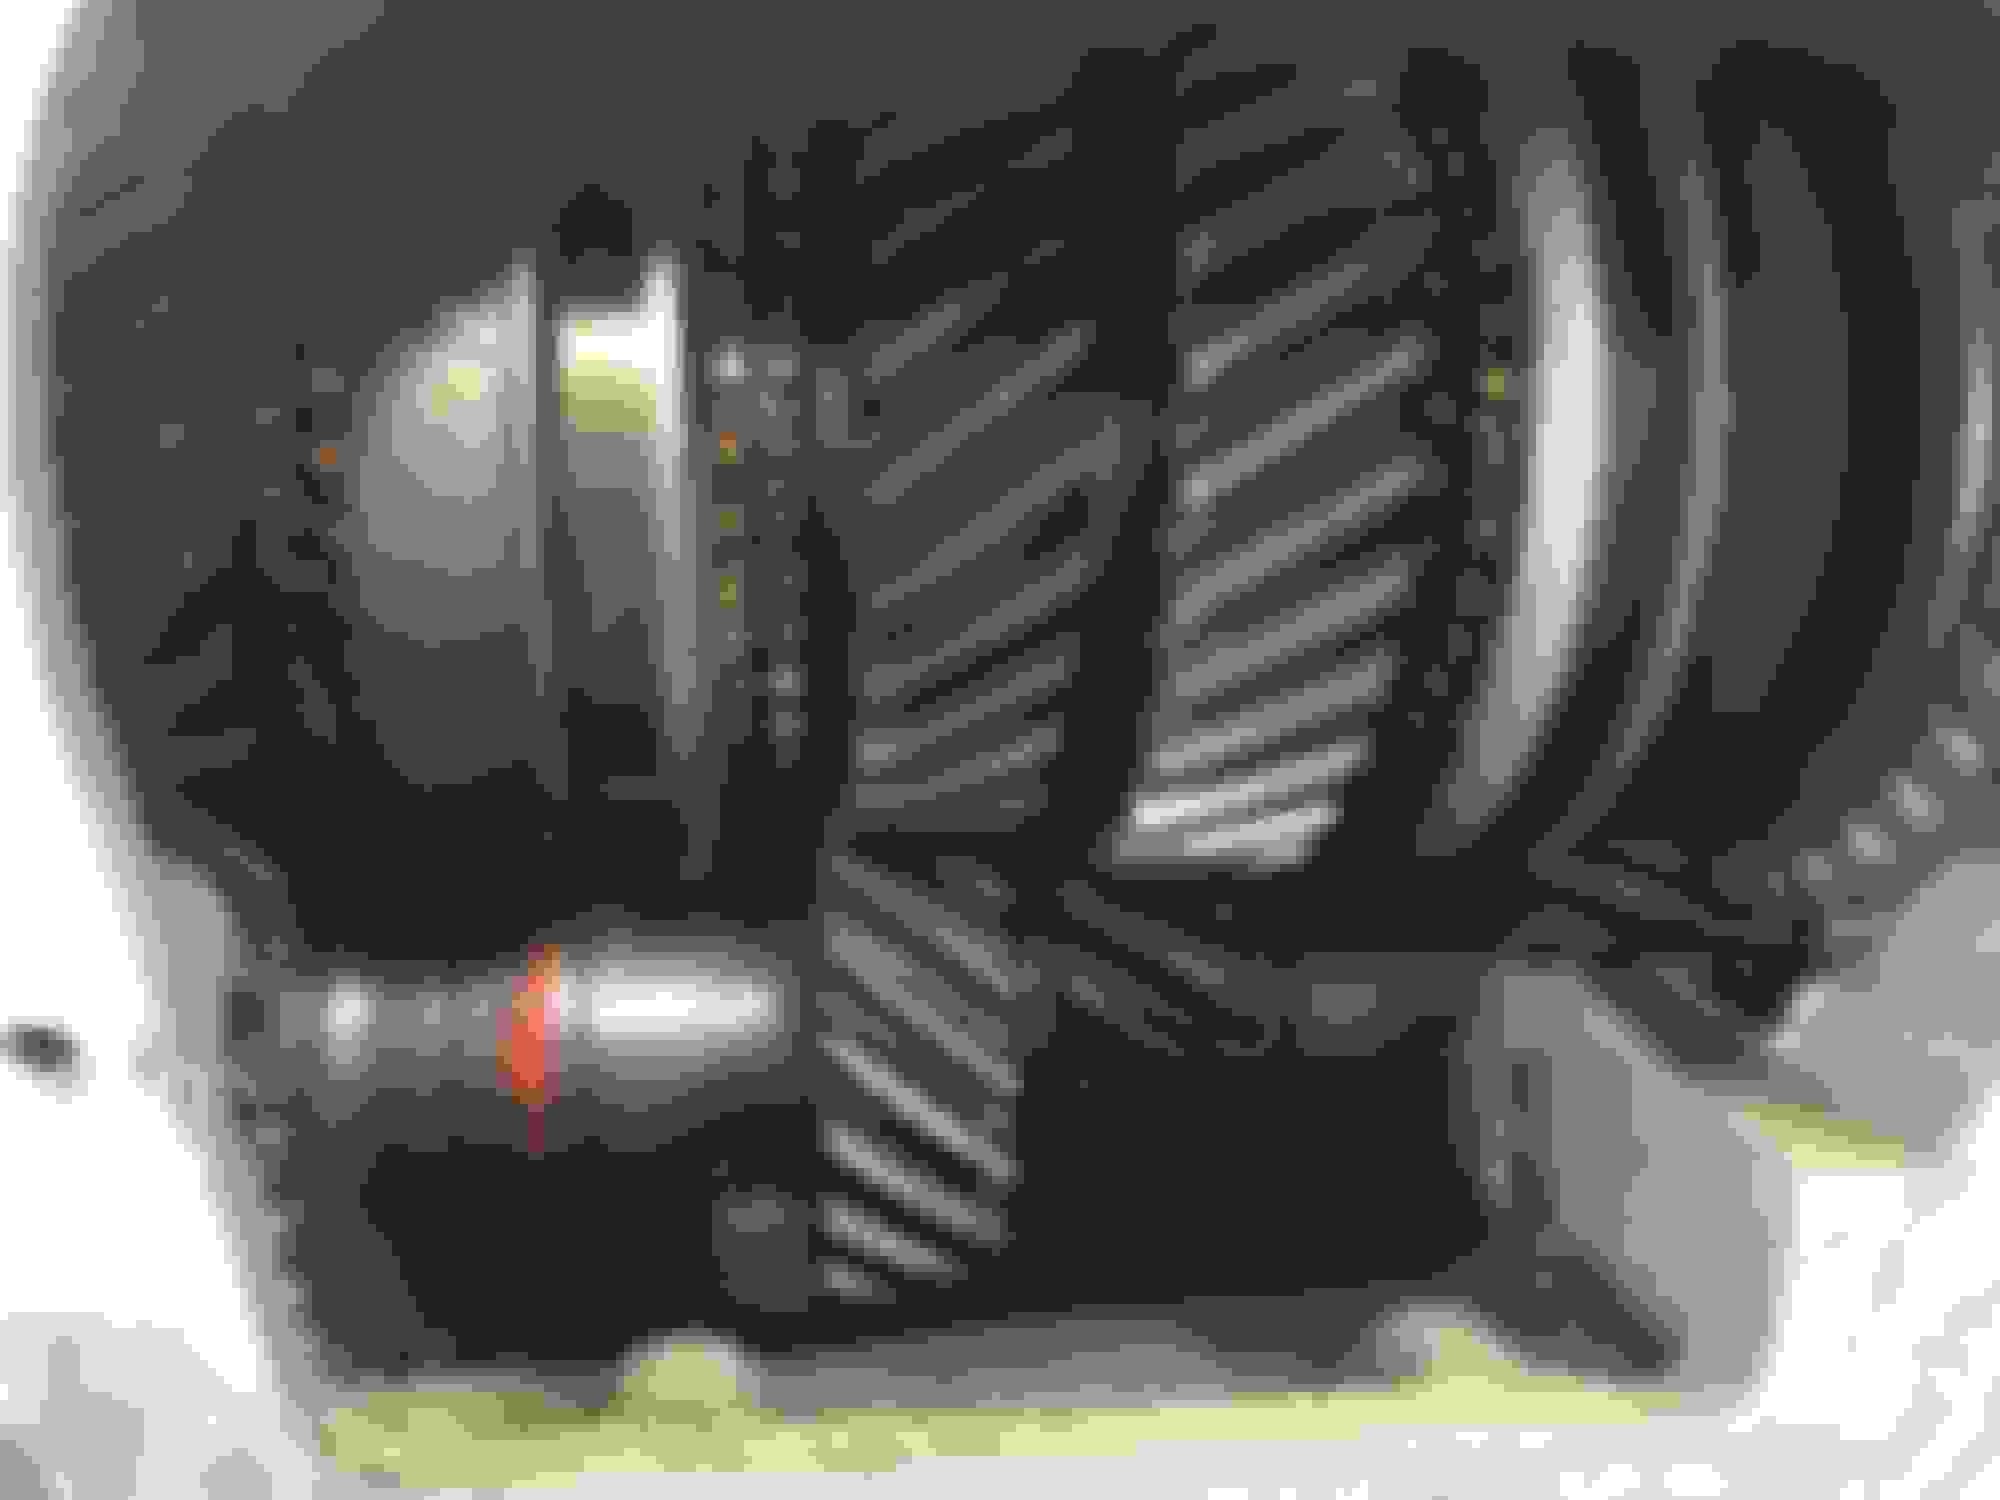
Time to get the original trans rebuilt by my friend Bryant at Current Auto Performance. I had not driven the car much so I didn't really know its condition going into this. So we tore it apart and there were some worn gears and synchros. Here are some pics of the rebuild
As mentioned, I don't know what engine I will be running, nor do I know if I will be running a carb or EFI. However, I decided to install lines and pumps with the ability to do both. I am using a Tanks Inc. gas tank with an in tank pump. I ran two 3/8 inch gas lines front to back, and then I used a Corvette LS type filter regulator. I had Jason from Current fab up the tank lines using the quick connect newer factory style.
Last edited by gleninsandiego; 02-03-2018 at 12:40 PM.
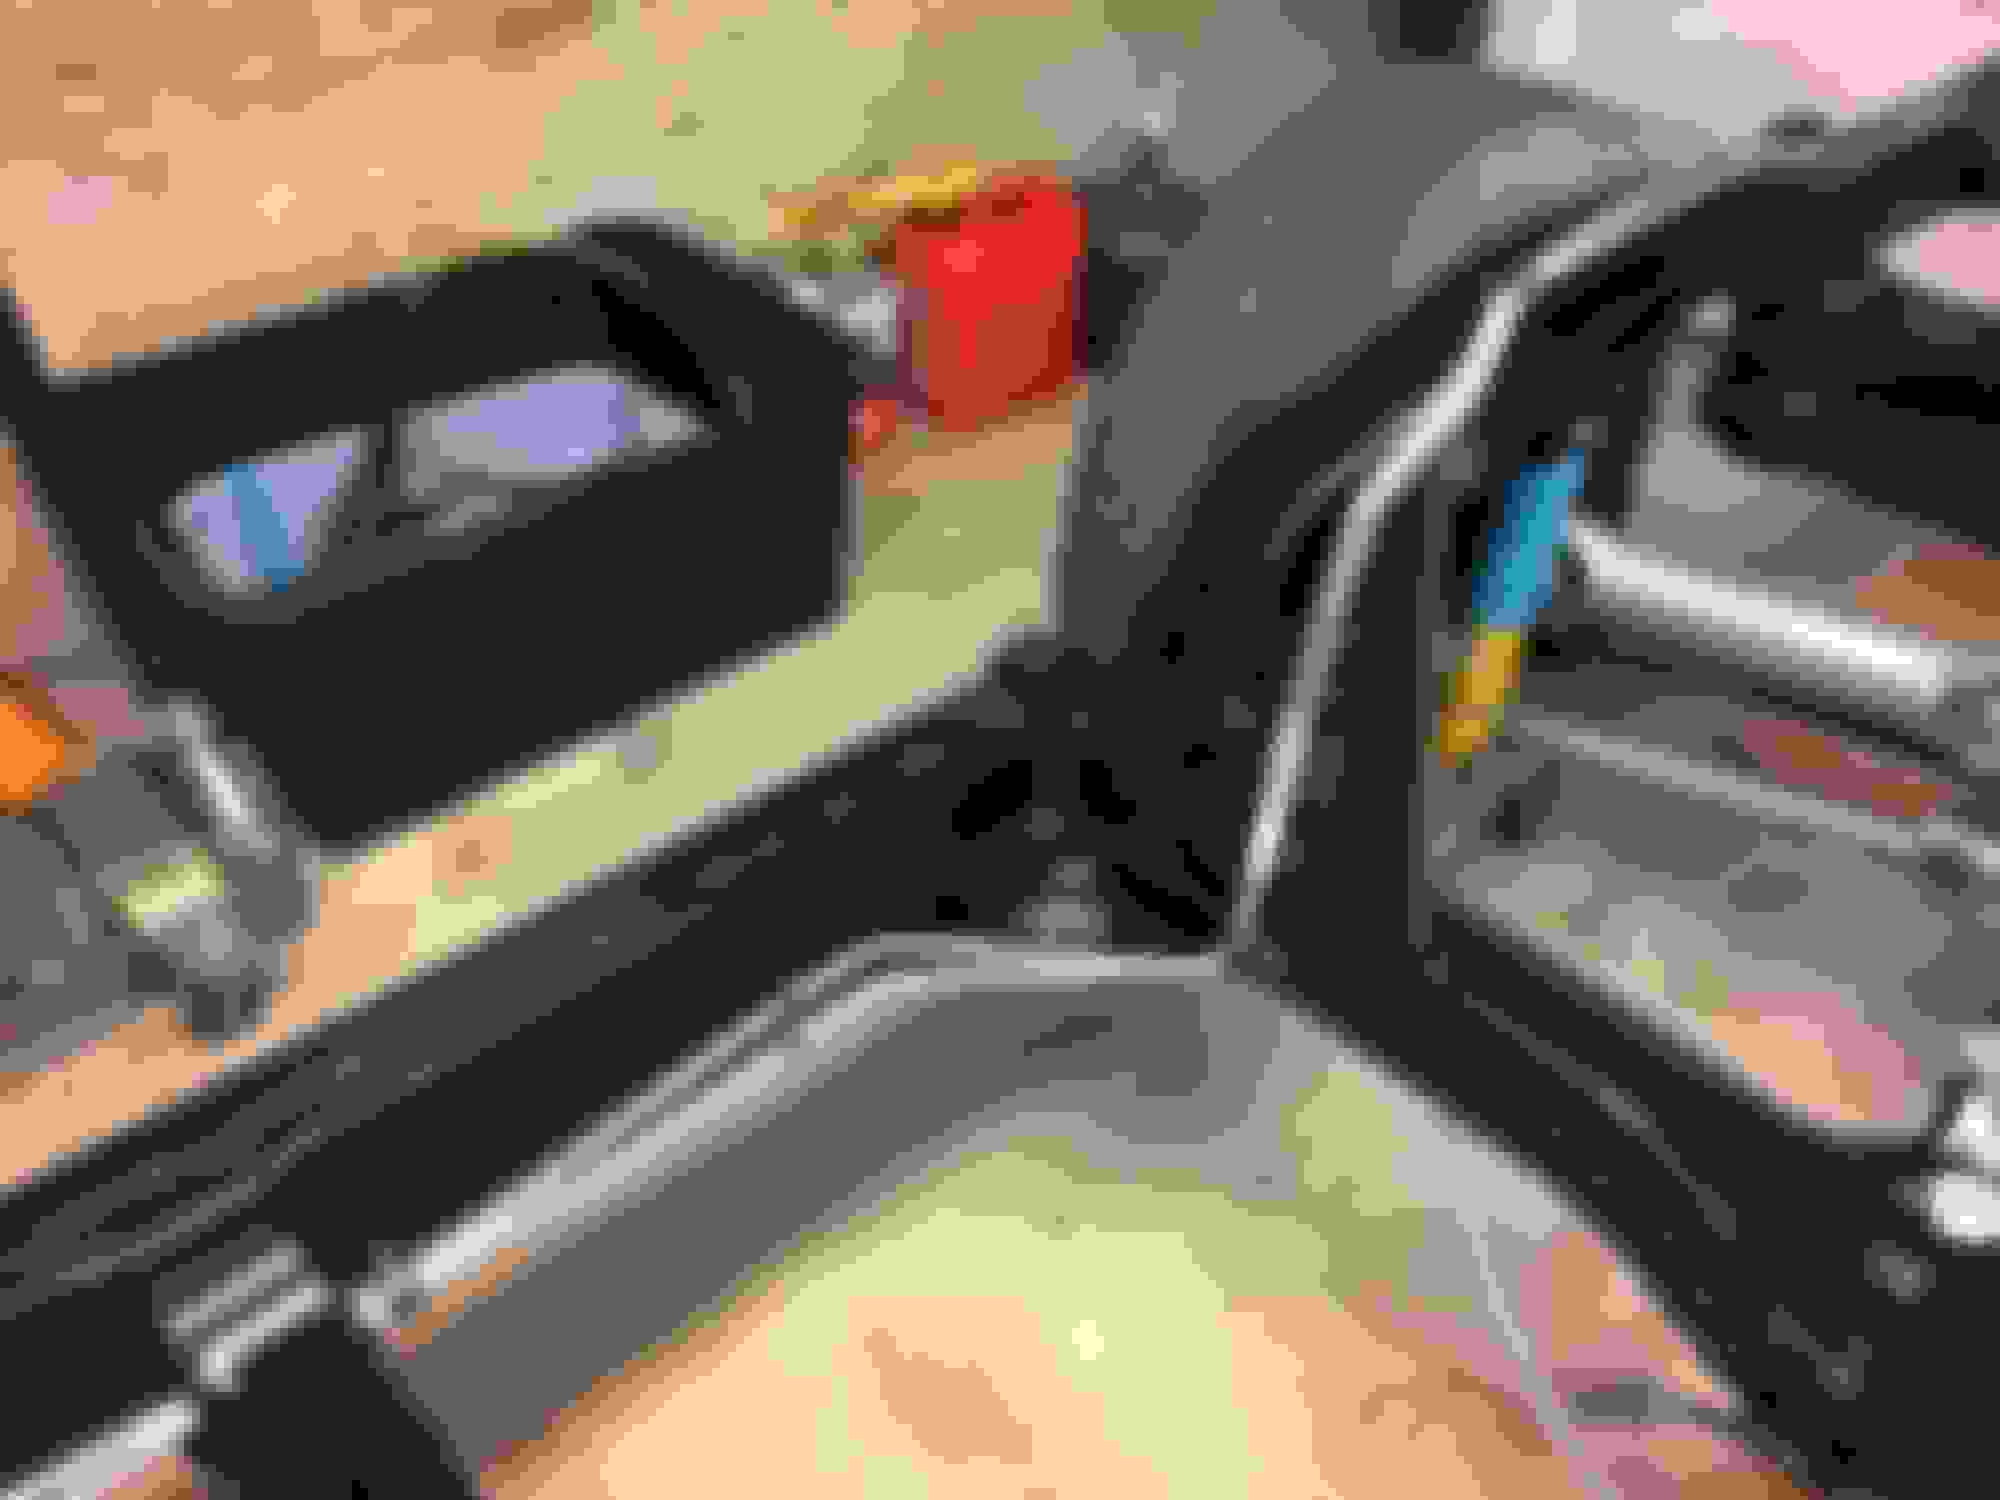
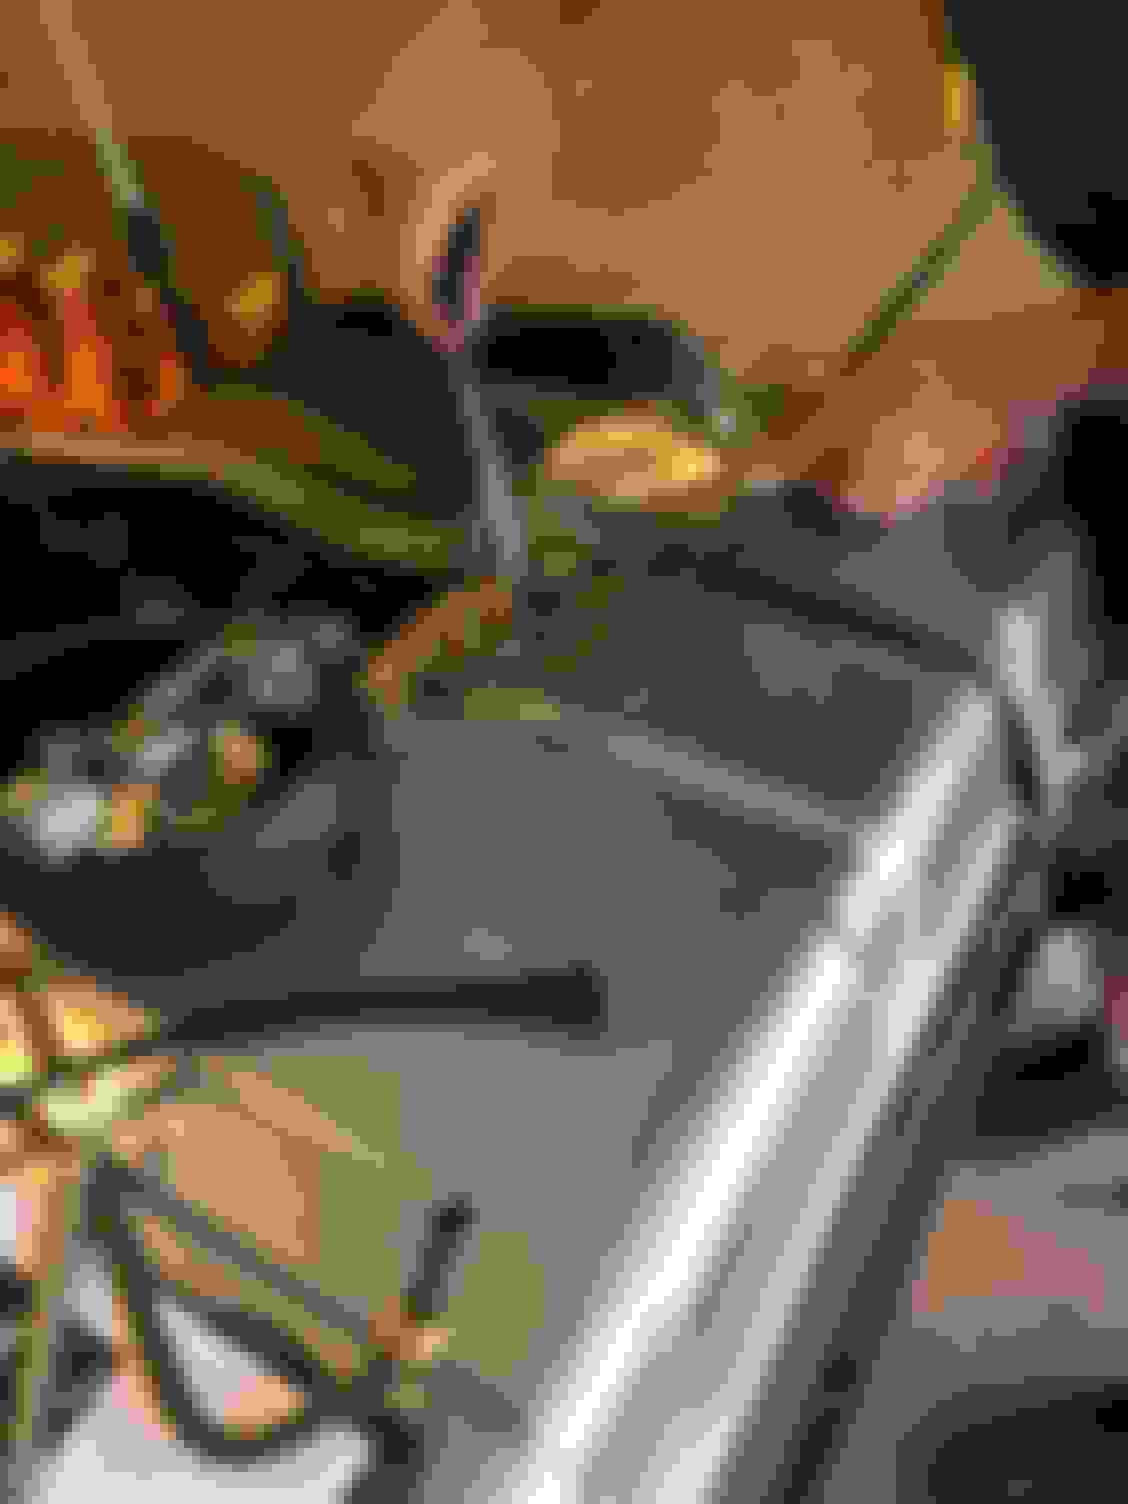
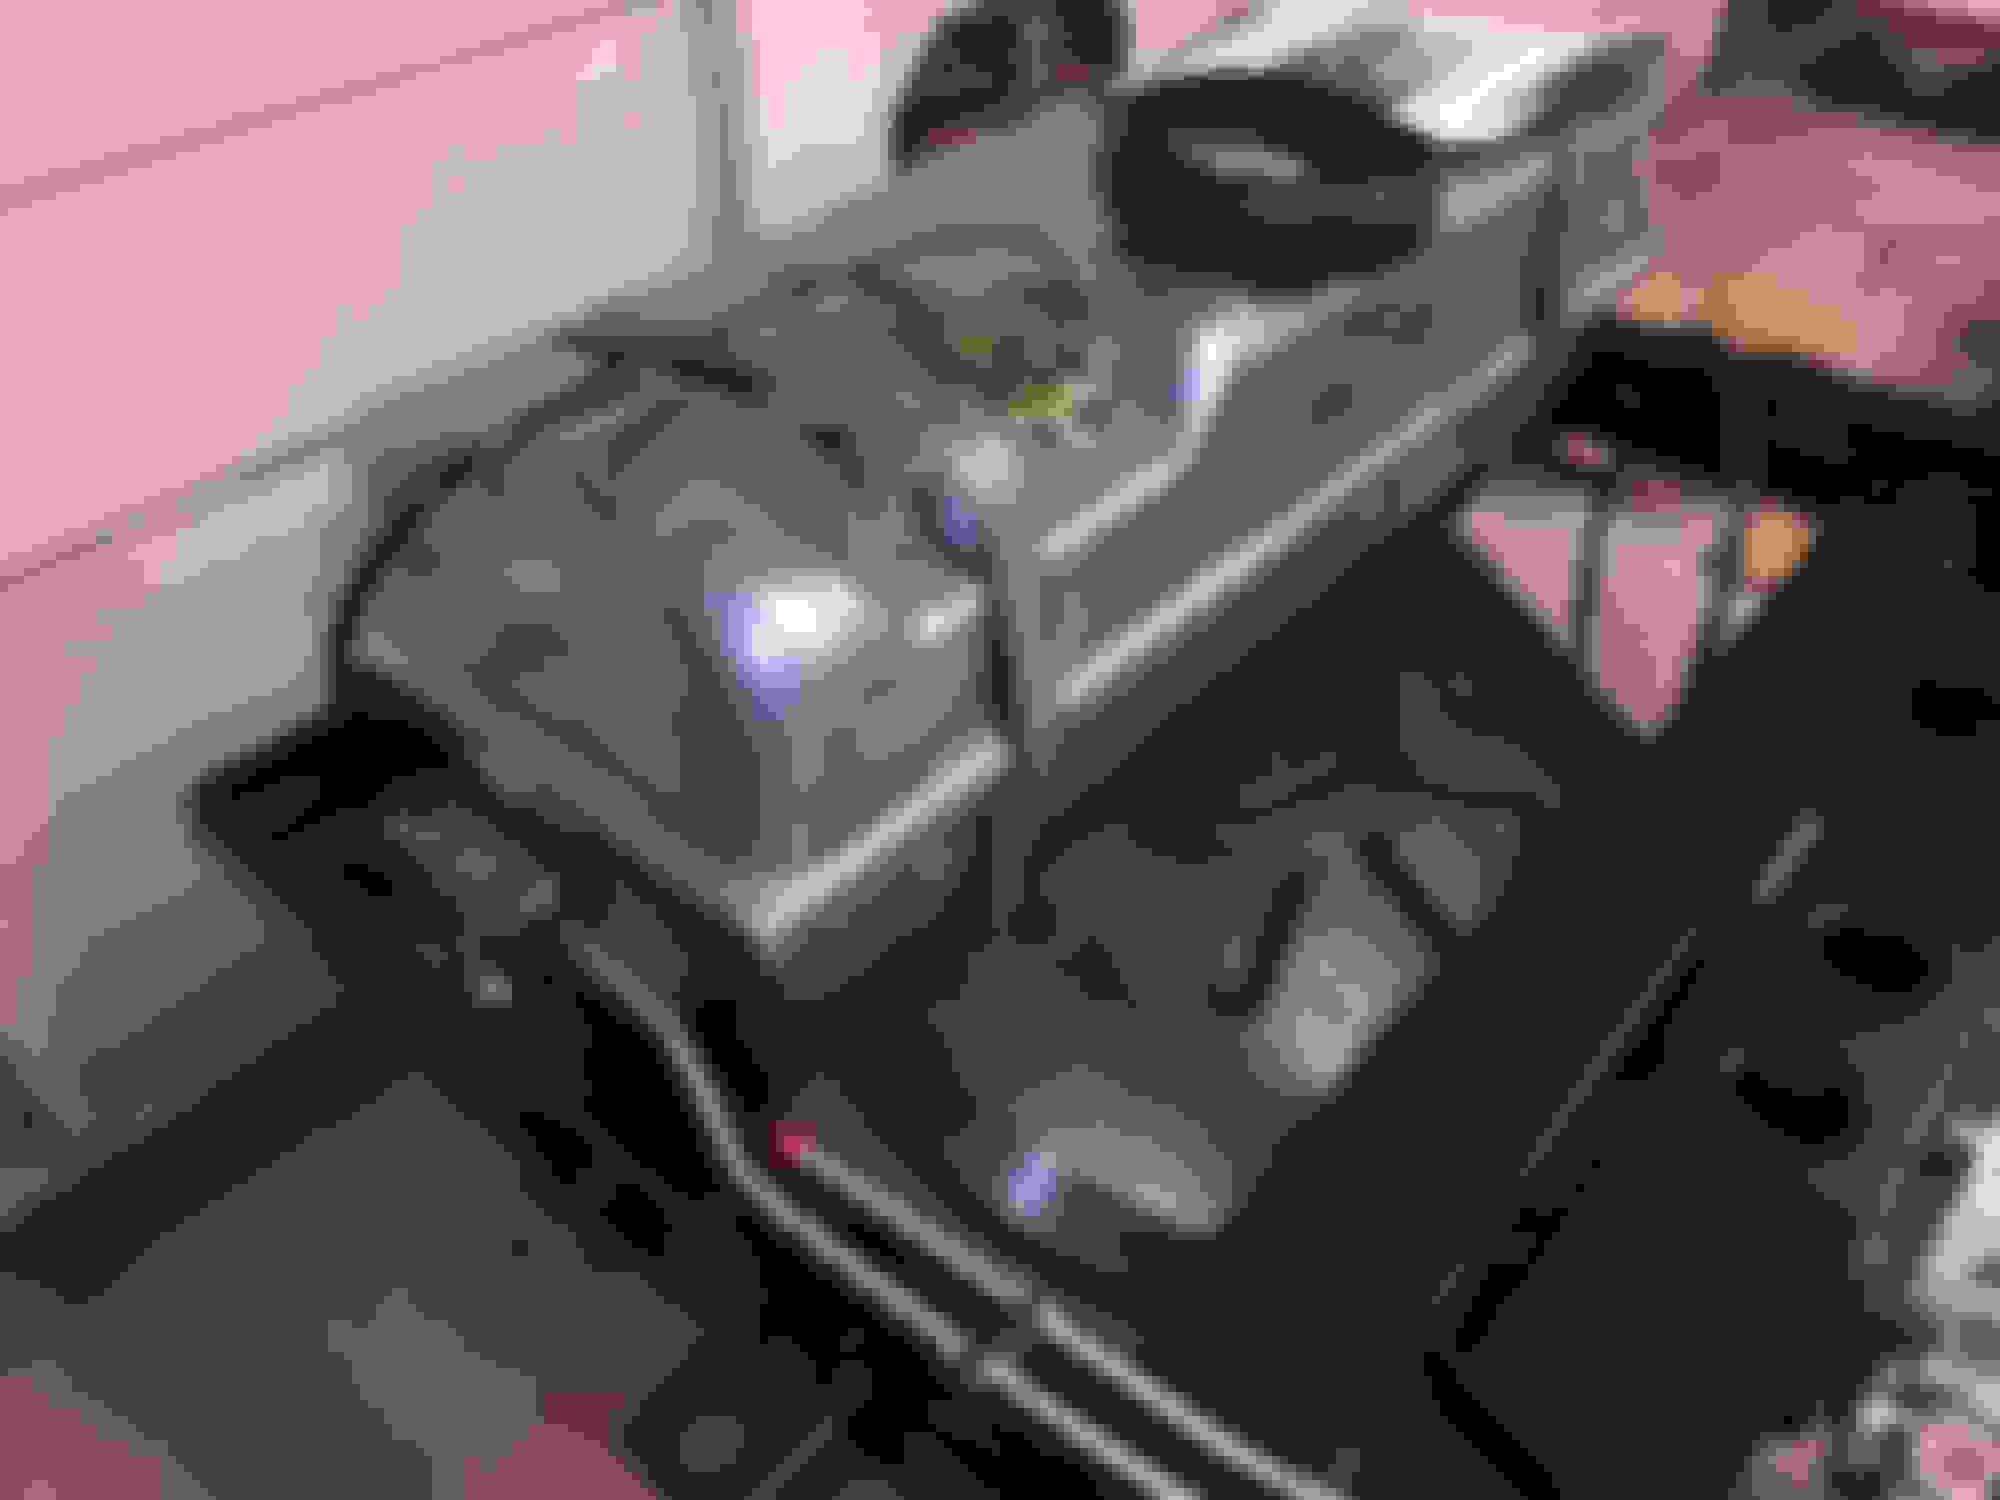
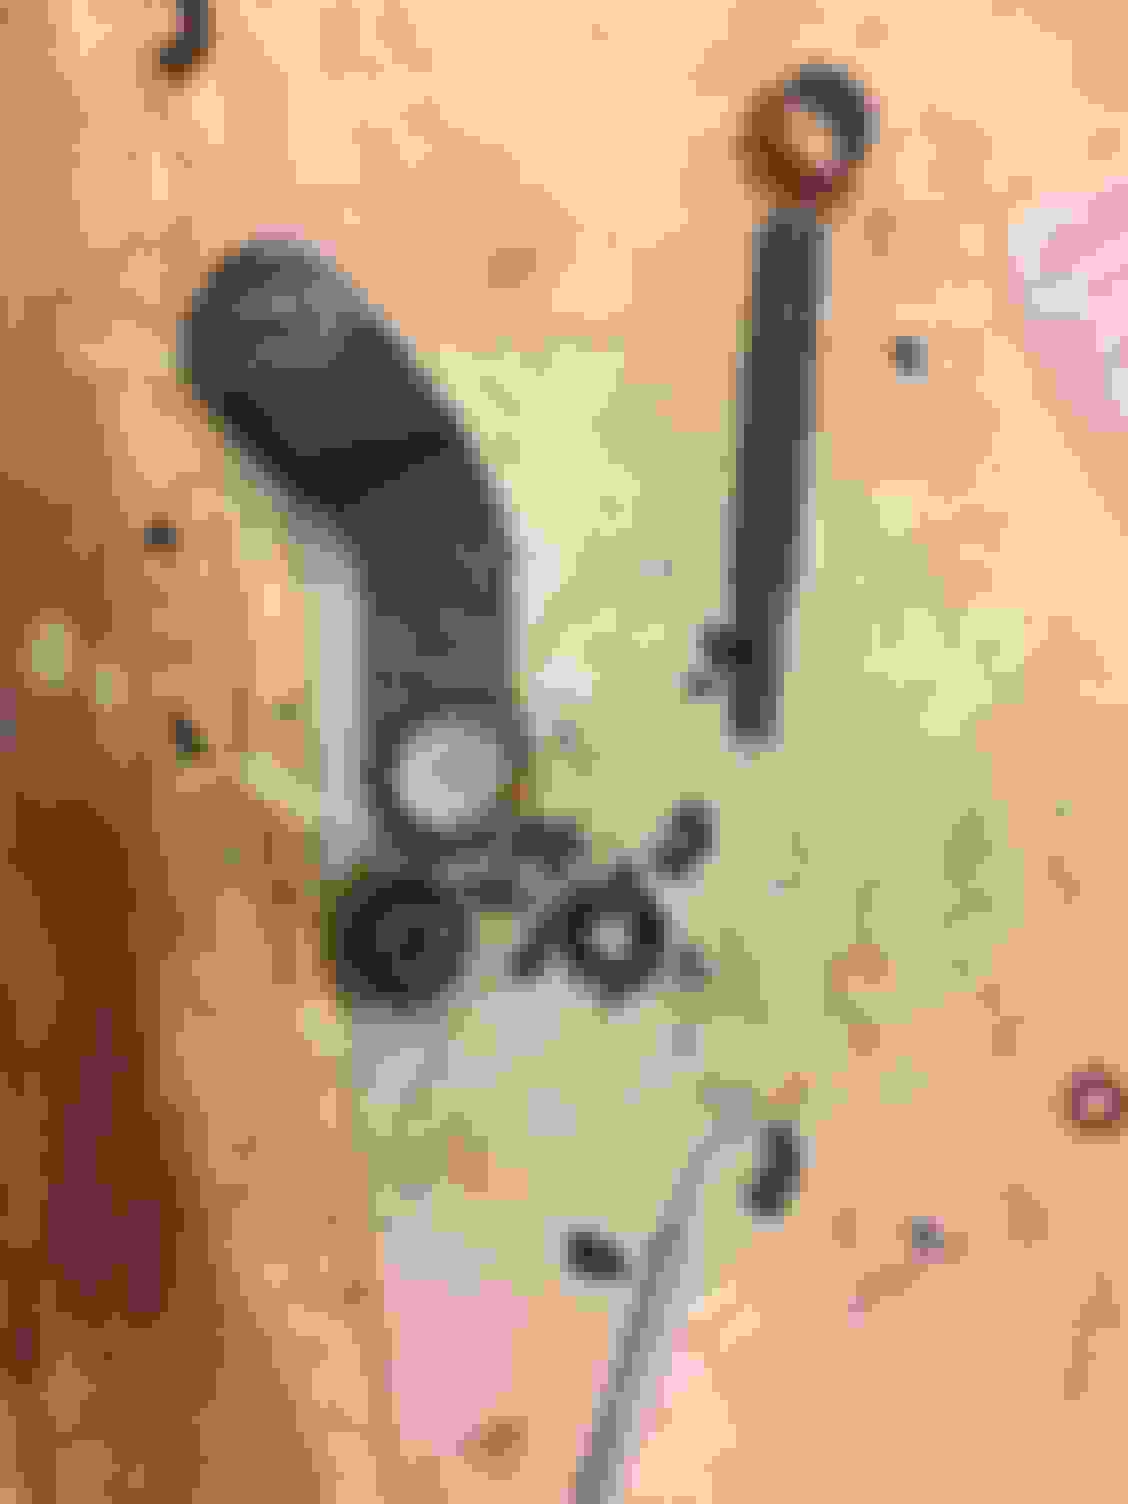
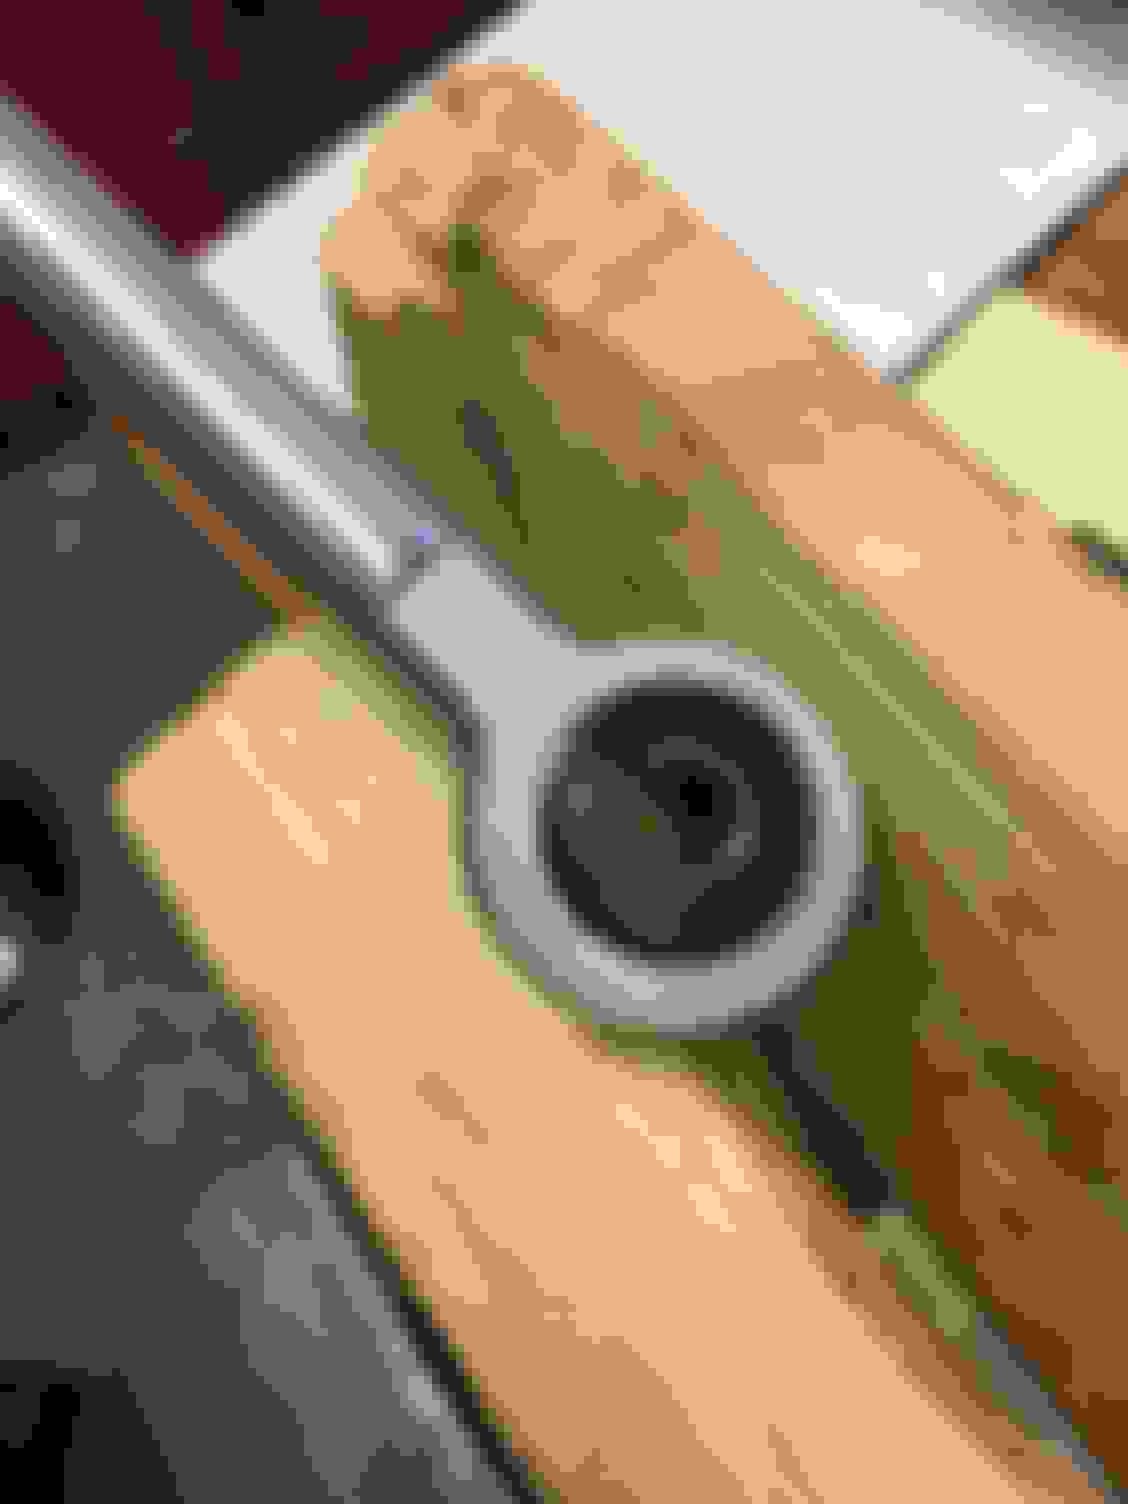
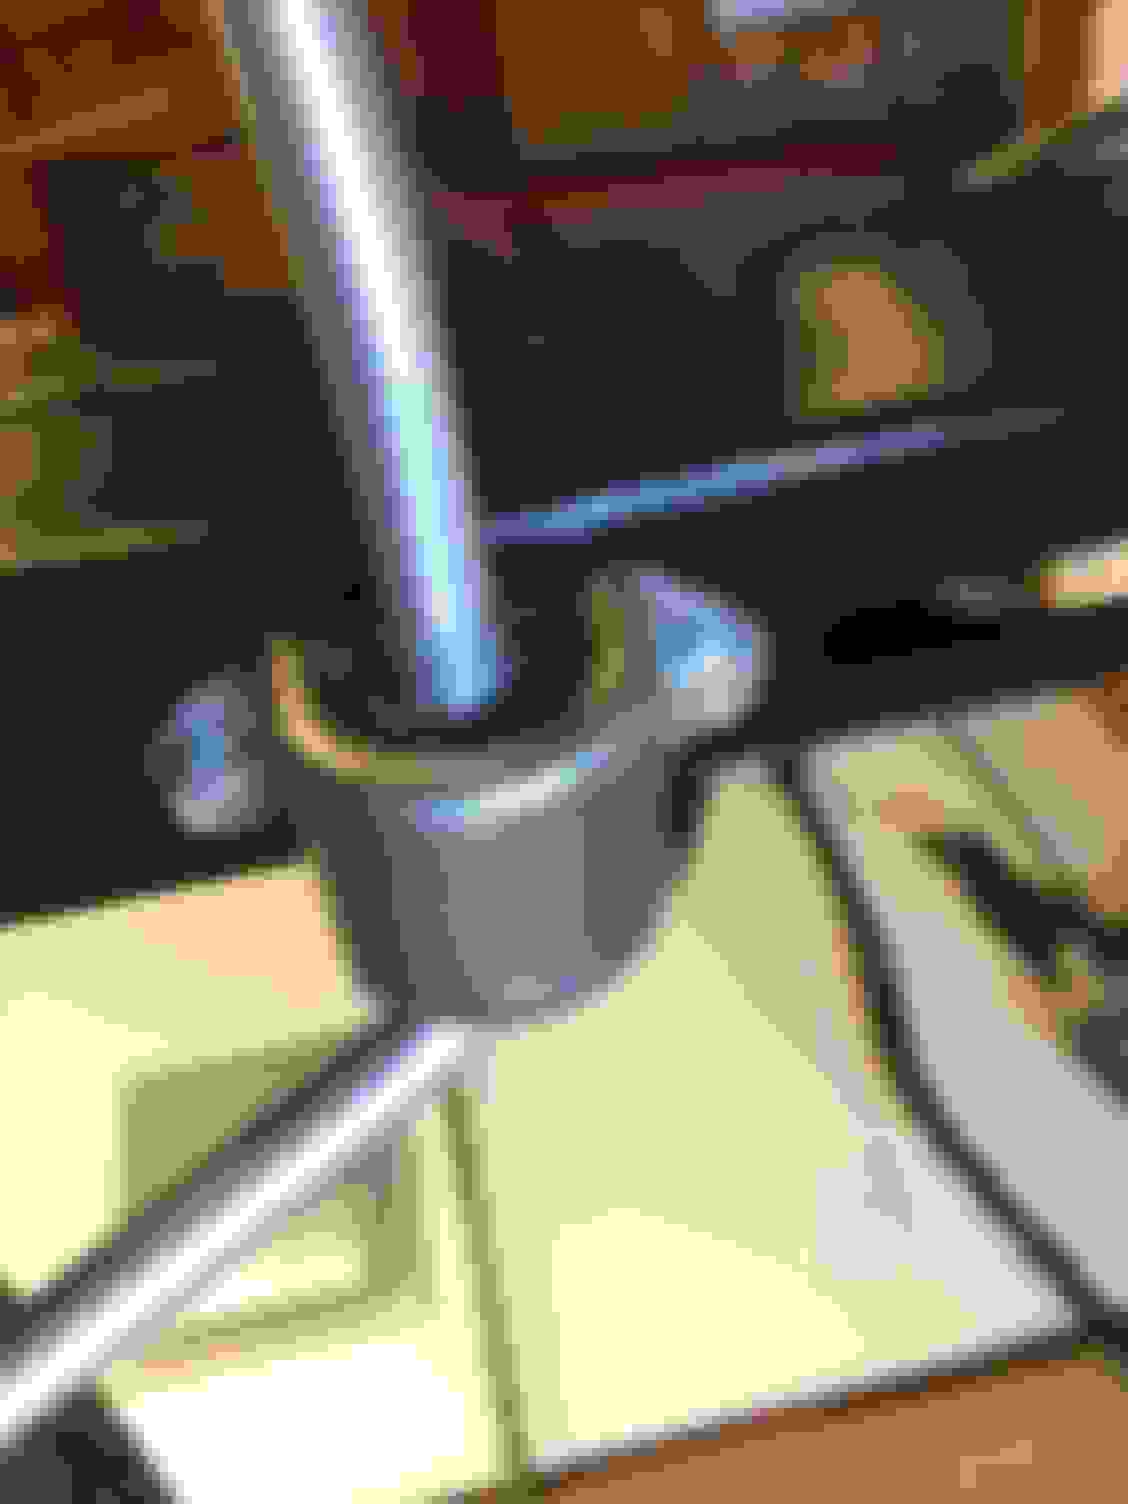
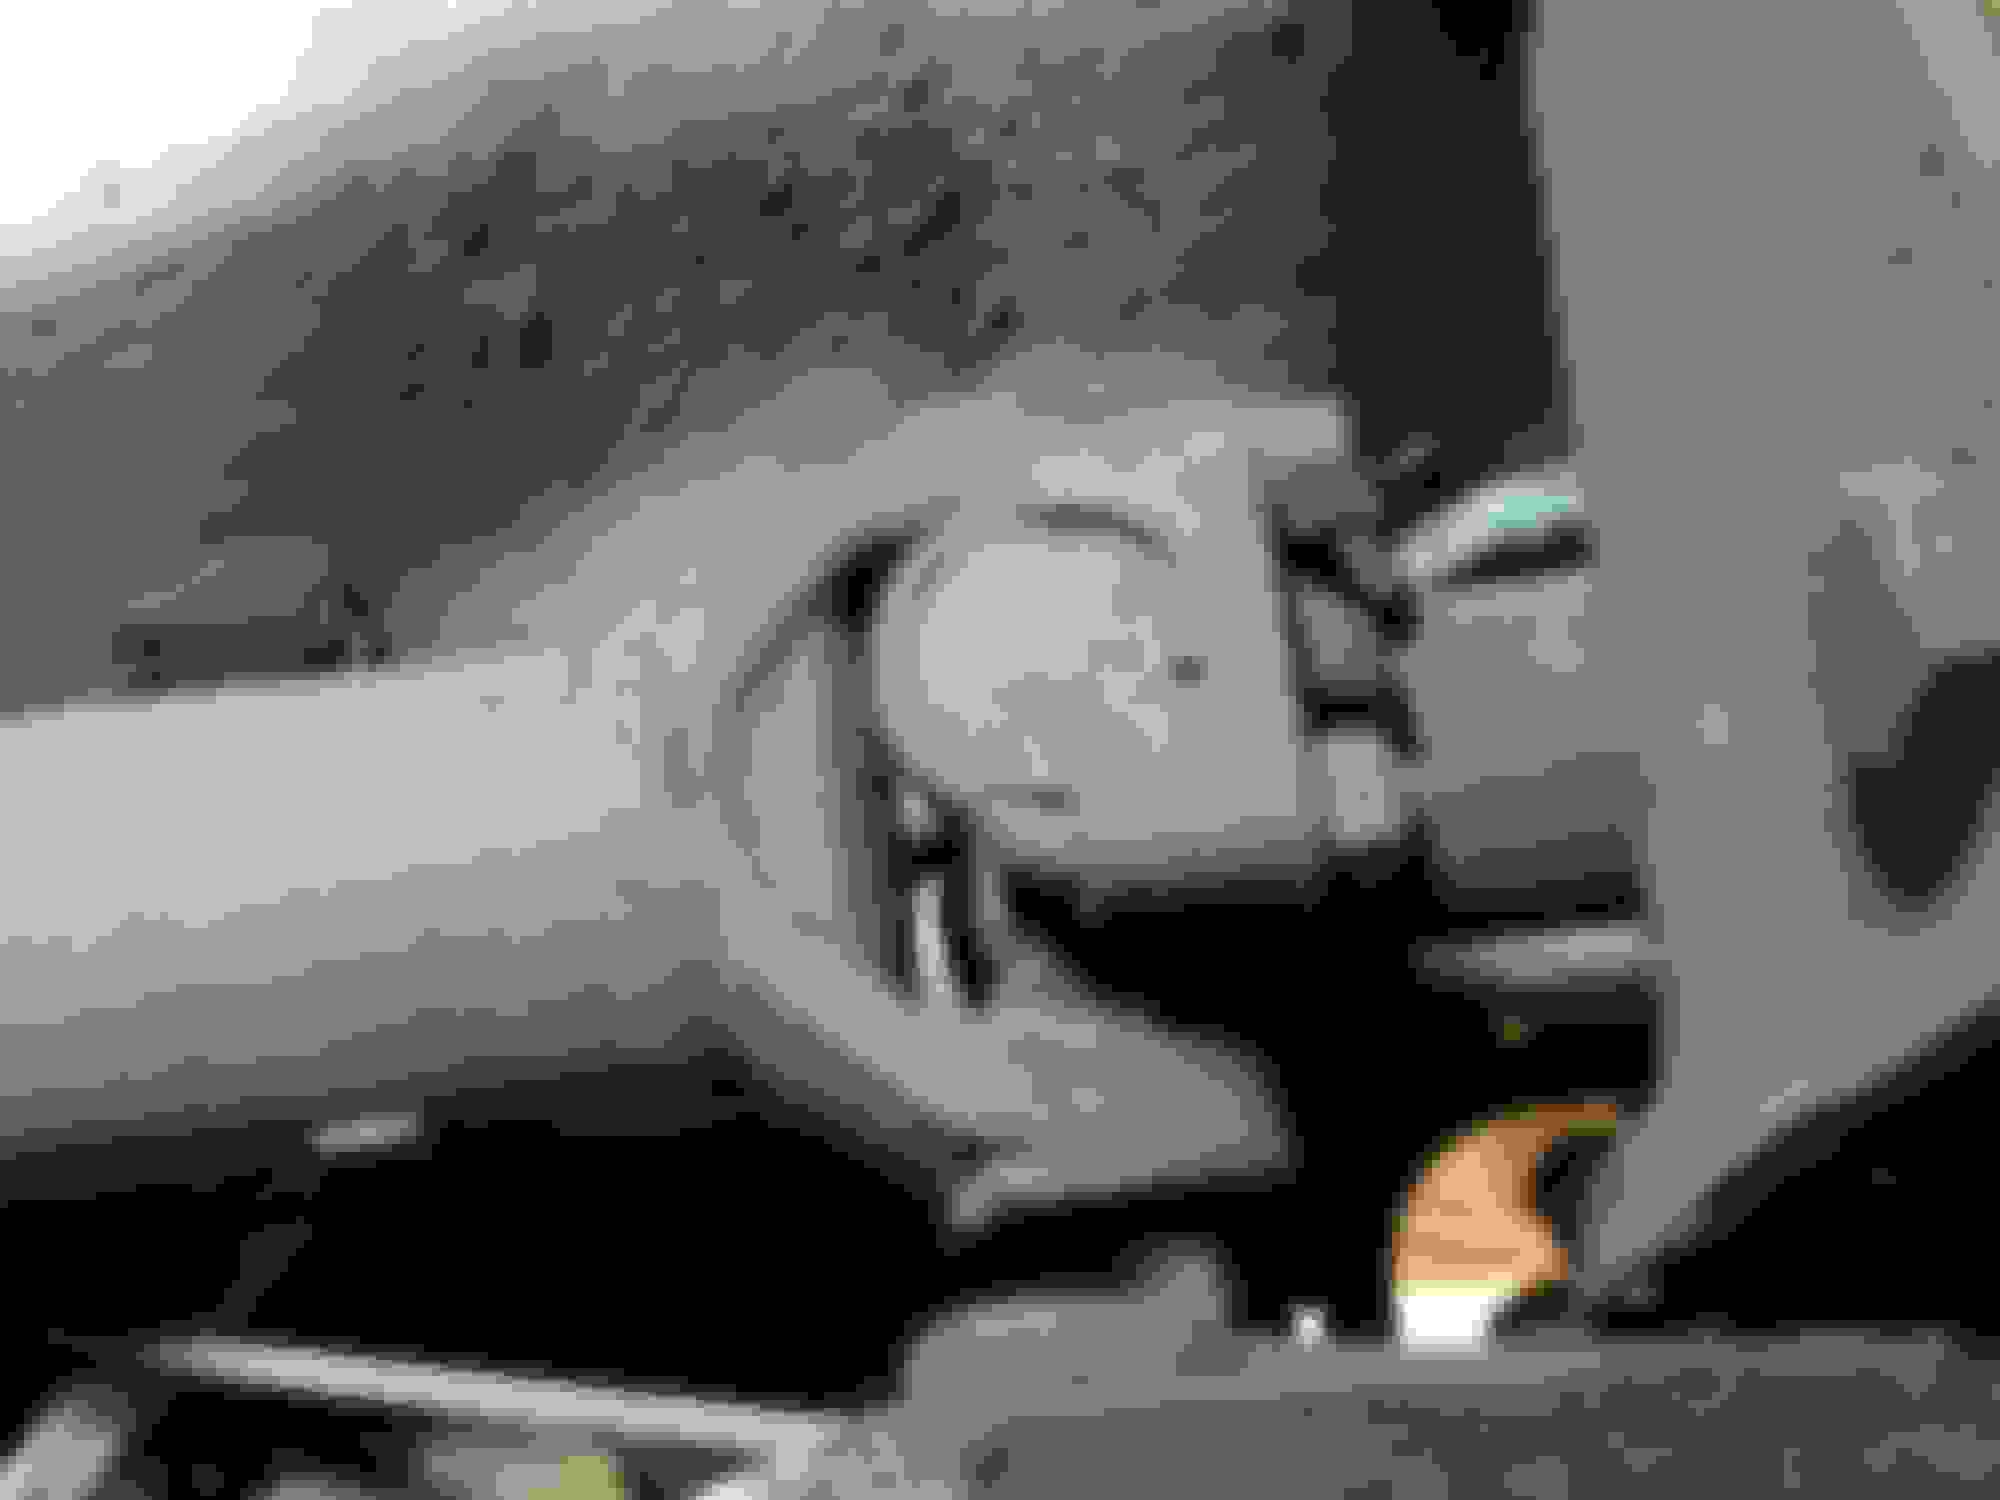
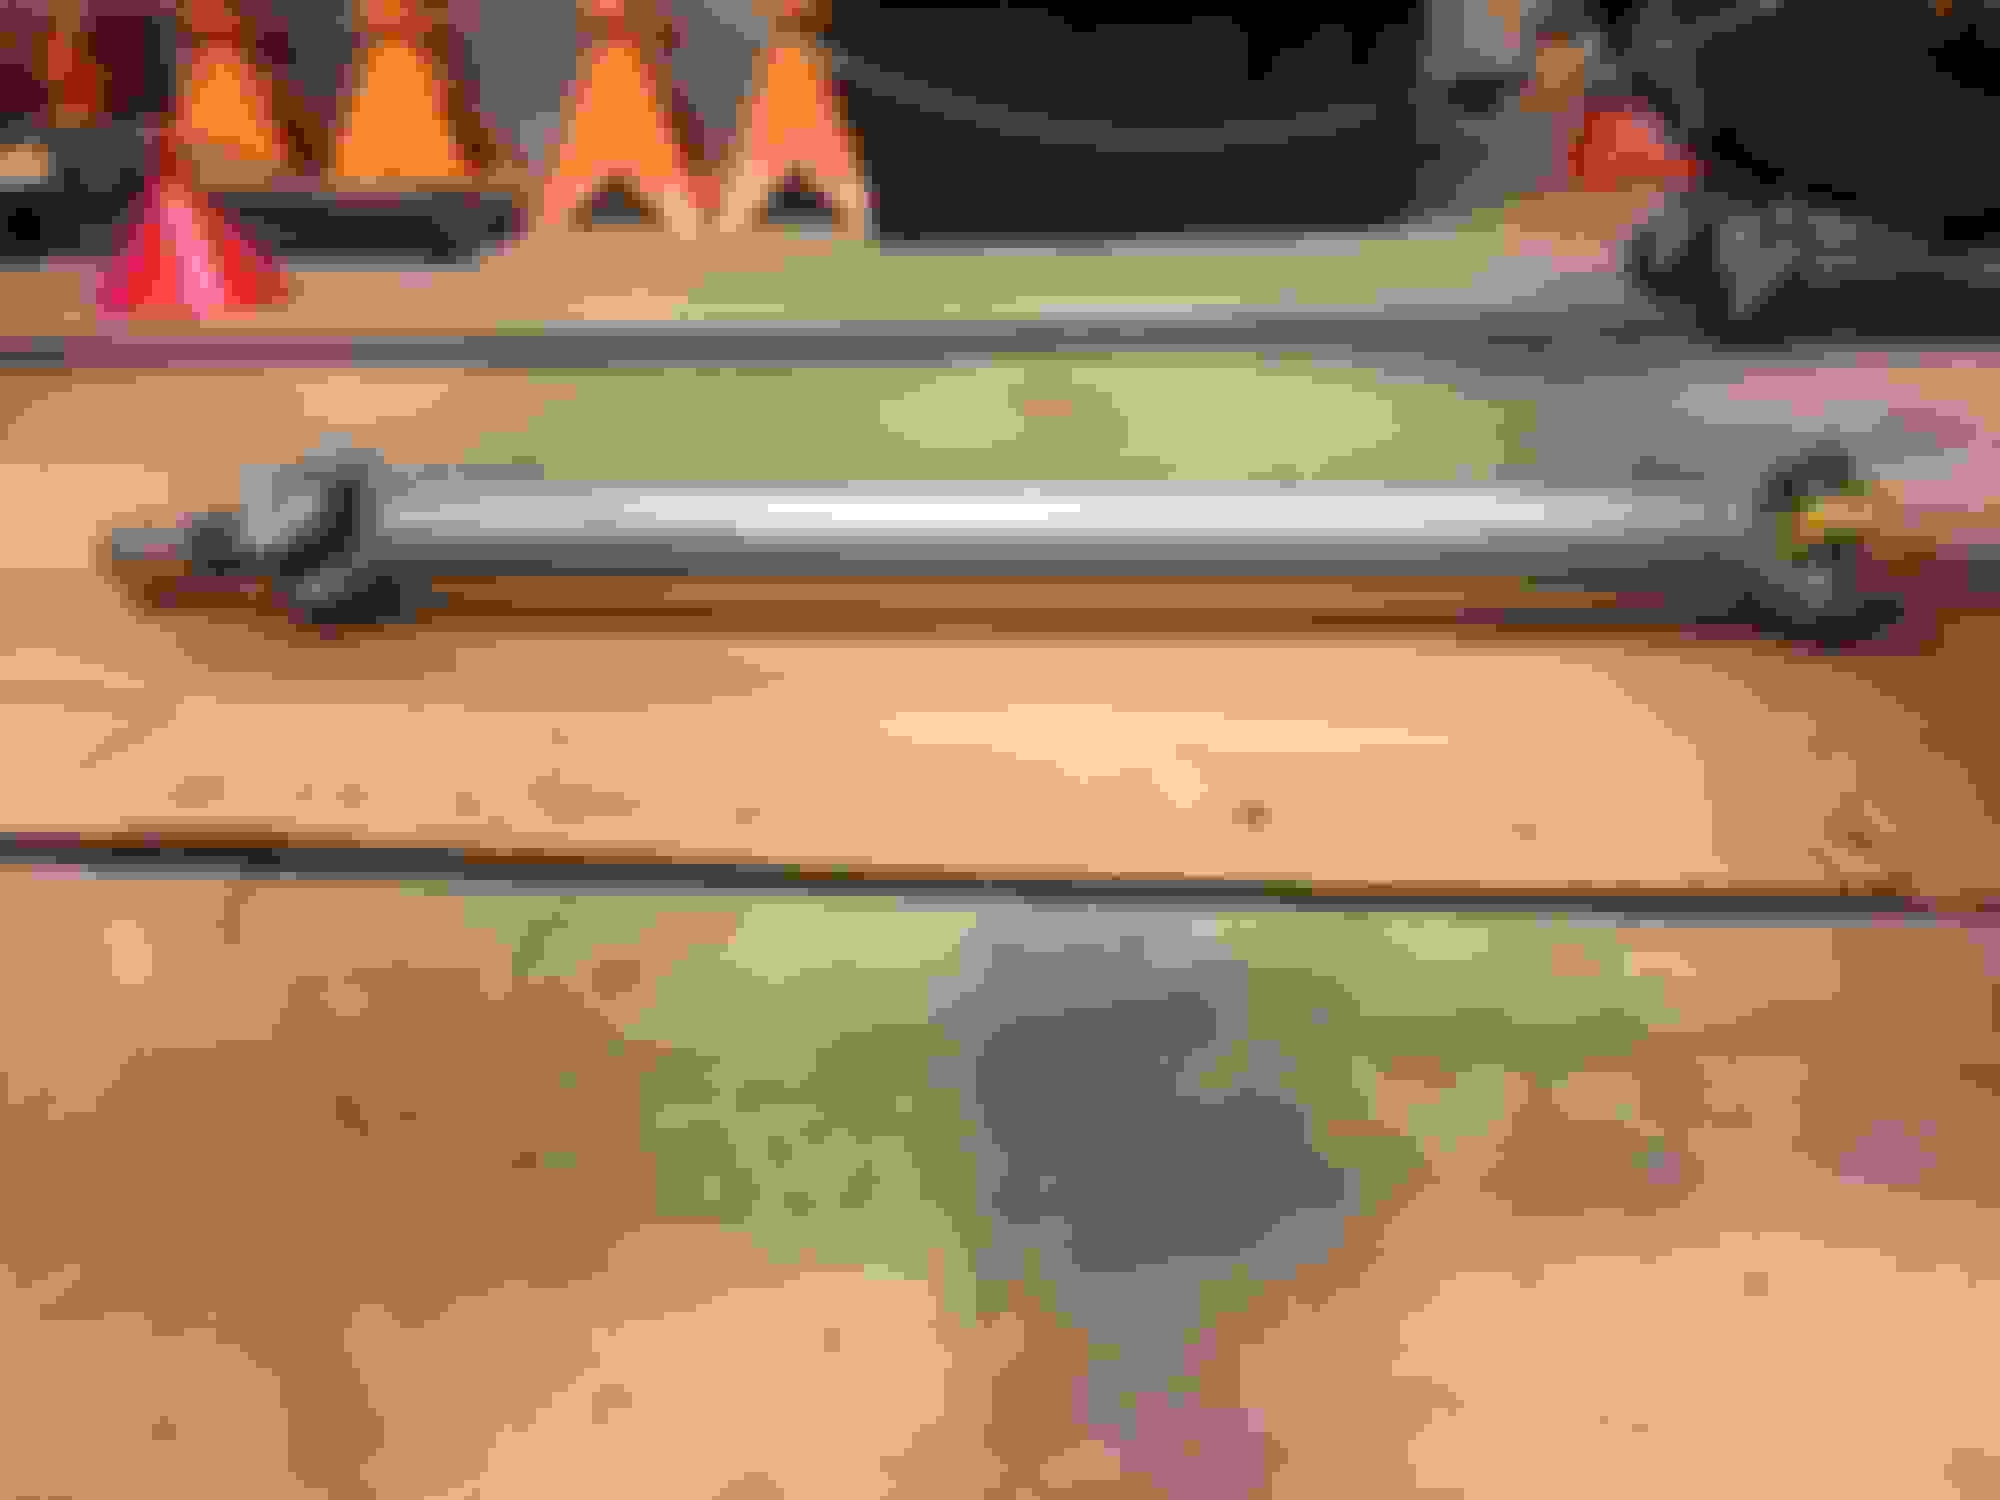
Factory style rear stabilizer bar.
I got some used hardware to attach to the trailing arms. Drilled out the trailing arms
to bolt on (mine didn't come with one) Then ordered a larger 9/16th inch diameter bar
and had the bar powdercoated.
Last edited by gleninsandiego; 02-04-2018 at 12:51 AM.
Let's hit pause for a second and catch up with what has been going on at Richards with the body. I previously reported about how much I like "the discovery phase" where the previous paint is removed to exposed any repairs, especially bad ones. The doors, hood, and T tops came through with flying colors, and were then sealed with a black epoxy primer.
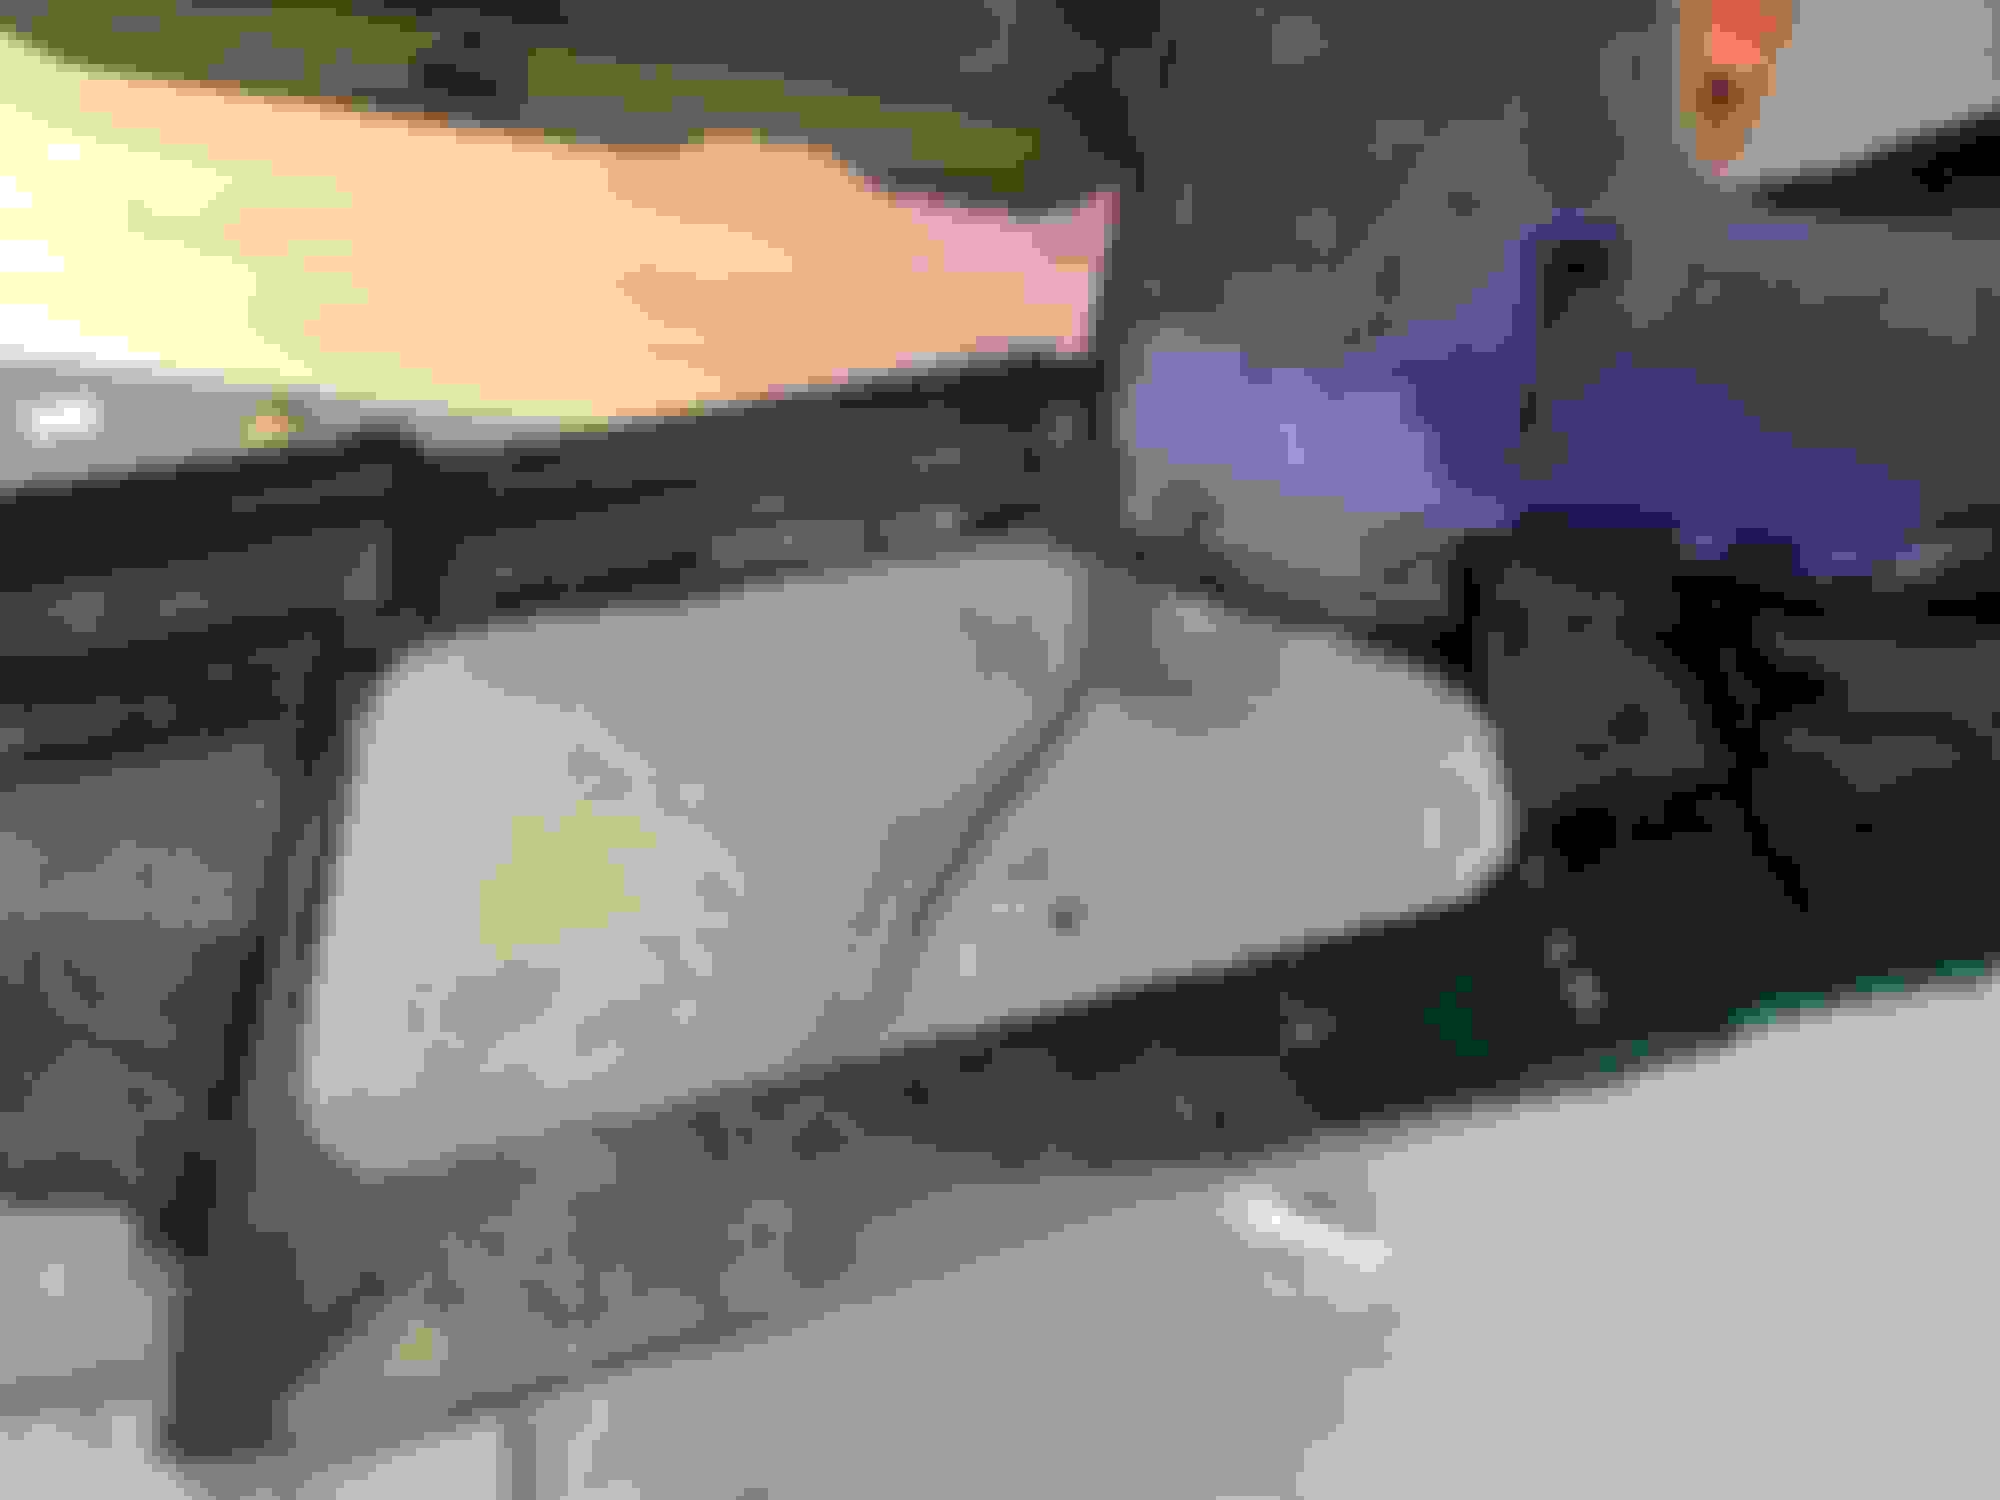
The windshield trim and then windshield was now removed.
I was really anticipating this because then I could know how bad the birdcage rust was there in the windshield surround. I knew there would be some, but the main parts of the birdcage look good.
So off it comes:
While it initially looks bad, Richard said it will be easy for him to fix
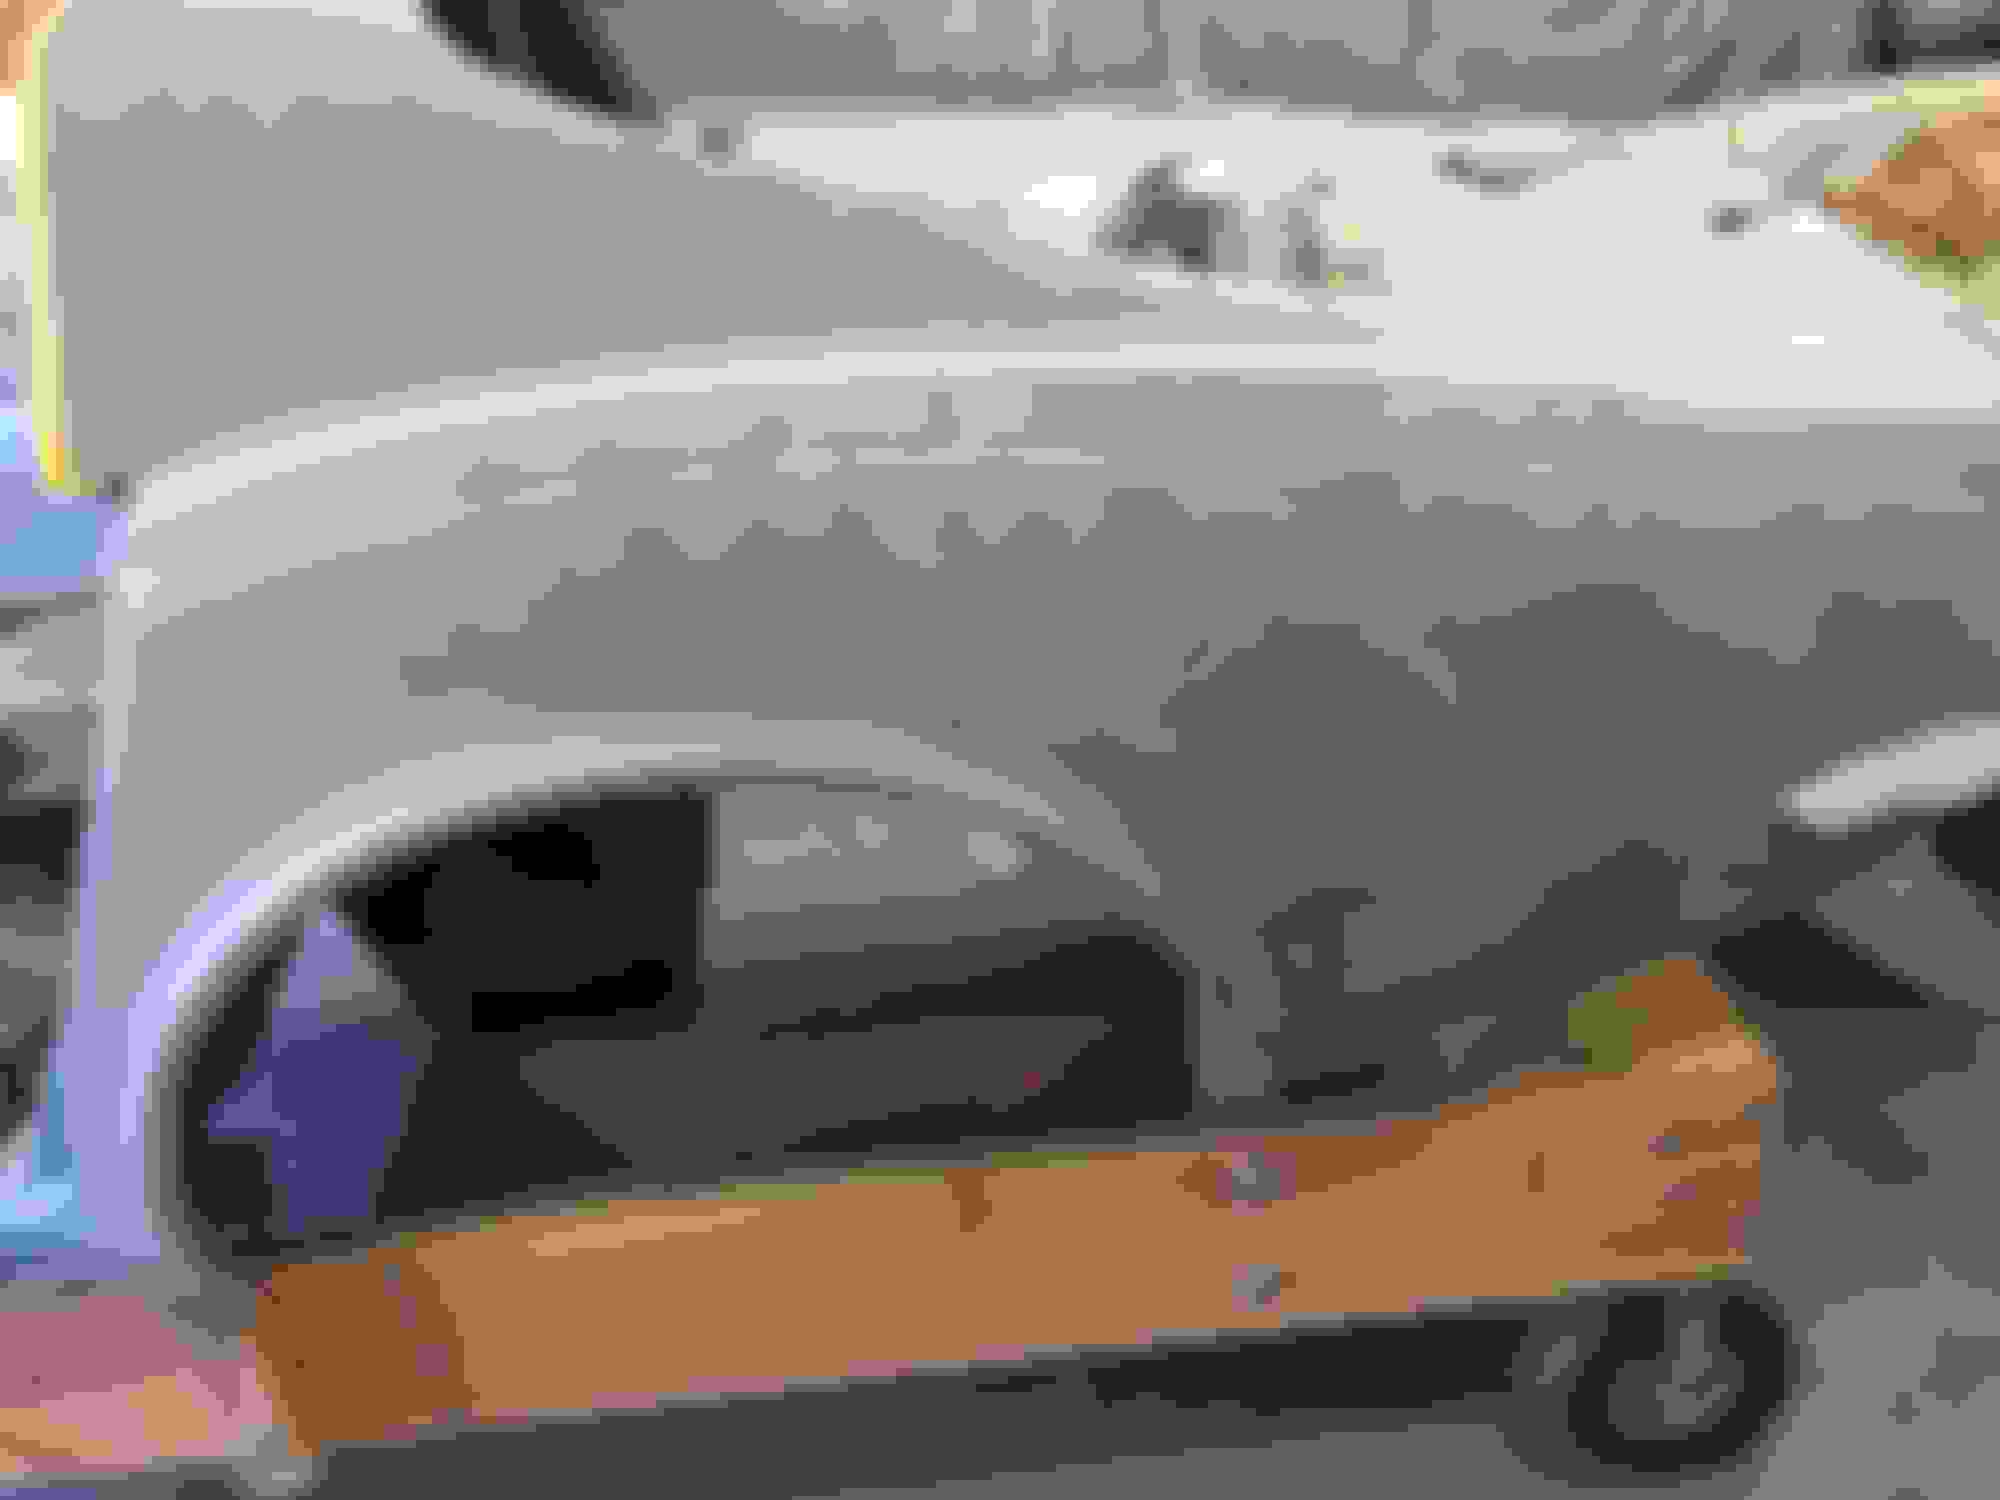
Next came the body itself. I was convinced from looking underneath the body before I got the car that it had not been in a major accident. All the factory bonding strips looked clean.
So far so good on the front
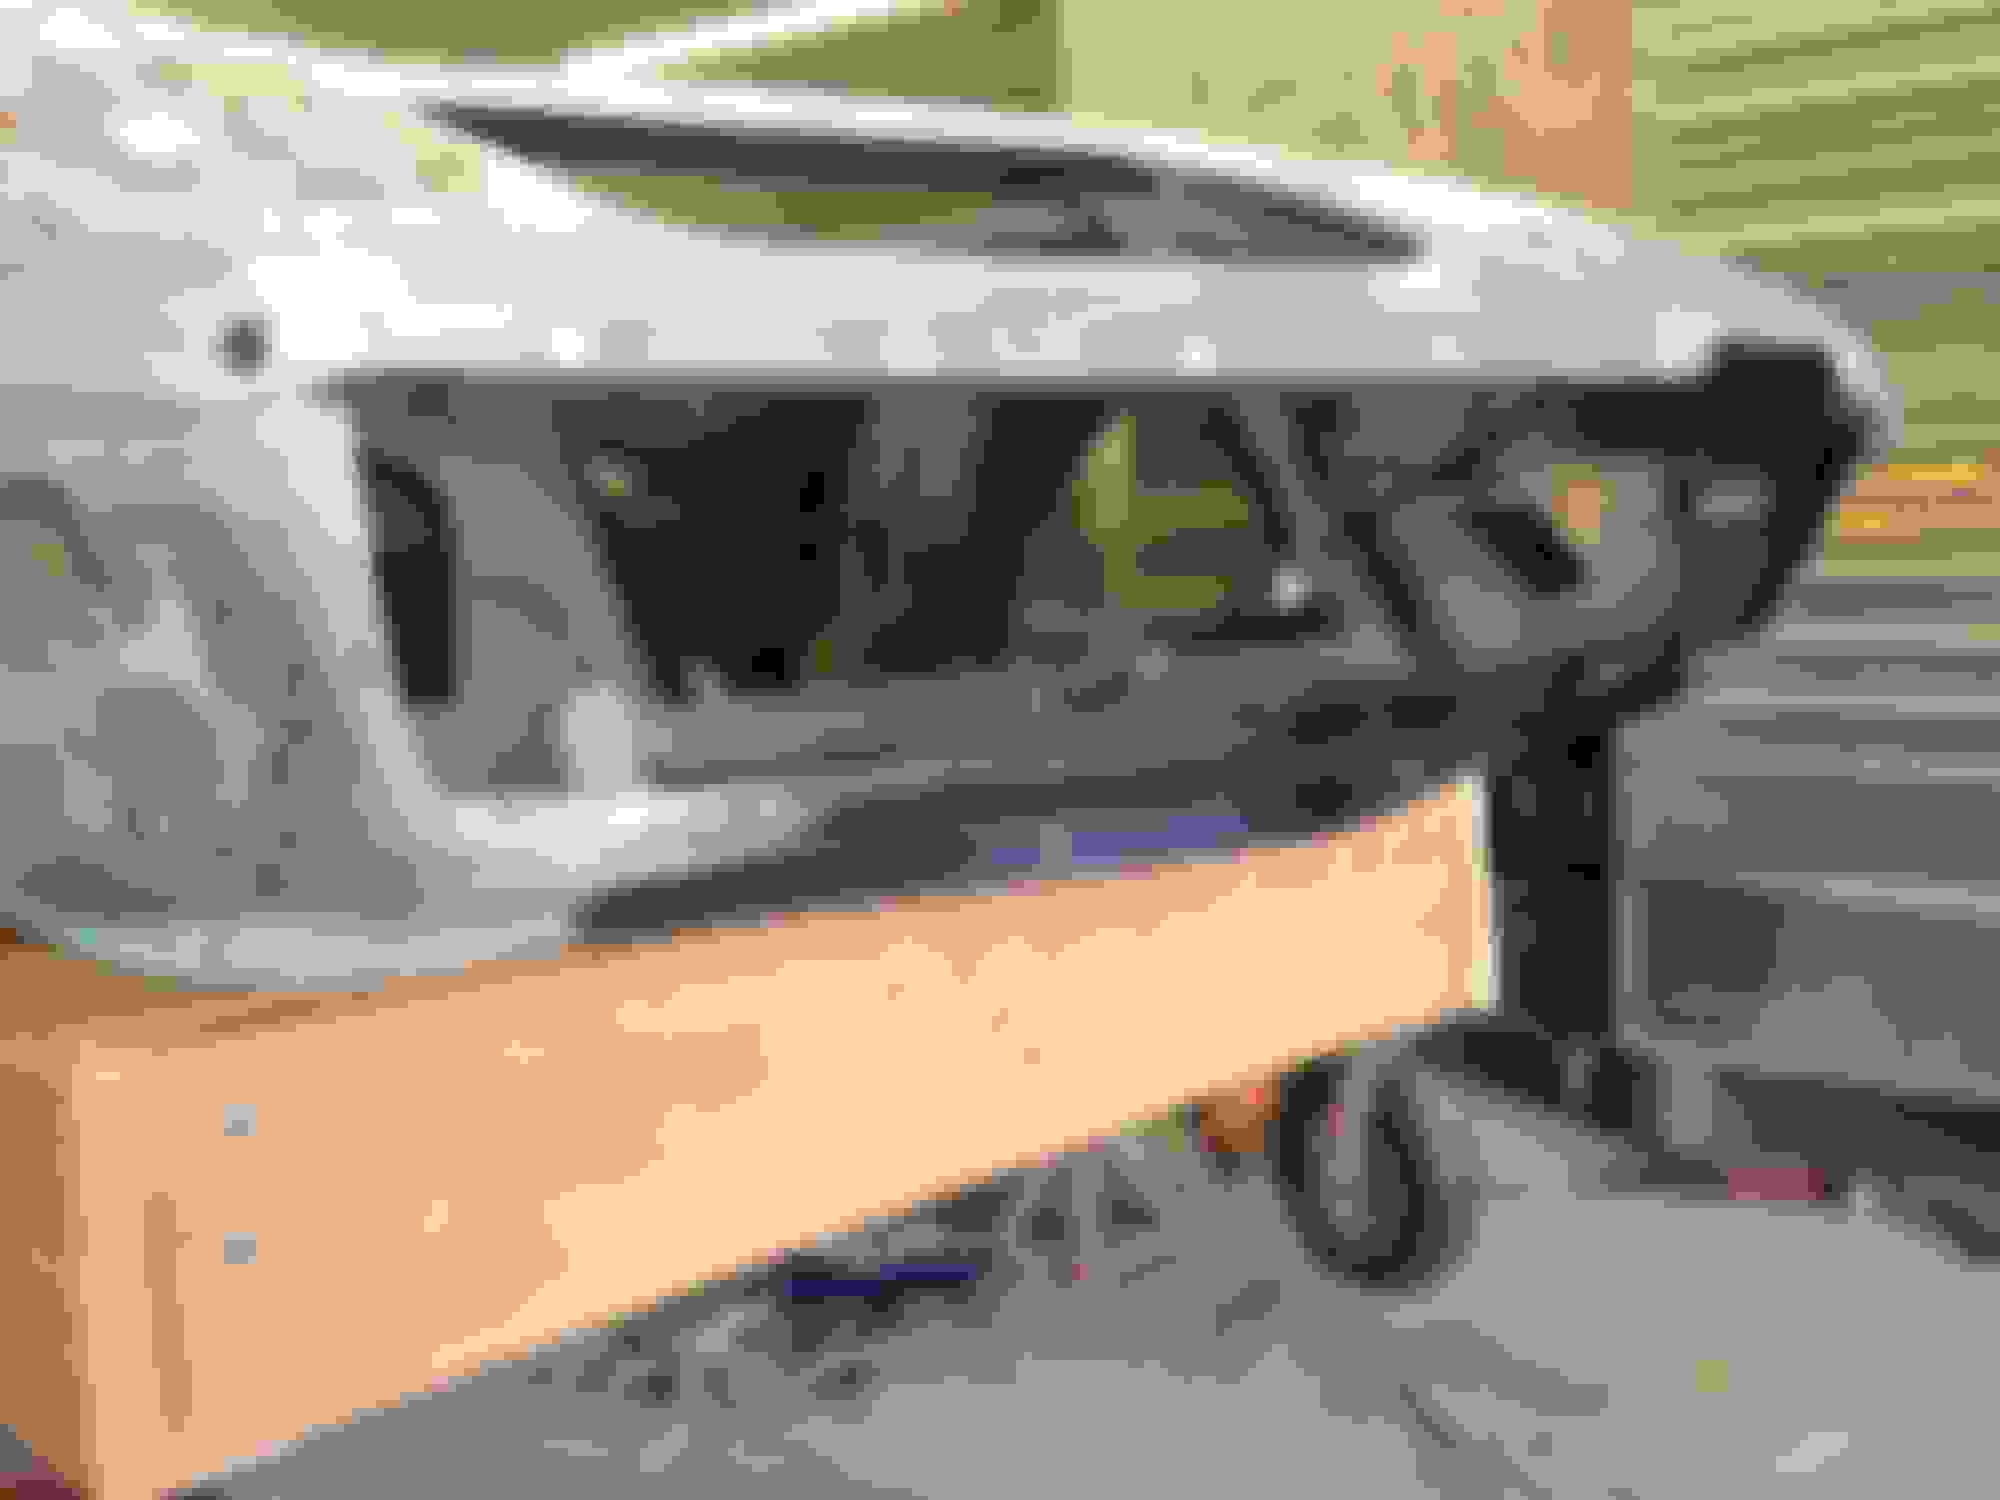
However, the lower front valence looked sketchy, and sure enough it had been broken in places and repaired badly.
Richard and I decided it would be most time and thus cost effective to graft in a new valence, so the old one was removed and a new one ordered
Out with the old
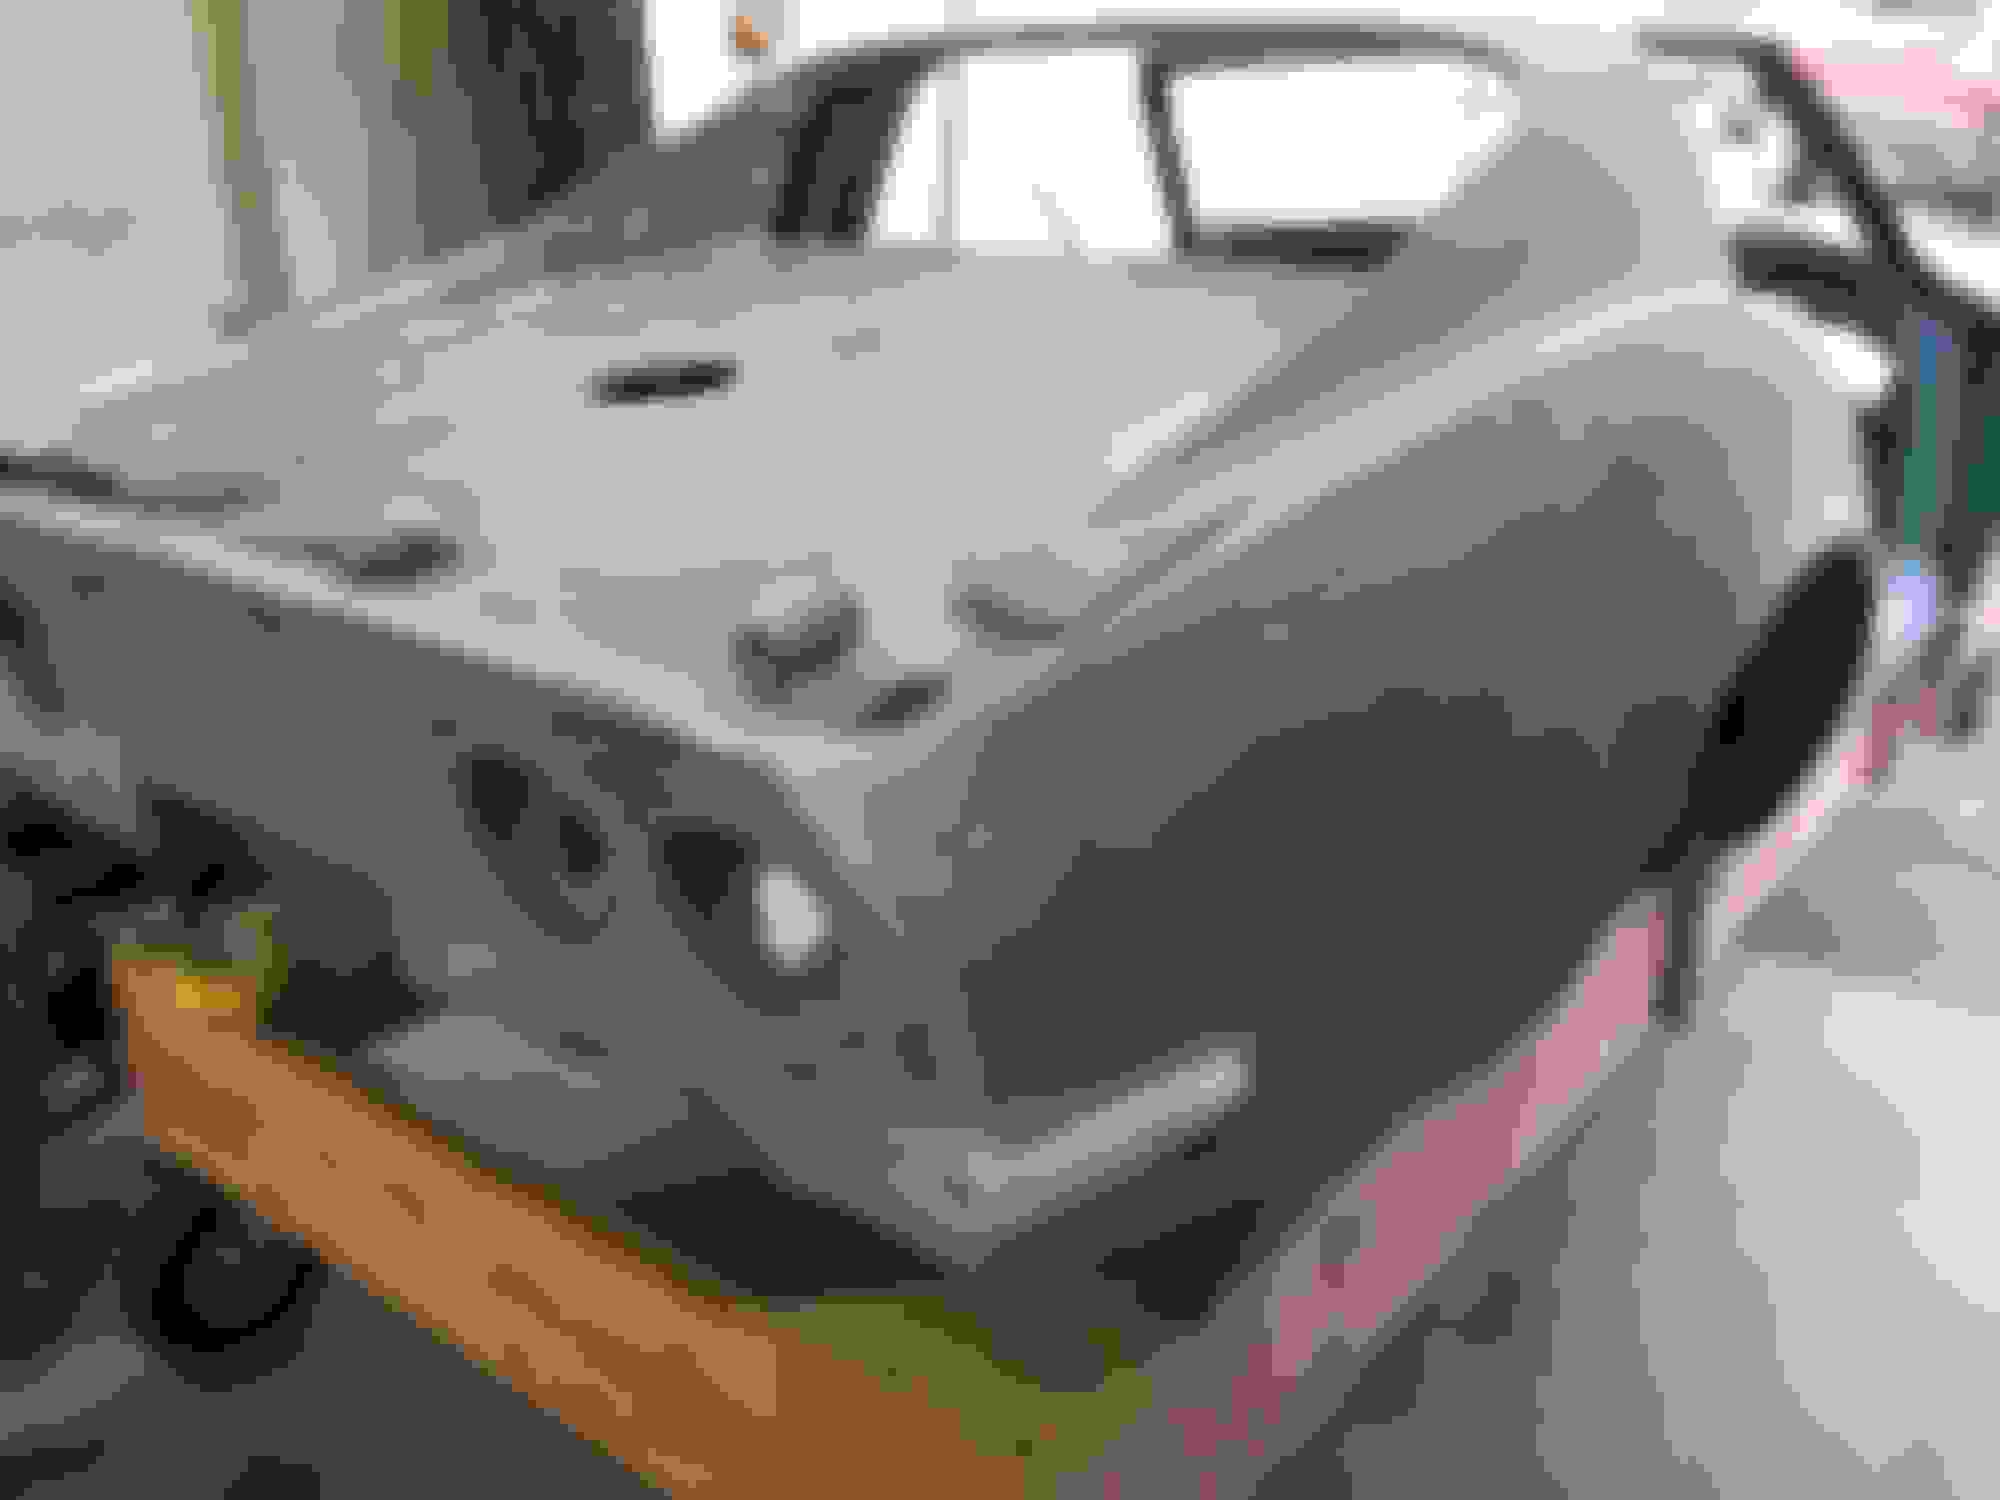
In with the new
Now we are getting there
Last edited by gleninsandiego; 02-04-2018 at 02:05 AM.
Hi Glenn,
Your chassis photos......
YIKES MAN!!!
YOU certainly know how to make them pretty!
Regards,
Alan
Those little flat head counter-sunk screws that hold the windshield header ss trim clips in place are REALLY nice to have.
They make getting the tabs on the ss trim securely in place in the clips more straight forward.
Enjoyable post, brings back lots of memories. I remember hours upon hours of cleaning and hours upon hours of sanding to put these cars back together right, being OCD is a needed trait. Once all the parts are cleaned the frame goes back together pretty quickly. I saw your job number is 197, mine is 224 so not too far apart on the production line! Did you find your vin stamped on the frame?
Enjoyable post, brings back lots of memories. I remember hours upon hours of cleaning and hours upon hours of sanding to put these cars back together right, being OCD is a needed trait. Once all the parts are cleaned the frame goes back together pretty quickly. I saw your job number is 197, mine is 224 so not too far apart on the production line! Did you find your vin stamped on the frame?
Moving to the rear of the car, removing the paint reveals no surprises, for which we are thankful. There was some slight damage on the lower rear quarter panels by the exhaust bezels that had been poorly repaired by slopping on a what seemed like an inch of fiberglass cloth on top of it on the inside. The seam where the rear valence bolts to the body in that are was also glued or fiber glassed together. So we decided to cut out the old valence and get a replacement. In addition, at one point this car had a luggage rack and the holes were repaired poorly. There was another crack on the center of the tail. The holes where the rear fender mounts had some minor issues. Finally, being a hot rod, we decided to fill the antenna hole for now.
With all these repairs made, Richard now applies the epoxy primer. Once again, a great feeling when that goes on
Last edited by gleninsandiego; 02-07-2018 at 08:58 PM.


 02-03-2018, 11:37 AM