When you click on links to various merchants on this site and make a purchase, this can result in this site earning a commission. Affiliate programs and affiliations include, but are not limited to, the eBay Partner Network.
It's VERY easy to 'nick' the fiberglass around the opening for the exterior door handles (especially in one place) when installing them after paint.
Be certain they're going to go back in place without a problem. They need to be 'pivoted/rolled' into place.
Regards,
Alan
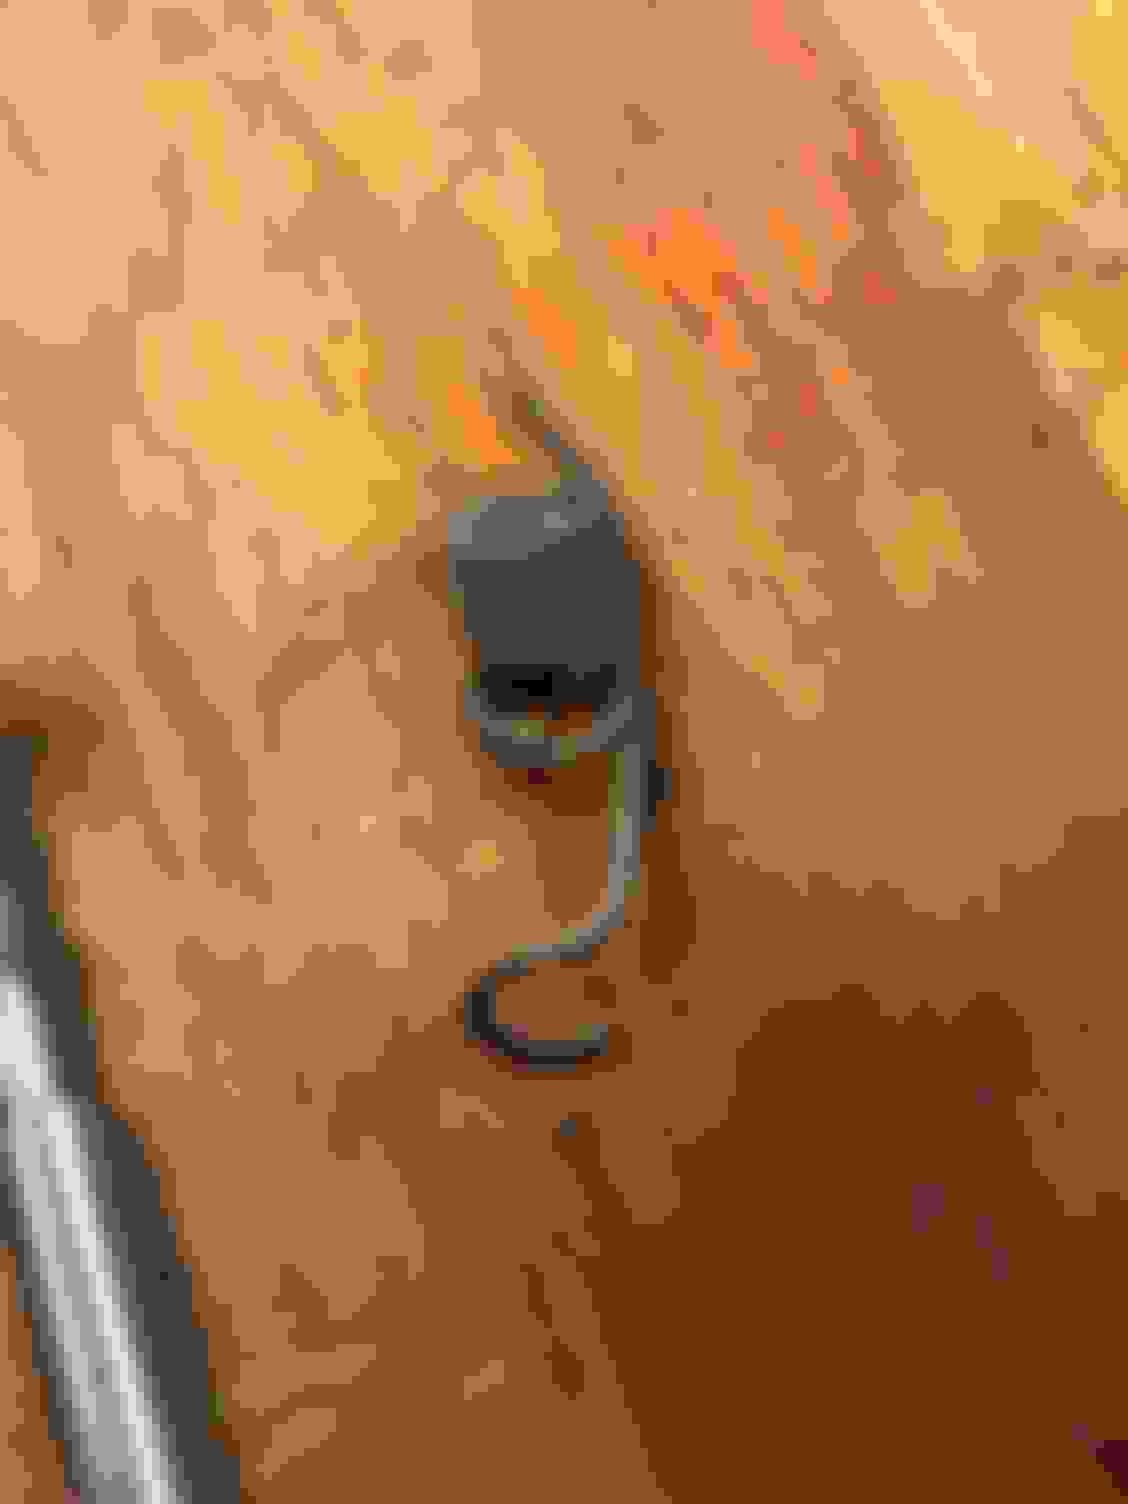
Unfortunately I have a broken spring on the passenger side door opener. I couldn't find just the spring from the usual vendors. I posted on the parts wanted forum to see if someone might have one there.
One of the key things about my birdcage on this car was it was rusting from the outside, as opposed to how often they rust from the inside out. Thus we were able to sandblast the rust off of the windshield surround and weld in new metal at spots. The previous car I had the birdcage was rusting from the inside out, which would have been a very hard fix
Wow, Glenn, Your attention to detail is incredible!
Did you know you can get Evapo Rust in a 5 gallon bucket? They have it available on Amazon - its cheaper per unit volume.
What are you planning on doing to the door innards after cleaning? Any paint or coating? I hesitate to paint assemblies like that because I know the inner parts where it overlaps wont get coated.
I am not too far away from you - I'd love to come check out your project some time.
Thanks for the encouraging words and the tip on the Evaporust
Totally understand about the paint concerns. I usually use an Eastwood aerosol clear.
Looking really good so far and very nice progress.
Was the evaporust what you used to degrease the door parts? Whatever it was, it did a fantastic job.
Thanks!
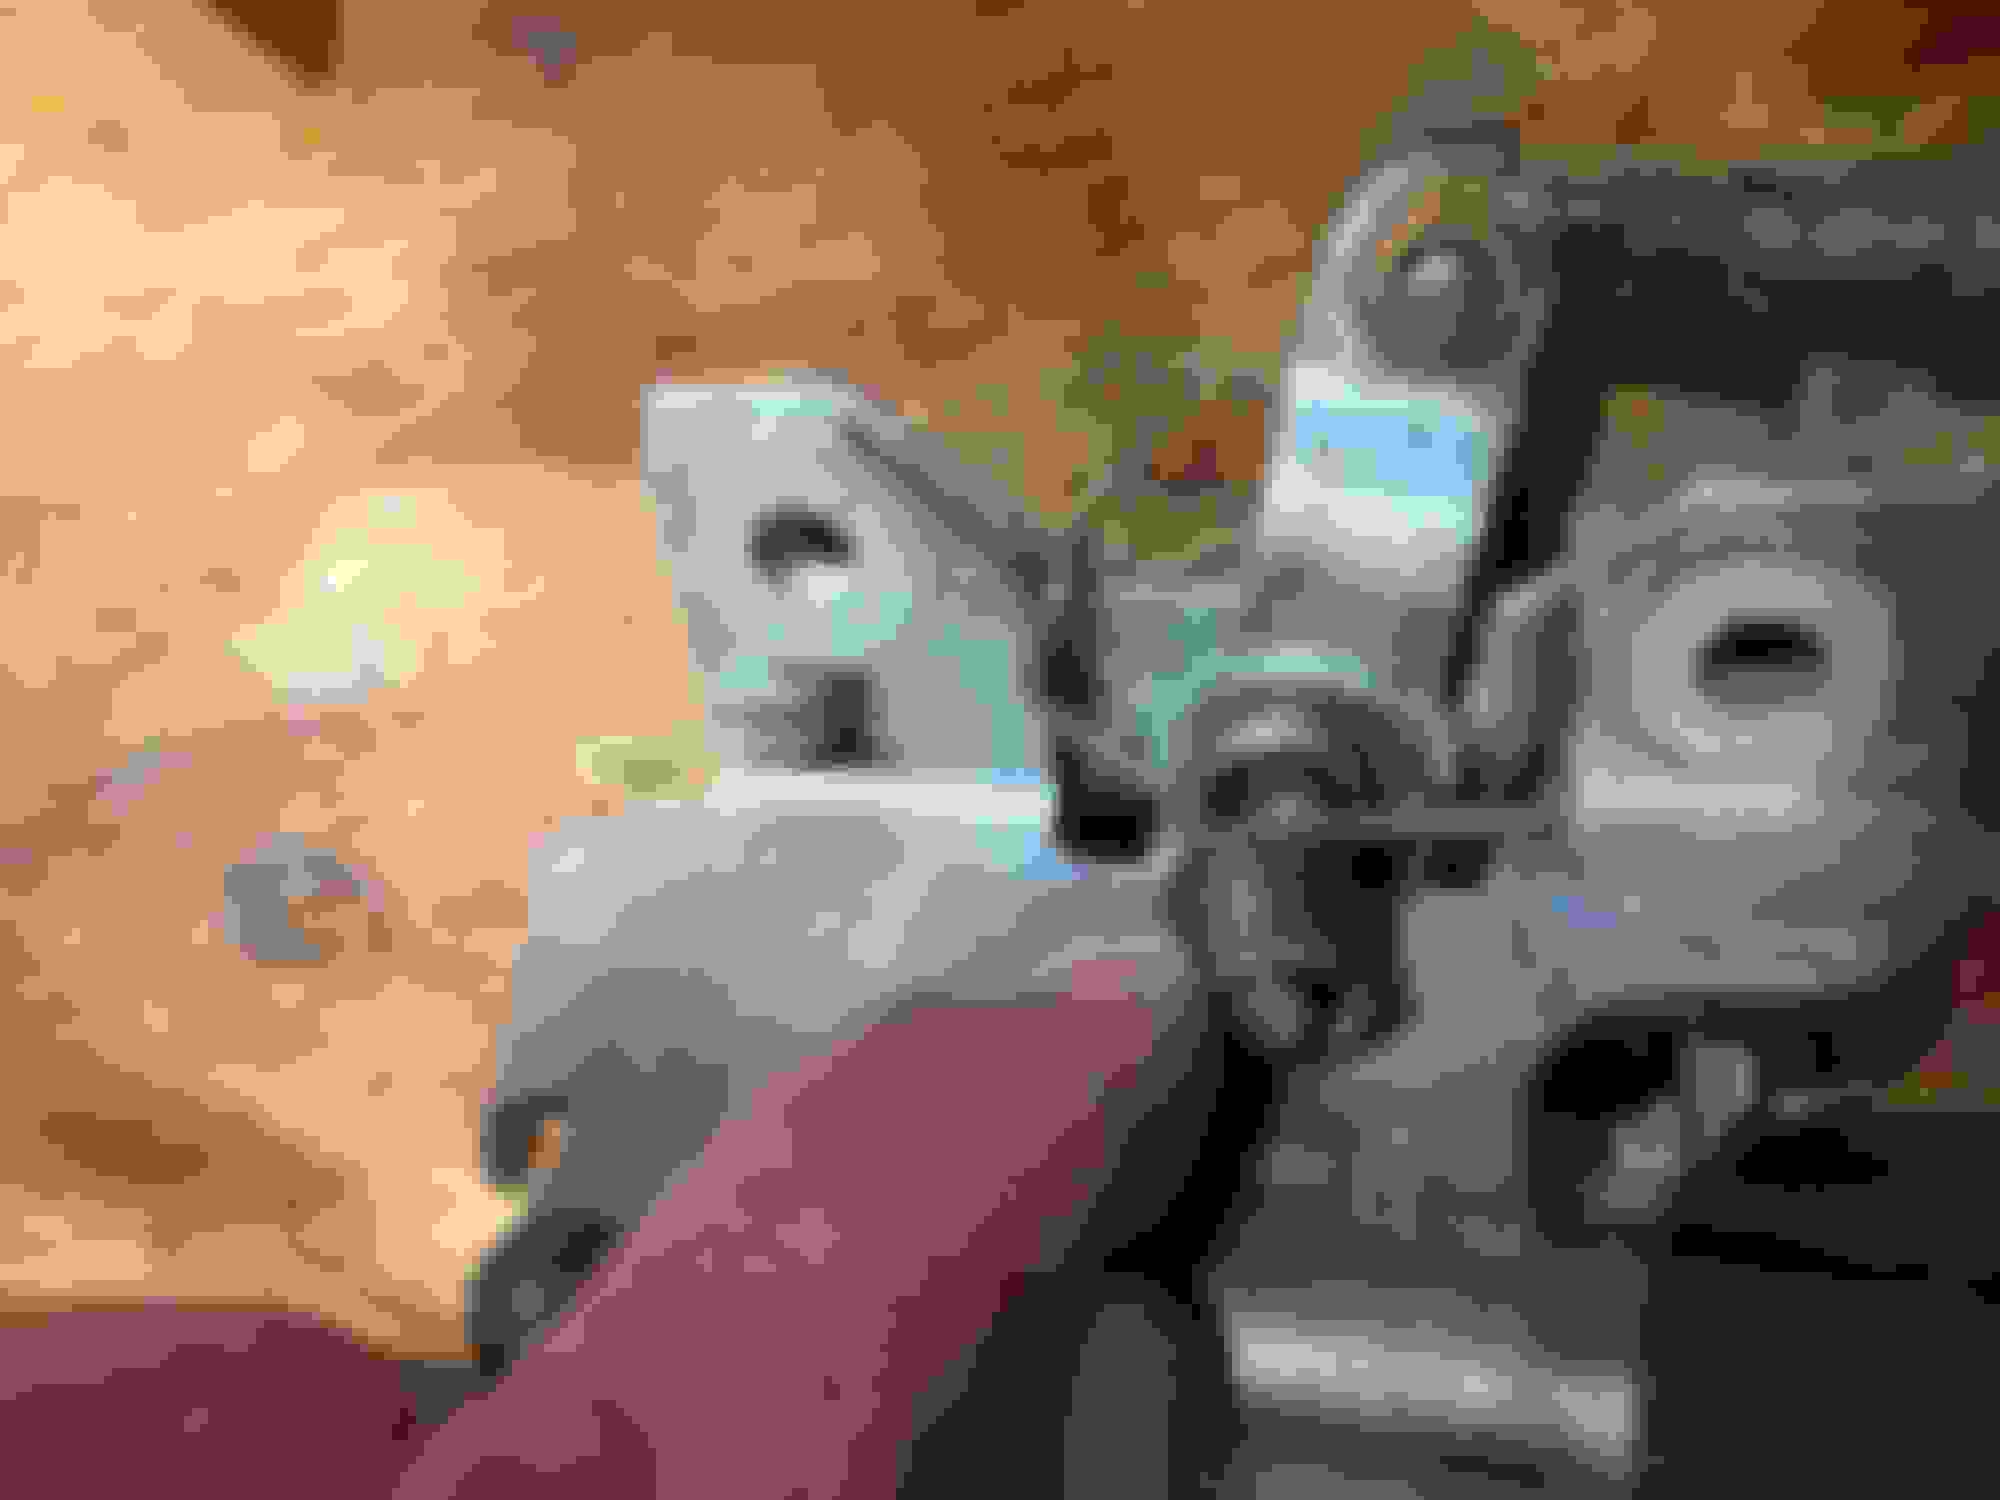
Yes, I used the evaporust to degrease the door parts. I usually use the evaporust to take the rust off stuff but discovered it also loosens up dried up grease as well. I hit it with it a toothbrush after soaking it for a day or two and off it comes
The rusty rods in the pictures above I cleaned off with the wire wheels on my bench grinder. On smaller rusty pieces I usually use the wheels in combination with the evaporust. The evaporust will leave the parts black and then I will quickly hit them with the softest wire wheel and then use the Eastwood aerosol clear to protect them.
Bigger pieces go to get sandblasted and powdercoated. I wish I had the skills and the set up to do that at home like you do.
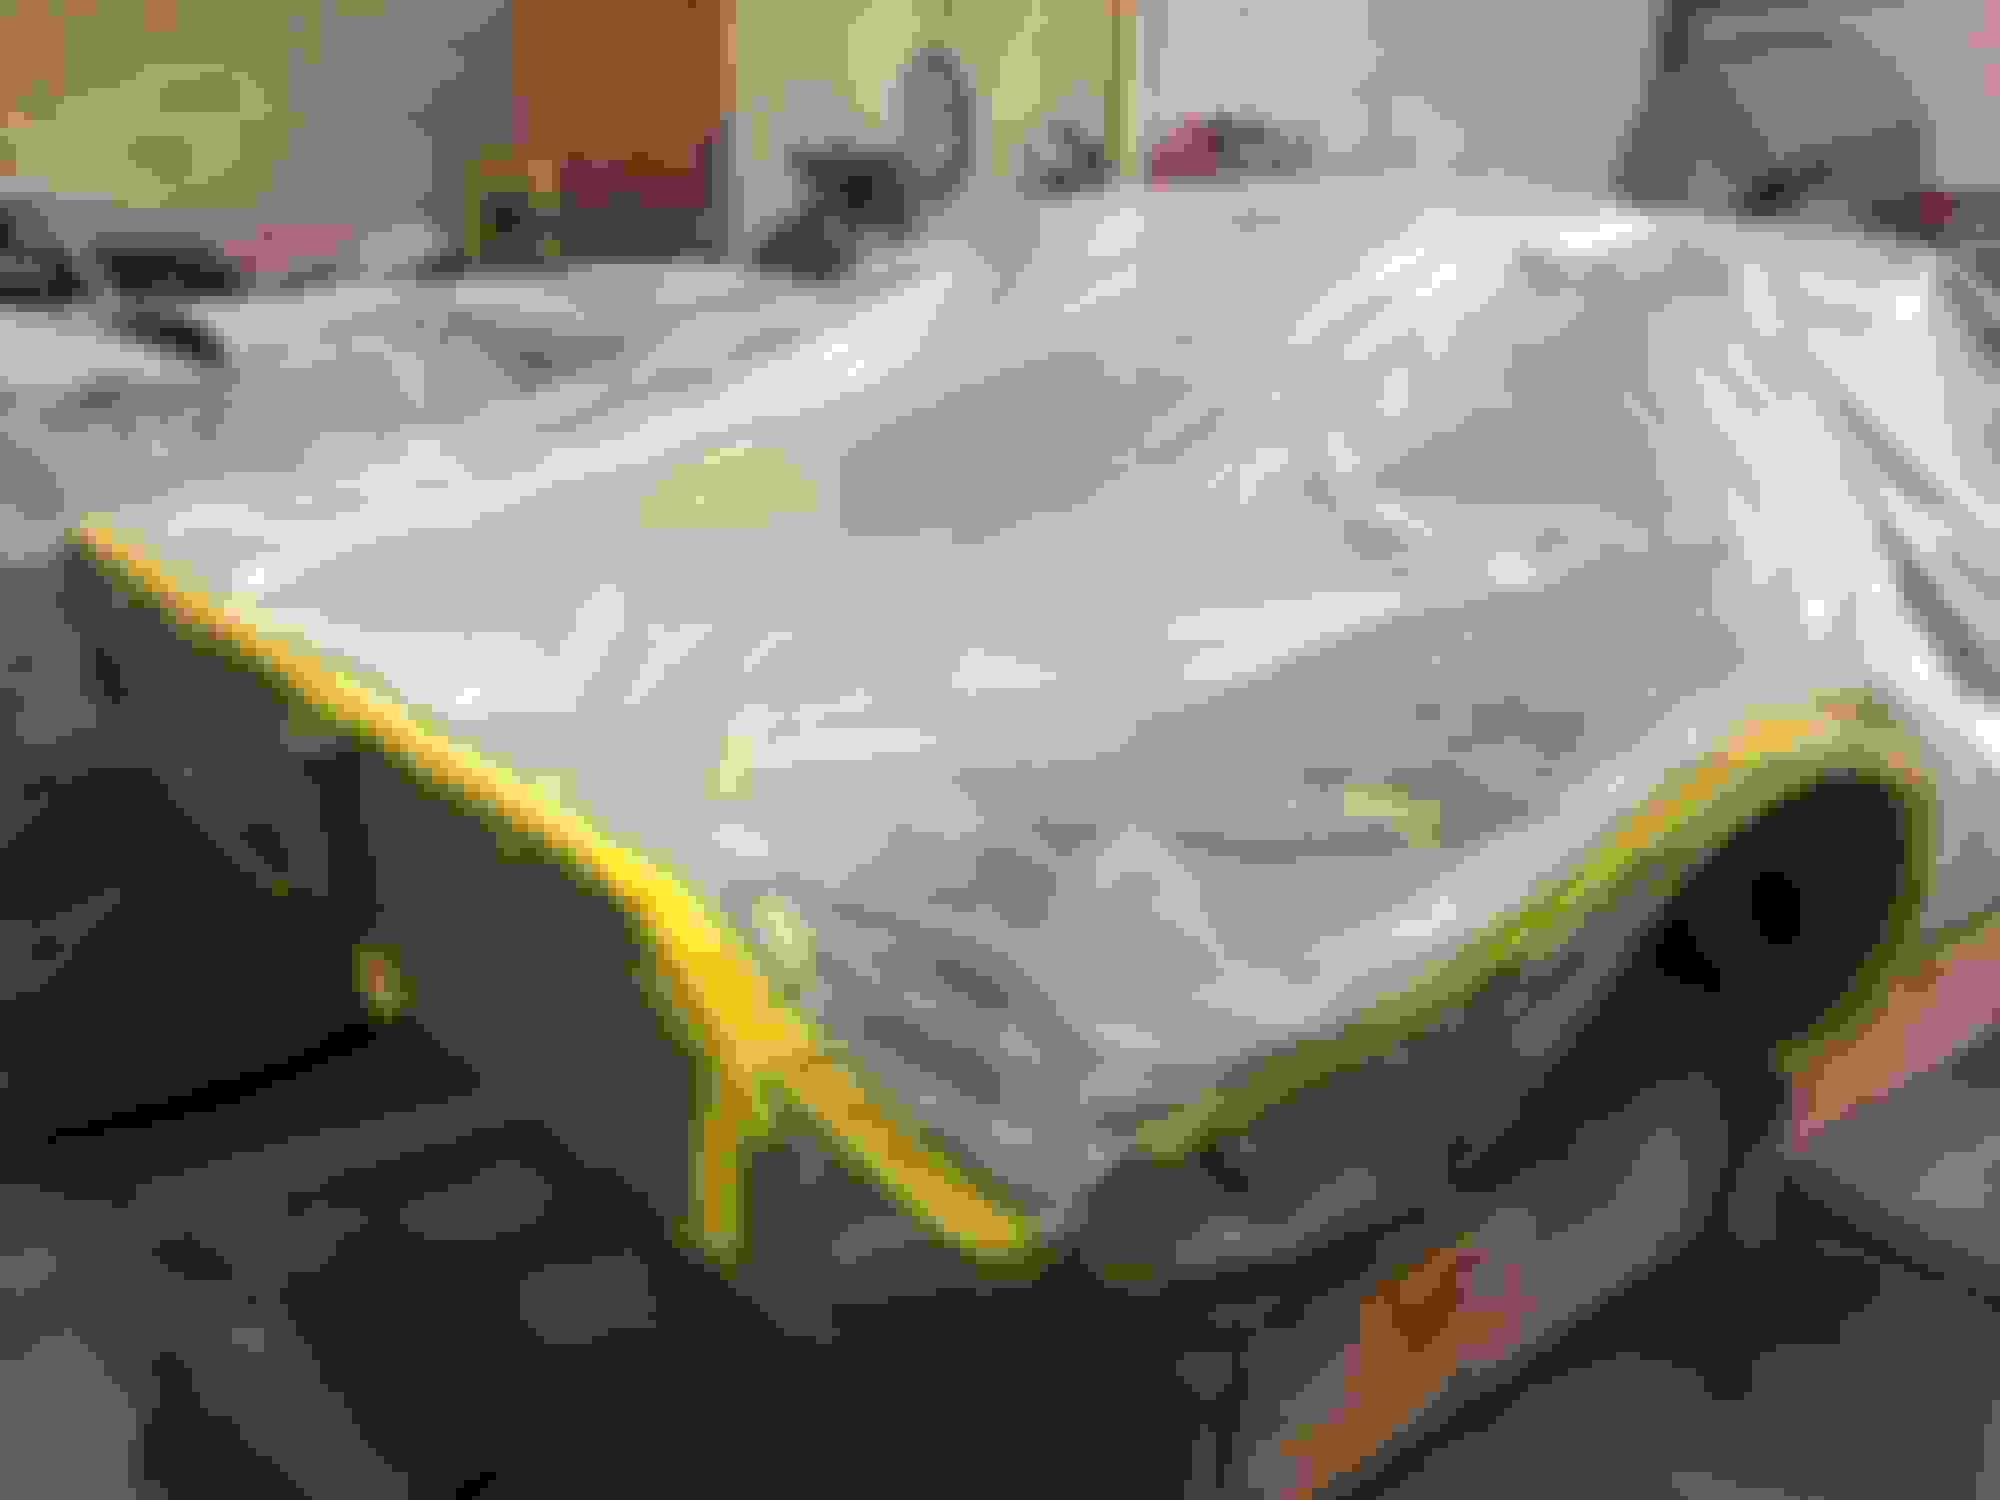
More progress on the body today. Richard undercoated the body. Obviously we didn't need to do this for rust issues, but having done this on previous cars and I am not restoring this car to look factory, I love the clean look it brings. Not too thick and not too thin.
The body is now at the point where it is ready to back on the chassis.
I am getting excited about that.
Last edited by gleninsandiego; 03-01-2018 at 02:21 AM.
That looks nice for sure.
What product did you use?
Does it require any special type product or treatment since it's going onto fiberglass?
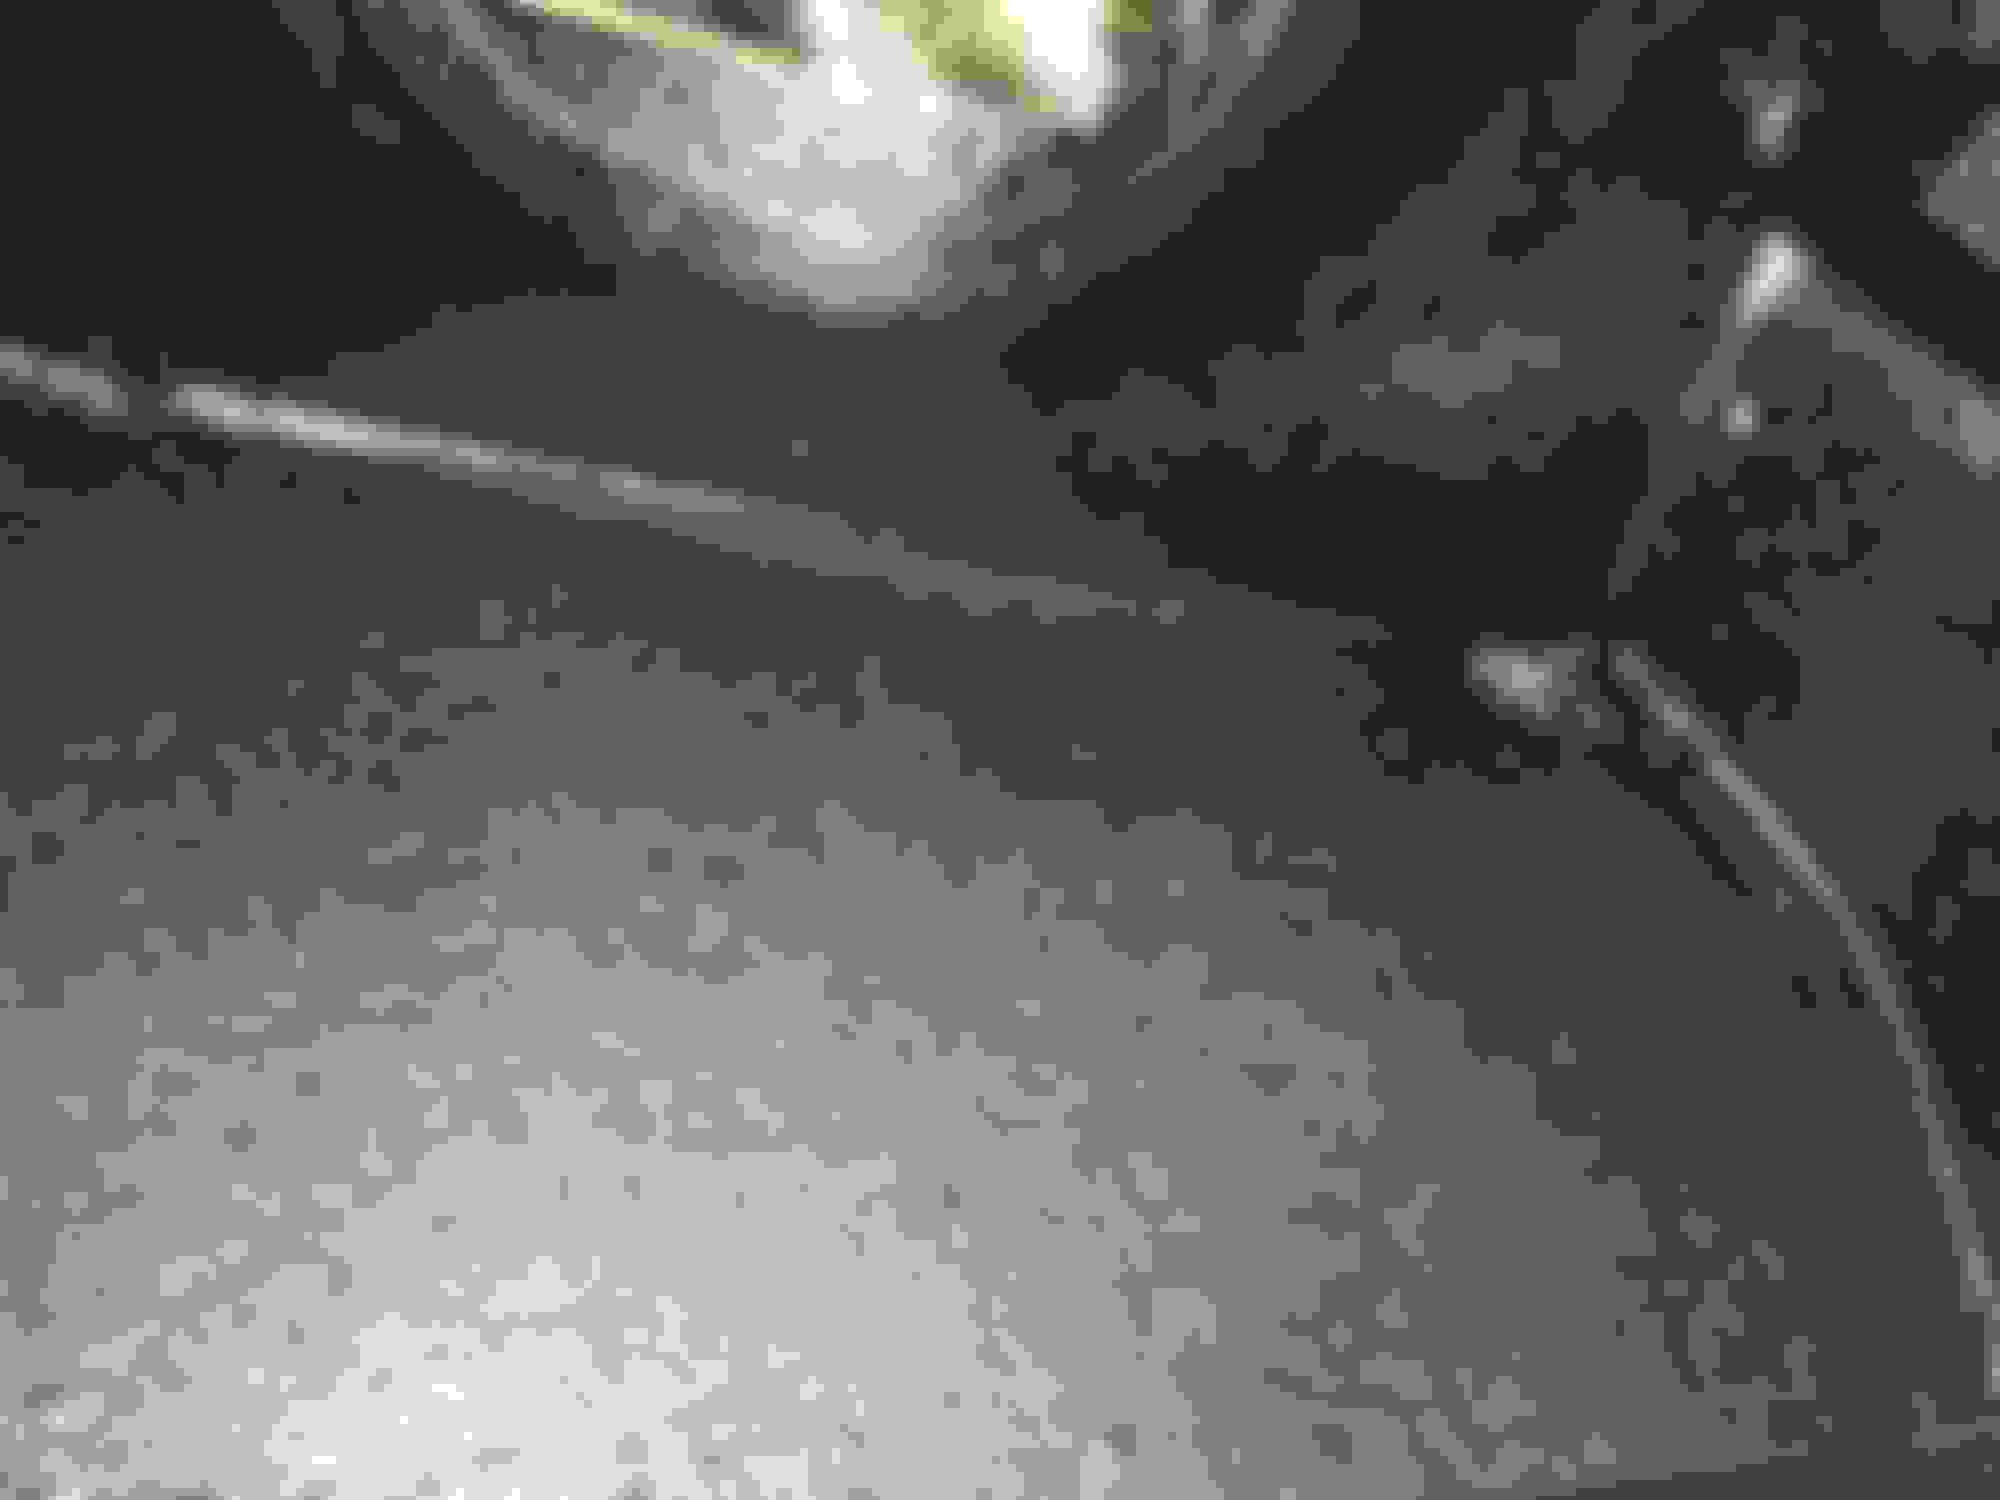
Richard said it is called Transtar. I had cleaned and degreased the underside before we shot it. I looked it up on internet and it says it will stick to anything and is also used on car interiors as well. As mentioned, I have used it on other cars in the past and have been happy with the result.
It is a great feeling to have all the fiberglass and rust repairs done. All the epoxy primer and skim coat and polyester primer done. And a majority of the sanding done. The interior has been sprayed with Lizard Skin. Plus now the underside of the body is all sealed up with the undercoat.
At this point the body is ready to go onto the chassis. We are planning on using a two post lift and the body straps we used to take the body off to put it back on. The two post lift is conveniently located next door to the body shop. Now the challenge is to get the final wiring on the gas tank pump and sender done, and then getting the chassis from my house to the body shop. It is supposed to rain here on Friday, so we are hoping to get the chassis moved after the rain stops and then put the body on.
Maybe Sunday or Monday?
After the body goes on we are planning on doing some final door fitments and then shoot the color. After that the engine bay gets shot in black. The thinking is that it will be easier to remove the overspray from the painted body than the painted engine bay.
We also are planning on putting a big plastic sheet over the chassis when we put the body on to keep from getting overspray on the chassis when the body is painted.
More to come...hopefully soon
Glenn in San Diego
Last edited by gleninsandiego; 03-01-2018 at 12:54 PM.
Hi Glenn,
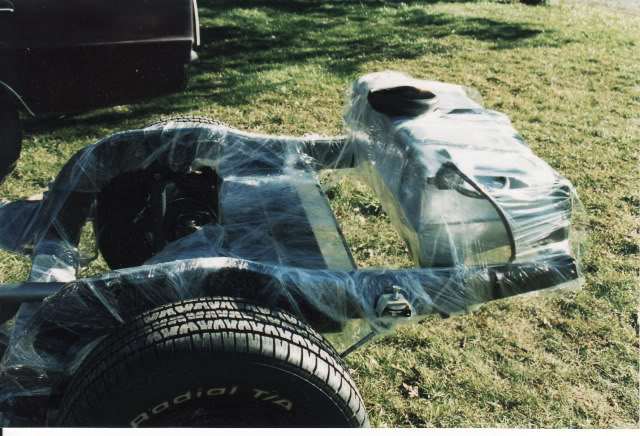
I wrapped the chassis and also used a single large sheet of plastic.
I think any time spend protecting the chassis is time WELL spent.
I spent about 2+ days taking the plastic off after the body was painted because I found that if the plastic wasn't carefully removed the dust/debris hidden in the plastic 'pockets' would end up on the chassis if the plastic was just pulled off.
So, be careful at that point too.
Regards,
Alan
Hi Glenn,
I wrapped the chassis and also used a single large sheet of plastic.
I think any time spend protecting the chassis is time WELL spent.
I spent about 2+ days taking the plastic off after the body was painted because I found that if the plastic wasn't carefully removed the dust/debris hidden in the plastic 'pockets' would end up on the chassis if the plastic was just pulled off.
So, be careful at that point too.
Regards,
Alan

 02-20-2018, 01:19 PM