When you click on links to various merchants on this site and make a purchase, this can result in this site earning a commission. Affiliate programs and affiliations include, but are not limited to, the eBay Partner Network.
Today was the day to put the body back on.
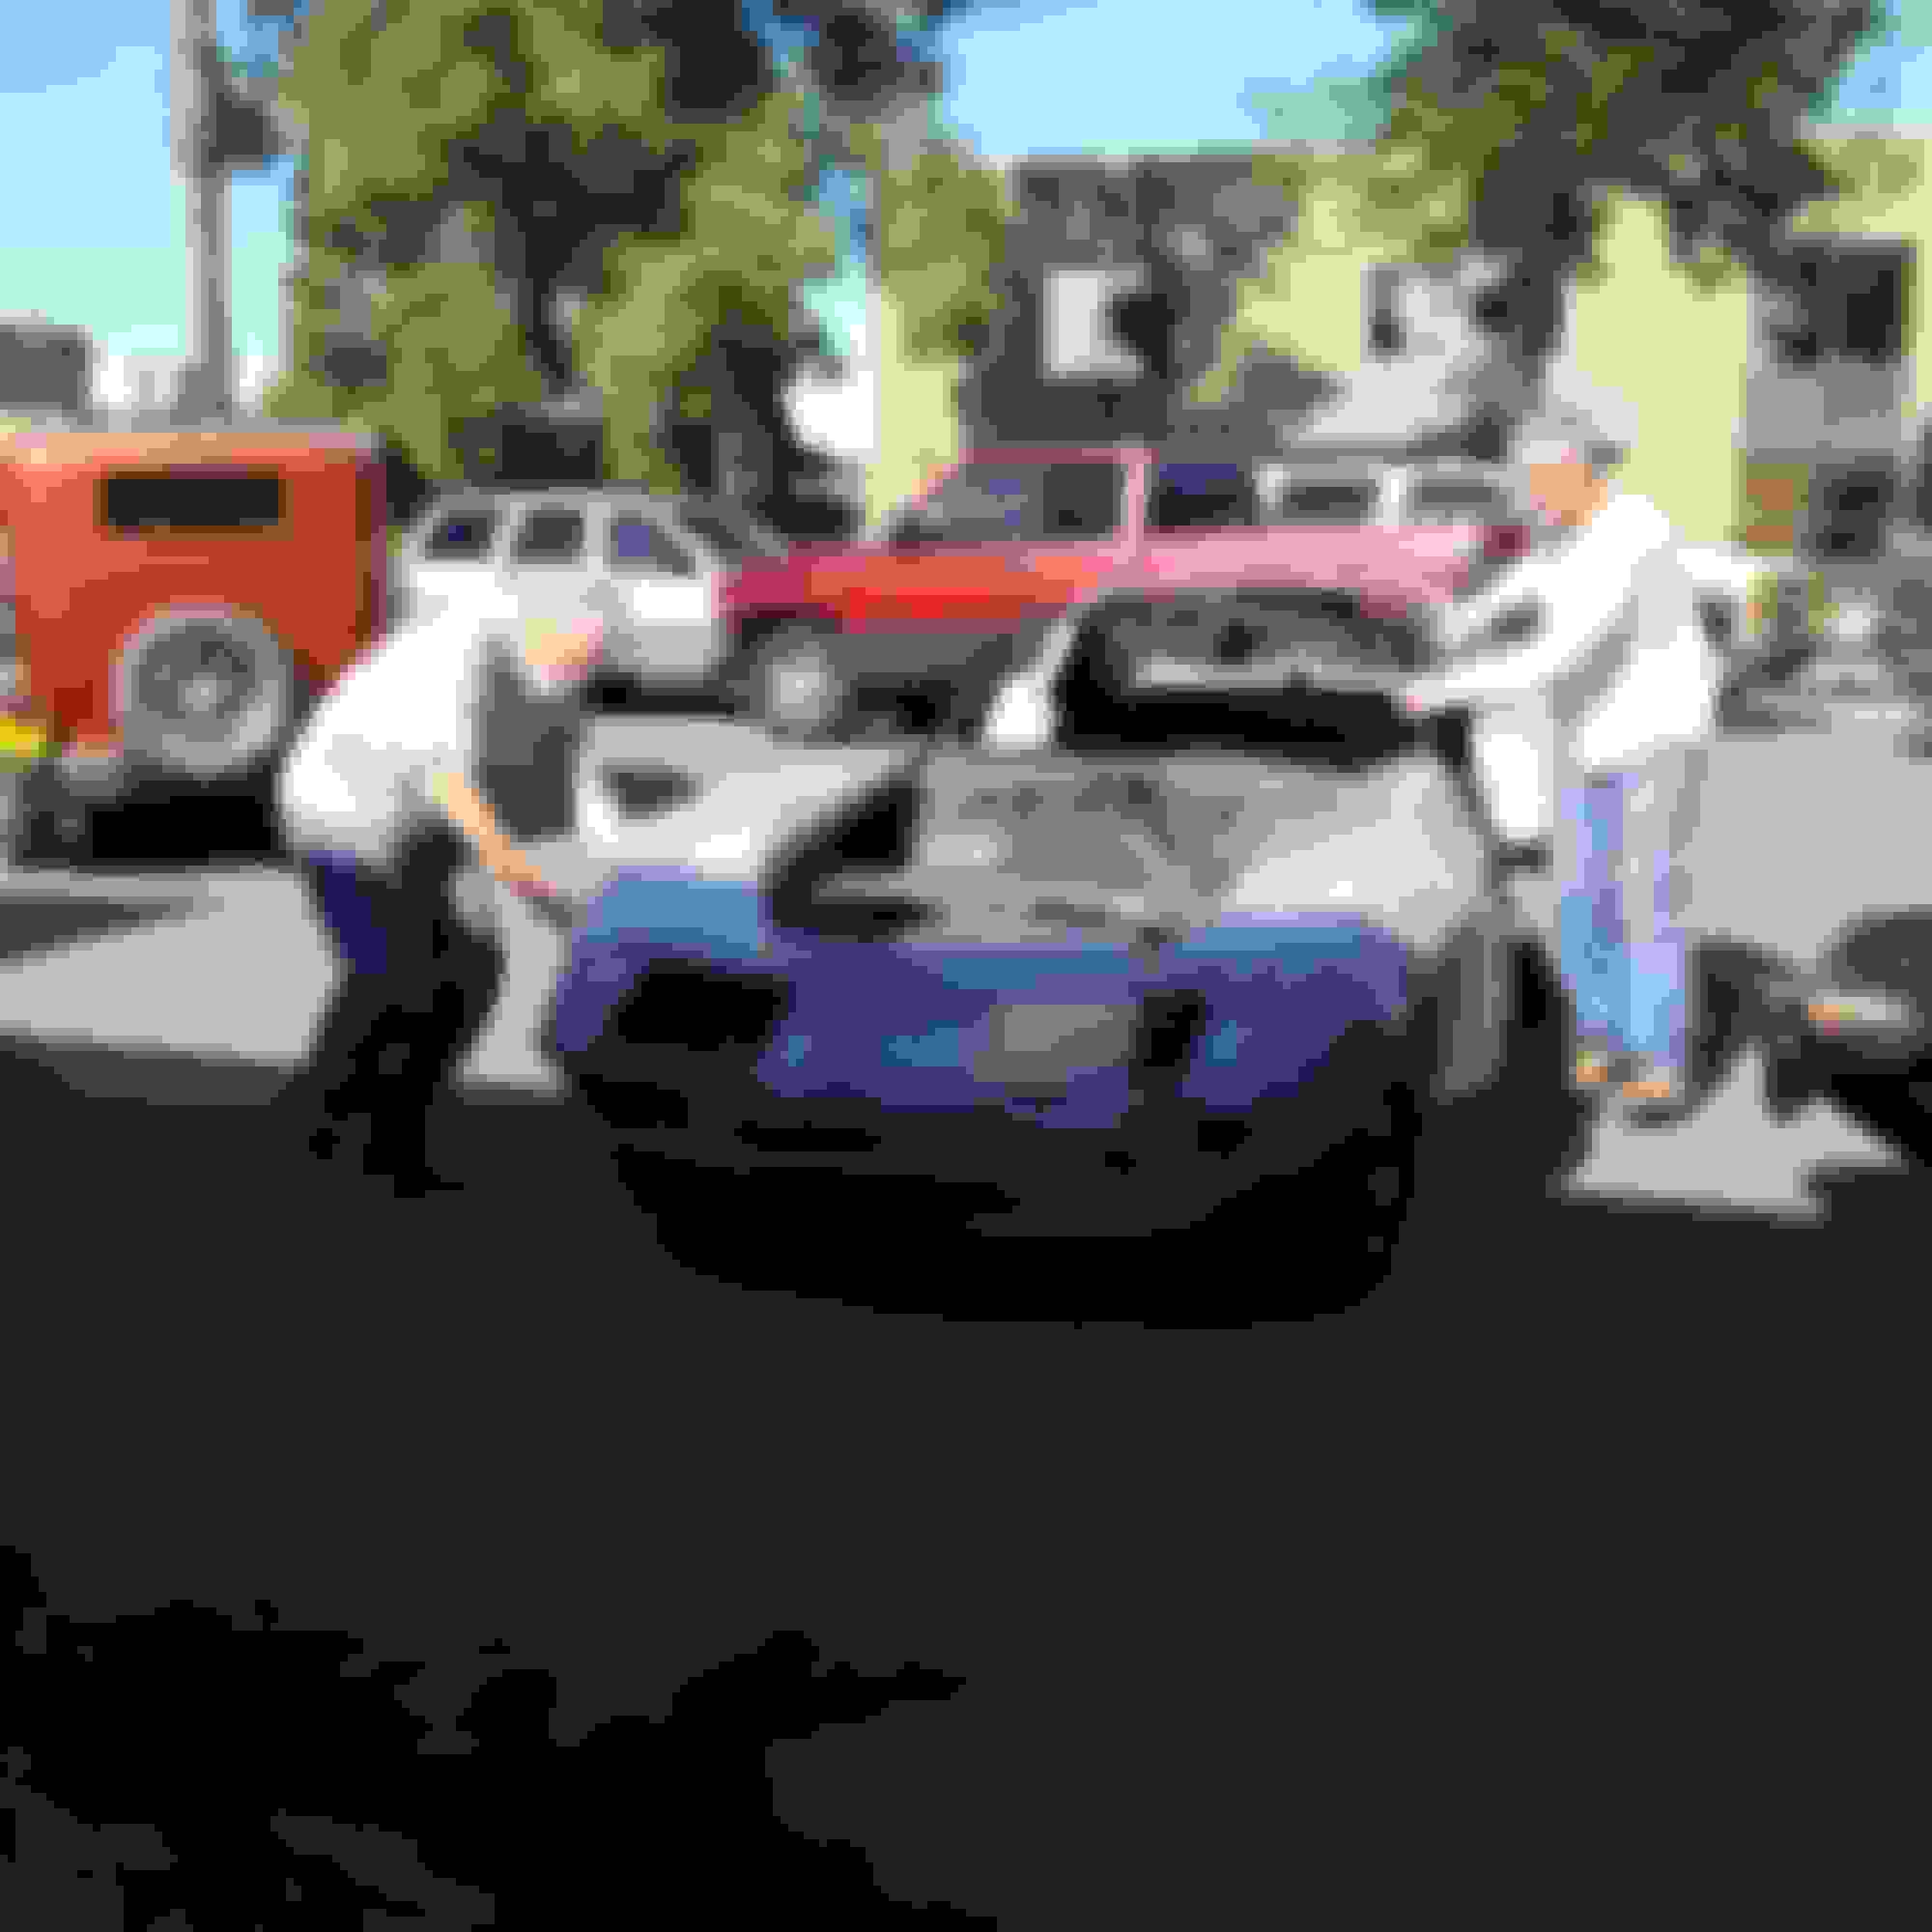
We had access to a commercial two post lift at the mechanics shop next to Richard's body shop. If you remember we pulled the body off with an engine hoist. What a huge difference in using the lift. Huge.
I am putting in a lot of pics here to show one way on how to do this. My wonderful wife was there to record the process and help push the cars around.
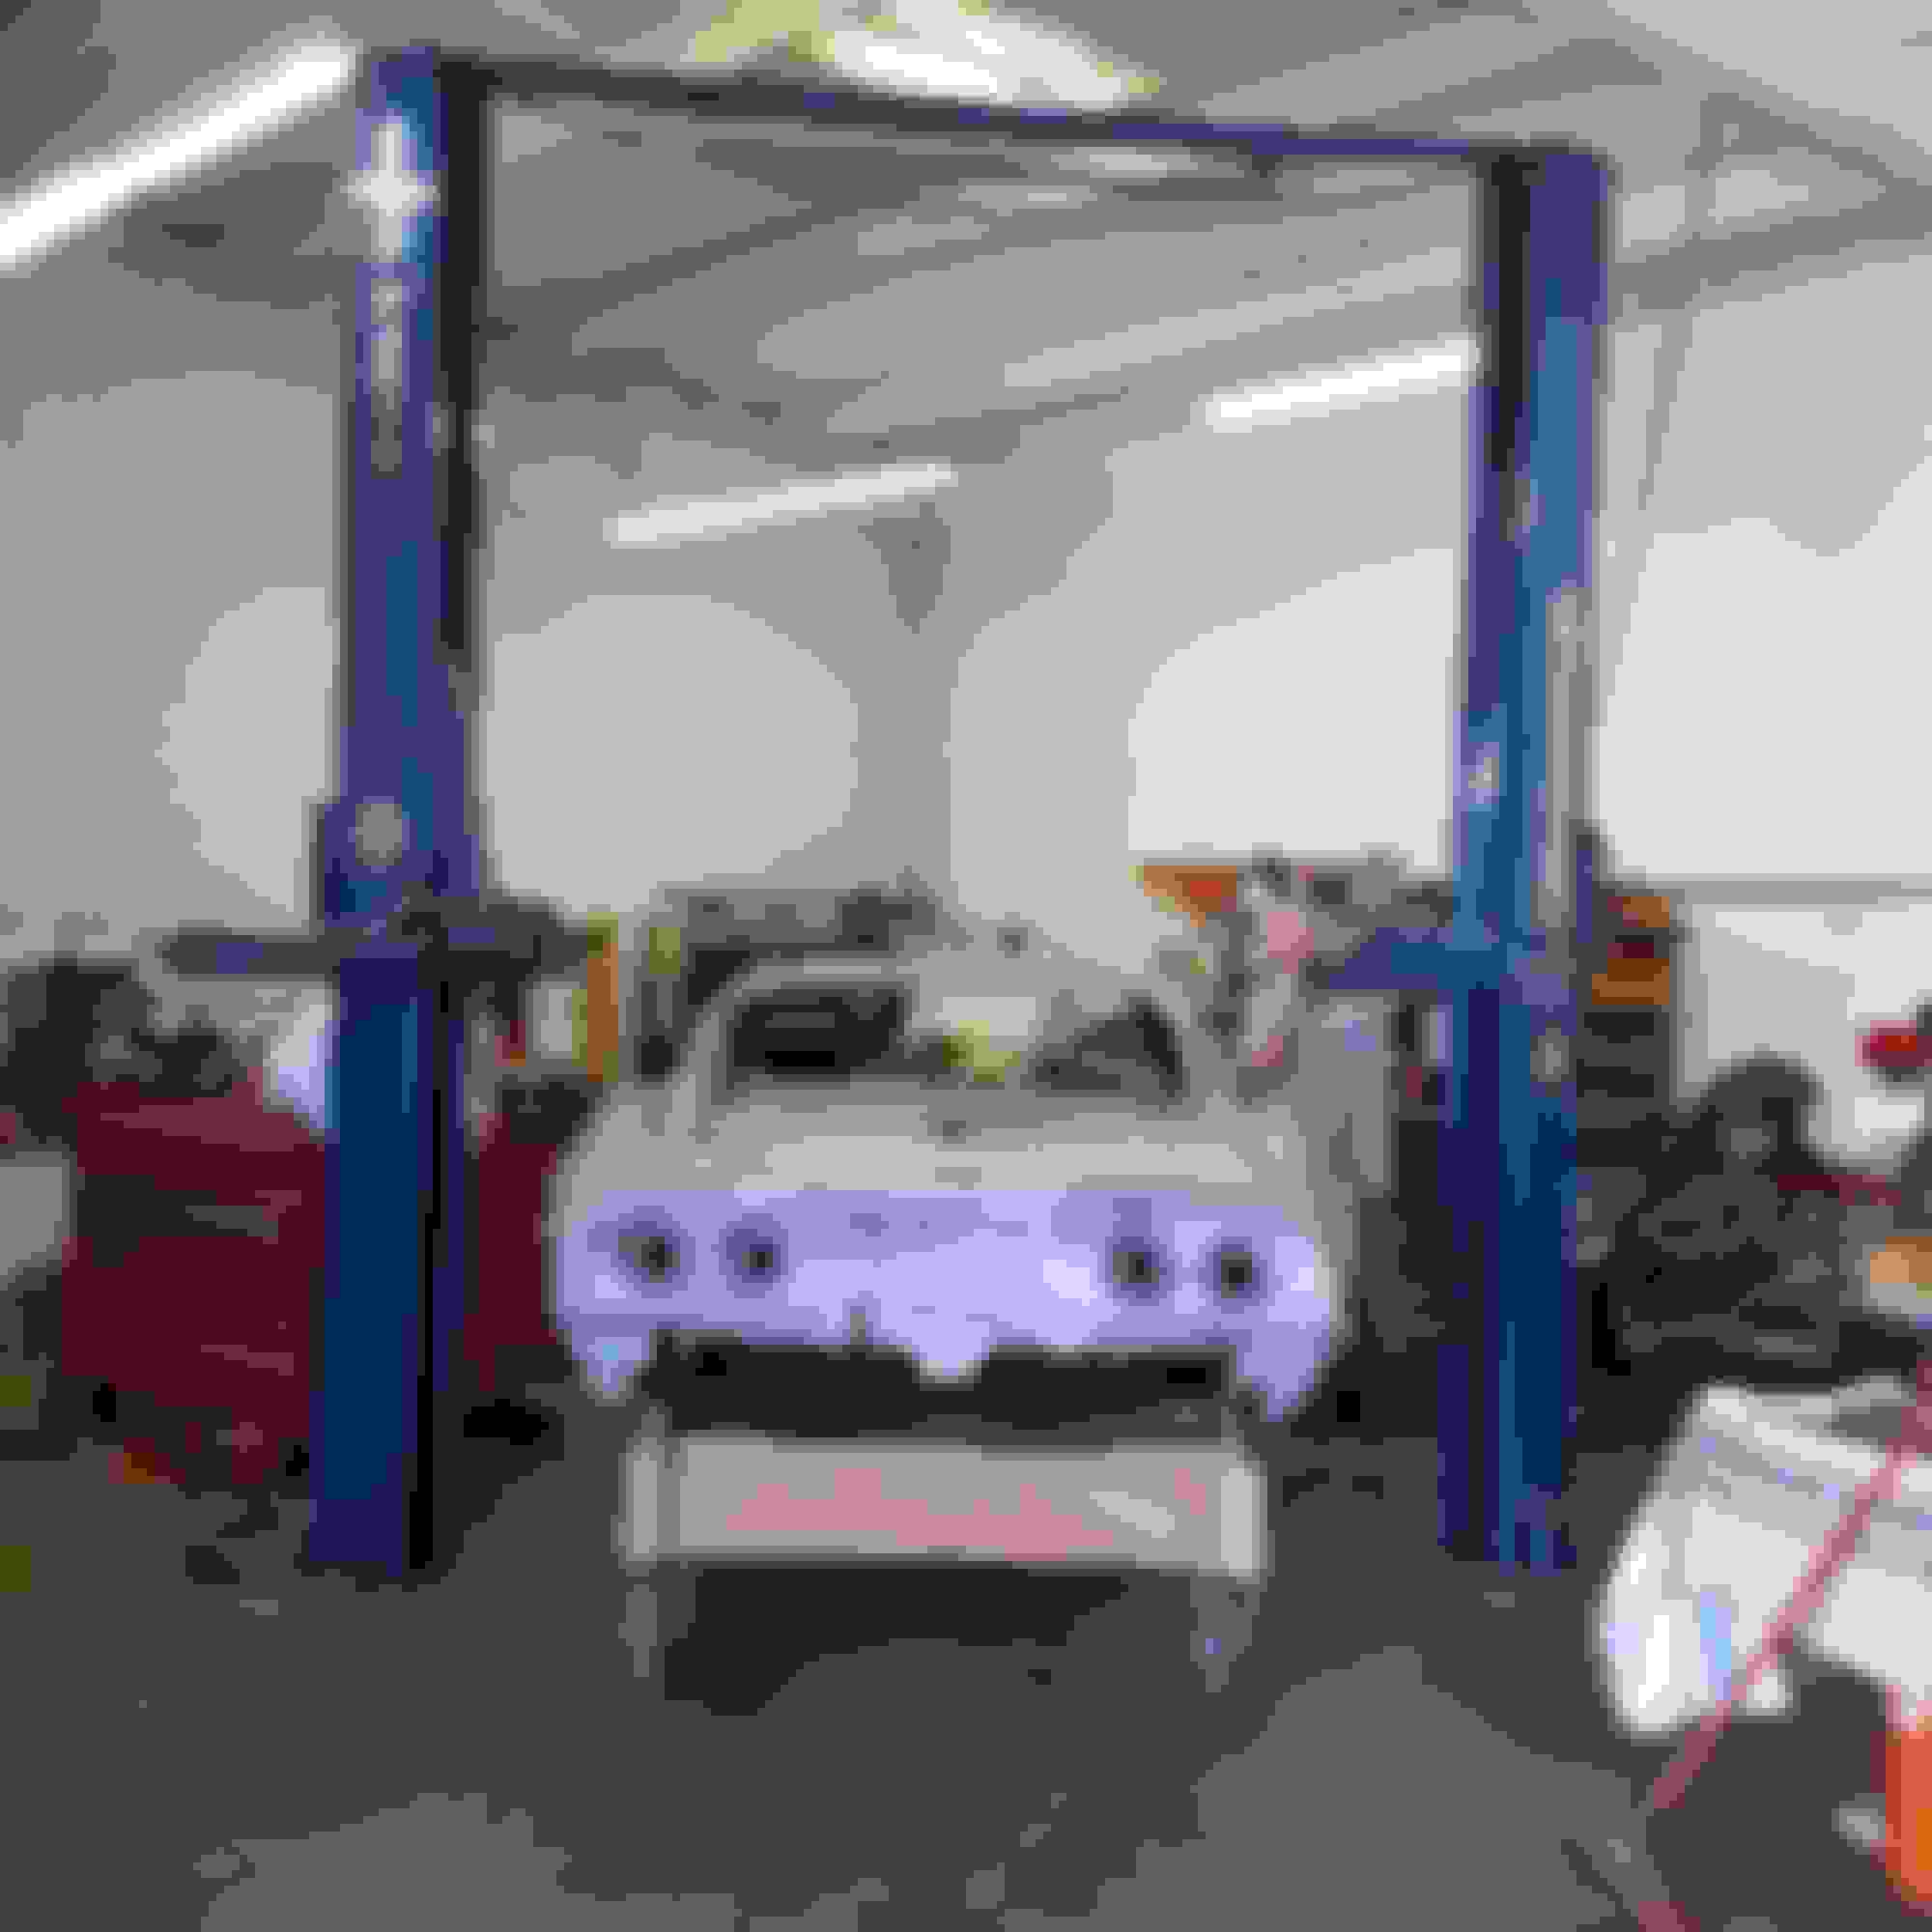
The first order of business was to roll the body in
Richard now swings the lift bars over the car
To pull the body off I had purchased a commercial sling for just this purpose. At this point I was pondering exactly how we were going to use it with the lift.
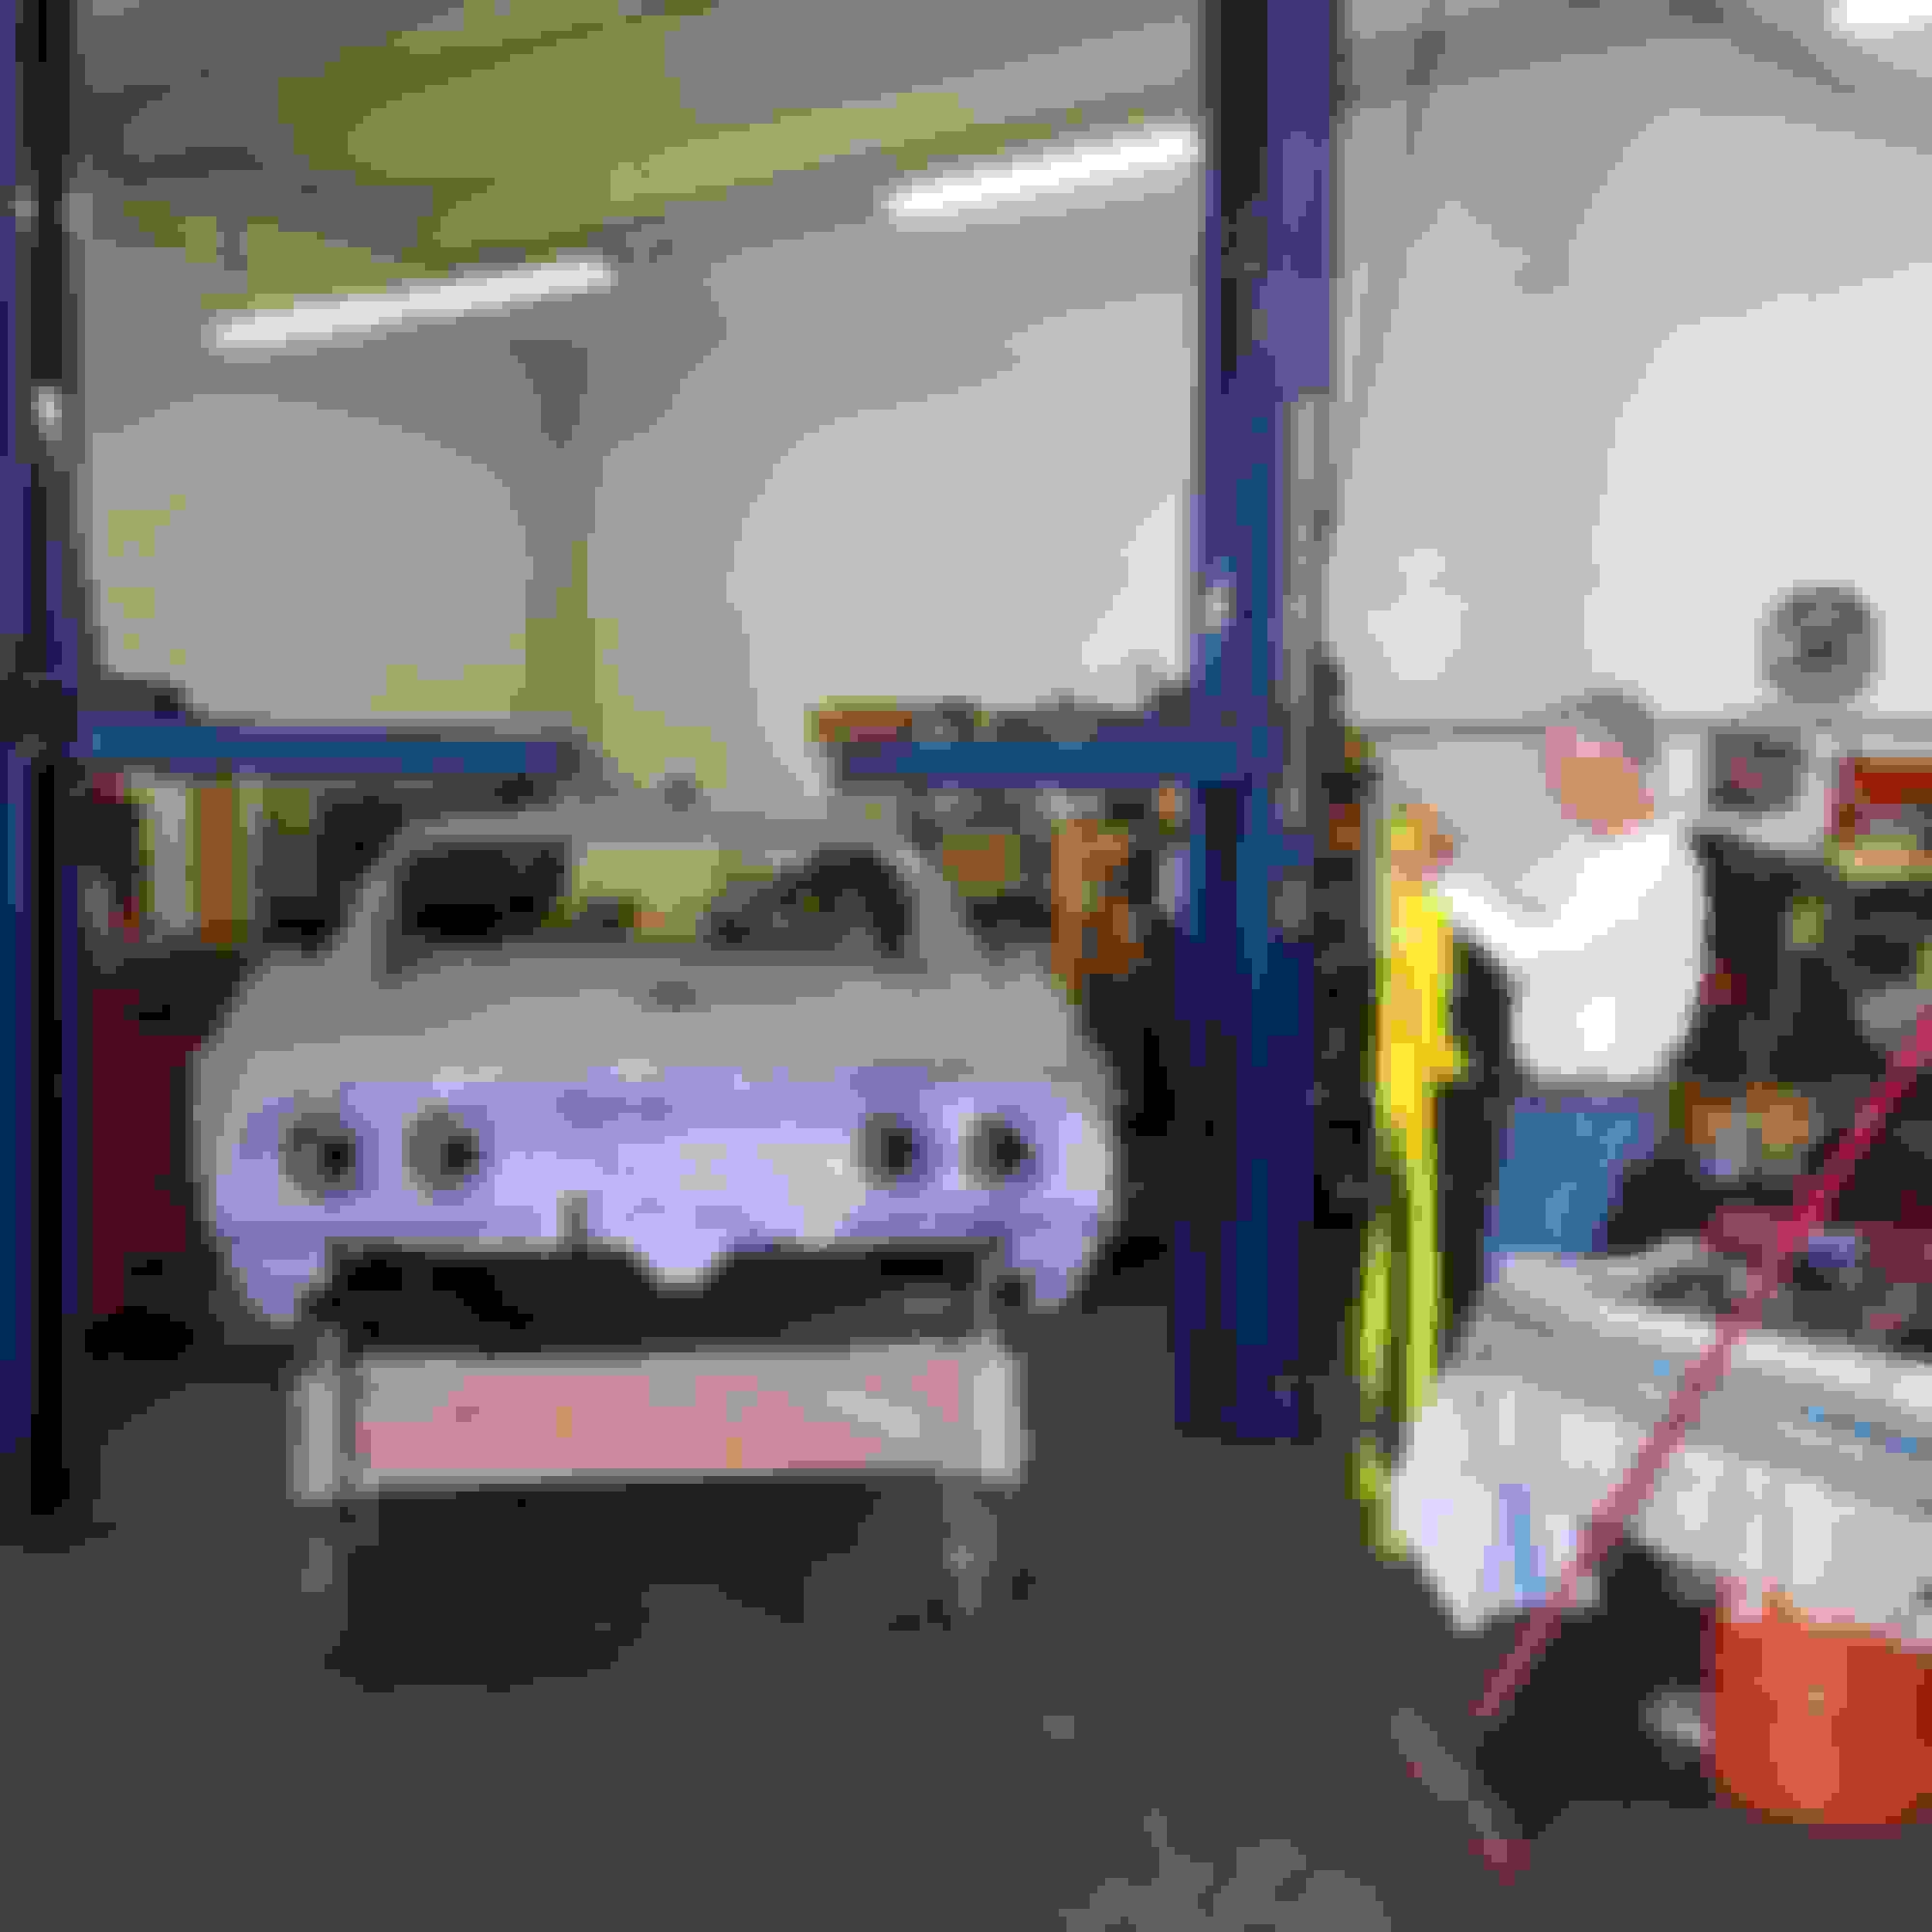
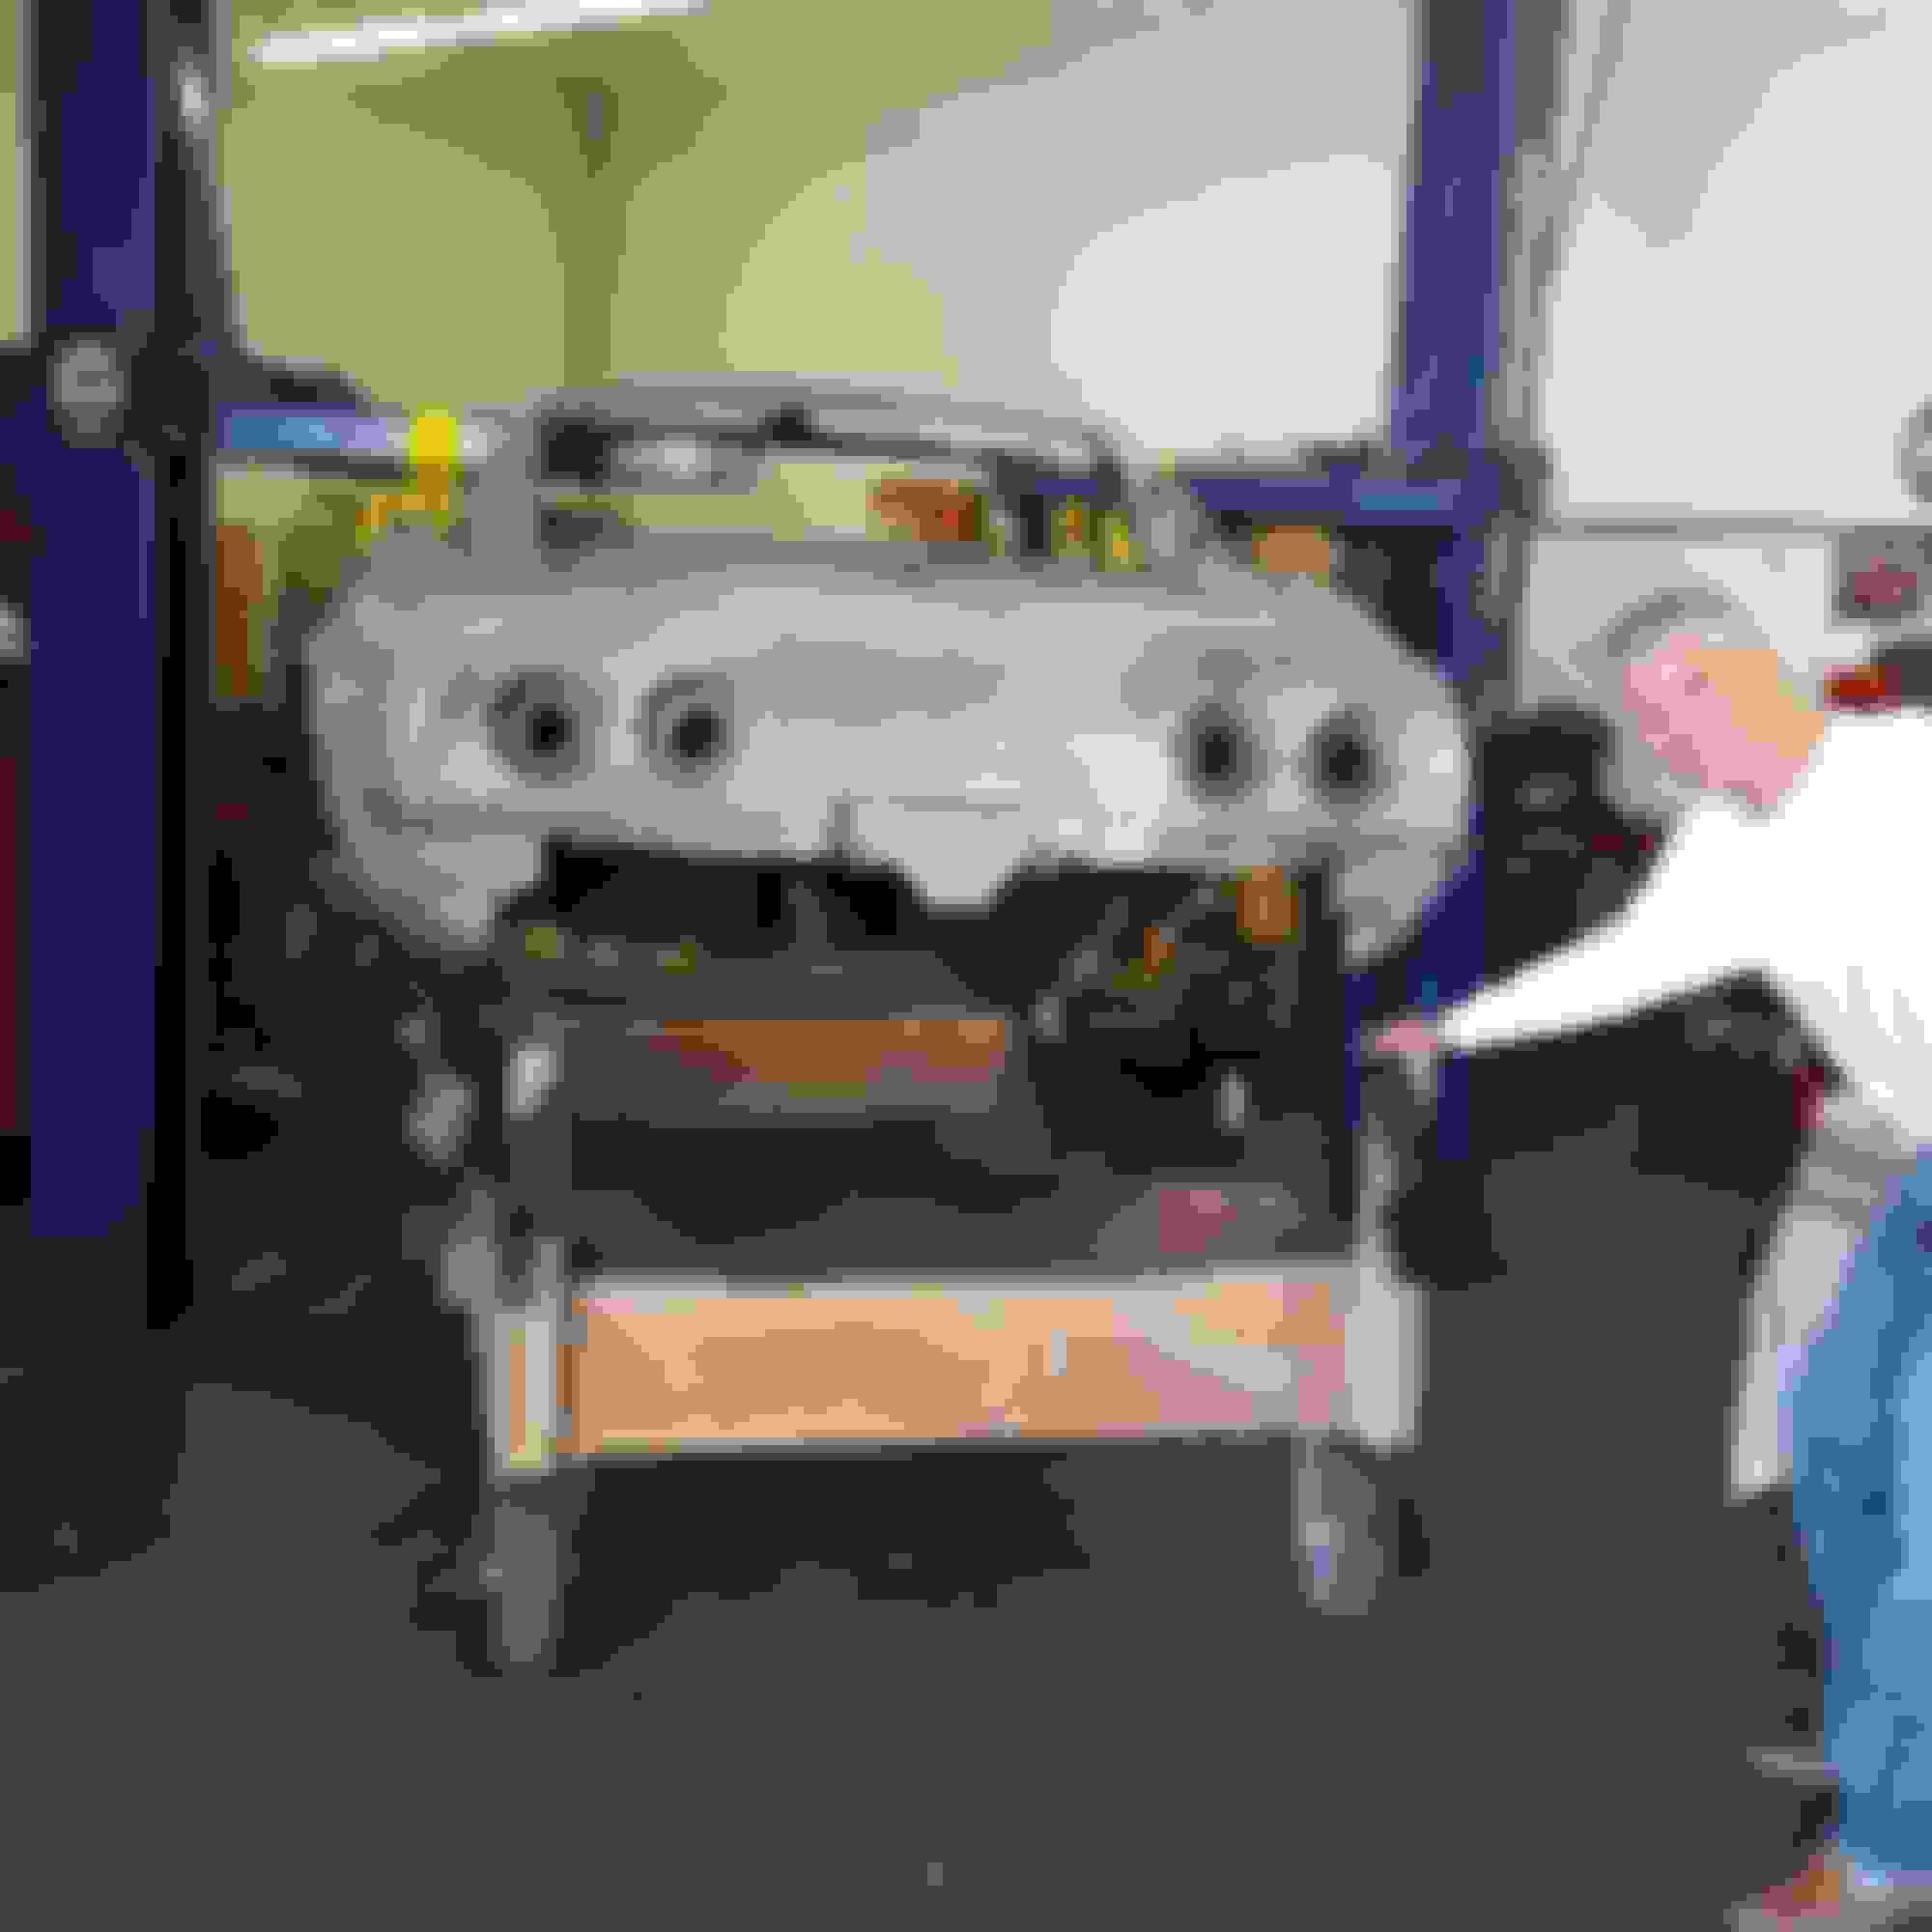
Richard and I wheeling in the chassis
This is a great view of the task at hand, remove the wooden dolly and replace it with the chassis
It turned out the easiest way to attach the sling to the body was to cut the sling at the top and have individual straps going down to the body from the lift arms.
With the straps in place, time to unbolt the body from the wooden dolly
We have lift off!!
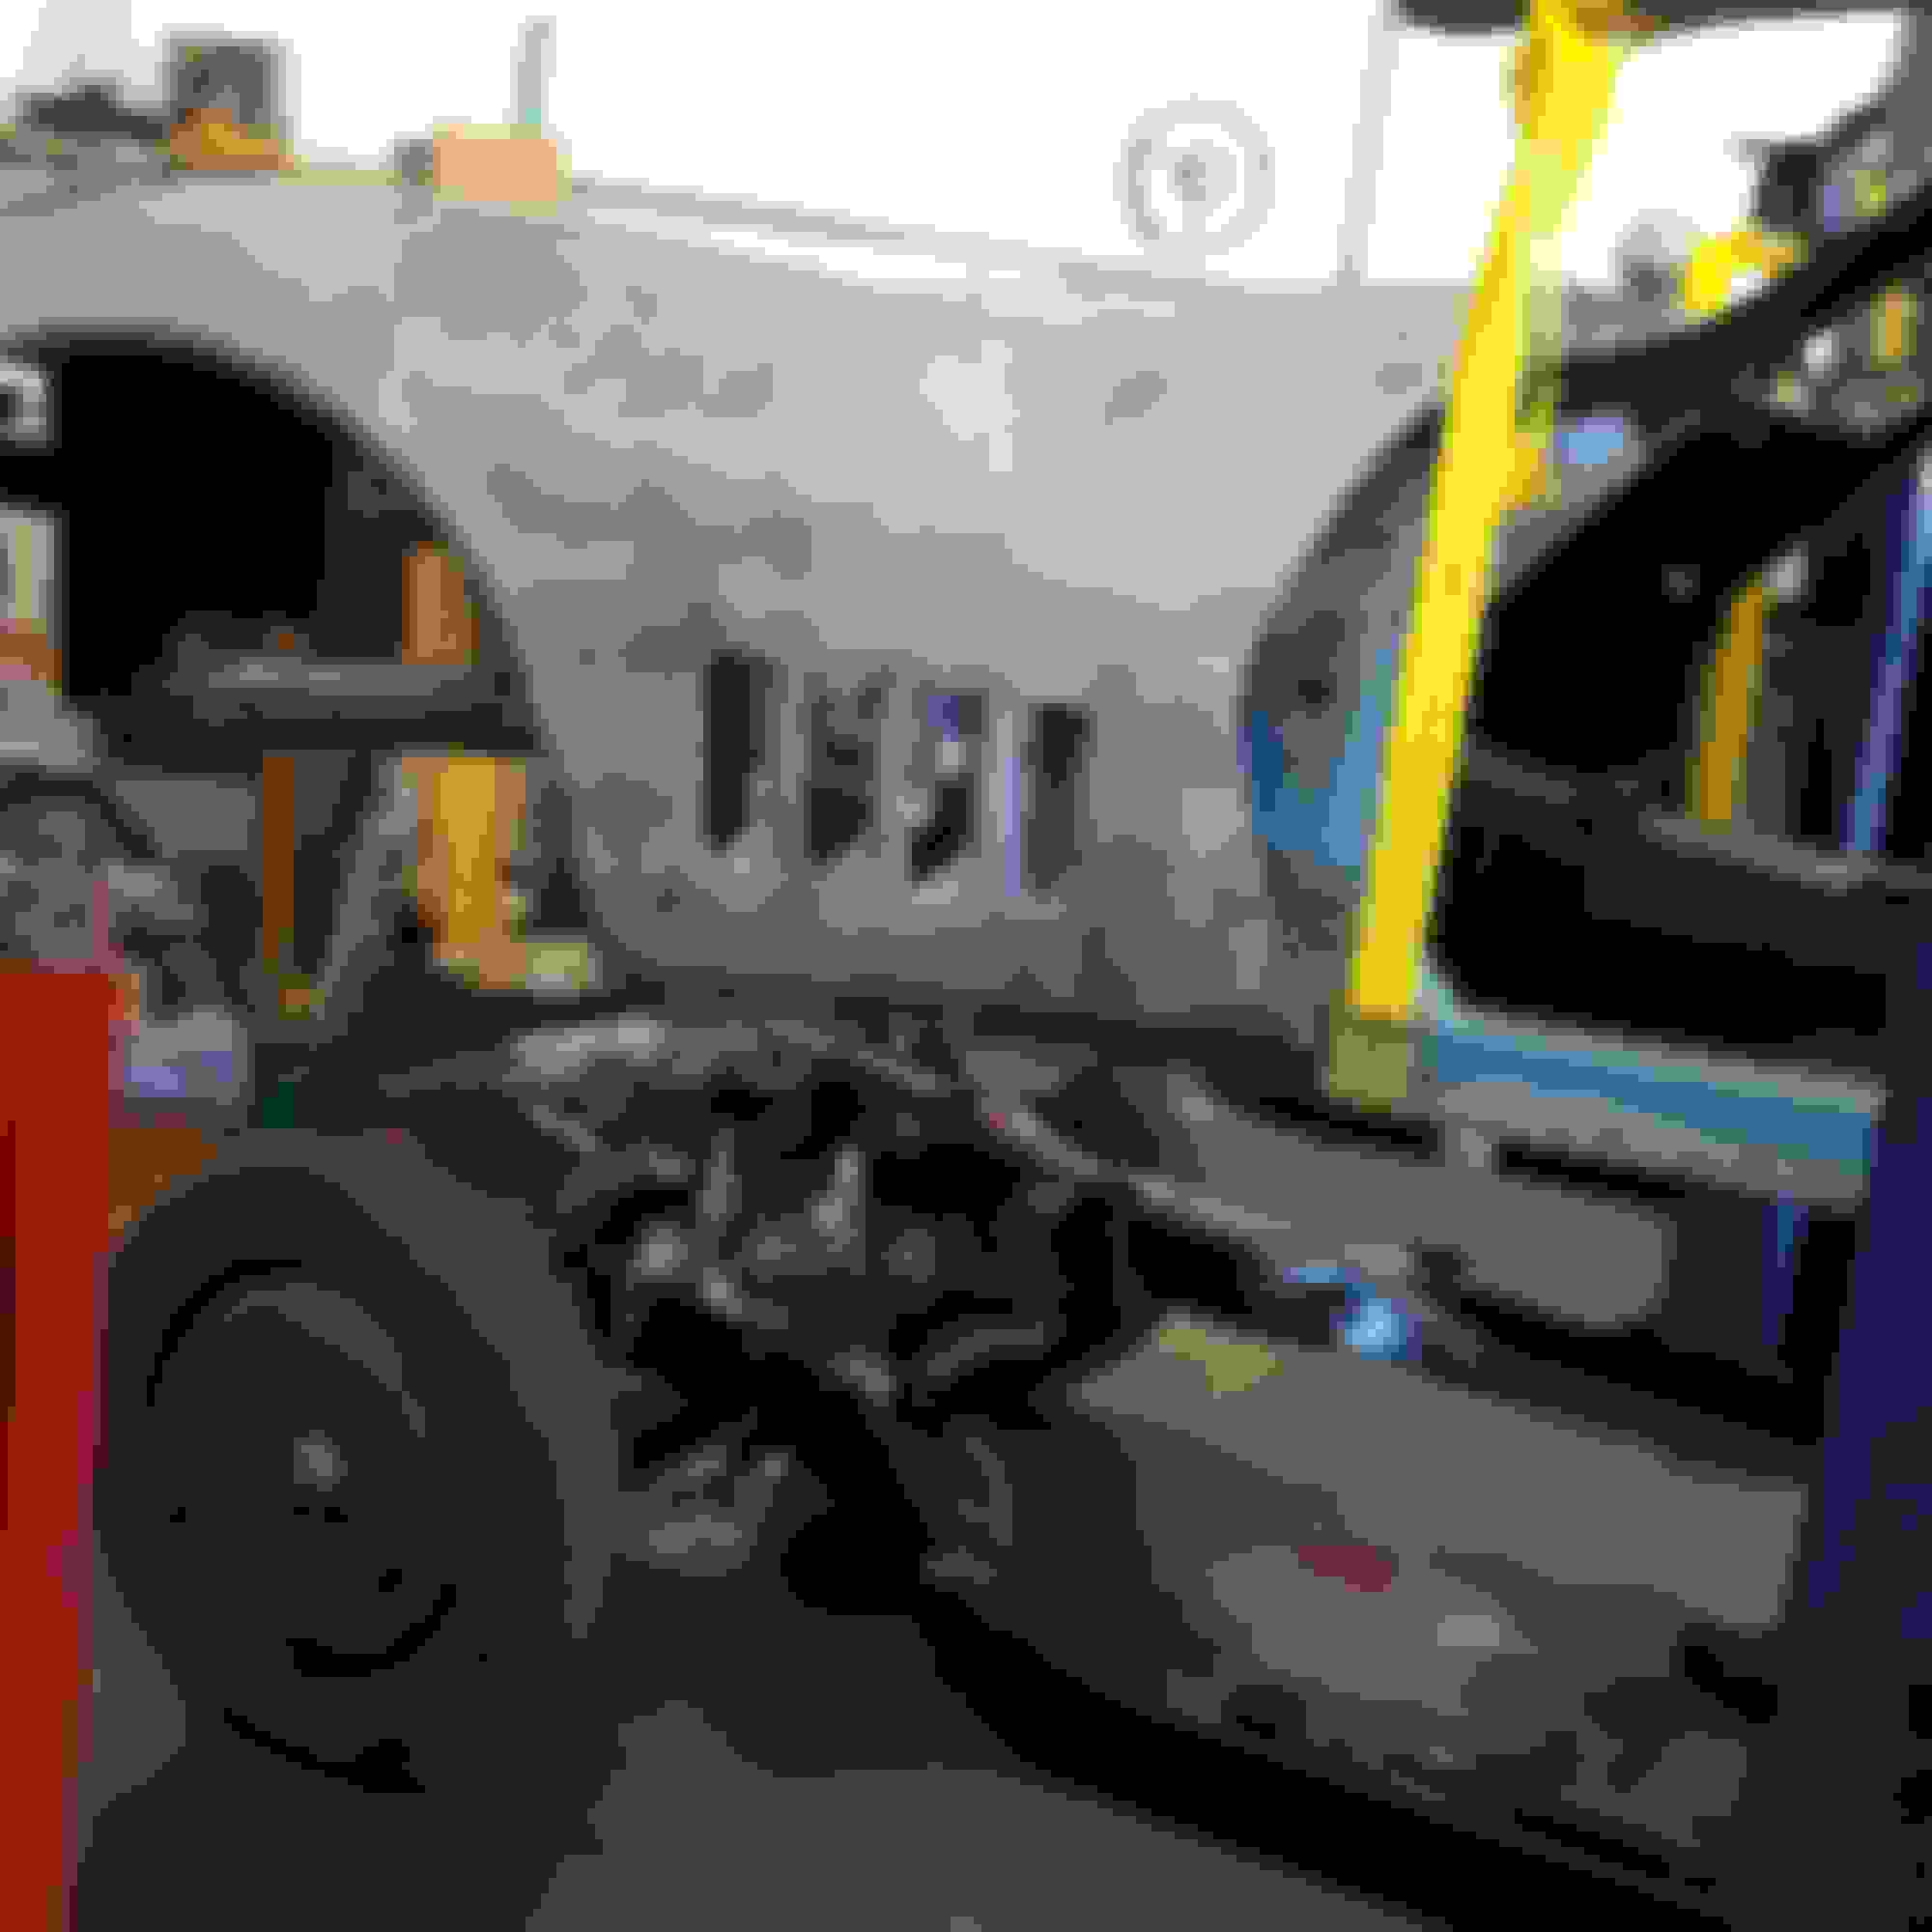
With the wooden dolly now removed, we do the final wheel in of the chassis
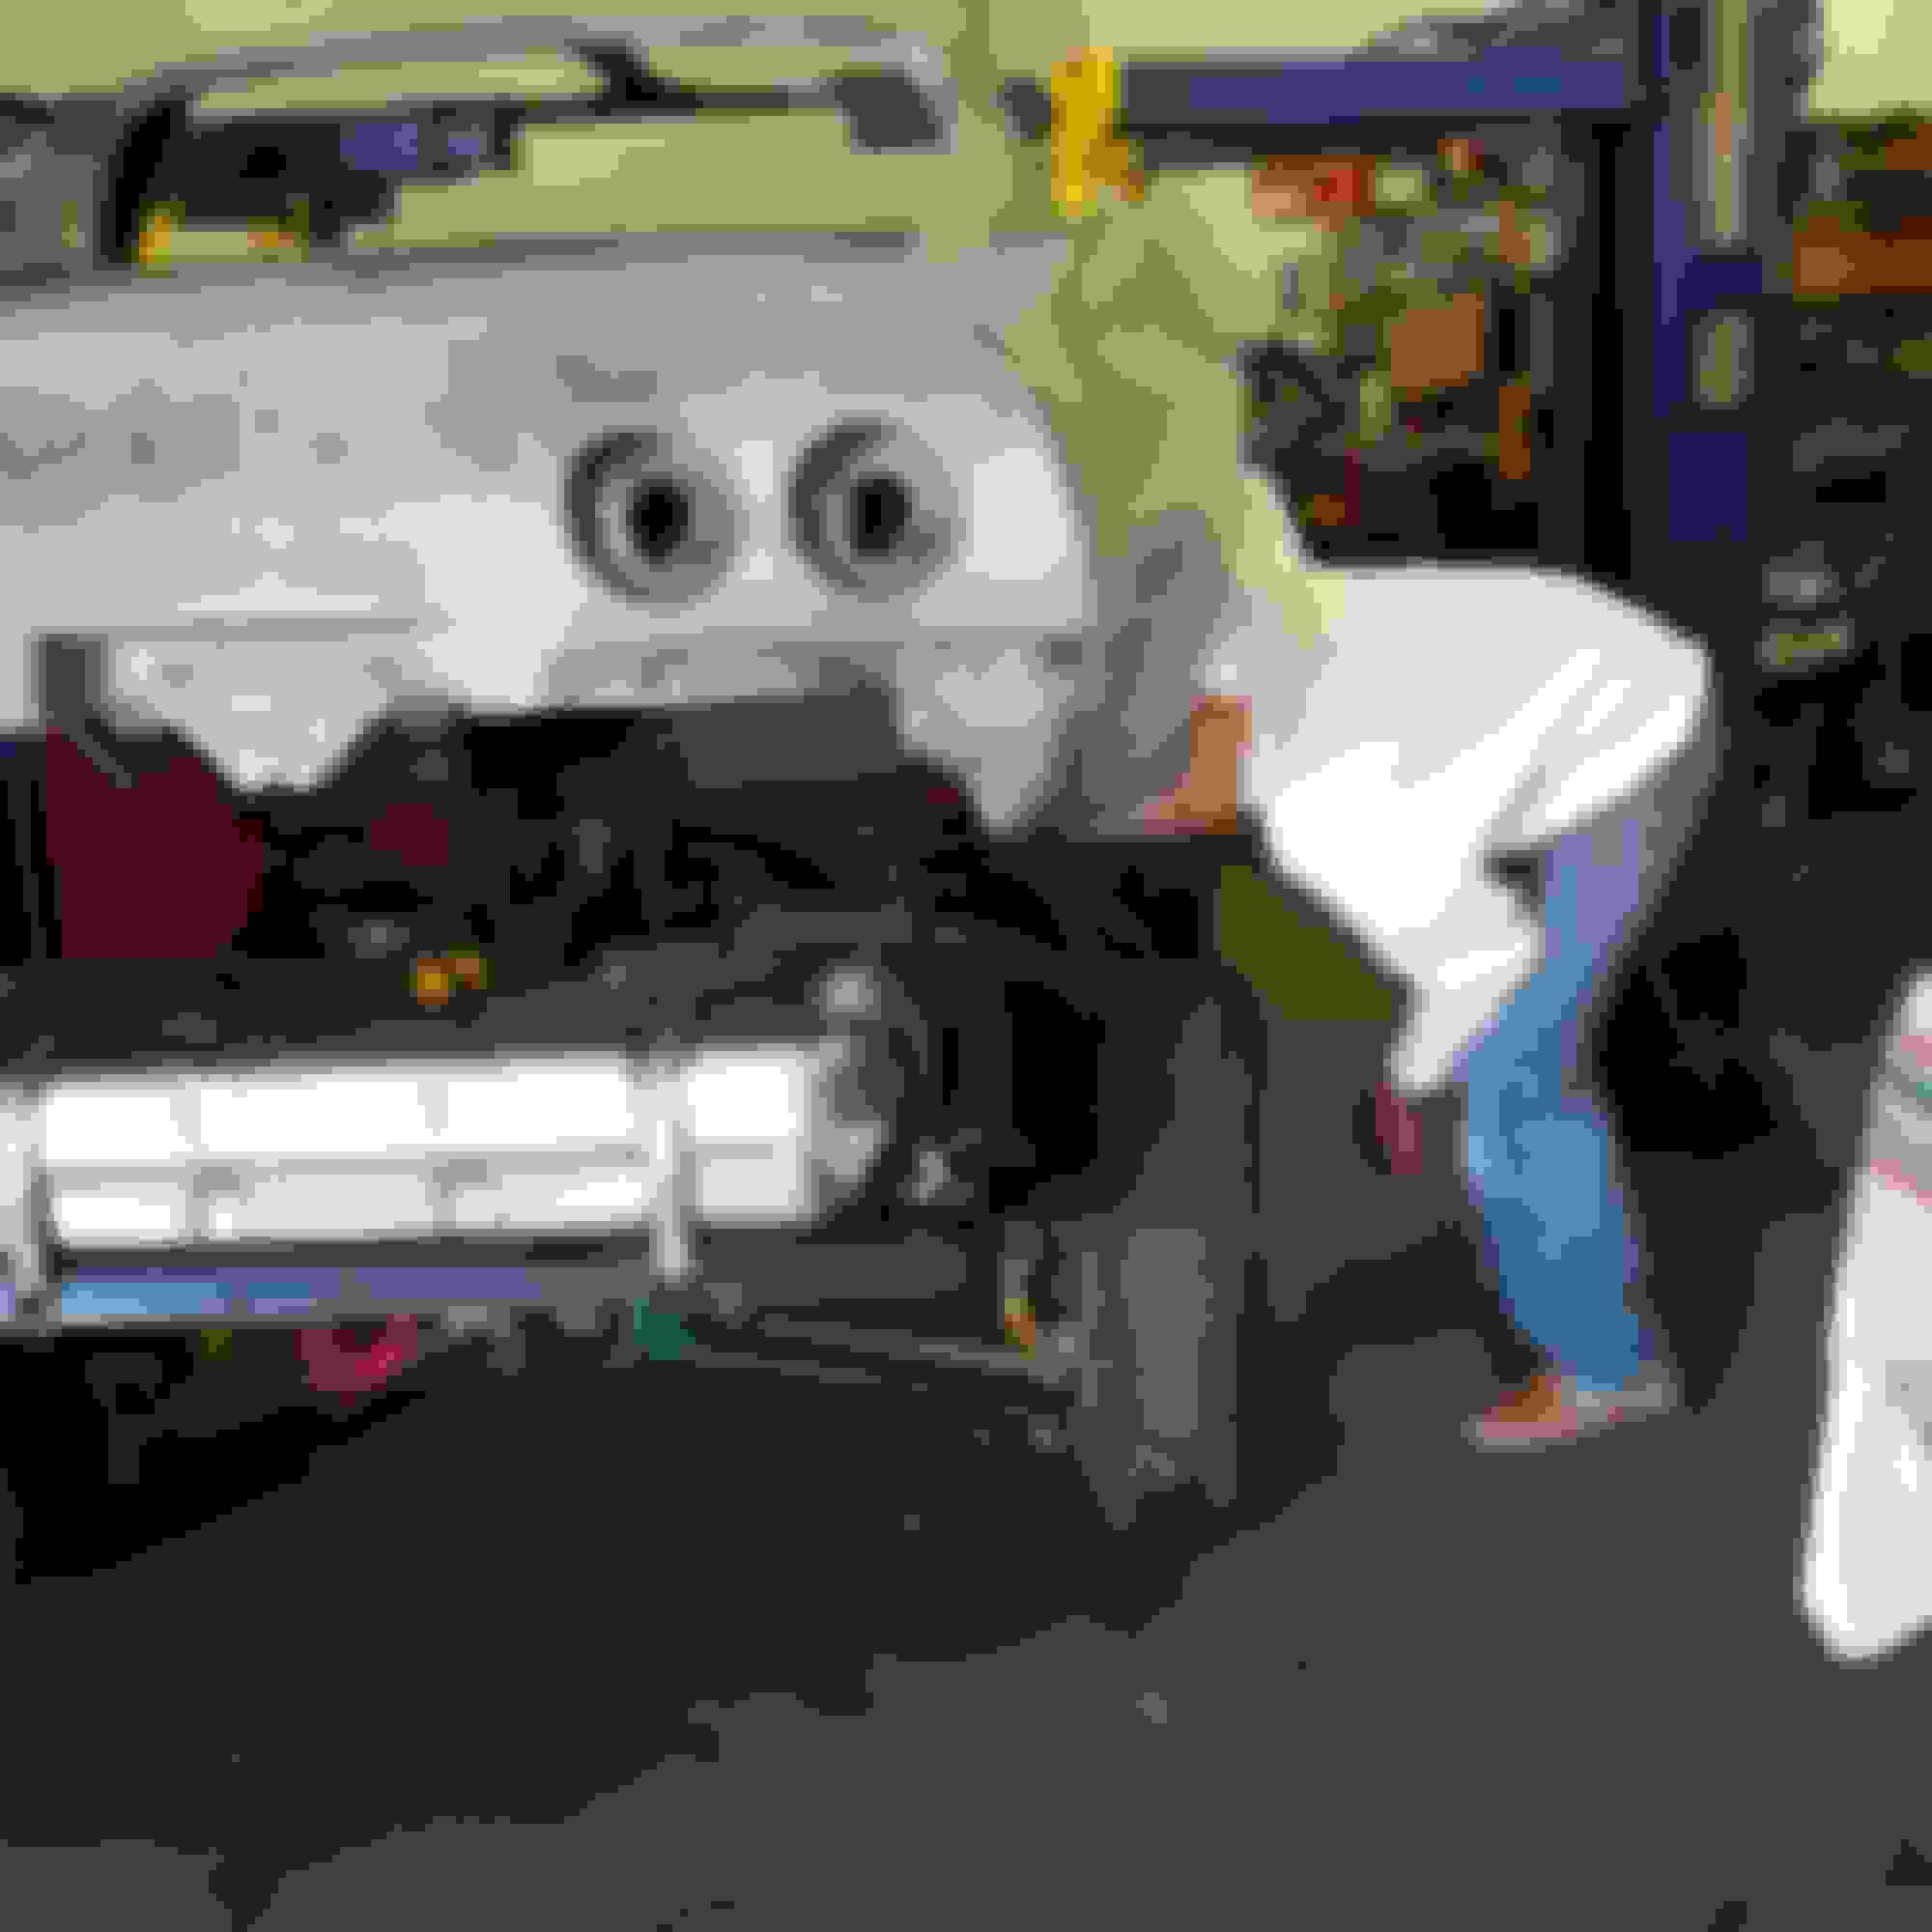
We position the chassis as close as we can under the body
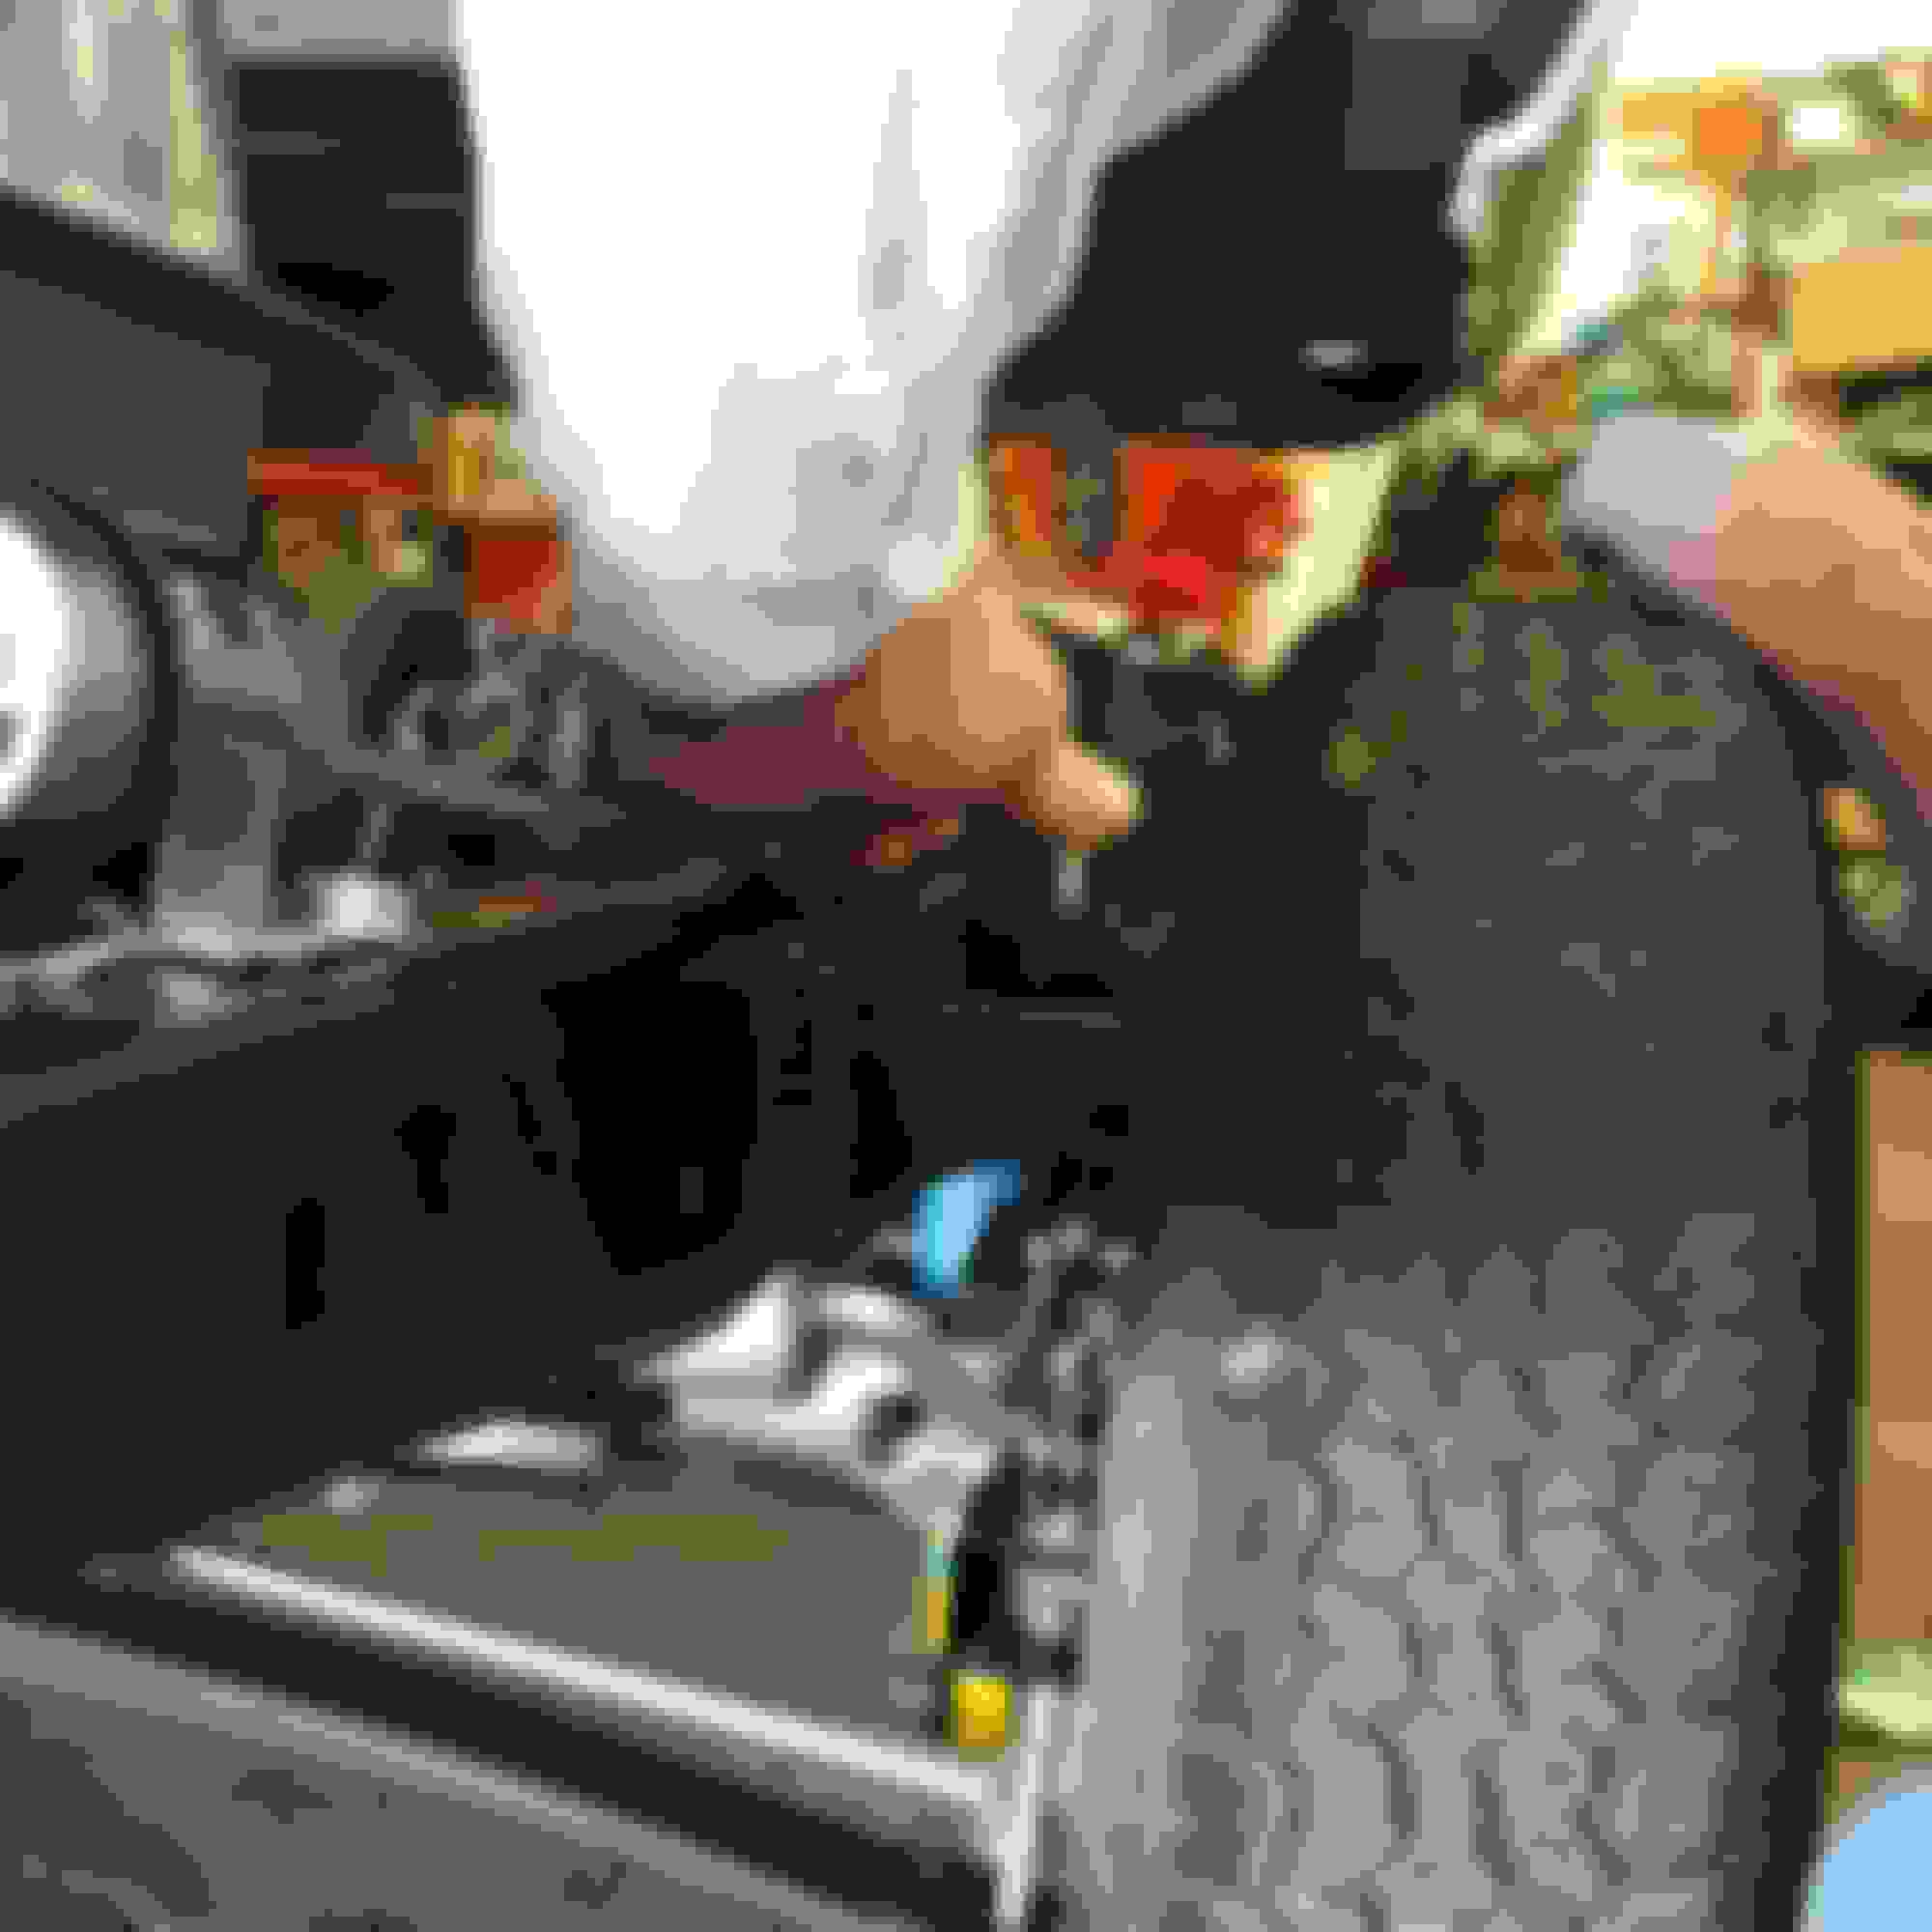
I had the body mounts bagged and tagged from when we had taken them off, so after cleaning and painting we put them in back in at the same locations
At this point there was a lot of staring and checking and making sure that I hadn't forgotten anything. (It turns out I actually did, the foam that goes between the body and frame near the firewall - LOL)
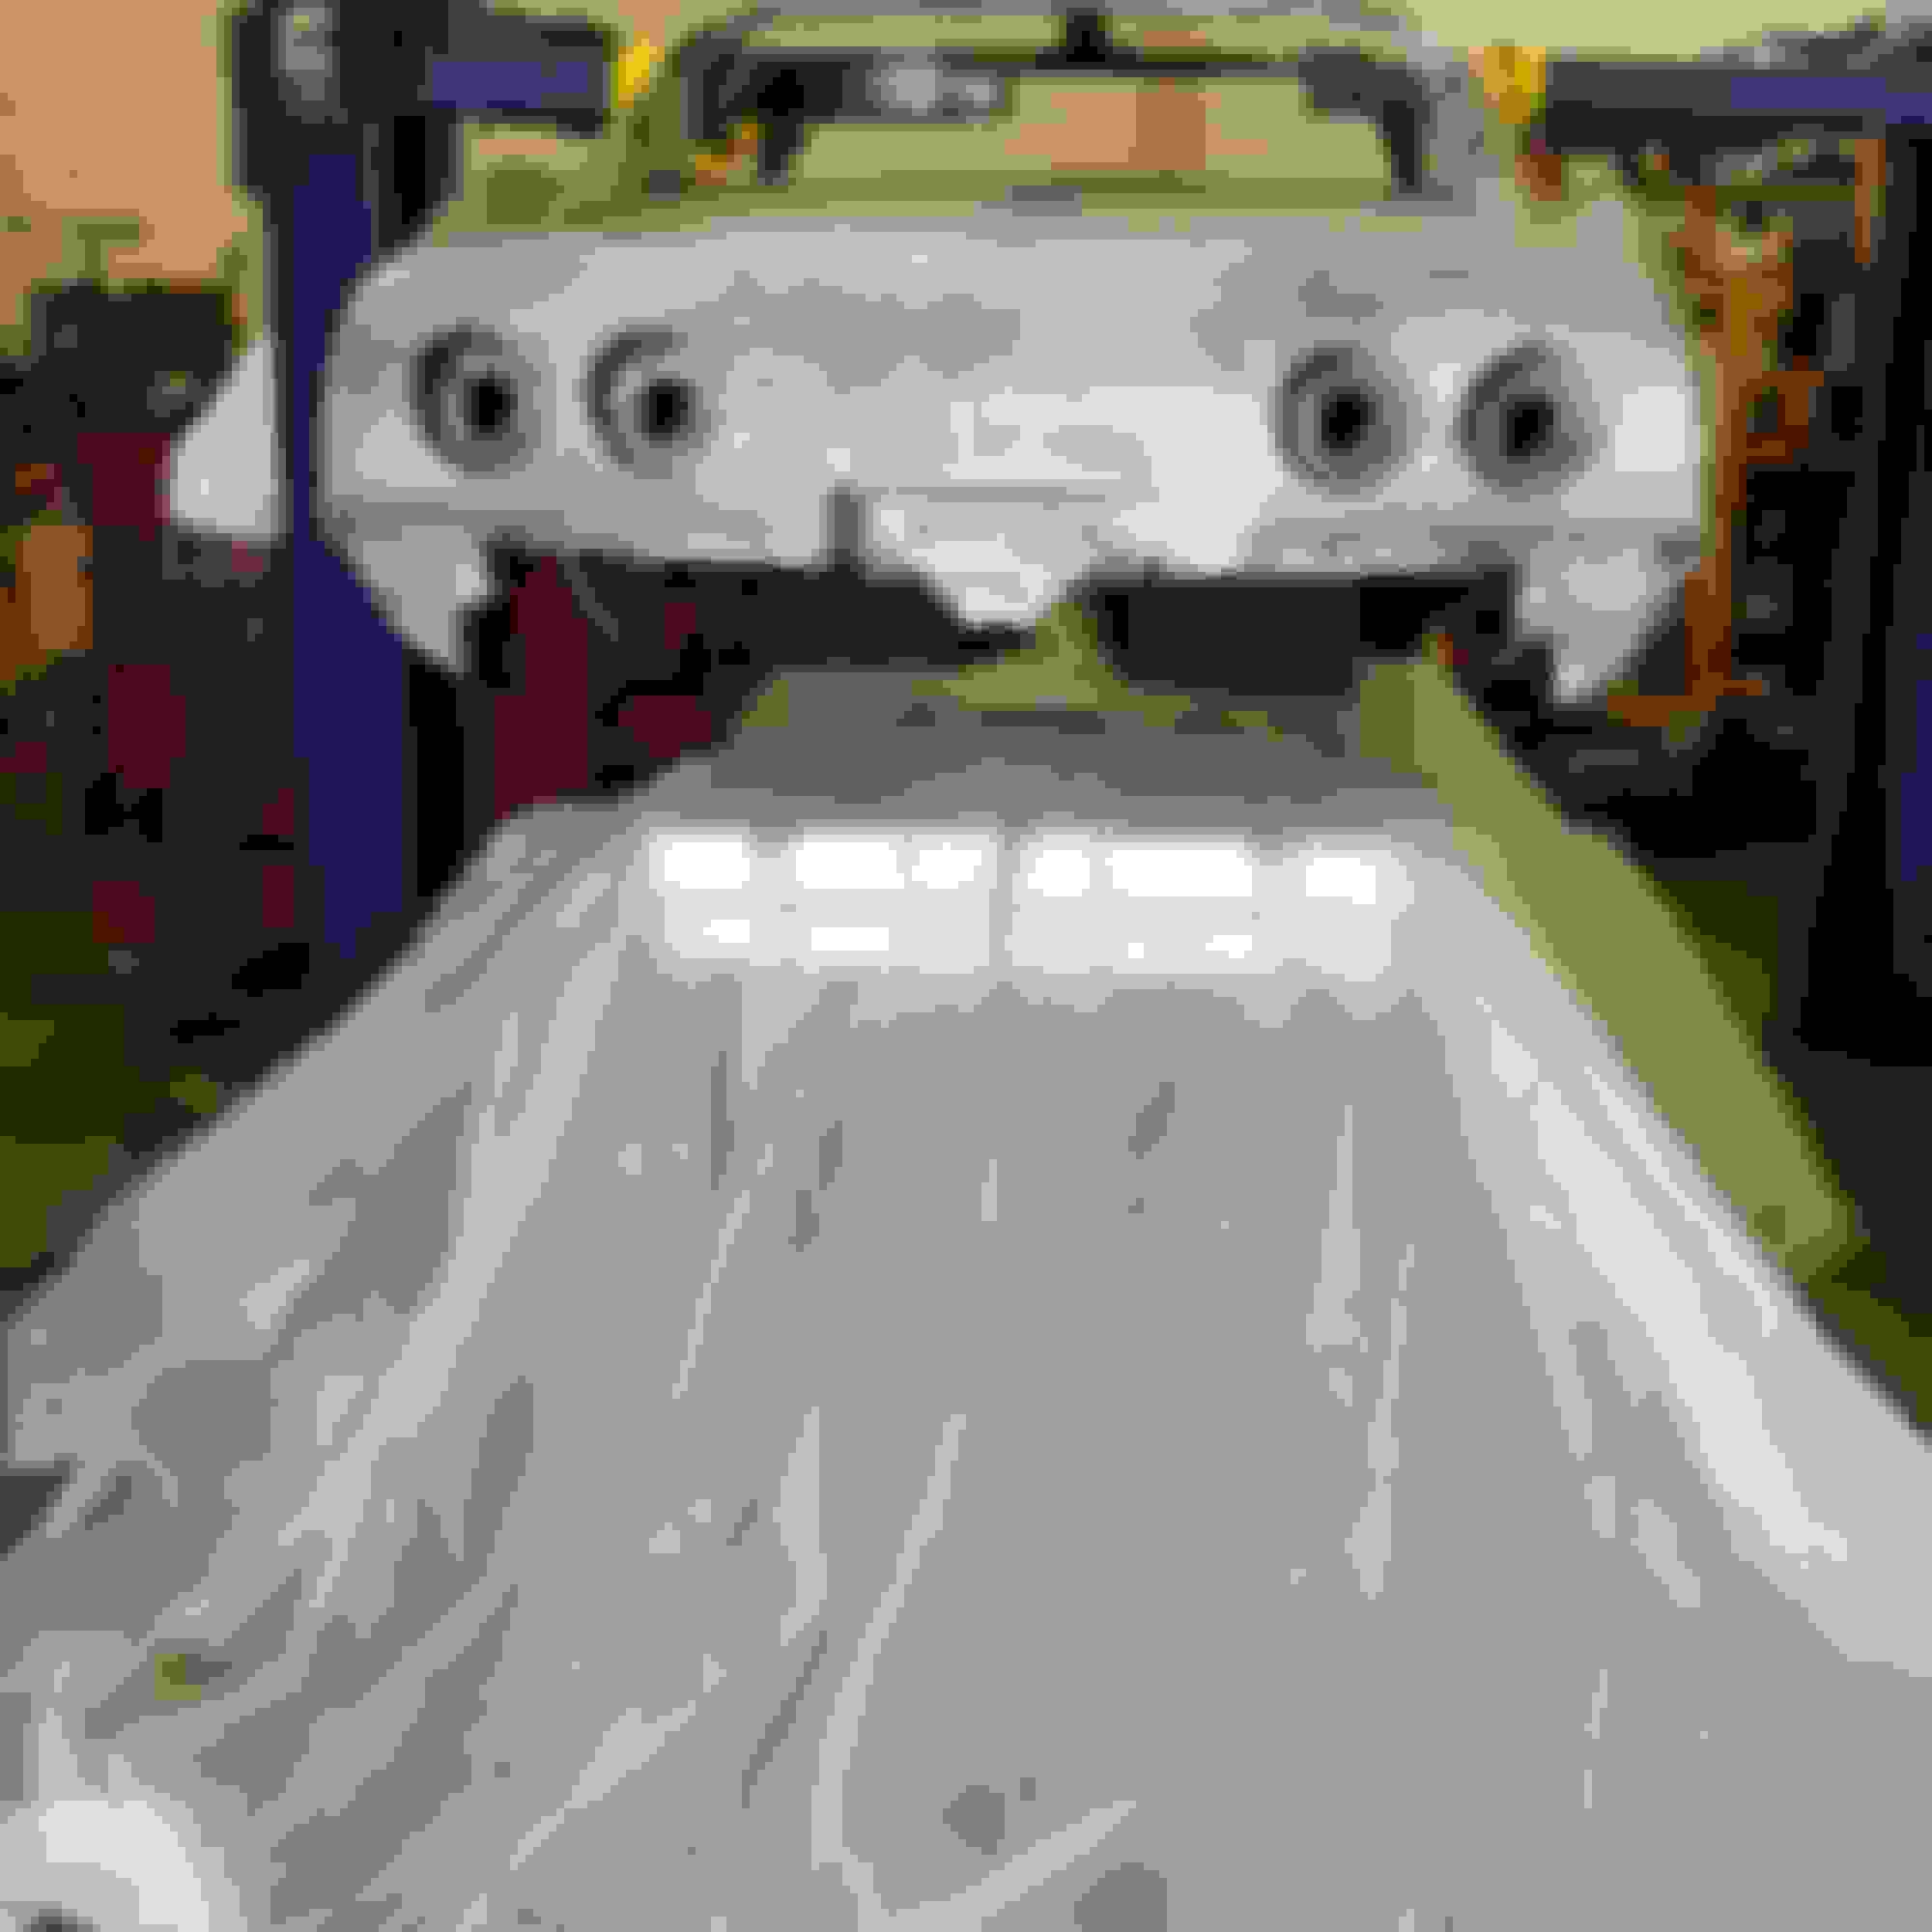
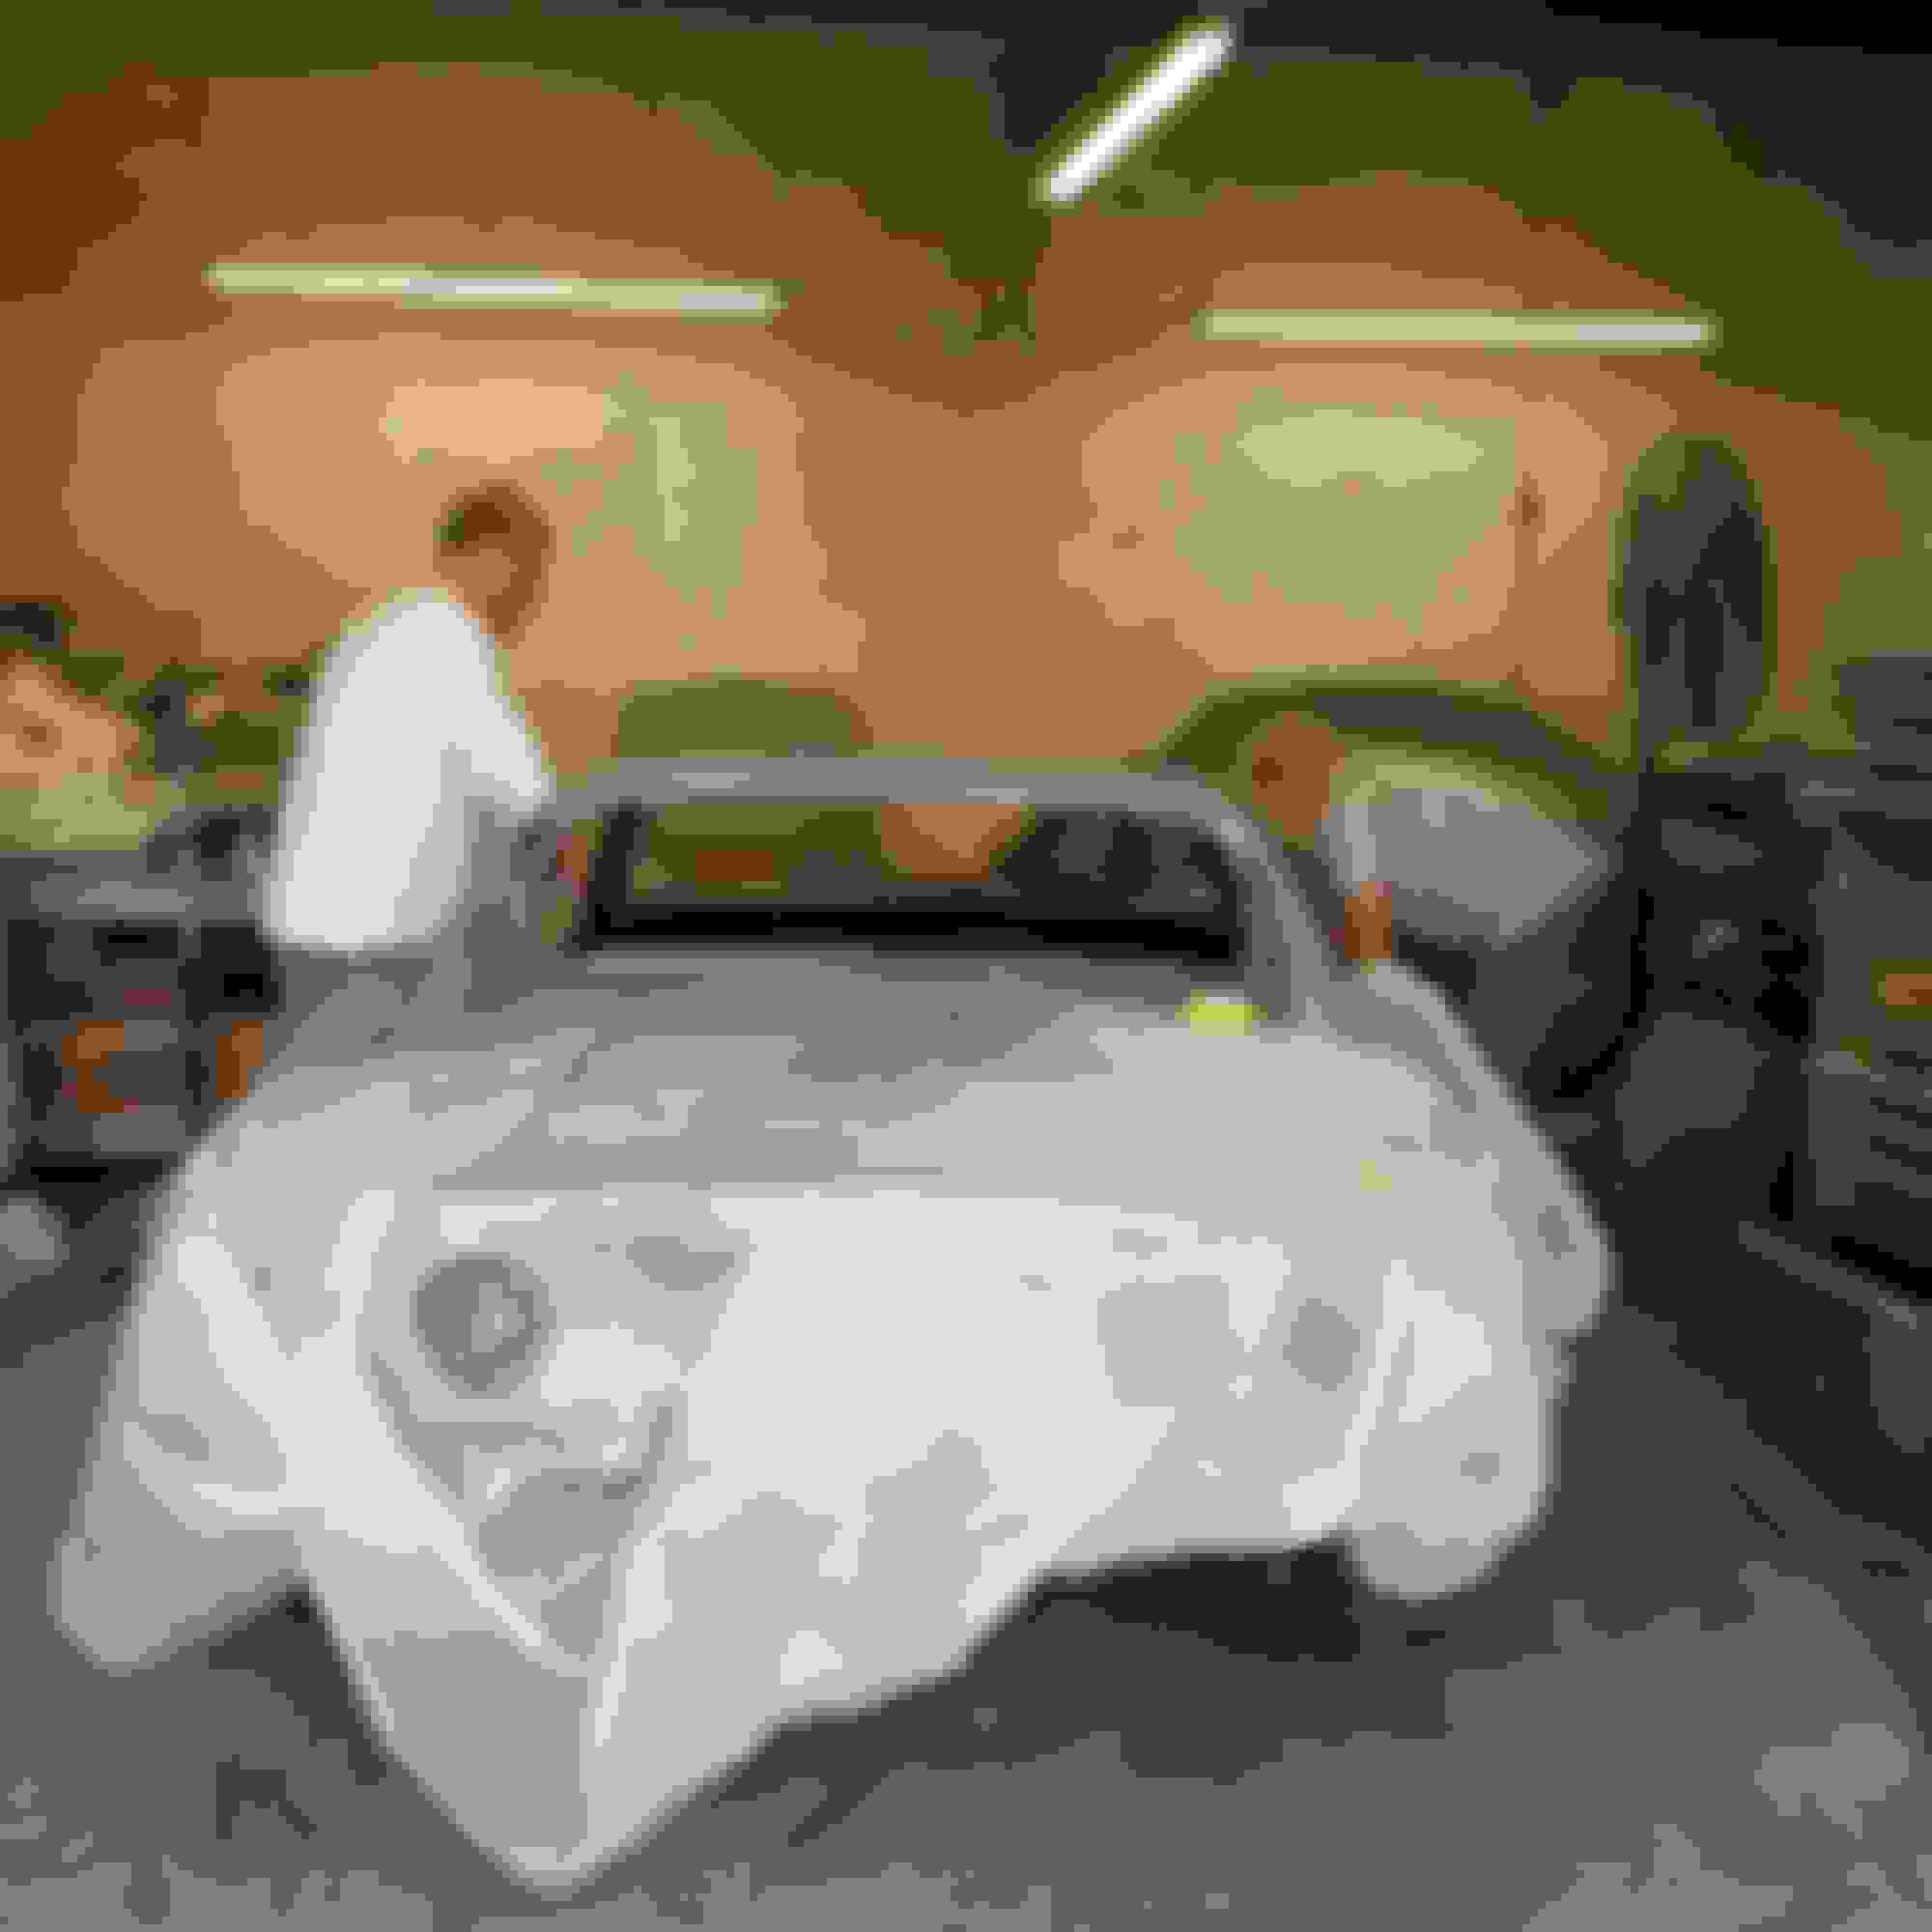
With everything aligned, it was time to put on one of the plastic sheets we are going to use to keep the over spray from getting on the chassis.
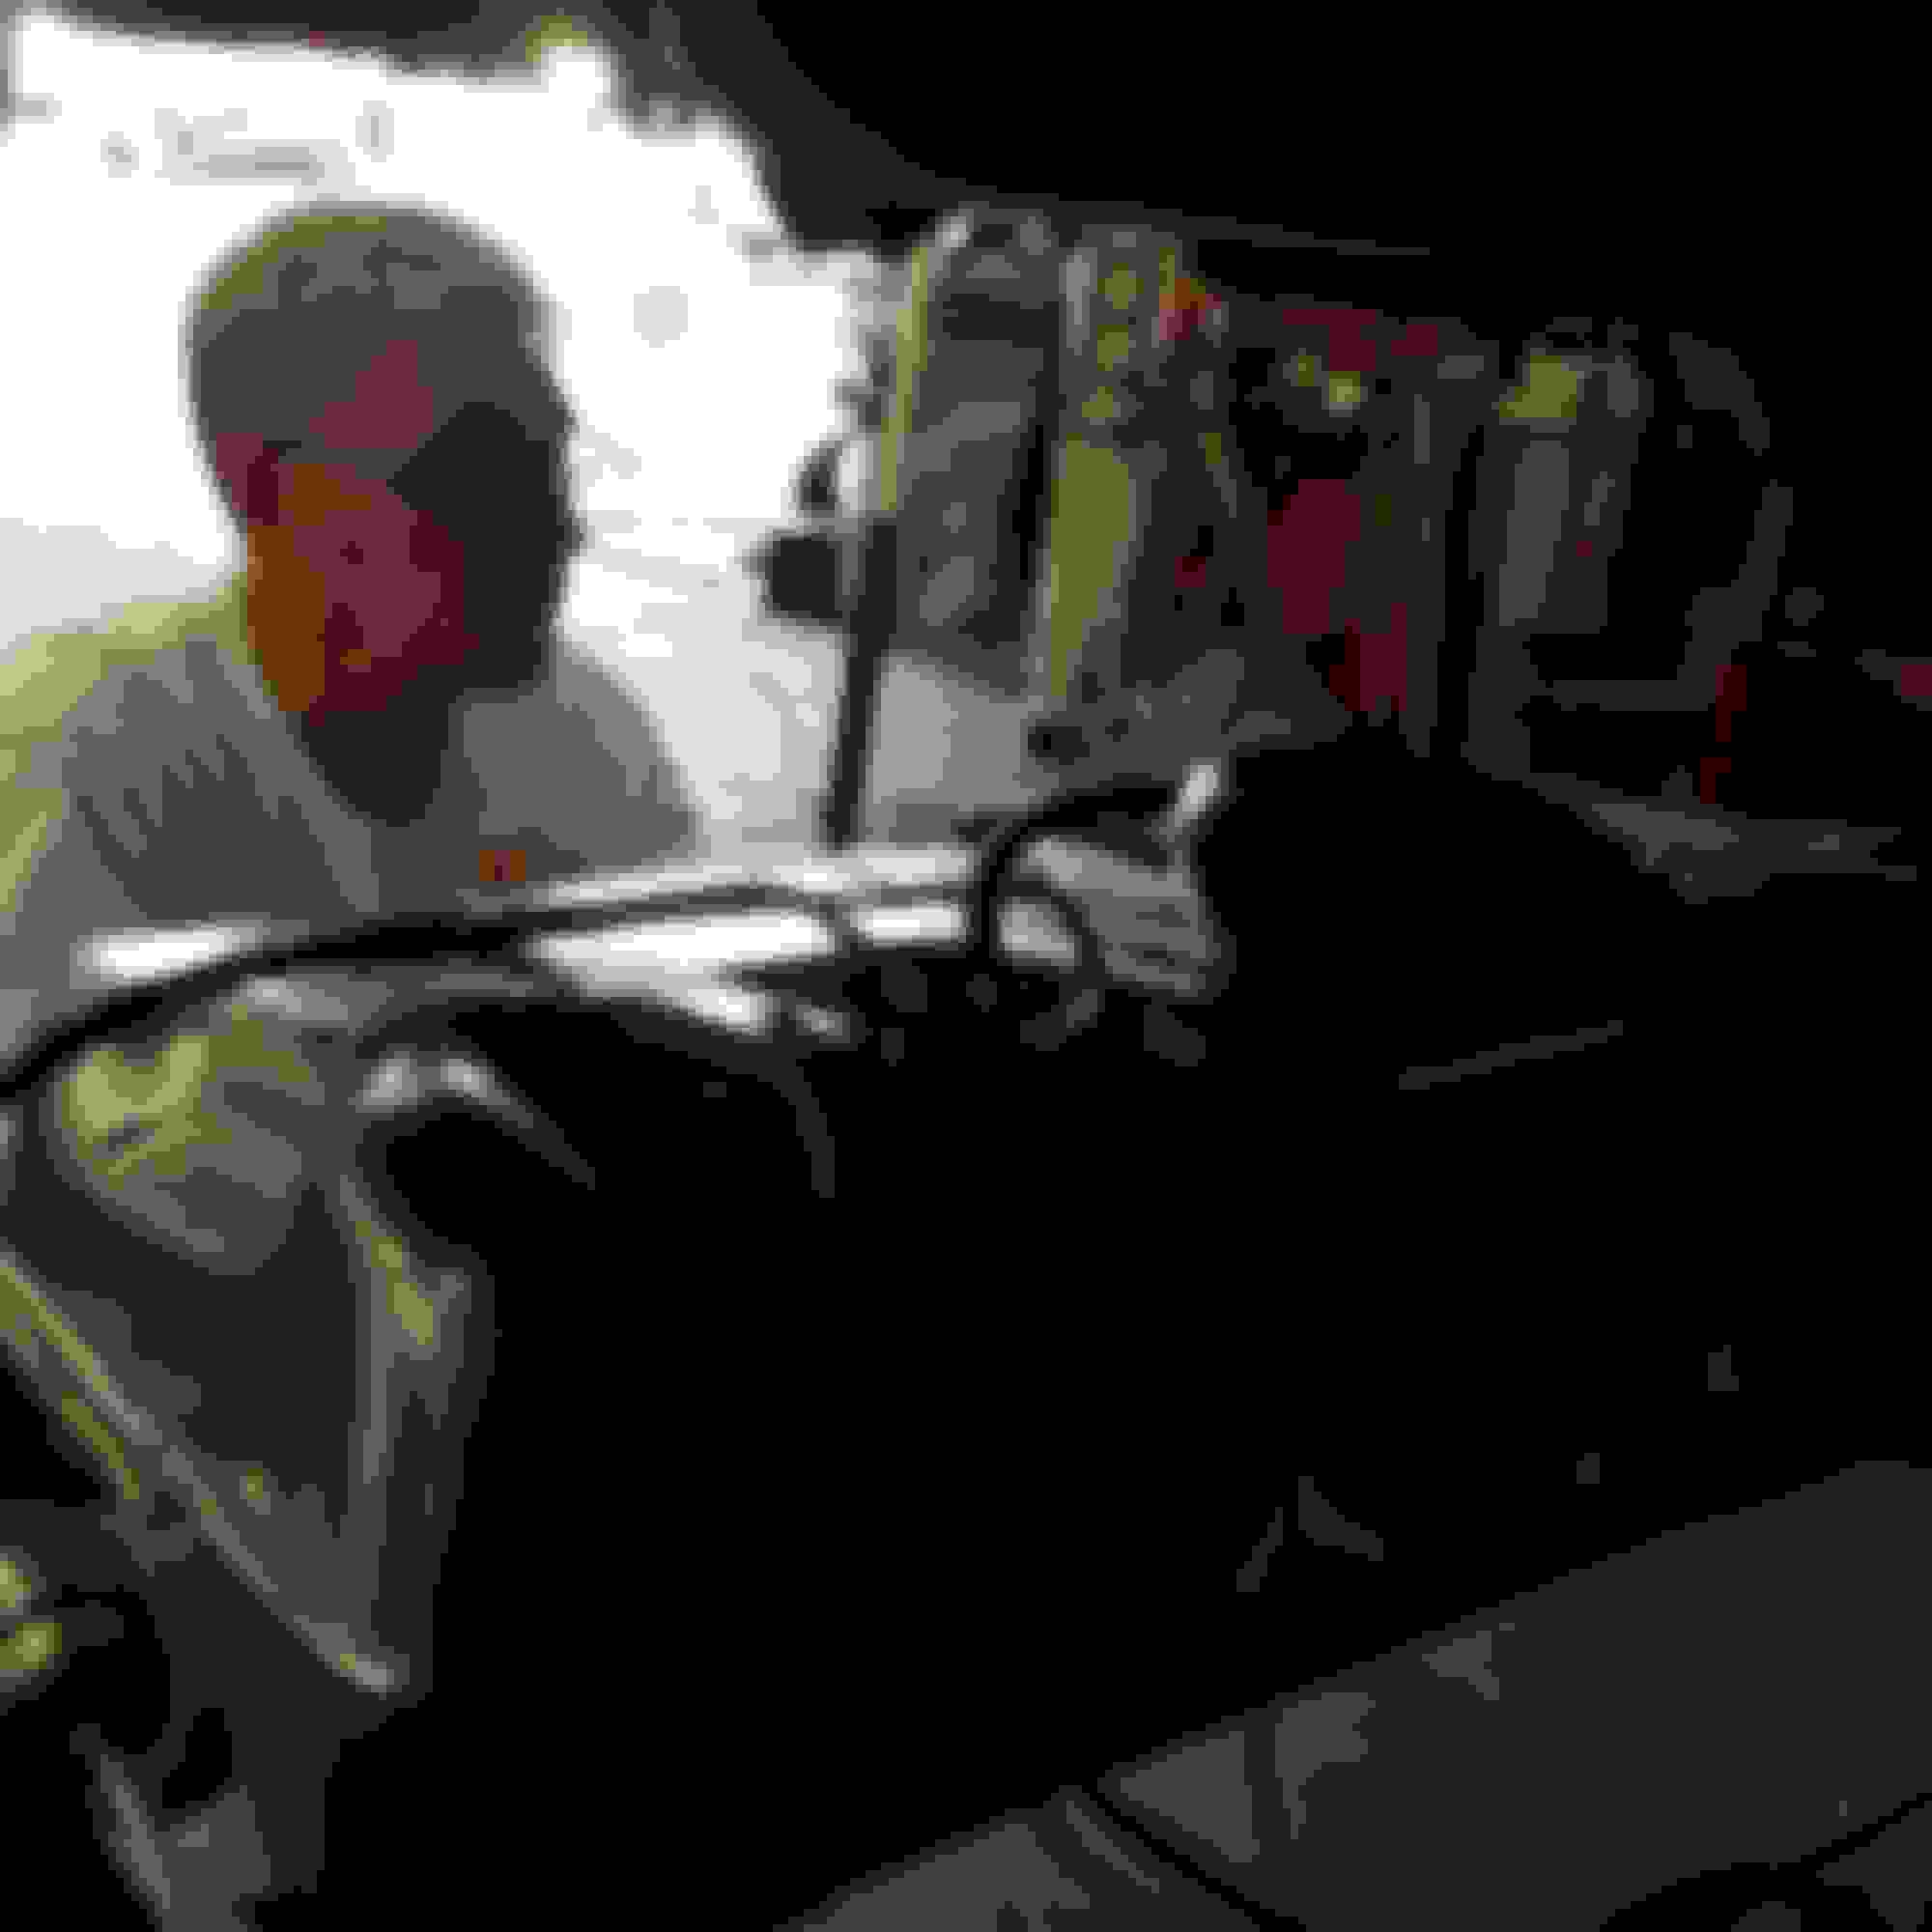
The moment of truth - Richard starts lowering the body - very slowly
One of the key places I was watching was the fuel tank fill. You can see here it is slightly off. It was easy moving the body to get the alignment where it should be.
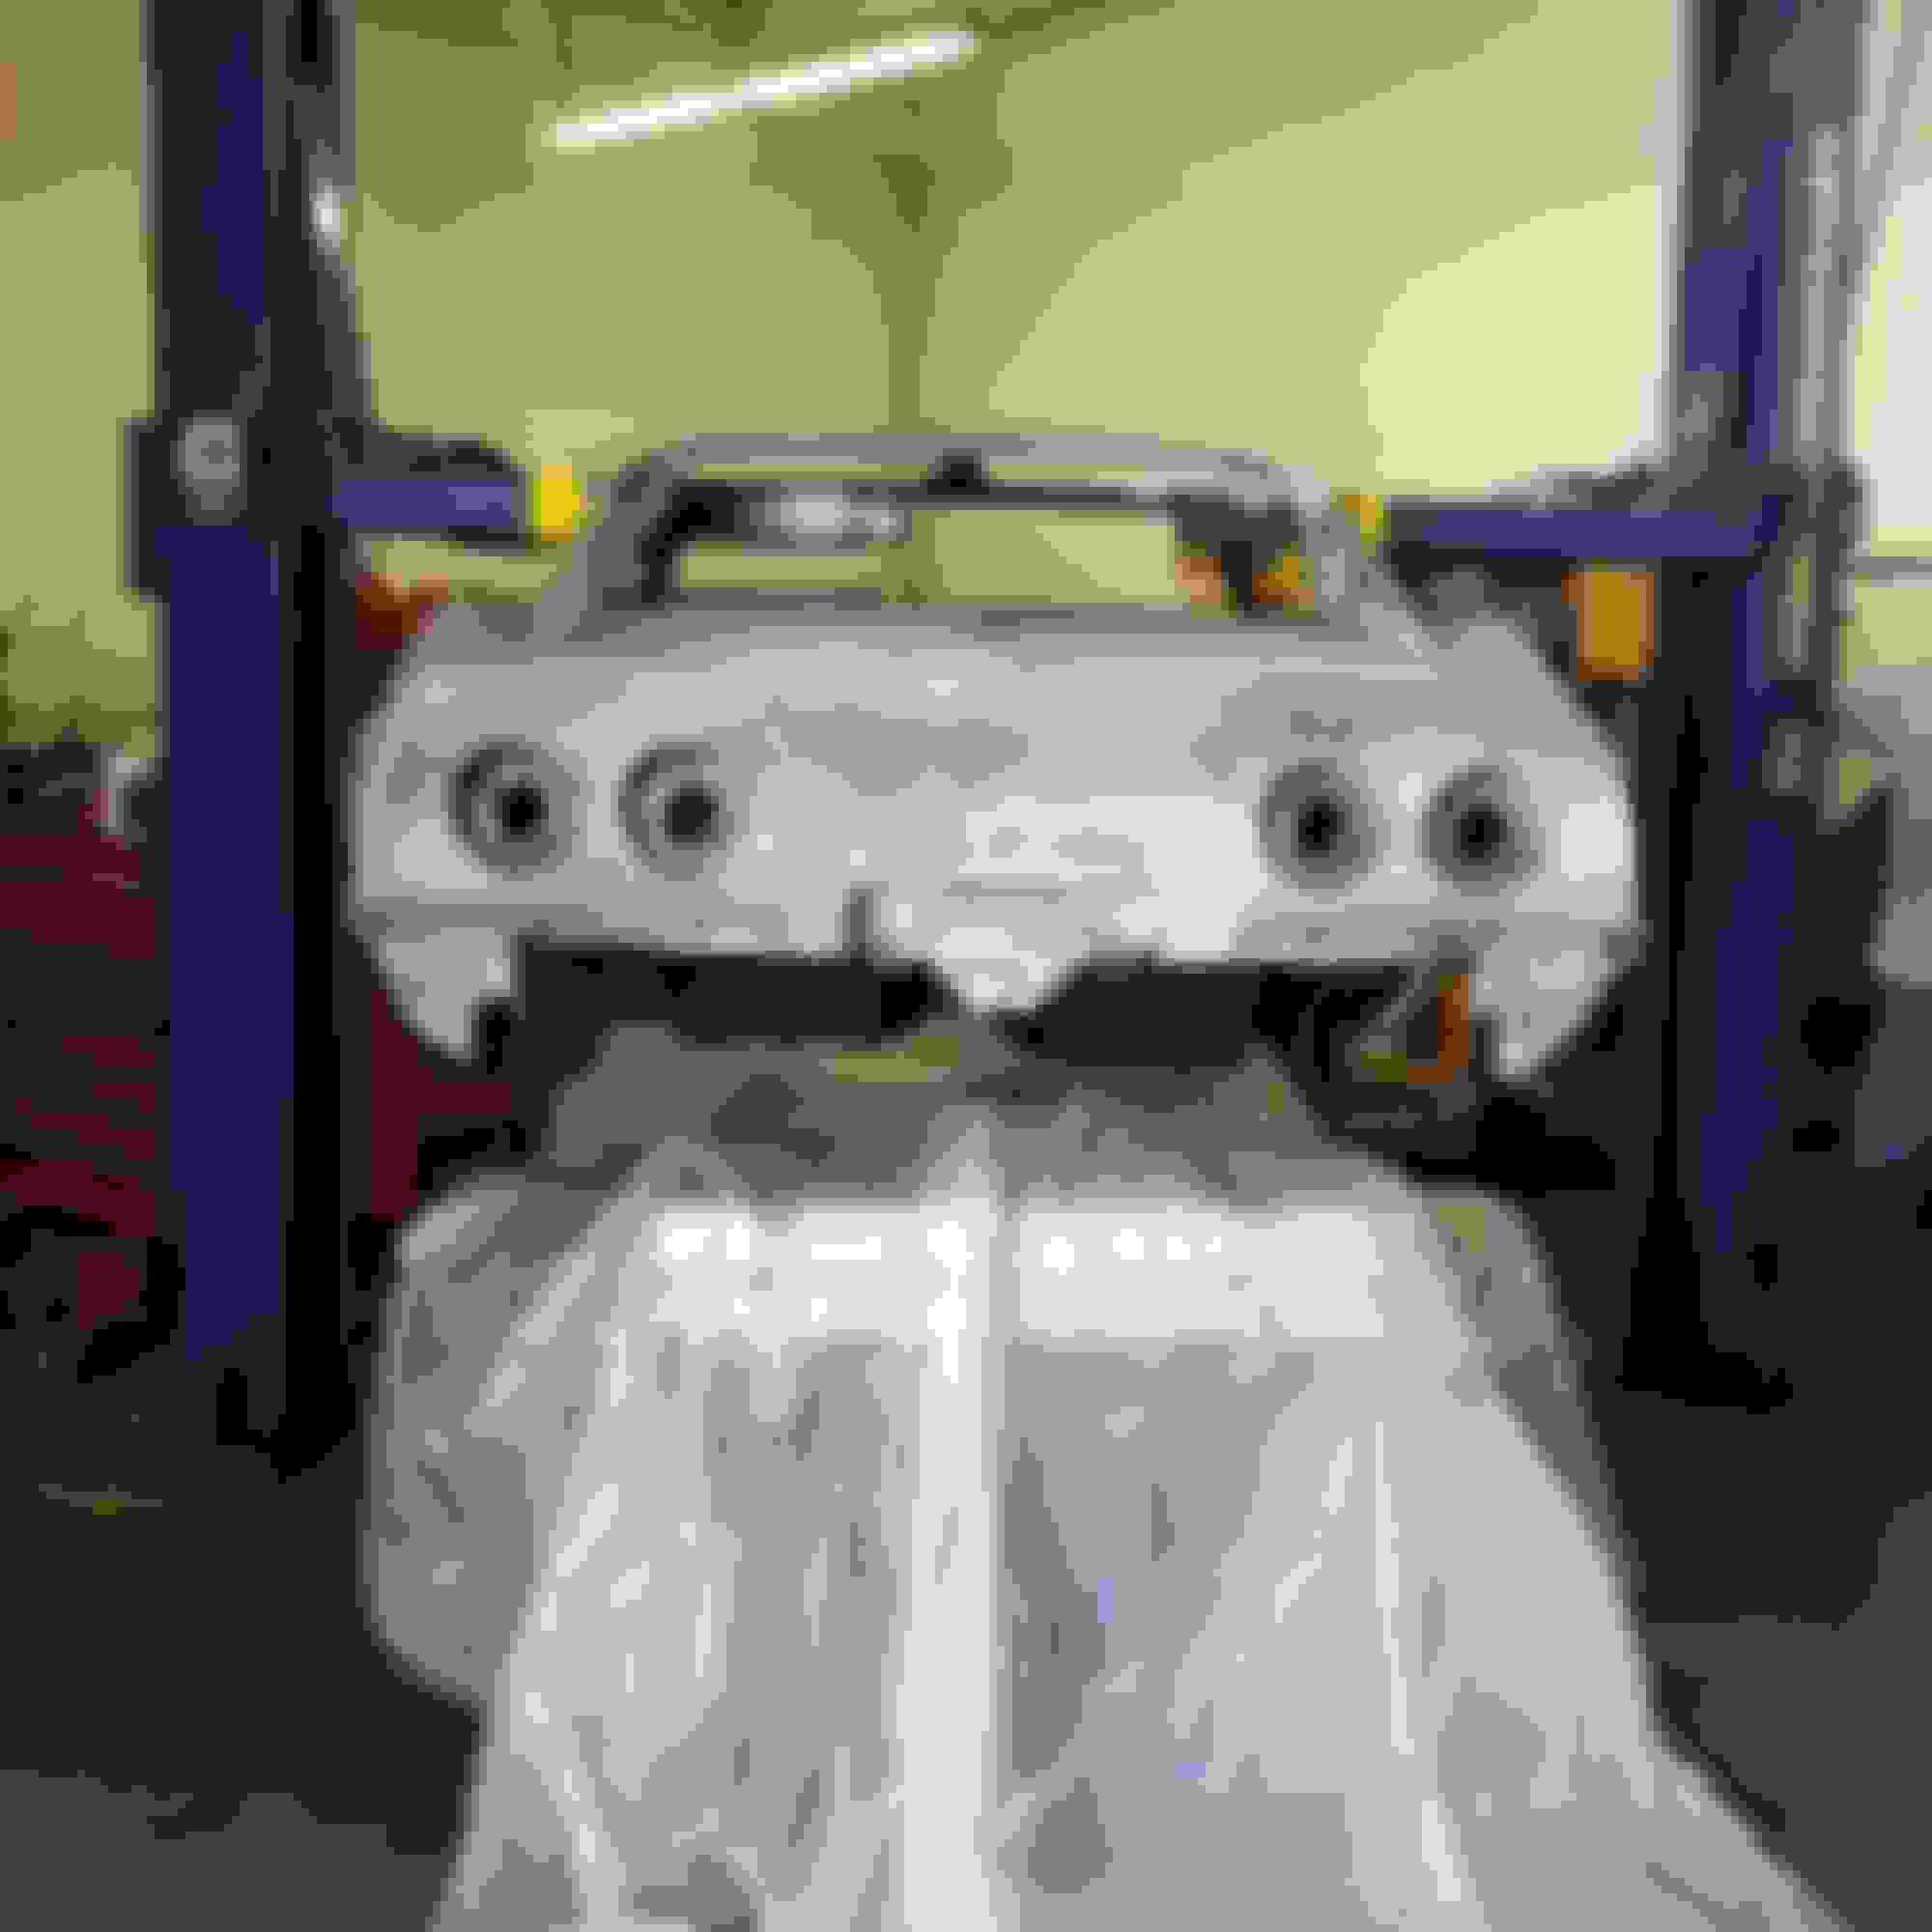
When the body gets close enough we loosely put in the body mount bolts. Then we did the final drop!
My wife switched over and film a view of the final touch down. I will try to figure out a way to post that on here. There was a lot of joy at that point.
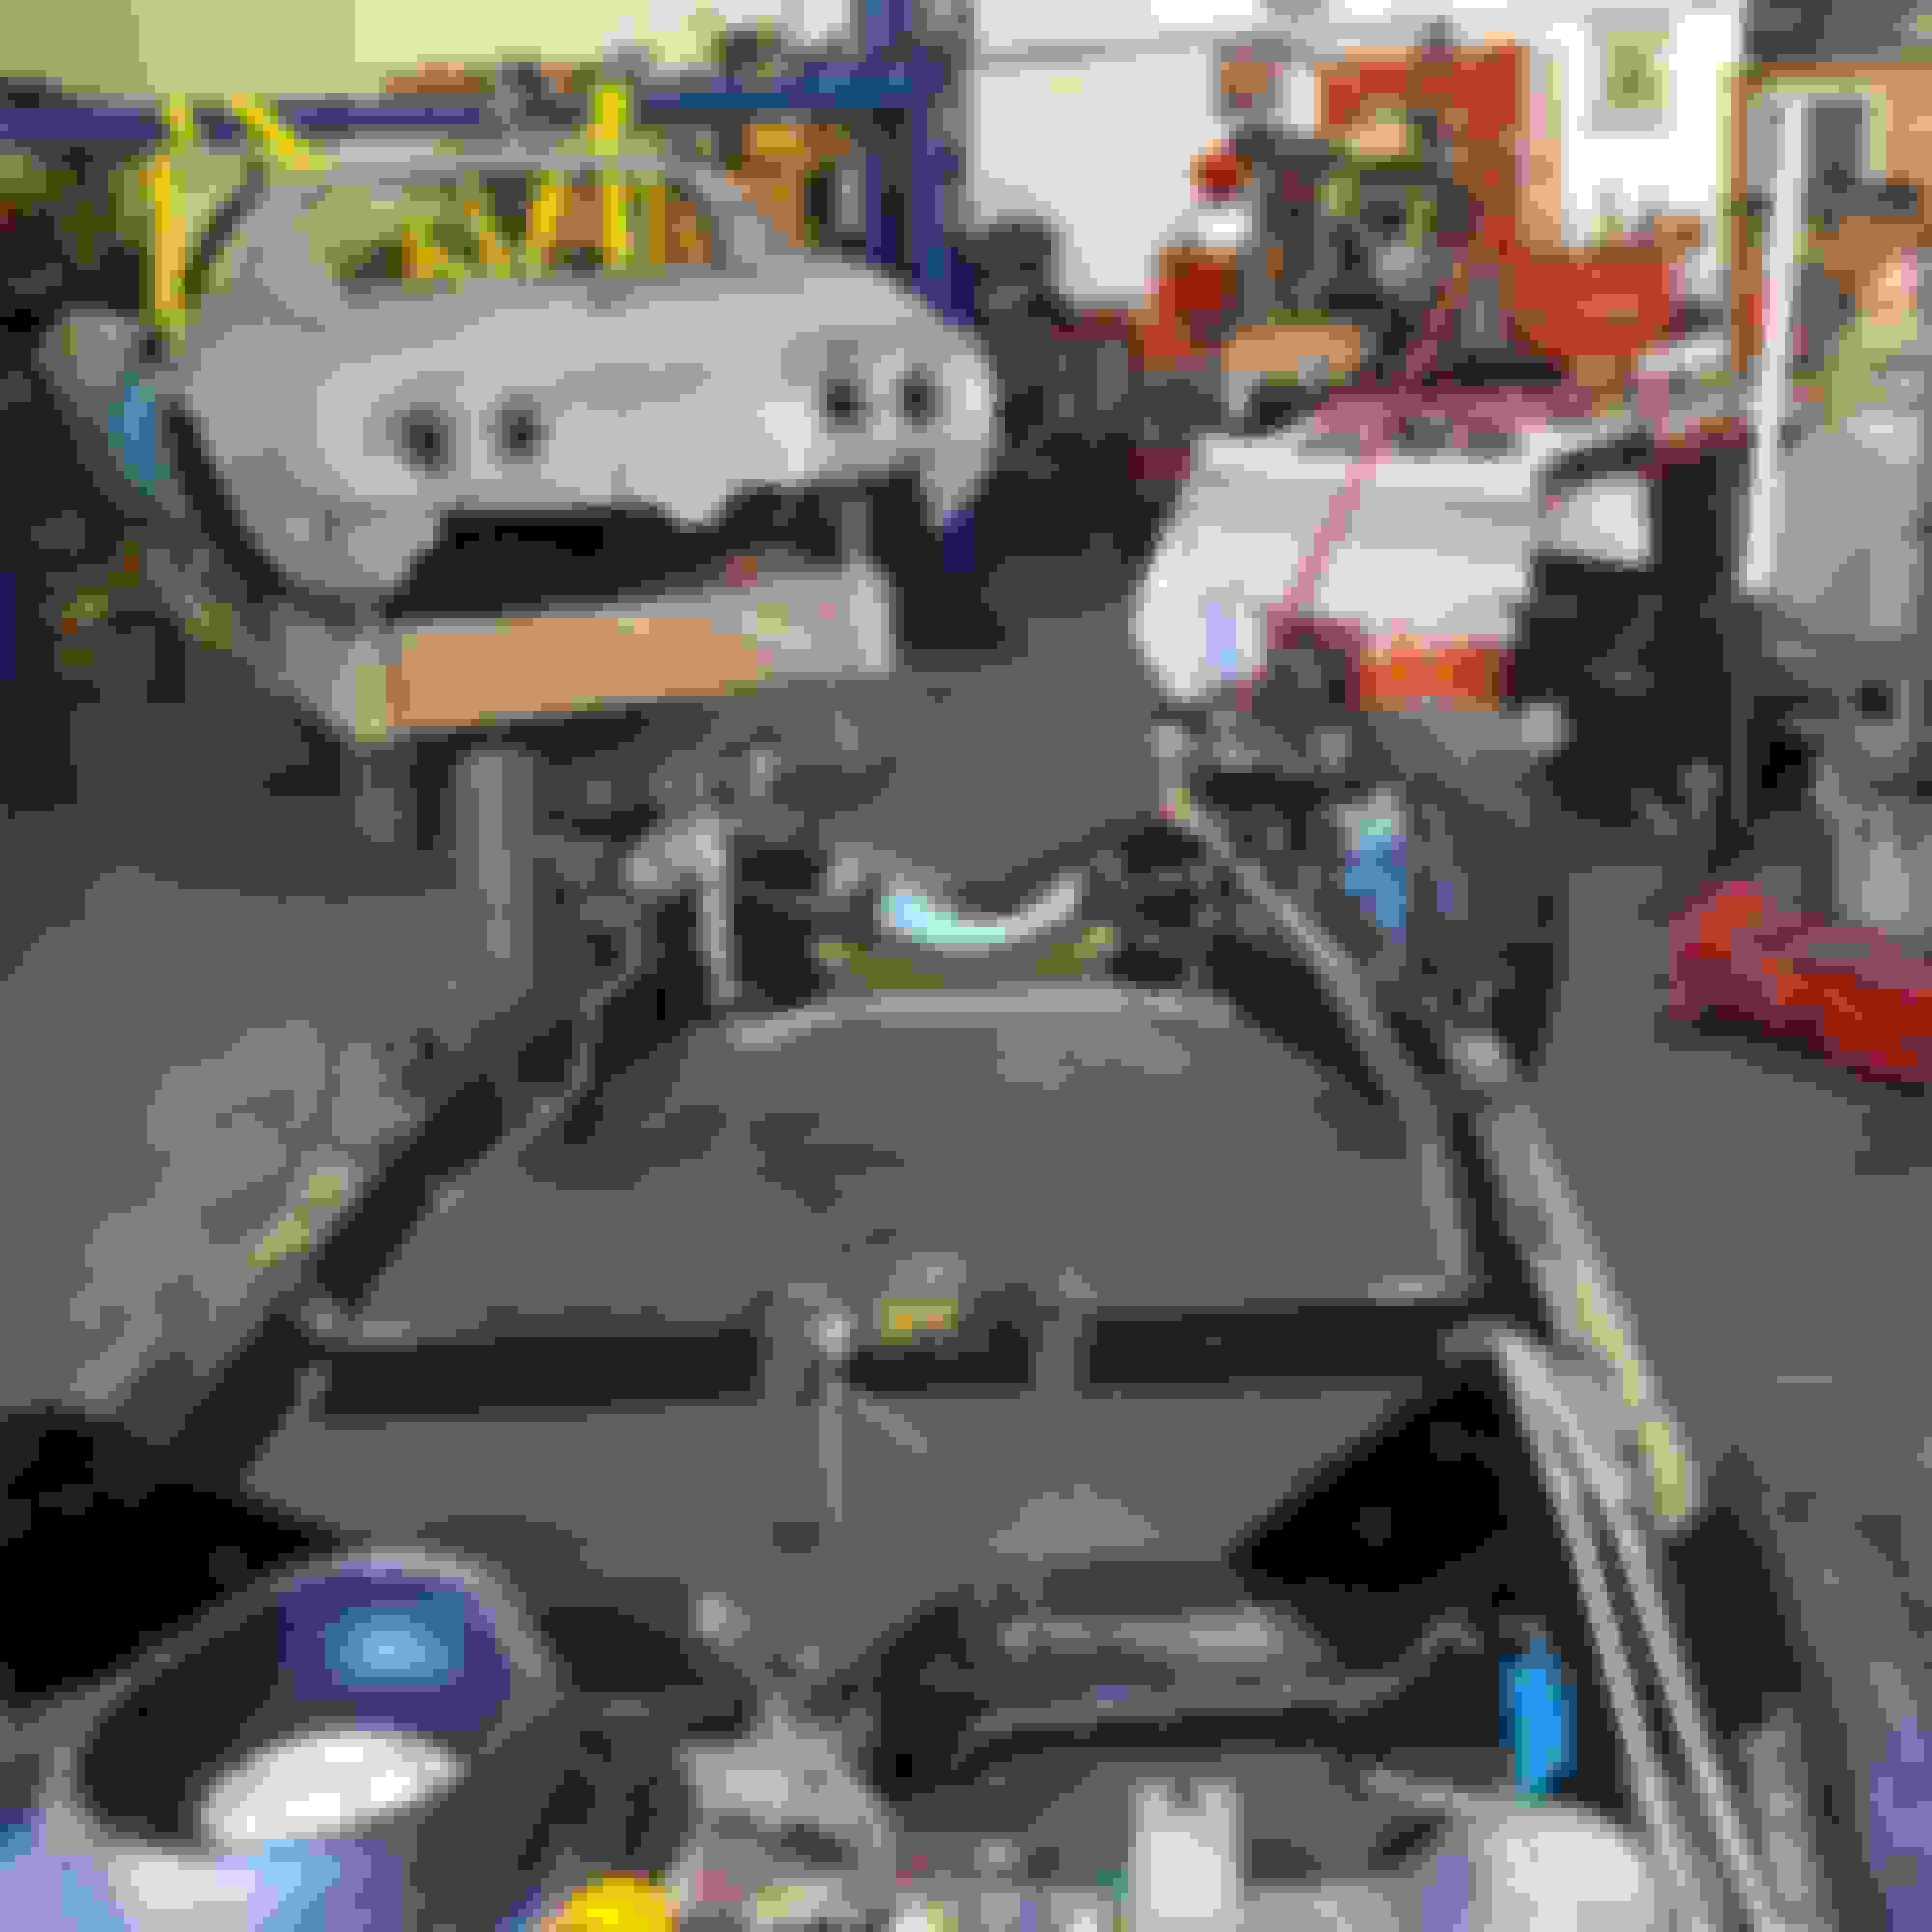
Here is what the engine bay looks like with the plastic covering the front part of the chassis. The radiator surround still needs to go out for powdercoating. We had left it in for some rigidity when the body was on the dolly
We roll the body/chassis out and back into Richard's shop.
Tomorrow I am going be finalizing the body mounts and reinstalling the front bumper cross member.
What a great feeling having the body back on the frame!!
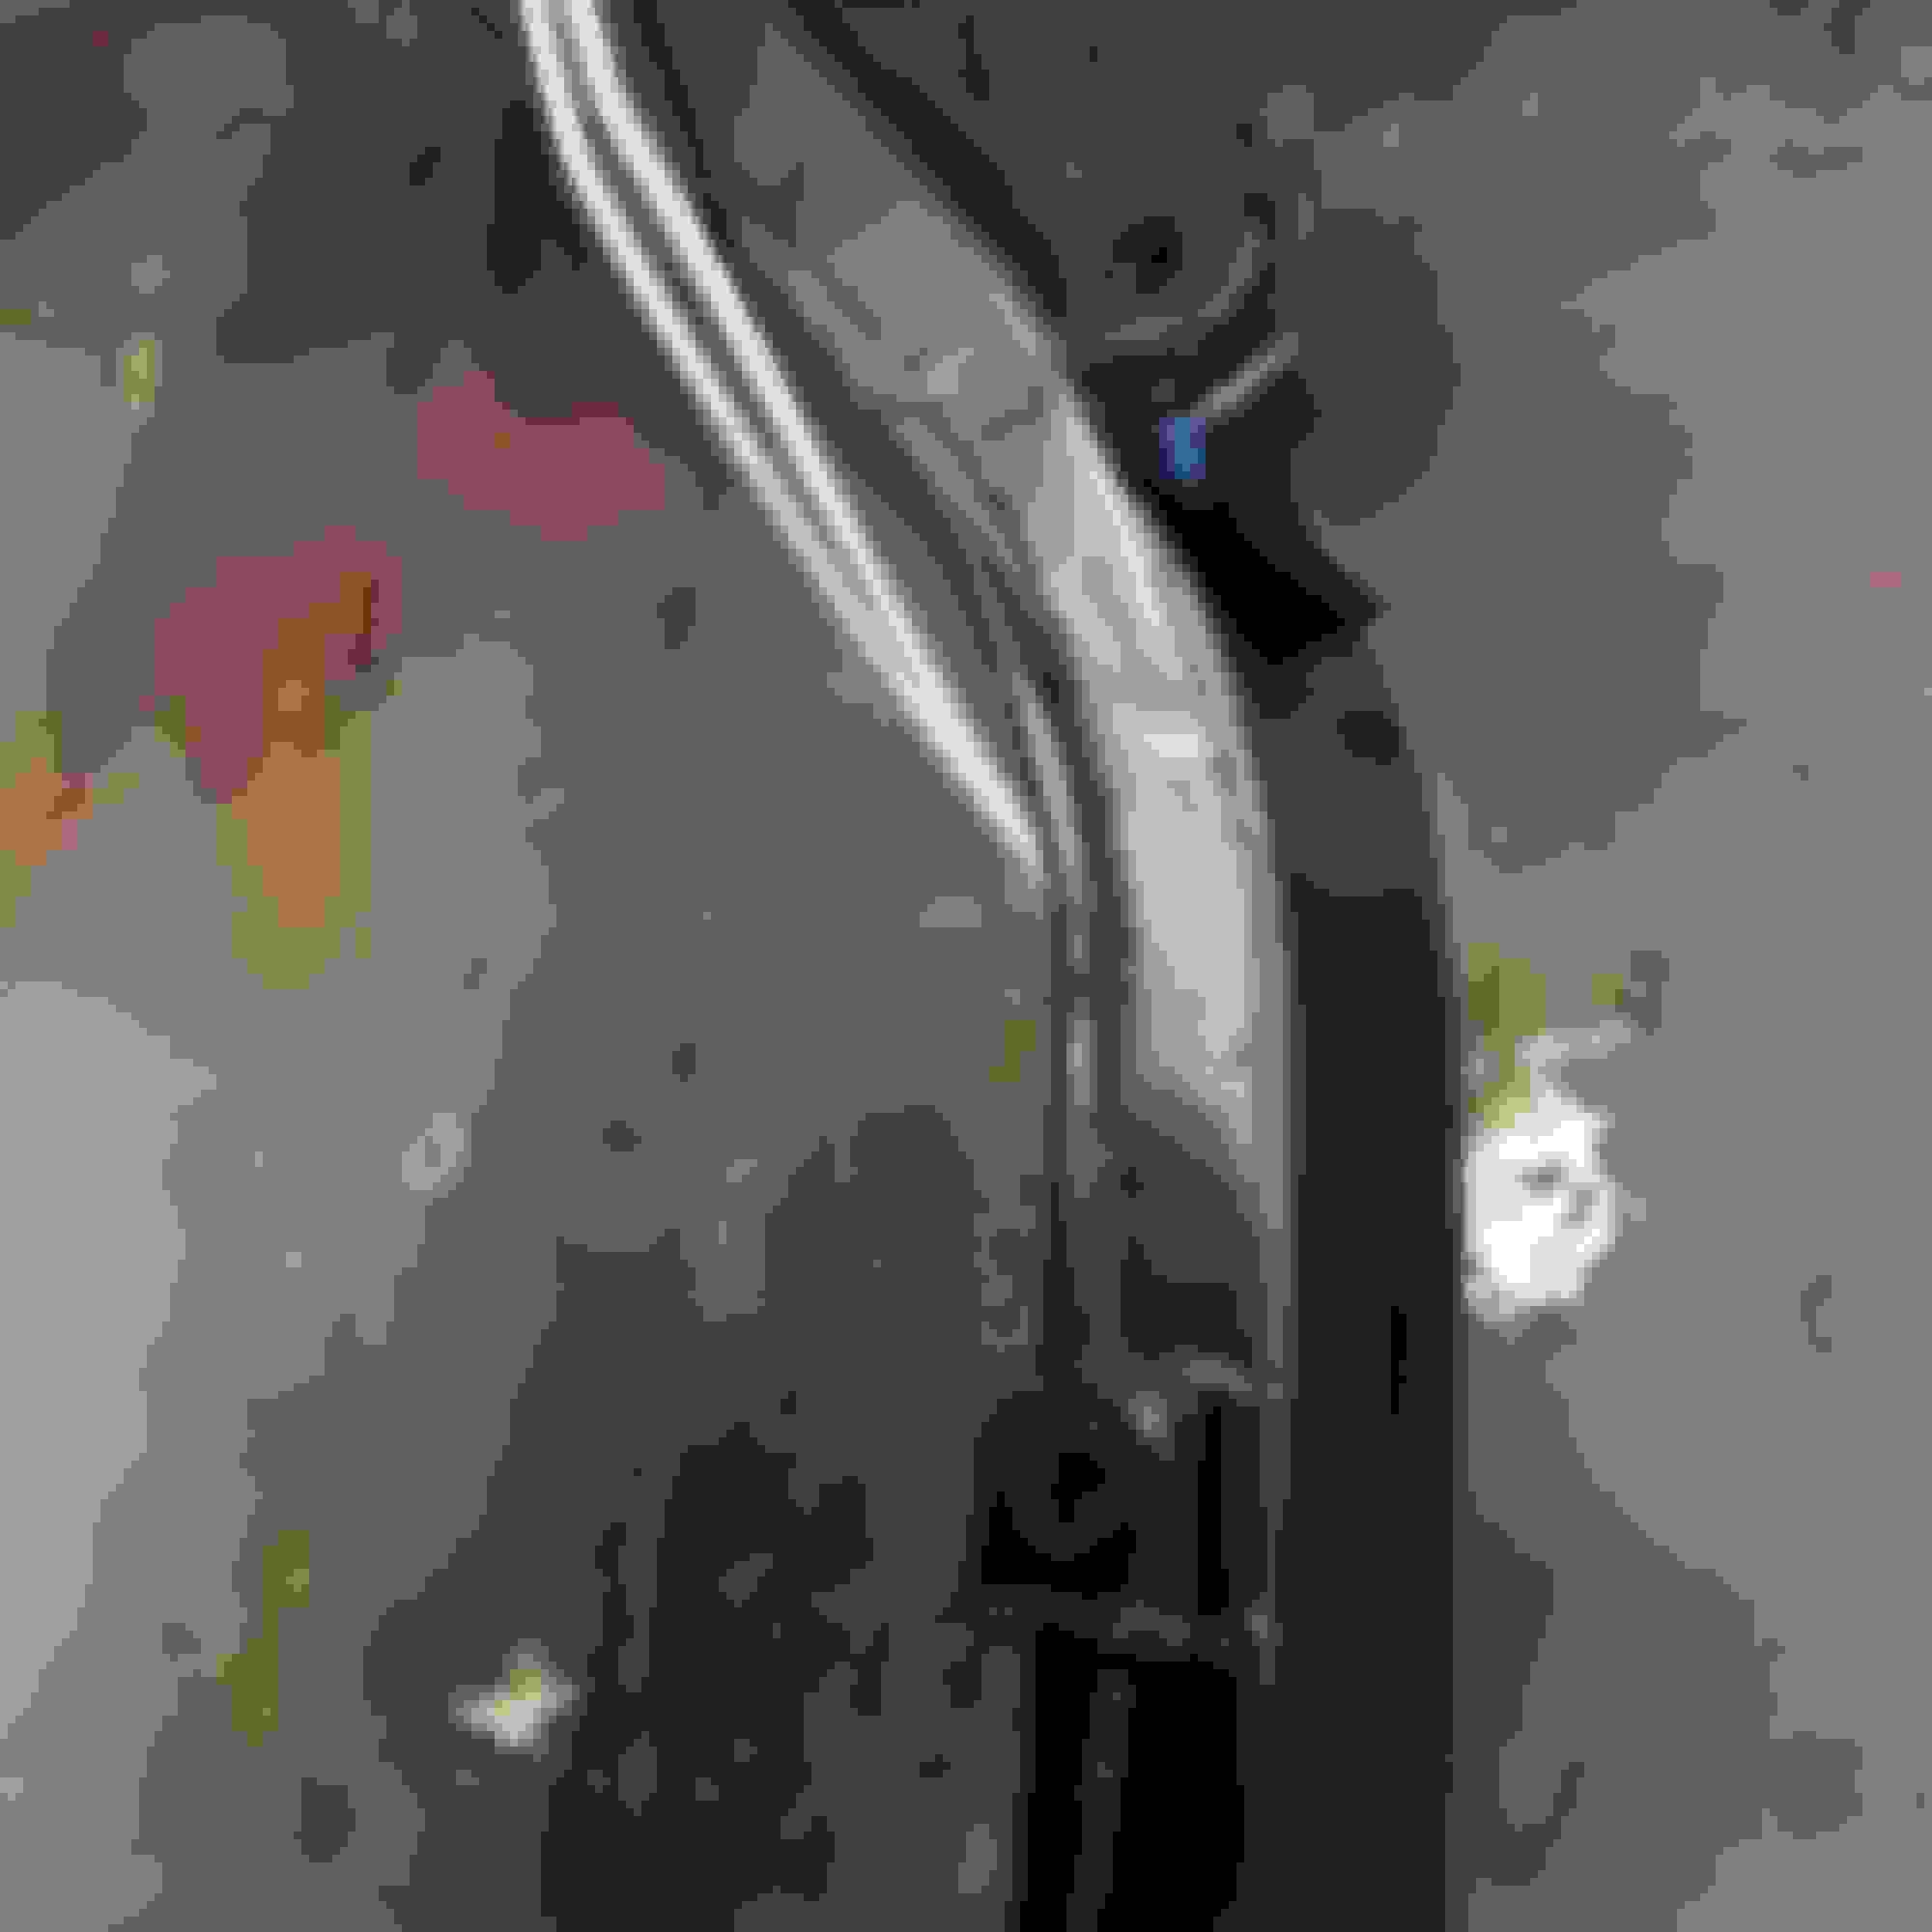
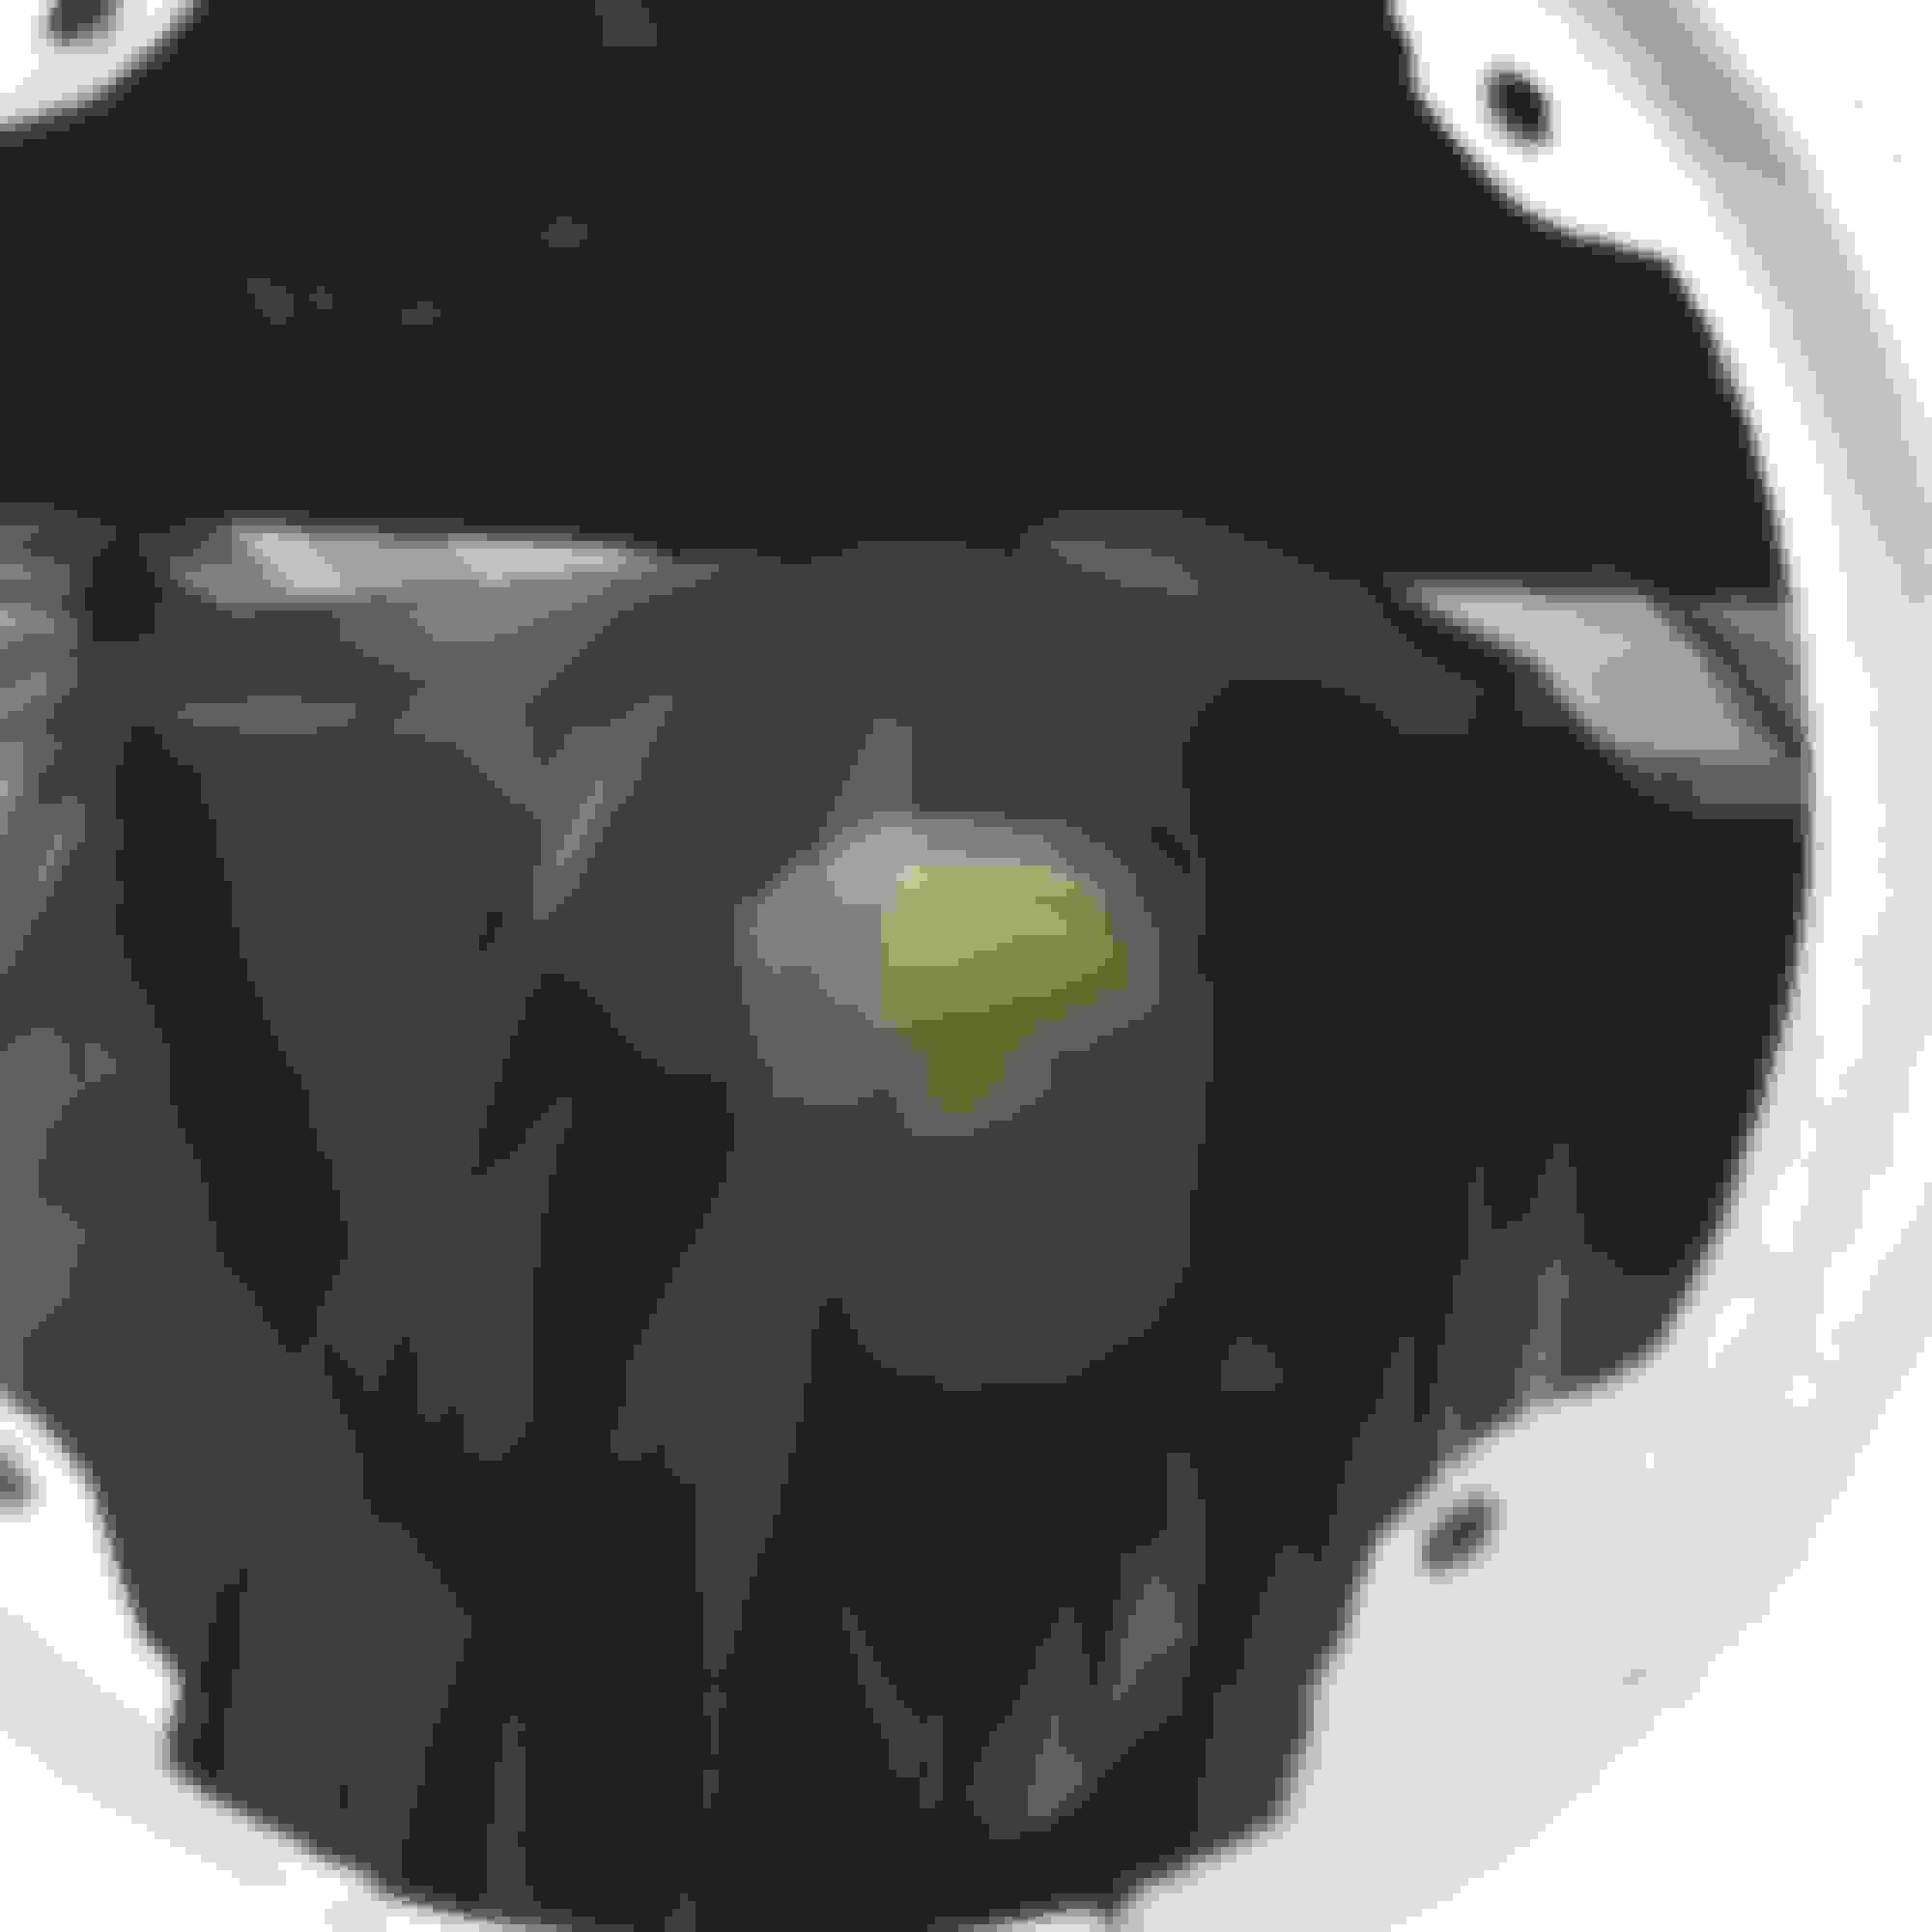
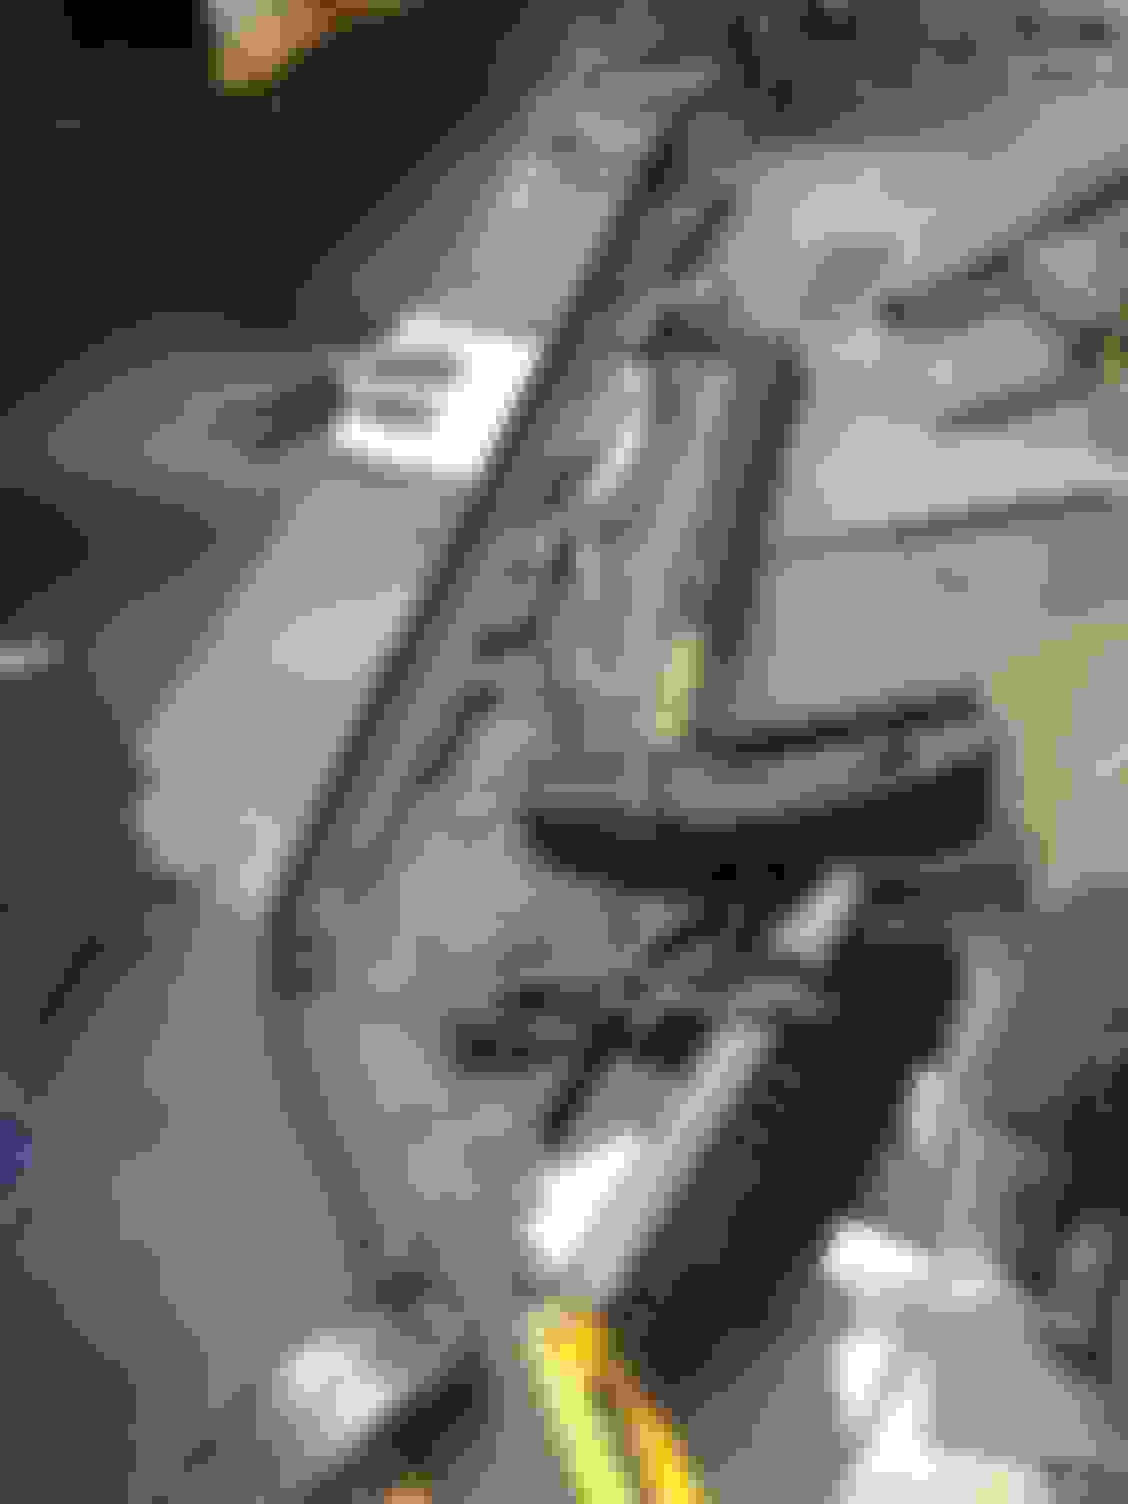
Well I learned something important yesterday AFTER we put the body on. As I was looking through the AIM manual, I discovered there are two holes on frame below the body rockers, one on each side and offset from each other. You can use these two holes to line up the body on the frame. Well with great trepidation I went to Richards today to see how close we got to them. Richard got out a metal drift and poked it down the hole in the body. Amazingly it went through the hole in the frame! One side was a hair off but I was quite relieved we got so close.
If you look close you can see the holes in the frame in this pic
great pics for sure and its a good feeling when its finally down on its frame .
Its not too late to move it if it needs more alignment , the body slides easy with some leverage at those holes if you need it to.
going to be a nice car when your finished .
This is exactly what happened. And we used your method to fix it!!
Thank you so much!!
We have started putting on all the front bumpers, brackets and supports to make sure everything fits before the car gets painted. Many of these pieces will be removed before painting the body.
It became apparent that the body was not forward enough on the frame by maybe one quarter to three eights of an inch, if that.
What was funny is that I had just finished tightening down all the body mounts, which required rear tire removal. So...loosen all the body bolts and use the technique described above. Worked like a charm.
However, my front bumper is a problem. It doesn't fit right. I once read someone jokingly say to start with a bumper and build the car around that. So what Richard is going to do is cut and weld the bumper and make it fit right and then send it off to be rechromed. Richard started before any body work but now he can dial it in with the car back on the body.
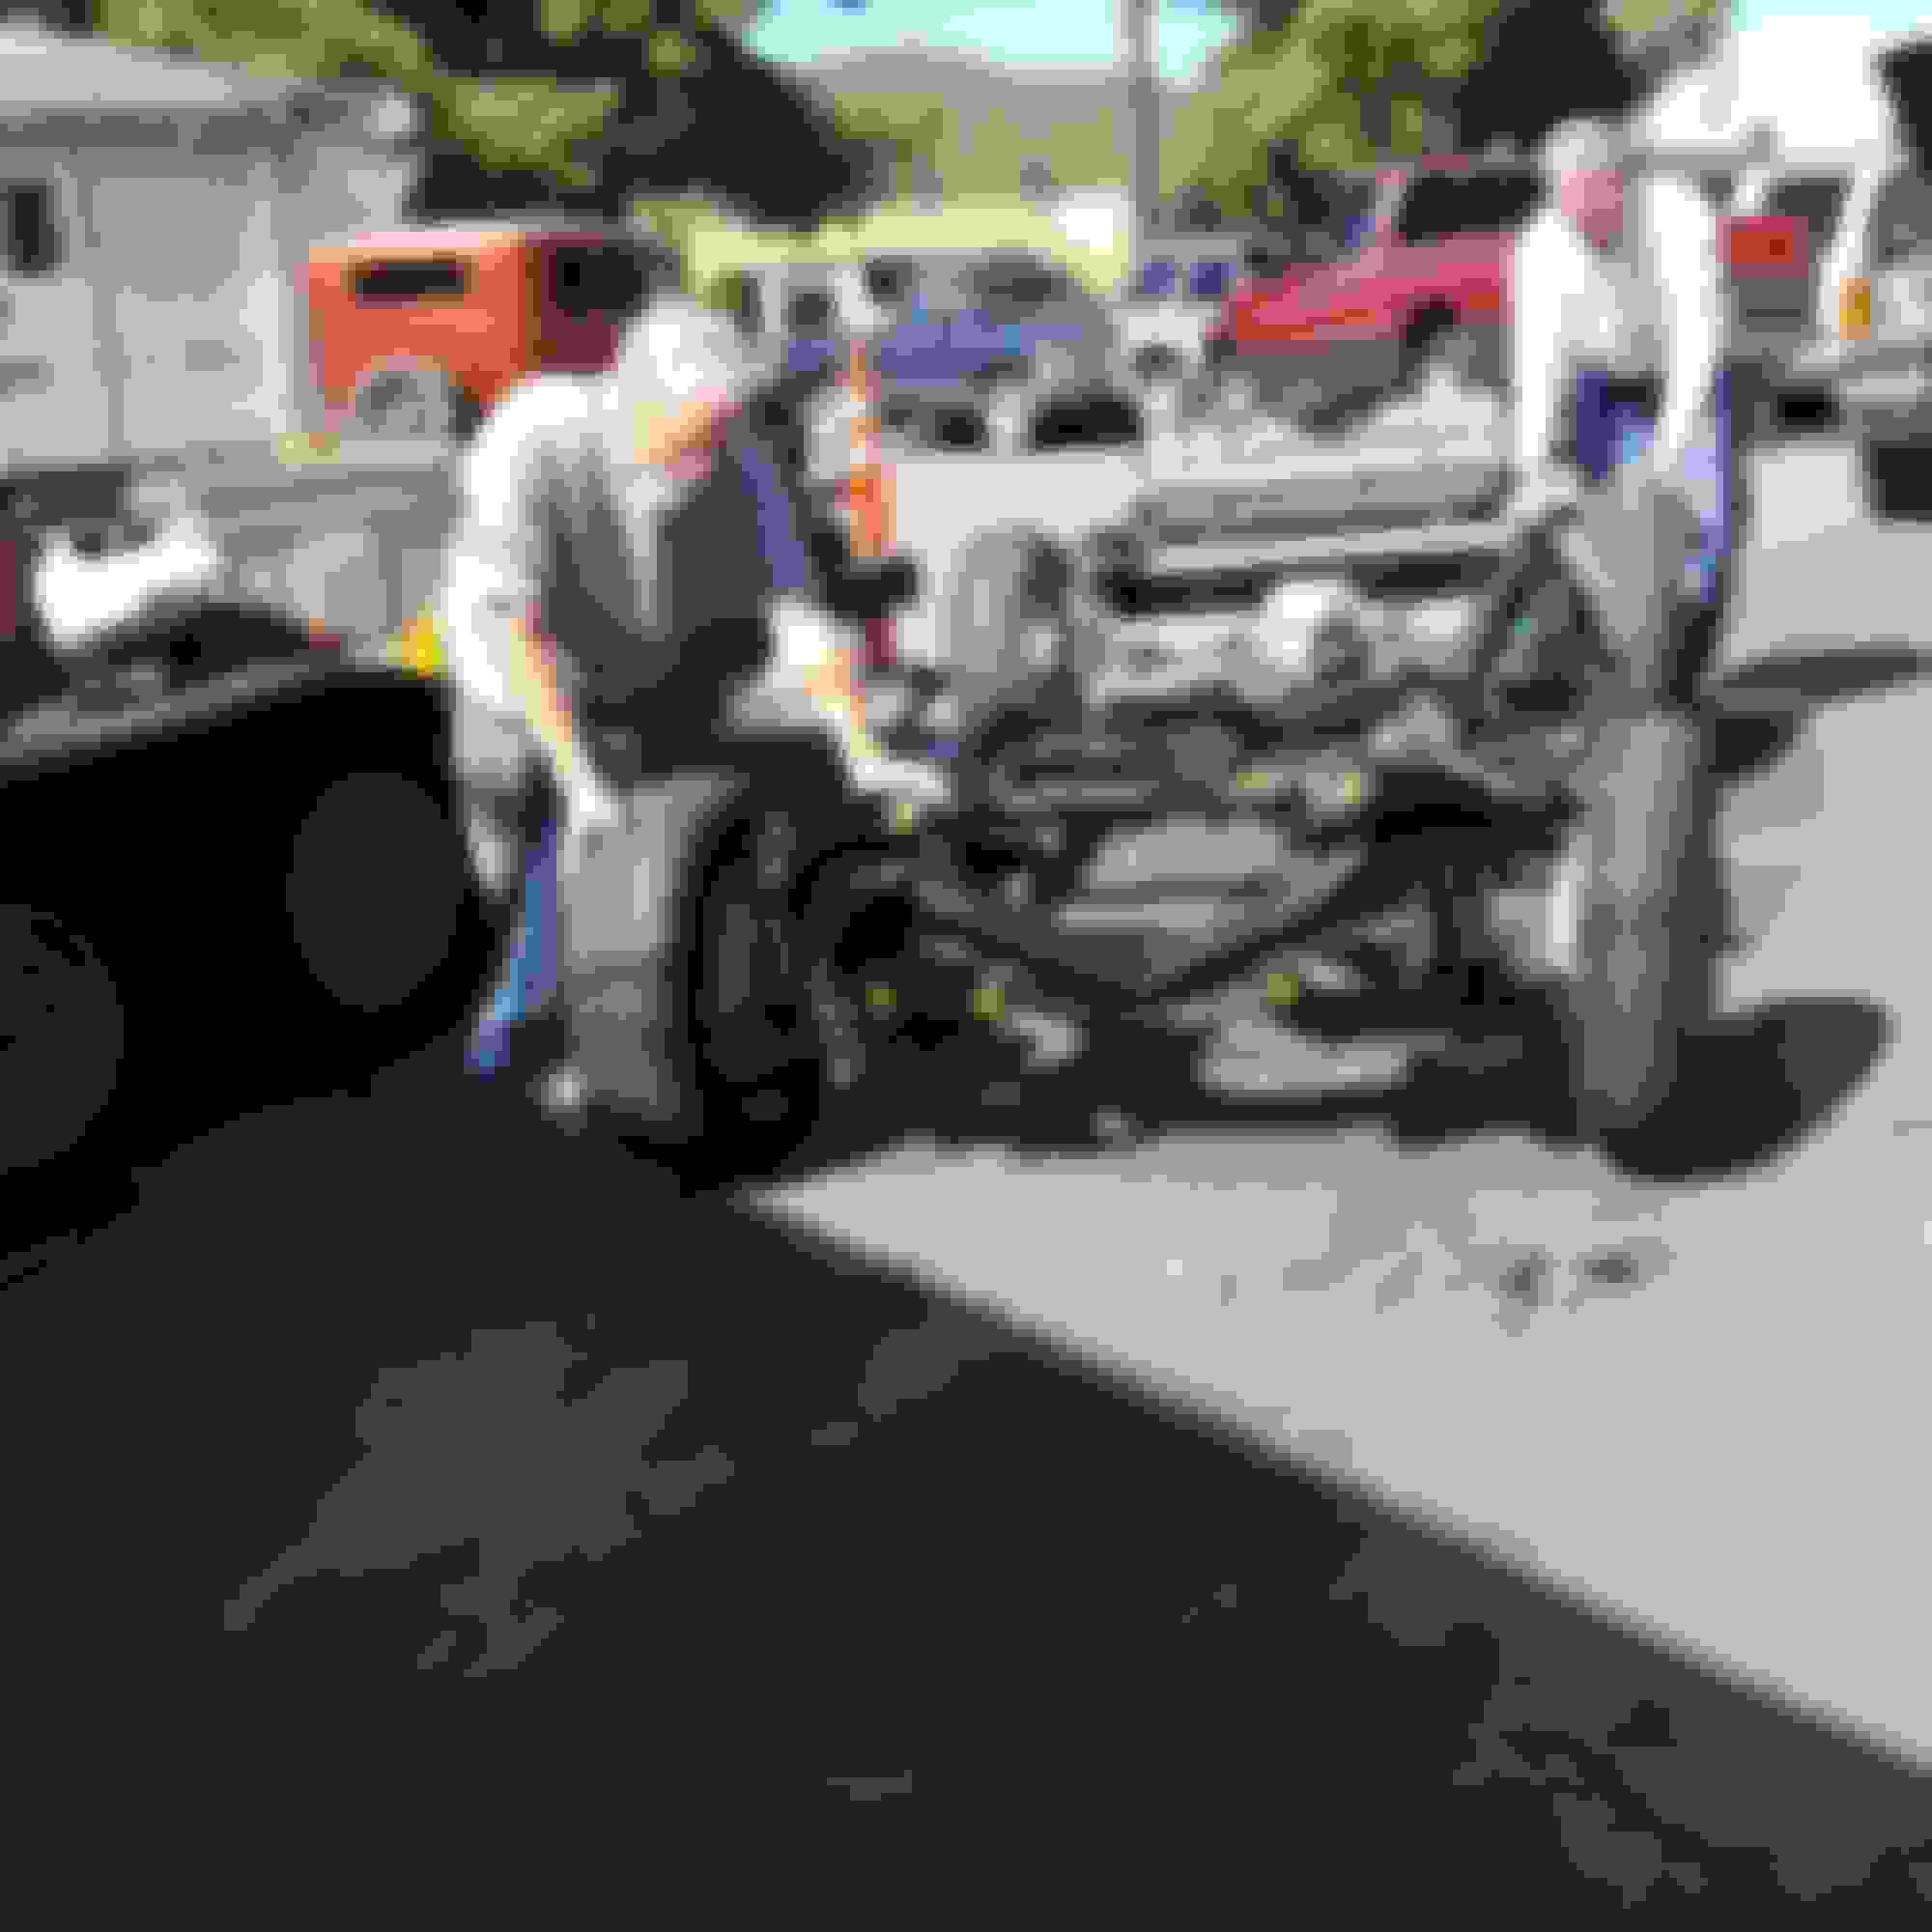
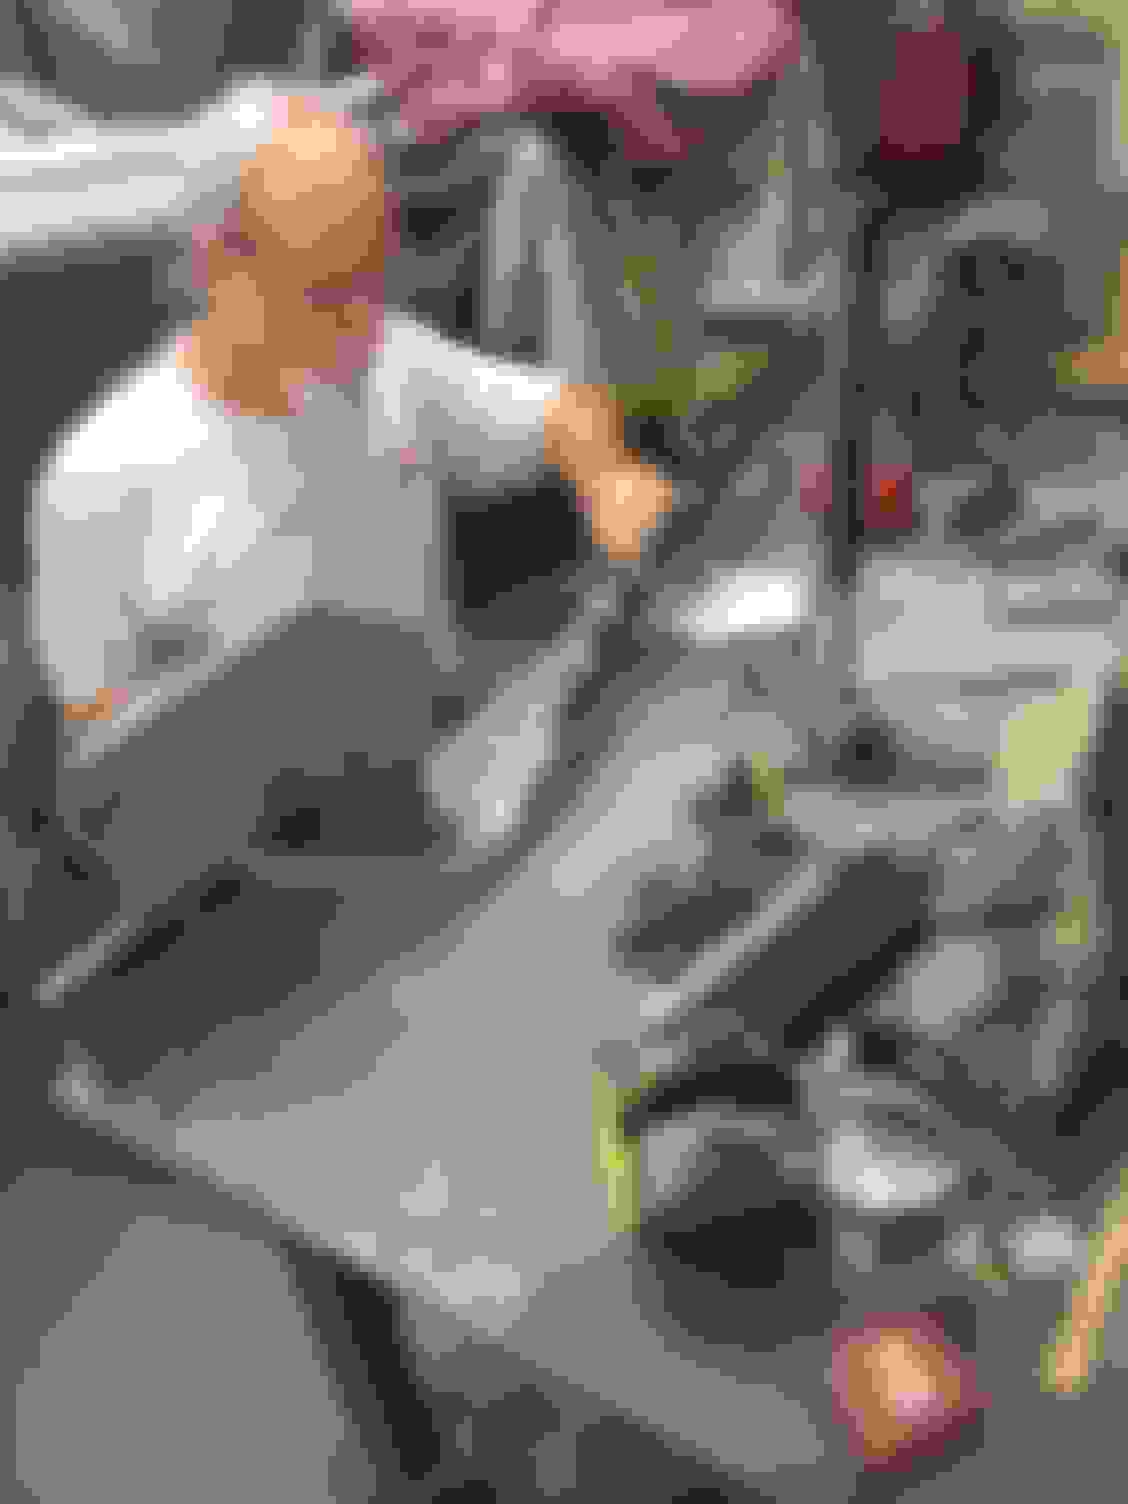
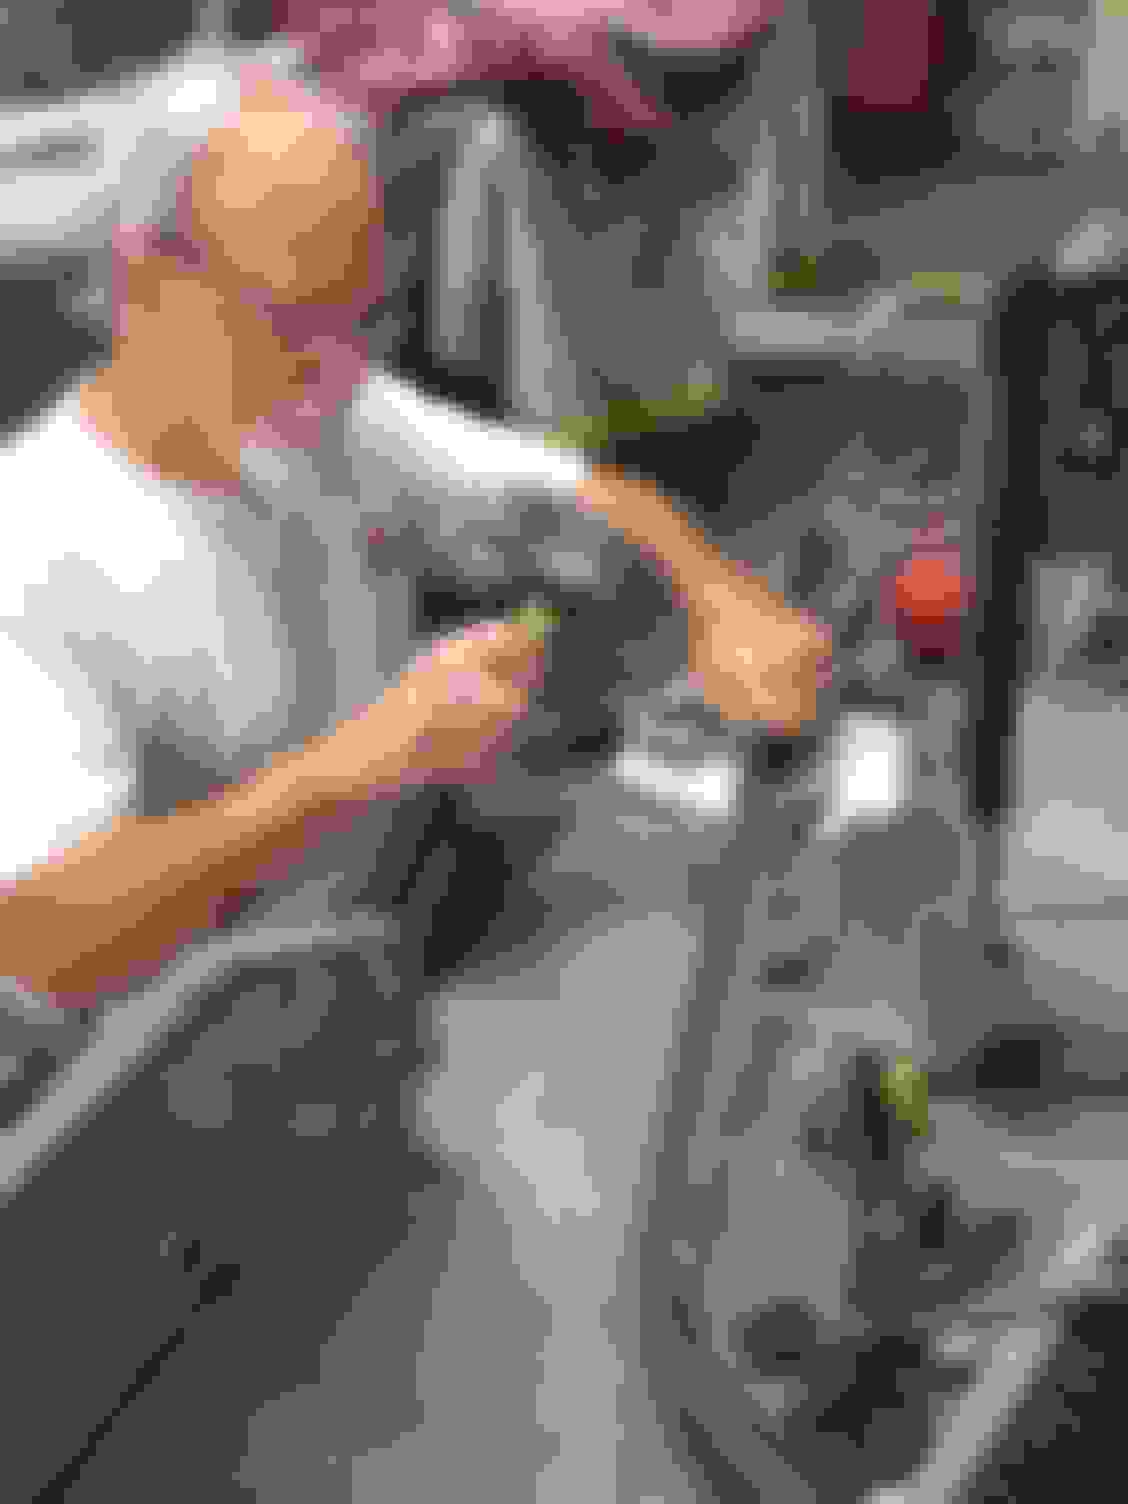
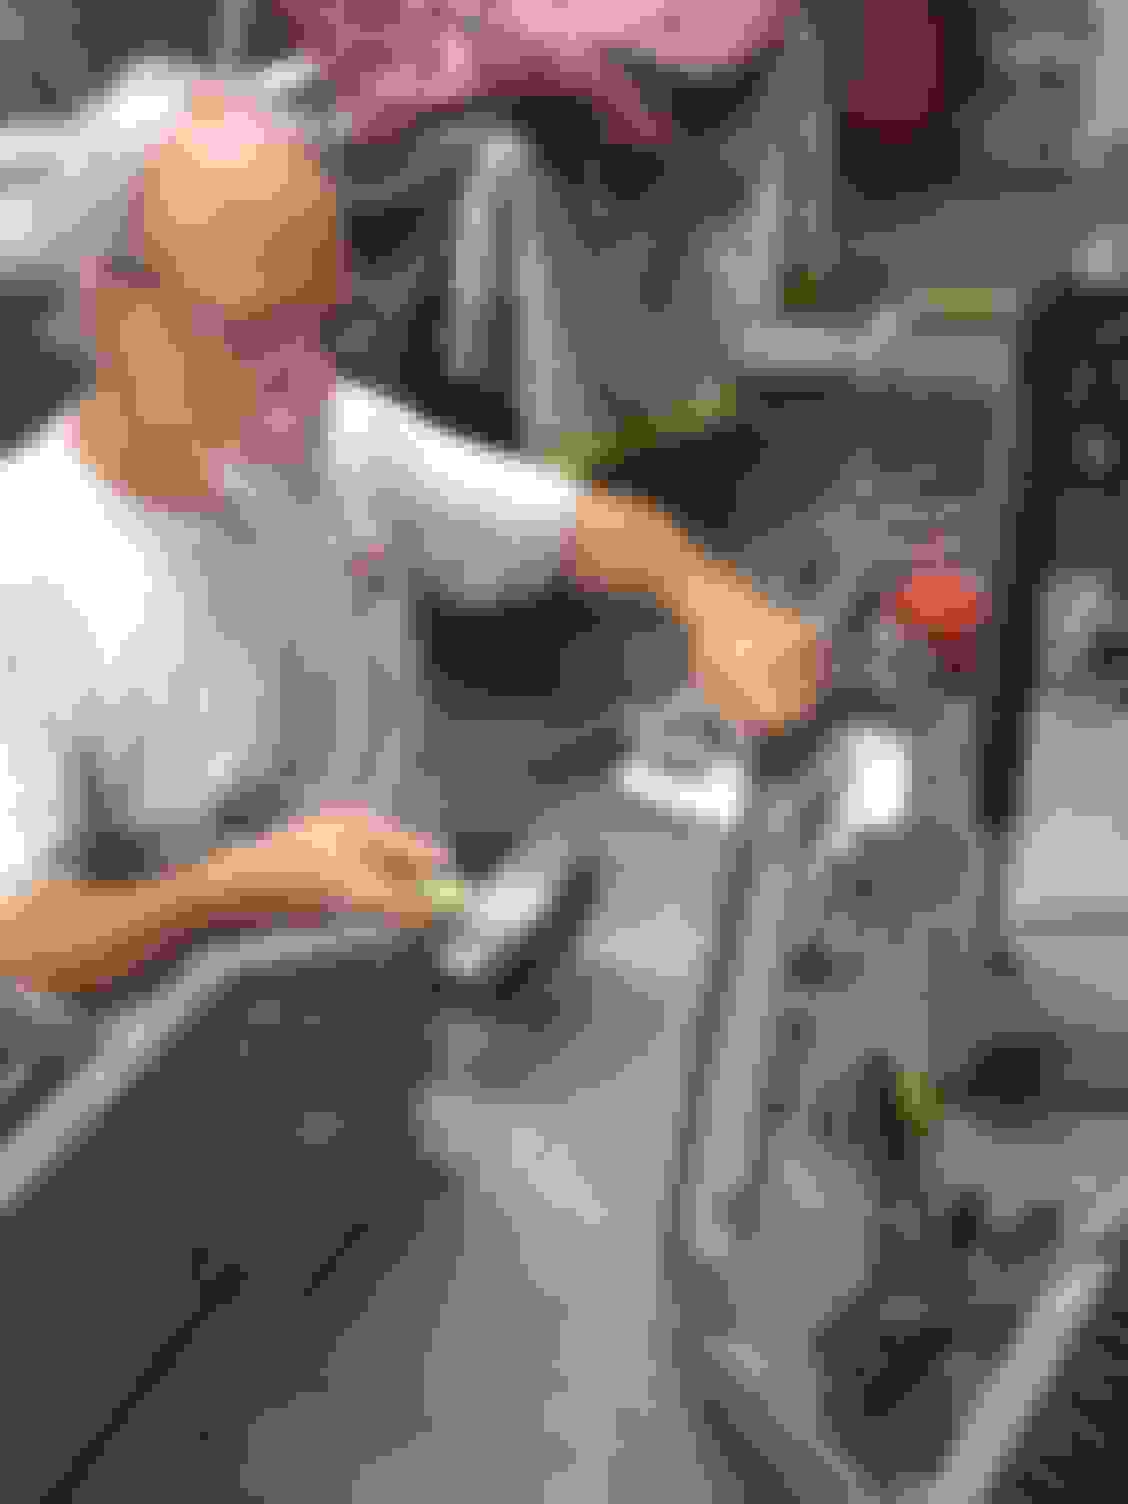
The same is true with the lower bumper guards. They needed to be trimmed a bit on the ends to fit right. Here are some pics of Richard lining up the bumper guards
Last edited by gleninsandiego; 03-13-2018 at 12:57 AM.
Hi Glenn,
Very informative photos of the body going back on the frame!
Working on having the front bumper, bumper-ettes, and chrome grill trim,
fitted at this point is such a WISE thing to do.
After you've put even one 68-72 car together that's one of the FIRST things to look for... it often tells a lot about how the REST of the car was put together.
NICE!
Regards,
Alan
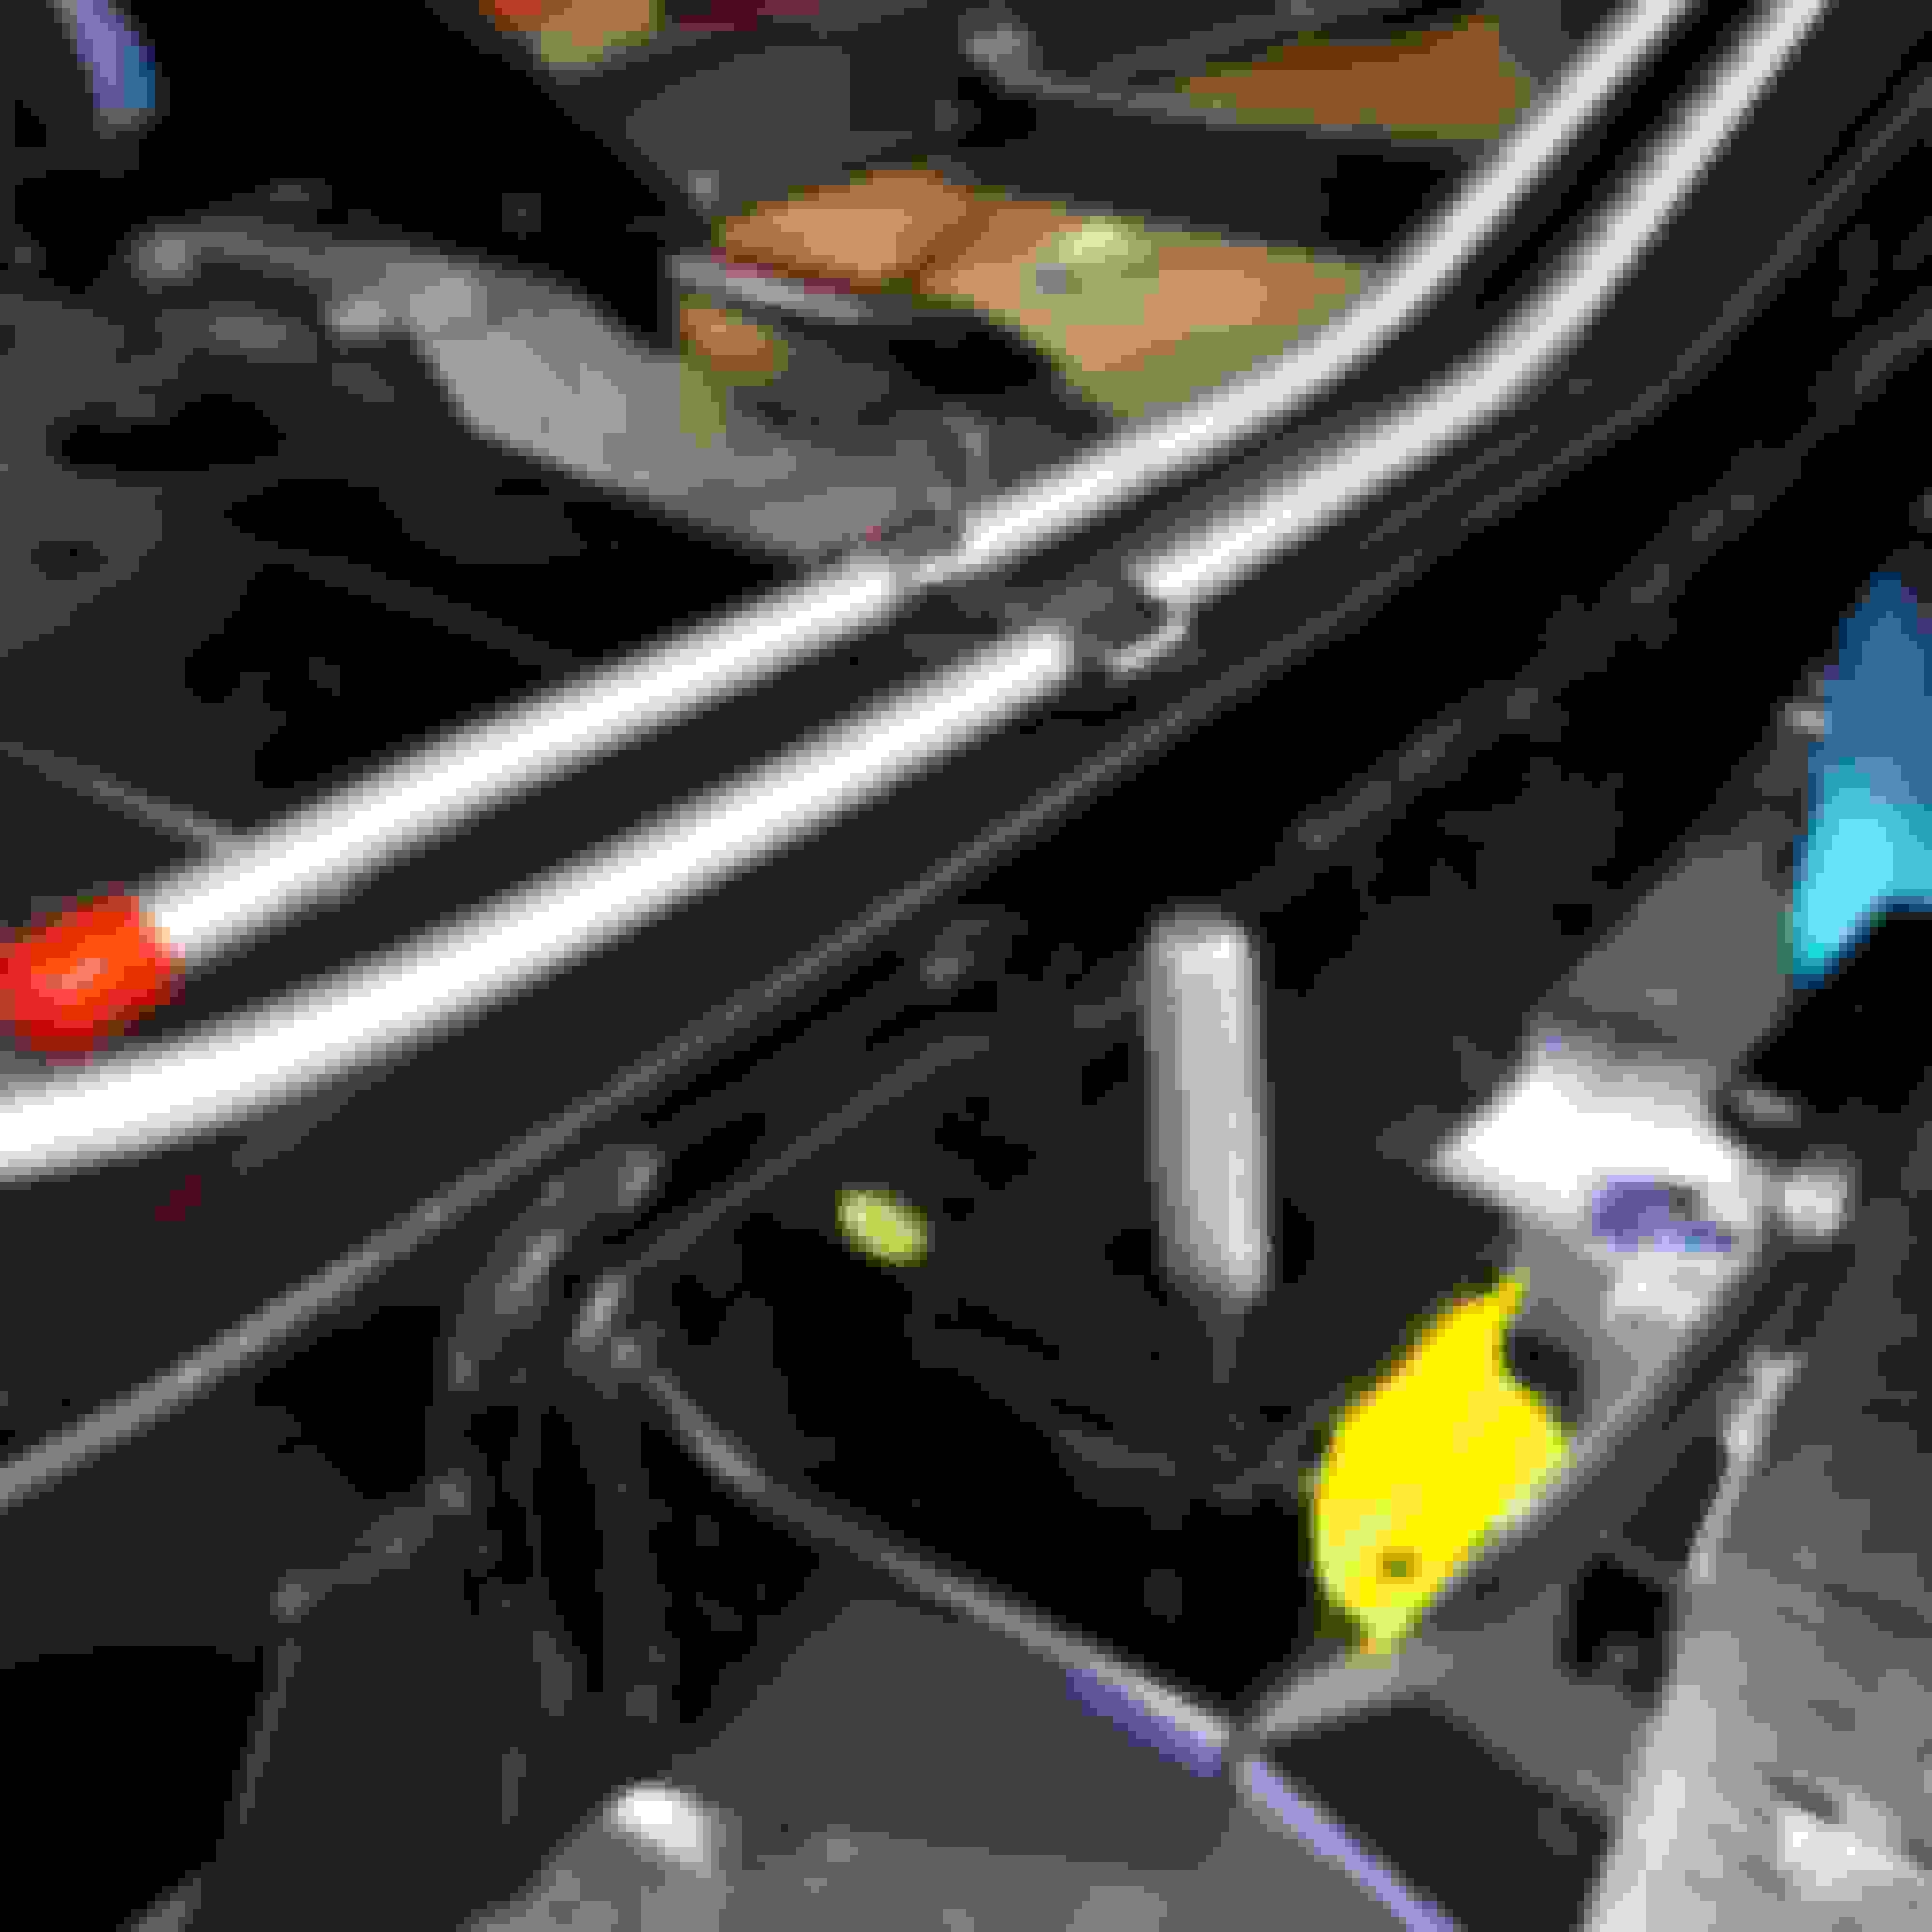
Is the tape on the A arms there to remind you to torque them?
Exactly
I realize some of the tape will fall off but at least it gets me in the area.
I plan on checking everything again when I can
I have to wait until there is weight on the suspension before I do the final torque.
Last edited by gleninsandiego; 03-14-2018 at 12:09 AM.
Hey, half the battle is the weather. You look like you have superb weather to work on this car. Have fun!
I live on a hill, so the downhill part of the crawl space is large enough to put storage boxes in. Today with the car chassis out of the garage, I pulled out a bunch of the boxes to start going through parts that need to be either refurbished or replaced. I forgot how rusty some of them are. I wish I had a bathtub full of Evaporust to soak the in.
Hi Glenn,
Very informative photos of the body going back on the frame!
Working on having the front bumper, bumper-ettes, and chrome grill trim,
fitted at this point is such a WISE thing to do.
After you've put even one 68-72 car together that's one of the FIRST things to look for... it often tells a lot about how the REST of the car was put together.
NICE!
Regards,
Alan
Thanks Alan
As with everything else you are right about noticing things like that.
We tried several used bumpers that were even worse fit wise than this one. I could have lived with it but Richard is a perfectionist. And he is fearless. Wait until my next post.
As I mentioned to Alan in the above post
Richard is fearless
I stopped by the shop this afternoon and this is what I saw:
Yes the bumper is now in pieces.
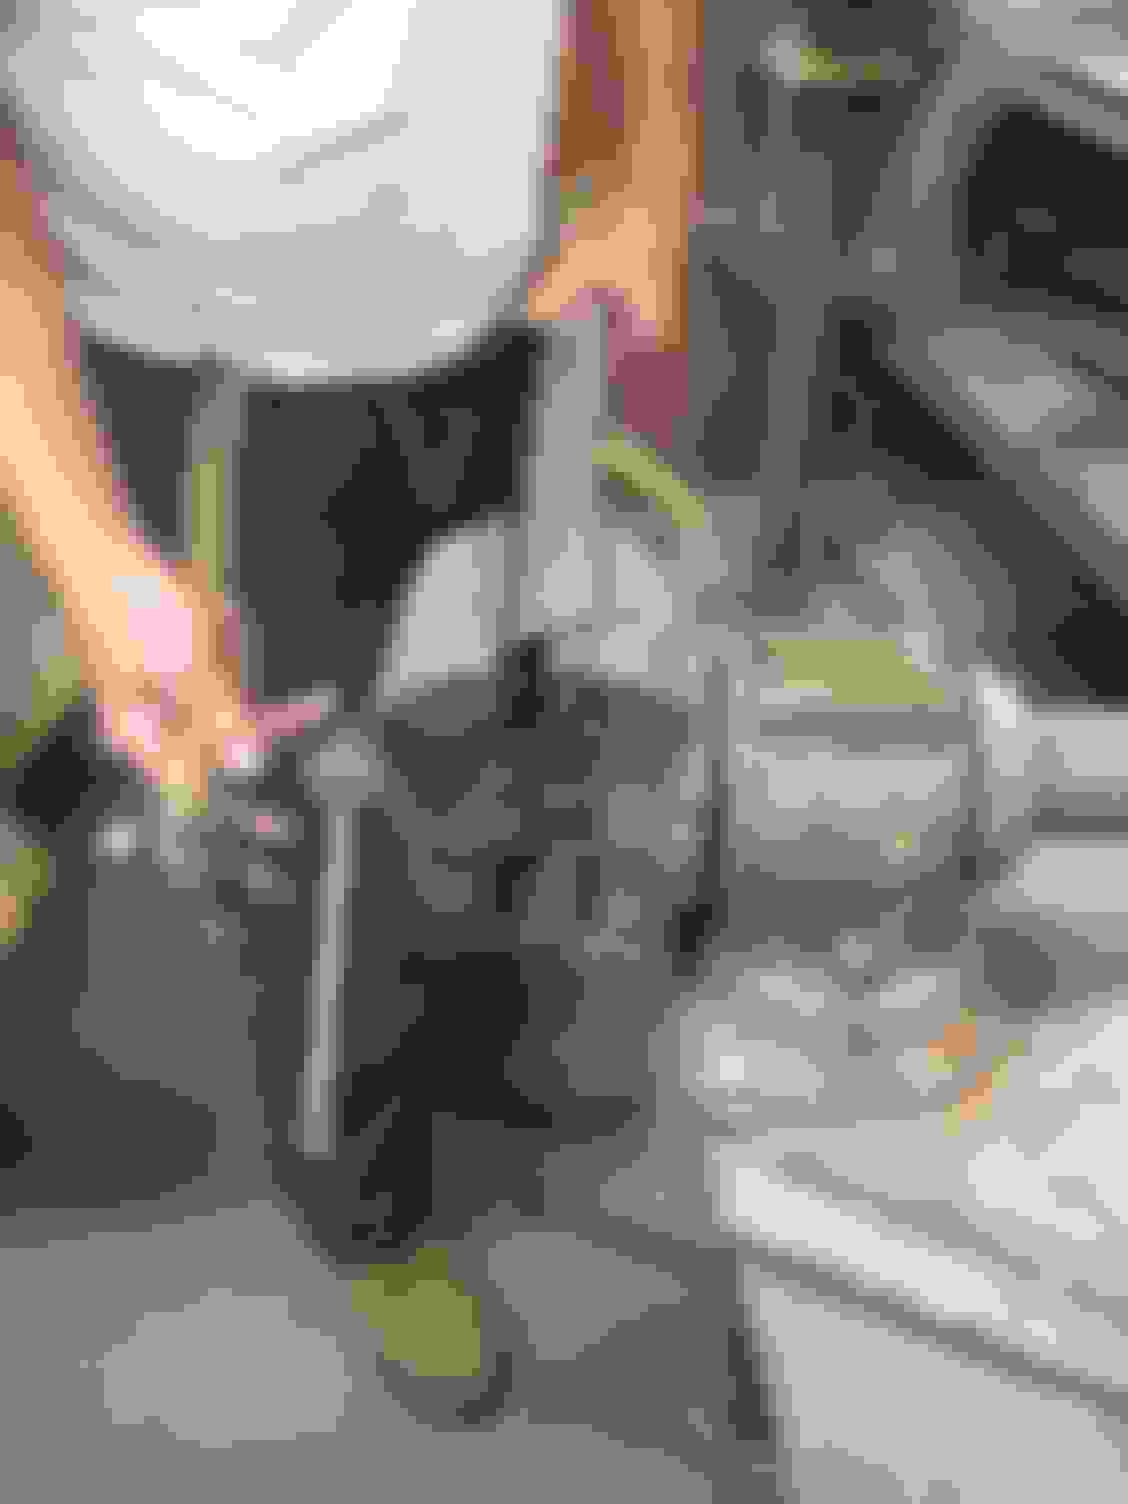
Here is an action sequence of the master at work:
If this looks like he is teaching this bumper how to fit, he is. What is amazing is how straight he can get it looking by doing all of this. The people that do the chroming do the final tuning to make it super straight.
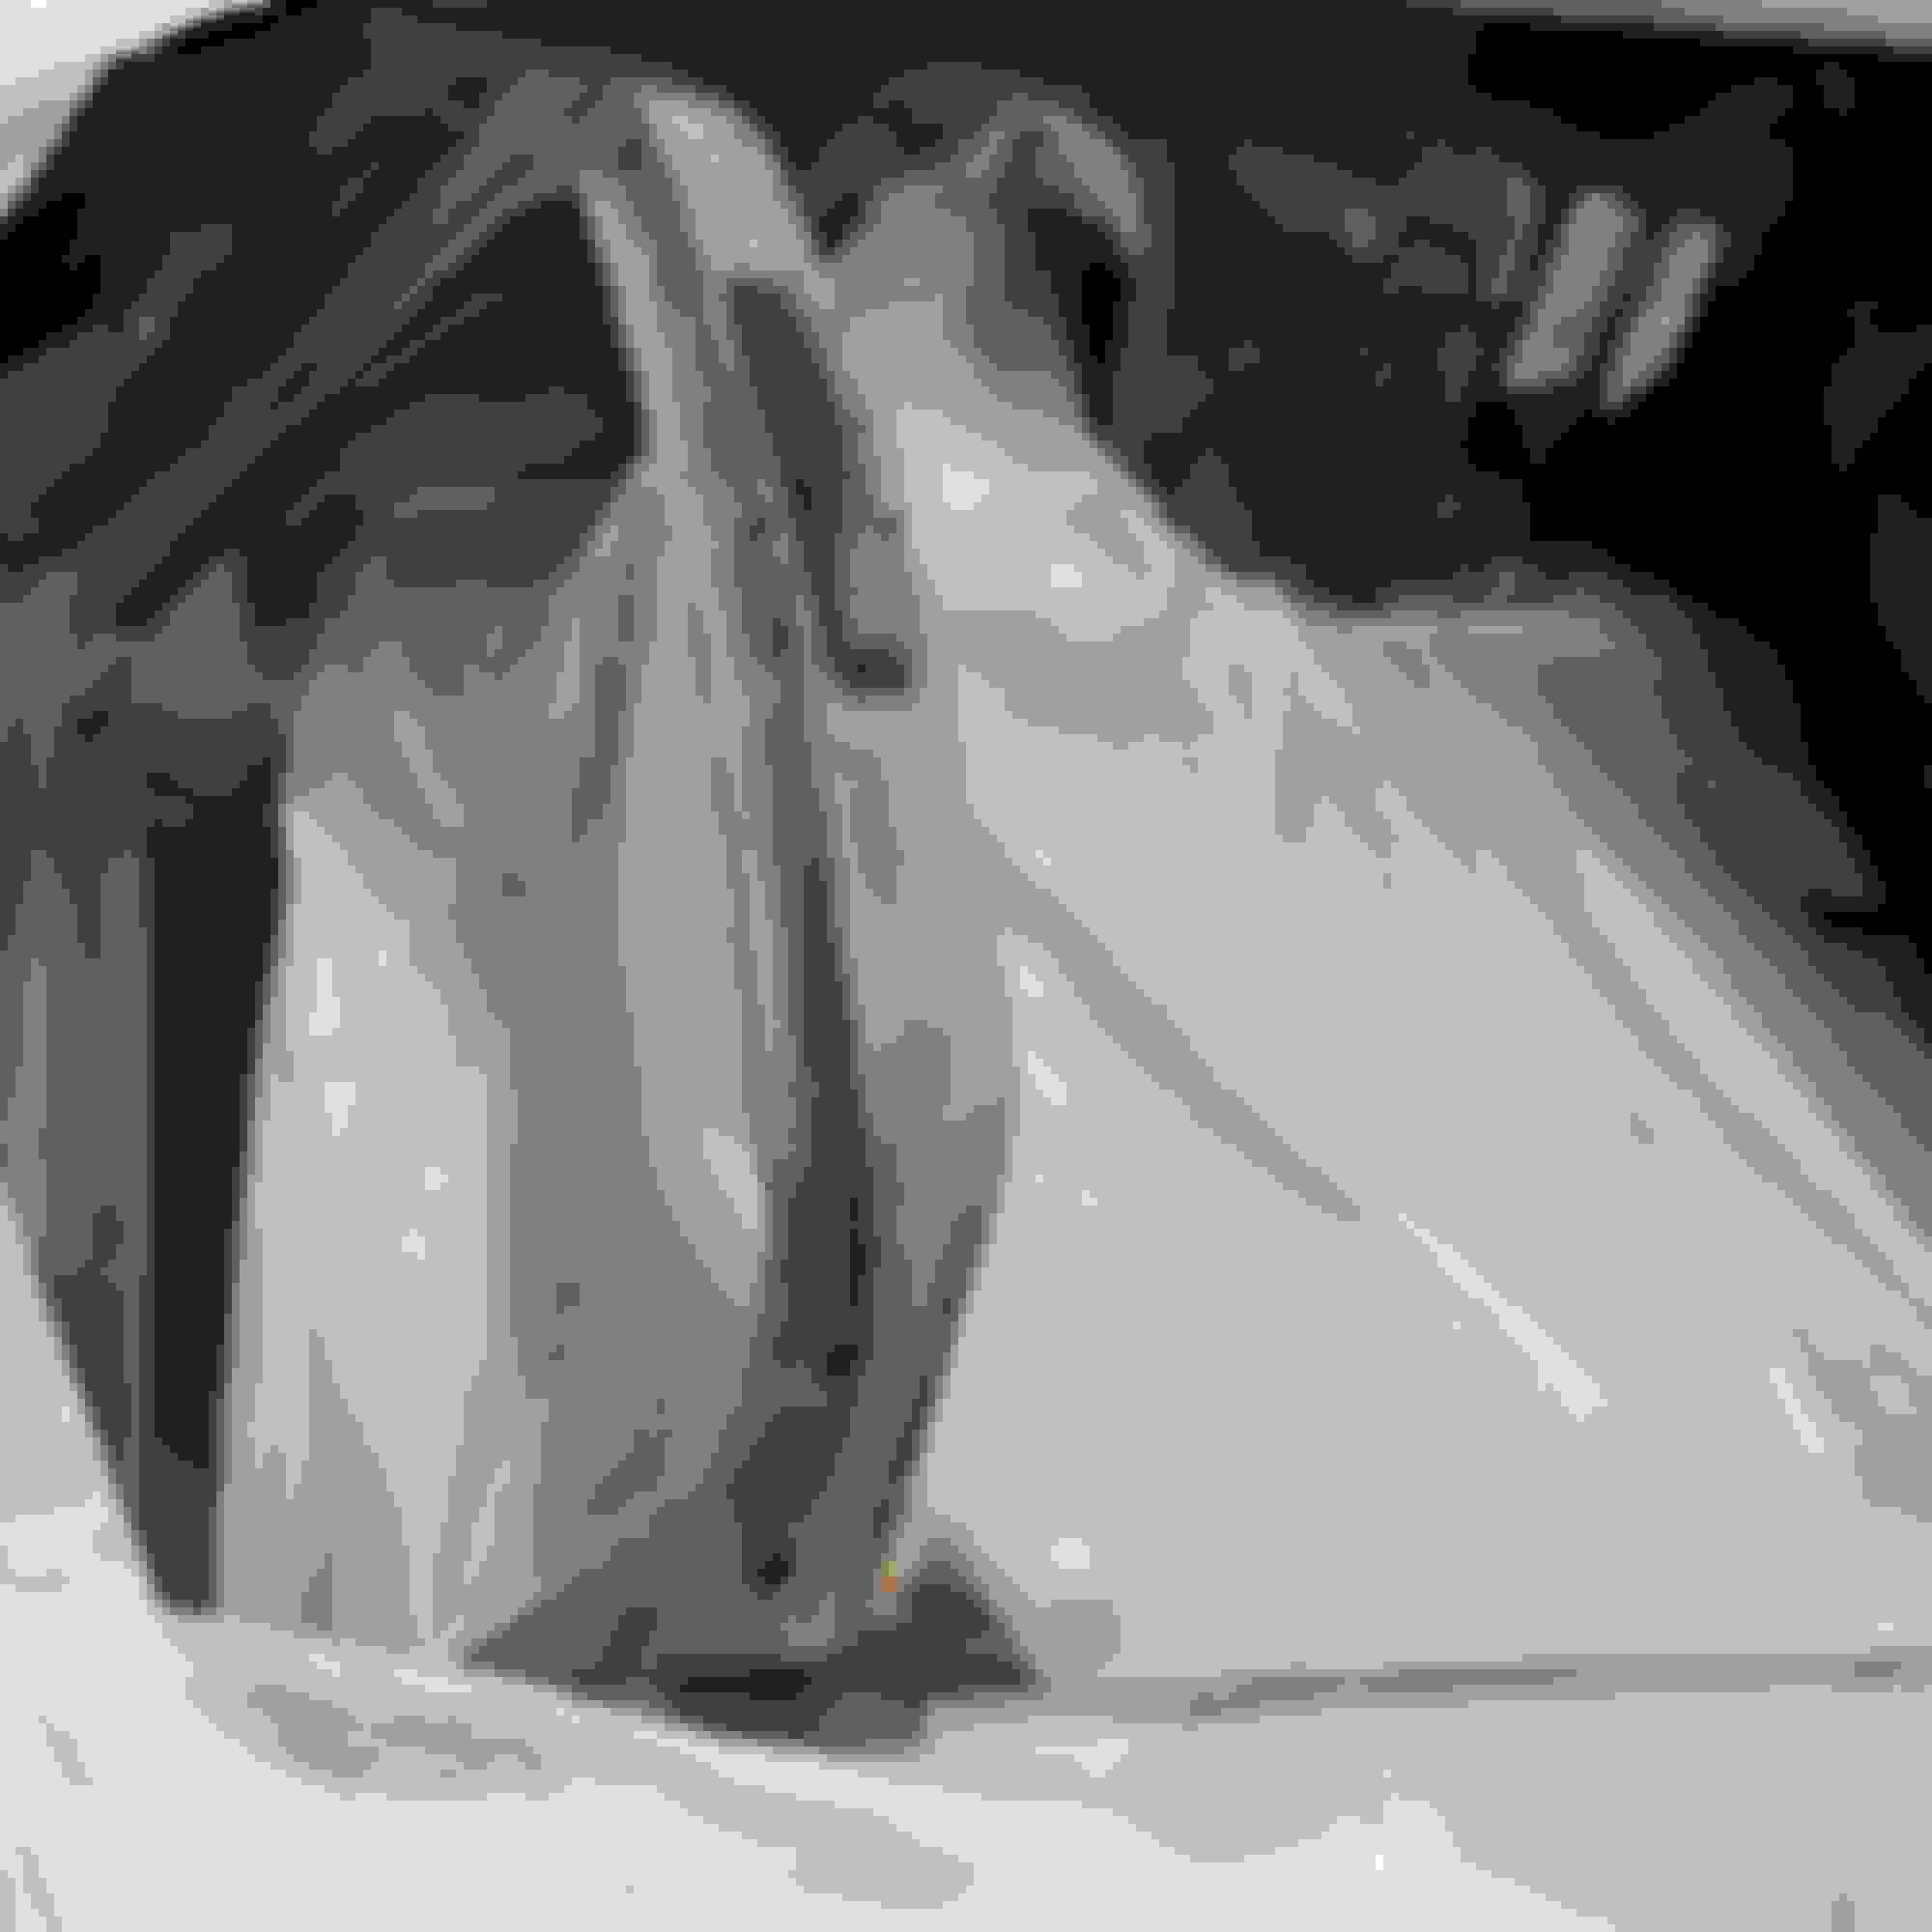
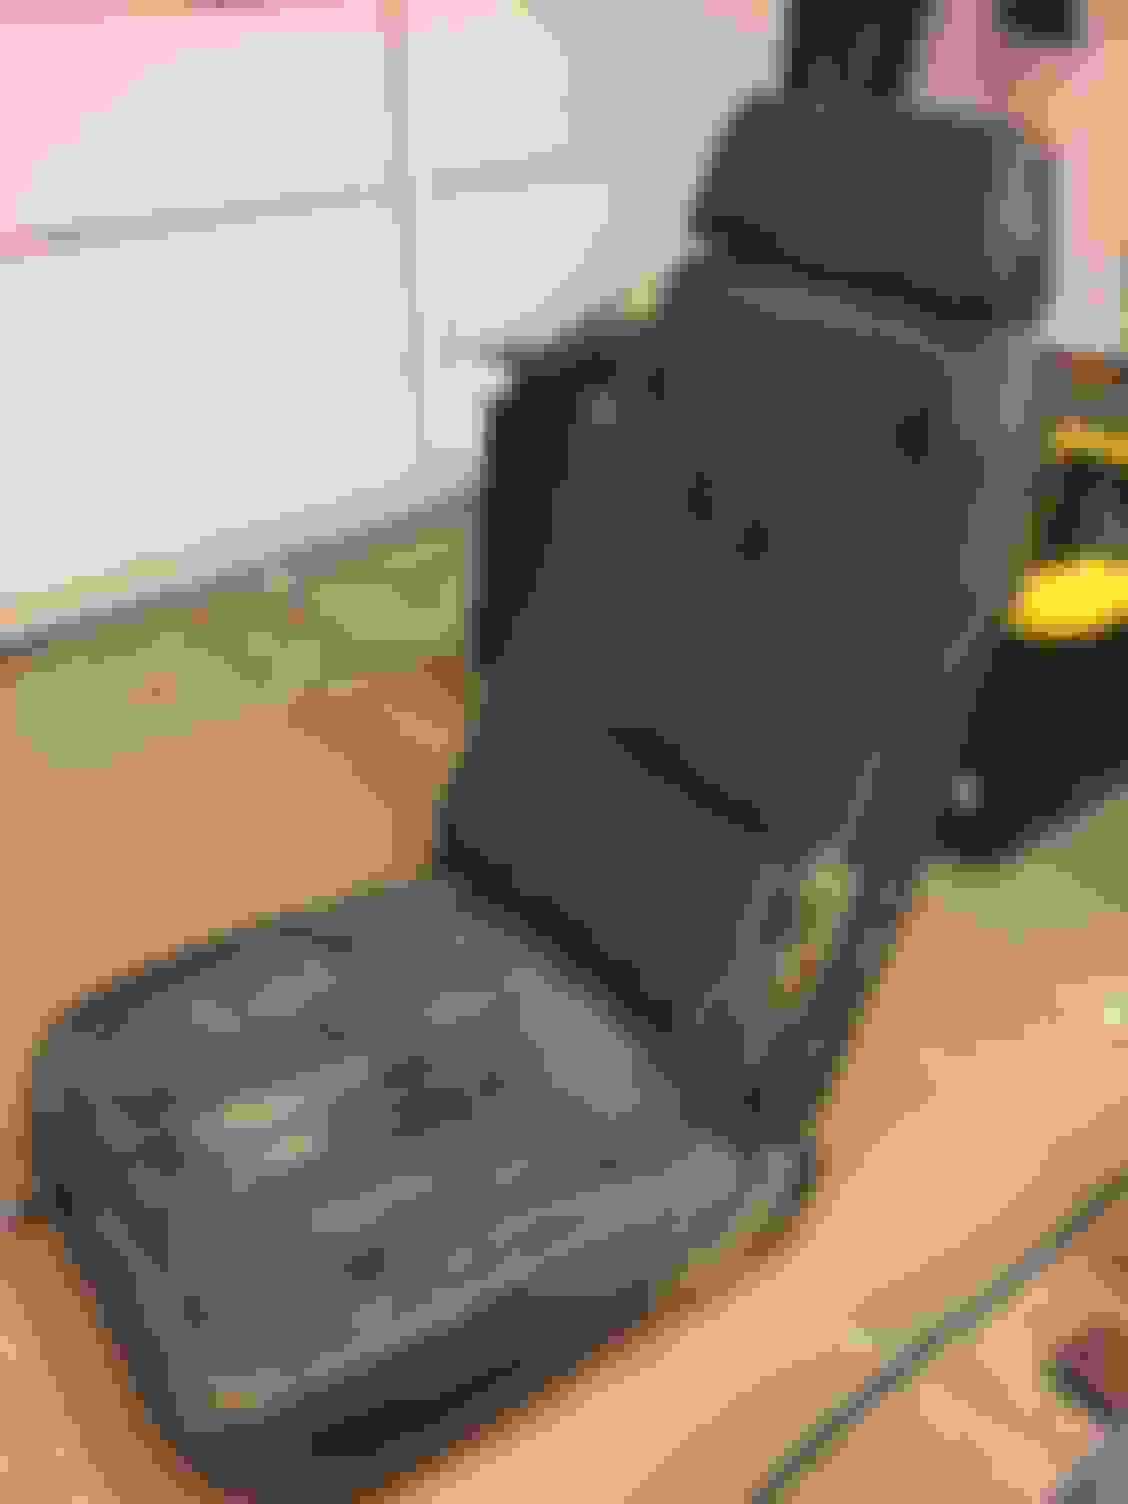
As mentioned before, this is a hot rod build and not a restoration. So I will not be putting the original seats back in. I bought some Fiero seat, which are heading my way now. They will need to be reupholstered and mounted on the original corvette sliders. So I pulled out the original seats from out from under the house to take them off. I forgot just how nasty they were. When I flipped them over to look at the sliders, my suspicions that this car once lived on a bottom of a lake were confirmed
Nasty, nasty, nasty.
I need a bathtub of Evaporust to get these things clean and working again.
Last edited by gleninsandiego; 03-14-2018 at 12:38 AM.
I realize some of the tape will fall off but at least it gets me in the area.
I plan on checking everything again when I can
I have to wait until there is weight on the suspension before I do the final torque.
Thank you! i will do this too since I'm just a little behind your progress. Good tip!
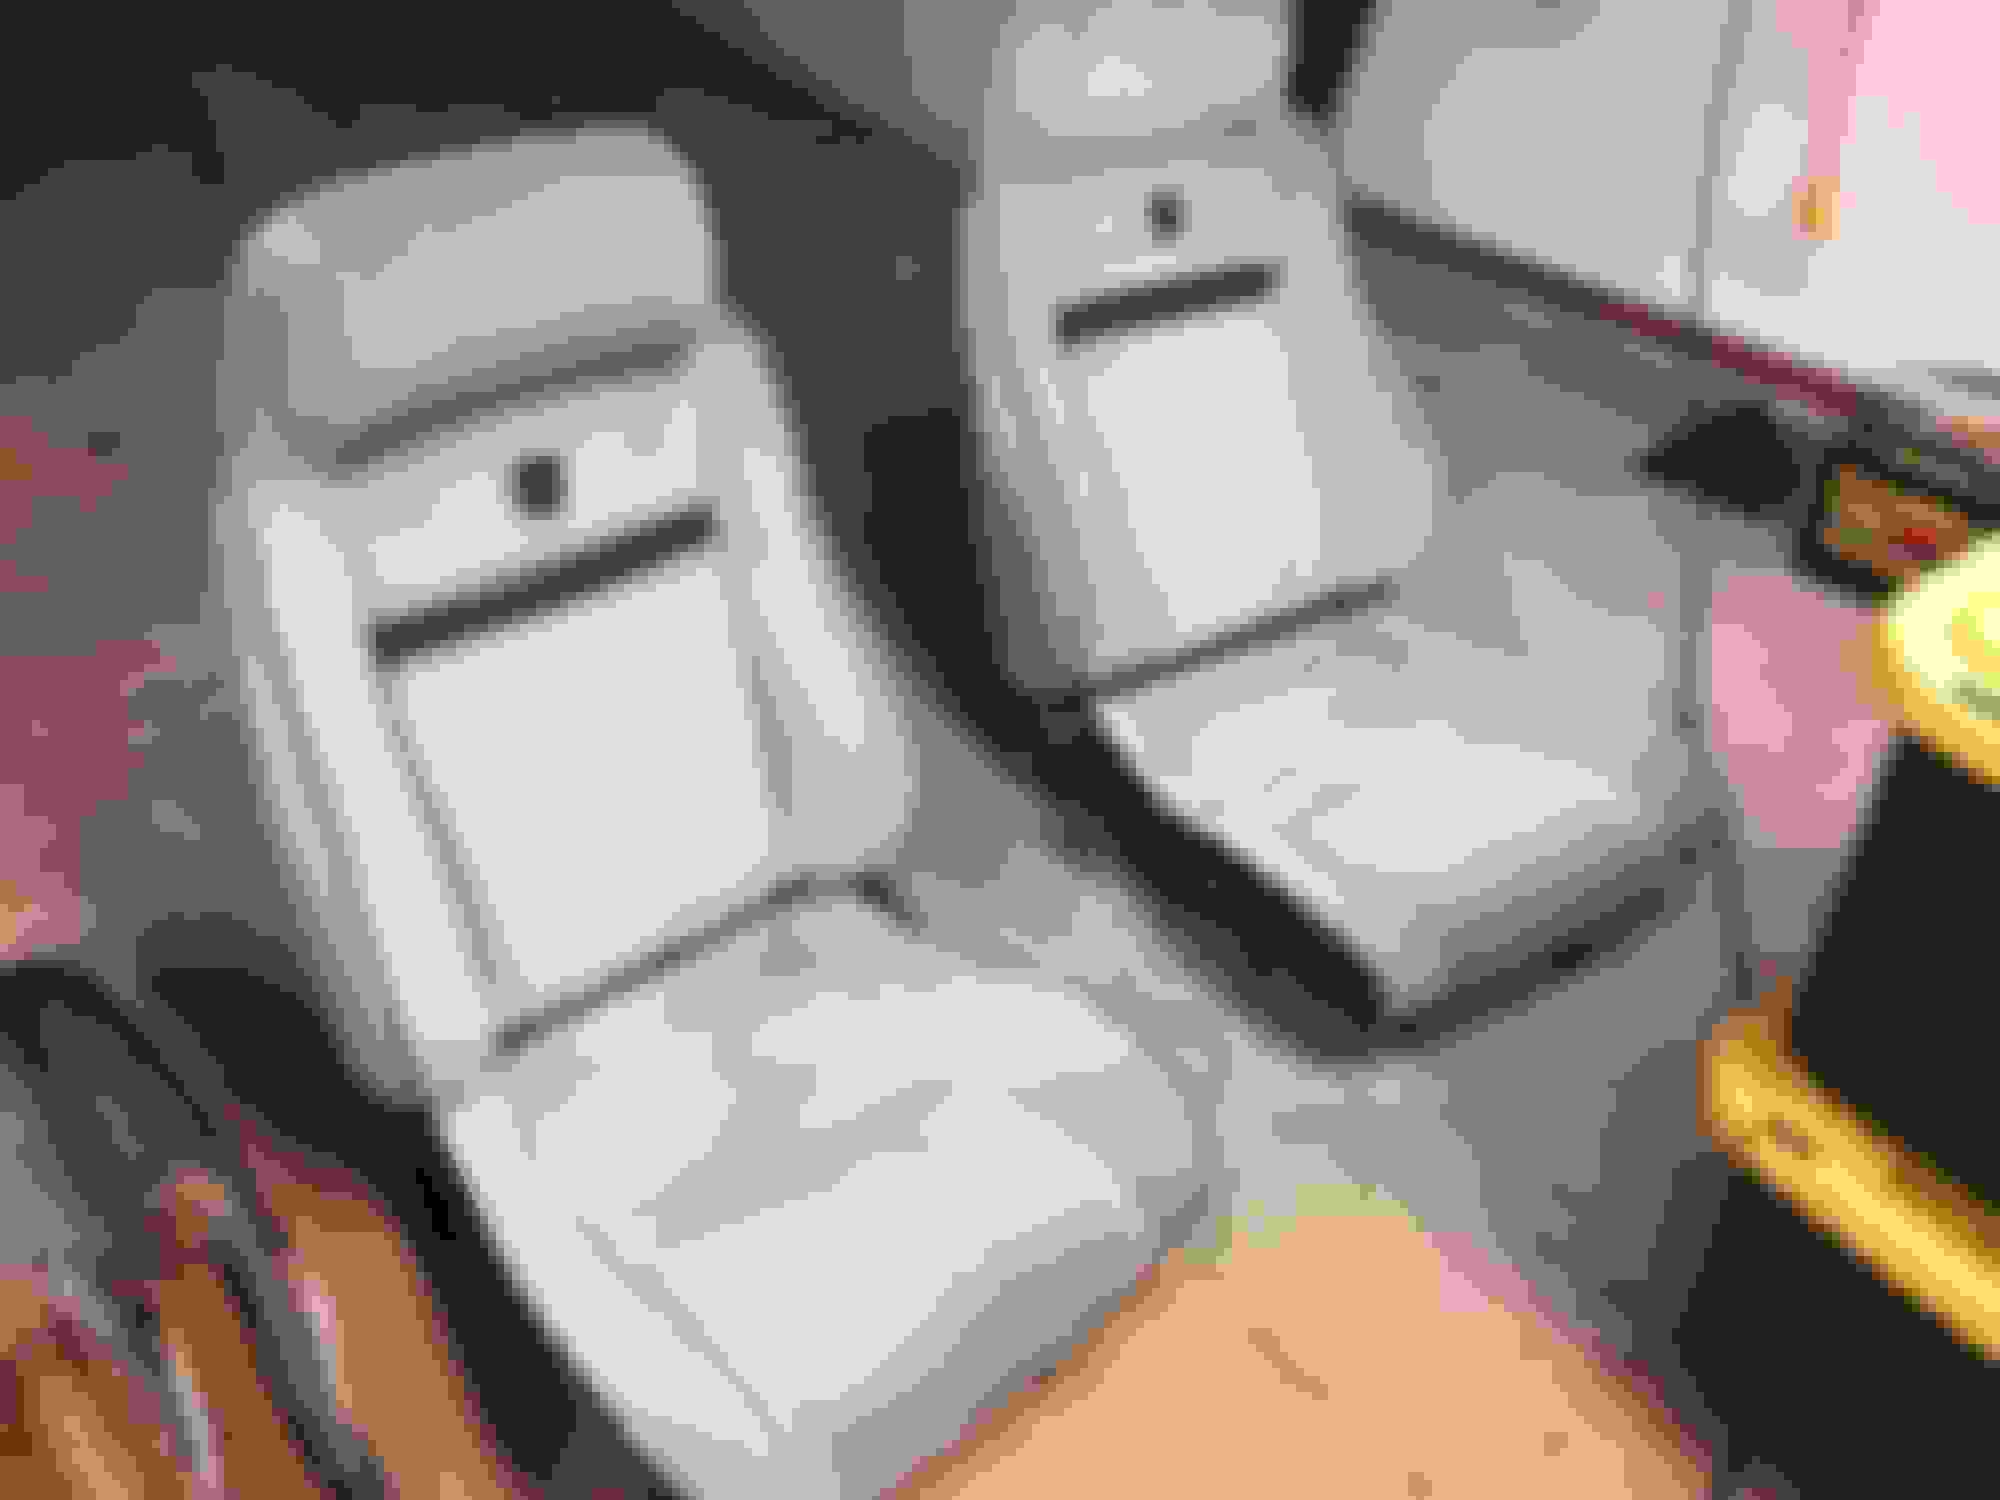
My Fiero seats arrived tonight from Phoenix.
Thank you UShip
The reason I got these is they had been stored inside for years.
I could have gotten cheaper ones but showing pictures of several options to my upholstery guy, he said he had seen too many seats out of junkyards or stored outside that cats or other animals peed on and you couldn't get rid of the smell.
These will be recovered in the near future

 03-05-2018, 12:30 PM