When you click on links to various merchants on this site and make a purchase, this can result in this site earning a commission. Affiliate programs and affiliations include, but are not limited to, the eBay Partner Network.
Hey guys -
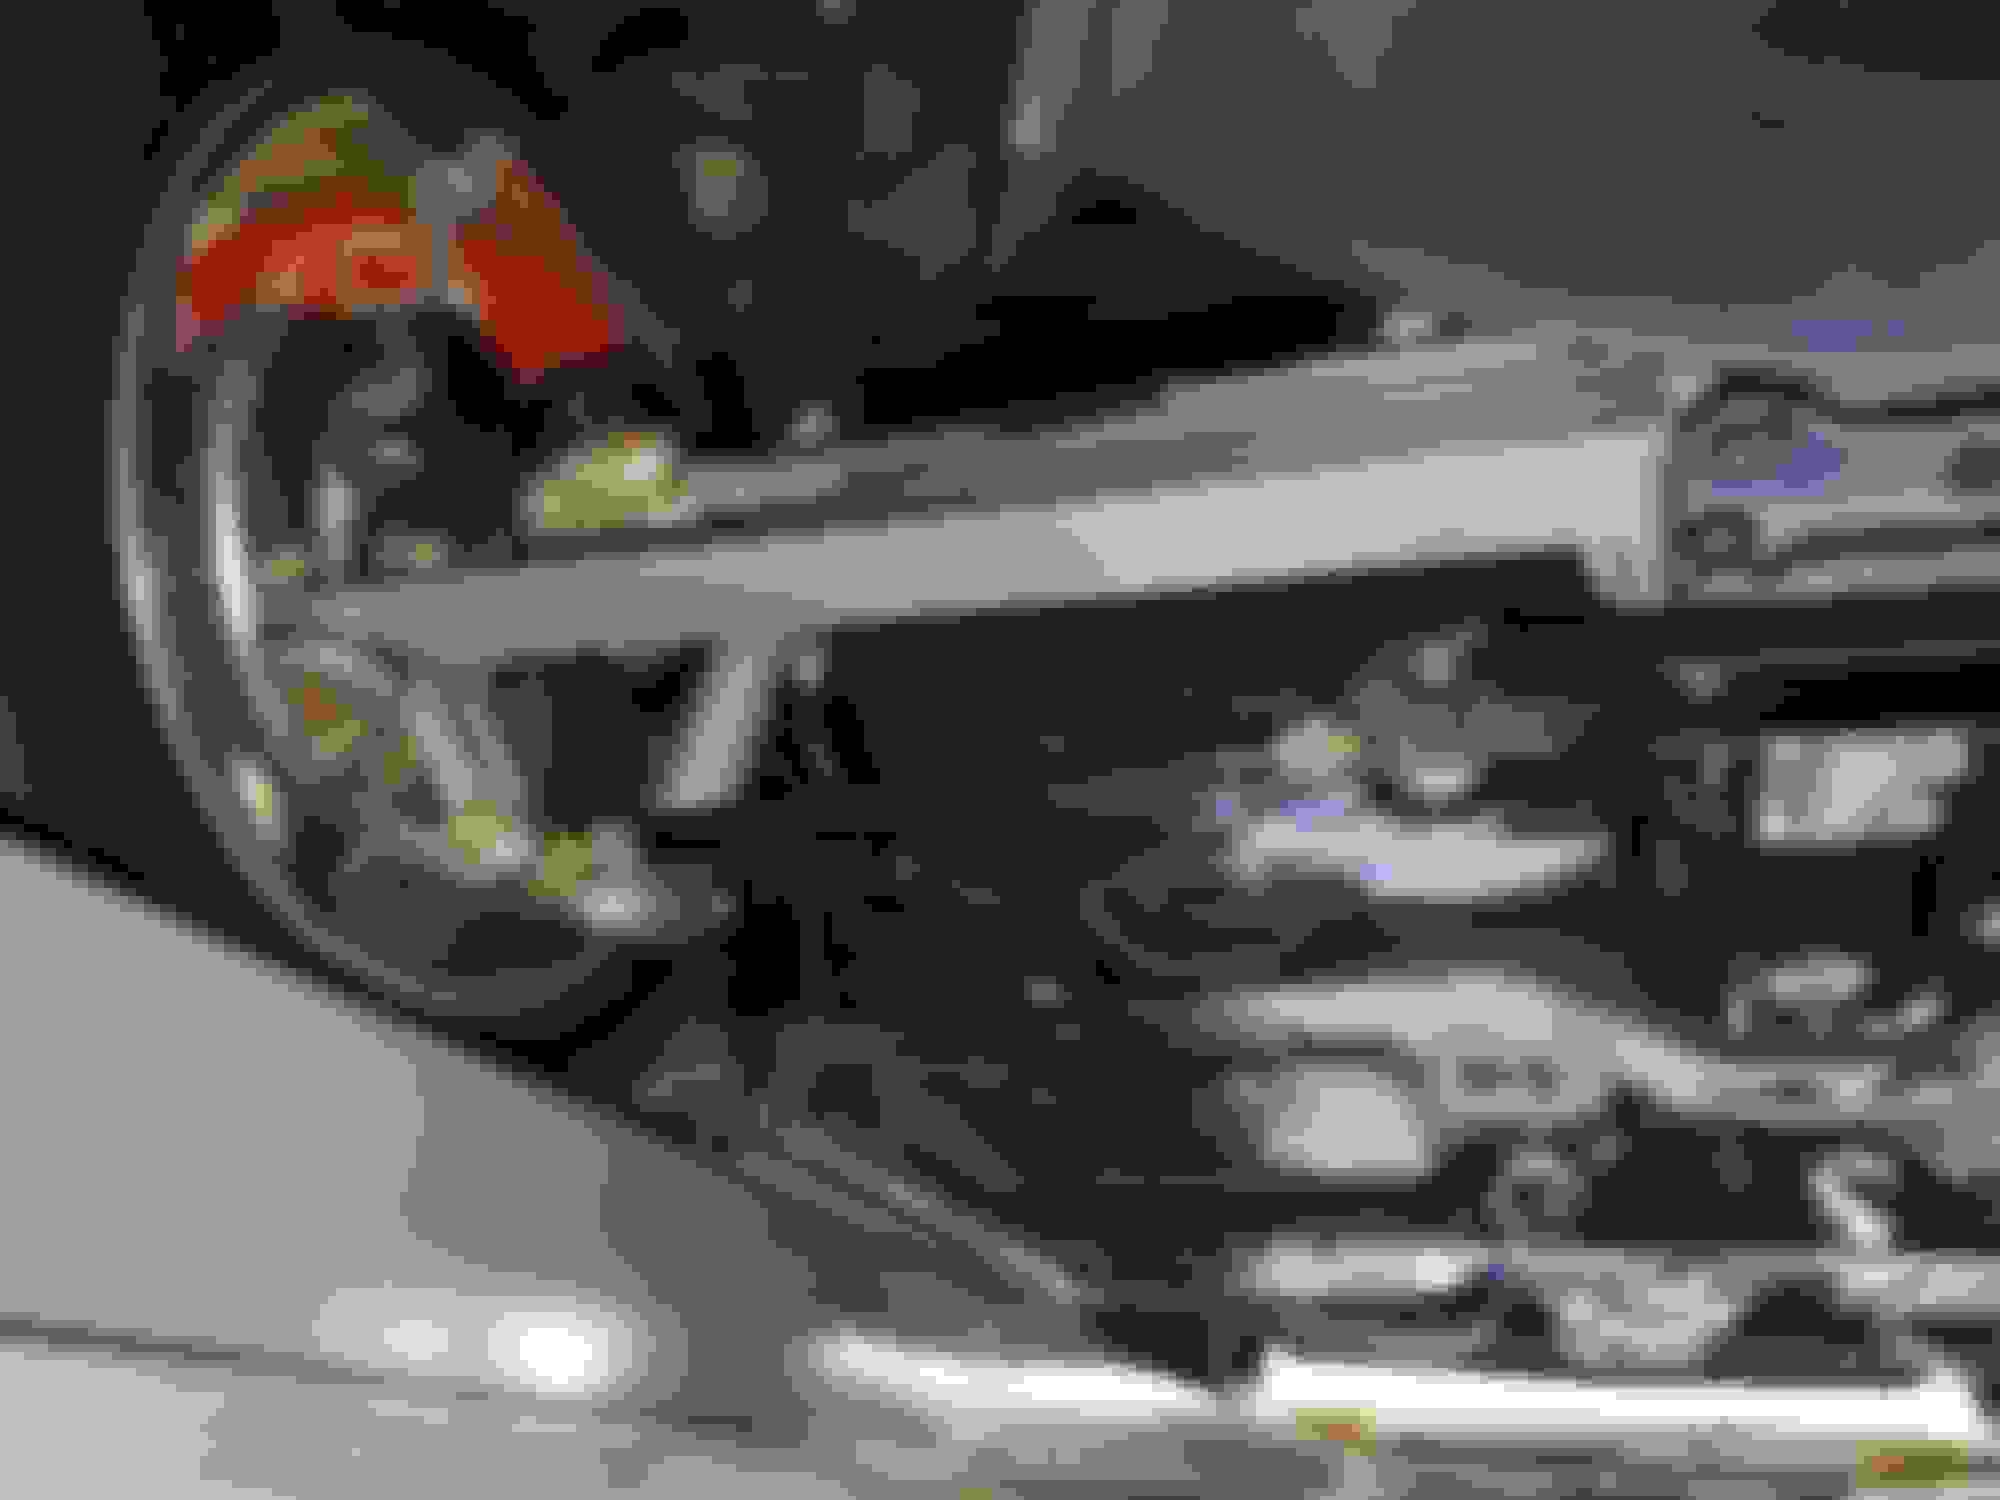
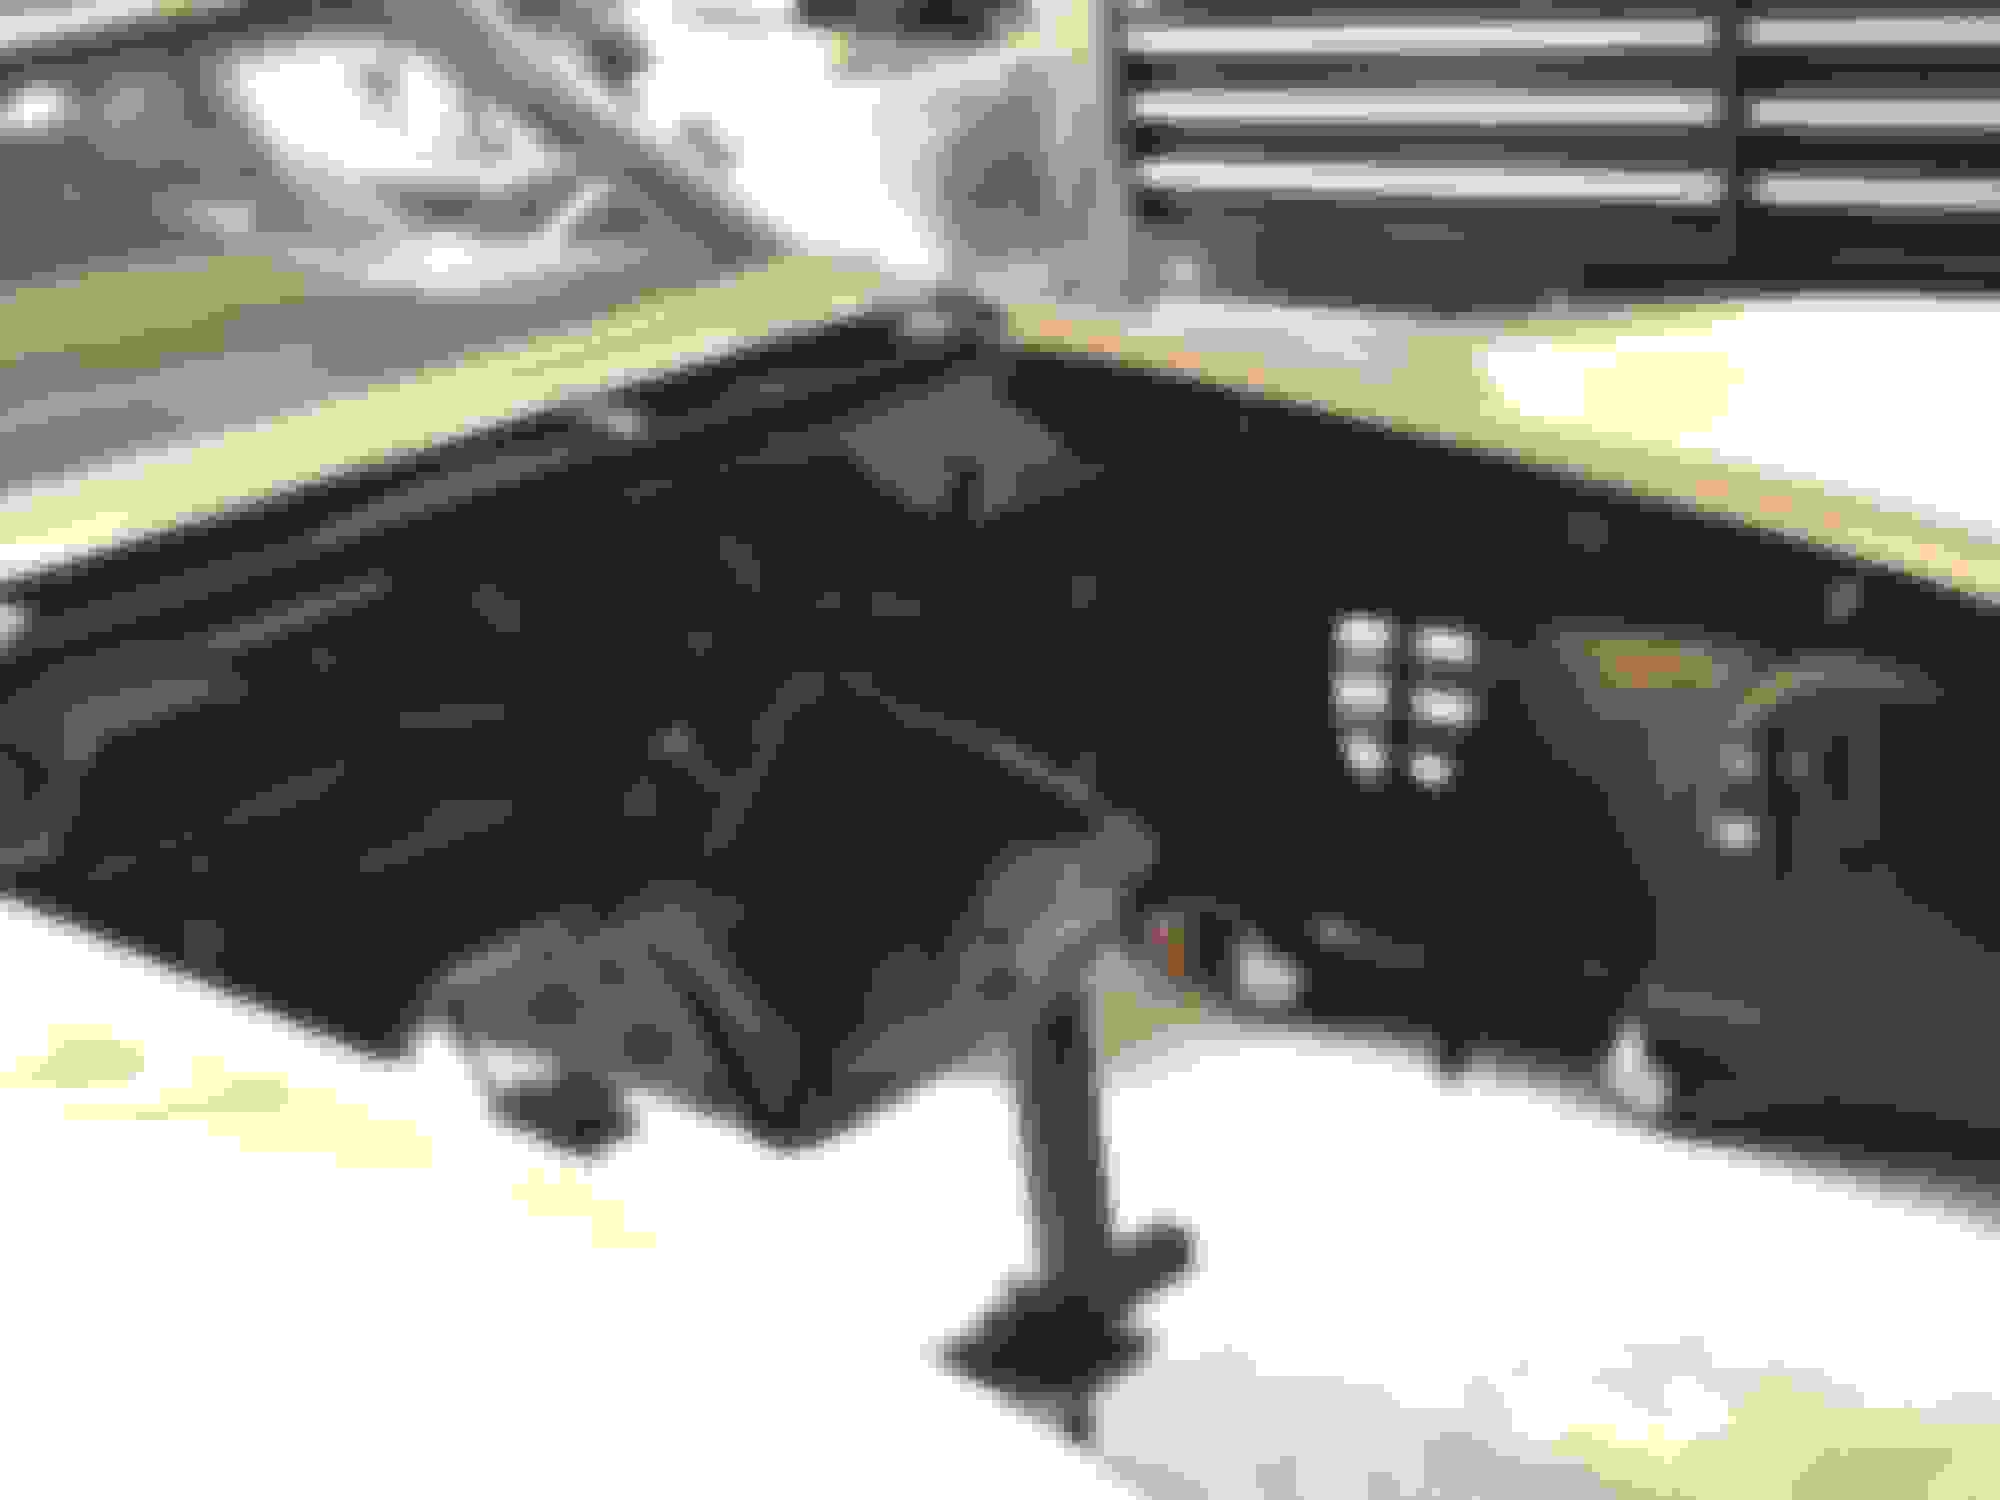
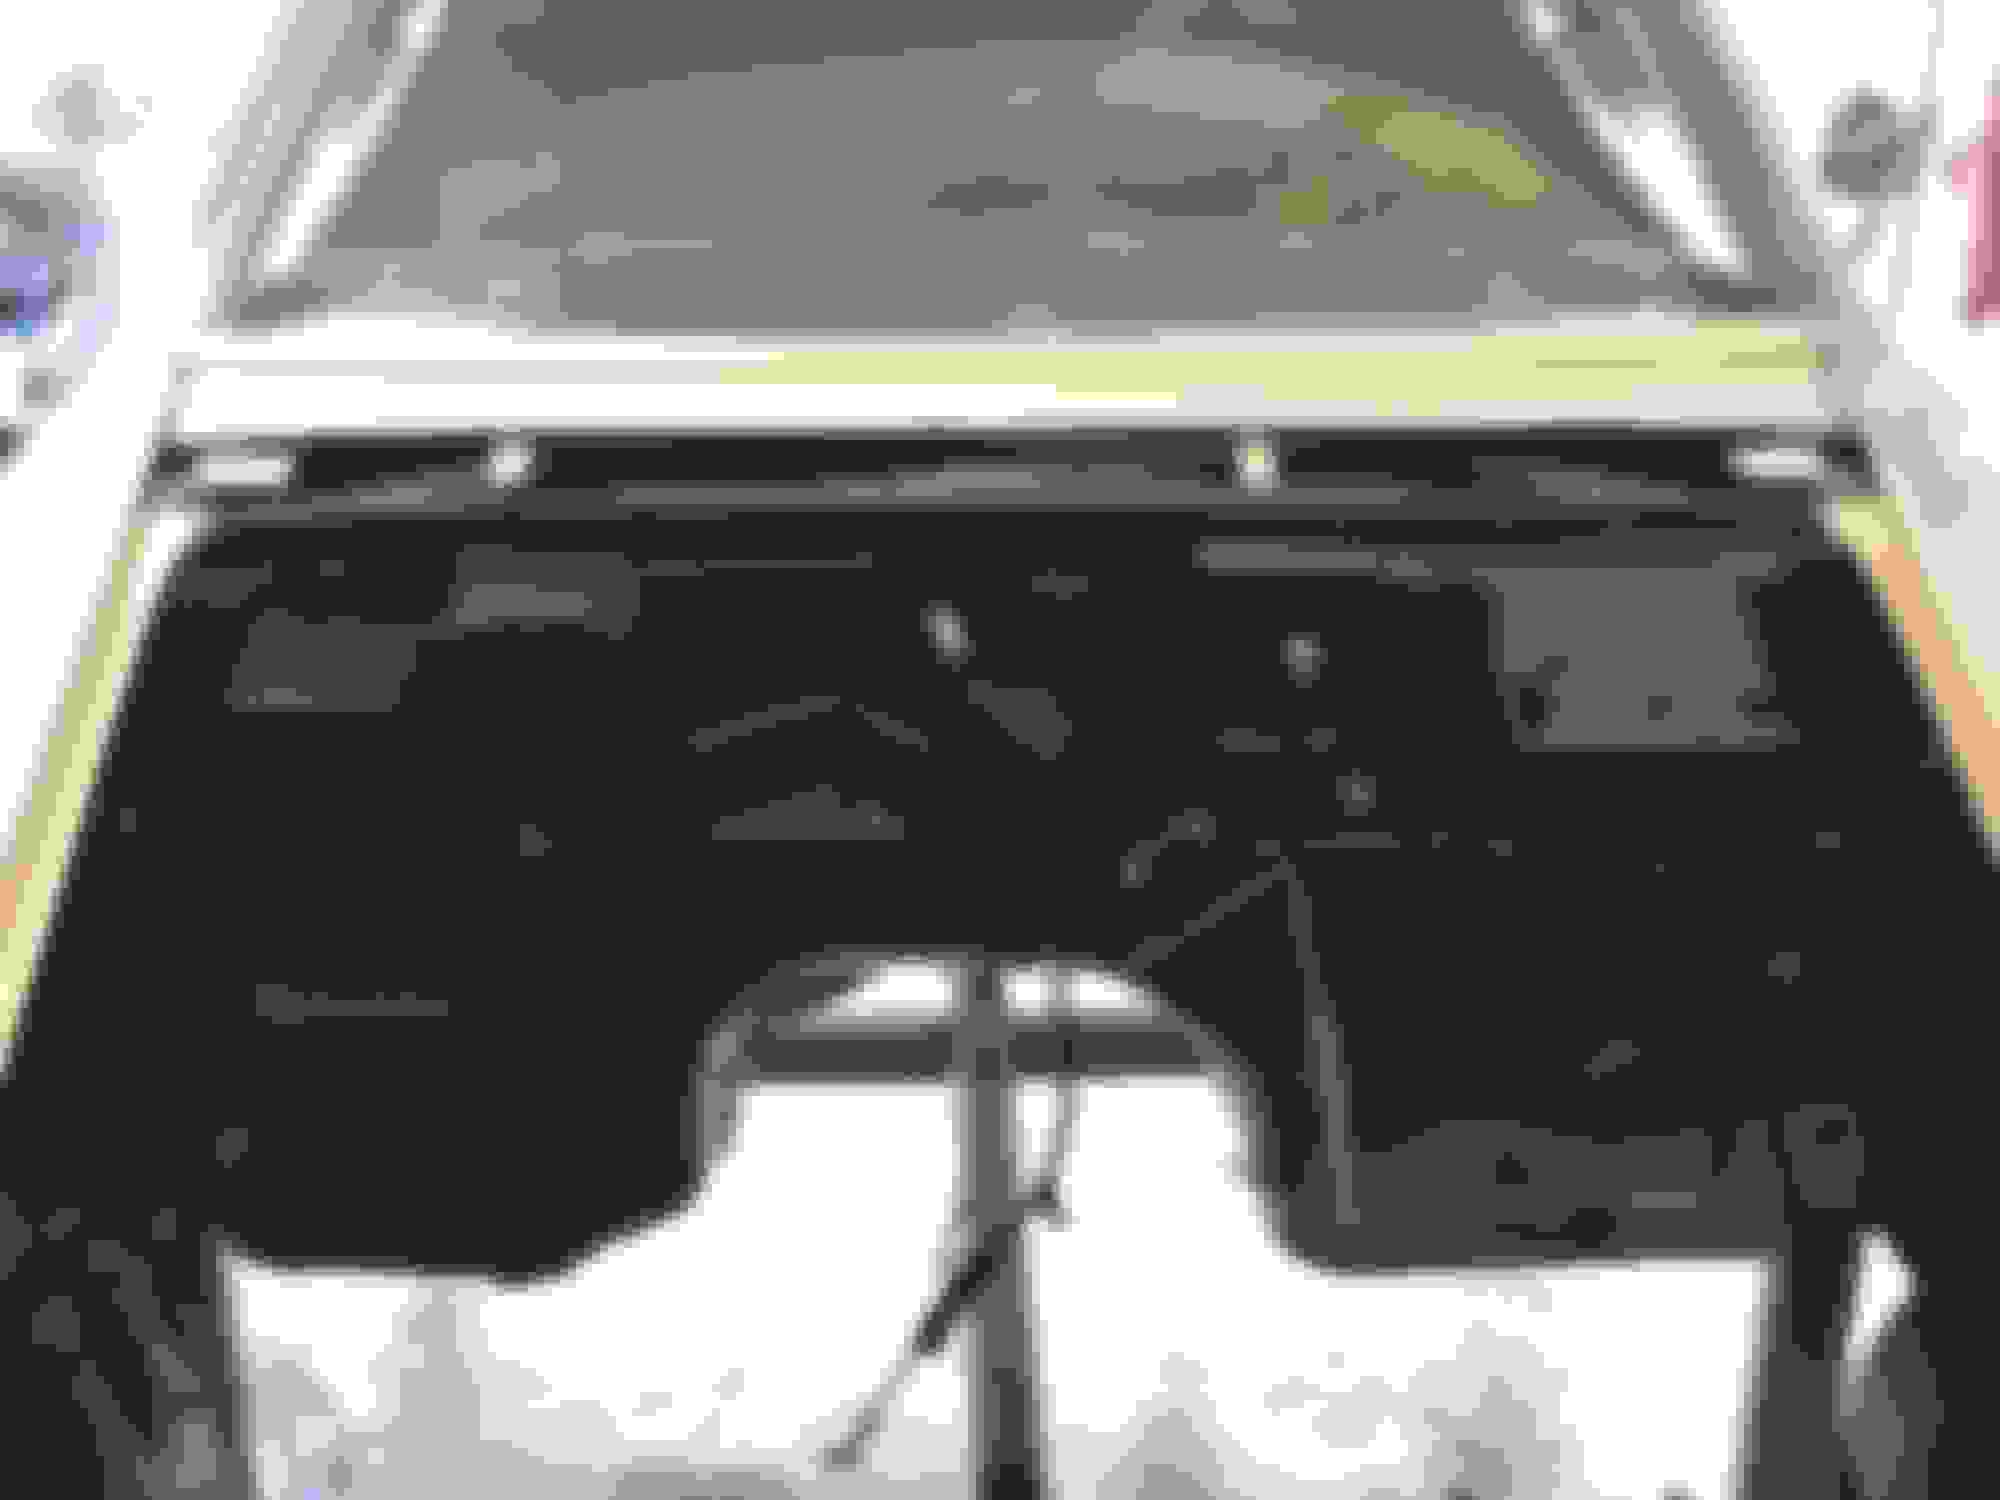
So in the not too distant future, I plan to start cleaning up the undercarriage of my car. Mind you, this is not an NCRS restoration. It's simply me crawling under the car, trying to make the greasy, rusty underneath of my car look a bit better. That said, I do plan on using the proper paint on the proper parts.
For those of you who have done a clean up job this way, is there a certain plan of attack I should adhere to? I just thought it was worth asking before I get under there with a wire brush, and start coating everything with POR-15.
Speaking of which, if I use POR-15 Semi-Gloss, is there a need to top coat?
I'm not looking to do this in one shot. I thought I could chip away at it a bit at a time.
Any advice on this project is appreciated.
On my 72 it looked similar to your pictures I took everything I could unbolt clean and sand them and replaced everything that could be replaced. Brake lines, fuel lines bushings, everything. Wire wheeled the frame, cleaned and coated the inside of the frame painted everything witk Krylon semi flat black.
Fastimes. interesting our cars are about a month apart and our work is about a year apart. Here is my two cents.
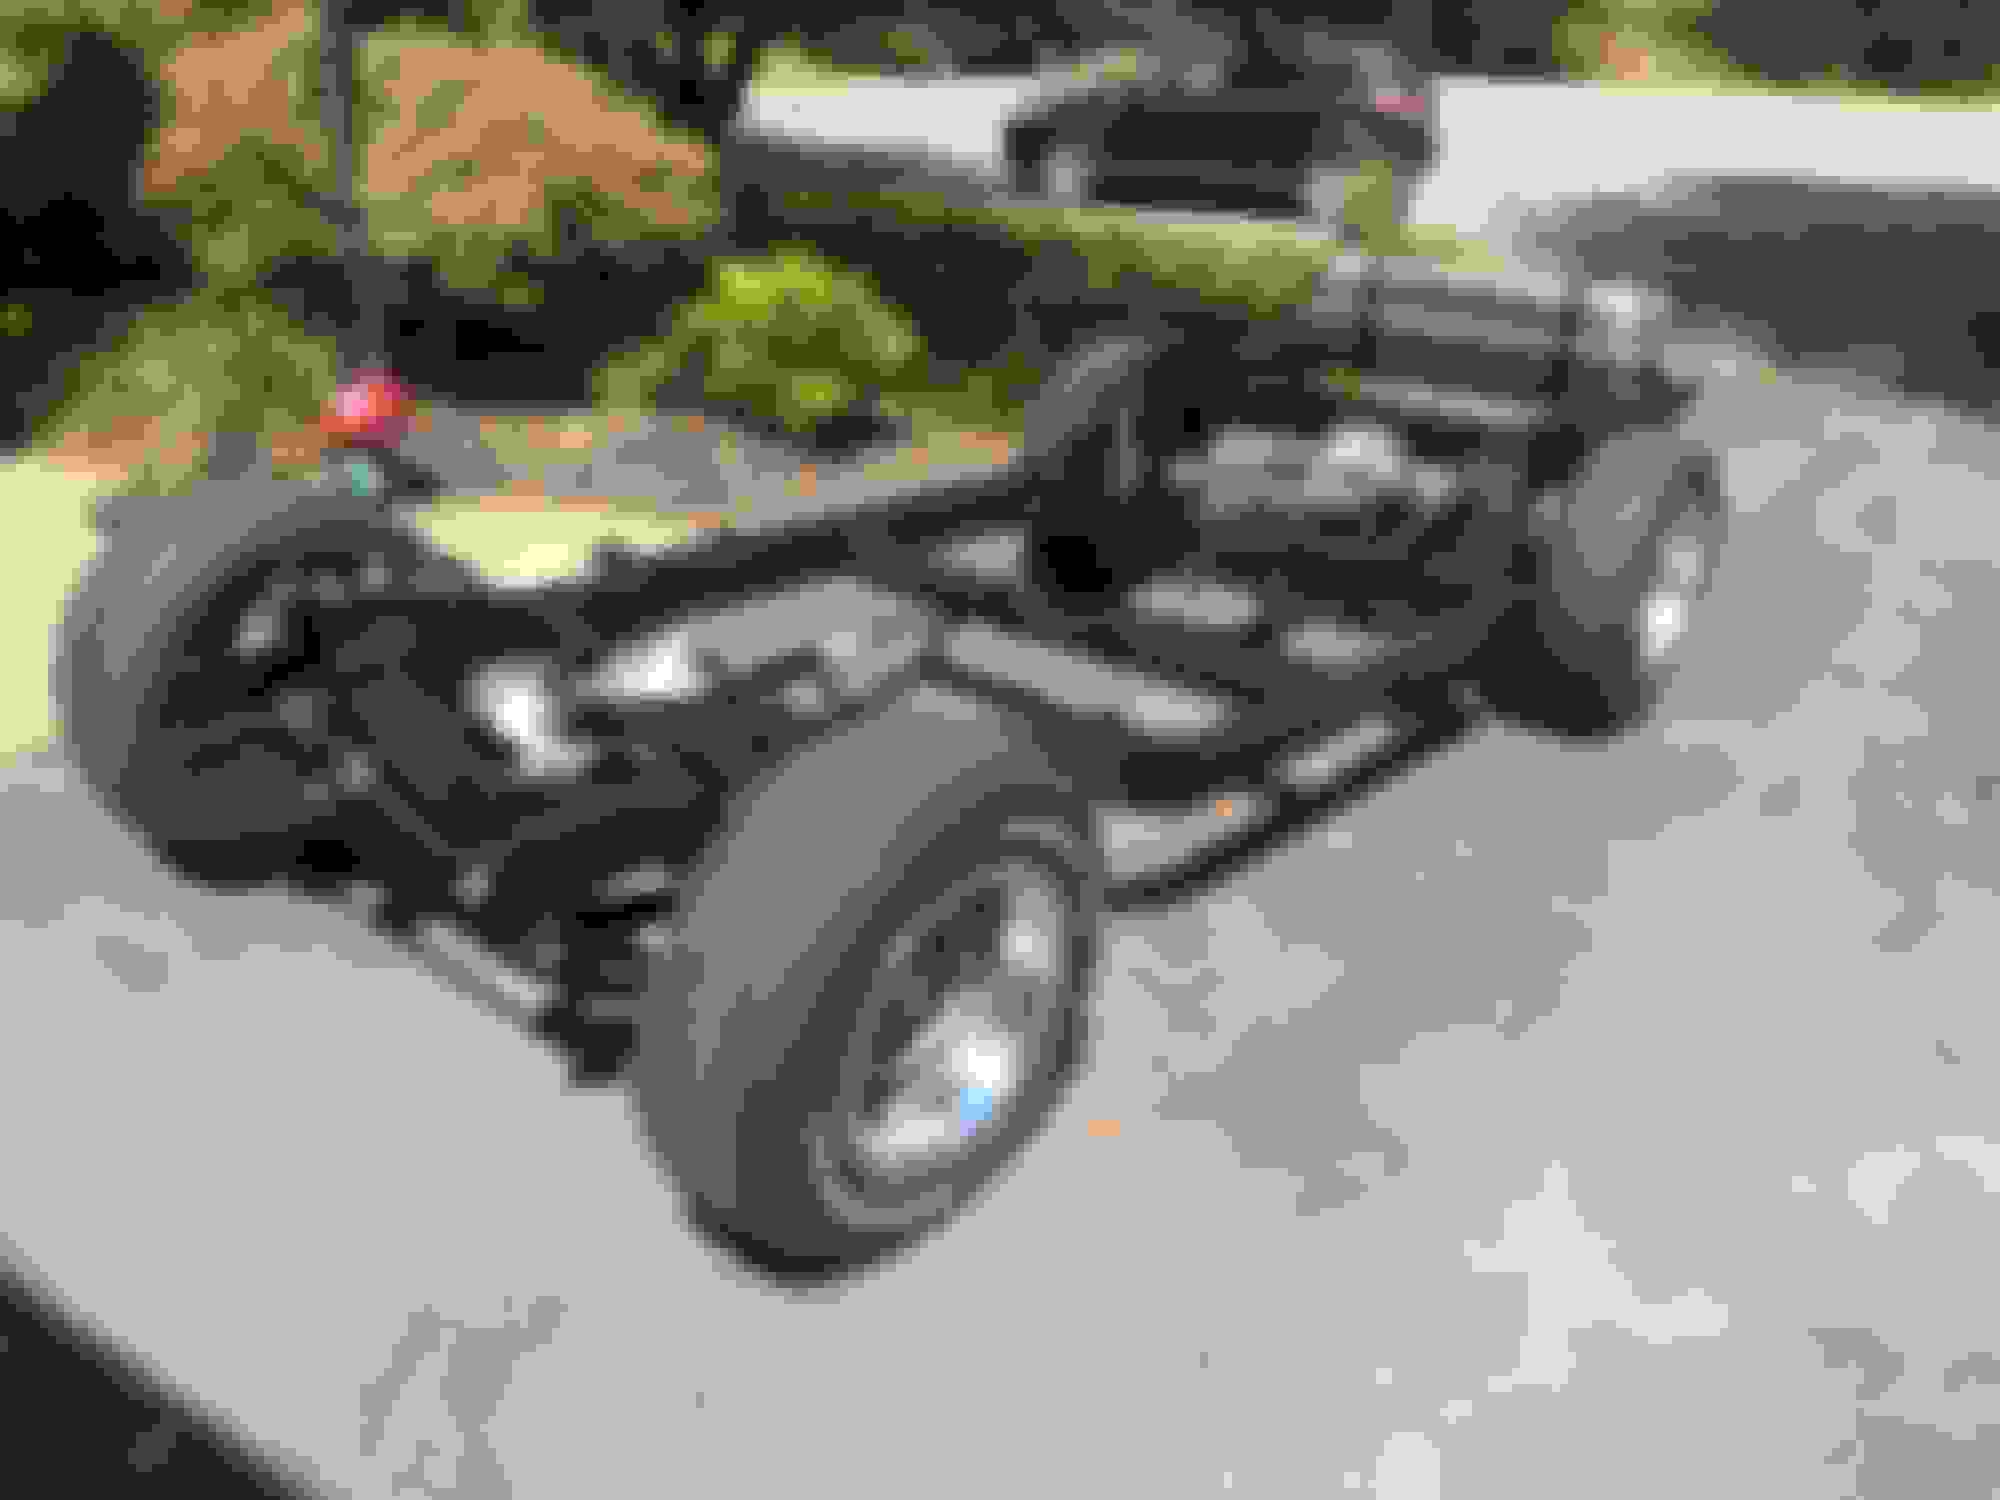
First are you sure you want to do it. From the photos your car will not disintegrate into a pile of rust if you do nothing, so be certain that is what you want to do. Once you start there is no going back.
If you decide to proceed you need to do your homework to discover what was bare metal, what was painted and how each particular part was finished. There were many different finishes, bare metal, chrome, chromate etc. The worse thing you can do is to paint everything black and even one shade of black.
Then I degreased with degreaser and carb cleaner and then power washed everything a few times. I used simply green and purple power to remove as much of the 45 year plus of grease and grime. You must get the undercarriage spotless if you expect anything to stick too it.
Then you need to take off the heavy scale, not all the rust for the items you are applying PQR, since it bonds to the rust, but all the flaking stuff has to go. I would dissassemble as much as you can and fell comfortable doing to make your life easier After applying PQR I would paint for two reasons, I believe PQR states it is required but I would also use different shades of black. The parts came from different vendors with different finishes, flat, semi, satin and gloss. I think there is nothing worse then a uninformed black finish under there.
With regards to the bare metal. I took a wire wheel on a drill and went to town to strip the rust and get back down to bare metal. I then used a satin clear to protect the metal. A warning to spray the metal quickly since it will literally rust back over night!!! Also be careful in that the wire wheels throw of little bristles that can embed in you, your eye and clothes so protection is CRITICAL. Trust me on this one, I can post a pic!!!!!
So have fun, messy job, and a small fortune in spray paints!!!!! Ask any questions but do some homework to figure out the correct finishes!!! Ike
Last edited by general ike; 04-09-2019 at 10:32 PM.
Thanks guys!
I definitely get the fact that everything is not done in the same finish. That's why I've been thinking of taking it a little at a time.
As bad as it looks, evrything is pretty darn solid down there,
I was thinking of using Eastwood's internal frame coating as a first step. Being here is Southern Nevada now, I'm not too worried about accelerated rust like I would be back on Long Island.
Watch you don't get the while I am at it I might as well do this bug eg;park brake kit ,trailing arm bushes ,u joints ,brake lines ,dust shields ,adjustable strut rods,wheel bearings ,leaf spring liners,shocks the list goes on.But a nice clean rear end on a c3 looks great.
With regards to the bare metal. I took a wire wheel on a drill and went to town to strip the rust and get back down to bare metal. I then used a satin clear to protect the metal. A warning to spray the metal quickly since it will literally rust back over night!!! Also be careful in that the wire wheels throw of little bristles that can embed in you, your eye and clothes so protection is CRITICAL. Trust me on this one, I can post a pic!!!!!
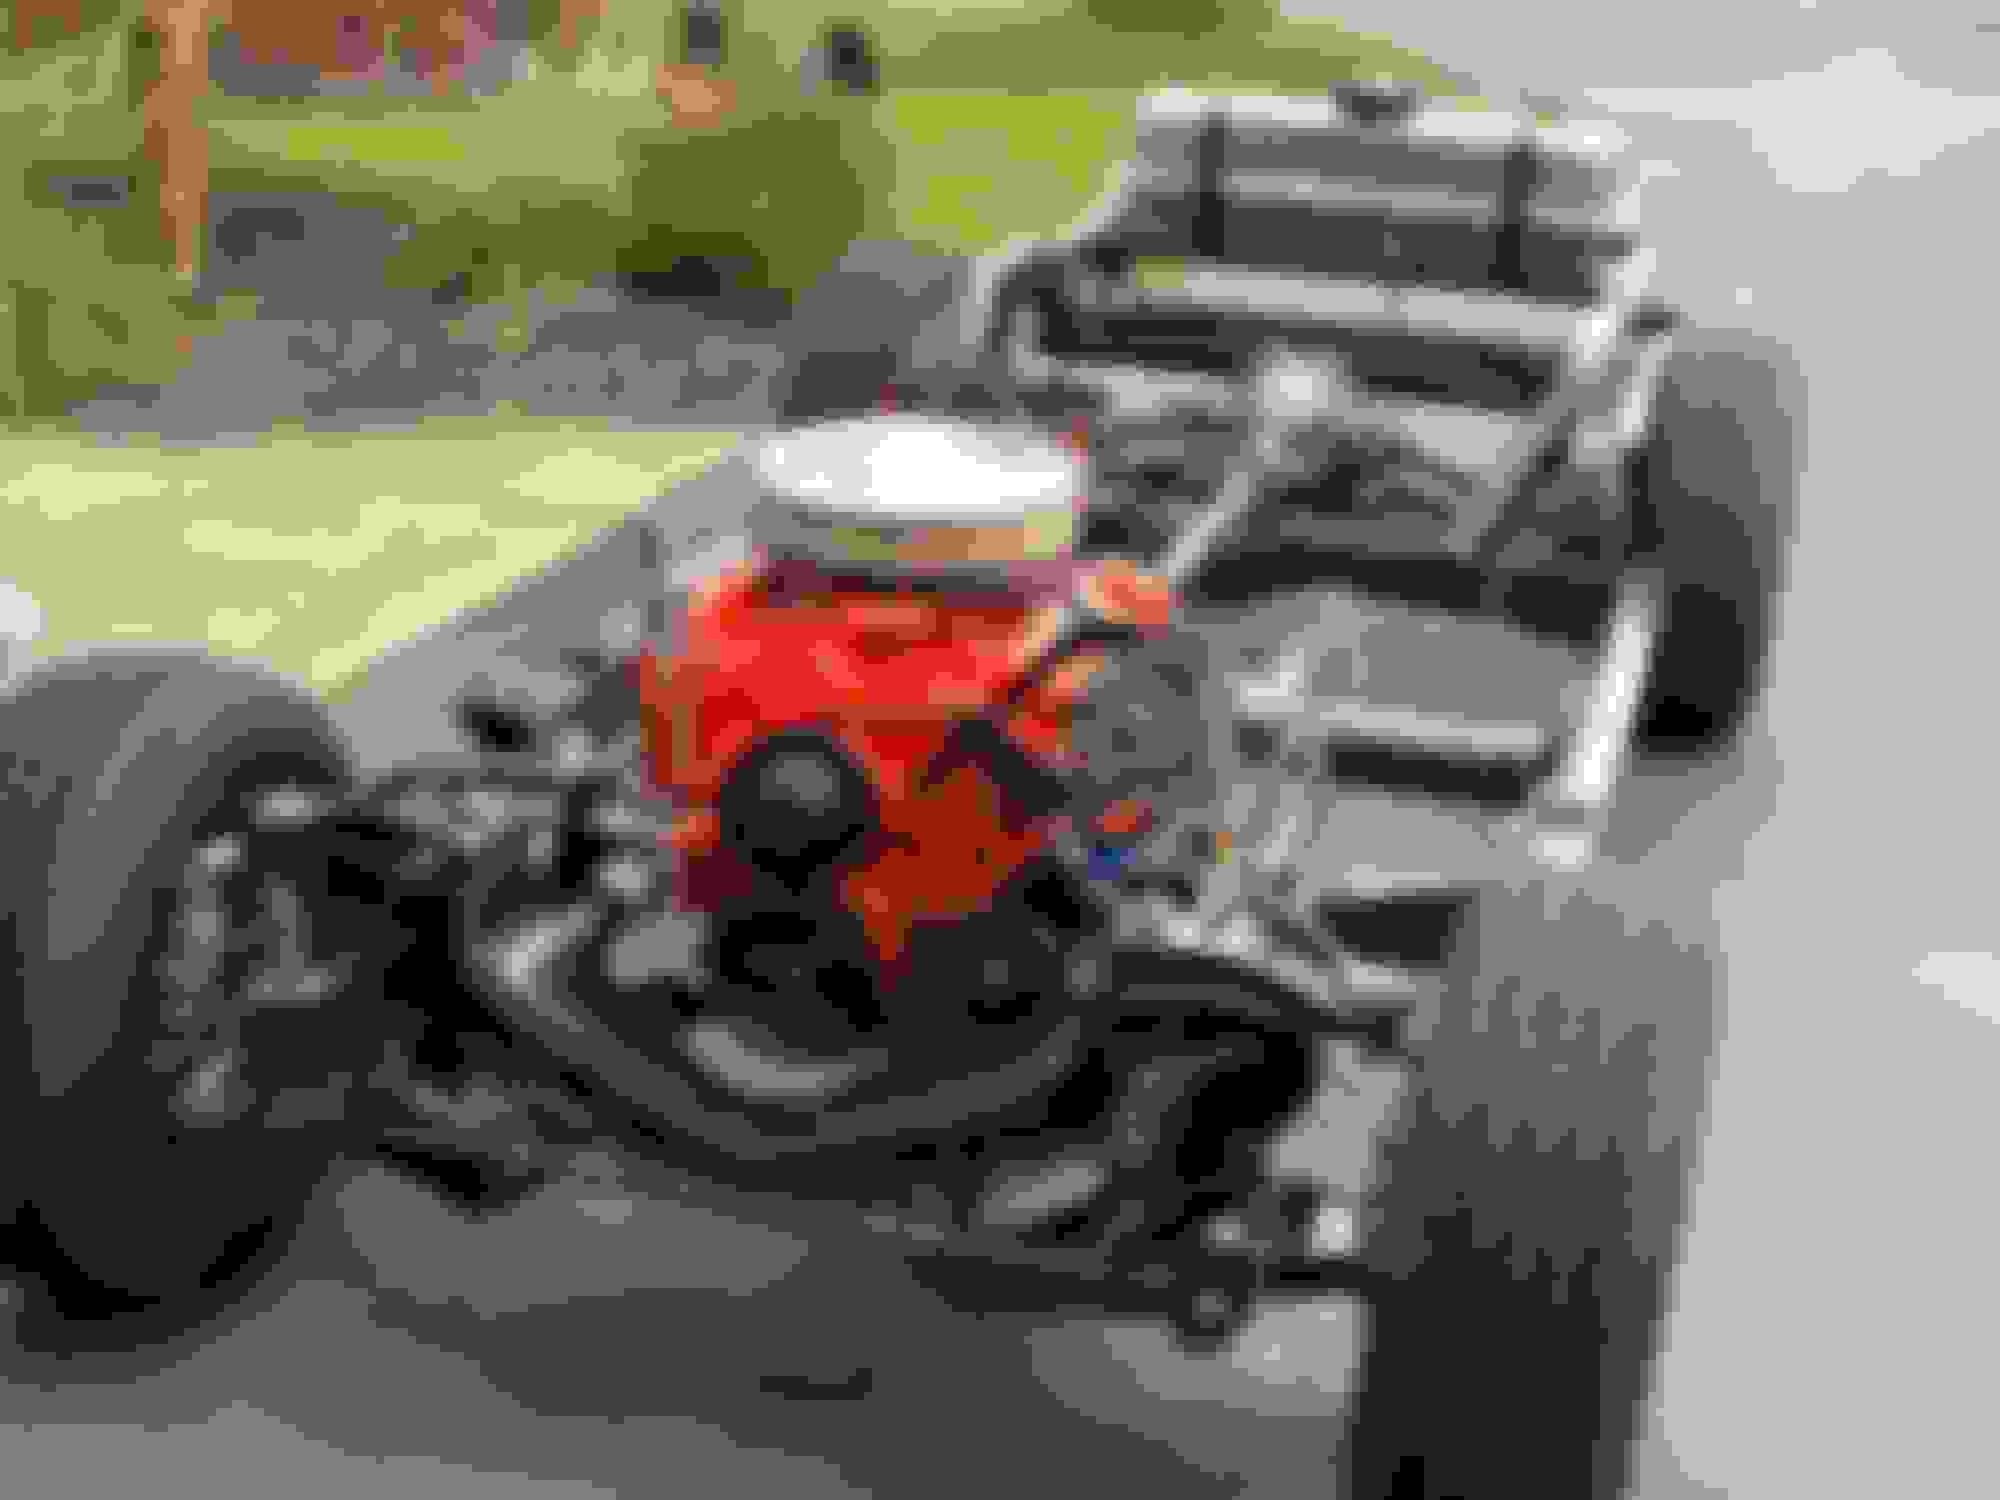
Nice work! I like the effect of the satin finish to the natural metal items. You did your homework. Is that spring heavy-duty? I asked because it shows spacers on either side of the spring.
For Fastimes, here is a frame & suspension finish page from the 73-74 NCRS manual.
My suggestion would be to start on the frame section behind the rocker panels. It will give you a taste of what is to come and is the only part of the frame that is visual to all. My second reason is that since you like taking pictures I want to follow your post of this misserable job which so many of us have done. T
Unless you have a hoist or a lift, you will be in physio therapy real fast. lololol laying on a garage floor is not the way to do this. I tried, then got frustrated. The next thing i knew the body was off the frame, and i was building a large scale model car. lolol 4 years later it was back on the road. There are so many nooks and cranny's to try to get into on these cars.
I am not trying to discourage you, Just sharing my experience with you. Everyone is different, and has a different view of what they want their C3 to look like in the end. But to be honest, you will need to get the car up in the air in order to do this properly.
The general's advice is solid...work to mimic the original finishes. The challenge is knowing what those were so this should give you a head start so you can begin your small investment in a bunch of rattle cans. Like others, I've been there! Also check out the other discussion thread where the poster got his frame powdered coated...impressive!
Ugh! Maybe the "patina" isn't so bad!
Thanks hunt4cleanair, that pdf is helpful.
Don't be discouraged! Just take it section at a time. For me, this was part of the fun...well the work was sometimes not fun, but the results are. I actually think everything underneath your car looks rather dry, so not a whole lot of degreasing...my car had some tar-like wet undercoating... on...everything!
Hey guys -
So in the not too distant future, I plan to start cleaning up the undercarriage of my car. Mind you, this is not an NCRS restoration. It's simply me crawling under the car, trying to make the greasy, rusty underneath of my car look a bit better. That said, I do plan on using the proper paint on the proper parts.
For those of you who have done a clean up job this way, is there a certain plan of attack I should adhere to? I just thought it was worth asking before I get under there with a wire brush, and start coating everything with POR-15.
Speaking of which, if I use POR-15 Semi-Gloss, is there a need to top coat?
I'm not looking to do this in one shot. I thought I could chip away at it a bit at a time.
Any advice on this project is appreciated.
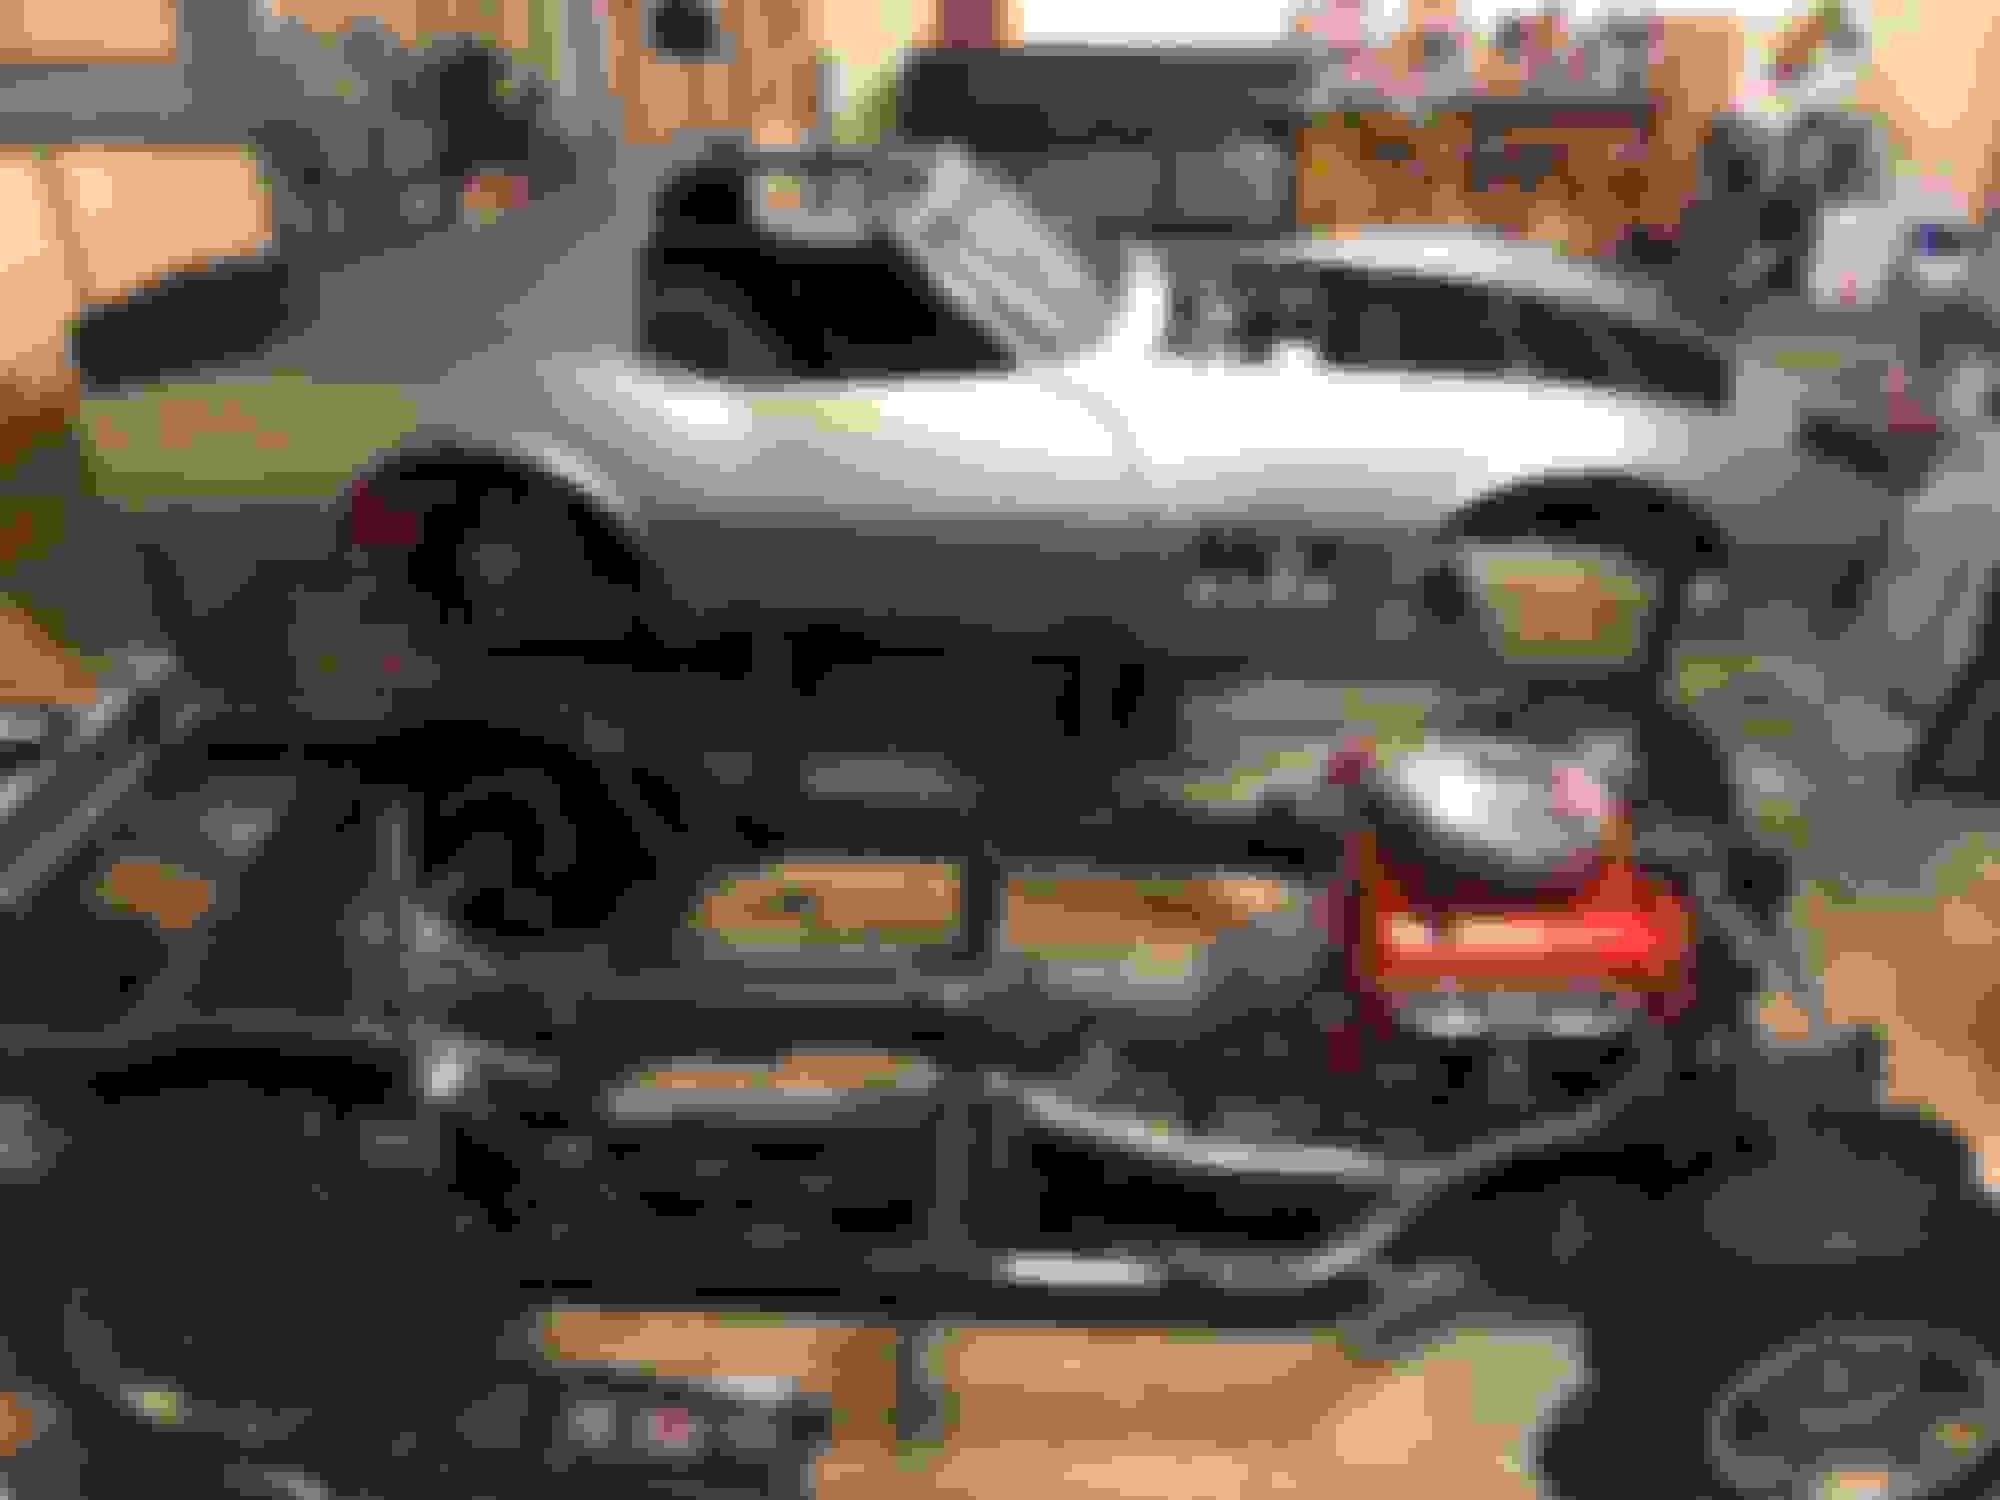
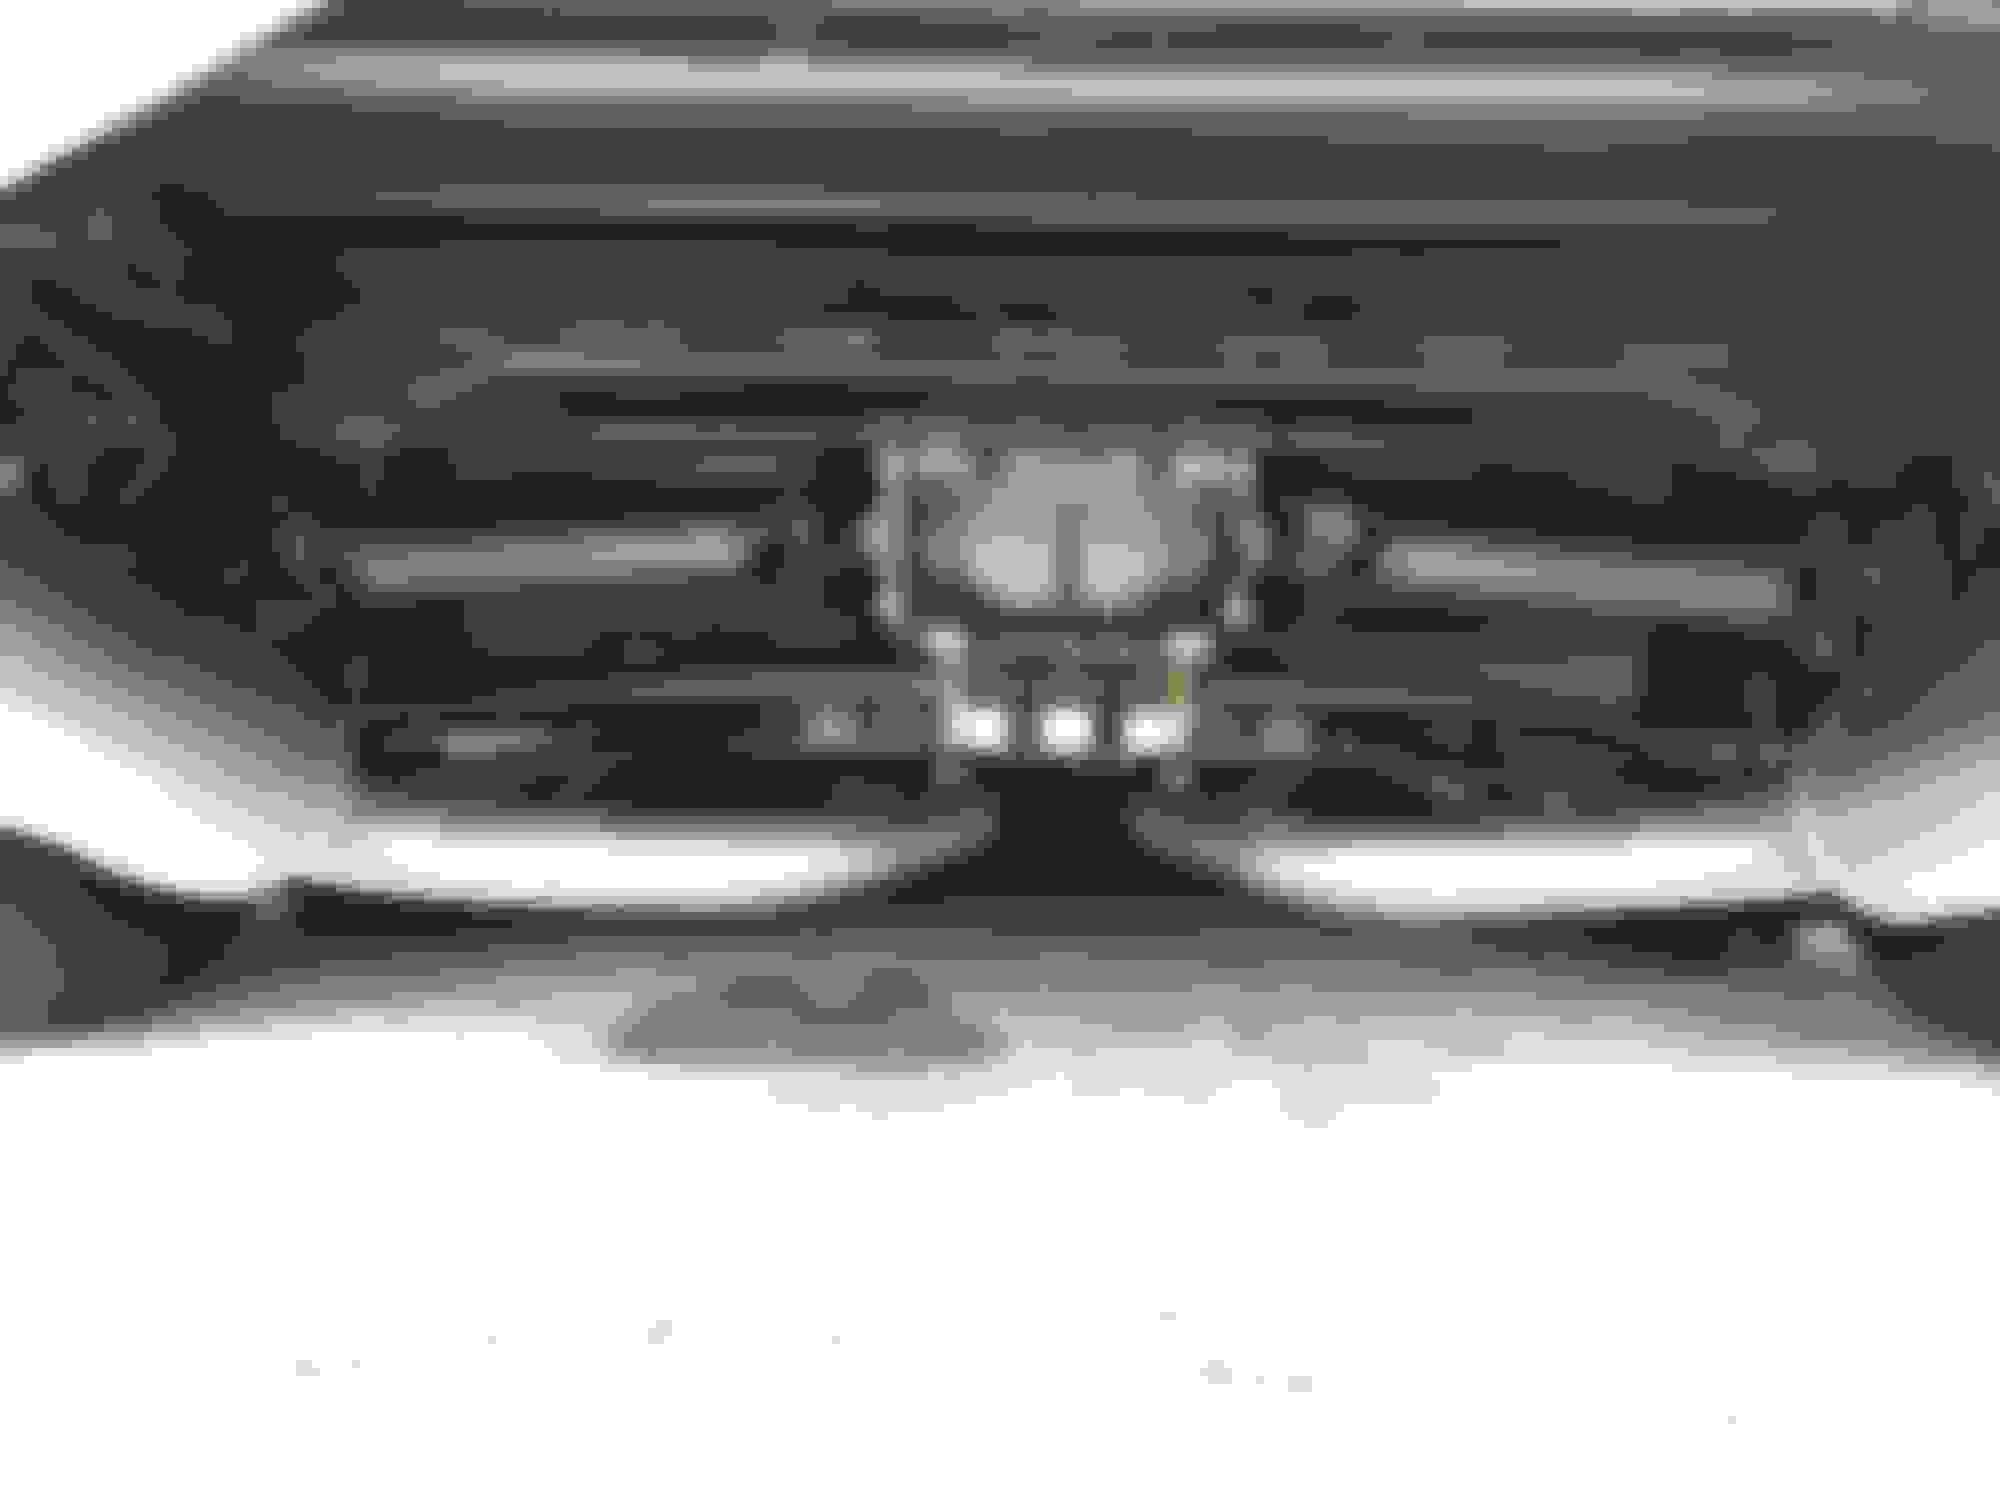
Have you checked the windshield frame in full detail ( inside and out) yet ? Kick spaces #2 bolt, #3 bolt area, #4 bolt (broken or rusted out ). The Bird Cage is key to whether you do anything to the car or not. You can clean and paint the frame and parts and "all be for not" with serious unseen rust. Just ask RVZIO who has a brutal picture of a rusted Bird Cage Windshield frame. What about fuel lines ? Or Brake lines ? Are they in good condition ? Trailing Arms ( Spindles are 47 years old ) U-joints ? Half shafts ? Differential Bushing ? Differential ? On the Front/ A-arms, steering, engine condition ? Radiator ? Just so many things come to mind that will make a difference on whether you spend you time doing some seriously grimy work under your car. But "rust" is the biggest concern being it spent a number of years on the East Coast, correct ? I'd also suggest that you do nothing under the car just sitting on jack stands, buy a Max Jack, Quick Jack or maybe what I use/picture below.
Honestly I was very lucky regarding "rust" on the most costly areas, I would have been screwed as my 1970 is literally the first car I've ever really done anything to. I wish you luck and caution as "Everything Corvette" cost $$$$ it seems.
Stands/Myliftstands.com
Btw, there are only 8 bolts holding the body to the frame, nudge, nudge.
These cars being 45 to 50 years old if never touched need attention. You can do a lot of things to make sure they are mechanically sound and should if you're driving it but of course one thing effects another.
There are a lot of truly gifted people on this forum who (far superior to me ) have helped me understand and fix issues that have arisen during my rebuild, couldn't not have gotten as far as I have without them.
You can do a lot to your car and save money by repairing/parts yourself, that's a huge accomplishment and very educating it's revamping the whole car can cost a pretty penny for sure.
Search for CraigH on the forum for a outstanding tutorial of his 71'.
It's a lot of fun to work on these cars.
Just work safely.
Last edited by caskiguy; 04-11-2019 at 09:58 AM.
Reason: grammar

 04-09-2019, 09:36 PM