


 OFF
OFF


Paint with bumpers on or off?
Thread Starter
Cruising

Joined: Aug 2006
Posts: 11
Likes: 0
From: Sudbury Ontario
Just finished test fitting my front and rear true-flex bumpers (3 hours on the rear and 8 hours on the front filling and sanding). As I get ready for paint I was wondering if was it was better to paint them off or on the car. BC/CC black so I�m not too worried about color shift/match. I�ve seen it done both ways.
Thread Starter
Cruising
Joined: Aug 2006
Posts: 11
Likes: 0
From: Sudbury Ontario
Thanks onaqwst and Big2Bird... any concerns of gaps changing with the added thickness... Not worried about the rear, I'm thinking of the front bumper on my '80 as it has to fit in the curves of the nose.
Advanced

Joined: Mar 2006
Posts: 95
Likes: 0
From: Lake Charles LA
Hate to disagree with everyone else but I would paint with the bumpers in place but not tightned to the body. Put all your bolts in place but leave them very loose and from the back side slip in some sort of spacers to hold the gaps open. Put a spacer every foot or so and put them in only far enough to hold the gaps open, not all the way through. I use some strips of cardboard about 1/8" thick cut about 1/2" wide. Next snug up the bolts a little to hold the bumper in place. This should allow you to get paint coverage around the edges and still not fill the gaps with paint (one thing that really makes a cheap looking paint job, that and paint on trim).
What this does is cuts out all the handling of your freshly painted bumpers. Once the paint is dry all you'll need to do is pull the spacers and tighen the bolts. Also, I and see your painting a solid color but if it was a metalic you have all the parts in the same directions and your paint will flow from body to bumper elimating possible differences in metalic particle set up causing color shifts.
Hope this helps, Steve
Advanced
Joined: Mar 2006
Posts: 95
Likes: 0
From: Lake Charles LA
Edges with no protection are the easy areas to burn, but if you use your buffer correctly and let the rotation spin off the edge as apposed to onto it then burning edges is taken care of anyway. The only other important thing to remember is take the weight off the buffer as it comes off the panel and has less and less support of the panel. I can't remember the last time I burned an edge using these methods. It's been years.
Oh and by the way this is not an just a solid idea....this works.
Steve
Corvette Stories
The Best of Corvette for Corvette Enthusiasts

Corvette ZR1X Will Be Pacing the Indy 500, And Could Probably Race, Too!
Verdad Gallardo
Top 10 Corvettes Coming to Mecum Indy 2026!
Brett Foote
Top 10 C9 Corvette MUST-HAVES to Fix These C8 Generation Flaws!
Michael S. Palmer
10 Revolutionary 'Corvette Firsts' Most People Don't Know
Joe Kucinski
5 Reasons to Upgrade to an LS6-Powered Corvette; 5 Reasons to Stay LT2
Michael S. Palmer
2027 Corvette vs The World: Every C8 vs Its Closest Competitor
Joe Kucinski
10 Most Common Corvette Problems of the Last 20 Years!
Joe Kucinski
5 MOST and 5 LEAST Popular Corvette Model Years in History!
Joe Kucinski
2027 Corvette Buyer's Guide: Everything You Need to Know!
Joe KucinskiDrifting


Joined: Sep 2006
Posts: 1,986
Likes: 21
From: Columbus MN
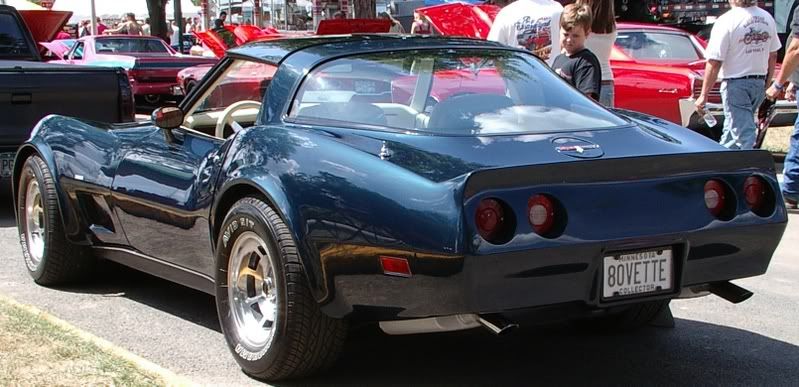
I replaced the urethane bumpers when I painted my '80 and painted the car 3 years ago with the new bumpers on - BONDED on with no seams, front or rear. I spent a LOT more than 11 hours, but it was worth it.


Drifting
Joined: Sep 2006
Posts: 1,986
Likes: 21
From: Columbus MN
I you're not going to go seamless, then definitely OFF. I've seen several C3s that were painted with the bumpers on. The paint had filled in the seams and then cracked. The crack was more obvious than a so-so fit.
Thread Starter
Cruising
Joined: Aug 2006
Posts: 11
Likes: 0
From: Sudbury Ontario
Great looking ride, MN80Vette. Seamless is a nice look, just not sure I want to get in to the custom look. But after looking at yours, you have me thinking...
Drifting

Joined: Jan 2006
Posts: 1,944
Likes: 22
From: Yooperville MI
If you paint them off the car you will get much better paint coverage and finish underneath the bumper covers and you can paint them at a comfortable working height which is important since there is a lot of underside area details like the tail light pods, license pocket, grille openings, etc.
As long as you fit the front cover well to the body curves across the front, and you have tested the fit of the retainers into the body, the paint film thickness won't be an issue when you mount it. Only you can judge the fit though, since we can't see it.
When I paint these bumper covers, I hang them and support them to keep them from swinging.
One trick on the front bumper cover and you'll see this problem occasionally at shows. The bumper cover mounting flange across the top must be parallel (vertically) to the body mount area (no gap when viewed from underneath). The fit depends on how good your mold came out from ACI or Toledo-Pro. If there is a gap between the 2 surfaces, you will end up with a crease along the top of the cover just forward of the bumper cover mounting edge when you tighten it down. The crease is caused by pulling the bumper cover into the body as you snug the nuts. As you close the gap between the body and bumper (you can't see this gap from the outside) the top surface of the cover distorts about 1" forward of the edge. It may not happen for a month or until it sits out in the sun, but it can be disapointing. Adding filler to the back edge of the cover to match the body shape, solves the problem. Best to check this out before it's too late.
Advanced
Joined: Mar 2006
Posts: 95
Likes: 0
From: Lake Charles LA
Steve
Burning Brakes

Joined: Nov 2005
Posts: 1,143
Likes: 0
From: Leander Texas
Hate to disagree with everyone else but
Put all your bolts in place but leave them very loose and from the back side slip in some sort of spacers to hold the gaps open. Put a spacer every foot or so and put them in only far enough to hold the gaps open, not all the way through. I use some strips of cardboard about 1/8" thick cut about 1/2" wide. Next snug up the bolts a little to hold the bumper in place. This should allow you to get paint coverage around the edges and still not fill the gaps with paint (one thing that really makes a cheap looking paint job, that and paint on trim).
What this does is cuts out all the handling of your freshly painted bumpers. Once the paint is dry all you'll need to do is pull the spacers and tighen the bolts. Also, I and see your painting a solid color but if it was a metalic you have all the parts in the same directions and your paint will flow from body to bumper elimating possible differences in metalic particle set up causing color shifts.
Hope this helps, Steve
I would paint with the bumpers in place but not tightned to the body.
What this does is cuts out all the handling of your freshly painted bumpers. Once the paint is dry all you'll need to do is pull the spacers and tighen the bolts. Also, I and see your painting a solid color but if it was a metalic you have all the parts in the same directions and your paint will flow from body to bumper elimating possible differences in metalic particle set up causing color shifts.
Hope this helps, Steve