When you click on links to various merchants on this site and make a purchase, this can result in this site earning a commission. Affiliate programs and affiliations include, but are not limited to, the eBay Partner Network.
About your pressure line ,are you planning on running a coolant temp sender in there (where its plugged off ?
For the power steering ? Can you draw a arrow for me
For Trans i will have an adapter to run a oil temp fitting in the return port of the trans. I will use a pressure sensor in the small 1/8npt hole
One more thing for anyone who has done body mounts.
The areas you have strengthened. How many people need to do that and can tell a difference that just drive the car and some hard cornering through the mountains every so often ? Maybe see a race track 1-2x year
There is no difference in feel with the gussets, but the braces were recommended in the Chevy Power Book as bazza77 mentioned. They likely found out the failure areas on the frame. With today's stickier tires and LS power, along with 50 years of metal fatigue, I think any C3 used for hi-perf driving should reinforce those areas. I saw a forum member's post (maybe deejay?) where his A- arm mount tore the crossmember, looked ugly. If you have access, now is good time to add them. The A-arm mounts and sway bar braces can be welded in from the bottom id needed.
Need to workout best way to connect ps pump and steering box..
Looks like the same reservoir used in a GTO? I used the GTO brackets to mount the accessories. Also I had issues with loss of power assist on tight courses, until I had a shop shorten my high pressure line and rotate the fitting. May have been trapping an air bubble?
Yes its a GTO reservoir. I will take the lines in and get them shortened and either new fitting put on or buy a olive that goes in the back of the PS pump like thishttps://www.speedwaymotors.com/O-Rin...ter,24682.html
As for the gussets, ill ask the guy doing some welding work the cost and time and see if he can do some of them.. I gotta draw a line somewhere !
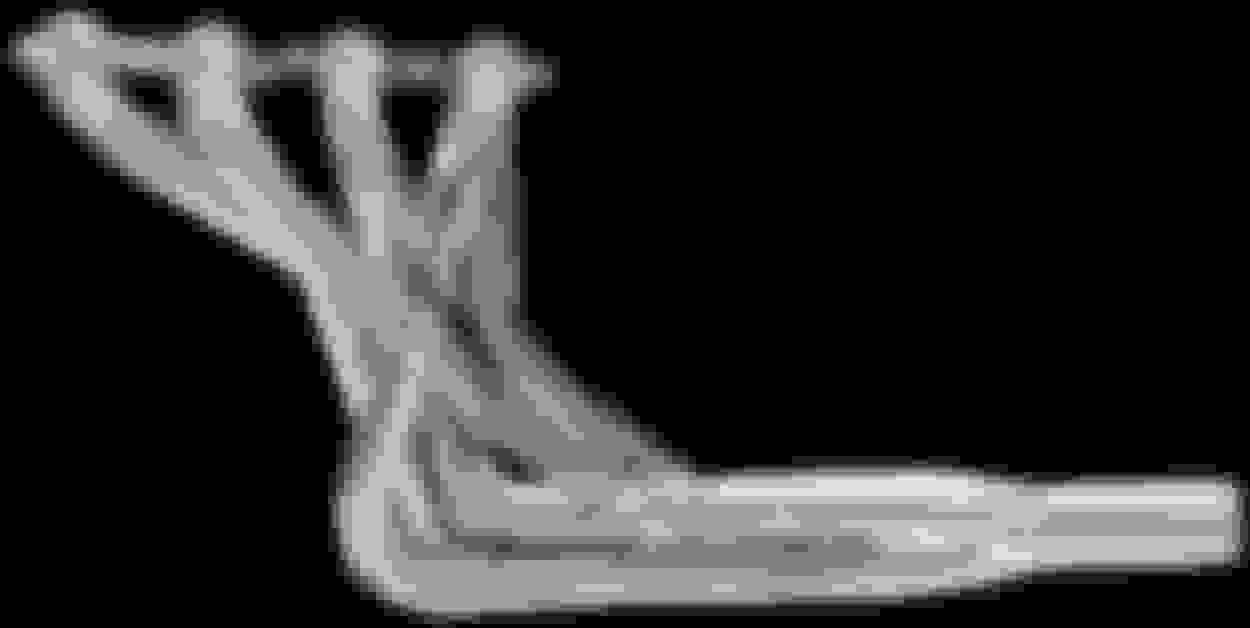
Did the pics of the headers help re your decision ?
Thanks for going to the trouble measuring the header clearance and taking pics! Was hoping the C5 version was higher, but don't mind cutting it up for the price.
Bazz77, thanks. These gusset pieces were designed and refined in CAD so we could reproduce them. We send them out to one of our vendors do get cut.
Sorry for taking your build thread off track, I should start my own.
Rick
Last edited by CiroRacing; 12-16-2018 at 05:00 AM.
My LS1 had a engine coolant temp sender in that point and it was pretty close to the pump outlet fitting , but it doesn't sound like your going to use that spot anyway.
Also , about that no 1 extra body mount rubber , Its not from inside the car is it ? Also Absolutely put one of those aftermarket cross bars between the shockie towers
Last edited by bazza77; 12-09-2018 at 04:47 AM.
Reason: spelling
Oh, i have the sensor on other side of the block at the rear, but i will be moving to that area you show.
The other side i will use a AEROFLOW AF912-M12-02SS M12X1.5 PIPE REDUCER TO F/MALE1/8" NPT STAINLESS STEEL adapter to fit a water temp sensor for my dash,
DO NOT USE Aluminum, they are way too weak and will break.. ask me how i know..
Which ones are you referring to as a must?
Getting them in before Xmas and holding off getting trans in, and body back on will just put too much stress on the project.. For the cost its well worth it esp in my position.. I may just as the fabricator to do the ones you suggest.
As for the body mount the #1 is inside the engine bay so no rubber ontop. I think it was from the other side. no idea why i put it ontop and took a pic... Do i have the mounts right in the pic above with the shims and washes ?
this type , I got one that was just the individual pieces ,so I had to weld it together , which is what you will want to do to get it past the LS . You can put it on later ,
Which ones are you referring to as a must?
Getting them in before Xmas and holding off getting trans in, and body back on will just put too much stress on the project.. For the cost its well worth it esp in my position.. I may just as the fabricator to do the ones you suggest.
As for the body mount the #1 is inside the engine bay so no rubber ontop. I think it was from the other side. no idea why i put it ontop and took a pic... Do i have the mounts right in the pic above with the shims and washes ?
#2 and #4 is where I saw the lower arm mount tear the frame in BeeJay's C3 post. #1 if you run a large sway bar. #3 if increasing torque. 1,2 and 4 can be done welded from under the car with the body on. #3 is partly blocked by the A-arm underneath, and easier to weld from the top with engine out or body off. You could just tack 1, 2 and 4 on, and have a muffler shop MIG it from the bottom.
Last edited by CiroRacing; 12-16-2018 at 05:03 AM.
Which ones are you referring to as a must?
Getting them in before Xmas and holding off getting trans in, and body back on will just put too much stress on the project.. For the cost its well worth it esp in my position.. I may just as the fabricator to do the ones you suggest.
As for the body mount the #1 is inside the engine bay so no rubber ontop. I think it was from the other side. no idea why i put it ontop and took a pic... Do i have the mounts right in the pic above with the shims and washes ?
Nat, these are the ones I was speaking to you about the last time I was over.
Ok some updates:
- I am on the 2nd set of headers. The Speed Engineering LS Swap Camaro Firebird Headers 1982-92 Part # 25-1035
they will NOT work with borgeson steering box
they will work with the steeroids rack however i can see they are still VERY close to the oil cooler adapter plate... They can be used but some drawbacks.
There was also some alignment issues with the trans and driveshaft, ill show pics.
GTO PS Pump
You need an olive to adapt to the GTO style pump.
Using the LSX Innovations adjustable mounts, i the engine as far back as it can go.
Drive shaft had to be shortened 3.5" DS stock is 716mm from center of centre (of ears) Moving the yolk 1 inch out from the tailshaft the measurement to the edge of the strap mounts (middle of uni) from the tailshaft yolk to diff yolk is 636mm. = 80cm or 3.5" shortened.
Cut, welded and balanced.
New 1350 Solid Spicer Half shafts.
This water pump has some clearing with the a-arm with the engine sat back. But i will still not use that location.
I have tapped them below it.
Installing trans with 300stall convertor
Spacer made up for the C4 fan blower. I have read that some have suggested a full size spacer for the whole case so the entire fan is usable. But there is no room with engine sat back..
Showing the clearance of the fan when blower is used. It is in exact same place stock. This will fit within the clearance of the firewall and engine. It does need to be in before the body goes back on the frame. The head is in the way if you try and put it back in with engine and heads installed. You would need to split the case in the both halves again.
The hand brake cable bracket cant be used. Interferes with the drive shaft. See later posts for what i did.
I didnt take into consideration that the bracket should be in exact same location.. Needs to be shifted across to the right 15mm.. Driveshaft sits to one side too far now.
Current welded position of the trans cross member bracket means the 3-4 servo hits the trans tunnel.
This is the current position of transmission
corvette servo hits the floorpan
Drive shaft yolk hits the floor pan
need to bring the tailshaft extension housing across
The stock dipstick does not fit with the trans so far back.
Need to buy flexible one. Do not buy one that has a plastic fitting at the sump end. Do not buy one that is full length long, get one that is shorter stub. Will post pics later.
Just some angle shots of the shiftier linkage
PUT THE TRANS BRACKET BACK IN THE SAME LOCATION AS STOCK !!!
* I may be looking at BRPHotrods set and see if i can use that.
Will keep you updated.
When removing the bolts and using a ratchet strap to pull the driveshaft a little closer to center of the tunnel the bracket needs to be moved across.
When moving the driveshaft across it hits the handbrake bracket and cant go further until i take off the cross member and file it down.. But already you can see it improved the clearance
Corvette servo also no longer hits the floorpan I also had to trim an ear from the bell housing to allow more room for the trans cooler lines
The trans will most likely need to be lowered on a jack to get the loom plug on the trans.
UPDATE
There are some additional mods needed for the hand brake. I will update when i do them. I have had to cut the bracket off and make another.
Another TIP. Leave the AC bracket off when putting the body back on the chassis BTW...
Clearance on passenger side
Clearance on drivers side
AC box clearance
Water temp sensor, possibly should be removed to the other side.
Another AC box clearance
Front accessory clearance
This is using the 6" bolts. I should use 8 to 10" bolts to lower it. Anyone got the specs of them so i can get from bolt store? Finally i can start to get the inside done
4l60e vacuum line hoses I could not find a pic anywhere at ALL. So here is one. I hope it helps and is all configured correctly
Its hard to see but the metal T has one line going up behind the oil fill tube, its a one way valve that allows air to be sucked in.
The metal tube with flat section on the left near gear selector allows overflow oil our of the trans.
I had to remove the oil cooler line fittings otherwise they would have fowled on the trans tunnel.
Also when installing the AC box you can use silicone or something but mine had a descent gap in it to the firewall.
I used heat shield foam
Also cleaned up under the birdframe sill and painted it with rust proof epoxy
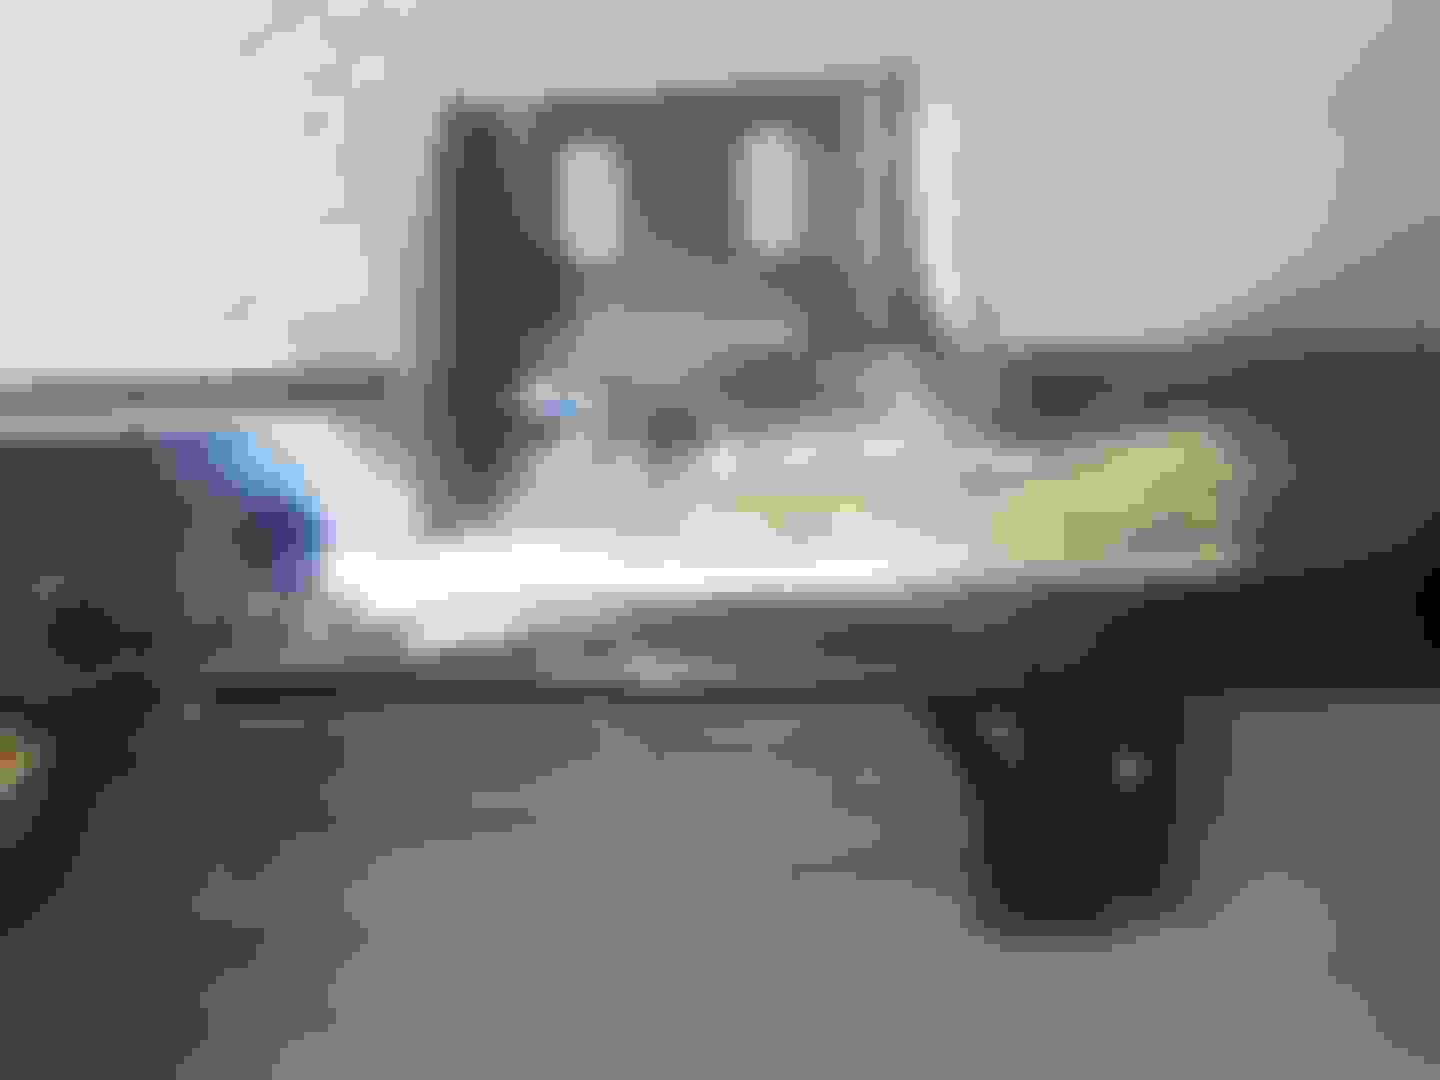
Frame has been painted with epoxy and clearcoated. You can see how the body mounts are orientated.
Frame was also sprayed inside with odorless fish oil.
Using the CCBinc C4 brake upgrade with 0-ring seals and all new hardware.
I had the model number and Aldeco logo shaved off. I will get a decal printed up and put on the calipers.
Brakes have been ceramic coated and then special high temp powder coat is used.
Hopefully very soon i will be getting either the mid length or full length headers from BPR Hotrods, both in 1 3/4 size. It will all depend on firewall clearance in my current setup. I have overlayed both to see what kind of angle the runners will end up having.
It seems the long headers have more clearance everyway. The height clearance of the headers is supposed to be much better than the melrose ... I will post back when i found out more.
They fit !!! Finally a set that clears the steering box. These exhausts fit with LSX innovation mounts that allow the engine to sit back towards the firewall. They also work with the matching BRP hotrods engine mounts which sit the engine forward
I will measure how much clearance i have here
Birds eye view of clearance
Clearance of the runner closest to firewall on drivers side
Clearance of the oil cooler adapter Lines will need to be wrapped.
Clearance of the drivers side merge collector
Passenger side with starter motor - need to trim the heat shield
Passenger side clearance and idle arm and engine mount


 12-08-2018, 09:56 PM


 Also Absolutely put one of those aftermarket cross bars between the shockie towers