When you click on links to various merchants on this site and make a purchase, this can result in this site earning a commission. Affiliate programs and affiliations include, but are not limited to, the eBay Partner Network.
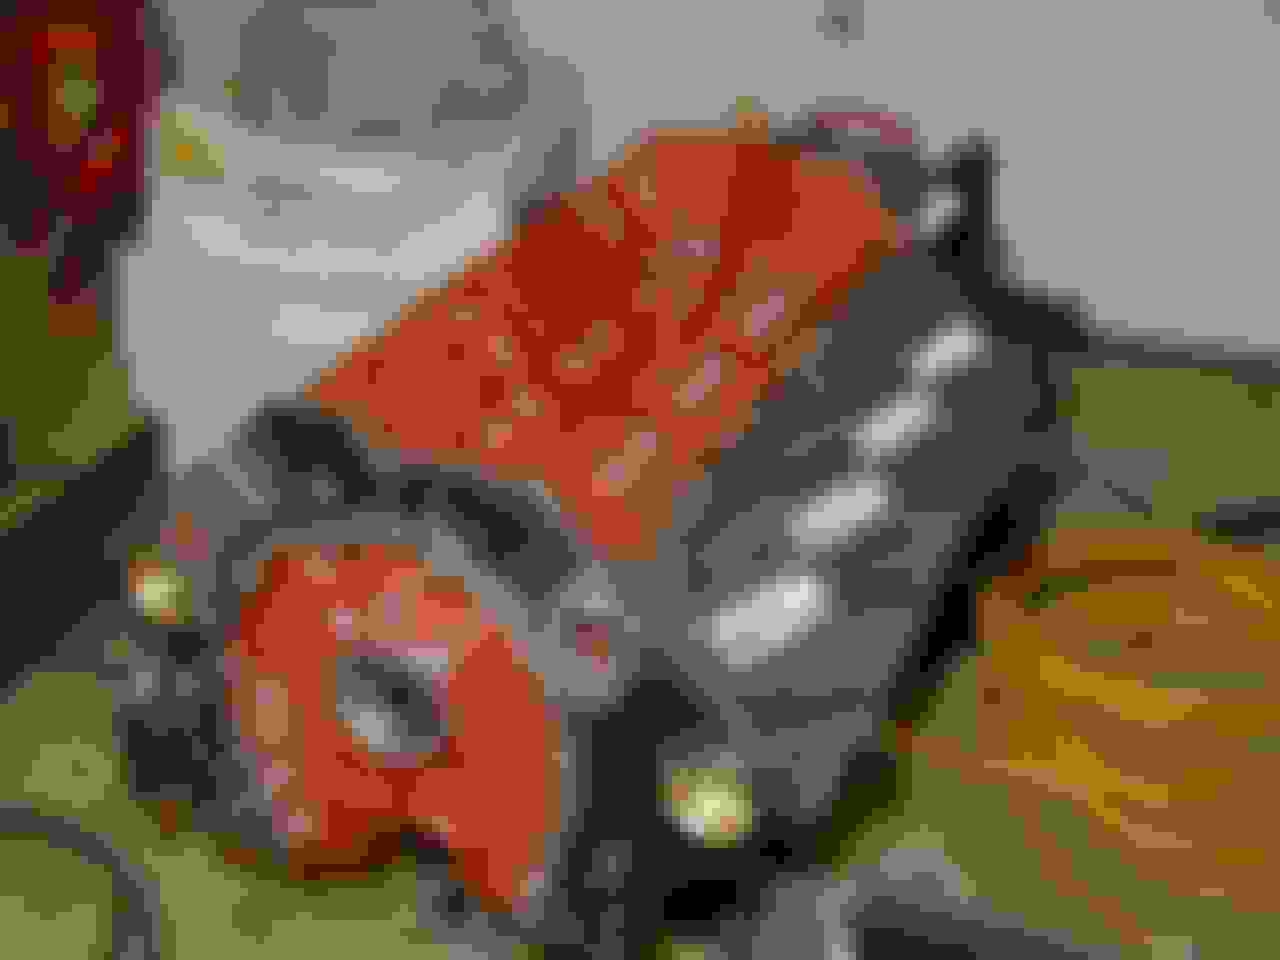
I got all the freeze plugs removed, but I’m at a loss on how to remove the oil gallery plugs; you can’t get behind them and pounding them into the oil gallery and hoping you can retrieve them seems like the worst idea ever so....
or maybe I could join an Internet forum where people discuss stuff like this? Only problem is the ******** who jump on and make snarky, valueless posts.
First you waste our oxygen by breathing, now our electrons by posting... very inconsiderate.
or maybe I could join an Internet forum where people discuss stuff like this? Only problem is the ******** who jump on and make snarky, valueless posts.
First you waste our oxygen by breathing, now our electrons by posting... very inconsiderate.
Sunflower just answered your question and you come off insulting?
Maybe if you want to see a jumpy ******* you should look in the mirror!
or maybe I could join an Internet forum where people discuss stuff like this? Only problem is the ******** who jump on and make snarky, valueless posts.
First you waste our oxygen by breathing, now our electrons by posting... very inconsiderate.
Meant no offense. Sorry YOU took it that way. Seems pretty clear cut to me. But what do I know.
Sorry about that Sunflower1972. I had "******* cranked up to 11" there for a while.
-Like a minute before I posted I was trying to get the square plugs out of the other side of the block using the only 1/4" square thing I have - a 1/4" socket to 3/8" socket adapter (into a 3/8" to 1/2" socket adapter) and I not only twisted and ruined the socket adapter, I screwed up the inside of the square plug and smashed my fingers. I ALMOST always search before I ask a question and I had seen a video of a guy using a bunch of old pushrods through the oil gallery holes to pop the other side out already --- my "Internet Pet Peeve" is when someone posts "just search" on a forum (when I've already searched before I asked a question, and to me the point of a forum is to get perspectives on multiple ways to accomplish the same thing; it just set me off. ---Not an excuse, there's no excuse, just context; I was just pissed off I screwed up those stupid square plugs. .
Note to self: Stay off the internet after smashing your hand and @#@#%@#$ up your block for a while...
Adam
P.S. Story gets better: I tried to heat the other two plugs, and then freeze them rapidly with a compressed air canister upside down and I screwed up the other two plugs now, too. Karma sucks.
Last edited by NewbVetteGuy; 10-22-2018 at 01:17 PM.
Sunflower just answered your question and you come off insulting?
Maybe if you want to see a jumpy ******* you should look in the mirror!
Fair.
I'd like to think I'm a jumpy ******* less often than I was 10 years ago and 10 years ago before that; maybe someday before I die the jumpy ******* will be gone.
Take the block to a machine shop and have them remove them.
I'm going to try an EZ-Out tomorrow night and then I give up and it's the machine shop's to deal with. I just don't want to "let them win" and by "Them" I mean these @#%@#% square plugs!.
Adam
Last edited by NewbVetteGuy; 10-22-2018 at 04:54 PM.
If you drill through the plugs, then get easy outs with a straight flute, the spiral ones tend to expand the plug as you try to twist it, whereas the ones with the straight flutes will grip it without causing the expansion. Like these. I take out broken 1/8" pipe fittings with them frequently.
Just finished stripping all the plugs out of 2 3970010 blocks.
Biggest issue is age has them pretty well stuck in there.
Best thing to do is presoak everything with PB Blaster for a couple of days.
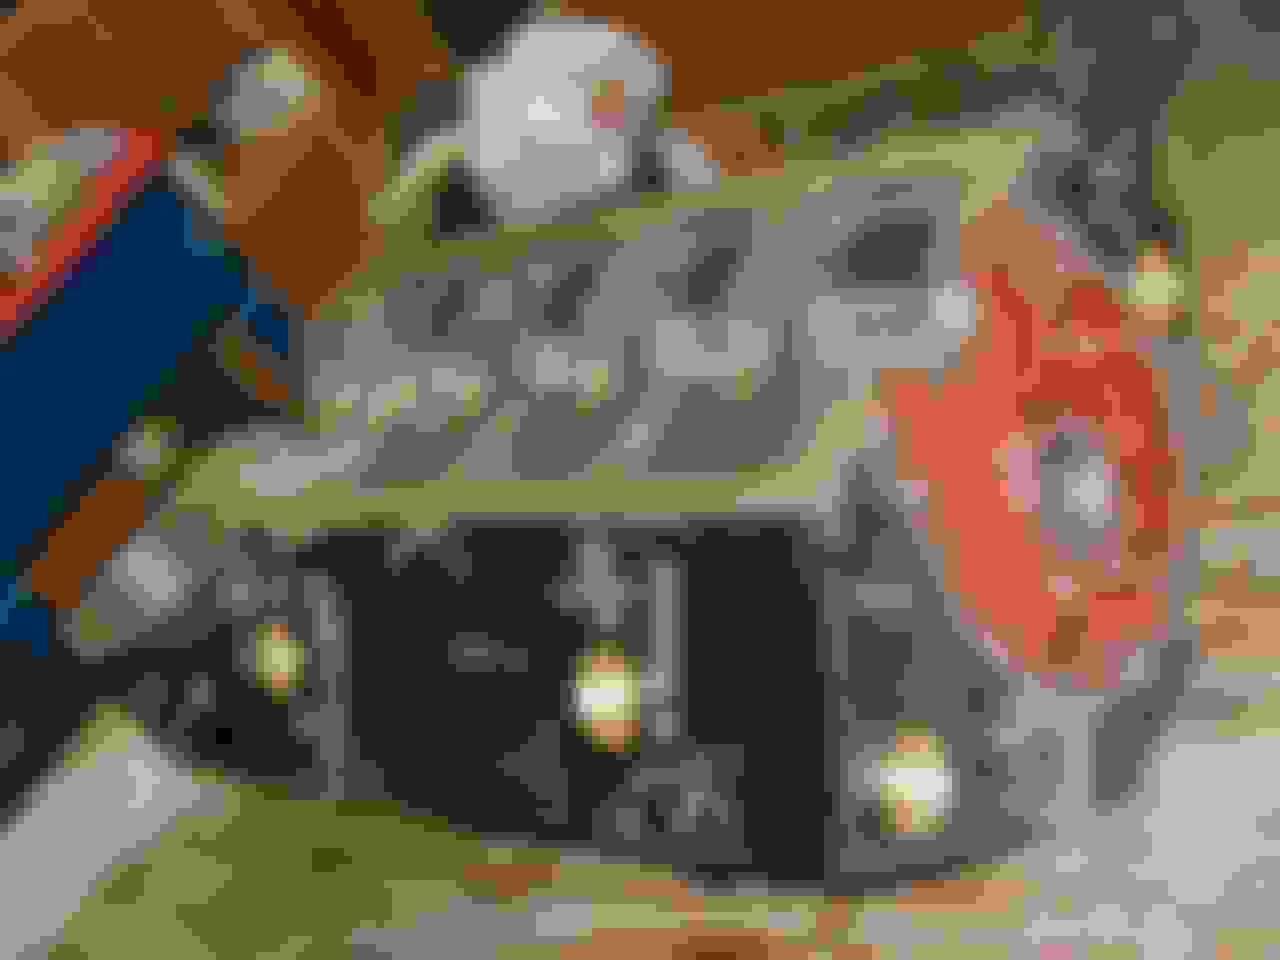
Then take the 3 screw in plugs off the back side of the block using a breaker bar and square fitting .
If in too tight I fire up the torch and get the plugs almost red hot. Come out usually that way.
Once these 3 are out....I use a 1/4" threaded rod. Slide it down the galley until it hits the plug. Good whack with a hammer and they usually pop right out.
Same technique for removing the plug that is in the hole going straight down to the oil input below the rear main cap. You definitely need to take that one out to truly clean the oil galley system. Remember to install a new one. Several diagrams are online showing the correct distance the new one needs driven in....very critical or you will have no oil pressure.
There is also another small plug back by the distributor hole that comes in at an angle. Same deal as the other 1/4" plugs. I had a really hard time with this one even after using the torch. So I drilled it out and got a new set of Craftsman easy outs. They are square shafts with a taper to them and a cutting edge that really bits into the metal leftover. Tap with a ball peen hammer until solidly set into hole. Use a large handle adjustable wrench for good torque and slowly turn it out.
I pull out all the plugs, bolts, caps and cam bearings before taking it to the shop....saves about $50 in labor. They boil it out and magnaflux it for $80-100.
Then I tap the front galley holes and the lifter valley holes to put in new 1/4" plugs in the front and breather plugs in the lifter valley. At same time I grind off any loose flash i the oil valleys so to get good return of oil to the pan. Last tip is to drill a small hole in the passenger side front plug to help with oil to front gear on the camshaft.
Run a rifle bore brush down each of the galley lines and flush again. Blow out with compressed air. (You could do these last steps BEFORE taking to the shop so that when they boil it out it is really clean). Only issue here is you spend more time with all this extra work and then they magnaflux and find you have a cracked block. Check it carefully first and then decide.
I also paint the lifter valley with the Glyptal red electric motor paint. Along with the front area behind the timing chain area. Makes for a slicker return for the oil.
You will break tools, damage the plugs and remove skin any other way....The small screw-in plugs have to be heated with a oxy-acetylene torch until they glow cherry red, then you spray the plug down with a little PB blaster. After that, the plugs will just about screw themselves out (this will amaze you the first time). Propane torch is not really hot enough.
The smaller tap-in plugs are removed by screwing in a lag bolt and prying them out with a vise grip. The large tap-in core plugs are knocked into the water jacket and then you grab the edge with a channel lock pliers and lever them out.
Cam plug is not hard and will tap out from the other side once cam is out.
One thing to be careful when heating a part and using a solvent or oil on it is the biproduct it creates. I don't know about Blaster but there have been times were brake cleaner was shot on a surface to clean it and then heated with torch or welded. This produced deadly phosgene gas vapors and if you breath it in will have serious affect on your health pretty quick.
You will break tools, damage the plugs and remove skin any other way....The small screw-in plugs have to be heated with a oxy-acetylene torch until they glow cherry red, then you spray the plug down with a little PB blaster. After that, the plugs will just about screw themselves out (this will amaze you the first time). Propane torch is not really hot enough.
The smaller tap-in plugs are removed by screwing in a lag bolt and prying them out with a vise grip. The large tap-in core plugs are knocked into the water jacket and then you grab the edge with a channel lock pliers and lever them out.
Cam plug is not hard and will tap out from the other side once cam is out.
Well I was using Butane so REALLY not hot enough... Make sense.
-The EZ Outs really were easy. I've never used them before and now I don't know how I lived without them.
You will break tools, damage the plugs and remove skin any other way....The small screw-in plugs have to be heated with a oxy-acetylene torch until they glow cherry red, then you spray the plug down with a little PB blaster. After that, the plugs will just about screw themselves out (this will amaze you the first time). Propane torch is not really hot enough.
The smaller tap-in plugs are removed by screwing in a lag bolt and prying them out with a vise grip. The large tap-in core plugs are knocked into the water jacket and then you grab the edge with a channel lock pliers and lever them out.
Cam plug is not hard and will tap out from the other side once cam is out.
I already had all the freeze plugs out using the exact method you said. After getting the threaded plugs out with the EZ out, I put 3 old pushrods in the oil galley and smacked them with a rubber mallet WAY too hard the push in plug on the other side shot out and so did all the push rods like bullets - bouncing all around the garage. Took like 10 minutes to find where they all ended up.

 10-20-2018, 10:53 AM