


1980 New Gauge Cluster
Thread Starter
Advanced


Joined: Jan 2007
Posts: 75
Likes: 27
From: Port St. Lucie Florida


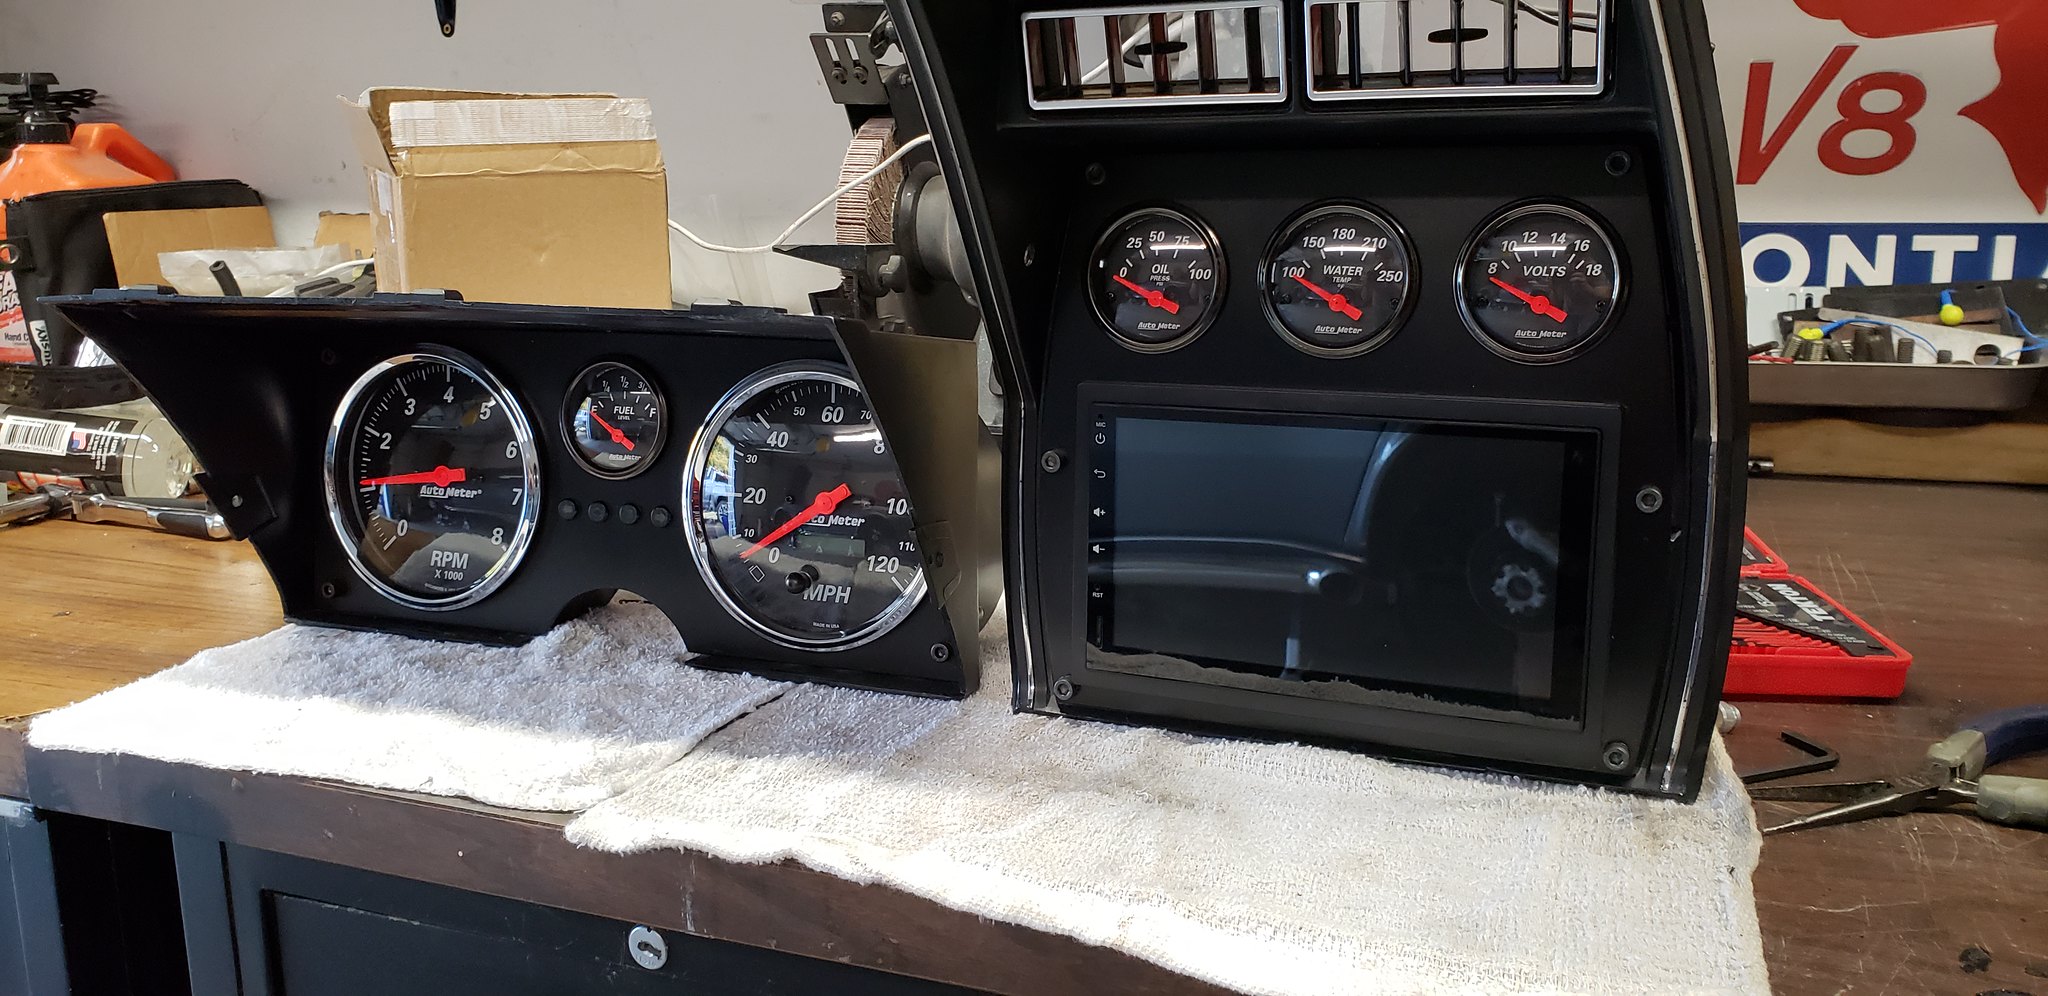
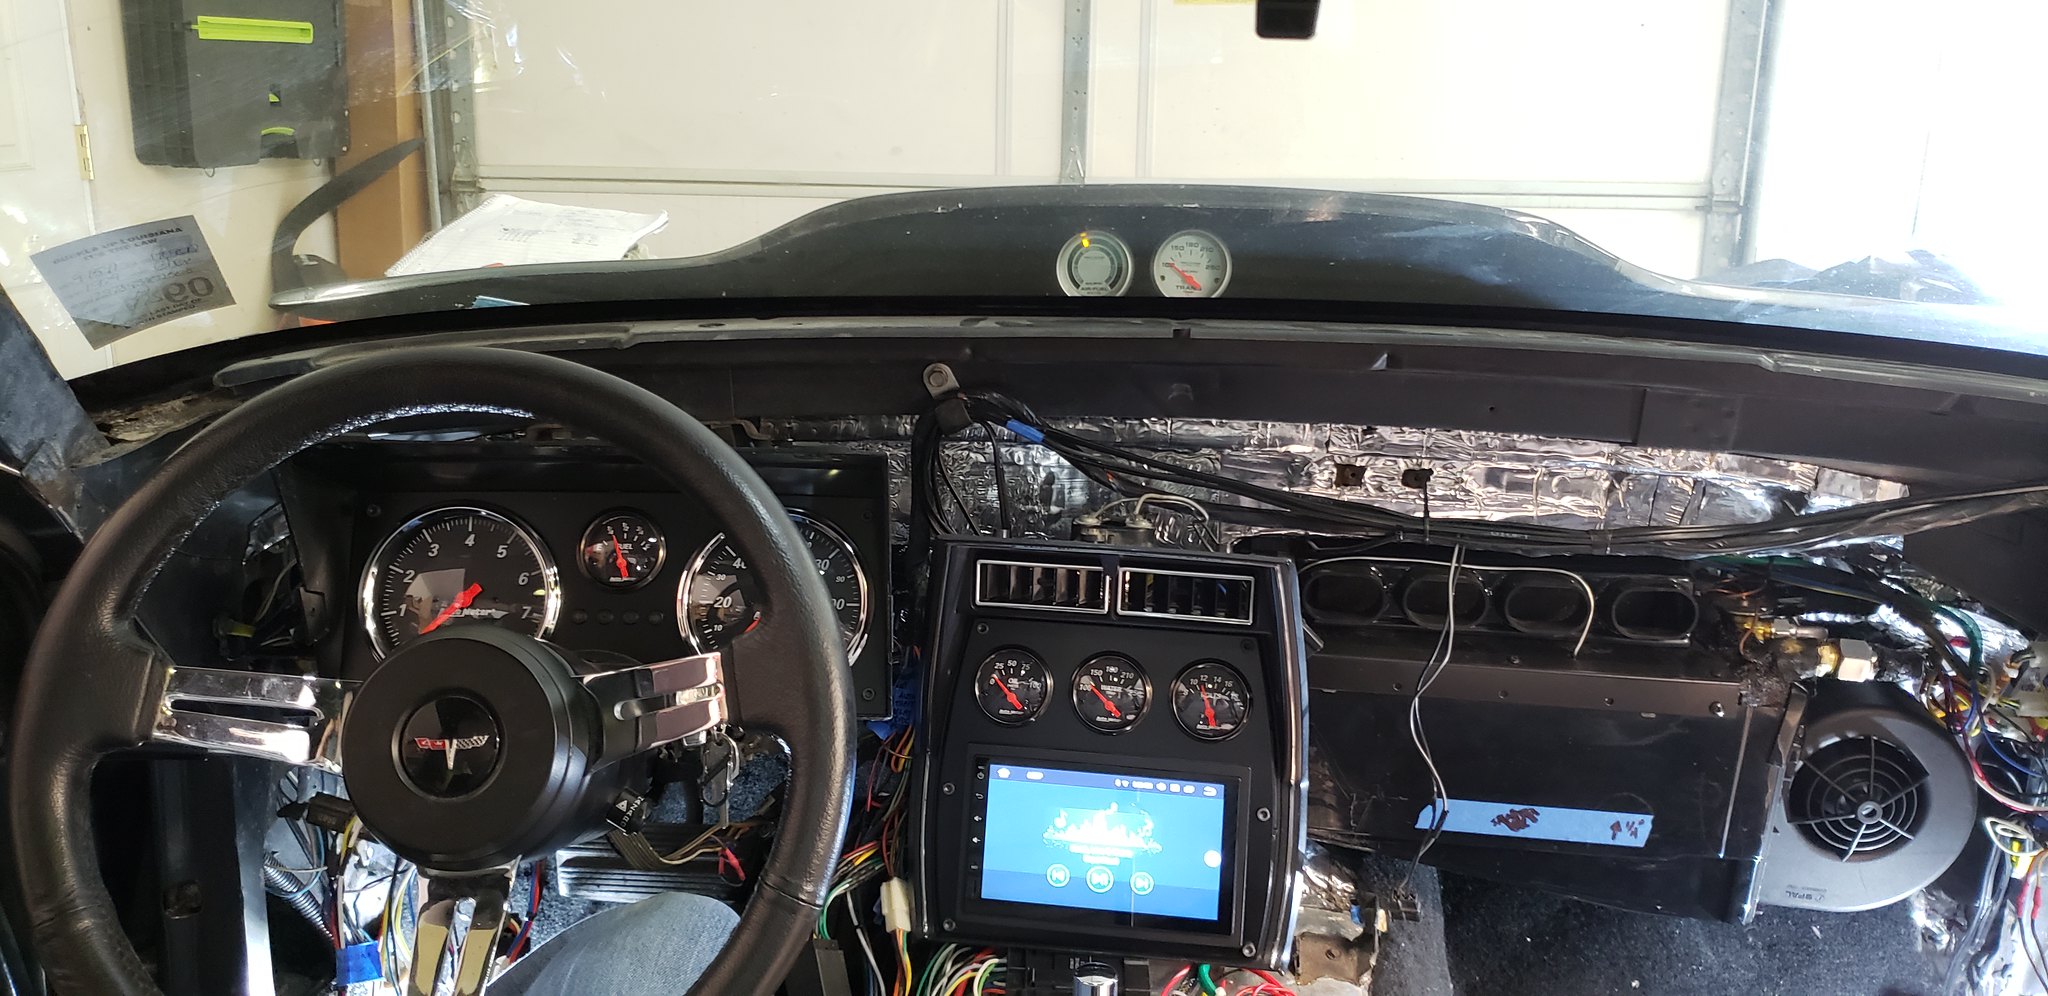
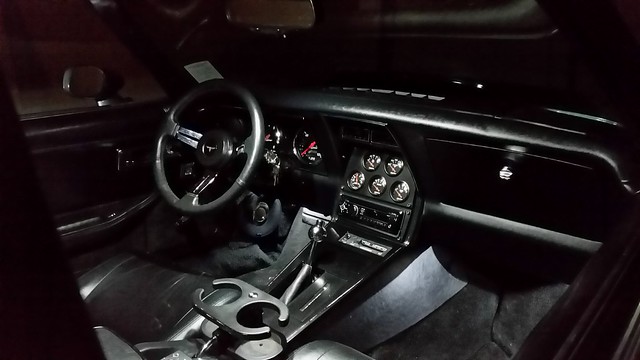
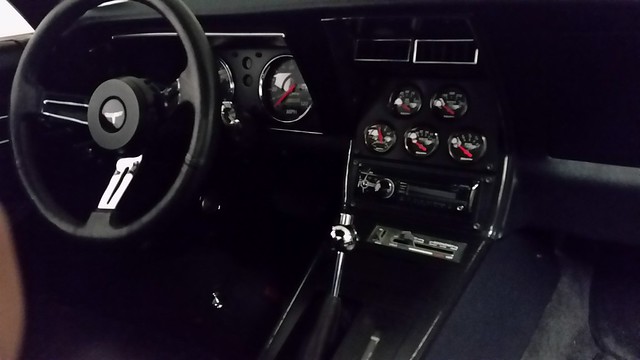
Hi guys , been awhile since I had a post . replaced the Gauge pod center console last year ,, Bought Autometer Artic white , new its time for speedo and Tach to finish it up only problem I have is I cant get the speedo and tach in artic white ,, really like the chrome rings and bubble glass , had to go with the Phantom series in white .. I did opt to order the Led bulbs in red . heres a few pics of what I have done so far .
Safety Car


Joined: Dec 2012
Posts: 3,820
Likes: 1,728
From: Summerville SC
Scott, I really like the way you figured out how to mount the new panel. I am doing a similar project on my '78 only I want to install 6 gauges ( auotmeter pro comp) instead of the five. Managed to squeeze them in but haven't gotten to the point of installing into the dash. I will be anxious to see what you do with the tach and speedo. I sort of have mine figured out except that they extend too far away from the dash and hit the clear lense that covers the whole assy.. Between the curve of the lense and the frames of the gauges they don't quite match up. Might have to loose the lense. Keep up the good work.
Race Director


Joined: Mar 2017
Posts: 11,953
Likes: 4,508
From: Virginia
EDIT: This is about as far as I got. I have the stock bezel 3D modeled. My printer bed isn't big enough to print the whole piece, but somewhere I have a 3-part model with the redone center and 4 3/8" gauge holes. This will let you put the Tach on the left where it belongs. Above is a GPS speedometer (to feed the VDO speedo gauge), showing that my dining room table is moving at 0 mph.
Let me know if this is useful, and I'll try to find the .STL files. It would be easy enough to cut your own out of aluminum, though, and your finished results are likely to be much better. The big revelation was finding out that the stock bezel is NOT a rectangle.

Last edited by Bikespace; Feb 25, 2019 at 09:52 PM.
Corvette Stories
The Best of Corvette for Corvette Enthusiasts

Top 10 Most Expensive Corvettes Ever Sold on Bring A Trailer
Brett Foote
10 Things Every Corvette Owner Needs (2026 Edition)
Michael S. Palmer
8 Most "Only Corvette Owners Understand" Quirks and Problems
Pouria Savadkouei
10 Reasons the C6 Z06 is Still A Performance Benchmark After 20 Years
Joe Kucinski
How Much Horsepower Every Corvette Engine "LOST" in 1972
Joe Kucinski
Top 10 DOs and DON'Ts for Protecting Your Convertible Top!
Michael S. Palmer
Top 10 Most Explosive Corvettes Ever Made: Power-to-Weight Ratio Ranked!
Joe Kucinski
150 hp to 1,250 hp: Every Corvette Generation Compared by the Specs That Matter
Joe Kucinski
8 Coolest Corvette Pace Cars (and Replicas) of All Time
Verdad GallardoMelting Slicks


Joined: Aug 2004
Posts: 2,914
Likes: 229
From: Oakbank Manitoba
I made aluminum overlays for the two front gauges. They were painted black and glued in place. I gutted the housings and installed aluminum plates inside to hold the gauges centered in their pods. The holes for the center lighting were reshaped with a small file to receive rubber bulb mounts.
Last edited by KENS80V; Mar 8, 2019 at 08:53 PM.


Melting Slicks
Joined: Aug 2004
Posts: 2,914
Likes: 229
From: Oakbank Manitoba
Drifting

Joined: Nov 2004
Posts: 1,631
Likes: 293
2020 C3 of the Year Finalist - Modified
Looks nice. Here's an idea for the speedo/tach cluster. The bezel with clear plasticdoesnt fit on top so i cut out the clear portion so i can still use the trim. Indication lights are from Ebay. My previous setup didnt have the fuel gauge so i drilled holes in the panel and glued the stock blinker/brights lens to the back so i could retain the stock looking indicators.
Previous setup
Previous setup

Melting Slicks
Joined: Aug 2004
Posts: 2,914
Likes: 229
From: Oakbank Manitoba
The front gauge plates were cut out of aluminum. I first made cardboard templates and then after being happy with the fit I transferred the shape to the flat aluminum plates. There plates were then glued to the original front.

Intermediate
Joined: May 2022
Posts: 43
Likes: 3
Wow, impeccable work...it looks solid. Do you have the specifications?
Melting Slicks
Joined: Aug 2004
Posts: 2,914
Likes: 229
From: Oakbank Manitoba
I used a die grinder to carve out the back. It takes a good hand and patience. Coming up with a good plan took much longer than actually performing the surgery. I wouldn't recommend it unless you are experienced with a die grinder.
I'm not sure what you mean about specifications.
I'm not sure what you mean about specifications.