When you click on links to various merchants on this site and make a purchase, this can result in this site earning a commission. Affiliate programs and affiliations include, but are not limited to, the eBay Partner Network.
Accurate electronic speedometer conversation & Tachometer upgrade shift light $70
How about an accurate electronic speedometer conversation (about $60) & Tachometer upgrade shift light... a little more money:-)
Heres a bunch of pictures... I was board this Saturday...
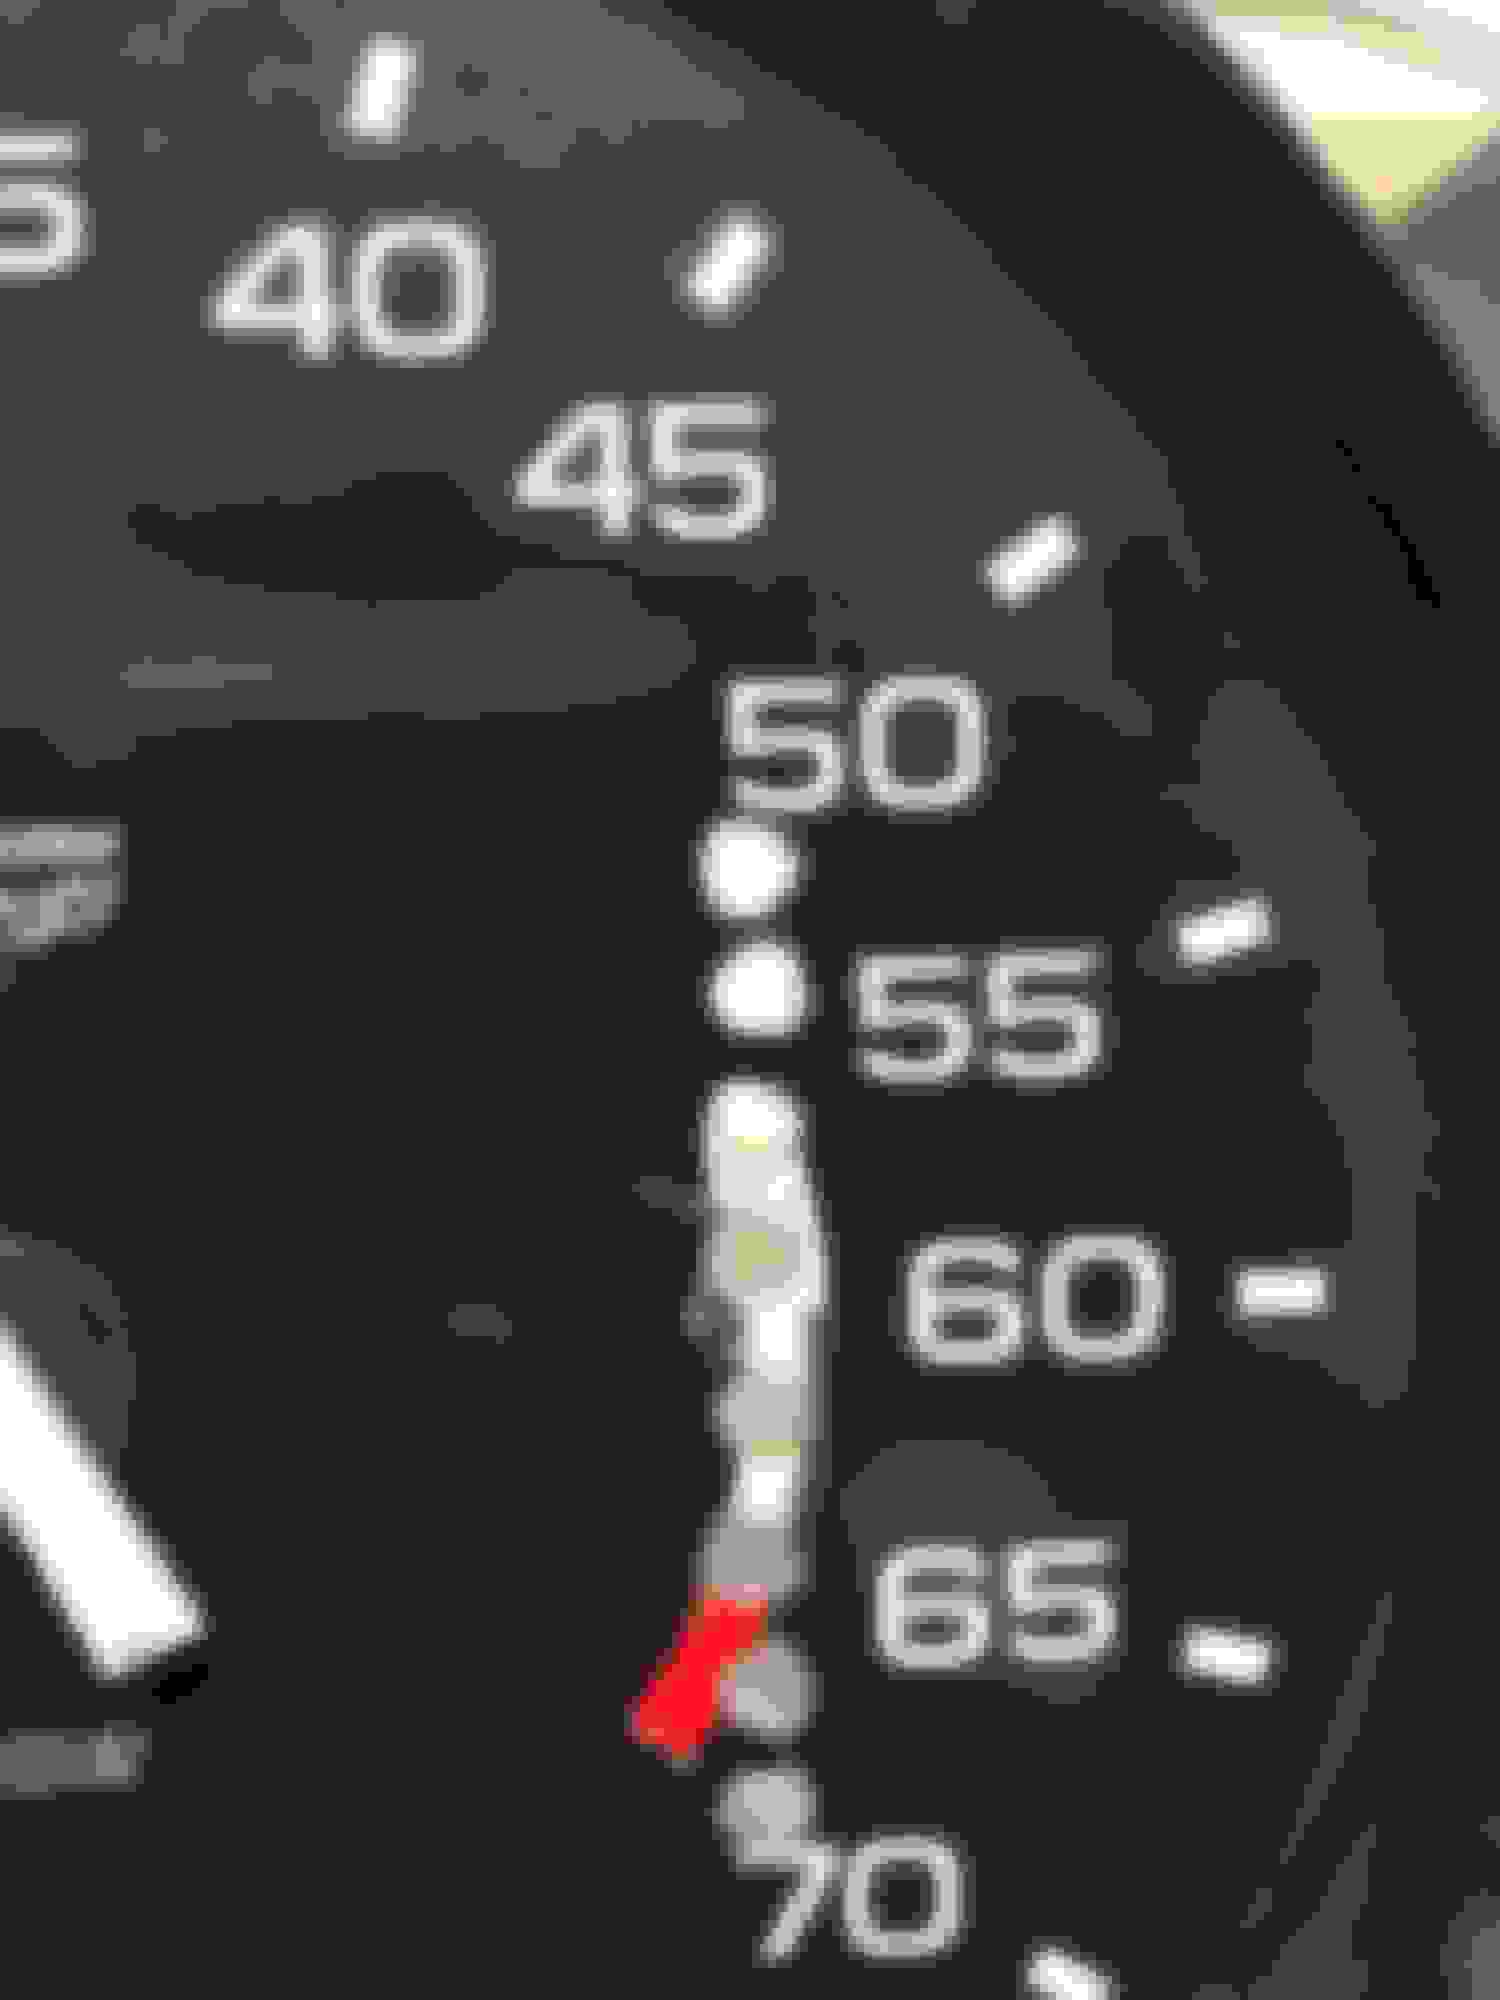
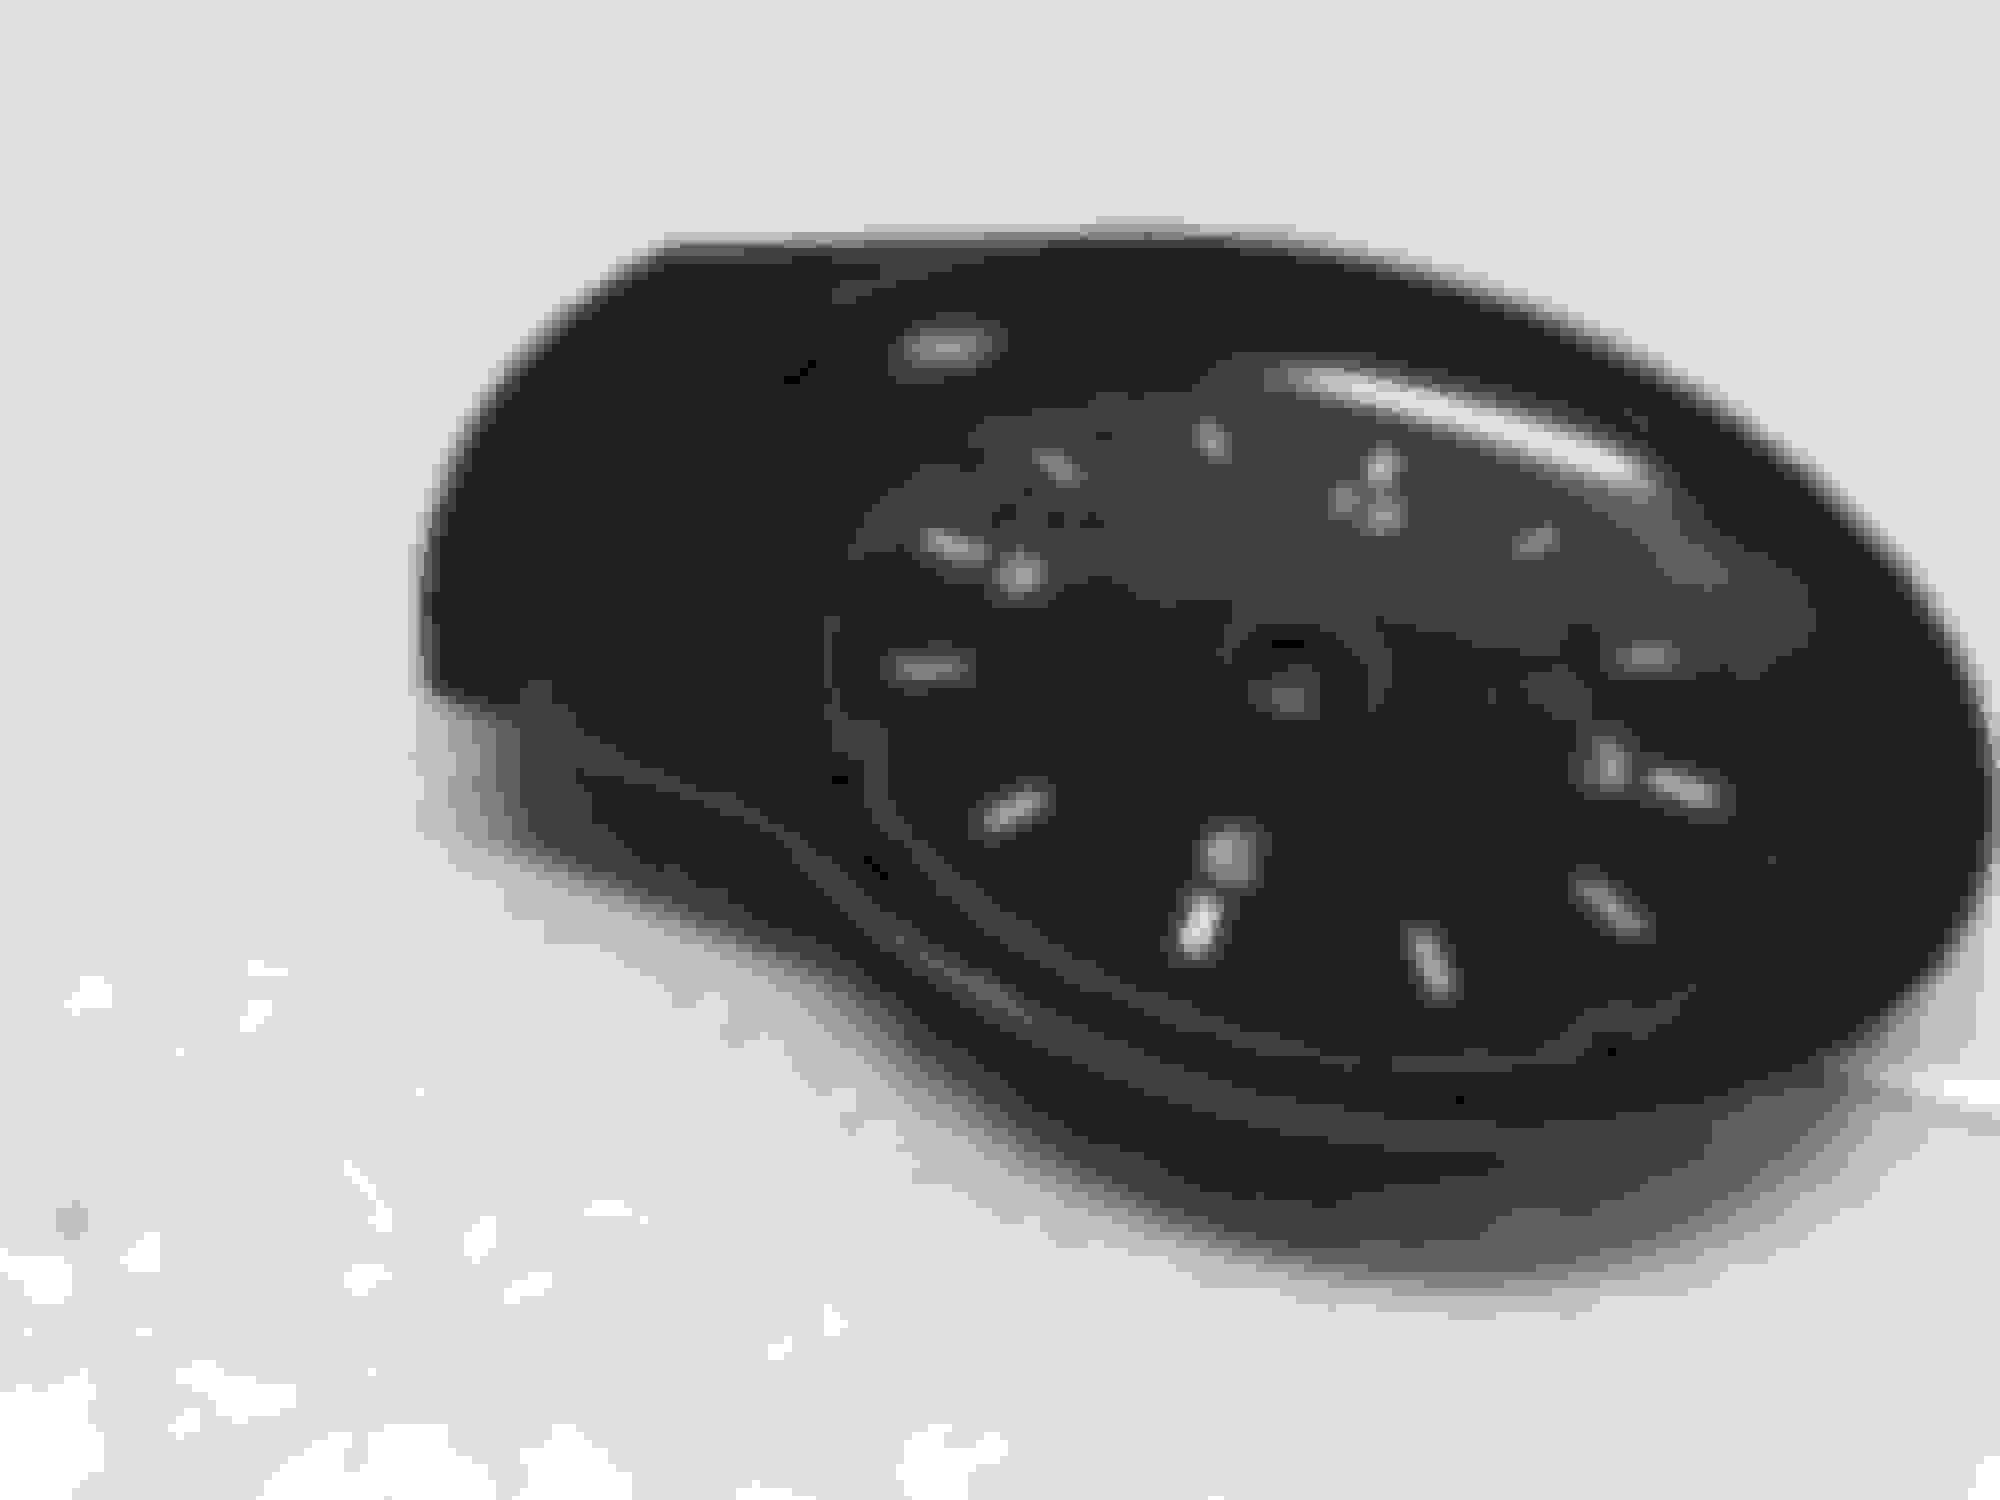
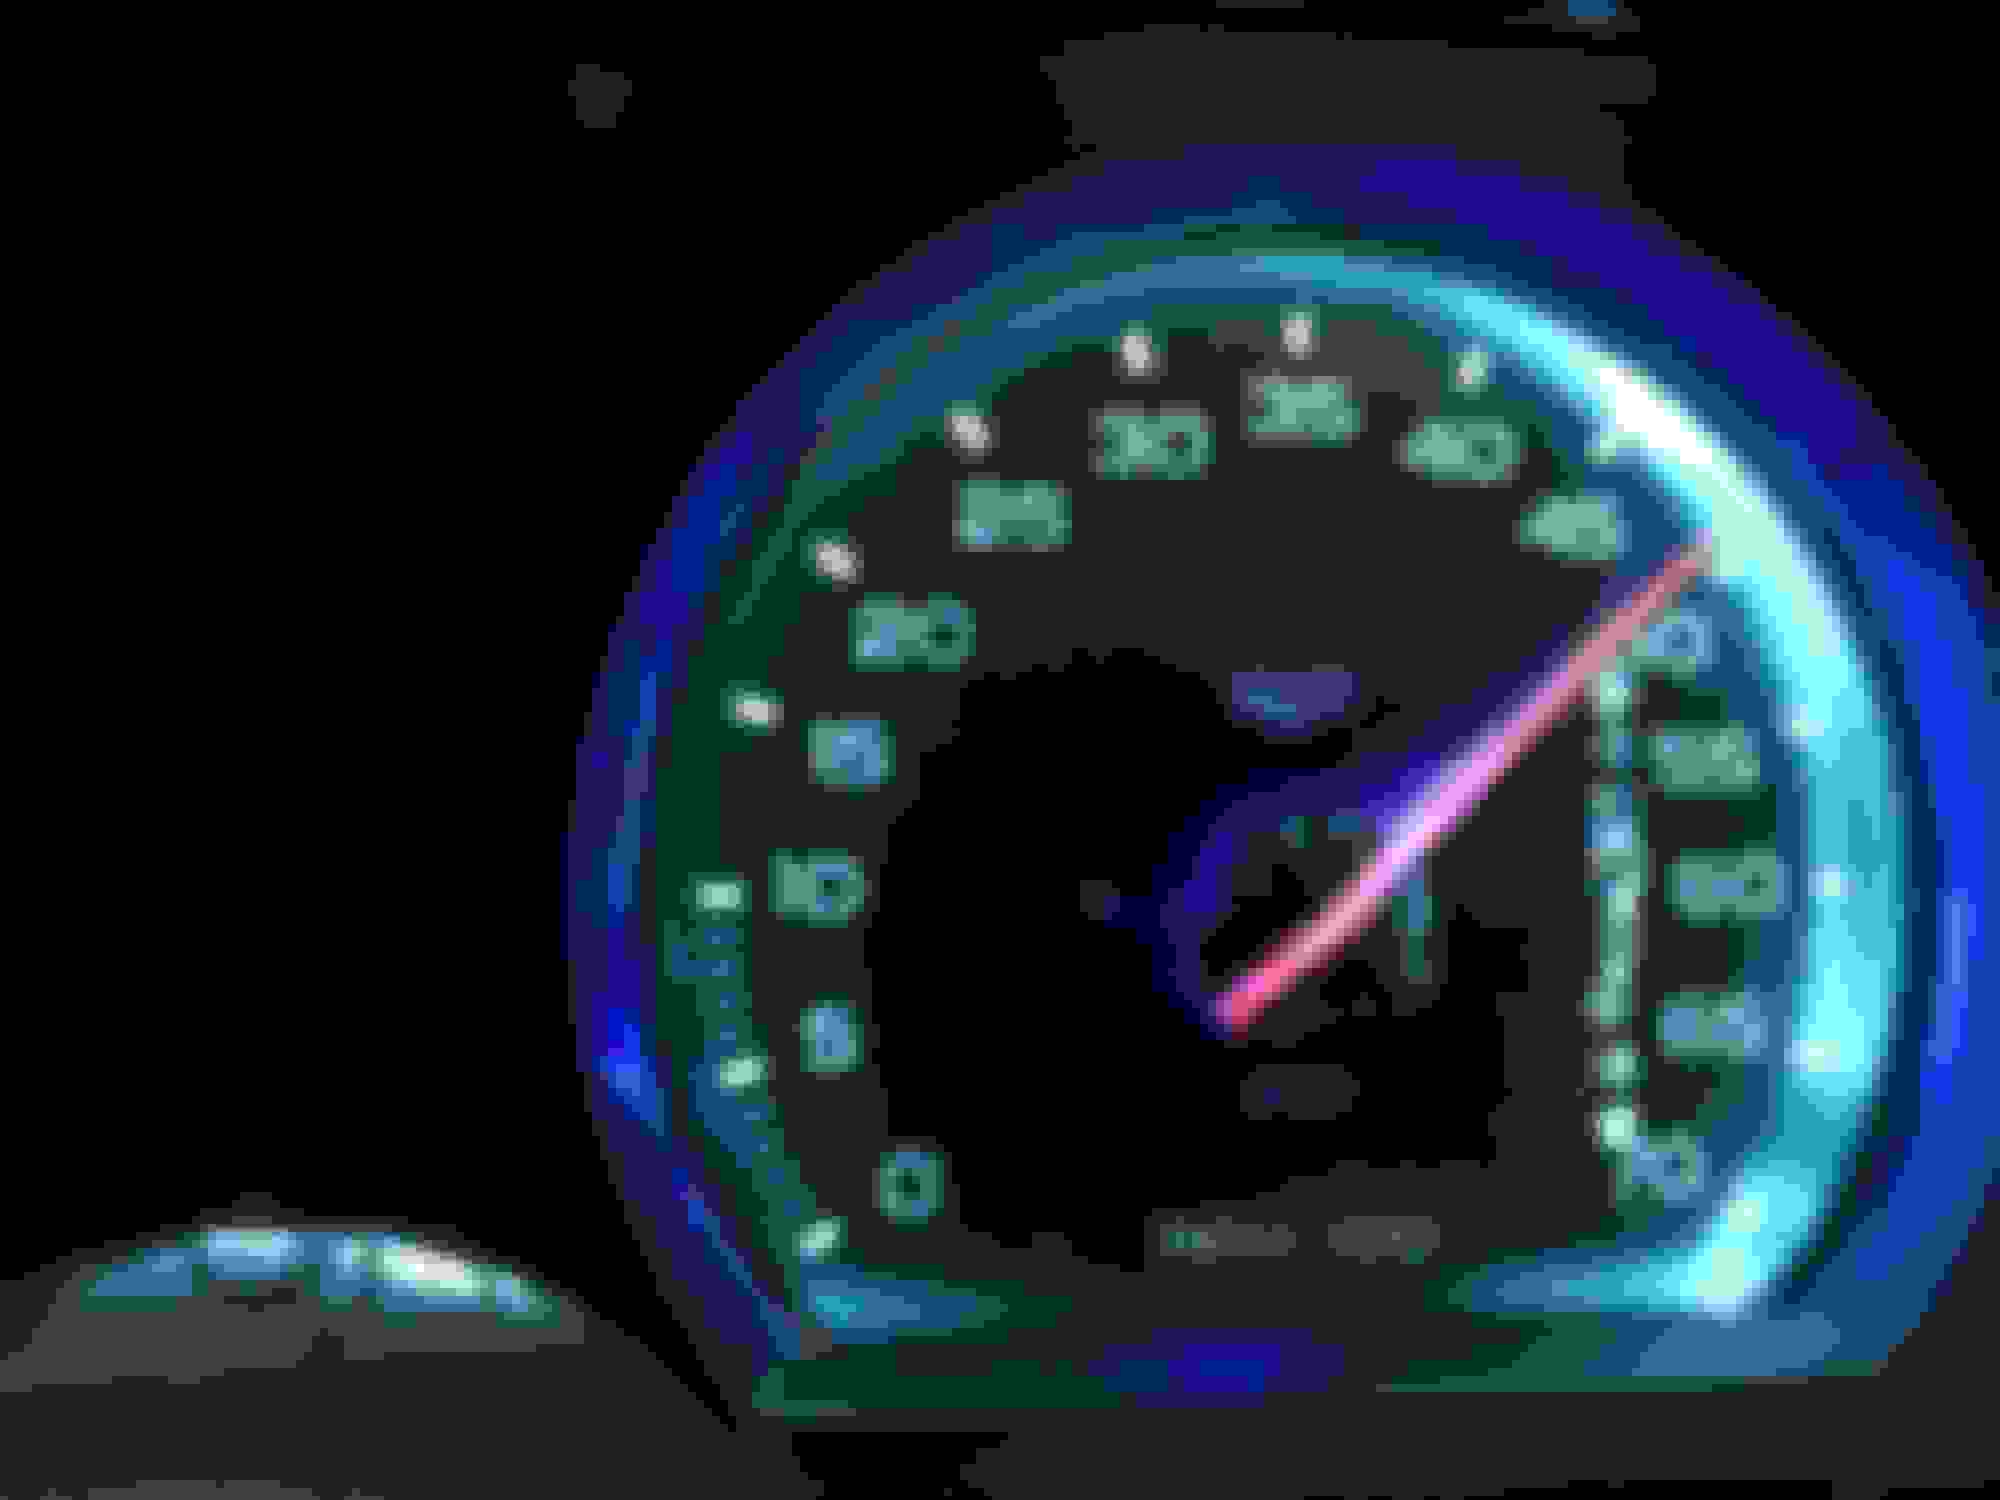
The speedo is a programmable electronic unit to be driven by the sender in the TKO-600
It has several different functions, trip A,B ... total milage, and shift/warning lights at programmable MPH settings, 4 of them. https://www.ebay.com/itm/Speedometer...72.m2749.l2649
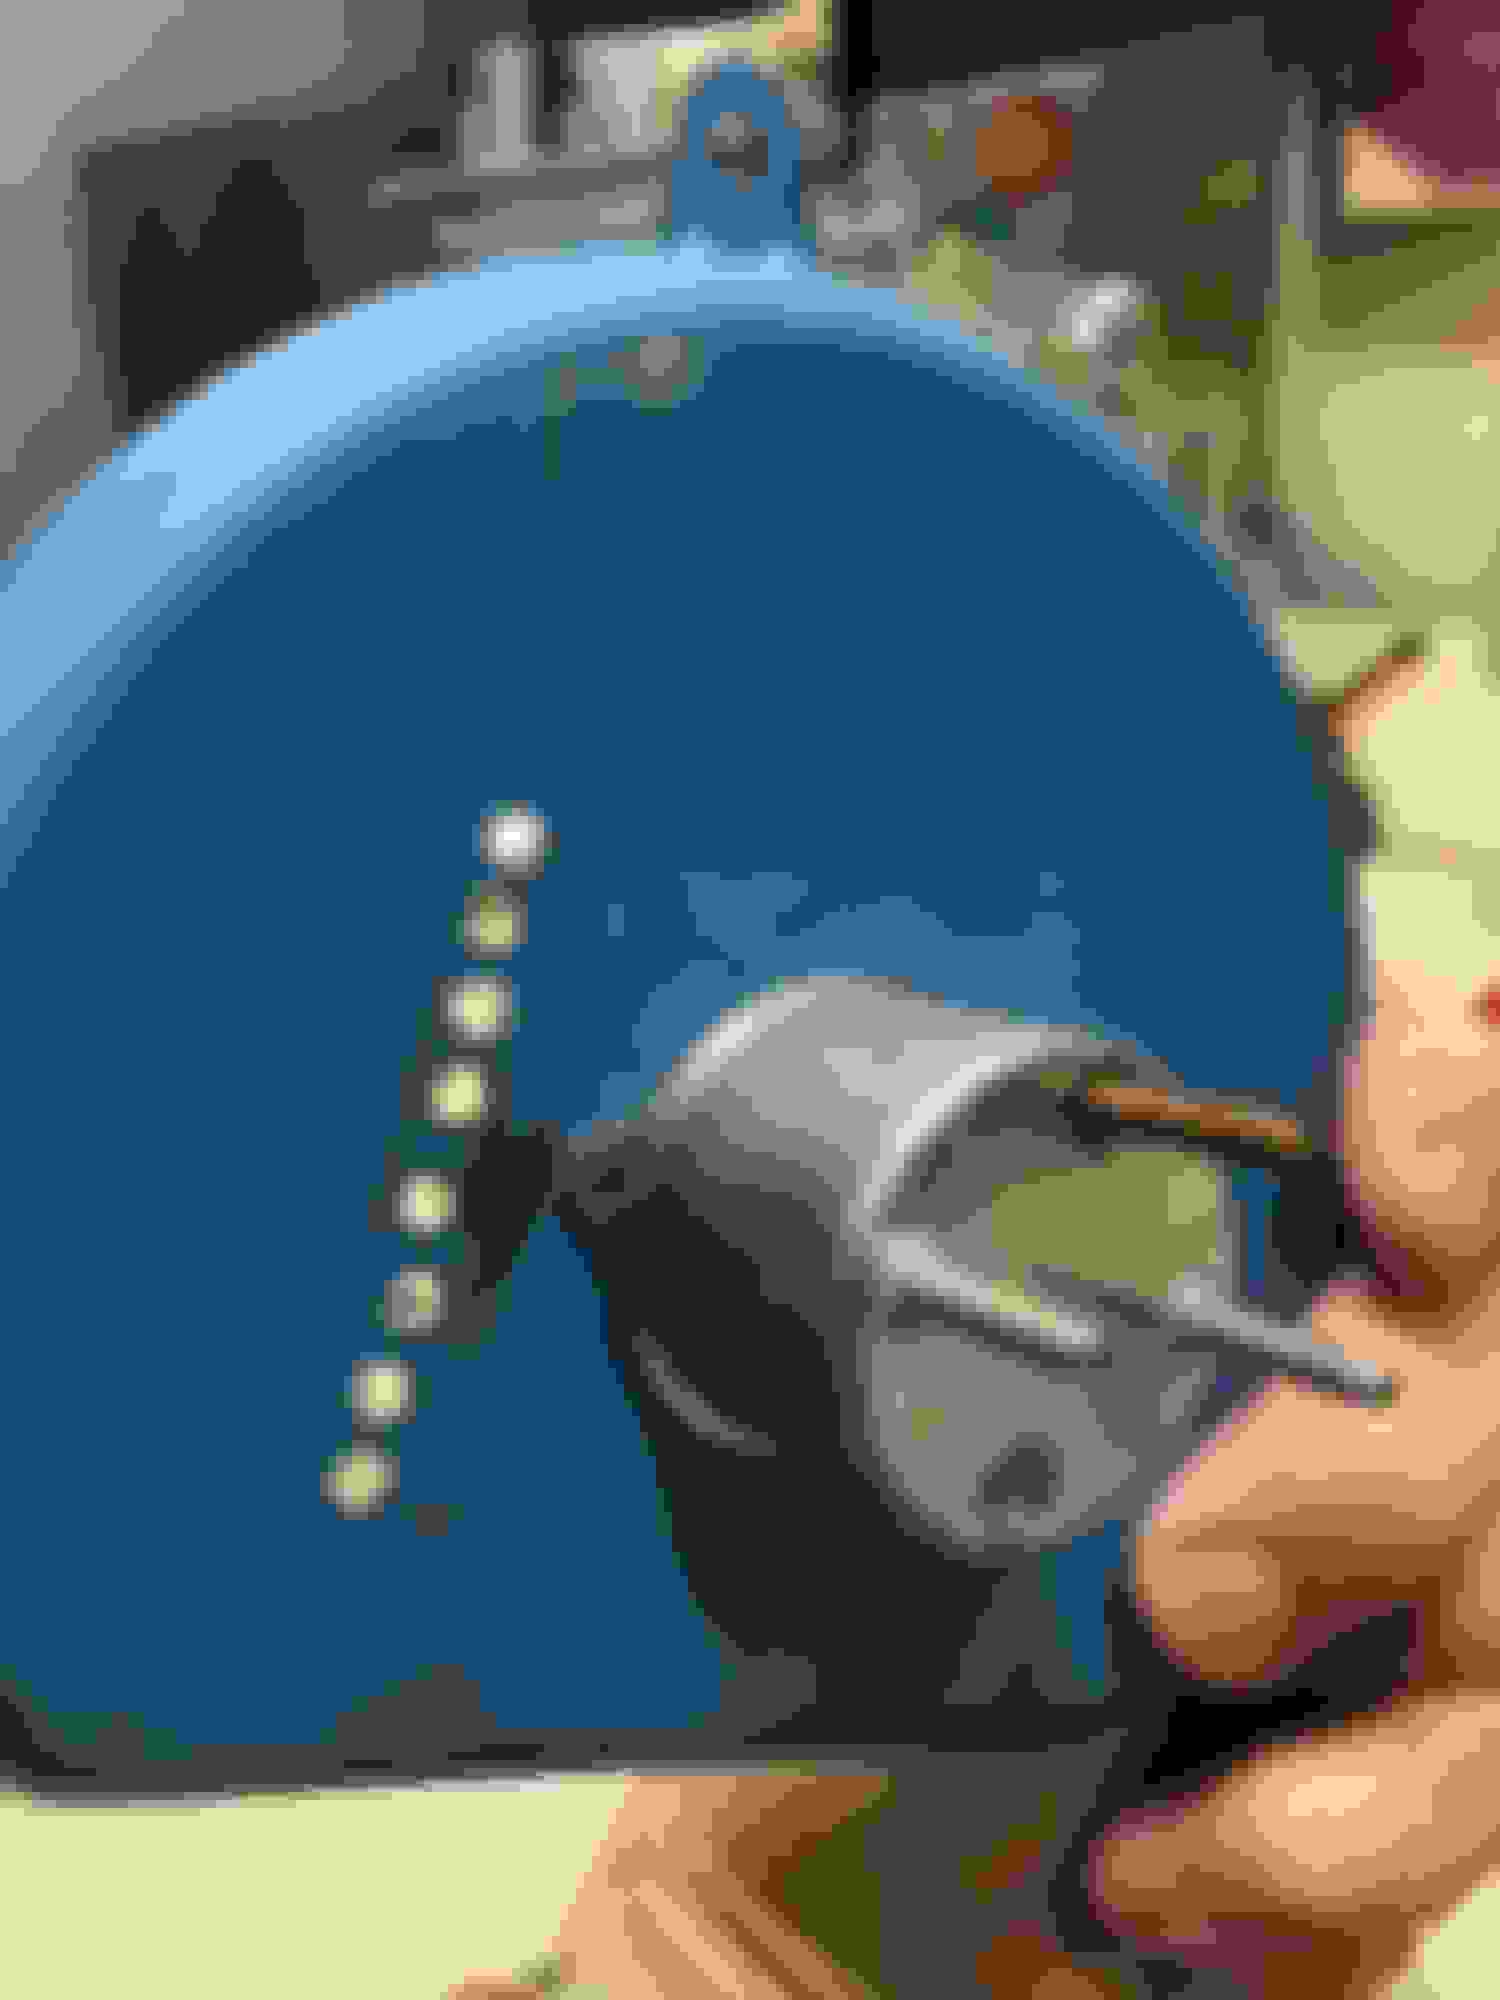
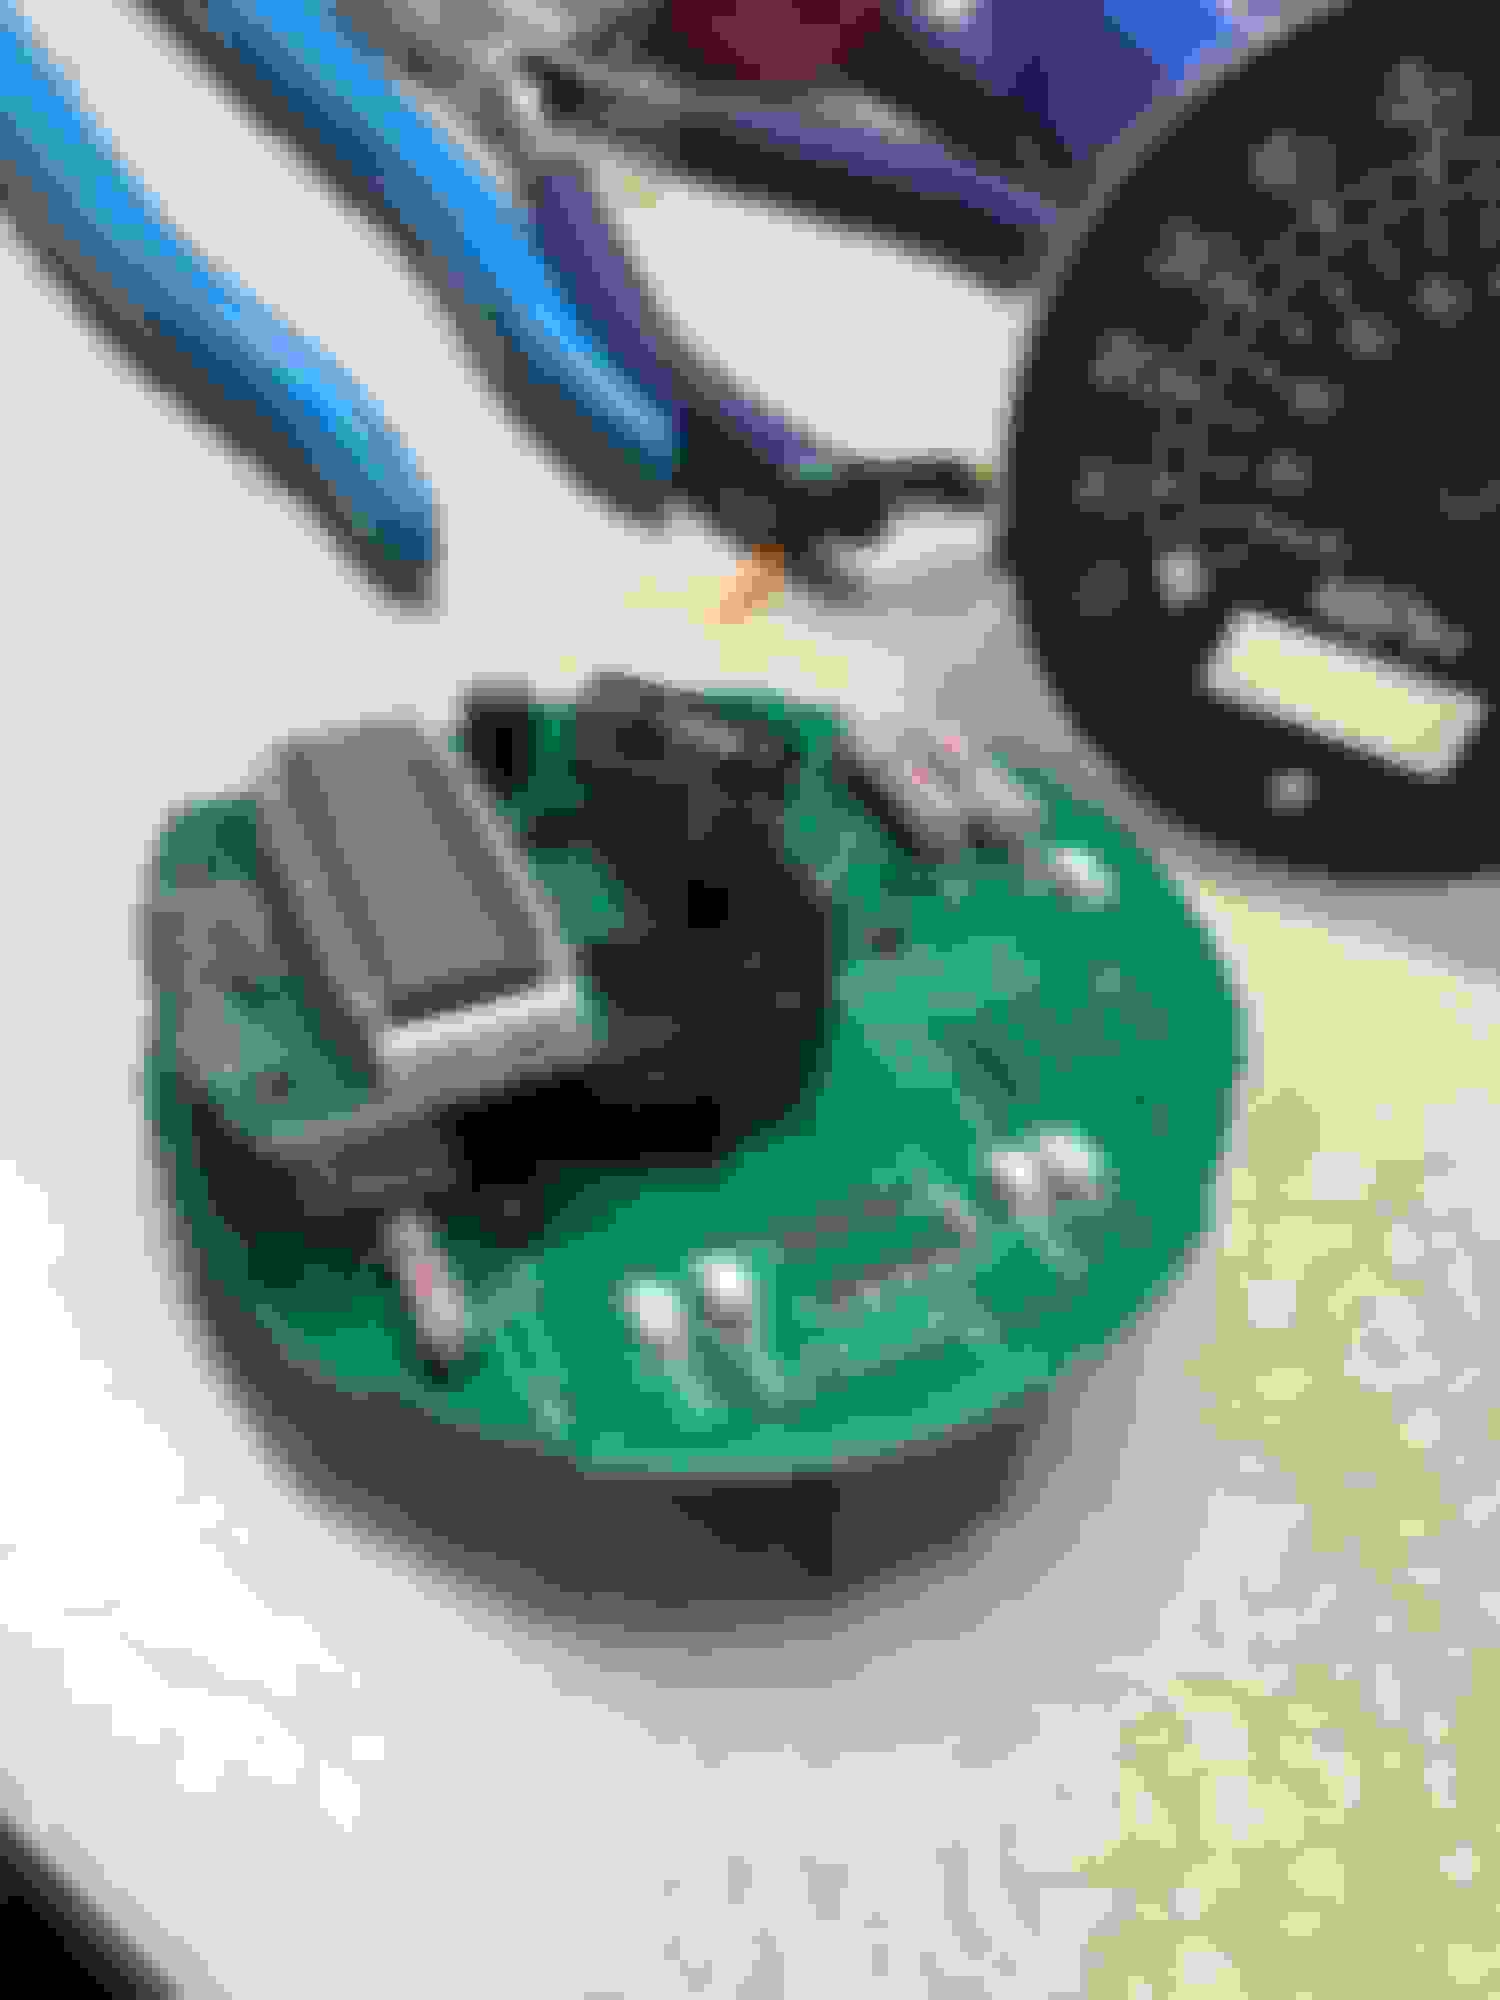
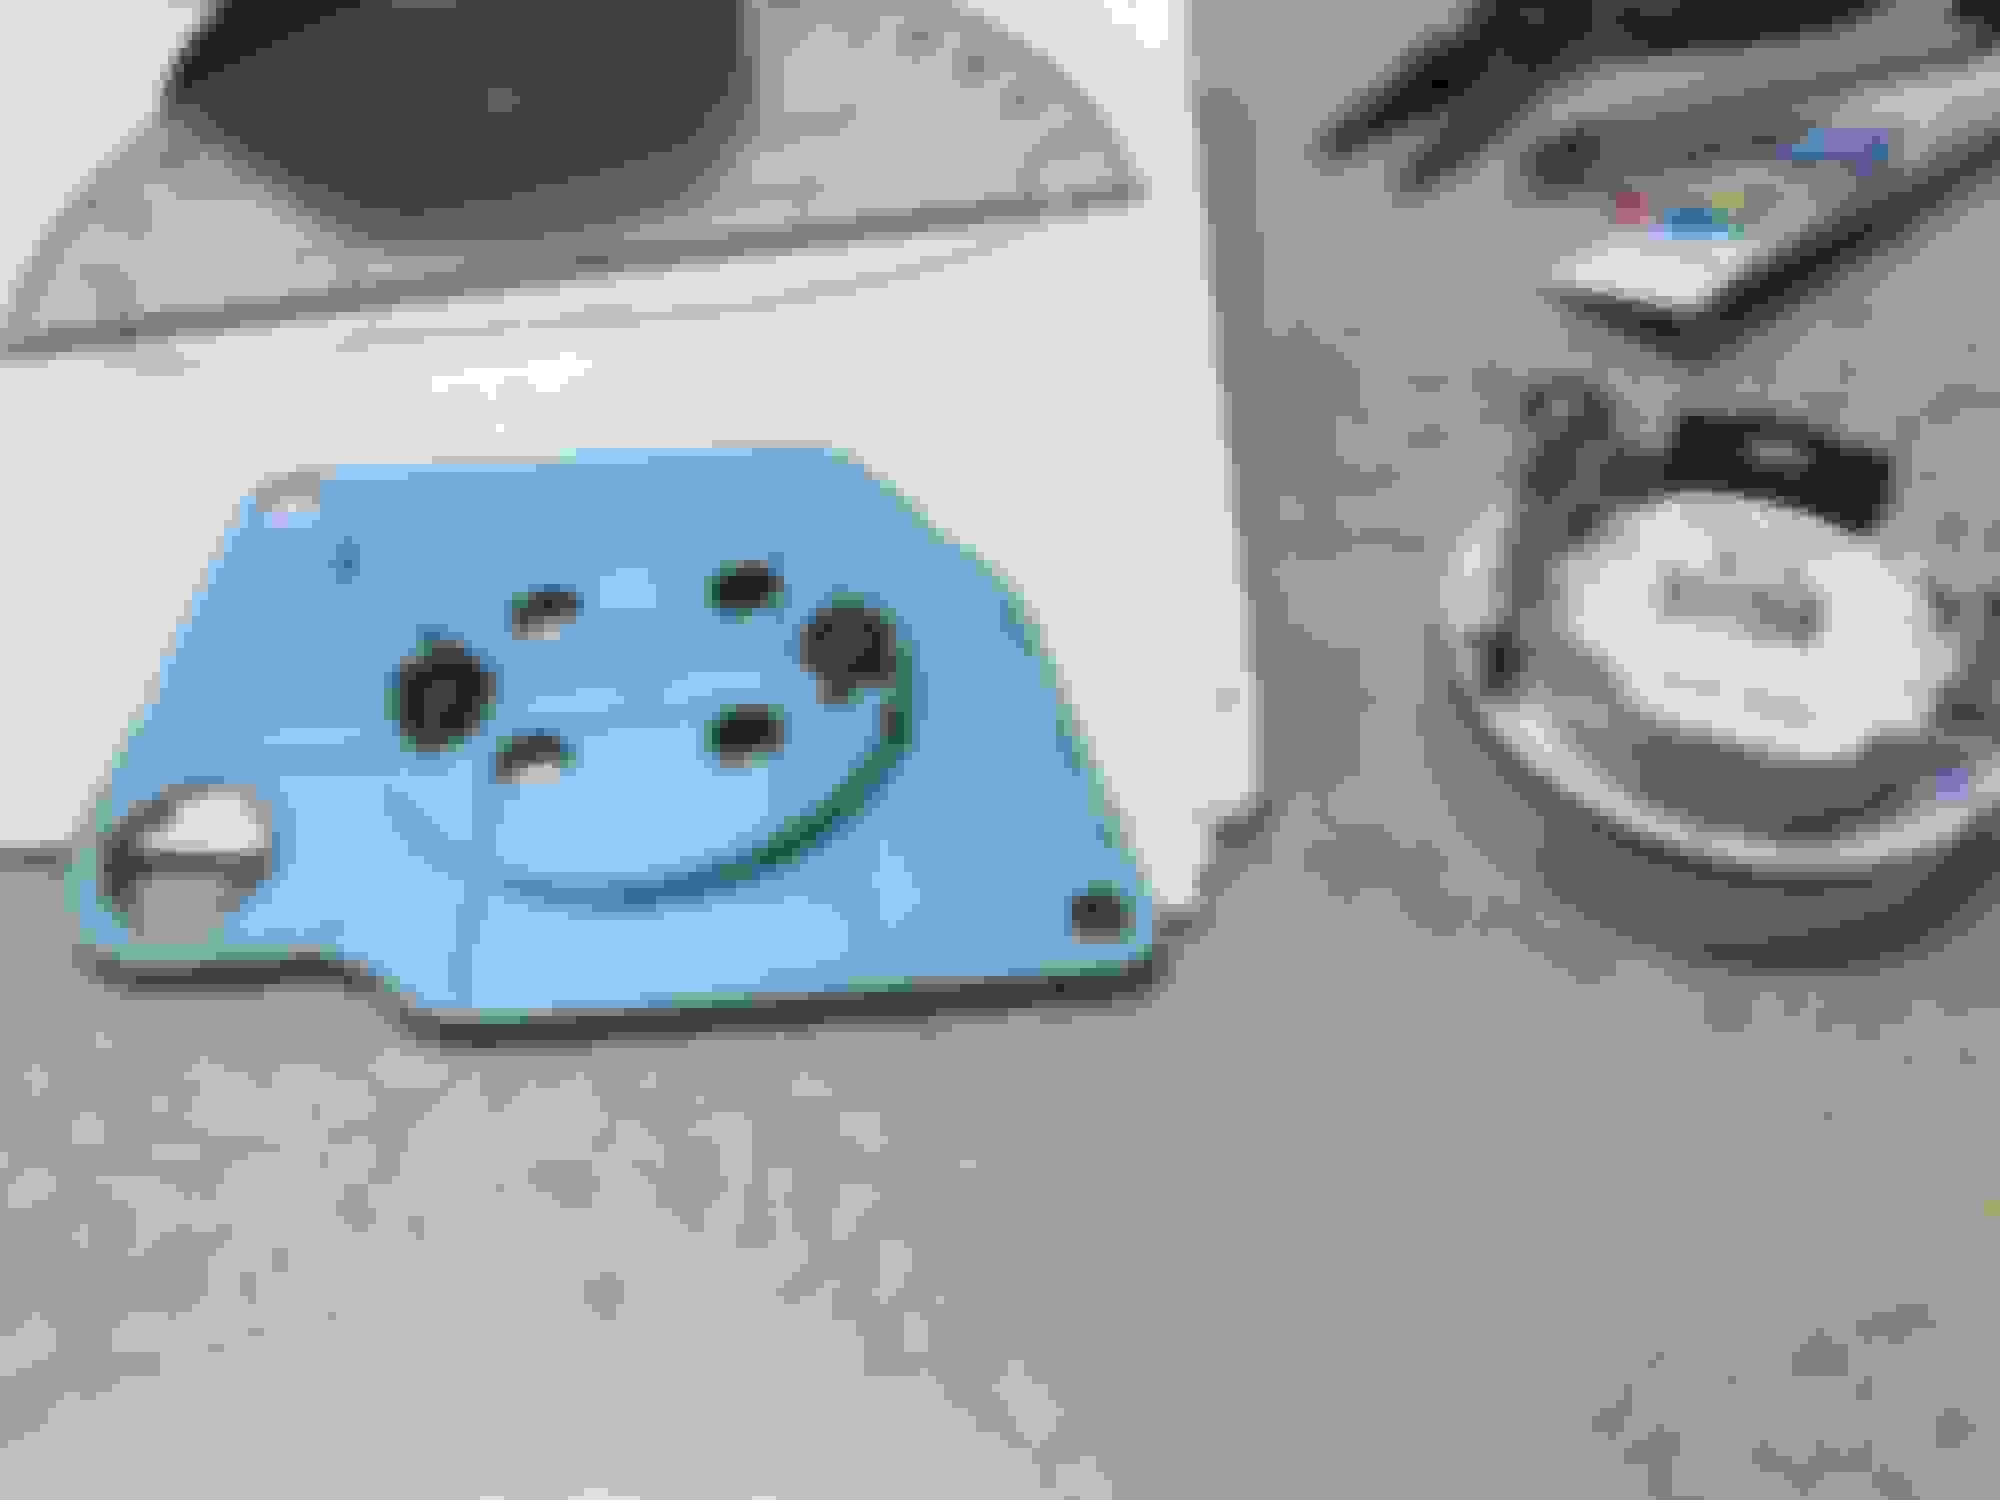
holes are for the programmable LED's for shift points holes are for the programmable LED's for shift points this is the programmable step motor speedometer this is the programmable step motor speedometer holes are for the programmable LED's for shift points LED RPM board LED RPM board pulling speed out of its case pulling speed out of its case out of case out of case, odometer separated so as to make spacing closer to the dial to match stock openings, odometer needs to be fitted upward from its original point
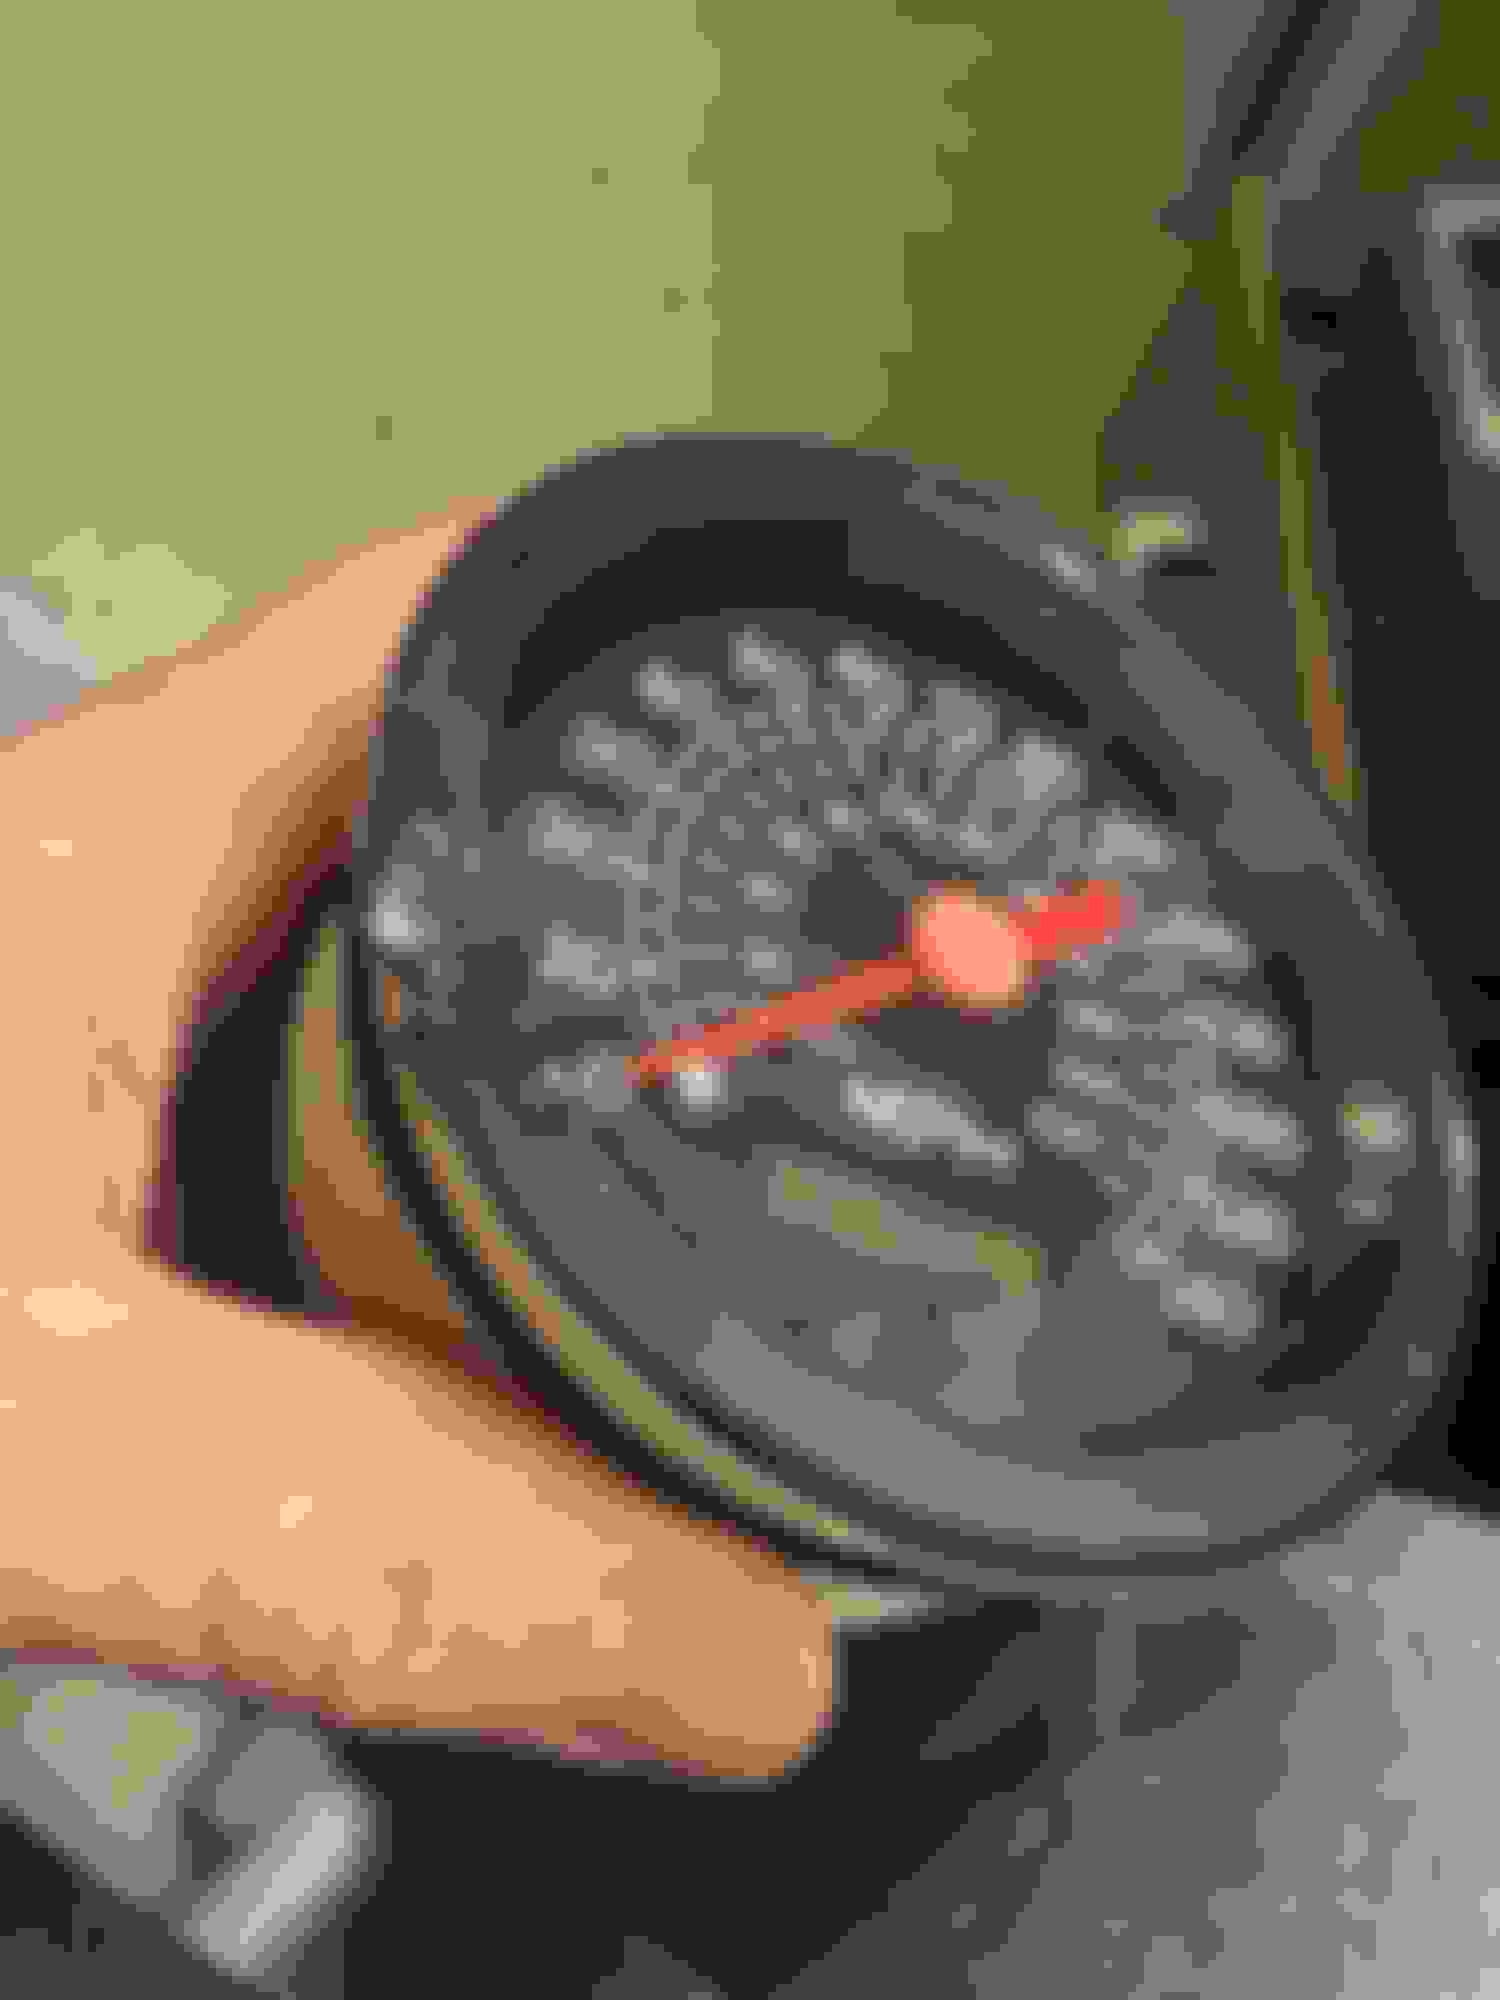
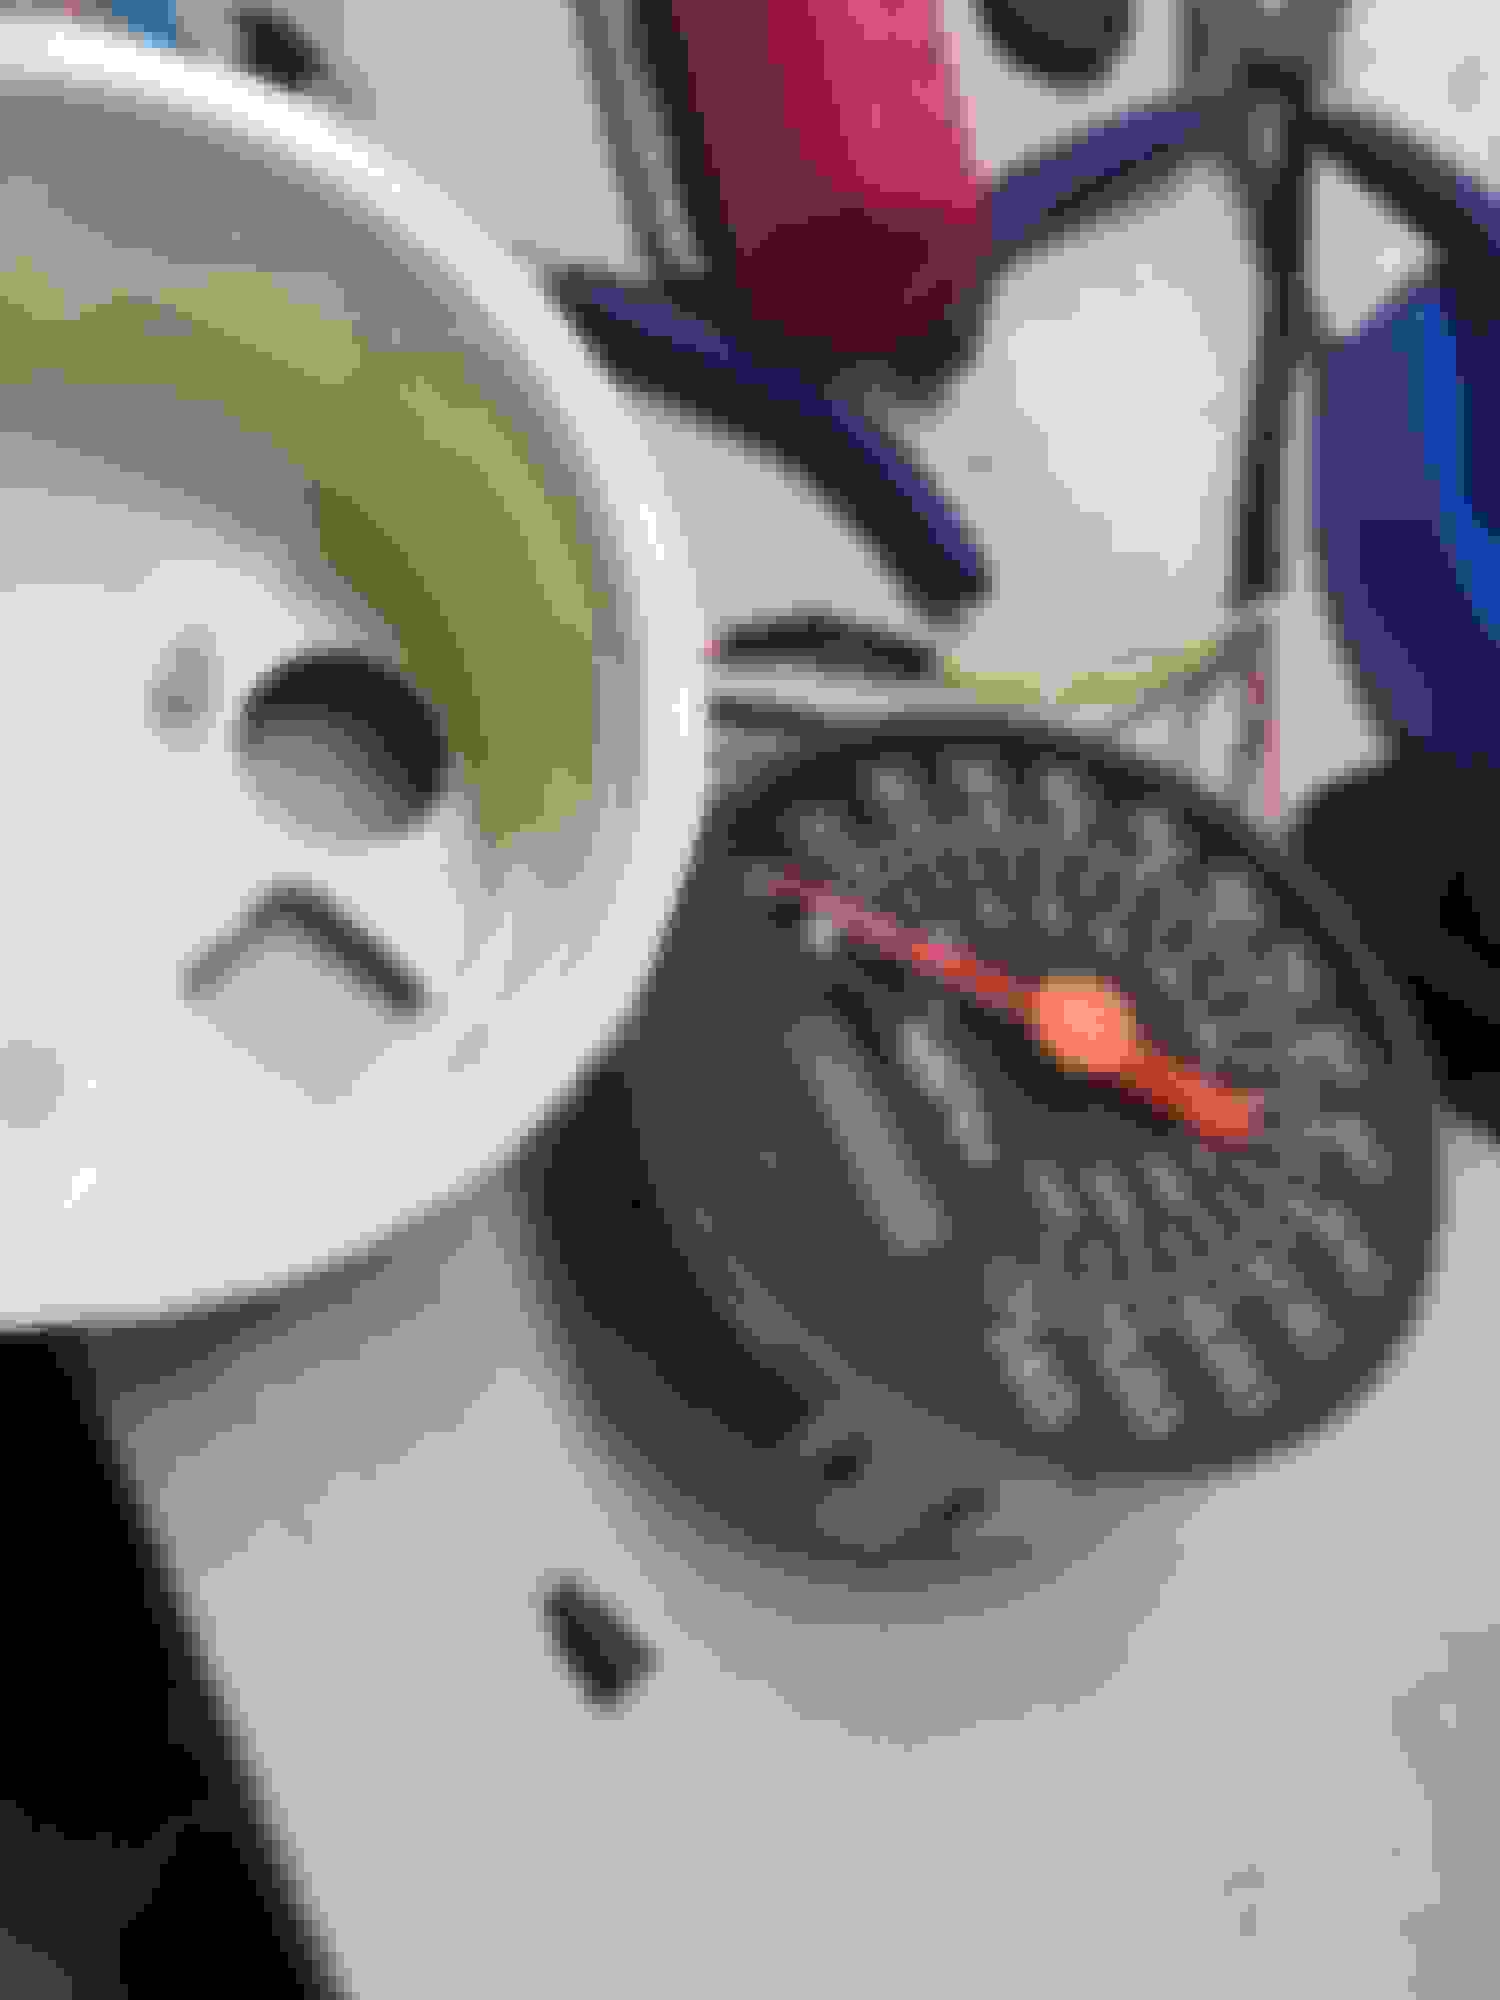
drilling out hole on odometer so it can be moved upward top odometer made into a warning light for still needs to be determined. inside the case needs to be cut with drimel inside the case needs to be cut with drimel odometer now moved up top odometer made into a warning light for still needs to be determined. top odometer made into a warning light for still needs to be determined. cut ~1/2 of barrel case that holds electronics mount case with hot glue, then silicone into place cut ~1/2 of barrel case that holds electronics mount case with hot glue, then silicone into place these fit tach and new electronics this is the speedometer/odometer push reset. i drilled it on through and mounted it on the speedometer face to look stock, then used it to carry the touch signal back to the odometer. top odometer made into a warning light for still needs to be determined. reflector top odometer made into a warning light for still needs to be determined. reflector top odometer made into a warning light for still needs to be determined. reflector top odometer made into a warning light for still needs to be determined. reflector mounted
Thank you... if I had to do it over... it would be a lot better the second time around,,, I learned from a lot of mistakes...
Originally Posted by CA-Legal-Vette
Very cool! The only think I don�t like is the shift lights accross the tach warning color strips.
I put the shift lights there because about 3 years ago I tried to repaint it, and I butchered it,,, so just trying to cover some of that screwup:-)
I may order a new face and put the lights up top...
I am changing out the clock as well to a new quartz clock with lite hands...
And changing all the other pointers/needles to lit pointers
So I got pointers needles from a C6 ZO6. putting in lights inside of the individual housings to light the needles...
her are some more pictures so far...
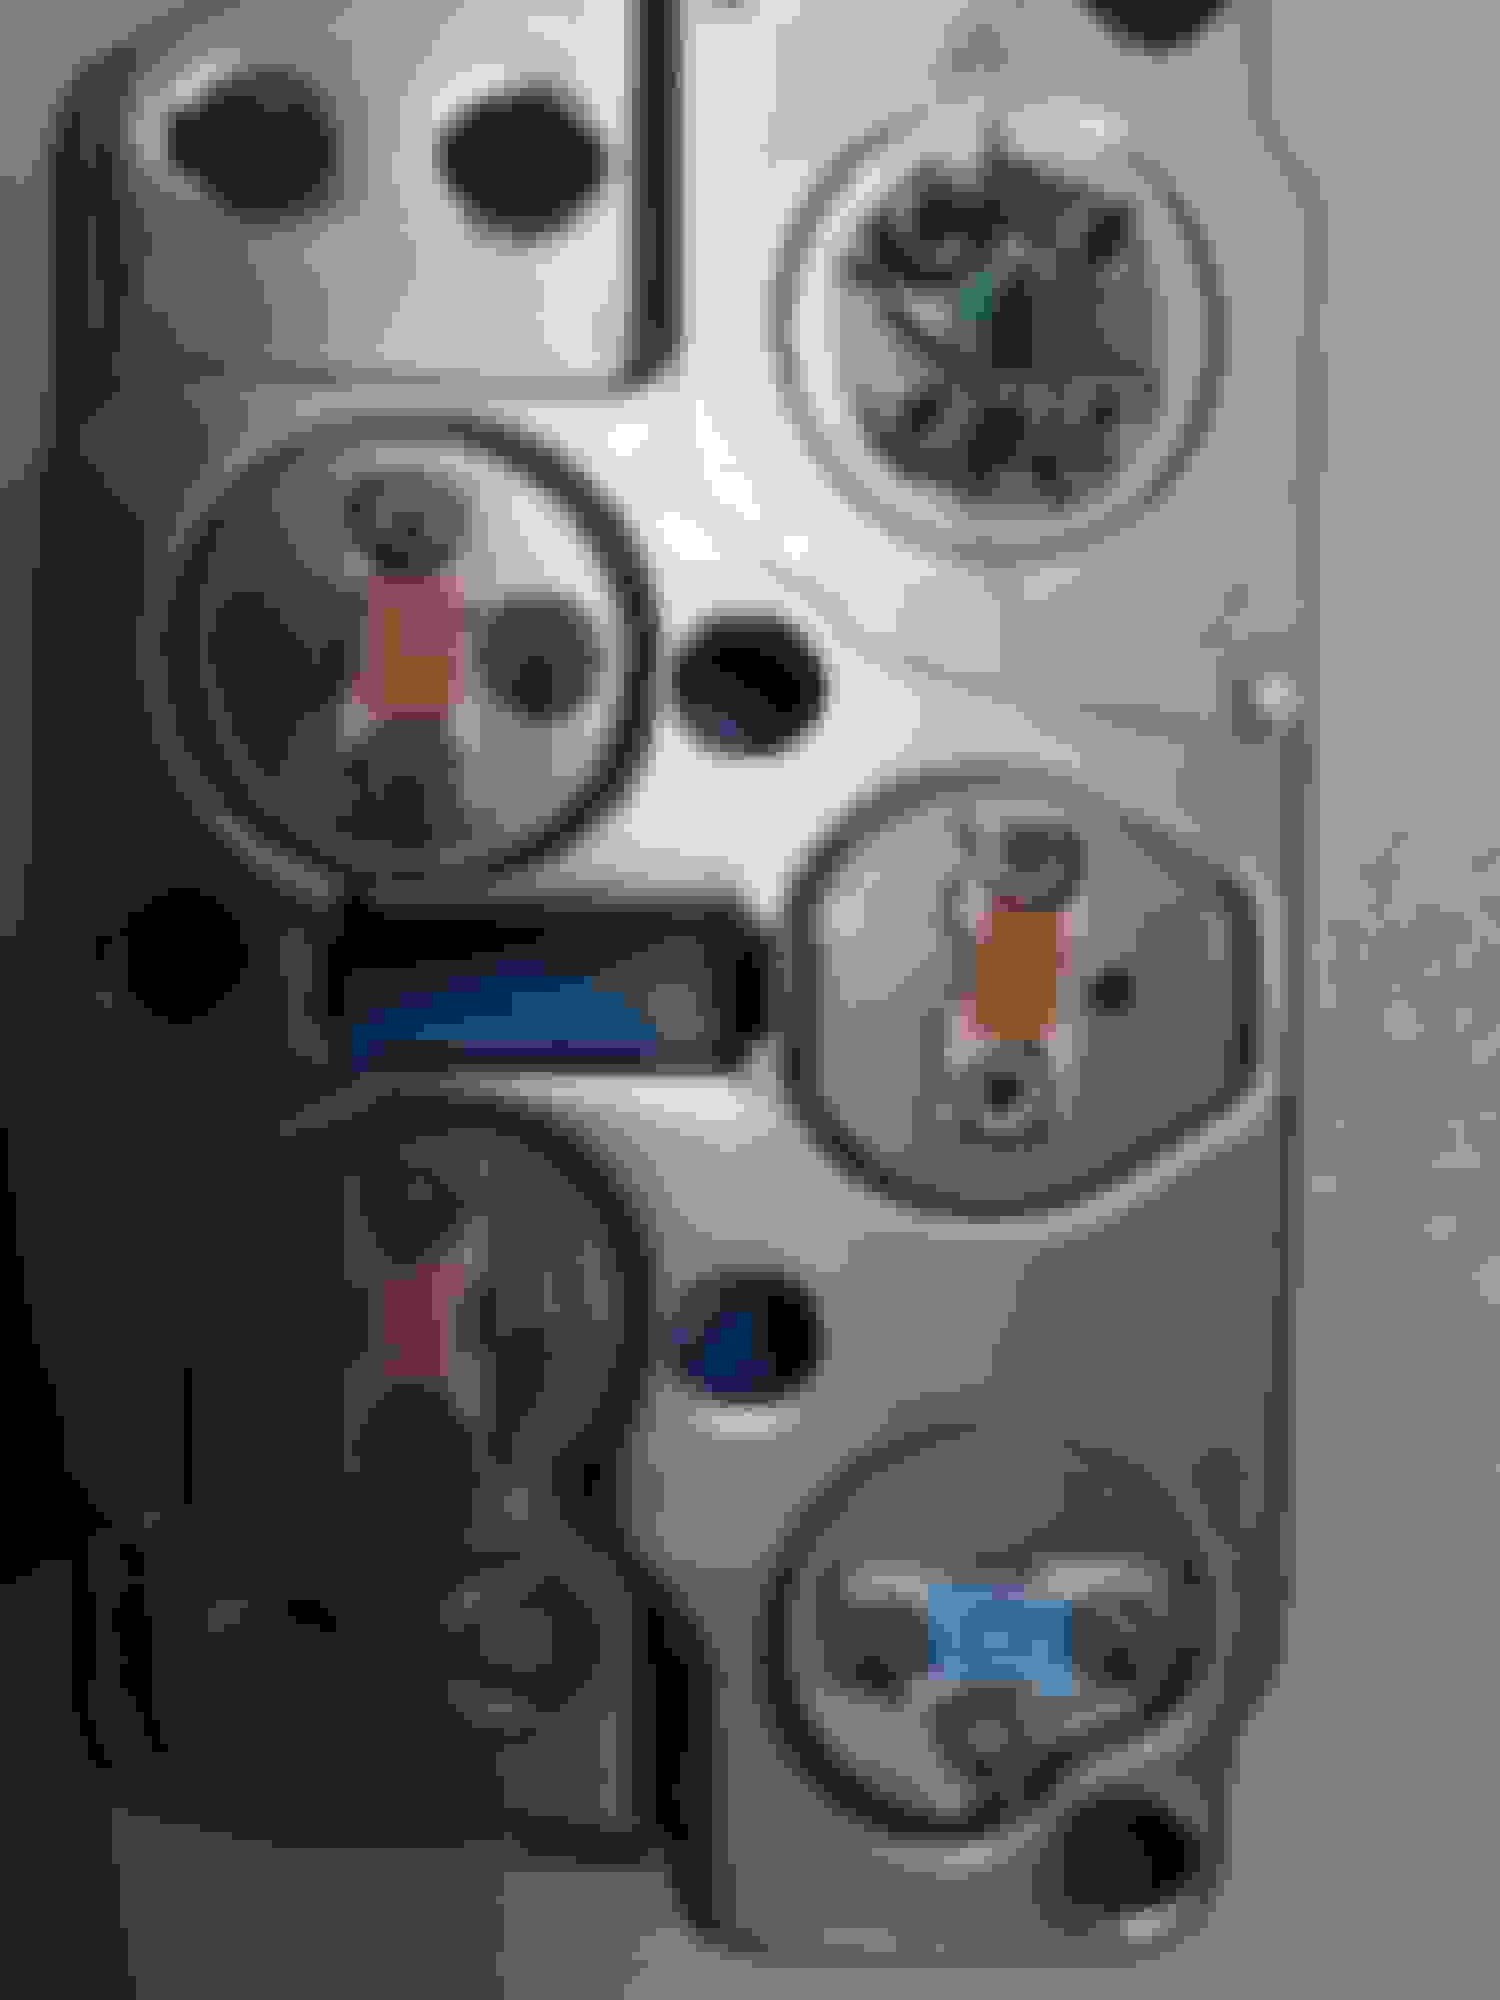
a test look for style and fit of new lit needles... pointers mount hole to large will fill with super glue, let dry and then drill small hole for gauge. back of gauge cluster clock that will replace stock clock face also backlights drill holes for mounting a test look at new needles
i ordered a jewelers micro drill bit set from amazon today
i need to fill the holes in the ZO6 needles and then re-drill them out
the needle posts in the C3 are significantly smaller
so I will drill out the holes slightly larger, fill with plastic micro rod superglued in, then re-drill the hole with .3mm bit
A note for all pictures here..
I am taking them on my iPhone 7
the “Blue ring” you see in the pictures around the outer dial is NOT there
to the naked eye.. shows up very well on the camera though.. lol
I was very worried if I was going to be able to point the new needles on the old gauge posts... The OEM gauge post are about as large as a hair!!! lol
So I filled the new ZO6 pointer mounting holes with super glue. this filled the whole well, then I used these drill bits and drilled out a one step smaller hole in the needles...
BANG!! worked like they were made for the gauges!!! woohoo!!

 03-10-2019, 09:05 PM