When you click on links to various merchants on this site and make a purchase, this can result in this site earning a commission. Affiliate programs and affiliations include, but are not limited to, the eBay Partner Network.
not enough clearance above rear leaf spring bolt to get sway bar mount plate in
On my '80, replaced the steel leaf with composite from. Replaced the bushings with poly. Spring, bushings, and bolts all from Vansteel. Spring is half inch shorter each side. I went to put the sway bar on today and found there is not enough clearance to insert the sway bar mounting plate between the inside of the trailing arm and the head of the spring mounting bolt. I was wondering if anyone has seen this and what might be the workaround.
In the pictures below the original rubber bushings look much thinner - but maybe being 35+ years old and having 90k miles on them explains that.
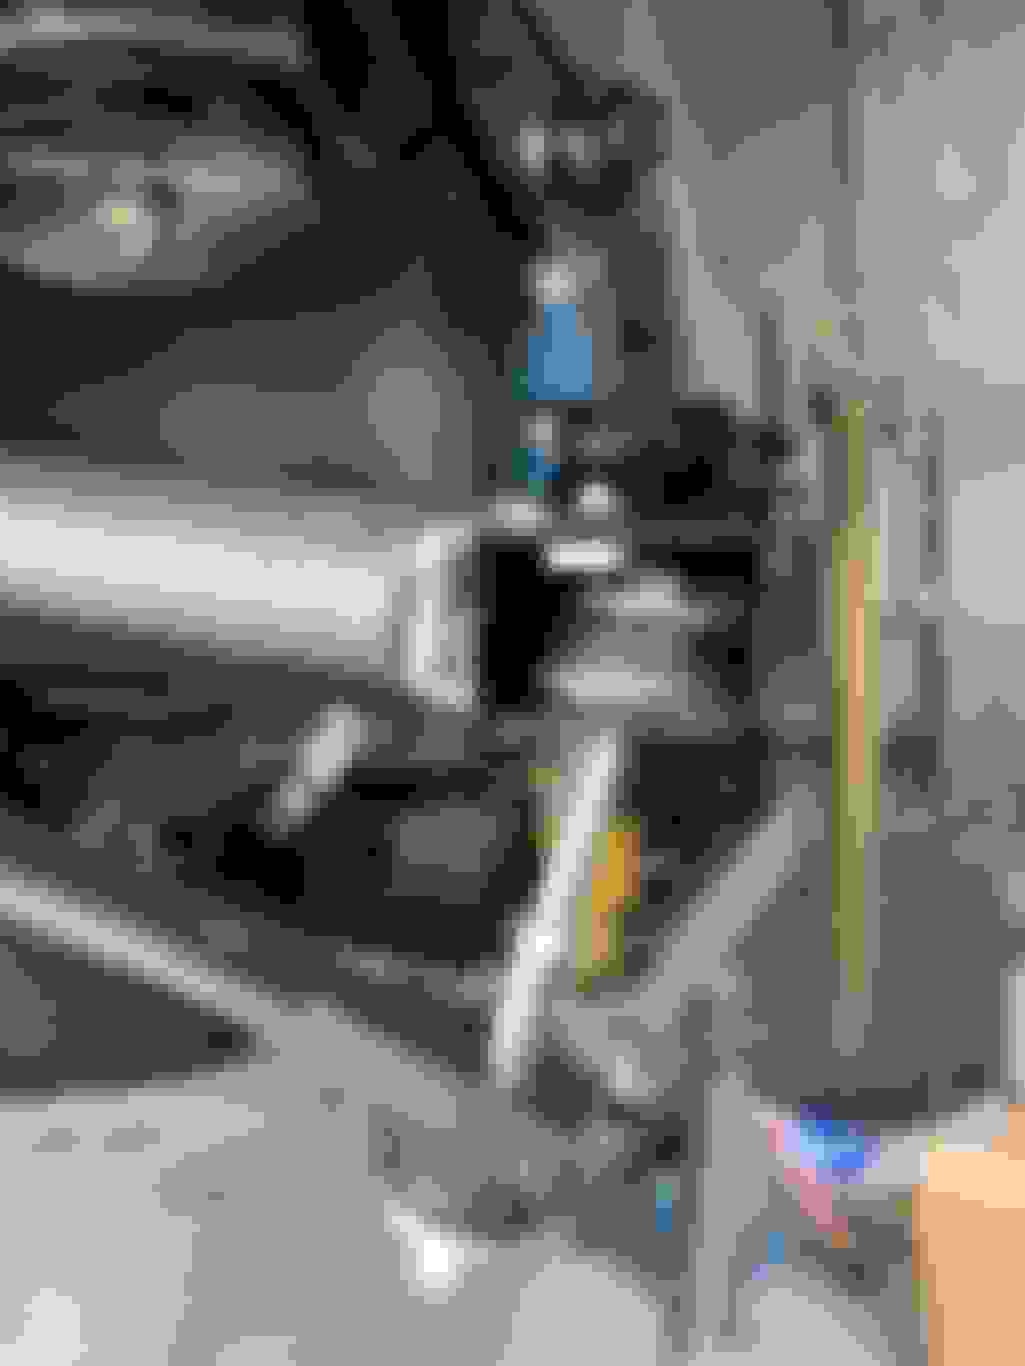
bushing and head of bolt in TA. Bolt head to close to TA top to get sway bar mount in. Original mounting. another view of original
The top picture looks like poly. I would get rid of that as it will crack and fall out. If you put in new rubber bushings, use a large screw driver or pry bar to compress the bushing so you can insert the nut plate. I went through two sets of poly on both of my cars. I learned my lesson. Jerry
Just shave the poly bushing. On the top of the bushing where it is curved. Cut off the curved part of the bushing from the top and reinstall. Works every time. There are poly bushing out there for a car with sway bar, that is the only difference I can tell between the two bushings.
After everything is together jack up the trailing arm with a floor jack to put pressure on the spring and compress the bushings then slide in the plate and attach the 2 sway bar bolts.
Well one side is in. After a little discussion on the referenced thread where I accidentally places a reply and so kicked it off again, I considered going to rubber, but I just want to get this on the road to if the re-rebuild of the diff got rid of the gear noise and is the rebuild of the TA's got rid of the knocking. So I opted to fight the existing bushings and get the mount plate in. Per the photo, one is now in using brute force. Some wear and tear on the POR-15, but at this point I can live with it. On the bright side, this set up puts so much load on the spring bolt head I can turn the nut to adjust the spring without the need of putting a wrench on the bolt head. And that is a good thing since with the angle things are at and with the sway bar mounting plate in there, I can't get a wrench on it.
I see two thing that may happen with the bushing installed under that load. Bolt will break or the bushing will come apart. Time will tell. Hope your car is not damaged to bad when it happens.
I see two thing that may happen with the bushing installed under that load. Bolt will break or the bushing will come apart. Time will tell. Hope your car is not damaged to bad when it happens.
This is not a wrong set up. The dimensions are the dimensions and this is to my understanding the normal state if you have a sway bar, i.e. you can't get the mounting plate in without compressing the bushing beyond what the spring load is compressing it.. And the bolt head only had to be depressed about 0.030". Simply torquing the nuts on the spring bolts tighter to lift the car ride would cause the same compression. The only alternative is rubber which would be the same dimension and also under the same compression. Though maybe it could handle it better given rubber's higher elasticity.
Last edited by vince vette 2; 04-24-2019 at 02:04 PM.
I would be interested in seeing anyone else's post installation photos with poly and rubber bushings. I am curious if the amount of canting on mine is normal. If I didn't note previously, the spring is 1" shorter (1/2" per end) than the original leaf spring which would cause some inward canting.
Just finished mine today. I also have the shorter spring.
I made a sleeve to cover the threads on the spring bolt and stop them grinding into the spring.
I did the sway bar mount plate like Mooser shows above.
Res, it's still a little hard to tell on yours. Would you mind crawling under there to get a close up like Derply and my photos Just kidding.
I took a little better shot of mine. It's more clear where the bolt hits the sway bar mount plate. I'd say the angle on mine is somewhere between both or yours. I did order rubber bushings today (Zip, $20 including shipping). I probably won't put them on now. I'm tired of removing and reinstalling stuff multiple times. i think I'll just leave them for now and if I'm antsy consider replacing them next winter.
Res, are those QA1 shocks I see? If so, adjustable and if so single or double? I have the single adjustables on mine but haven't been able to put enough miles on them to even begin trying settings. I just have them at the mid point.
And an off topic question but not worth starting a thread for - What's the thread on the studs that connect the down pipes to the exhaust manifold? One of mine is missing.
Remember, with the TA hanging, the spring is at the worse angle, when the car is on the wheels, the spring comes up and the angle improves. Some of the images your looking at are with the arm handing (like yours and mine) and others are the car on the ground.
Apples and slightly different apples. I don't see anything particularly wrong with yours (other than the nut being threaded way up, don't know your spring though)
M

 04-19-2019, 01:19 PM


 Thanks for the answers


 I did the exact same thing. No cutting/shaving of the bushing is required.


 Just kidding.