

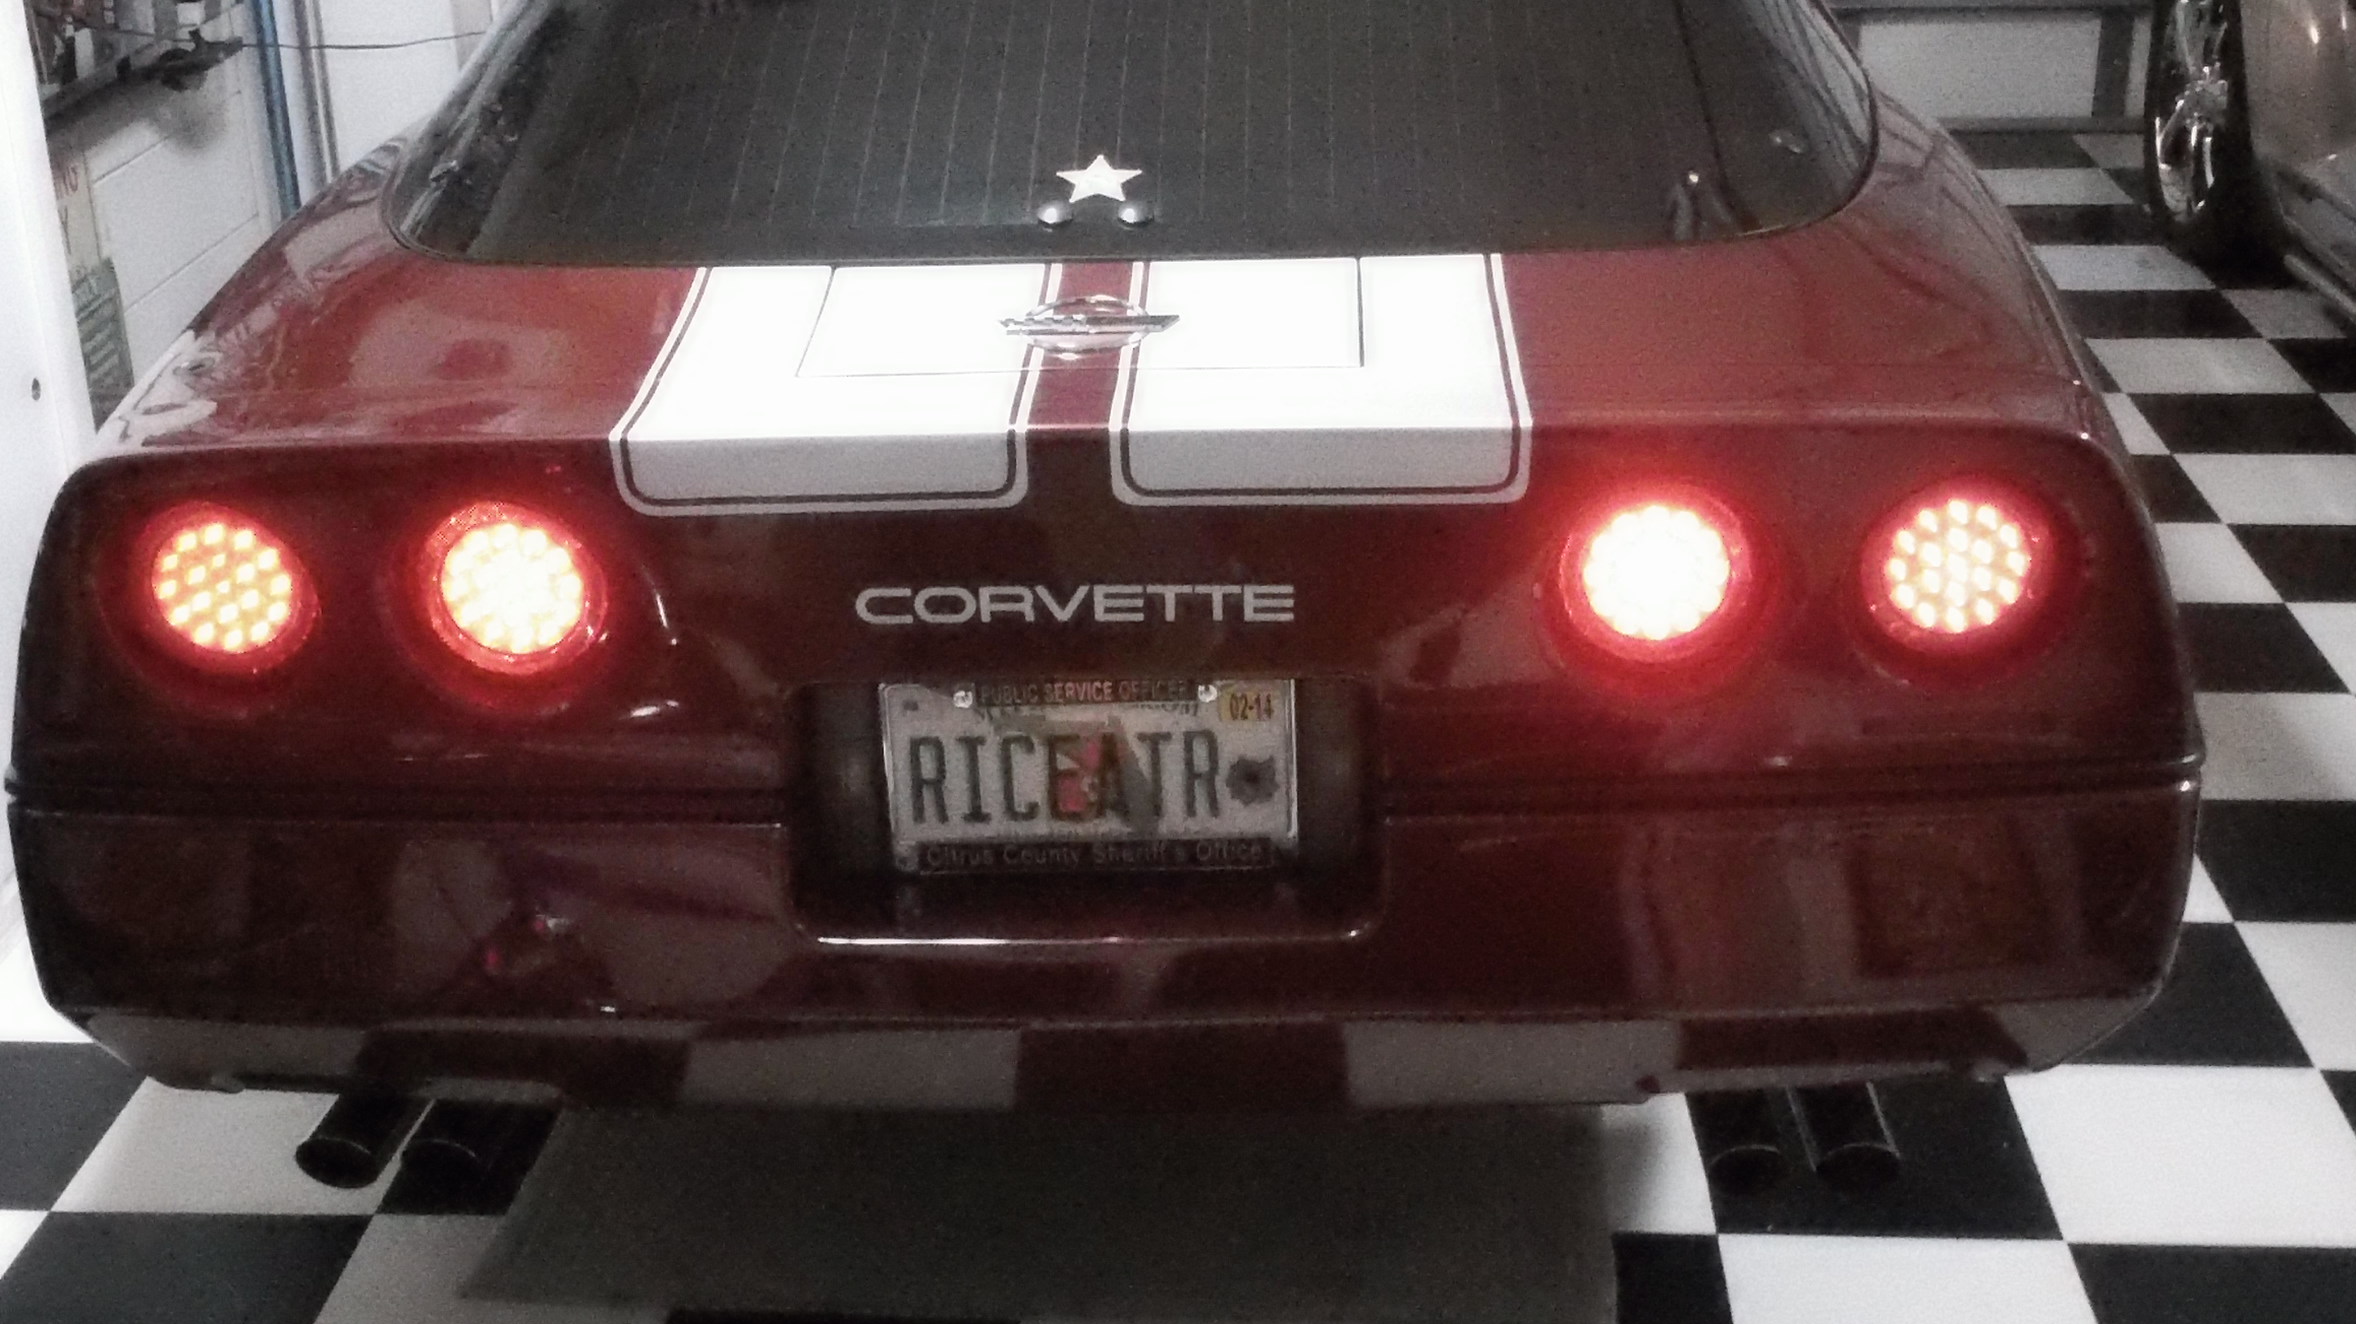


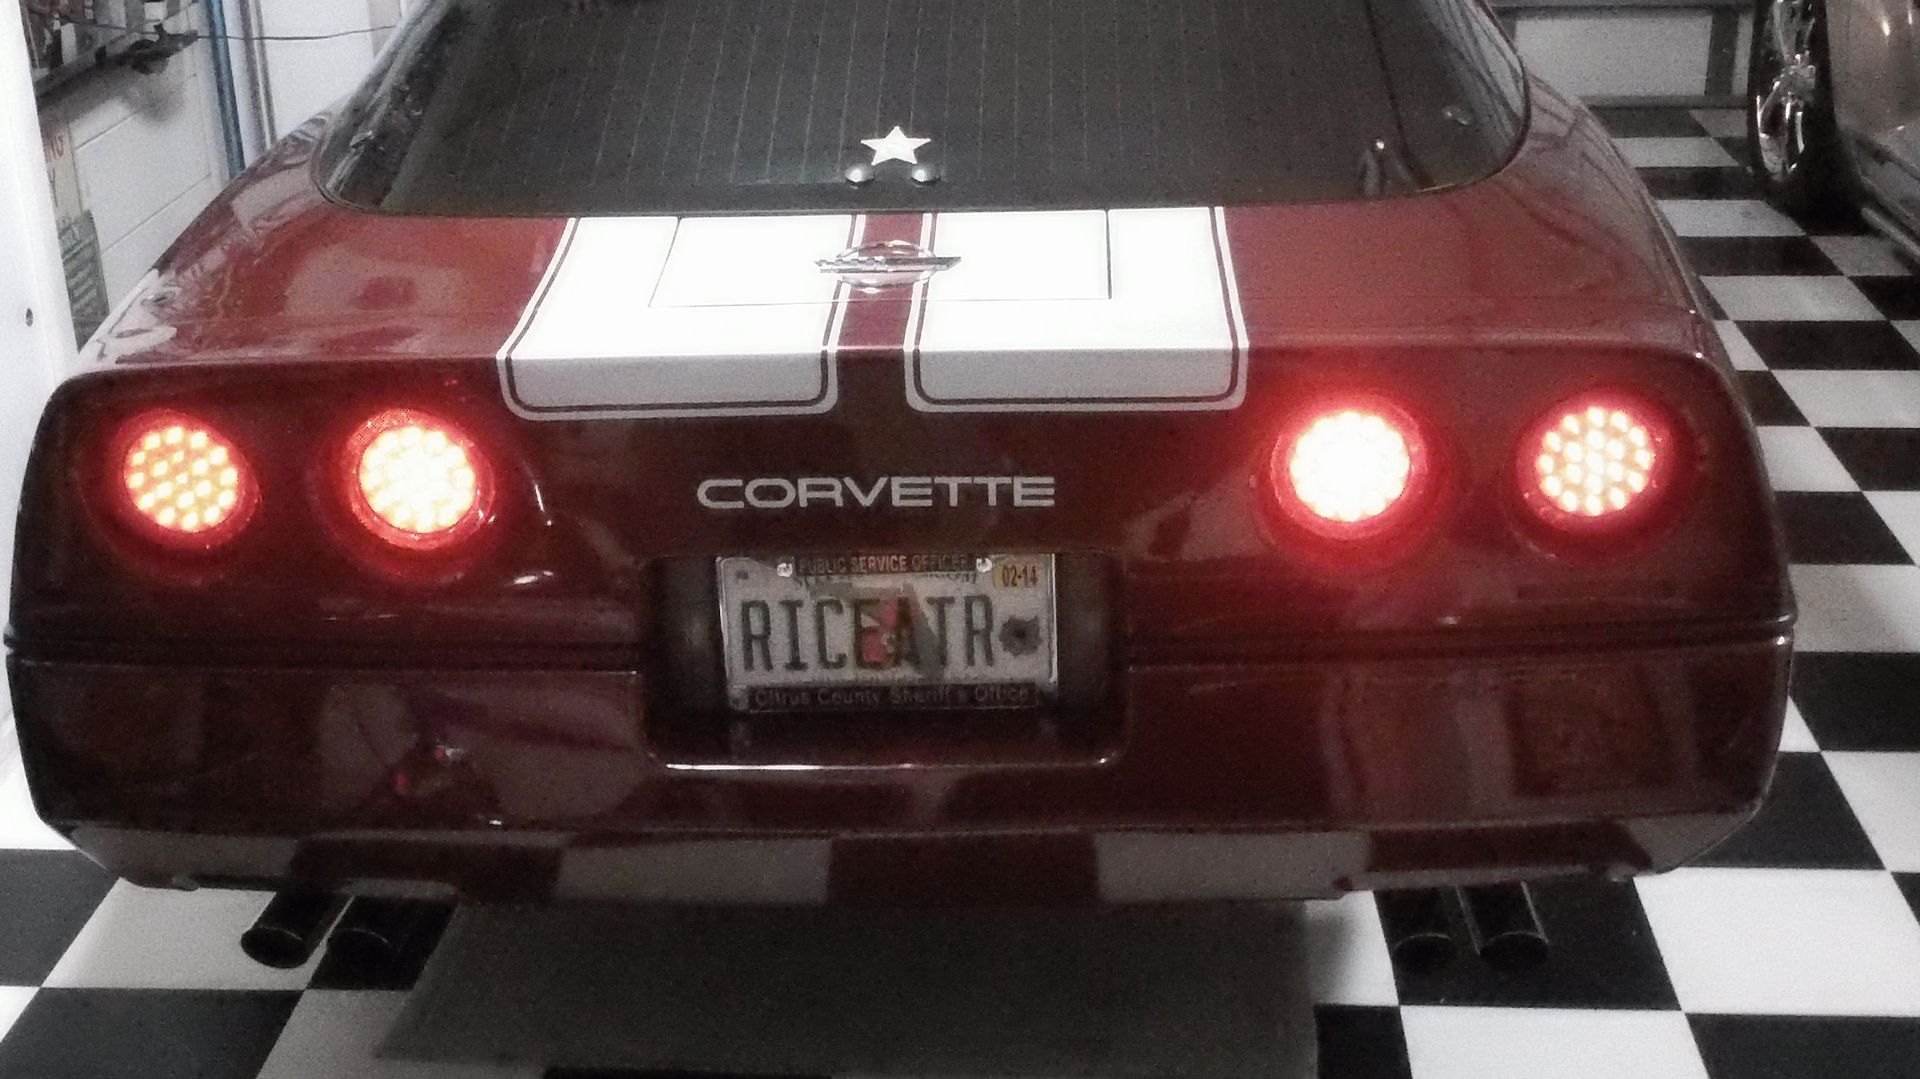
How do I replace a tail light
Corvette Enthusiast


Joined: Oct 2007
Posts: 6,797
Likes: 2,719
From: So. Cal.
2025 C7 of the Year Finalist- Unmodified
2024 C7 of the Year Finalist - Unmodified
2023 C7 of the Year Finalist - Unmodified

There are alot of new 84 owners here.

Cruising

Joined: Sep 2010
Posts: 14
Likes: 0
From: Winnsboro Tx
GM must have made the rear end a little different within the year(s). On my 86, most vettes listed have 84-(89 or 88), I could not access the rear tail lights from the license plate access hole. It's easier to find from the under side. However you can't see what you are doing to replace the bulb(s). I think mine, had the original lights because it still had the factory grease to keep water out. Once I had the light twisted out as this forum recommended. I had to remove the screws along the wheel (rear side) to pull the fender scurtting out so that I could find the light access from below.
so here goes: from my shop (workshop for my tractor).
1 raise up the rear for easier access, yes your on a floor I hope not the ground.
2 remove the screws from inside the rear wheel well (Torgue driver to remove them.)
3 twist out the bulb, it's going to be dificult because you can't see & tite quarters
the light housing may not rotate easly, this is work.
4 if your bulb had the factory grease use a battery wire brush (post type), to clean out
the light reciever.
5 then insert & twist the the light gently so as not to breake the bulb. You should feel
it lock.
6 place the light back in the socket (easy part) and lock in (clock wise turn). You should
hear(a click sound) & feel it lock into place.
I did think about walmart guys to replace the bulb, it took me 1.25 hours to replace 1 bulb. I'm not a mechanic, a computer geek.
Last edited by Botei; Oct 2, 2010 at 03:29 PM.

1st Gear
Joined: Apr 2012
Posts: 1
Likes: 0
I needed to change the outboard driver tail-light bulb as well.
However, After reading the replies and trying to reach the light bulb assembly from different angles, I could not get to it. The Haynes manual even said to reach between the muffler and the rear fascia...no dice. I did not want to take apart more than I had to.
I removed the support rod behind the rear wheel well, that is connected to the wheel well at the rear. The wheel well bolt head is on the tire side of the wheel well. This support rod is connected to a metal beam sort of over the outboard side of the muffler. Both bolts are 10mm. With this out of the way, I could reach up fairly easily to find the assembly and turn it counter clockwise to remove it.
After this it drops down to where I can see it and change the bulb. It did take a couple of minutes to orients the unit properly to turn it clockwise to re-insert it, but this still was not very hard. I should have just paid closer attention to its orientation before I removed it.
This entire process took about 10-15 minutes only, without having to dissassemble the car, thank goodness. And, the light works now.
Hope this helps someone else.
Last edited by wheelgunner; Apr 22, 2012 at 10:54 AM.

Intermediate
Joined: Jun 2012
Posts: 49
Likes: 2
Every Corvette dealership has a trained Orangetan for reaching the tight spots. They charge $70.00 per hour when in reality the monkey works for peanuts
Last edited by Steve Goetsch; Feb 28, 2013 at 03:12 AM.

Instructor
Joined: Sep 2012
Posts: 218
Likes: 1
From: Salem New Hampshire
Instructor
Joined: Sep 2012
Posts: 218
Likes: 1
From: Salem New Hampshire
so are you guys saying that this bulb change can be done from reaching up under the rear bumber?
Does this also work on an 85 corvette?
Does this also work on an 85 corvette?
Last edited by nhlighthouse; Aug 7, 2016 at 09:24 PM.
Corvette Stories
The Best of Corvette for Corvette Enthusiasts

Top 10 Most Expensive Corvettes Ever Sold on Bring A Trailer
Brett Foote
10 Things Every Corvette Owner Needs (2026 Edition)
Michael S. Palmer
8 Most "Only Corvette Owners Understand" Quirks and Problems
Pouria Savadkouei
10 Reasons the C6 Z06 is Still A Performance Benchmark After 20 Years
Joe Kucinski
How Much Horsepower Every Corvette Engine "LOST" in 1972
Joe Kucinski
Top 10 DOs and DON'Ts for Protecting Your Convertible Top!
Michael S. Palmer
Top 10 Most Explosive Corvettes Ever Made: Power-to-Weight Ratio Ranked!
Joe Kucinski
150 hp to 1,250 hp: Every Corvette Generation Compared by the Specs That Matter
Joe Kucinski
8 Coolest Corvette Pace Cars (and Replicas) of All Time
Verdad GallardoBurning Brakes

Joined: Apr 2016
Posts: 781
Likes: 73
Remove the couple of screws on the bottom of the bumper cover. My big, old arm can reach up behind the bumper cover to the inner bulbs with no issue.
To get to the outer bulbs I need to remove the inner assembly and access the outer bulb via the inner hole.
Melting Slicks


Joined: Mar 2016
Posts: 2,778
Likes: 580
From: Langley BC

3rd Gear
Joined: Dec 2016
Posts: 3
Likes: 0
C4 1991 and newer tailight bulbs you can access from removing the lens from outside of the car.
These are the square tailights and only require you to remove two torx screws to get the lens off and the light bulbs twist out.
This I discovered after trying to get to them through the license plate which I couldn't reach the outer ones from.
These are the square tailights and only require you to remove two torx screws to get the lens off and the light bulbs twist out.
This I discovered after trying to get to them through the license plate which I couldn't reach the outer ones from.


1st Gear
Joined: Jan 2013
Posts: 1
Likes: 0
The only thing that was not mentioned is that fact that you need to remove the spare tire holder bracket mounted behind the license plate. Unscrew the bolt that holds the spare tire cover and then 3 bolts that mount the bracket. Once this is removed any normal size person can reach the screws holding the inner taillight in place. Once the inner light is remove you can easily get to the outer light through the inter light hole.
This is nice advise from the book 101 Projects for your C4 , but in reality it does not work unless you have not eaten in over 50 days and your arms are the size of a 5 year old. You MIGHT be able to get at the inner lens this way IF your Lucky but its impossible to get at the outer lens this way. Your car in made of Fiberglass and it is soft enough to bend. You can either take the rear bumper off ( I don't advise this ) or pull the lower quarter panel out with you hand and feel your way up their. Unplug the bulb and feel around for the head of the nut. I don't remember the size, go up with your socket and a small extension and turn the screw by hand. You wont be able to get the ratchet up their so this job has to be done with a short extension and the socket in hand. A real pain but possible. Dropping the muffler helps its but not nessary.Having someone hold the panel apart makes it much easier. You arm is are going to be pretty beat up after you finish and use a pillow under you neck. You body will appreciate that. I guess Chevrolet never expected these bulbs to burn out?
Last edited by davide0721; Dec 6, 2016 at 05:47 PM.