When you click on links to various merchants on this site and make a purchase, this can result in this site earning a commission. Affiliate programs and affiliations include, but are not limited to, the eBay Partner Network.
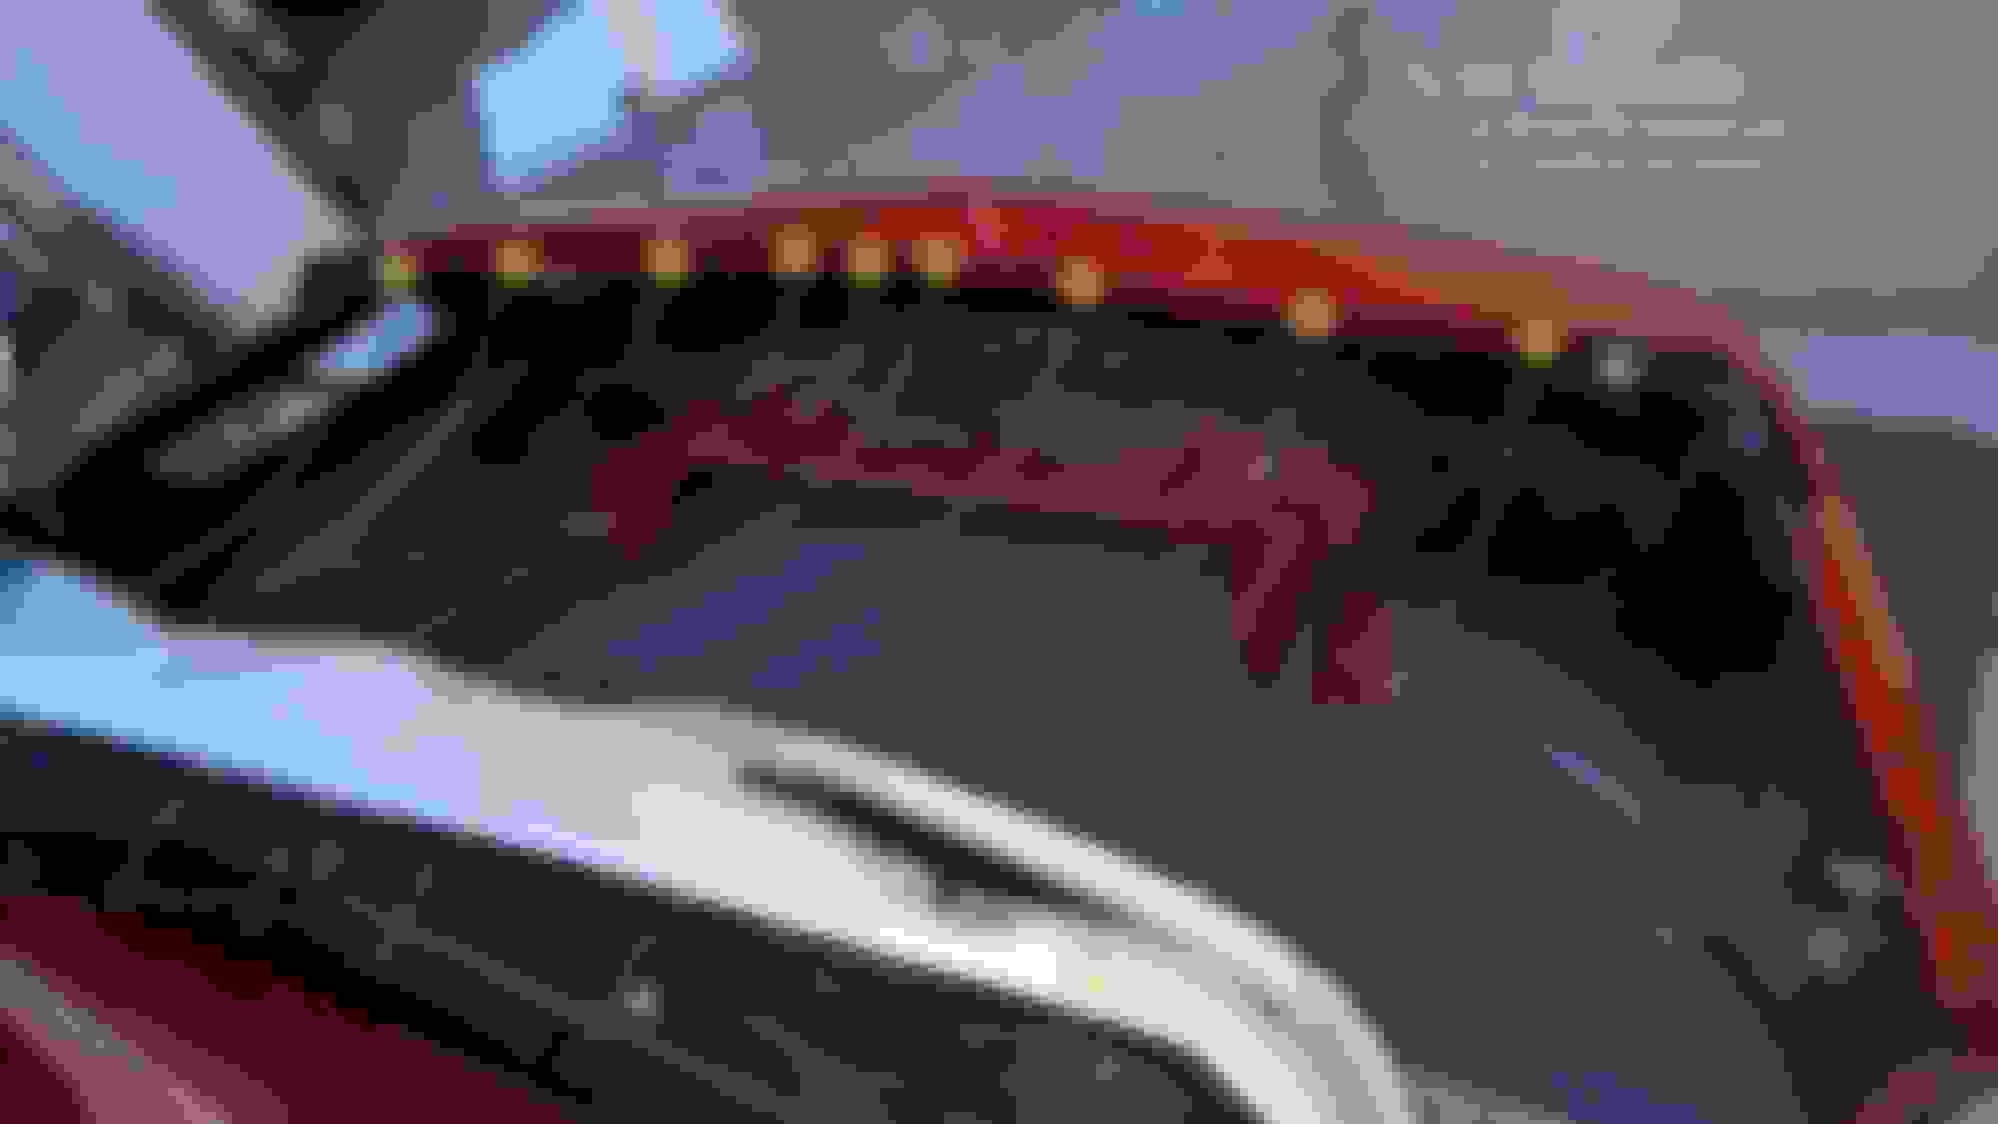
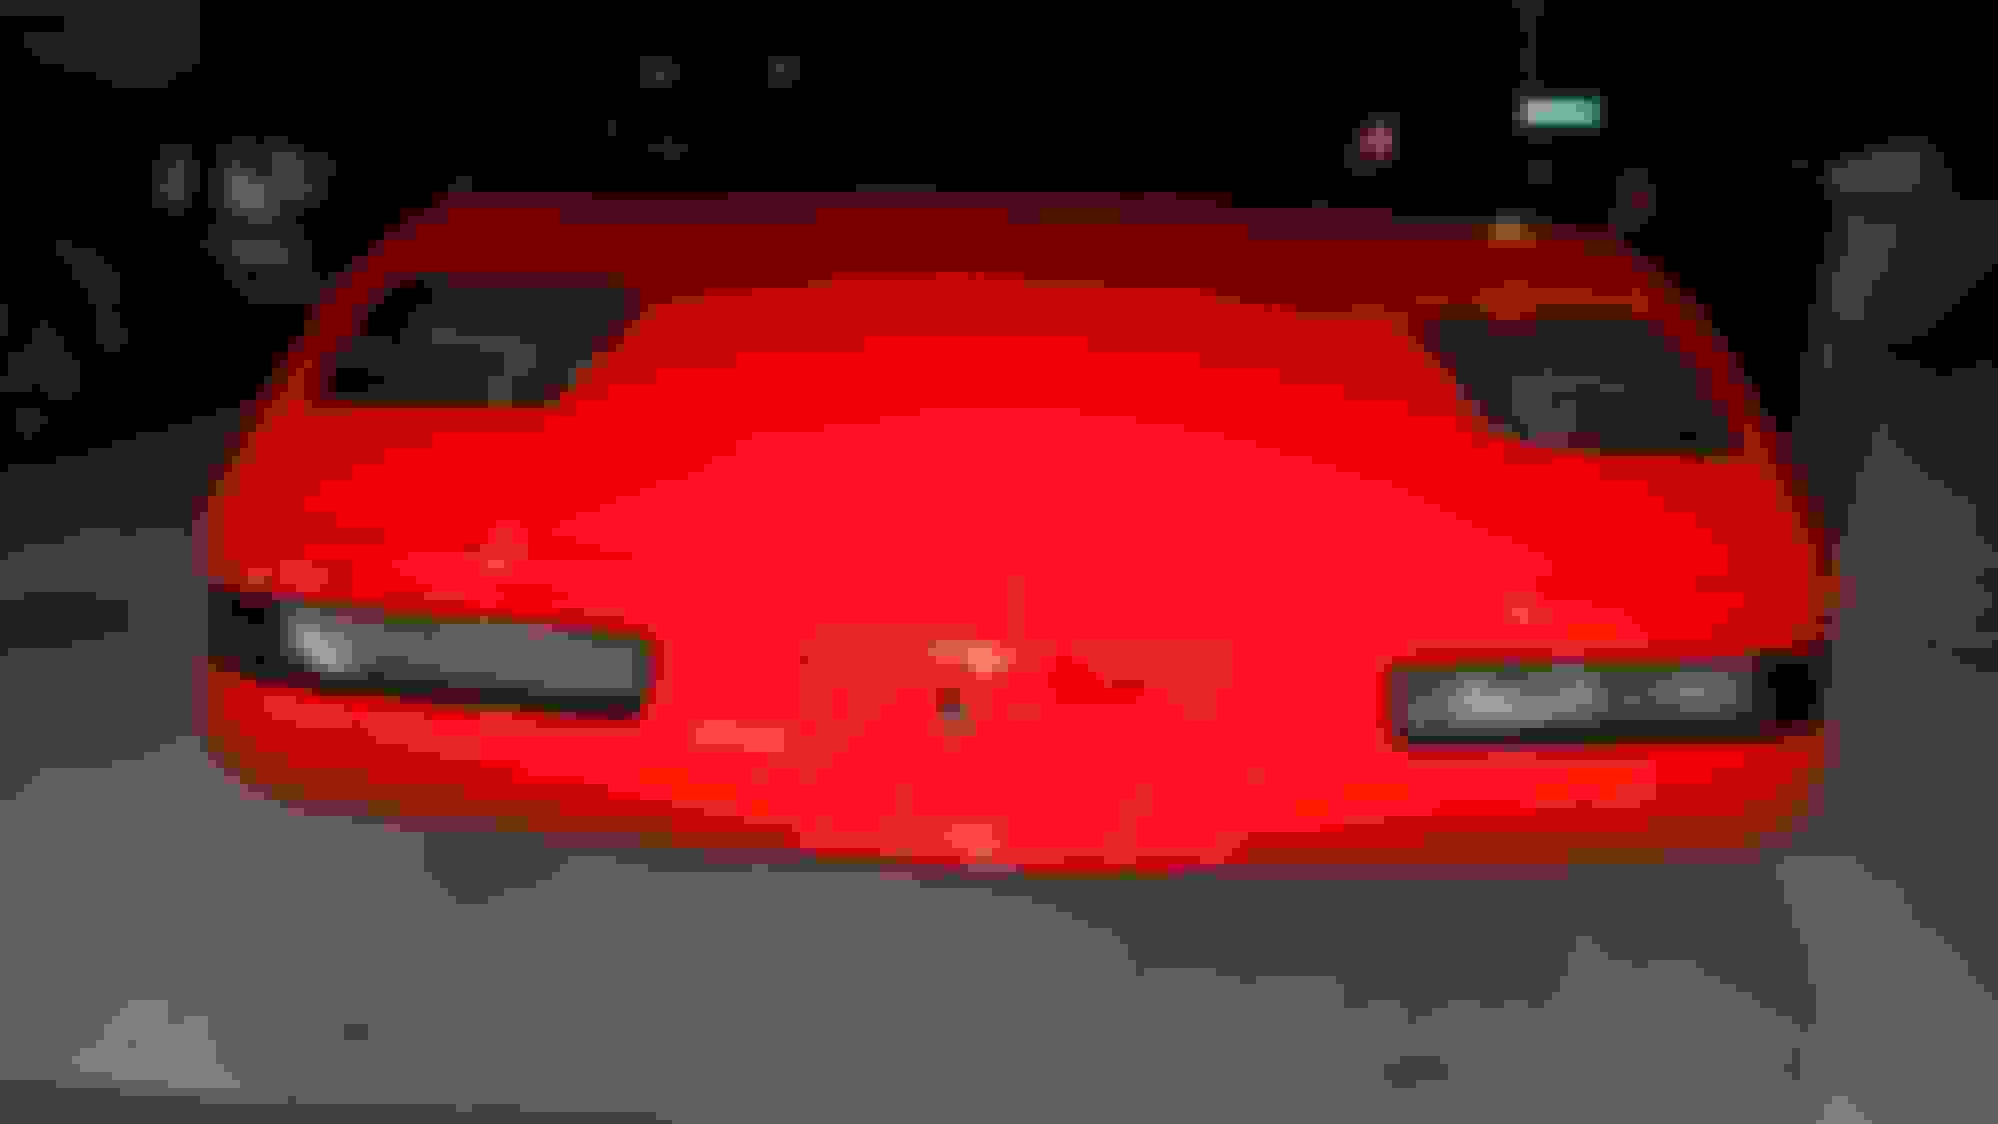
Assembly Working my way Front to Back so bumper cover is first
When re-assembling make sure you tape all your edges that may or may not contact other parts. All it takes is one wrong push/pull to ruin a corner.
Invest in some ratchet wrenches, primarily 5/16" and 13mm they make the job exponentially easier. To line everything up, bribe a friend or relative to help. It's the only way to properly align your gaps, my bumper had 6 shims, 3 on each side. each side had 1 thick 2 thin. I had to do guesswork since I did not remove the bumper but you can see we got it back together really well. While the bumper is off I would highly recommend checking all of your electrical connectors and fixing anything.
Looks great man! How long did that take you? Did everything line up and go back together easily?
It took my dad and I about 4 hours to do the Bumper and Bumper Cover, we even had a manual. Getting the bumper and cover on was the easier part, aligning and adjusting took over 2 hours.
I think on my 2nd time around it would take about 2 hours to really do it. Luckily we did not have to do any hood adjustments.
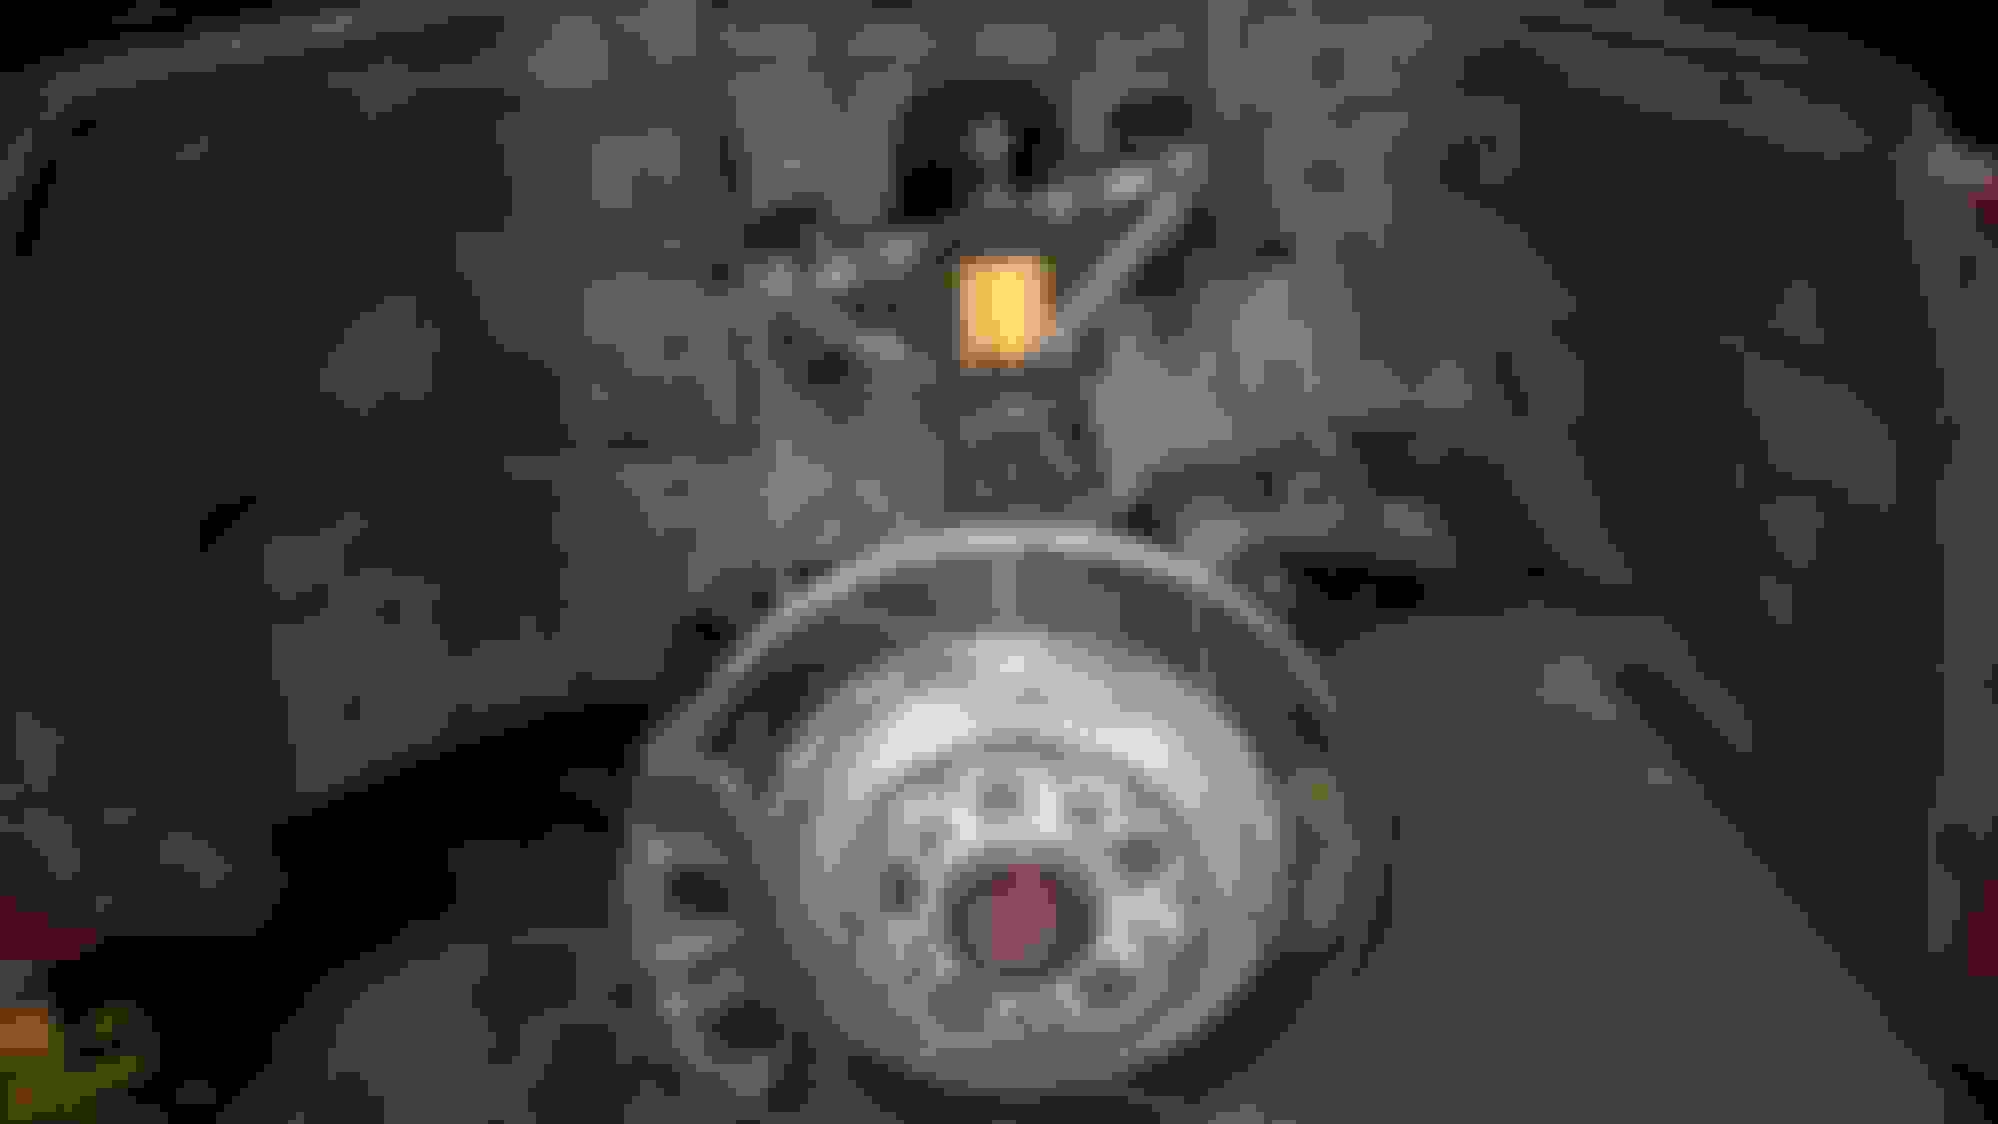
On most videos i've seen for the front bumper there are 4 bolts to hold the bumper to the car. everyone is using ratchets with extensions, we tried and tried to use those finally gave up and it was so easy with just ratchet wrenches. Top ones you come from the top, bottom ones you come from underneath the car, super simple.
As for adjusting there are so many areas to adjust, what we did is put every bolt in and hand tightened them as well as the nuts. So we could still move the bumper and bumper cover around. This is how we adjusted it:
• Close hood (carefully) and see if you need to raise / push forward / push back / lower your bumper cover
• Ours needed to come up and towards the rear of the car, as well as horizontally towards the driver side
• We took note of how high and over we needed to move the bumper cover
• Open the hood
• Have one person under the bumper cover
• Have one person looking at the First Top Bumper Bolt located by the radiator shroud
• Note where it's currently at and have the person below push UP and in the direction the bumper cover needs to move (Be very careful because you can still flex the cover too much and crack the paint, it does not take much effort to move it)
• Have the upper person watch the bolt move and make sure it moves the distance needed (we did it this way because you can't tighten the bolts while the hood is closed so it was a lot of eye balling and guesswork)
We thought about tightening the lower one first, but that would actually pull the bumper cover down and create more of a gap, we wanted to get the top bolt tight because then when you snug in the lower bolt, it will pull the top forwards, so we got the top tighter than normal, and then tightened the bottom to create the gab we wanted.
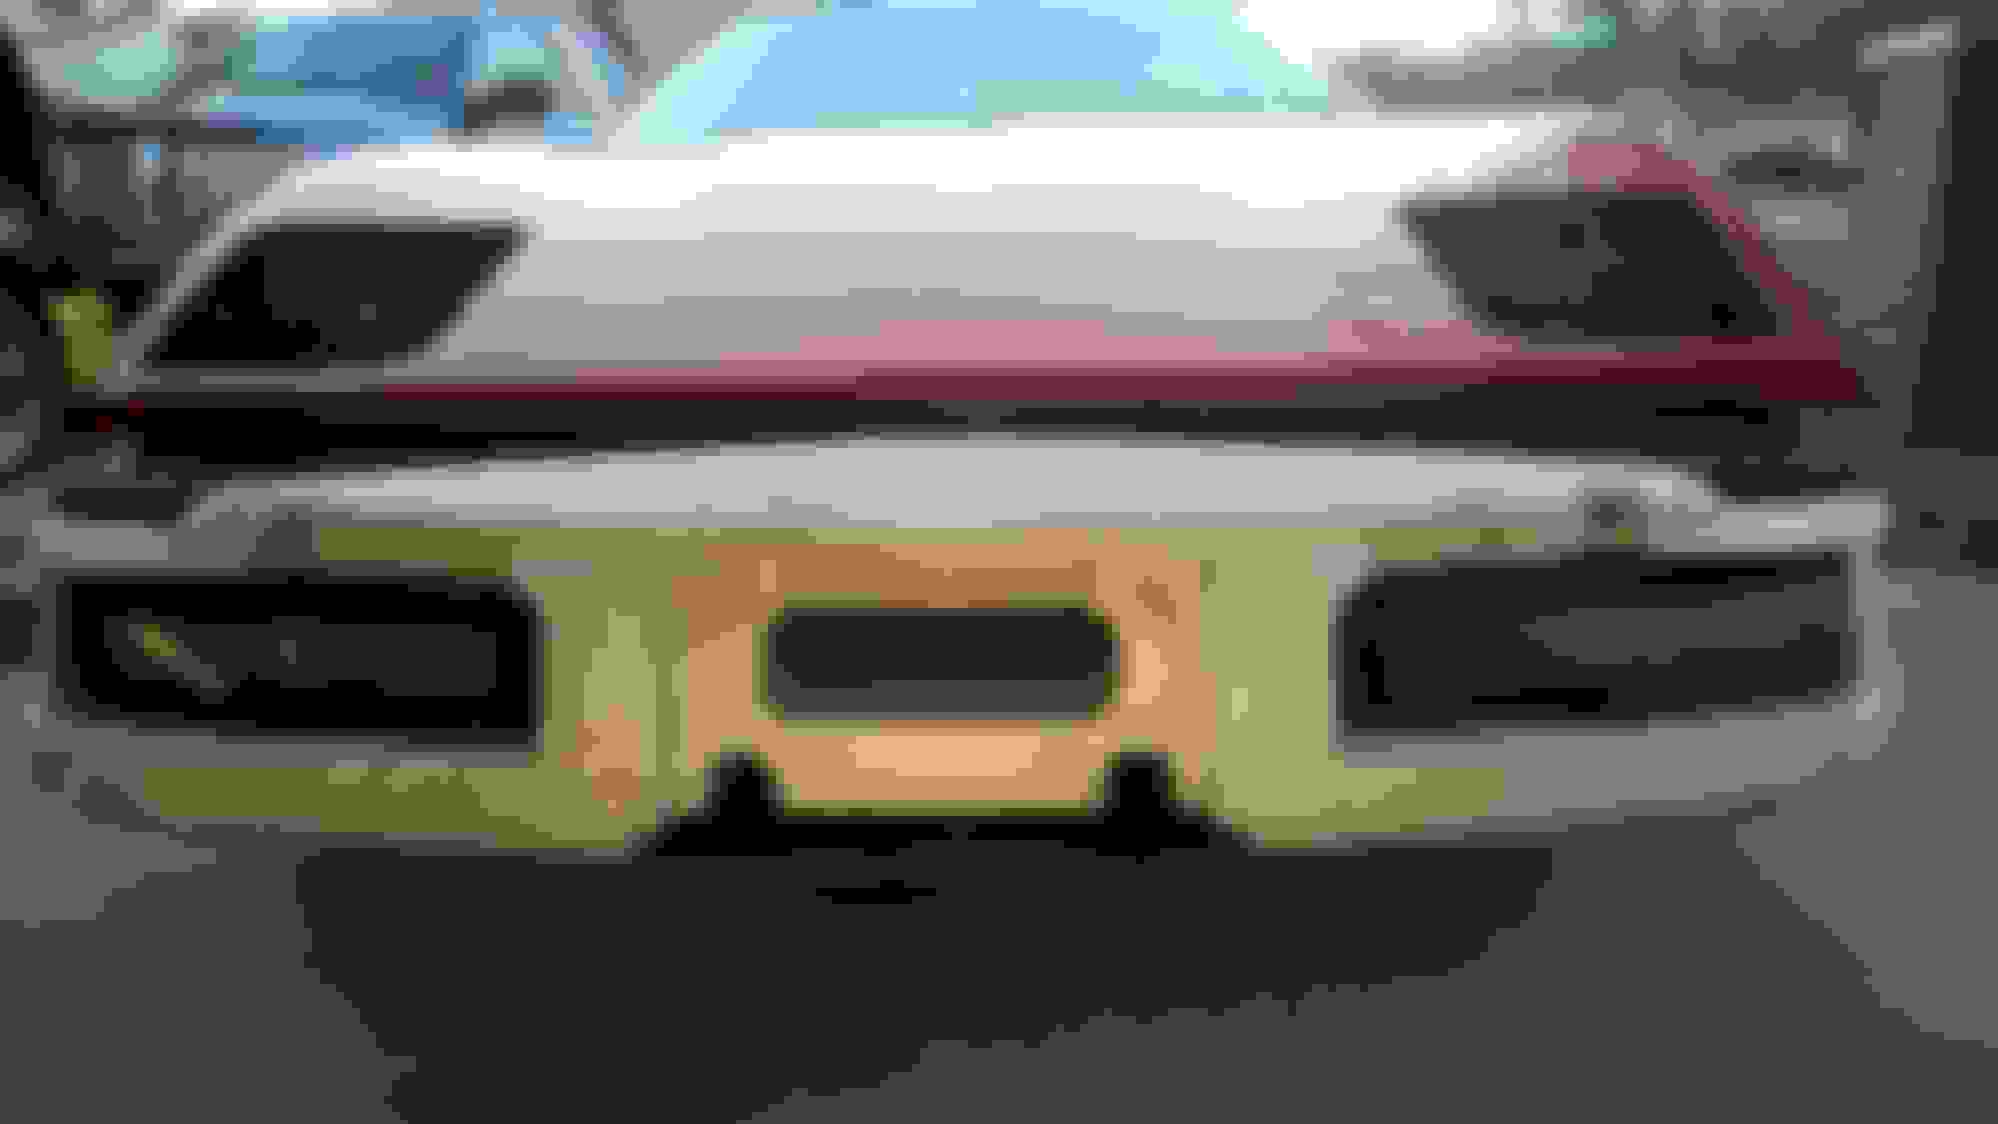
• Once you get the correct gap and left/right horizontal gaps move on to the 9 hex screws that go across the top lip of the bumper cover
• Keep hood opened and you can now change the height of the top portion of the bumper cover across the whole front fascia. This is useful if you are looking at your bumper and lets say the corners are high, but the middle is sagging or vice versa. You have a little play room here.
• Take your 5/16" ratchet wrench (make sure you have your bumper cover lip taped!!) you can loosten or tighten and push down or pull up on the bumper cover lip to raise it to match your hood to create a level surface. This will require a lot of adjustments closing the hood and opening to rinse and repeat.
• Make sure you do NOT overtighten these, they are screwing into nylon/plastic nuts you definitely don't want those stripped, get them firm but they will never stop turning completely
• Once you feel that you have it the right height, you can tighten the lower bolts, this will snug the bottom and pull the front portion down which will create a tiny bit more gap between the bumper cover and the hood. so you will just have to split the difference and adjust accordingly.
*Note: Make sure when you close your hood, you close your hood completely because it will completely change your gaps when you are doing this.
I hope this all makes sense, i should have taken pictures of all the bolts
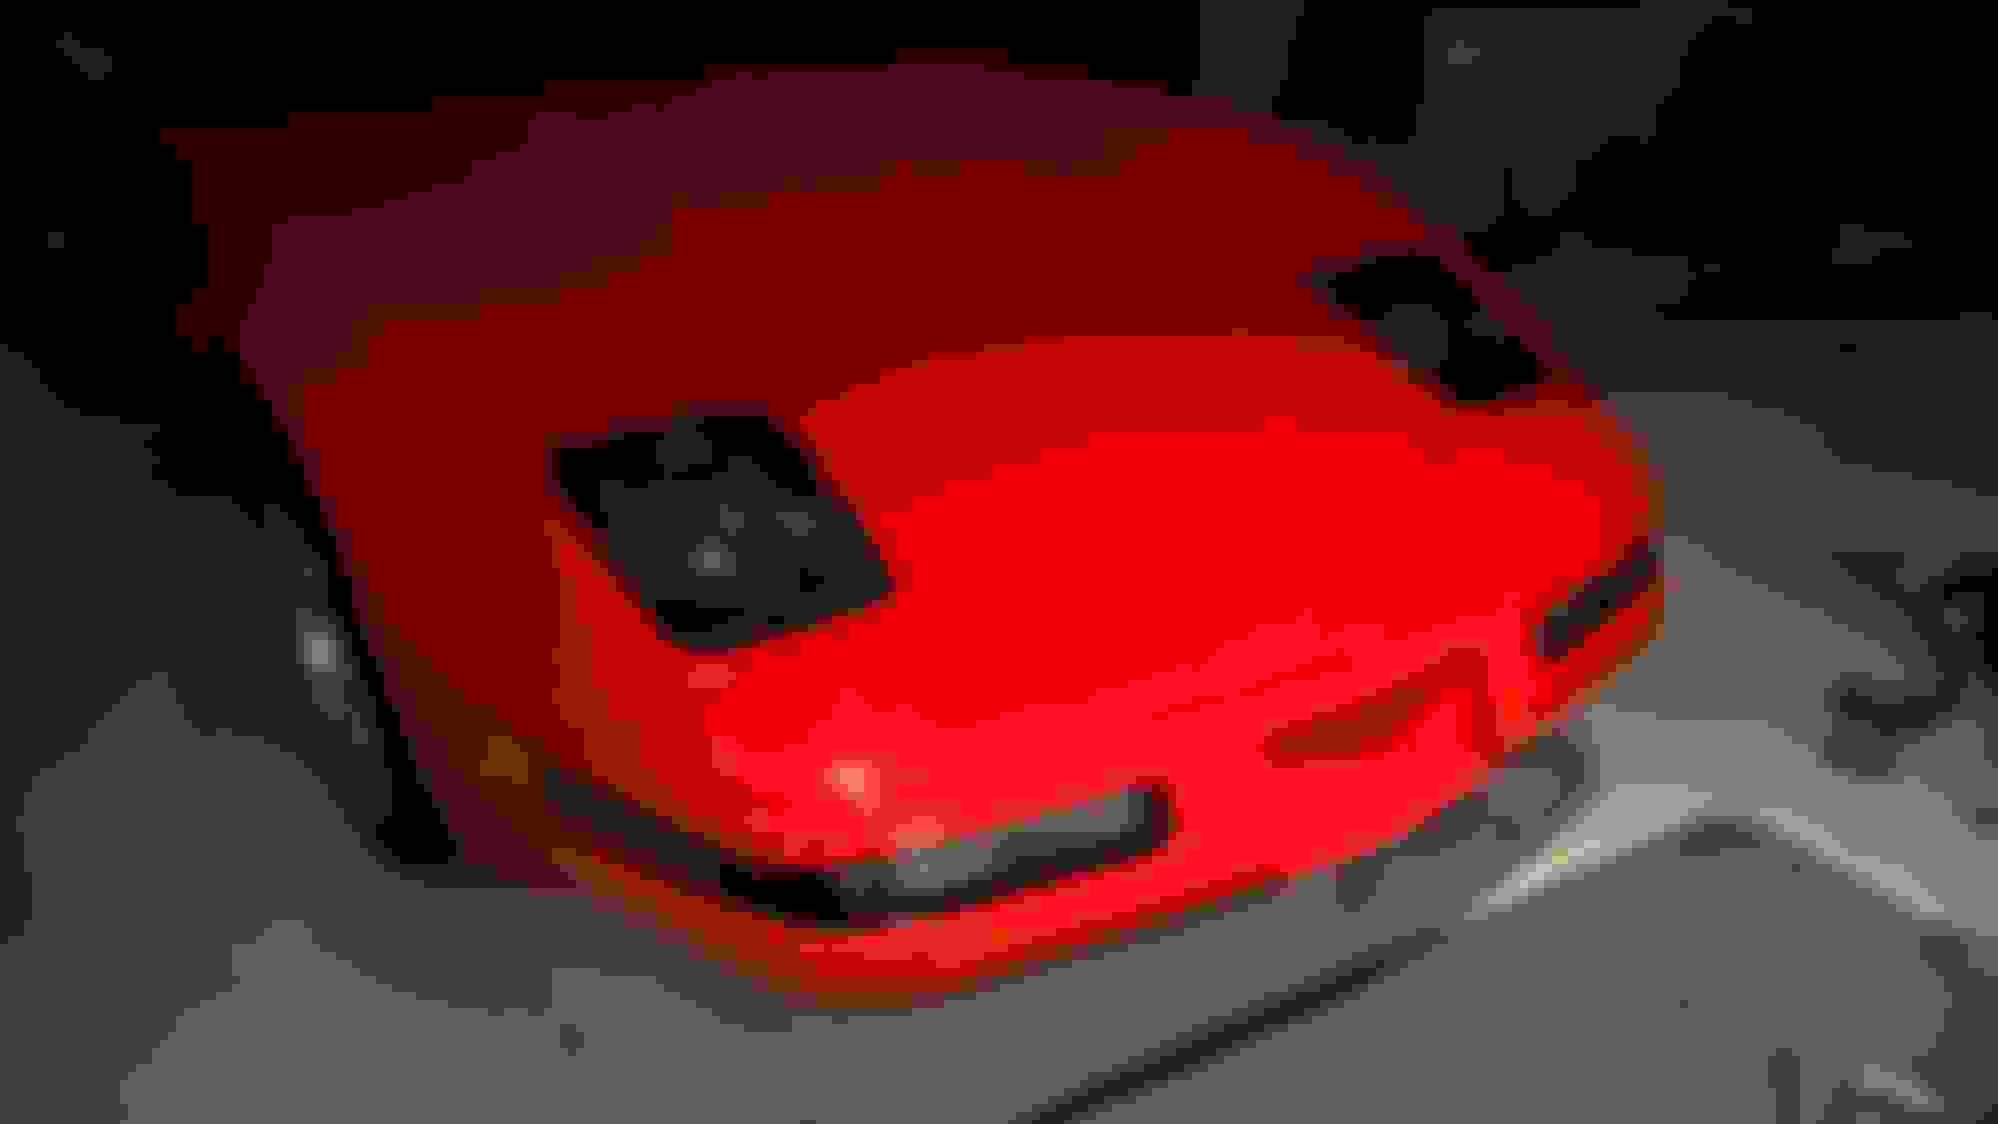
Gorgeous red paint. You are totally at the fun part.
I am definitely at the fun part, DT86 is still in the waiting game for his car to come back. But we are both approaching our cars the right way We have been both collecting/refurbishing parts while our cars were out heheh
It took my dad and I about 4 hours to do the Bumper and Bumper Cover, we even had a manual. Getting the bumper and cover on was the easier part, aligning and adjusting took over 2 hours.
I think on my 2nd time around it would take about 2 hours to really do it. Luckily we did not have to do any hood adjustments.
On most videos i've seen for the front bumper there are 4 bolts to hold the bumper to the car. everyone is using ratchets with extensions, we tried and tried to use those finally gave up and it was so easy with just ratchet wrenches. Top ones you come from the top, bottom ones you come from underneath the car, super simple.
As for adjusting there are so many areas to adjust, what we did is put every bolt in and hand tightened them as well as the nuts. So we could still move the bumper and bumper cover around. This is how we adjusted it:
� Close hood (carefully) and see if you need to raise / push forward / push back / lower your bumper cover
� Ours needed to come up and towards the rear of the car, as well as horizontally towards the driver side
� We took note of how high and over we needed to move the bumper cover
� Open the hood
� Have one person under the bumper cover
� Have one person looking at the First Top Bumper Bolt located by the radiator shroud
� Note where it's currently at and have the person below push UP and in the direction the bumper cover needs to move (Be very careful because you can still flex the cover too much and crack the paint, it does not take much effort to move it)
� Have the upper person watch the bolt move and make sure it moves the distance needed (we did it this way because you can't tighten the bolts while the hood is closed so it was a lot of eye balling and guesswork)
We thought about tightening the lower one first, but that would actually pull the bumper cover down and create more of a gap, we wanted to get the top bolt tight because then when you snug in the lower bolt, it will pull the top forwards, so we got the top tighter than normal, and then tightened the bottom to create the gab we wanted.
� Once you get the correct gap and left/right horizontal gaps move on to the 9 hex screws that go across the top lip of the bumper cover
� Keep hood opened and you can now change the height of the top portion of the bumper cover across the whole front fascia. This is useful if you are looking at your bumper and lets say the corners are high, but the middle is sagging or vice versa. You have a little play room here.
� Take your 5/16" ratchet wrench (make sure you have your bumper cover lip taped!!) you can loosten or tighten and push down or pull up on the bumper cover lip to raise it to match your hood to create a level surface. This will require a lot of adjustments closing the hood and opening to rinse and repeat.
� Make sure you do NOT overtighten these, they are screwing into nylon/plastic nuts you definitely don't want those stripped, get them firm but they will never stop turning completely
� Once you feel that you have it the right height, you can tighten the lower bolts, this will snug the bottom and pull the front portion down which will create a tiny bit more gap between the bumper cover and the hood. so you will just have to split the difference and adjust accordingly.
*Note: Make sure when you close your hood, you close your hood completely because it will completely change your gaps when you are doing this.
I hope this all makes sense, i should have taken pictures of all the bolts
Excellent information. Yup makes sense to me. I know its going to be a "labor of love" getting it on and right. Like you said theres so much that comes into play getting everything lined up. Also having to open/close the hood just complicates it even more. And cracking the paint scares the sh/t out of me! Lol. Keep up the good work and documentation. Enjoying seeing your car come together.
Here is a quick diagram i put together showing which hex bolts i'm talking about to adjust height after you get the majority of the bumper level. Hope it makes sense. You can typically raise/lower by 1/8"
This was a pain in the butt, just from a grease/clean perspective. Once it was all broken down i went through and cleaned everything. It all cleaned up pretty nice should have both sides done this weekend.
Wow! Outstanding. It's great to see a C4 getting such a complete and deserving high quality restoration. Keep the pictures coming.
Off topic was that a Pantera I saw next to the Corvette? Nice!
Looking great Jeremy! You're making nice progress. What did you use for cleaning up everything?
Honestly Dollar Store Fantastic Boom stuff (it's purple) that my mom had under the sink That stuff must have some sort of cleanser in it that hates grease.
The really thick caked on stuff required a ton of elbow grease. and a pressure washer (stay away from the opti spark though)
Wow! Outstanding. It's great to see a C4 getting such a complete and deserving high quality restoration. Keep the pictures coming.
Off topic was that a Pantera I saw next to the Corvette? Nice!
Our c4's require the attention they deserve they are in fact a fantastic car. I use this as my daily driver, i get 28.6 mpg 300 hp for the track, z07 suspension. It has everything I want in a car so far.
I grew up going to classic car shows though so I don't mind getting my hands dirty and can see the potential of a dirty car instead of just a rust bucket like most.
That is indeed a pantera we are dealing with a fuel issue at the moment, but that car is one killer car.
Looks like a well planned out restoration! Keep up the good work and keep us all entertained with the pics! Your dads got a neat ride as well!
Jim
Thank you, i don't know how "planned out" but i'm trying to stay focused hahaha. It's so hard to go, hey oh i want to put this on and refrain from moving on.
Life lesson my dad taught me when I got my 1972 Triumph GT6 Mk3, first thing he said was "Now jeremy don't you tear that damn thing apart" me being young thought, oh dad whatever i know where everything goes. 10 years later the car is now torn apart waiting for me to figure out wtf i did.
So i've learned a lot since then restoring cars with my dad.


 04-13-2015, 06:13 PM


 We have been both collecting/refurbishing parts while our cars were out heheh