When you click on links to various merchants on this site and make a purchase, this can result in this site earning a commission. Affiliate programs and affiliations include, but are not limited to, the eBay Partner Network.
Nice clean original 12v dodge truck you got. Wow even a 2wd, its almost looks brand new. Most I see are beat to death with a zillion miles on them and lots of body cancer.
The lathe looks to be in shape as well.
That's my Dad 95' Ram. It has been a good truck. He drove it daily for many years and kept it well maintained. He got another vehicle 2 years ago for daily use. So now we just use it for this type of stuff. It does have about 460,000km on it but still runs just fine, and with the amount we use it now it will likely last many, many more years.
It had no trouble hauling this 1,600lb lathe in the bed for several hours. Don't know what I would do without access to a truck!
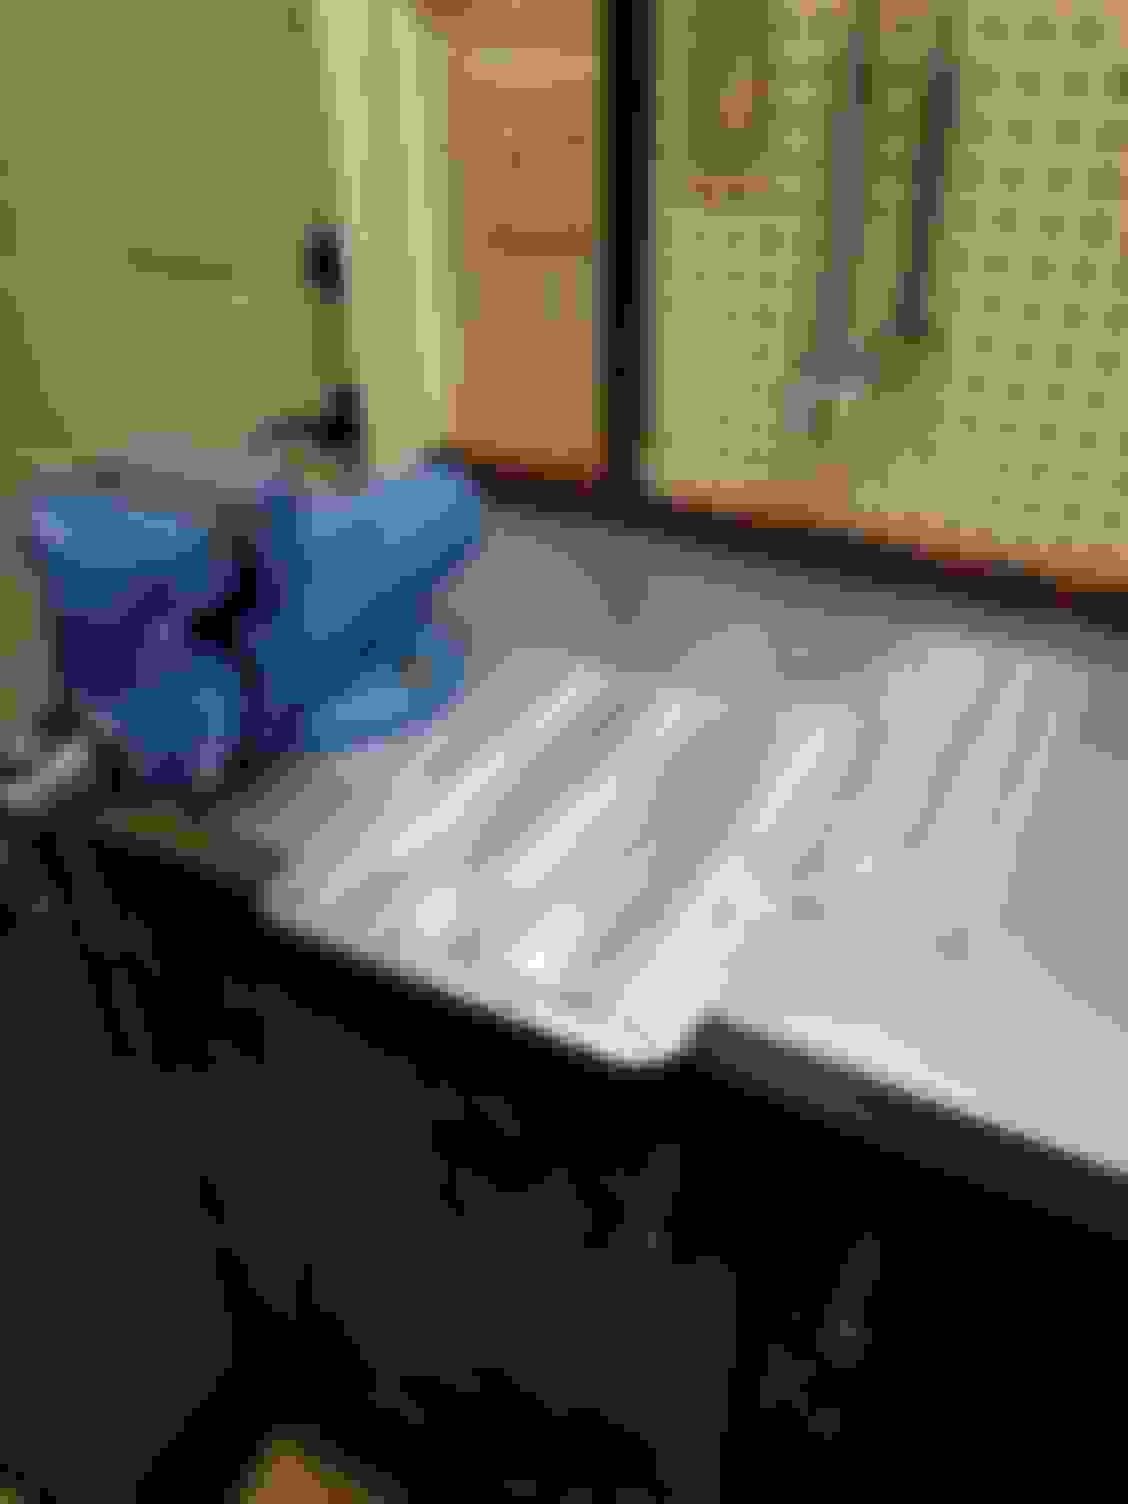
So today I did the final install of the sway bar components and lubricated the suspension. Everything went together without issue. The new sway bar and endlinks are super easy to work on.
Some pictures...
I also took it off the jack stands and since I now only need a 1/8 wheel spacer the front wheels/tires tuck into the wheel wells a bit nicer than before.
I still need to adjust the front ride height up about 1in before I start driving it, but it looked kinda cool for the picture.
I think I maybe had one drip of ATF since dec when I used the hylomar. I'll try using the the thread trip at the next oil change but, the leak is very, very minor now.
The future trans oil changes should be nice now though since I can just reuse the hylomar rather than fooling around with RTV.
that is unique and very creative. what gave you the direction for the concept?
Thanks VT. I spend a fair bit of time drawing out some designs, and I also found a picture online of a custom lid someone on TGO had made that I really liked and that was the inspiration, although my lid is a little different than that one.
I had also considered having the word 'Corvette' machined into the lid or a C4 logo but in the end I prefered this 'sleaker' design.
Here's a couple of pictures I took early this morning of the lid sitting on the engine.
The lid is not sitting right just yet because it seems to have been machined slightly oversized on the passenger's side but, it is only a small amount of material the needs to be removed so that shouldn't be to hard to fix.
If you think that South Bend was difficult, take a look over at: http://www.owwm.org/
There's people there that have to break it down then use roll-backs to move some of their respective equipment. Some of it's unbelievable how big they can go moving things. Take a look for some threads on matchers and there's even one about a lathe for turning masts.
Thanks hcbph.
Ya moving the lathe was not as bad as I thought since we just broke it down to unload, took about 2.5 hours and that included reorganizing the workshop to fit it in. There were No 'scary' moments during the process.
I actually have a pretty heavy duty tilt-deck trailer with a winch etc... that I considered using. However its sooo much nicer to just take the truck for longer distance and cross boarder stuff as far as fuel costs, driving in traffic and insurance go, not to mention the place I picked this up from we could hardly back the truck into the place, it was so crowded.
There was actually a SB16 and also 14.5 for sale a little closer to me for the same price but I figured this was the biggest lathe I could move without buying equipment or hiring help.
Some guys are very inventive and move some crazy huge machines just for hobby use, But for me I can't ever see needing a bigger lathe for my own hobby use. A SB 16/24 or an old monarch would be pretty fun to look at in my workshop though.
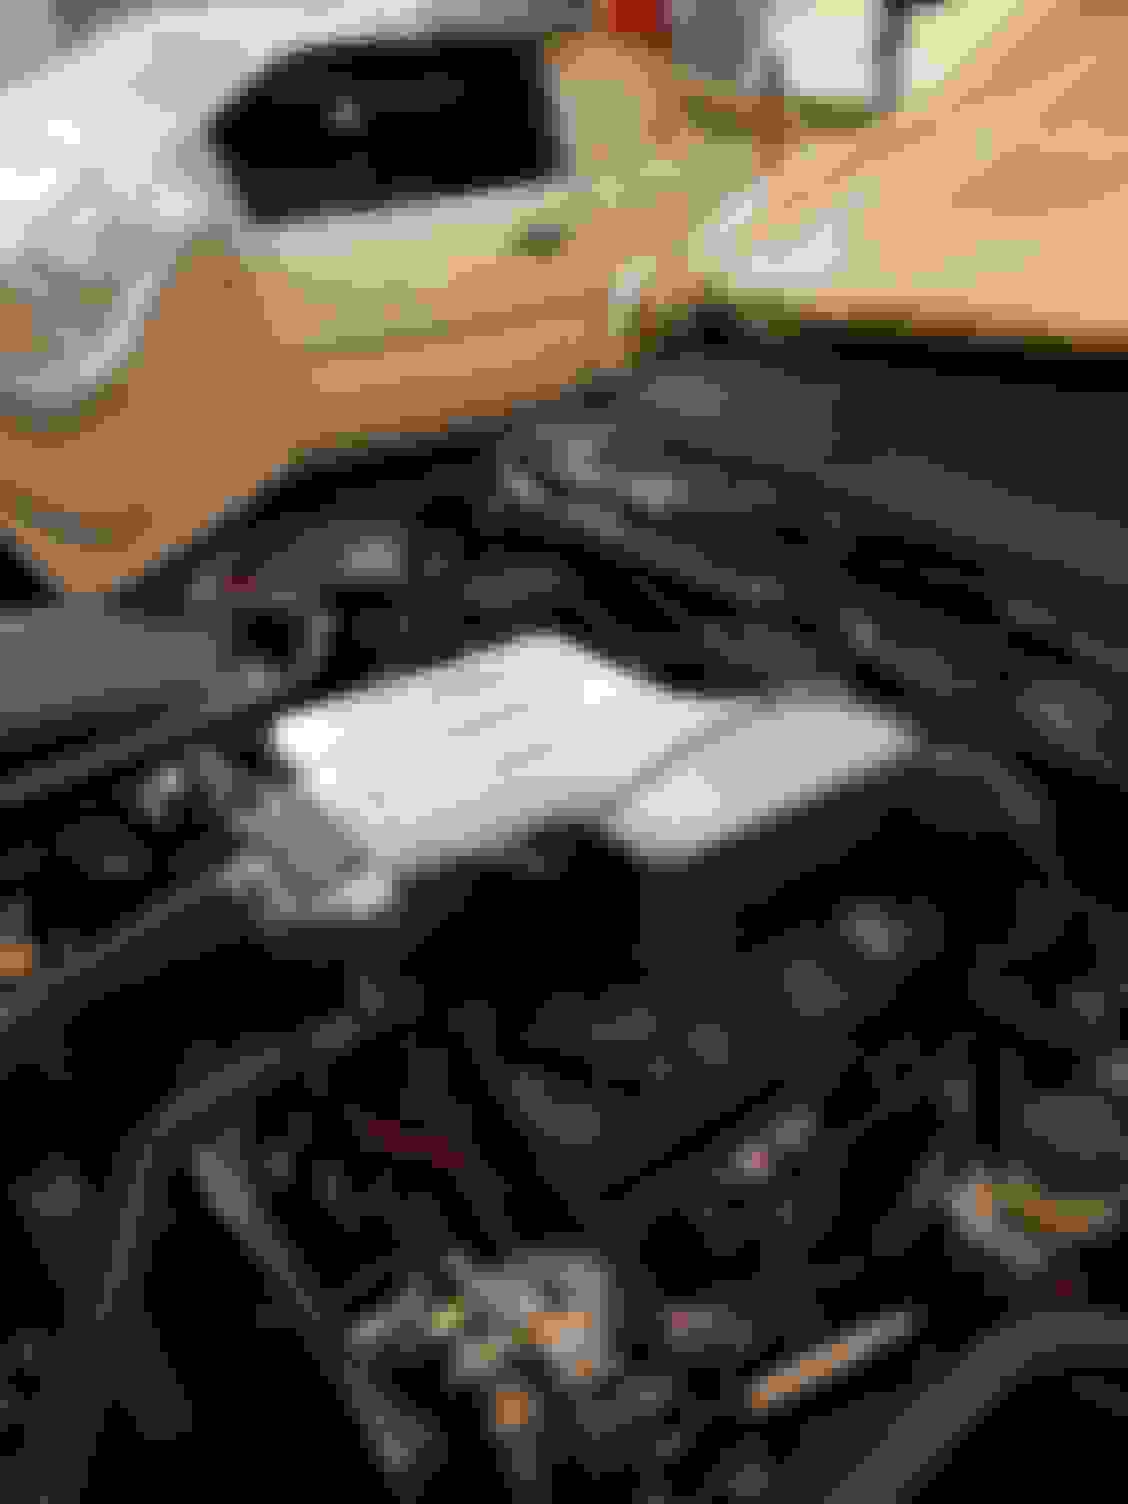
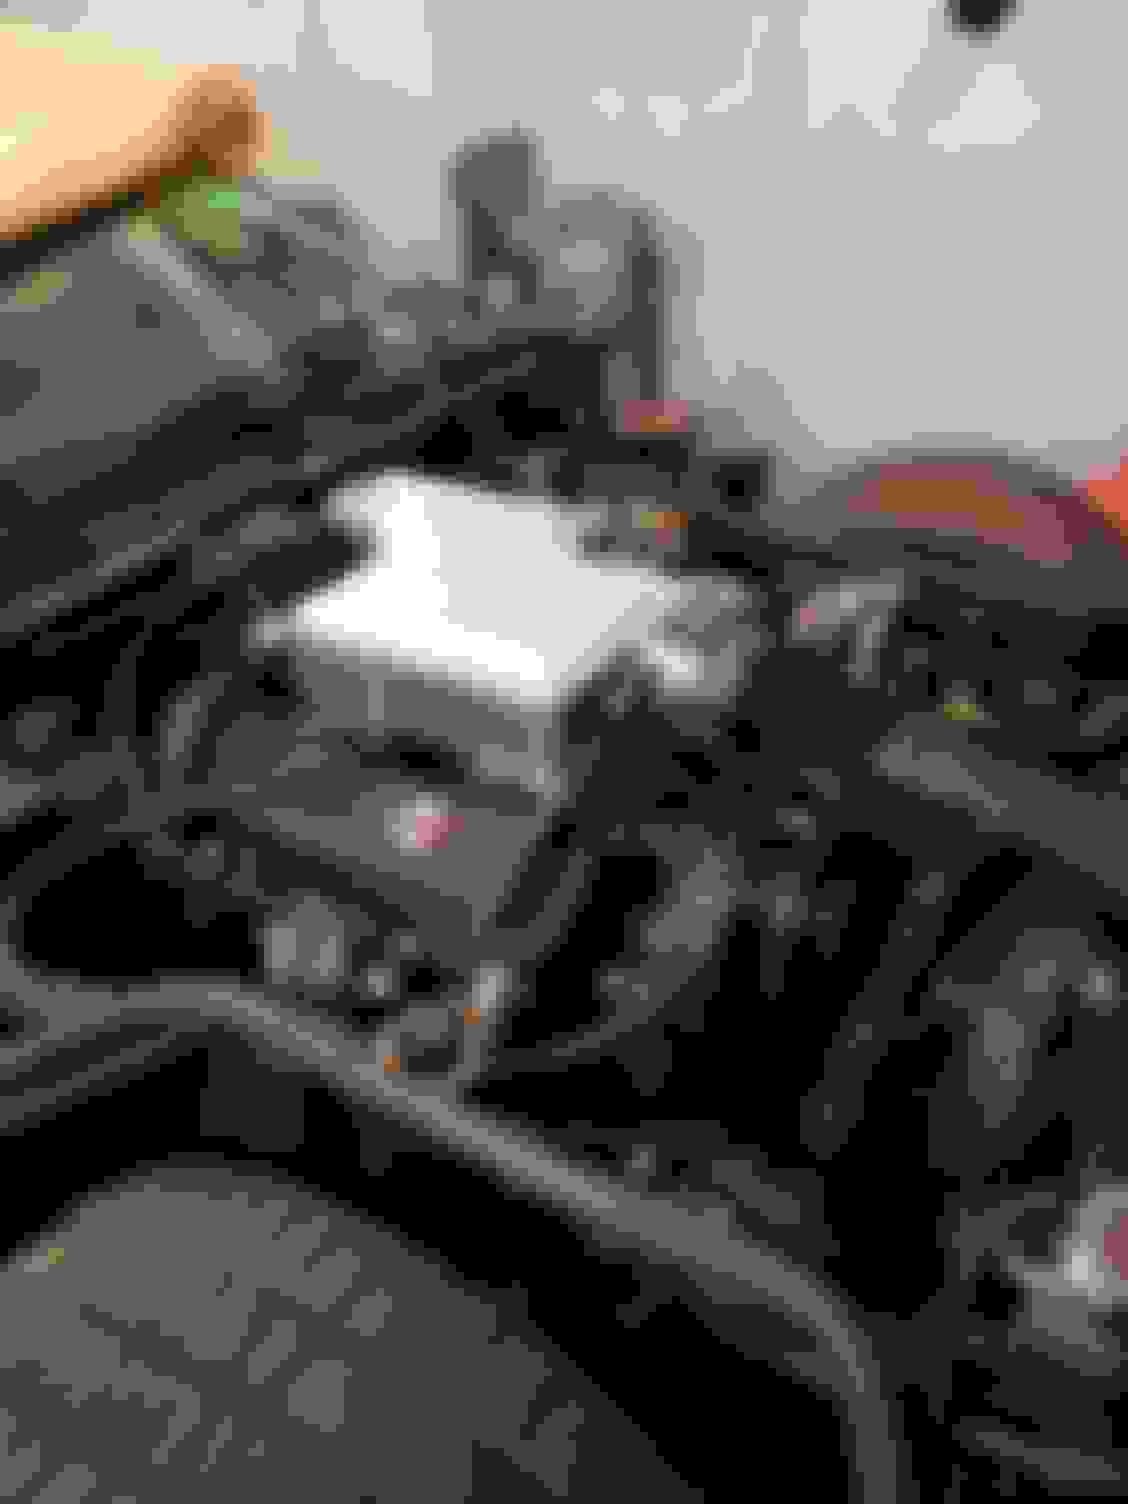
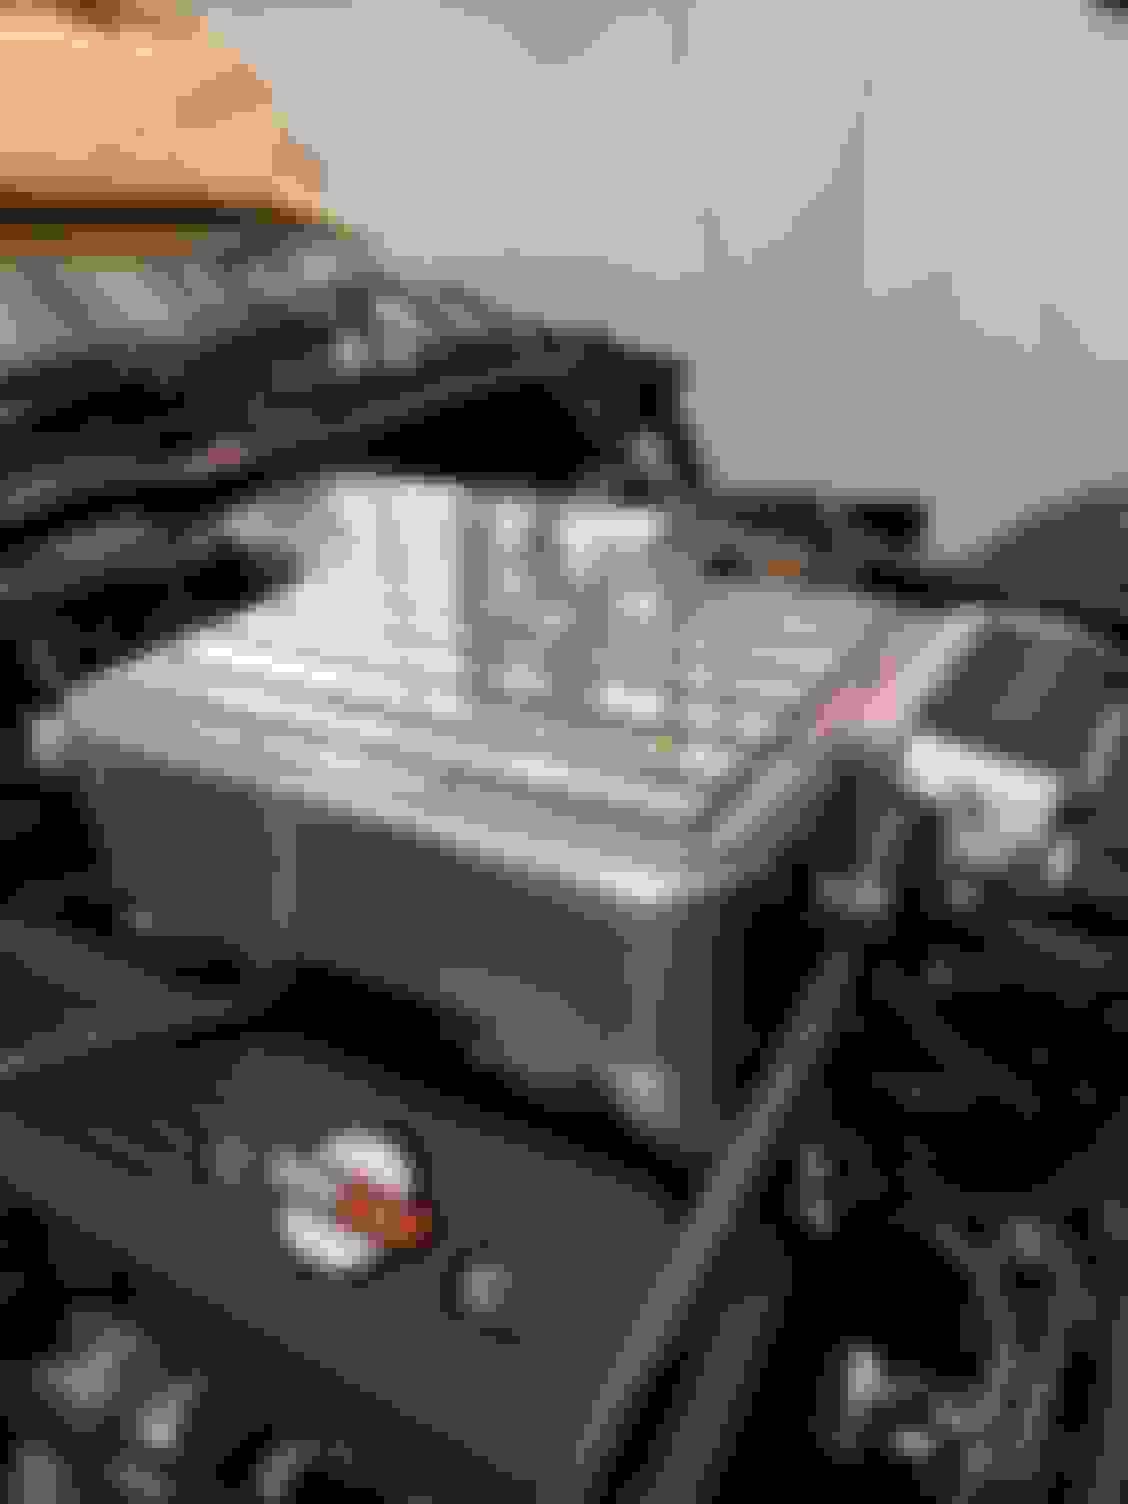
I got the super ram lid 'fitted' to the plenum. I put a belt sander in my bench vise and then ground off just a little material from a couple spots on the lid and now it fits very well.
I also had to enlongate some of the bolt holes since a few of them were'nt placed quite right but the bolt heads should still cover the holes so it should be fine.
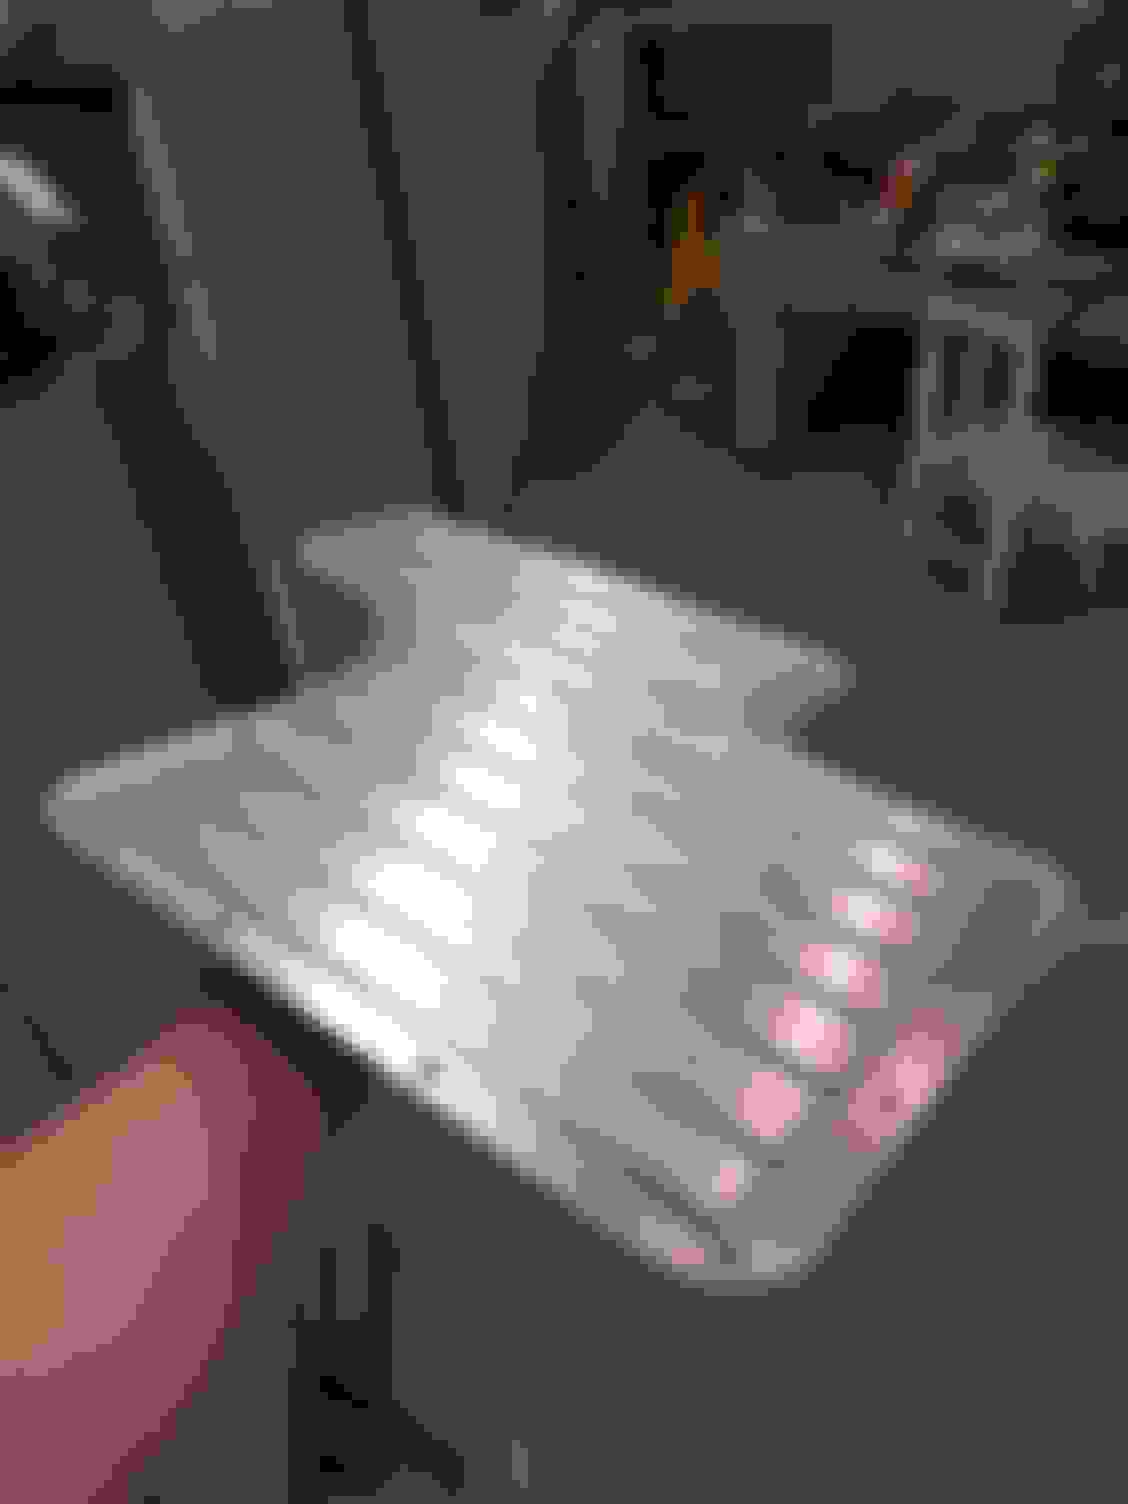
So I spent some time and wet sanded the lid all the way upto 2000grit sand paper...
Next I started with a course compound and worked my way to a finer polishing compound. Here is the result:
I put a random bottle on top so you can see how shiny it is...
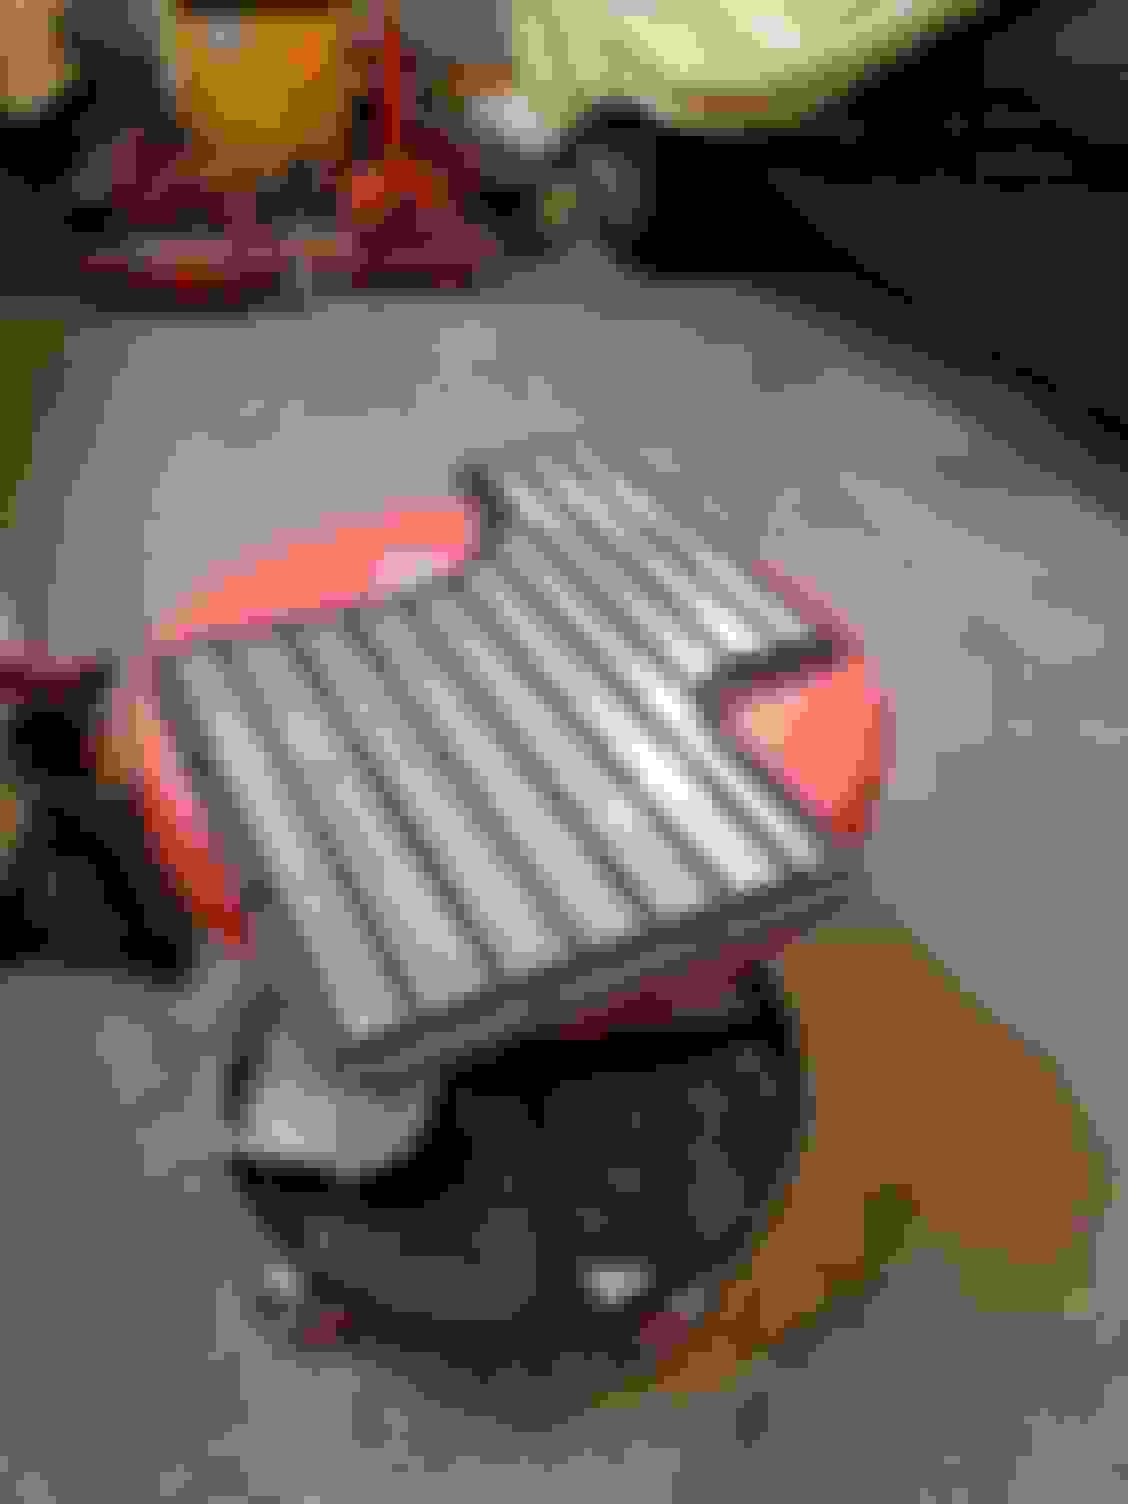
Next up was to powder coat the 'non-raised' surface...
I choose wrinkle black because I wanted to match my valve covers and IAC cover. Here is what the lid looked like after removing the high-heat tape...
When I polished the plenum and runners I opted to clear powder coat them since it would be a real pain to remove them for polishing every so often, however the trade off is bit less shine. Since the lid is pretty easy to remove for periodic polishing I decided not to put clear powder over the polished part so I could keep it as mirror-like as possible.
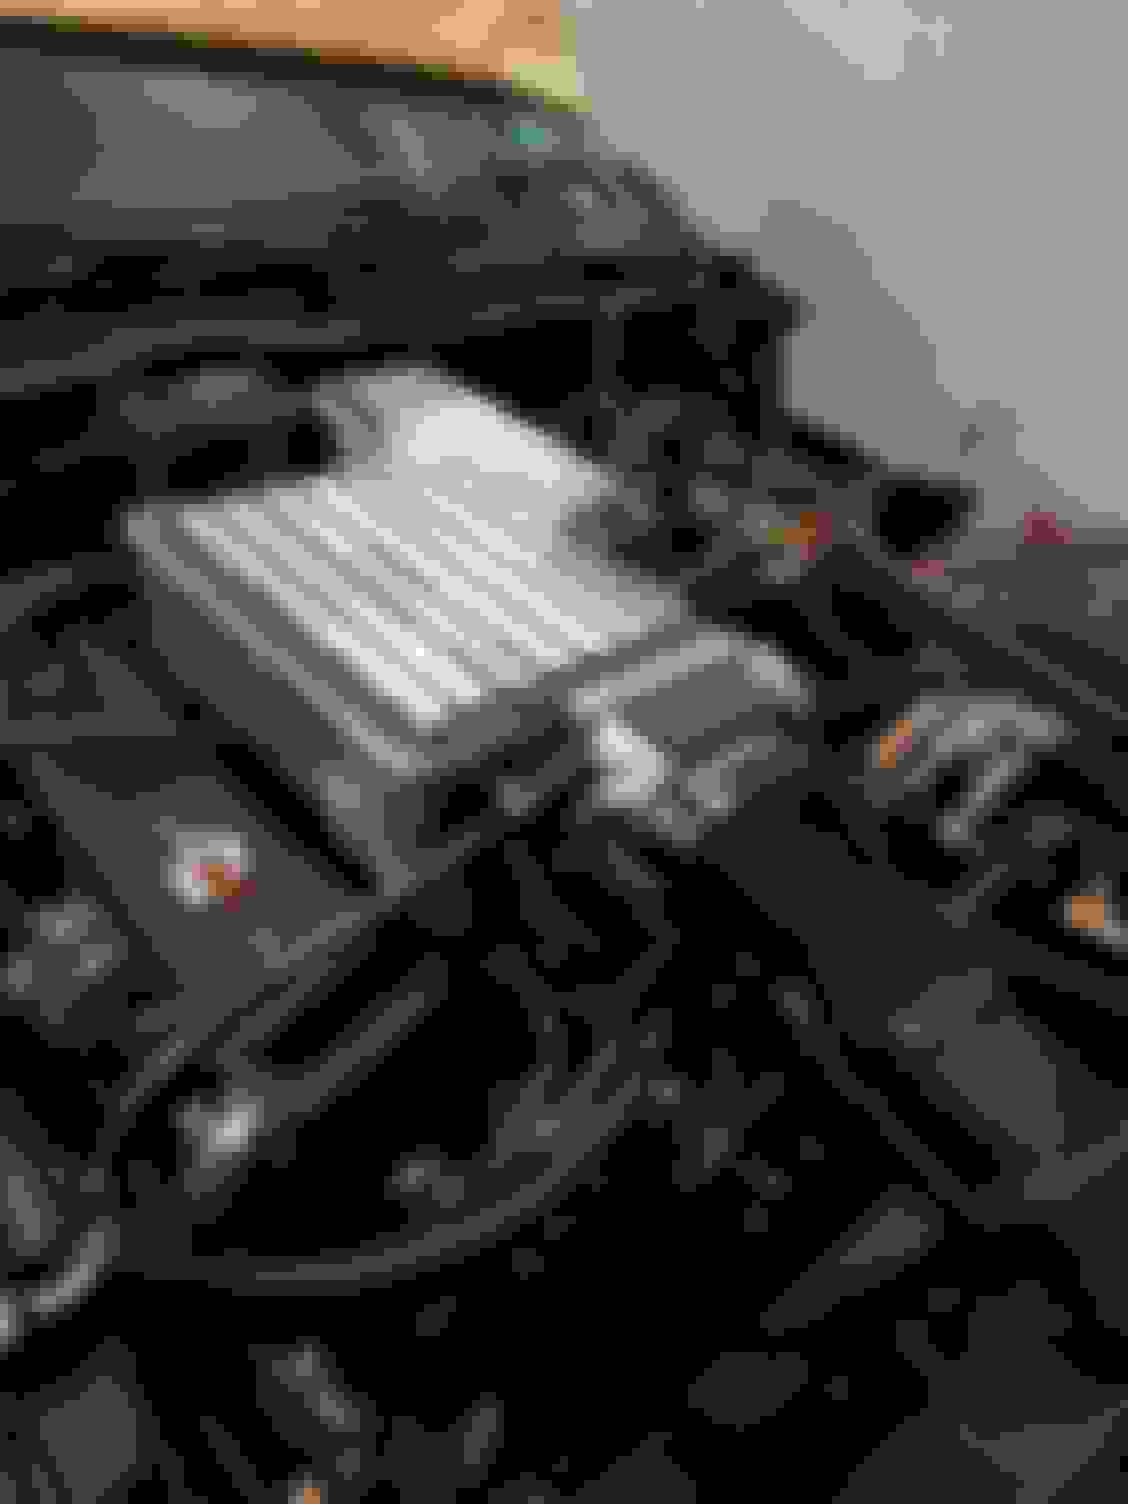
I got some nice Stainless bolts that are the same style as the one on the IAC cover. I made a rookie mistake though and miscounted how many I needed and had to make a second trip because I was 2 bolts short
After getting the other 2 bolts I quickly polished the heads of all the bolts for some extra shine...
I used hylomar blue on each side of the gasket and the set the lid on and tightened it down.
I went to fire the car up and noticed that my 'smart' charger had died at some point which meant the battery was totally dead. So I put the car on the boost charger and tried to fire it up...
It fired right up ran for a couple seconds and died...
I repeated this a couple times and determined the fuel pressure is very low (15psi according to my fuel rail guage). However the fuel guage is reading empty so it might be out of gas or it might be some other issue with the fuel system, no leaks though.
I ran out of time for today but I'll let you all know what what i find.
 05-29-2017, 10:20 AM