When you click on links to various merchants on this site and make a purchase, this can result in this site earning a commission. Affiliate programs and affiliations include, but are not limited to, the eBay Partner Network.
Valve covers look great. I really like that wrinkle finish. Some are way too thick for my taste but yours looks perfect.
Thank you Dt86, Yes i know what you mean about some wrinkle finishes being too 'thick', I was fortunate in that I knew exactly what this powder would look like, because I had used about 10lbs of it doing parts for friends earlier this year. So i was happy with the results.
As far as the throttle body bypass, I actually deleted the coolant line to the throttle body a while back... it is a good suggestion though.
Being in a more northerly latitude than I, do you experience any negative effect from not having the throttle body heated during the winter?
I don't drive the car in the winter anymore so I'm not sure. On cool evenings in sept (5-8 degrees Celsius) I have not noticed any difference but for anyone that did drive In cold weather a bit it might be an issue.
The weather stripping on my Corvette has been in bad shape for a while. I had replaced the weather stripping around the windshield and the sides of the targa top a few years ago but the stuff around the doors and along the rear of the targa/windows was in sorry shape.
So I ordered some replacement weather stripping:
First step was to replace the door to windshield pieces. To remove them you take out two small bolts and one clip.
Here's the old weather stripping:
Old v.s new:
New weather strip piece installed.
Next I did the same replacement on the passenger's side.
The next step was to put in the weather strip around the doors. The weather stripping around the doors is attached by a whole bunch of little clips which were hard to get out! At each end of the door there is a small bolt holding the weather strip in place. To access the one at the back of the door I had to remove the door panel(s).
So taking the door panels off opened up a whole new can of worms. I knew the door panels (especially the driver's side) needed attention but they were in worse shape than I thought... The driver's side panel backing was actually shattered/cracked near the top of the panel, the insert had virtually every mounting location missing, the power lock bezel was broken on both sides and glued to the switch, and on the driver's side there was no moisture barrier, passengers side someone had made a barrier out of duct tape! (obviously a P.O's handy work).
Anyway I was a bit frustrated, with the door panels but nothing i can't fix. Time to order some new parts!
Back to the weather stripping, I installed the new weather stripping which was much easier than taking the old stuff out.
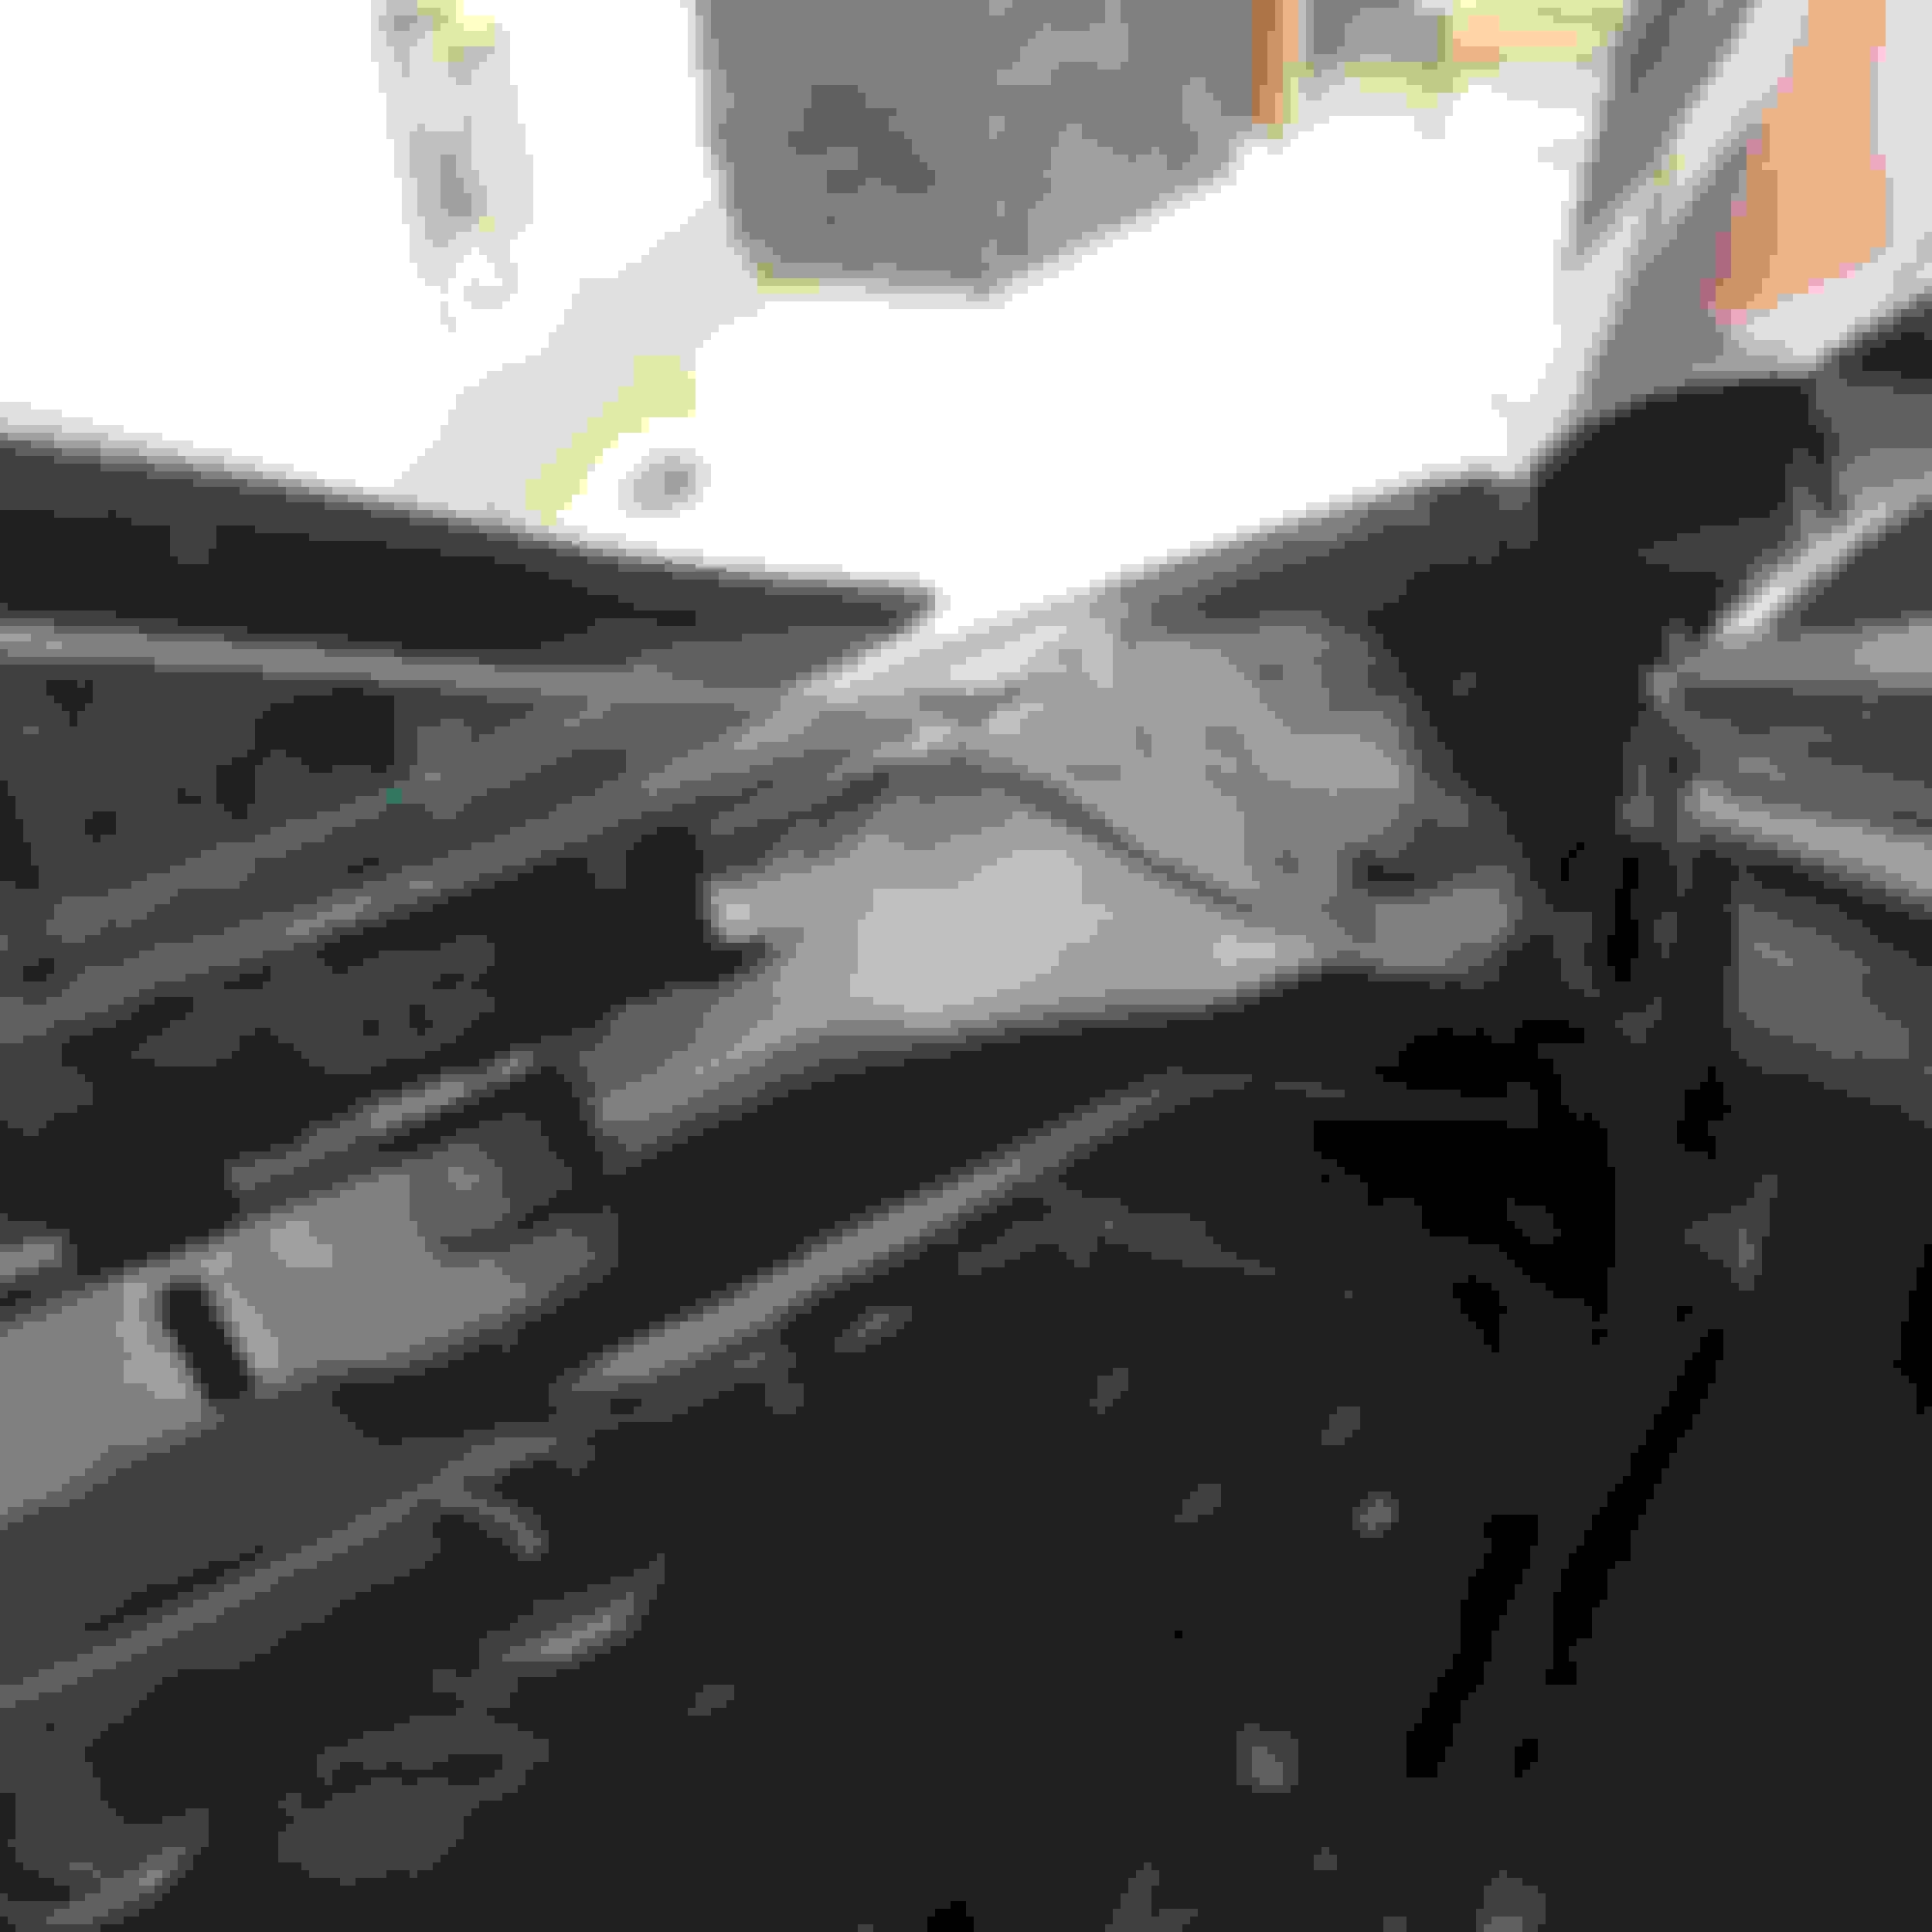
Here's the pictures of the back of the exhaust system, just took them a few min ago. Sorry I can't take any further back pictures at the moment as the car is I my workshop and the foot of snow outside is stopping me from opening the door right now.
Lookin good. I like the two layers of powder. I think I'm going to have to upgrade my setup.
Thank you Dt86. Yes the dual voltage system is a nice feature, however before you spend the money to upgrade your system there is another way to do multiple coats... If you take the part out of the oven and quickly use your gun to coat it with powder while its still hot (hot coat) you should be able to get multiple coats with a lower voltage gun. Of course the higher voltage gun does give you the option to do larger parts or put additional coats on cold. Just wanted to share that hot coating method i've learned.
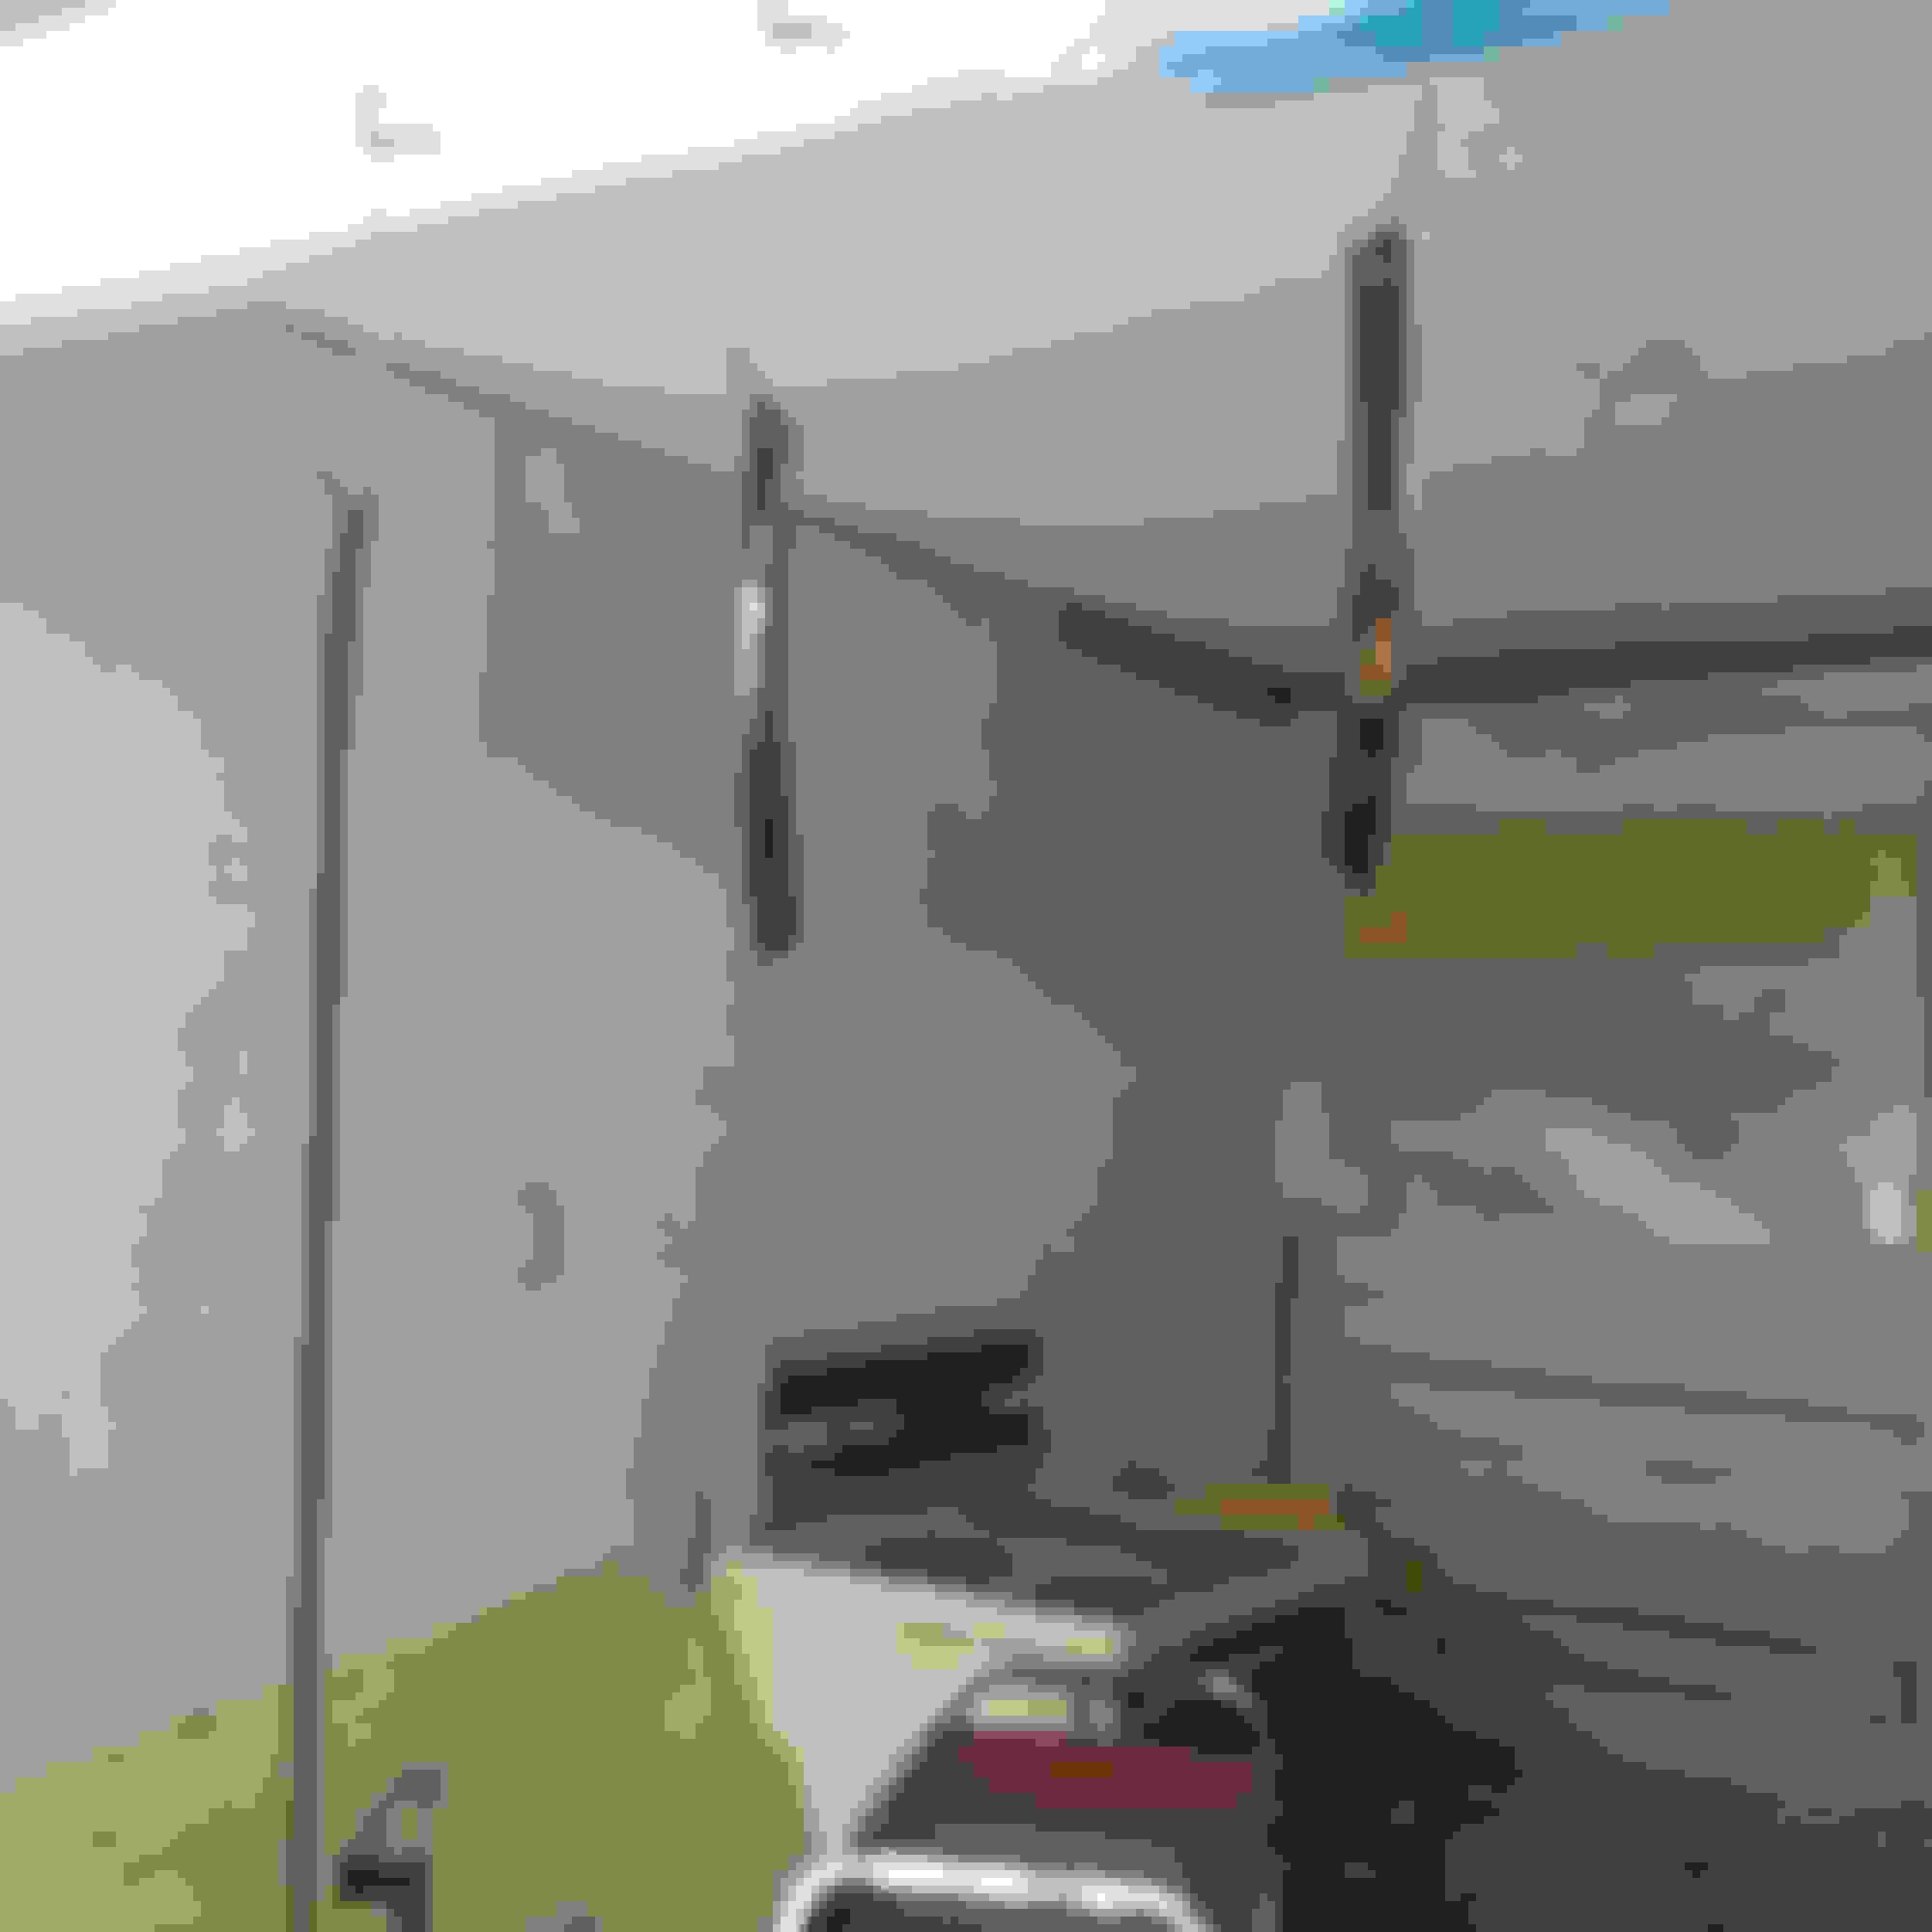
So the next piece of weather stripping I dealt with was the one at the back of the targa and windows, it had been a real eye sore for a while so I was very happy to finally fix it.
Here's what I started with:
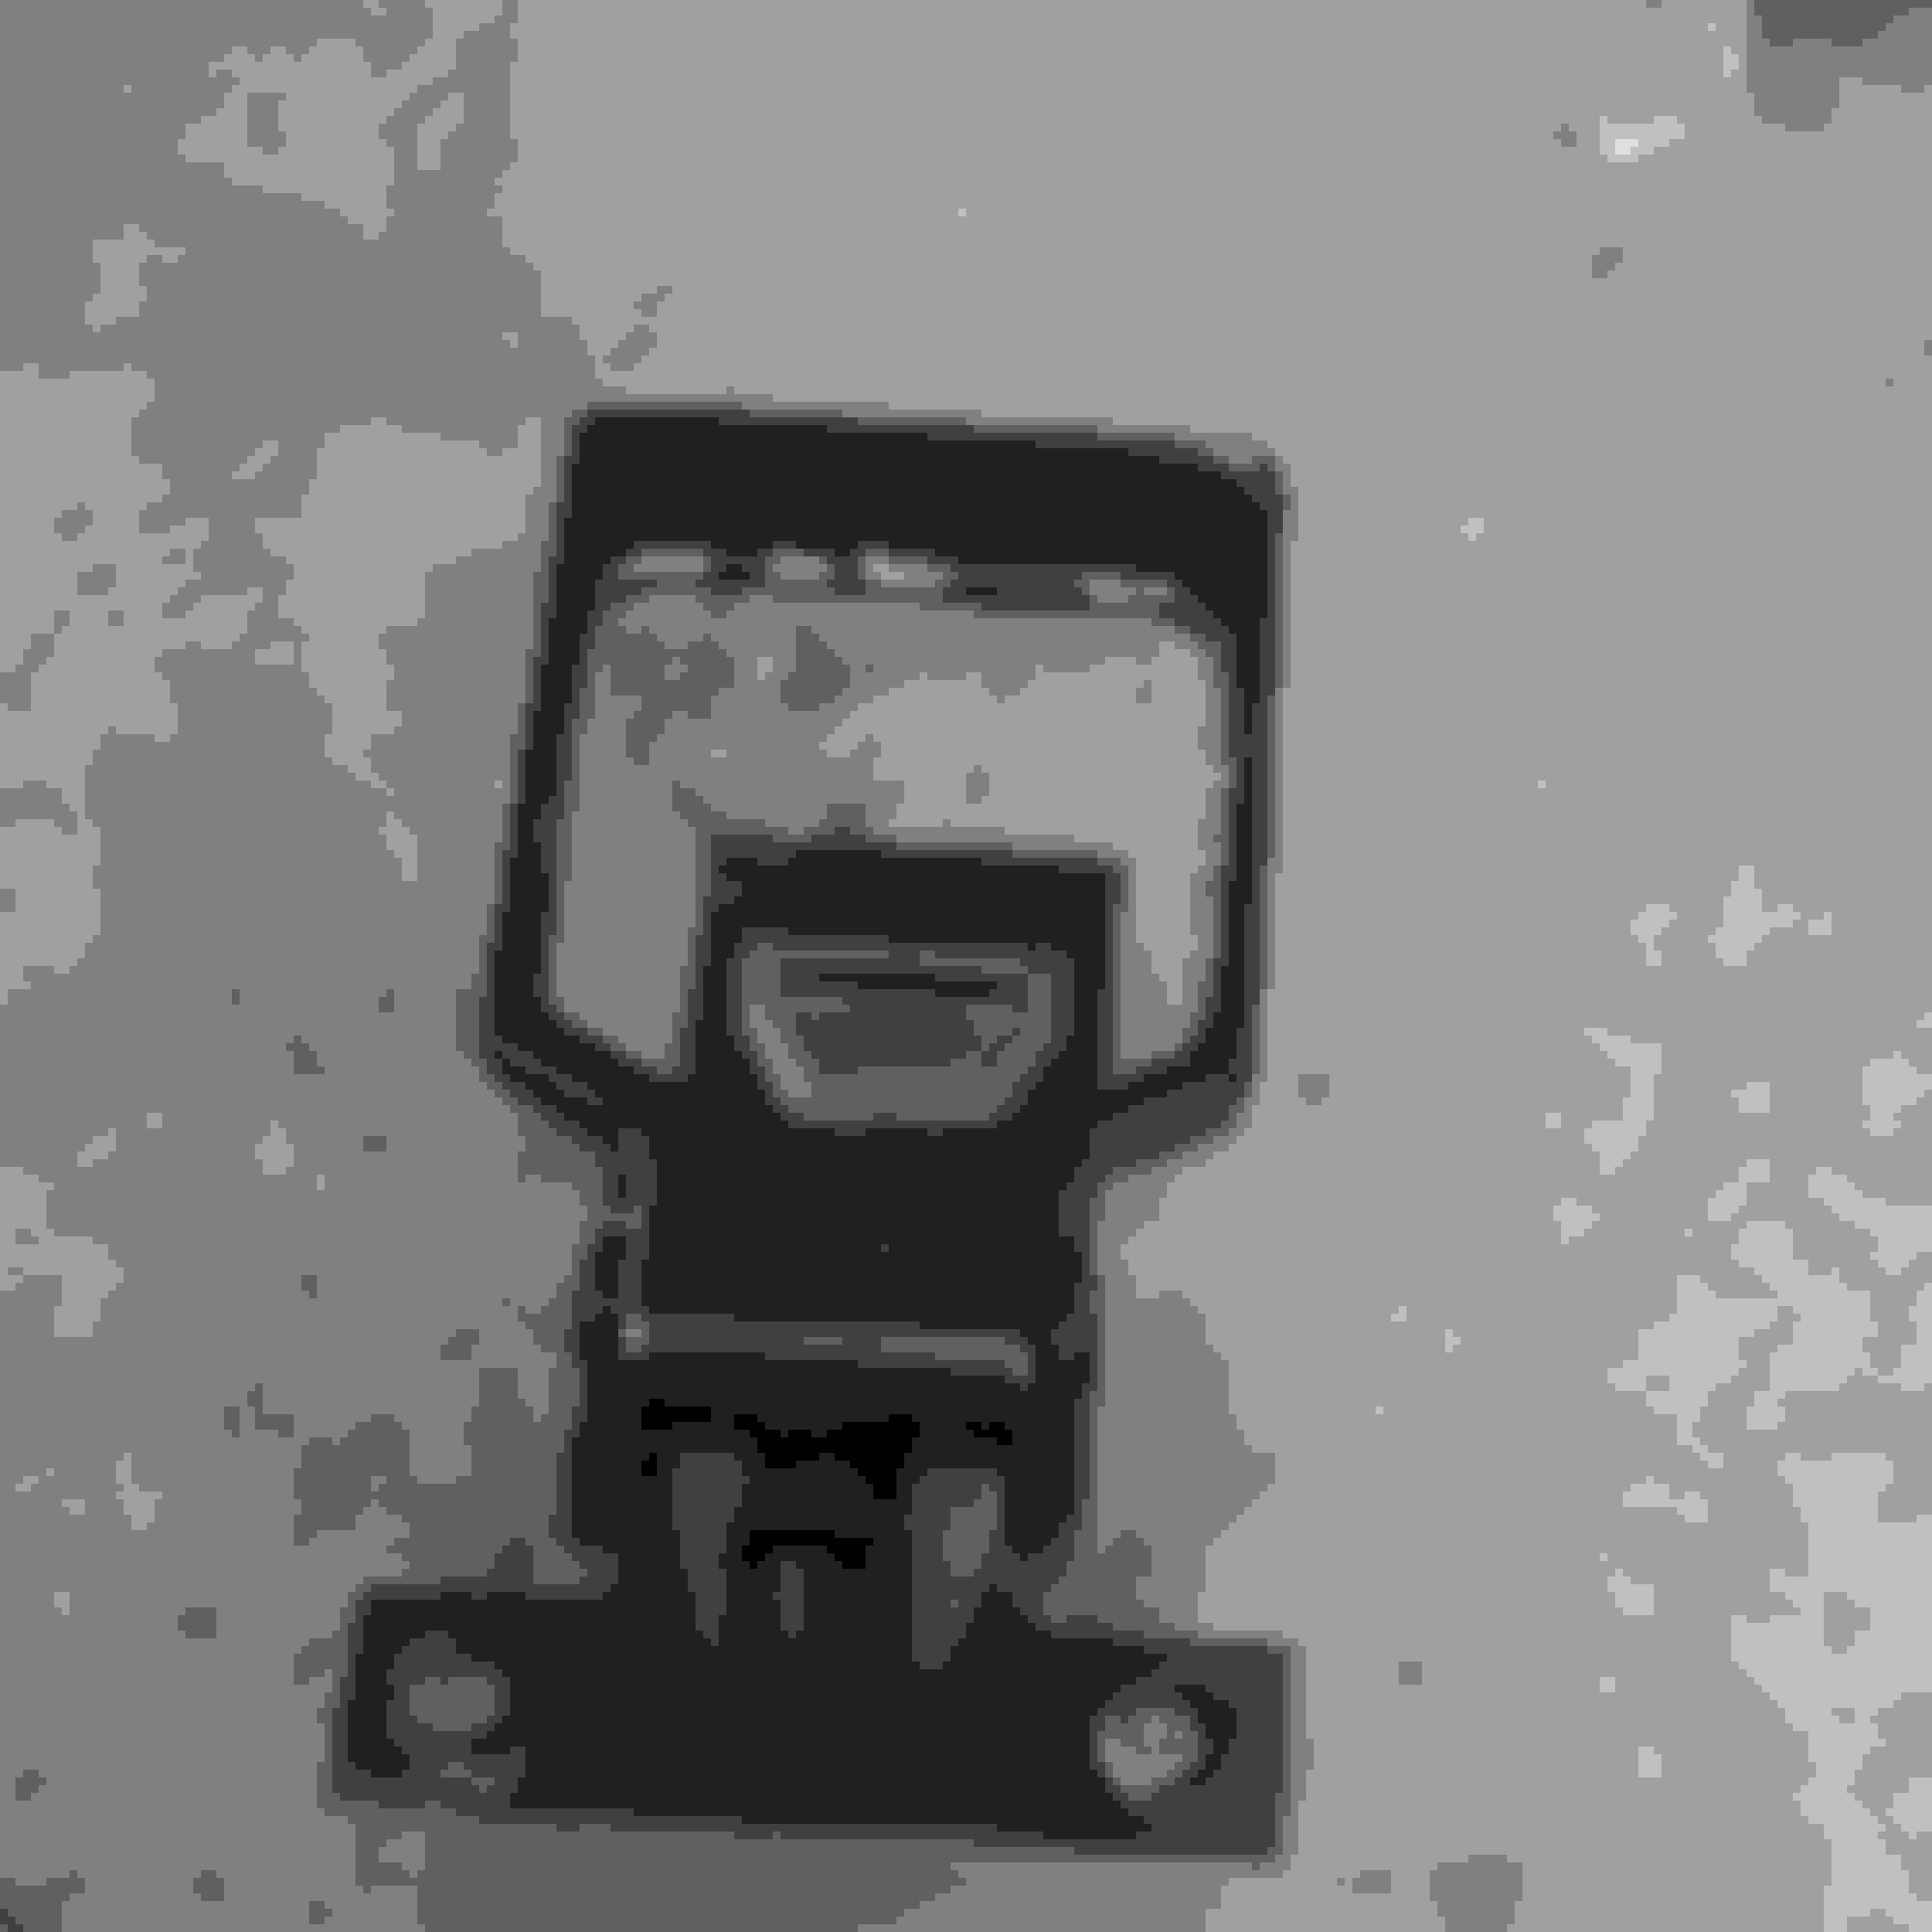
The weather strip here is attached/bonded to metal 'channels' that bolt to the 'roll hoop'. There is also one bolt at each end of the weather strip that has to be removed.
To get the weather strip off the channels I used a modified scraper. The weather strip did not come up easily, but one small piece at a time I uncovered the channels and then removed them. Here's the channels with bits of weather strip stuck to them:
Next I used a wire wheel to remove all the left over bits of weather stipping:
Next I media blasted the channels:
I originally wanted to powder coat them, but the large center one was way to big for my oven, so I settled for painting them low gloss black.
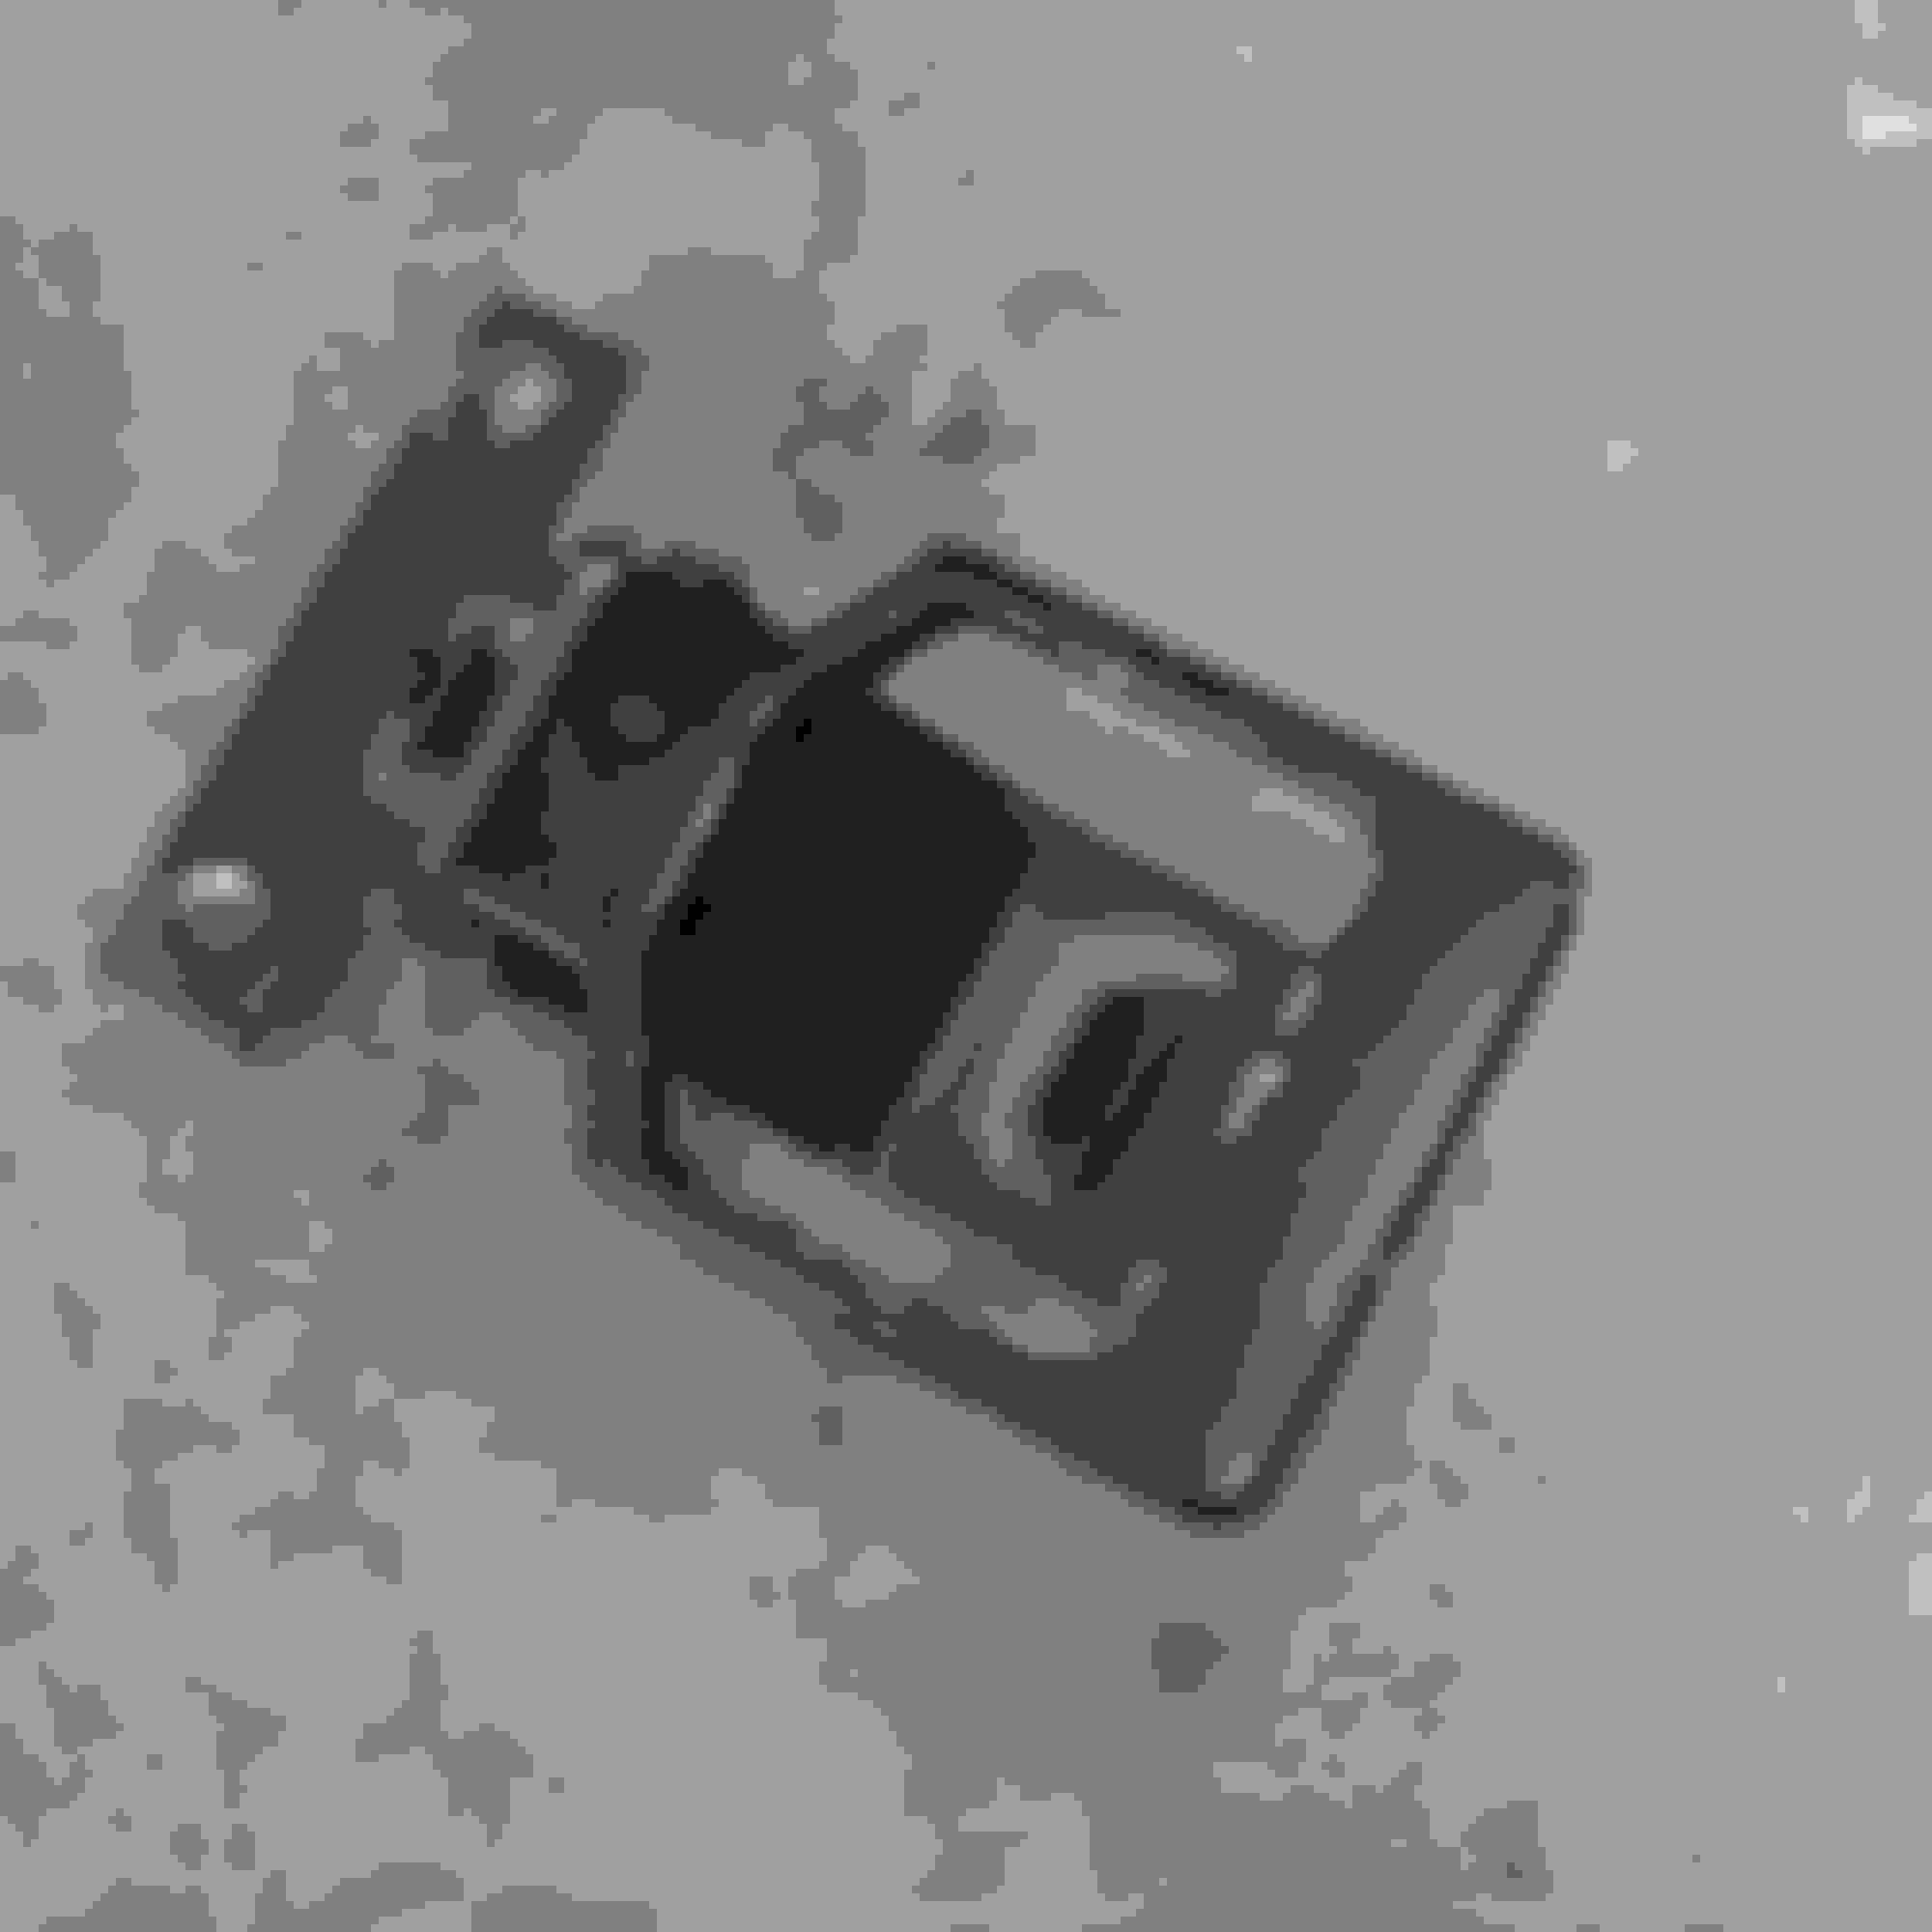
Here's the freshly painted channels:
After the paint dried I re-installed the channels on the car.
After the channels were in I installed the weather stripping, using black gasket material to 'glue' it to the channels. I also re-attached the two end bolts and then clamped it in place until the gasket material dried.
Where did you get the B-Pillar weather strip and how doe sit seal against the windows when up? The weather strip I got from Wilcox had a "hollow" type rubbery feel to it and it would collapse, bind, and have gaps between the strip and the glass. No matter how much I tried adjusting the window, channel, etc..
 01-03-2017, 12:02 PM