When you click on links to various merchants on this site and make a purchase, this can result in this site earning a commission. Affiliate programs and affiliations include, but are not limited to, the eBay Partner Network.
Yes to bend the clips out and the frame latches also. Install one side and push the other side in hard the same direction so when you release the top cushion it will fall in the other clip. It is not easy.
I hooked the outside clip and didn't bother with the inside one. It stays in place nicely in the plastic shell and doesn't move around in the seatback. I put the seat bottom in place and didn't fasten the wire clip. That also stays in place.
I did this so I can switch the passenger and drivers side every year or so to even out the wear. Currently has 52K on the clock and looks great.
I put the seat bottom in place and didn't fasten the wire clip. That also stays in place.
S5000345
I would be concerned about the seat bottom sliding forward in the event of a panic stop. Why not just flip up the clip? Use a small pry tool if need be.
Why not just flip up the clip? Use a small pry tool if need be.
In my younger days I tied a piece of cord to the clip and just pulled it forward but my hands will not cooperate. I considered leveraging it but would have to push back against the leather cushion as a fulcrum and don't want to damage it. Please advise if you can suggest something.
In my younger days I tied a piece of cord to the clip and just pulled it forward but my hands will not cooperate. I considered leveraging it but would have to push back against the leather cushion as a fulcrum and don't want to damage it. Please advise if you can suggest something.
Same here. I tied a piece of good string so I could pull the clip down so I don't have to use a screw driver. But, new foam bottoms are difficult to clip without using a small screw driver. Been there, just recently.
I squeezed the back cushion toward the center of the cushion and was able to get the cords in the clips. Basically you squeeze the cushion into a U shape.
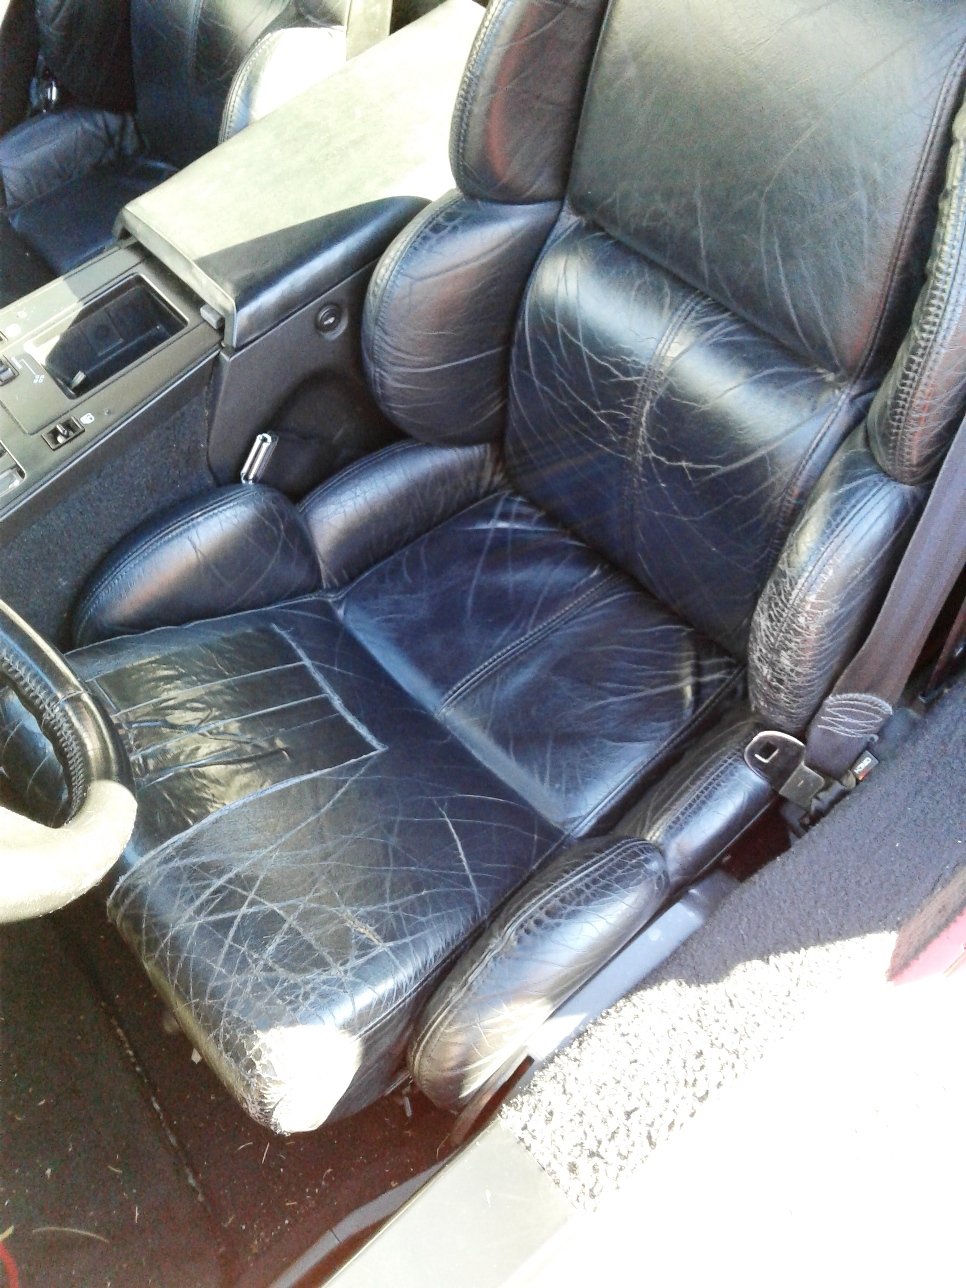
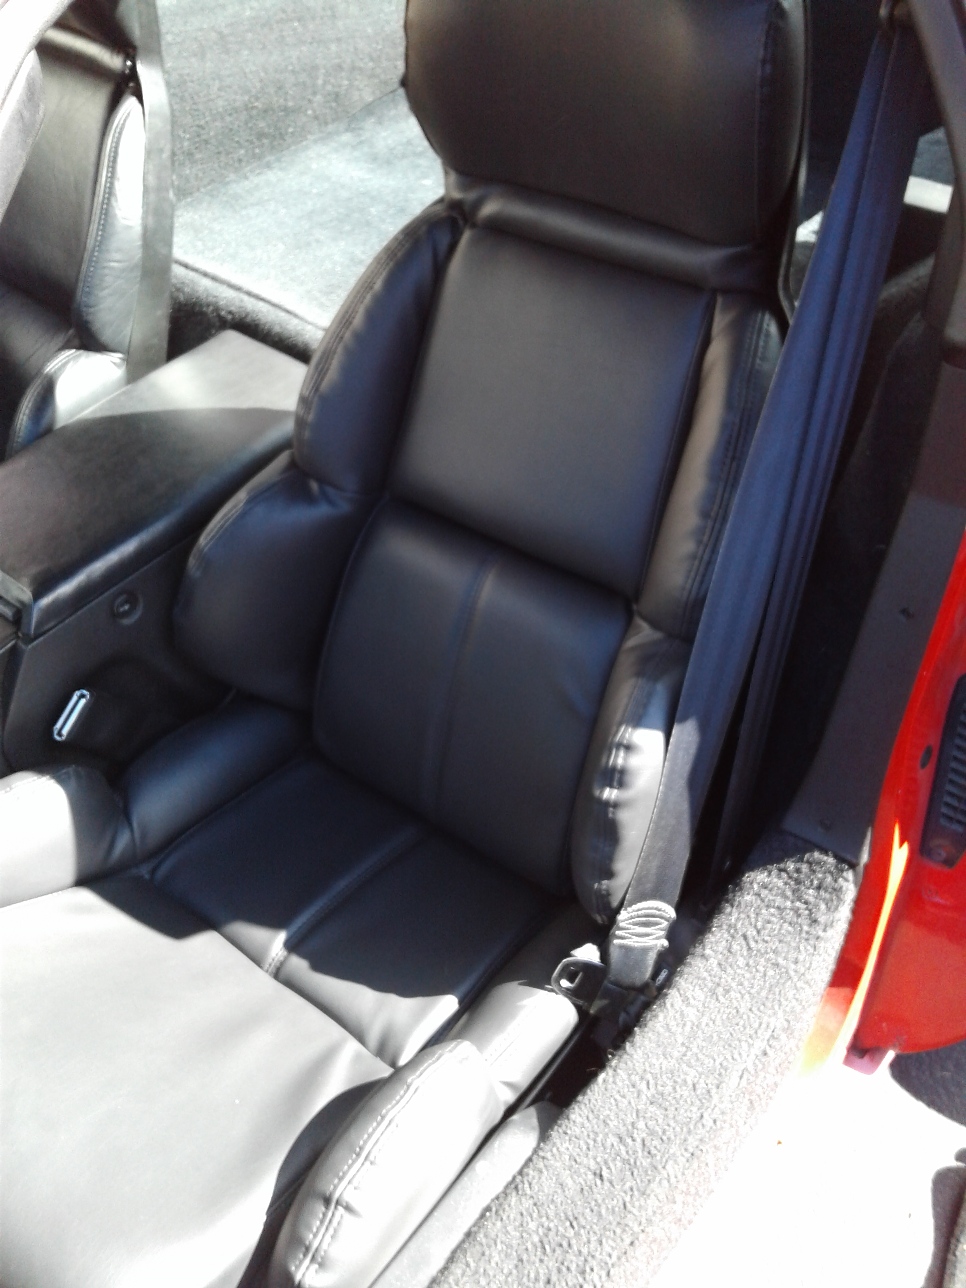
Thanks to everyone I got my new seats in! The biggest help was taking an old flathead screwdriver and cutting a notch in it. I have some pictures and the lessons I learned, hopefully this will help someone in the future.
My old cushions and seats came out pretty easy and it took me about 2 hours total to get one side done and reinstalled. First thing I noticed is that because of the amount of force you need to get those darn clips in the workbench you use should be against a solid backing or it will just slide away from you.
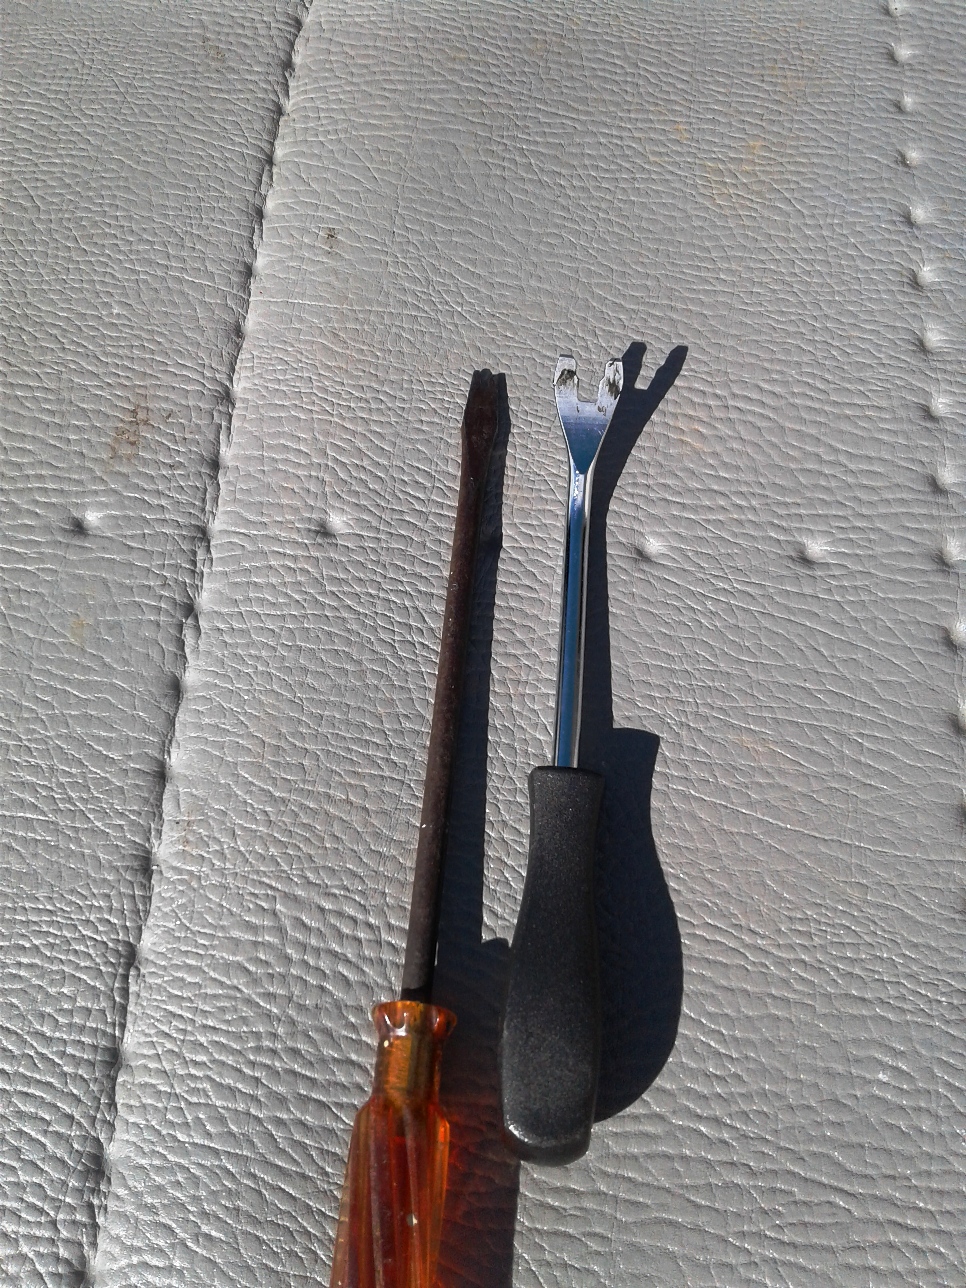
When I got my new seats the metal bars were covered in foam so I used utility knife to clean out the foam so I would have a nice area to get hooked on. Then I made the �screwdriver tool� I took picture, but it has about a �� opening and a depth of about 1/8� for my seats I could have made the width just a touch bigger. Also I used a big thick screwdriver, a thin one would have bent or broken under the amount of force needed to maneuver the clips into place. As a comparison I put up a picture next to a trim tool, that notch it way too big. The metal bar in the seat cushions bottoms out in the notch and you can not get it under the clips.
This part I learned through trial and error. At first I bent the clips up a bit. But after getting one side in and going to wrestle the other side in the first side would pop out! So I bent the clips back to the original shape and used a small vice grip to bend up just ONE CORNER on the clip. Huge difference! Using the screwdriver tool on the side of the clip I bent, the bar slid under and stayed in place without too much cussing .
Through my trial and error I also learned that attaching the lower part of the cushion (one side then the other) then moving to the top is much easier than doing one side (top and bottom) then the other.
One final note on the seat installation: I noticed that the attachment bars were not symmetrical with the centerline of the seat cushion. I am not sure if this is purposeful. However attaching the side that is outboard (on my cushions it was the left side (driver side window passenger side console)) first made the job much easier as it allowed the stiffness of the cushion to push the bar under the clip on the second side. So once it was under the bent up edge it went in pretty smoothly.
Not to highjack my own post, but I wanted to add one more experience I had. A few days ago I was reading the posts and read about the parking brake light not coming on. It was a good thread with a lot of helpful advice. My light did not come on either, so while the seat was out I decided to take the cover off the brake handle and take a look. The wire was disconnected, but it still didn�t work. So I cleaned the parts (metal tab and funny looking cam thingy) with some sandpaper and WD-40 and success!
I Can�t say enough about all the help on this forum, I am also a member of the Silverado and Malibu forums and this is by far the best!
Excellent job of retiring those old covers with new leather and foam.
Can you feel a difference when you sit in them vs. your old ones? After I did the new leather/foam swap I find I need to adjust the electric seats lower than it use too plus the seats fill nice and tight.
I have done the same on my '90. But, I can't reattach the wire retainer at the front bottom of the seat cushion. How did you do it?
Hi,
Sorry for the late response, I had a very busy weekend with my daughters birthday...
Here is how I did it. on the drivers side i pressed down on the front of the seat cushion with my right hand hard. then i reached under and pulled the wire down and front. when you let the wire go it will snap in place over the plastic.
Excellent job of retiring those old covers with new leather and foam.
Can you feel a difference when you sit in them vs. your old ones? After I did the new leather/foam swap I find I need to adjust the electric seats lower than it use too plus the seats fill nice and tight.
Hi
I can totally feel the difference in the new seats. They are much firmer and I do sit higher. My seats are no power so I can not lower them. The side bolsters are the biggest difference, they really support and hold me in place.