When you click on links to various merchants on this site and make a purchase, this can result in this site earning a commission. Affiliate programs and affiliations include, but are not limited to, the eBay Partner Network.
Doing a search, I found the most recent posts on removing the Dulso soft-touch finish on interior plastic paneling was some 10 years ago. I just refinished the passenger side air vent assembly and will continue around the rest of the interior because of the excellent results I achieved.
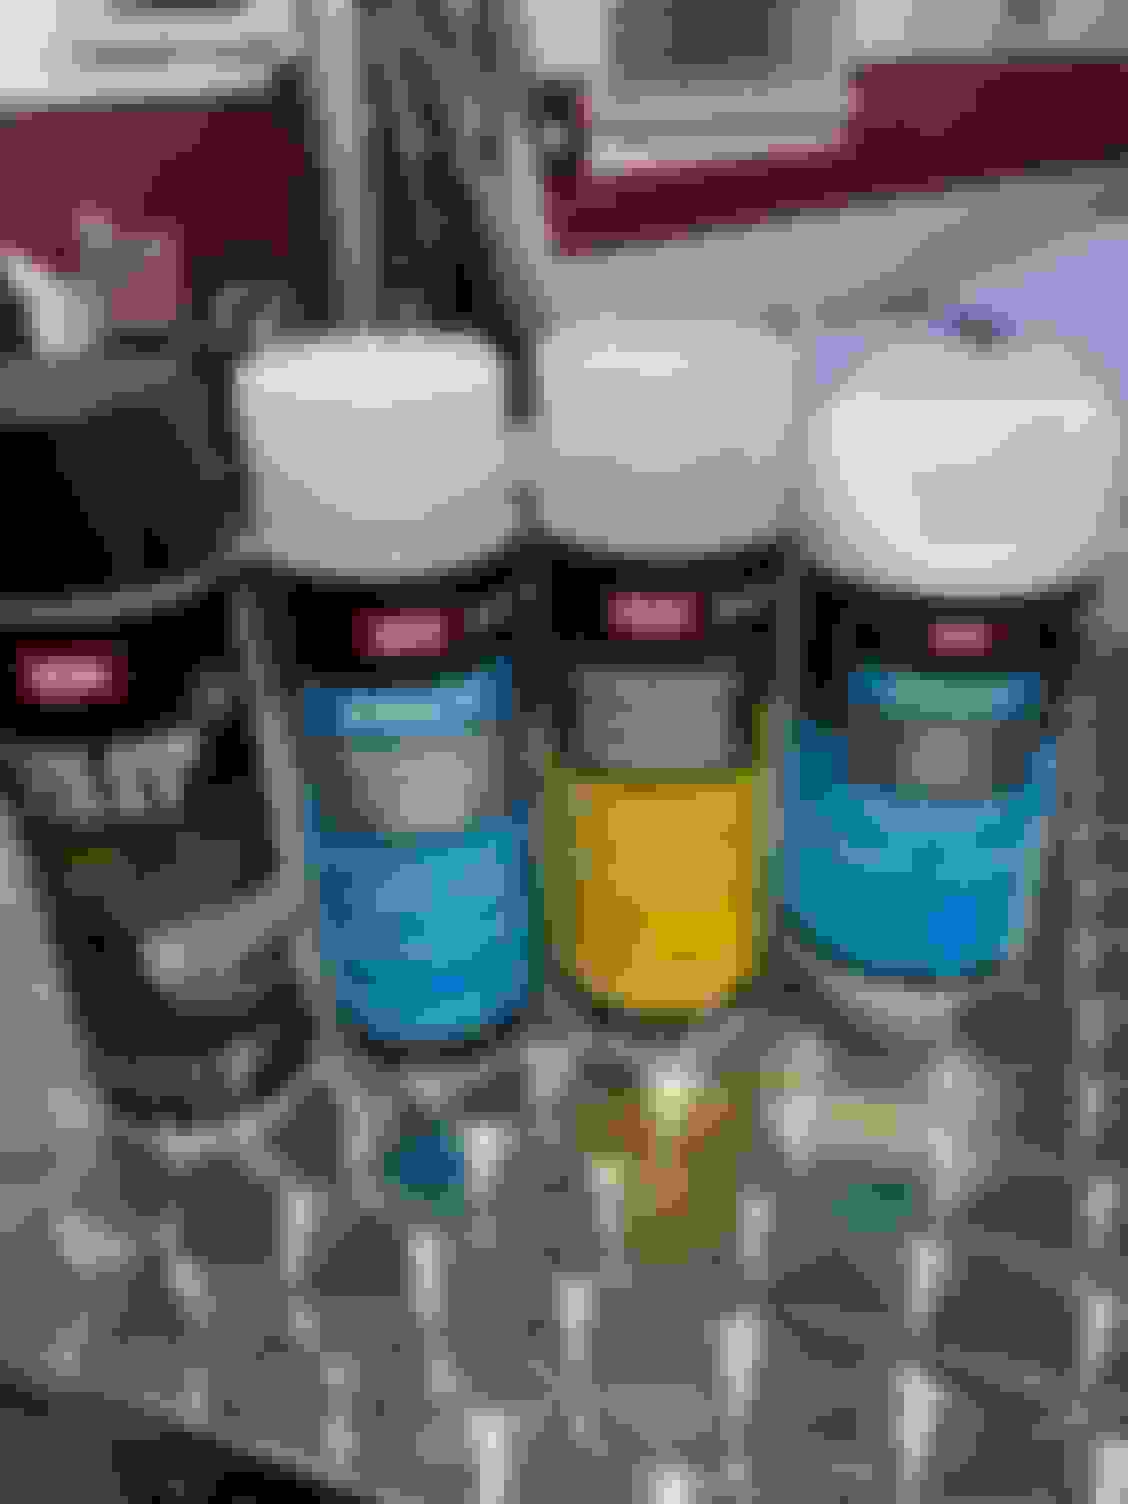
Removal of the Dulso finish could not be easier. Hit a CVS and buy 4 bottles of Non-Acetone Nail Polish Removed. They're around $4.50 each. Fill an aluminum baking pan with the polish remover, place your piece in the pan with it immersed in the remover and walk away. Return a half-hour later and you'll find that you will be able to slilde-off all of the soft-touch paint. I bought a few cheap toothbrushes to aid in the nooks and crannies.
Wash the parts with Dawn detergent (or SEM makes a wash specifically for this purpose). Then clean the parts (once dry) with SEM's silicone remover. I happen to have a glass bead cabinet and I blasted the pieces to ensure every last bit of paint was removed. I repeated the wash/clean process.
I sprayed the pieces with an SEM adhesion promoter, and then applied 4 coats of their Satin Black Color Coat spray paint (#15243) that produces an exact match of the Dulso finish except it is not soft-touch or sticky and produces a very durable finish...which Chevrolet should have applied in the first place.
I moved onto the center console panel today. Problem is 2-fold: 1) finding a tray large enough and deep enough to accommodate the the panel and 2) having enough non-acetone nail polish remover to cover the piece. I bought 5 of the CVS bottles but could have used more. They sell a gallon of it on eBay for $25 which is probably the right move if you're going to do all the interior panels.
This console panel is a bit more involved with all the nooks and crannies. Again, if I had a deeper pan and more solvent, it all would have come off. I had to reposition the console to bathe it.
Here's the console in the polish remover bath....
After an hour in the bath, the soft-touch paint wrinkles-up and you can just peel it off the panel....
Here's the cup holder cover panel after peeling the paint away...
And here's the console after paint removal and glass bead blasting, but prior to the silicone cleaner spray...
I'm awaiting a new can of SEM Satin Black to arrive (Eastwood carries it...), and I'll be shooting an adhesion promoter and then the SEM finish. I'll post photos.
1996.
I've used 'Sticky No More' for trim in a previous car because I could never figure out how to get all of the Dulco finish off the piece. Immersing the piece in the non-acetone remover is the key. It has to be immersed for at least 30 minutes. After that, the SEM paint is the perfect finish for these pieces as it is intended as an interior trim paint and very durable. I'm now going to work my way around the interior and refinish all the other trim.
(Also notice that I put Vette Lights interior LED bulbs all around the interior and underhood. Huge difference...)
I moved onto the center console panel today. Problem is 2-fold: 1) finding a tray large enough and deep enough to accommodate the the panel and 2) having enough non-acetone nail polish remover to cover the piece. I bought 5 of the CVS bottles but could have used more. They sell a gallon of it on eBay for $25 which is probably the right move if you're going to do all the interior panels.
This console panel is a bit more involved with all the nooks and crannies. Again, if I had a deeper pan and more solvent, it all would have come off. I had to reposition the console to bathe it.
Here's the console in the polish remover bath....
After an hour in the bath, the soft-touch paint wrinkles-up and you can just peel it off the panel....
Here's the cup holder cover panel after peeling the paint away...
And here's the console after paint removal and glass bead blasting, but prior to the silicone cleaner spray...
I'm awaiting a new can of SEM Satin Black to arrive (Eastwood carries it...), and I'll be shooting an adhesion promoter and then the SEM finish. I'll post photos.
SEM makes a number of products you'll need to do the interior trim pieces correctly. Absolutely need the paint (Stain Black #15243) and the adhesion promoter.
Here's the 1st coat on the console plate. Do not put too much paint on at one time, but rather a series of coats. The paint will level-out as it dries (very fast drying). It will appear to be orange peel, but give it time, it will level out and produce the right finish for you.
Here's the center console plate after 4 coats of Satin Black and the prep work. It drys to a nice satin finish that replicates the Dulso soft touch finish except it is very durable and sticky no more....
Now stripping the upper center air vent and HVAC/Audio cover plate.
Here it is after stripping. I found that some of the tighter spots could be managed by picking up a package of nylon pads (Cheap Scotchbrite imitations but not really abrasive) at Dollar Tree. I soaked them in the polish removed, draped them over the places that could not be reached by immersion, and if you keep them wet with solvent, the finish will come off. Big relief!
I happen to have a compressior and glass bead blast cabinet (Harbor Freight), and I treat the panel to a blasting to clean up the last bit and provide a surface that will enhance the paint adhesion.
Here's the console plate fully assembled and ready for reinstallation. The finish is exactly as I'd hope. Much better than the sticky stuff and worth the effort. That's a new engine plate sourced from Midwest Corvette.
I also painted the underside of the cup holder cover plate. Hope the NCRS guys don't notice, but unfinished plastic looked....well....unfinished.
From: Central Kansas � early 1977 L-48 Coupe in Classic White, aka the Sunset Stripper
2023 C4 of the Year Winner - Unmodified
Originally Posted by gcthree
And now the refitted console plate, center stack and vent....
Stripping the vent on the driver's side and it's complete.
Outstanding results. Thanks for taking the time to post up your technique and the before and after photos, this will be a project I'll tackle during the dog days this winter.
Great info here. I started a thread a few months back doing the same thing. I also used non acetone nail polish remover but the bath idea was a thought I only had later and never tried it. Looks like that method works awesome! For anyone looking to do this, SEM makes great products and the one used here is great if you don�t want to maintain the rubbery dulso finish. If you are looking to maintain the factory feel and finish, look at the product I used in my thread. It replicates the factory finish in every way. The product is hyper dip by the company dip your car. The color that you want is frozen black. Unfortunately time to finish my project went away but I was impressed with the product. I�ll be getting back to it and posting final results as soon as I can. I will definitely be using the bath technique for the shifter console. Thanks again for posting this awesome information.
Some info maybe to add ... met a person recently here NorCal that just finished a 93 restoration, he also highly recommended the SEM 15243 Satin Black both for restoration after Dulco removal, also good for color change to black.
His method for Dulco removal was gasket remover (approx 30 seconds application, then removal), followed by light sanding, before the SEM adhesion promoter and paint. Just FWIW, I hope to test both methods soon (non acetone nail / gasket remover) when I can find a test piece of trim before I tackle my main pieces. Will report back when I do.
I'm a stickler for 'correctness' as a result of an earlier NCRS foray with a '63 Fuelie Convertible I had restored at the time. The NCRS scrutiny ruined me for the rest of my car life and every vehicle I've owned. It's a disease. HOWEVER, the soft-touch paint that found it's way onto not only our Corvettes, but Porsches and even Ferrari. Inexplicable, and with tim and heat the stuff turns to goop regardless of how you've treated the car. You cannot leave it on the car as you cannot clean it or even dust it.
From: Central Kansas � early 1977 L-48 Coupe in Classic White, aka the Sunset Stripper
2023 C4 of the Year Winner - Unmodified
Originally Posted by gcthree
You cannot leave it on the car as you cannot clean it or even dust it.
That's the thing that is particularly irksome to me: it's ALWAYS dusty-looking! Every darn little thing floating around in the cockpit seems to be magnetically attracted to this crap, lands on it, and then can't be easily wiped off. Irritating! Thanks again for posting up your techniques and the before and after pix. I'm not looking forward to winter, but I AM looking forward to this project.