When you click on links to various merchants on this site and make a purchase, this can result in this site earning a commission. Affiliate programs and affiliations include, but are not limited to, the eBay Partner Network.
Few years ago I bought a locking gas cap from one of the vendors. Not long after that my fuel tank was crushed a bit due what I suspect a breathing failure by the new cap. First clue was that the fuel tank intake was no longer centered but had moved about 1"+ backwards. Second thing was that my fuel gauge no longer went above 1/4 tank. I coped with it for few years but then decided to do something about it and got a replacement tank. Other problems went past it in priority however (crashed the car etc.). Now, few years later I decided to tackle the problem and get the car back on road.
Today I took the old tank out.
First the general view of things with rear bumper cover removed:
This is what alerted me to the problem in the first place:
The first problem I ran into: the fuel pump assembly no longer fits out of the opening as the tank is misshaped. I'll have to drop the tank without draining it.
As I have no idea what the tank + mystery quantity of fuel + rear frame weight I placed a piece of plywood under it and supported it:
Then I tucked the lights and the motor antenna away, removed antenna ground lead from the frame, disconnected the tank cables from sway bar bolts and disconnected all leads and hoses. Then I opened all 8 big bolts holding the rear frame section to car frame.
When I lowered the tank I noticed it wasn't so heavy. Together with my wife we grapped the ends and lifted it to the ground quite easily. This is a good place for a posing pic
Happy that is was so easy. Also now it was easy to remove the pump assembly and then empty the tank.
Stage 1 done:
Next stage is to prepare the new tank for installation, clean everything, apply rust preventive to various parts and install a new Racetronix fuel pump to the assembly.
Oh, BTW: I found my build sheet intact
To be continued...
Last edited by ToniH; 01-08-2016 at 10:55 AM.
Reason: image link broken
My charcoal canister is still attached to the rear frame section. I might get away without removing it. I'll get a picture of its attachement clamps as they are now clearly visible. I'll post it later.
Here is my replacement tank after a wash. Its not new but still in much better shape than my old one.
Last edited by ToniH; 01-08-2016 at 10:53 AM.
Reason: image link updated
A hundred years ago when I was a kid,I had a `66 Fairlane GT . Ford in their wisdom placed the fuel tank vent behind the right rear wheel ,where I picked up some mud and spun it up covering the vent tube and eventually sucked the tank up flat ....that definitely attests to the performance of the Ford fuel pump.....anyhow I was a long way from home and towing a boat to the Lake of the Ozarks....got towed to a station ,found the problem,filled the tank and took a rubber tipped air blower and started putting air to the vent ......tank returned to original shape. Couldn`t tell it ever happened.
And here is the charcoal canister and its attachement. To me it looks it would be very difficult but not impossible to remove the whole thing from the frame in one piece. But it surely is much easier to remove the canister from its bracket by opening this clamp on the side of the canister:
To me it looks like it will release if you insert a wide blade or wedge of some kind between the clamp.
And when the canister is out of the way then remove the bracket.
Oh, BTW: opening these fuel tank holding metal band bolts is no fun. There is nothing to keep the (quite soft) bands from turning when I open the bolt so I had to tuck locking pliers in there. Very tight fit... This will help a bit and the bands are not destroyed totally - only damaged a little. Great design this one is...
Here is the rear frame finally free of the fuel tank and ready for cleaning and the new tank! You can see how the metal band on the left twisted when the locking plier slipped while opening the bolt. Luckily I have another set of the bands somewhere...
What is backhalf? Sorry, here my english failed me.
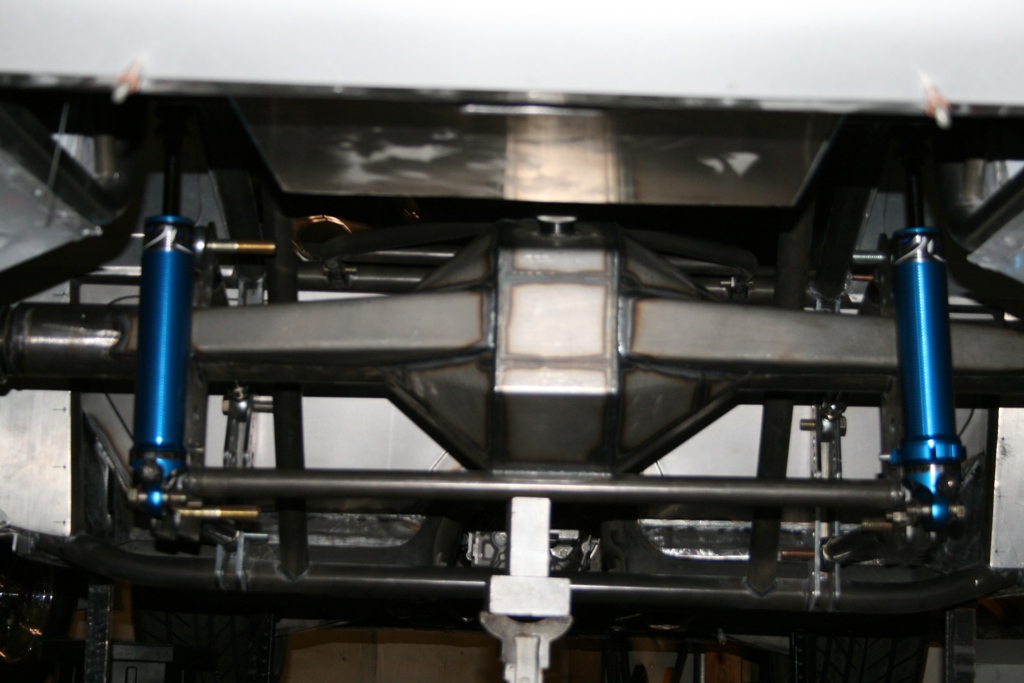
To backhalf a car is to cut out the original rear suspension and graft in a frame to support a solid rear end. Here is a picture from another forum member's car.
very nice work, and thanks for posting the pics....I have one Question; how did you fix the venting problem?
Didn't do anything yet as the project is ongoing but when I will put the new tank in I plan to return to the original gas cap and make sure the charcoal canister valve works. There is also a possibility that I delete the charcoal canister and add a actual breather to the old canister connection. I need to investigate if there is any downsides in the delete -option.
To backhalf a car is to cut out the original rear suspension and graft in a frame to support a solid rear end. Here is a picture from another forum member's car.
Thanks for the explanation. Well, solid rear end is not for me as I am no drag racer.
 05-06-2012, 01:07 PM