When you click on links to various merchants on this site and make a purchase, this can result in this site earning a commission. Affiliate programs and affiliations include, but are not limited to, the eBay Partner Network.
Current price for the bar is $575 plus shipping from Astro tops. Not much to say about what it does, it bolts into the top locations when your top is out and ties the mounting points together. Yes, first drive after, I could tell a difference. More so in less squeaks and rattles than normally with the top out. I don’t have any serious track time to prove anything with times, but if you know the additional flex you feel with the top out versus in, you will notice that feeling is gone with this bar.
Tools Used:
�” Thin Open End Wrench
The Cars own top’s T40-Torx wrench
T-30 Torx bit
Bit adapter
�” Drive ratchet
Now for installation, obviously your car’s top must be out. Not a whole lot to speak on safety here as there are no power tools or lifting of the car. The brace as well is pretty light weight. Just be mindful of your surroundings, take your time, and make sure any tool you use is in good working order.
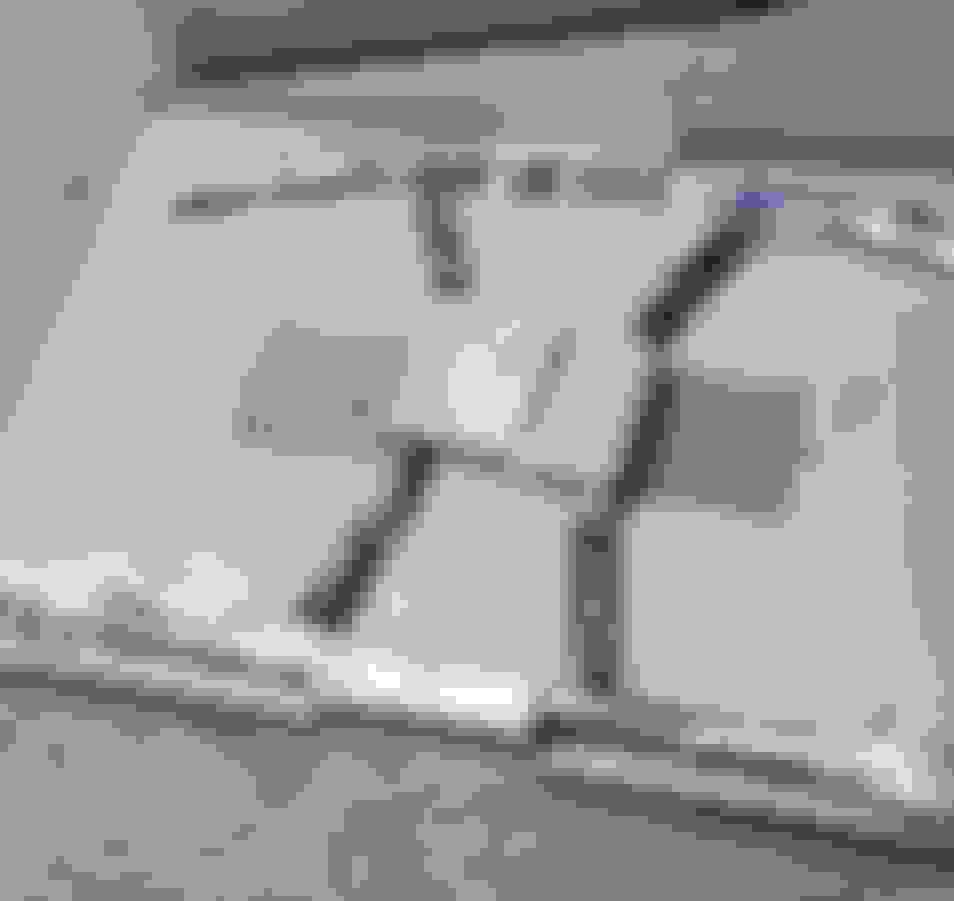
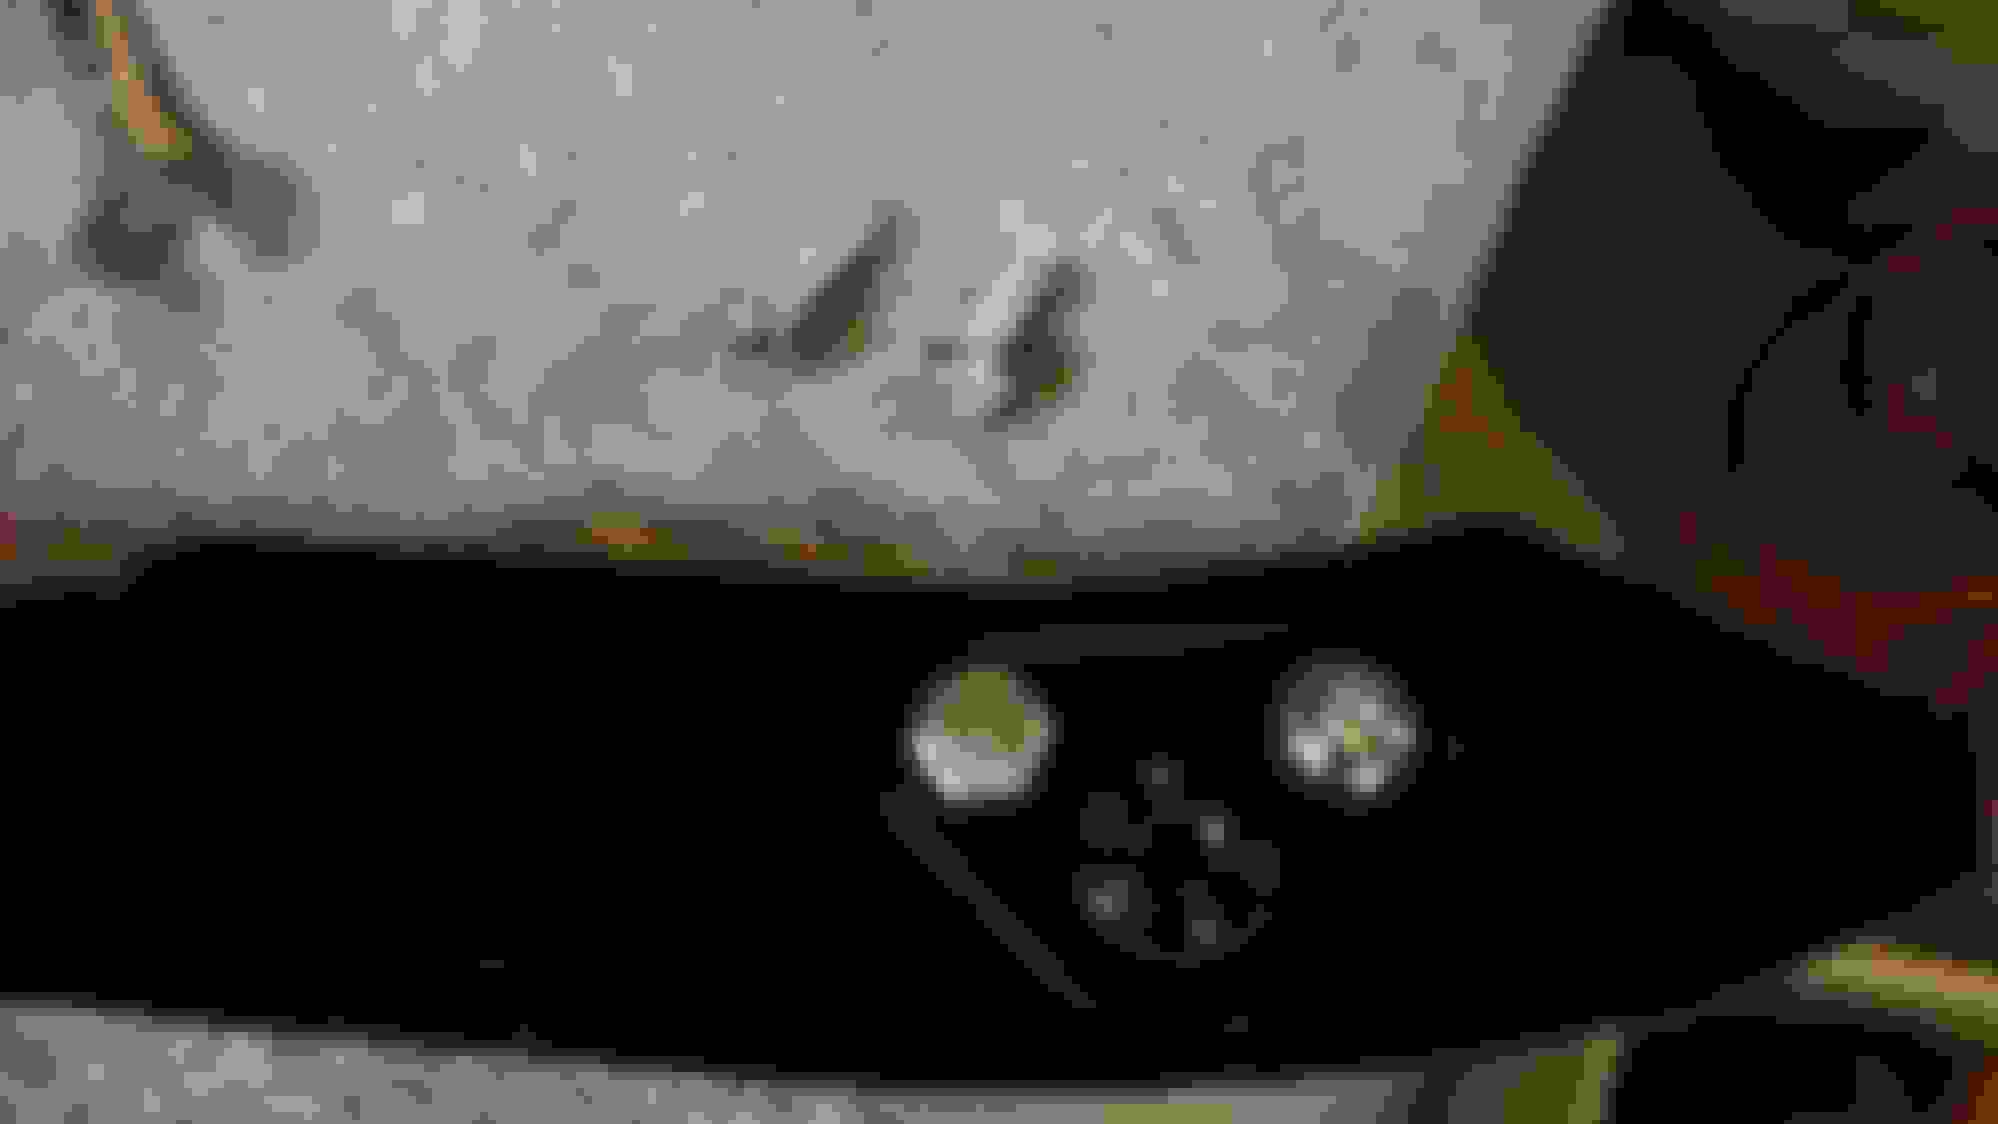
Un-box and inspect your new bar. You will notice it also came with hardware. Mine was even marked inside the box “adjust mounting brackets as needed”. So, remove the bolts for the rear so they are not protruding out, and set the bar near the mounting locations. Each location has a cup on the car and a cone on the top. You will see they don’t line up, well maybe yours will but mine didn’t
So I took it back off and loosened each of the two T30 bolts on the rear mounting locations and same for the 4 hex heads in the front. Put it back on the car aligning the rear first. I was able to just lightly wiggle the bar until the cones moved into their cups. I got the rear bolts started by 4 or 5turns, just enough to hold it in place but not enough to have it tight. Then I moved to the front and did the same. Just get the bolts started
Now all the cones are in their cups, mounting threads are started and it is looking pretty cool. Walk around the car and check it out, but look for how centered you are. I think my bar could move about �” side to side. Move it until you are happy with its position. Then I snugged up the rear T30 bolts to retain their relative position. Next did the same with the hex head bolts in the front. I was able to reach these with a thin �” open end wrench.
Now do one last check to make sure the bar is centered. If you are happy with its position, tighten the T40 mounting bolts and you are done. If you are not happy with the position, loosen the T30 and Hex Head bolts and adjust, then re-tighten them. Keep repeating until you are happy with its position then lock the T40 mounting bolts down and you are done.
Have you tried reinstalling the top now that it's adjusted for the bar?
.
Funny you should ask because yes I did. I had to fit a new top as well today. basically following the same procedure, but it was a little bit more difficult since the glass was in it and you could only work hunched over under it unlike on the bar. However, yes... unbolted all 4 bolts, wiglled and out it came. I then fitted the new top and took it for a ride. Then switched it back for summer driving. It just bolted right in. I do need to hold the front down until the threads start, but pulls in with no issue.
Just to be clear, you are adjusting the top(s) to the car.
Ah, that's it. I had to go have a look at my 89. Adjustments on the bar and top, not the car.
Is that the same as the Ohio guy(Tom??)? Does he resell through Astrotops?
Yes there was a thread on this some time back. It was found that Astro Tops sells them now. It is identical to the older bars. Did Tom sell them the design, does he only sell through them, or do they pay him a royalty? I am not sure, but I am very happy with the fit and finish. Also, the lady at Astro Tops was an absolute sweetheart to deal with to get my orders placed.
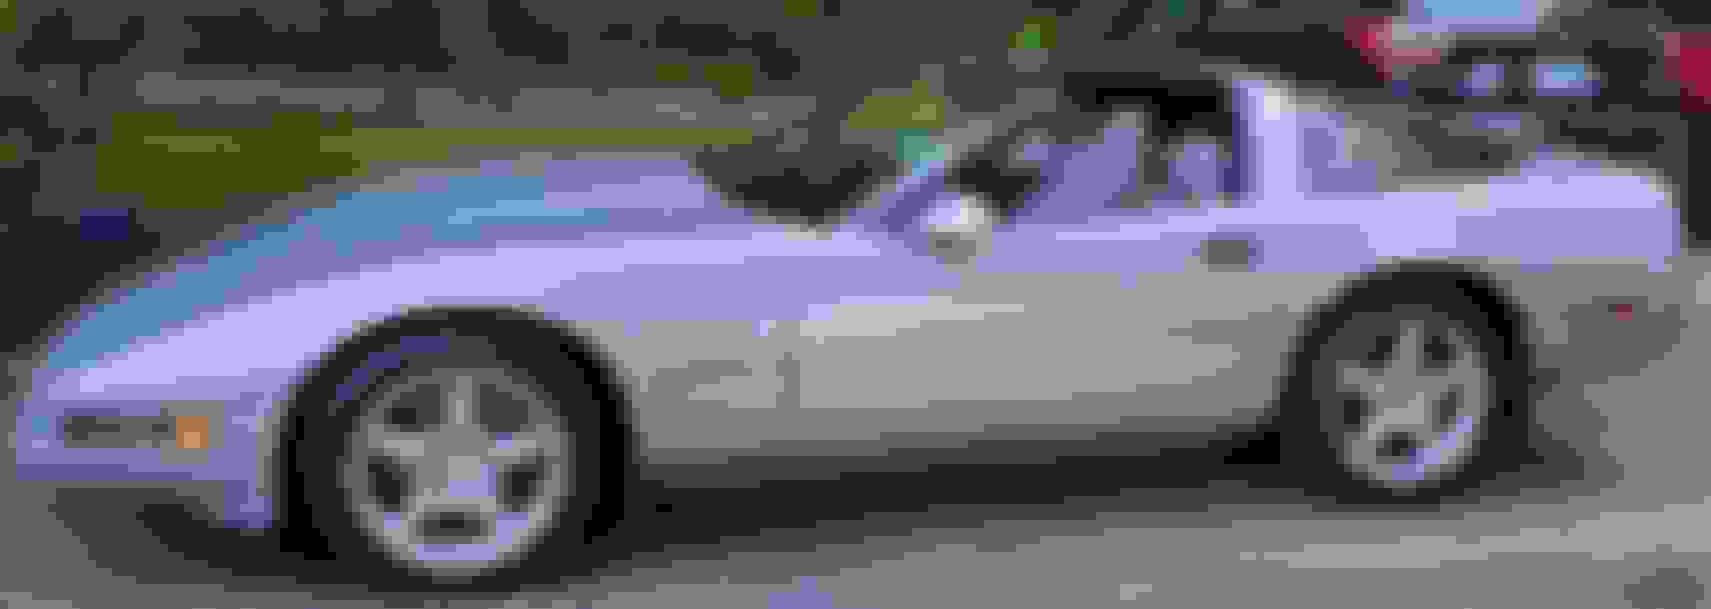
I was hoping to get a blue tint targa roof, but there are strong review for this product and its got me thinking
The bar goes in when you take the roof out. The car still feels and sounds the same roof in or out.
Astro Tops offers blue tops. I am actually sending mine in as a core. I switched to a smoke grey for mine because I tinted my windows and inside the car felt weird with blue glass up top and smoked windows out the side and back. They replace the acrylic, but use factory frames as cores. Mine still had its OEM stickers on the frame when I received it. I had to do some adjustment to the hardware, but was easy enough as shown above.
I don't have a clear targa top only the painted one. When I was driving it, it would never have a top on. The only time I got in trouble was when I went to pick up my kid at school(1hr+ away). Weatherman said 15% chance of rain...hey 85% no rain is a good bet....No. So here I'm driving up I-95 with a light rain, its not too bad. When I got there I had a wool army blanket to cover while parked. That is my only hesitation......
 06-06-2020, 09:14 AM