When you click on links to various merchants on this site and make a purchase, this can result in this site earning a commission. Affiliate programs and affiliations include, but are not limited to, the eBay Partner Network.
This is a guide to replace the window stops/guides in a 93-96 C4 corvette (maybe other years apply). If your windows have significant play when not in the highest position, move past the stop point and into the door seal, make a large click/clank after passing a certain point in their travel, rub the B-pillar, etc., your window stops are likely damaged or destroyed. Below will show the general process to replace these parts and give the entire mechanism a general overhaul (short of replacing the regulator).
For basic guide replacement, see bolded instructions
For full explanations of how the 3D printed guides were iterated, see sub-instructions (1a, etc.)
Tools/Materials Required
Left/Right Window Guide/Stop: GM 10243037 and GM 10243038 (available at Zip Corvette OR available as 3D printable file I designed on Thingiverse)
Window Stop retaining nut removal tool: Kent Tools J-22055 (others have reported this pin wrench from HF works, alternatively use this tool I designed on Thingiverse or the Allen key method below)
Panel poppers, various size Phillips, Hex and Torx drivers
Moly Grease/Sil-glyde
Directions 1. Remove the door panel
Won't go into too much detail on this here, remove the 5 push pins at the bottom of the panel, pop out the flood/courtesy light and sliding lock cover, remove the 3 screws behind the panels, unseat the panels and unplug any relevant connectors to remove the door panel.
2. Peel back foam insulator, set aside
3. Dislodge metal insert panel
There's a couple Hex bolts around the perimeter of the panel, as well as one in the center attaching the window regulator to the insert panel. Don't forget one Torx bolt near the latch mechanism on the edge of the door. Once all bolts are removed, maneuver the panel out as follows:
There's no need to remove the panel entirely (plus, the lock mechanism is attached to the back), just maneuver it enough to get behind it and access the guide.
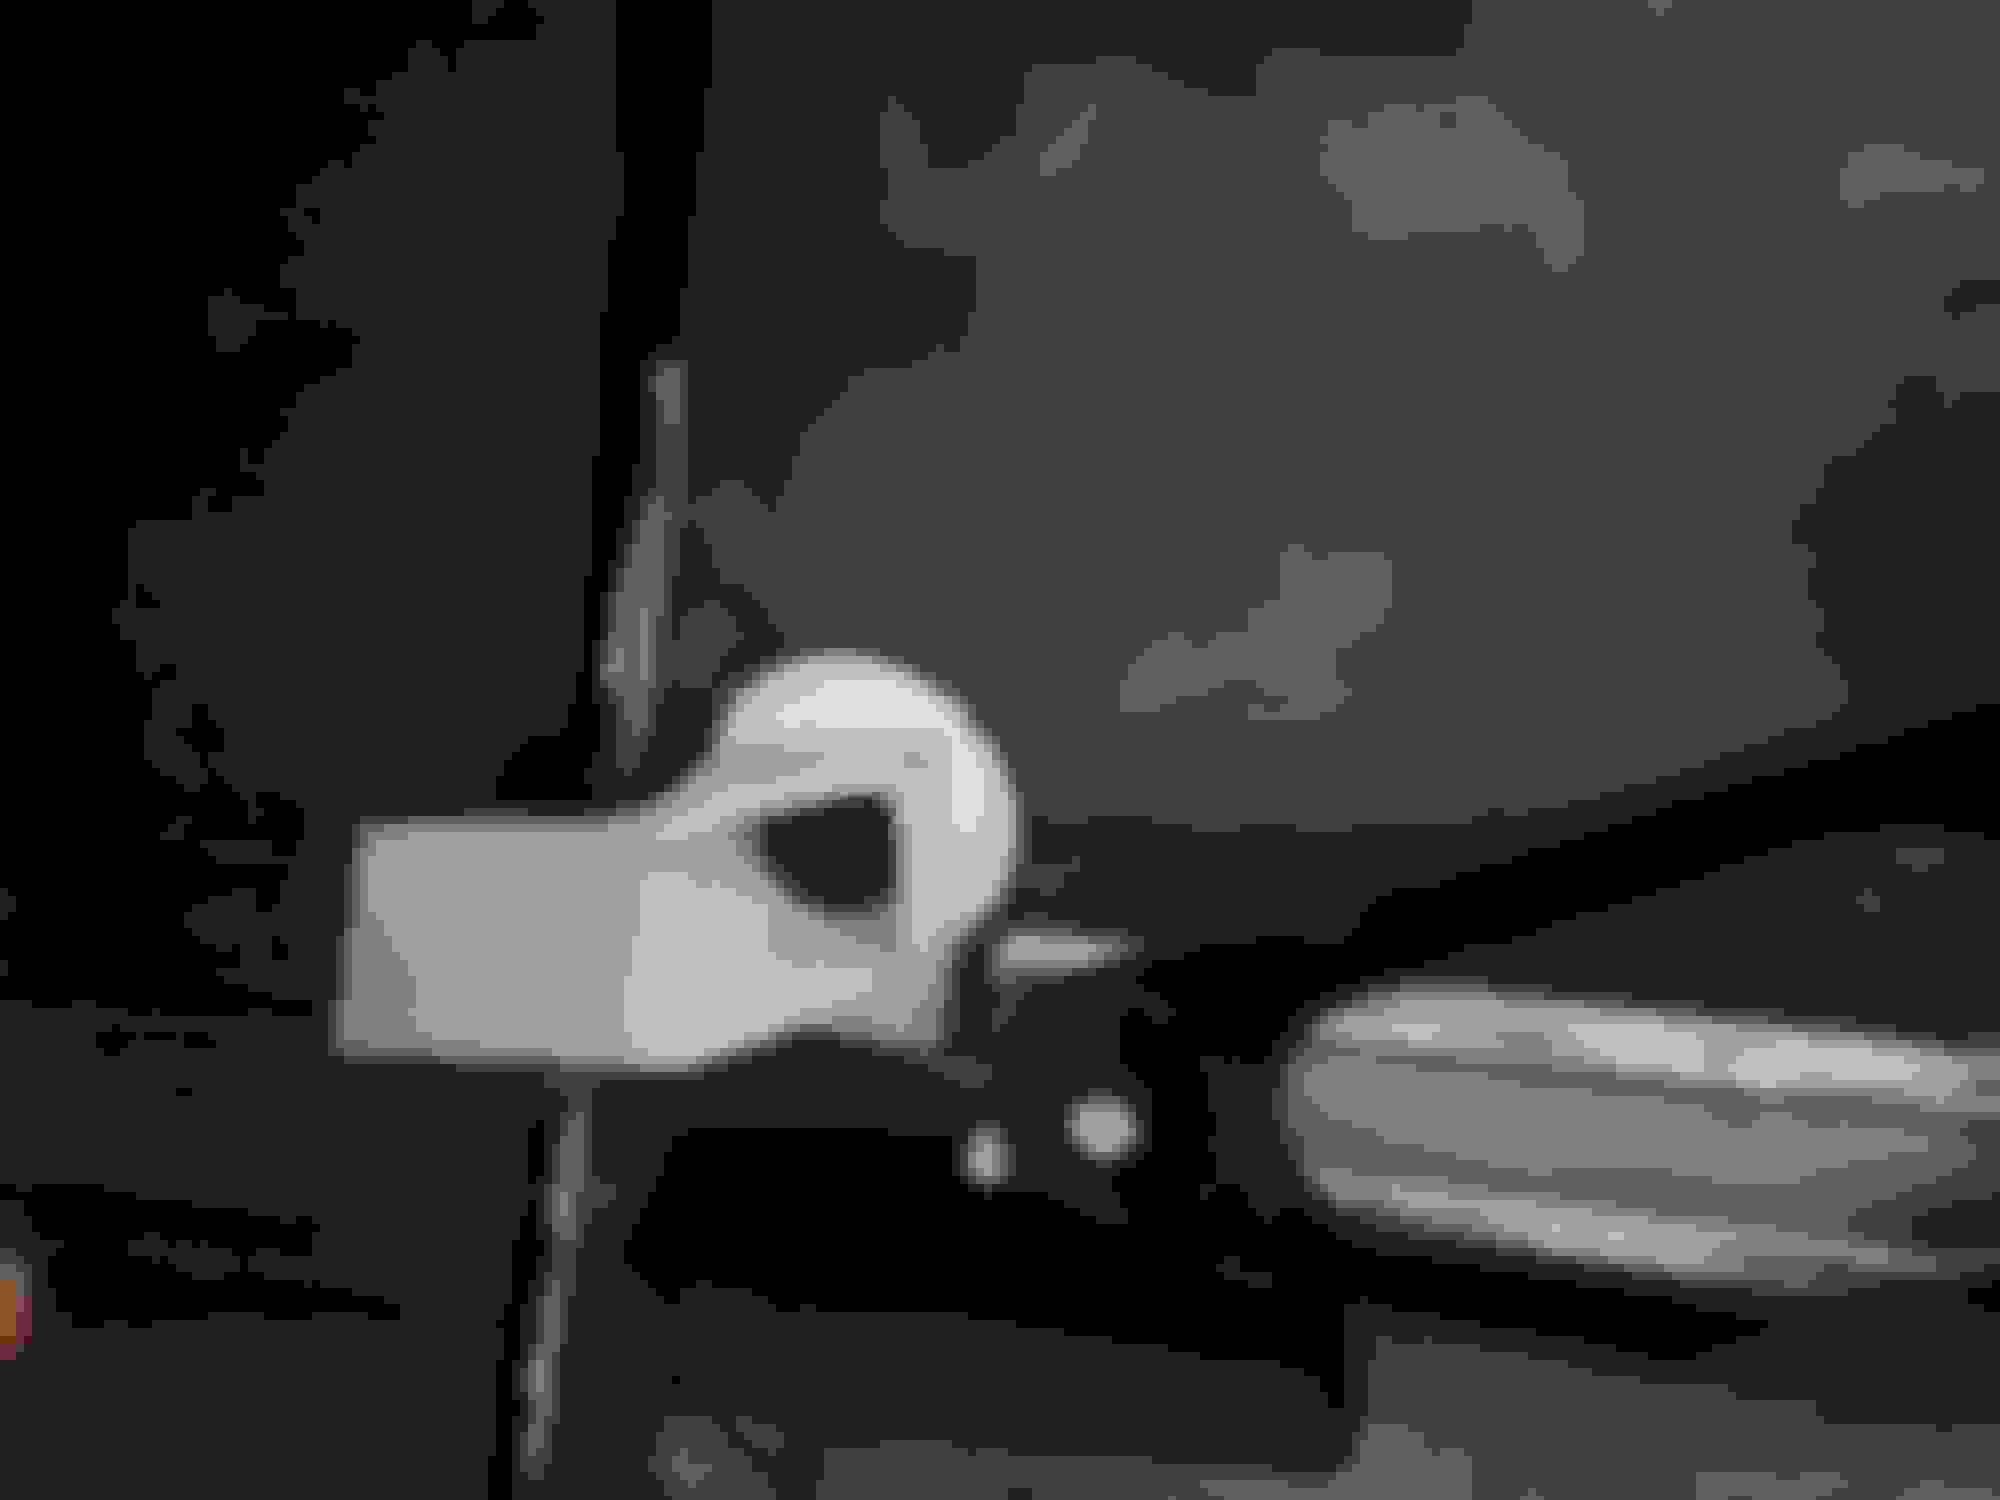
4. Check condition of guide, remove if needed As shown, my driver's side was completely destroyed, to the point the guide rail would jump left and right as the window traveled, causing a horrible popping sound. The passenger side was not much better, was very close to nearly coming apart as well. Other side of passenger guide was also cracked. Use either J-22055 or 3D-printed wrench and two pressed in 1/4in pins to remove retaining nut (this wrench was a failed prototype, can't find pics of the final design, but follow printing instructions on Thingiverse and you'll make a working wrench) Alternatively, wedge Allen key into retaining ring pin against the ridge in the outer door shell to crack the retaining nut loose, or to tighten during assembly if you're careful.
5. Replace guide with purchased part or 3D-printed part
Not sure on the torque spec for the bolt and retaining nut, just don't go crazy and break the glass, snug plus a quarter turn is probably good enough (use Loctite if available). If using the 3D printable guide, follow the next instructions:
5a. Why you MUST follow the print settings on Thingiverse DO NOT USE PLA, this was a prototype, and as you can see, it WILL melt in your door and your work will be wasted. DO NOT USE TPU, while this is a heat resistant material, it is WAY too flexible to be used as a guide, no matter the infill percentage.
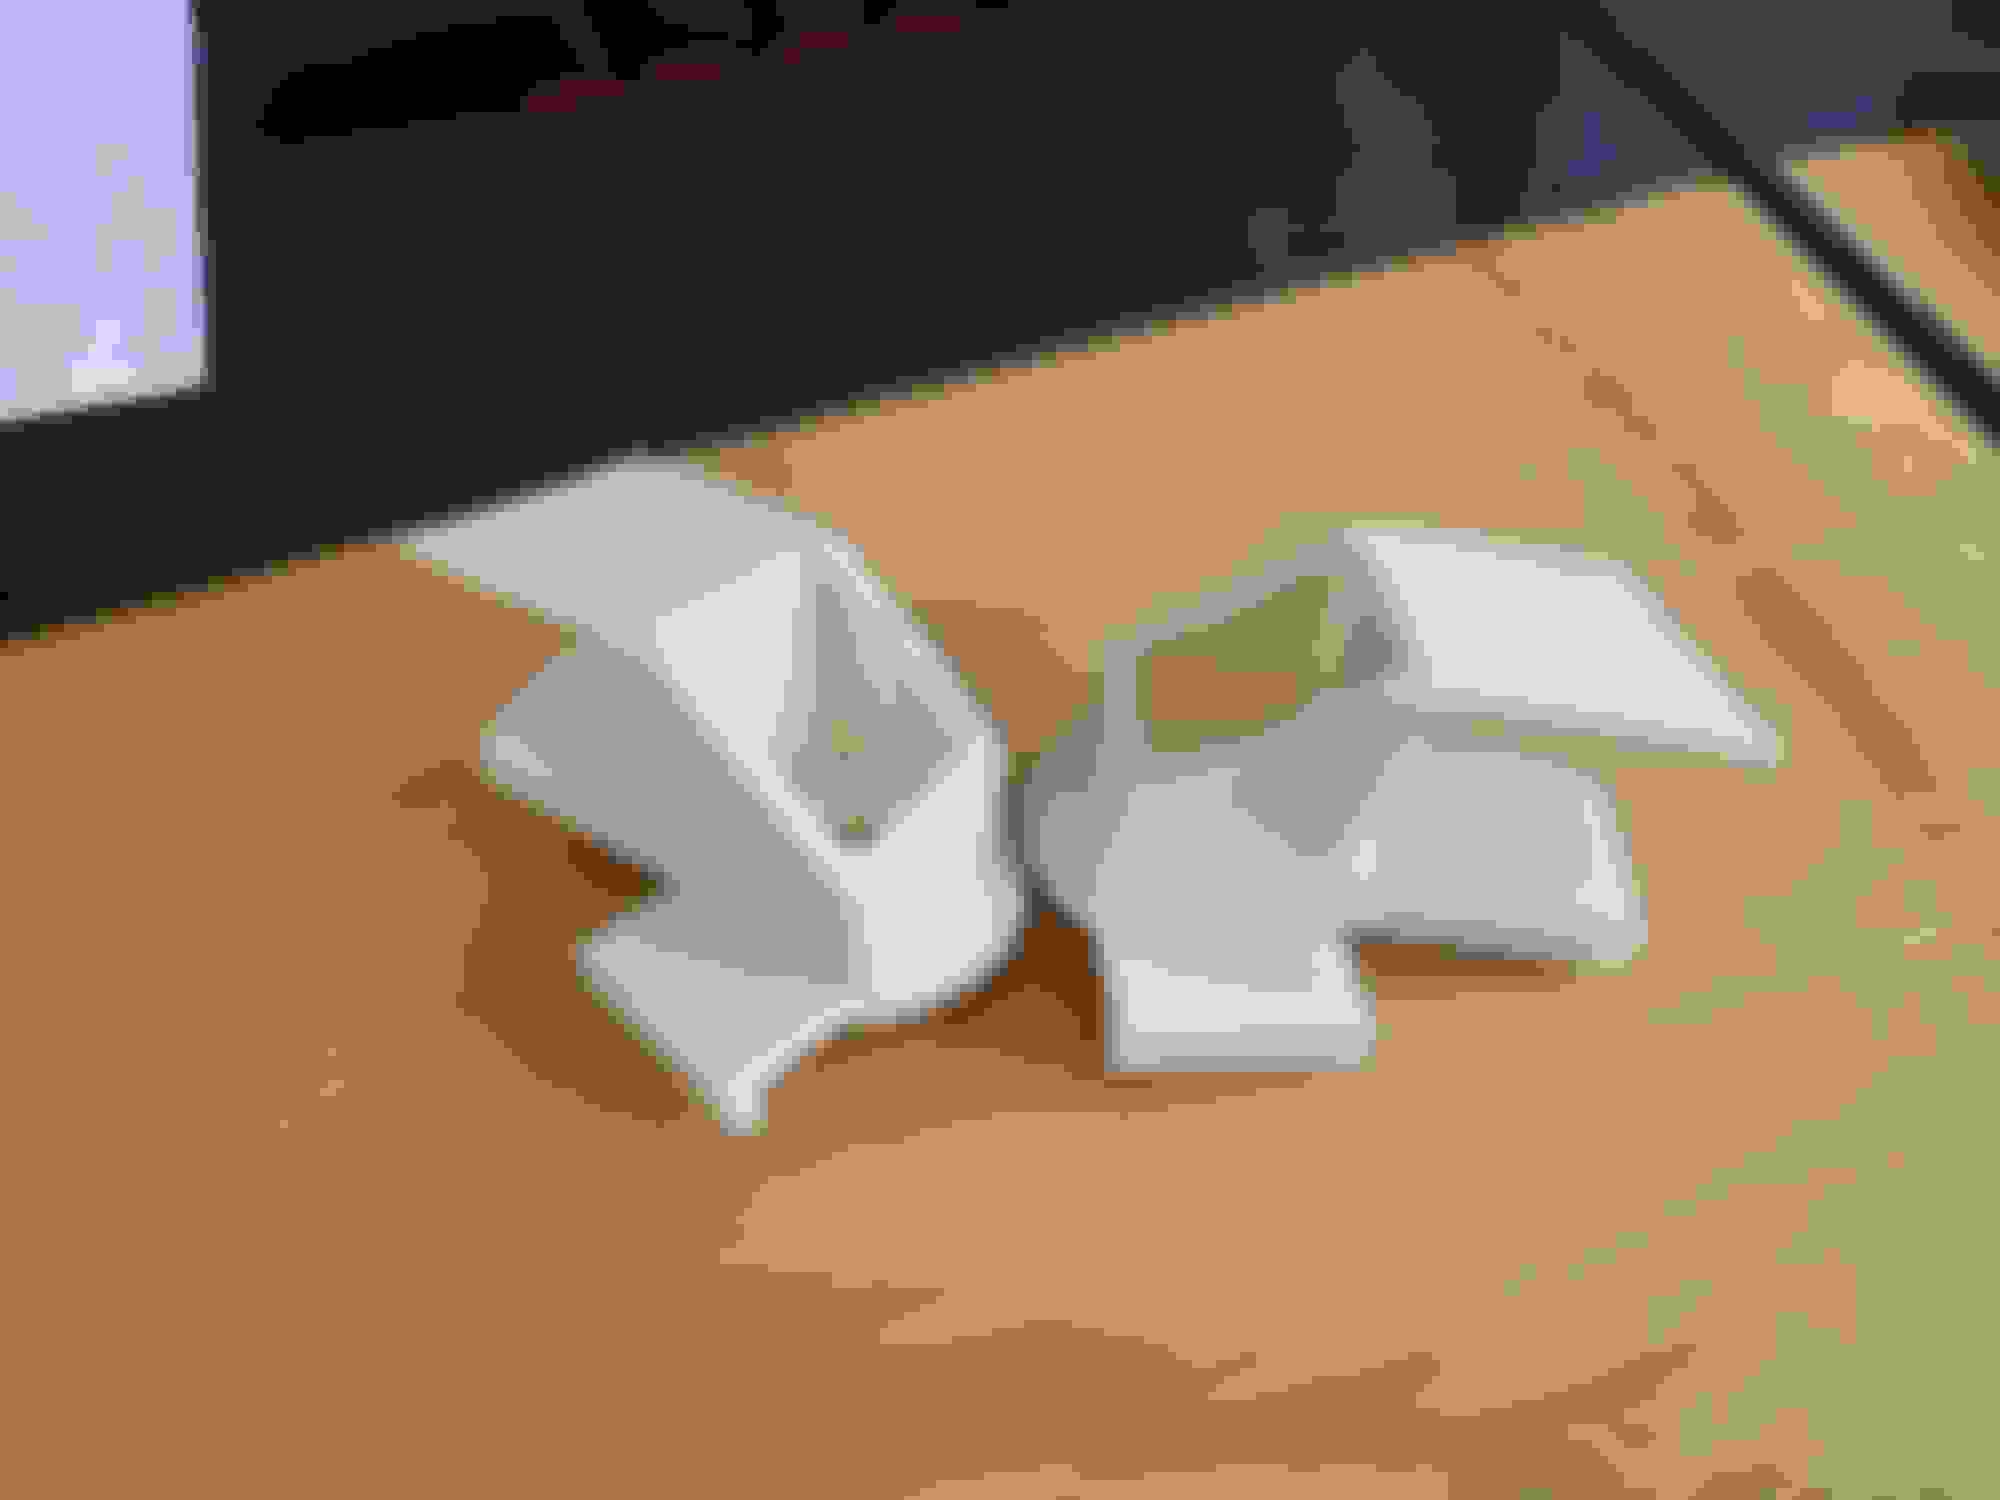
The only configuration I can validate is printing the guides using ABS or PC, in the following orientation (for layer structural reasons), with supports and 100% infill: Print parts from ABS/PC in the following orientation with supports Parts after supports are removed
5b. Salvage bushing from old window guide, wrap guides in tape
There's a metal sleeve in the old guides that must be re-used, it can be salvaged as follows: Get a screwdriver, wedge it in the bushing, and smack the guide against something hard to knock it out. Press bushing into the 3D printed guide with your body weight (it isn't too hard) or a press, wrap contact surface in felt tape to match OEM.
6. Grease guide surfaces
Run grease along guide rail and window regulator contact surfaces to prolong life of both and smoothen operation. I used Sil-Glyde, but I'm sure any quality grease will work. Some of this grease can be seen in Step 5. Additionally, I would add a rubber-safe grease to the seals where the window will slide along. Not a large amount, but enough to moisturize the seals and let the window slide freely.
7. Window Alignment
ONLY PERFORM ADJUSTMENTS IF YOUR GLASS DOES NOT SIT RIGHT, WIND NOISE IS HEARD WHILE DRIVING, OR YOUR GLASS STILL RUBS THE B PILLAR.
Performing window adjustments is a general PITA, and chances are, if the window has never been adjusted for the life of the car, replacing the guide is all that is needed. However, I got new seals in addition to the new guides, so I needed some fine tuning to get my stuff to sit just right. Our cars have 3 adjustment points: front stop point, rear stop point, and angle. Changing one will affect all three controls, so you will be bouncing between them all to make stuff work just right.
This will be a lot of guess and check to get the window to sit right. To change the stop point of the front of the window, there's a hex bolt holding a stop plate in place: Bottom side of stopper plate is shown here, if the felt on yours is worn off, remove the plate entirely and wrap it in felt tape.
Loosen the bolt, move the stopper plate if needed, tighten.
To move the stop point of the back of the window, you must adjust the position of the regulator. There's 2 bolts holding it in place, one near the top of the door frame in a diagonal slot (in-line with the front plate adjustment bolt mentioned earlier), and one near the center of the door that you removed earlier to move the metal insert panel around. Crack these 2 bolts loose, and you can move the mechanism behind it up and down as needed to get the window to not overshoot the closure area.
Your final adjustment is the angle the window makes to meet the body (adjust distance of the top edge of the glass toward and away from the targa top seal). There's an Allen key bolt with a locknut at the base on the same mechanism you were moving around to adjust the stop point of the back of the window. Crack the locknut loose, and use an Allen key to adjust the angle the glass makes with the door. Be precise with this, a small turn can change the angle significantly.
Once you have it sitting correctly (and the door does not take too much pressure to close when the window is in the "up" position), go for a drive. Ignore the noise from the lack of a door panel, focus on any wind noise coming from the top of the window. If you hear some, pull over safely and adjust the window a bit more to counter it, then drive again. Repeat until the noise is gone and the window sits correctly.
Yeah, its a PITA, so if you can, don't mess with the window adjustments.
8. Re-assemble door in reverse order from above
For those curious, I've been running the ABS 3D printed guides for the past 3000 miles/4 months, with the car parked inside/outside about 50/50, and they're holding up just fine with no noticeable wear or looseness in the mechanism. I also used the printed wrench to replace the guides, so I can confirm that tool works as well. So yes, if you follow the settings prescribed and have a 3D printer/ABS filament, you can replace your guides for basically free.
Last edited by nb_destroyer; Dec 23, 2024 at 01:07 AM.