When you click on links to various merchants on this site and make a purchase, this can result in this site earning a commission. Affiliate programs and affiliations include, but are not limited to, the eBay Partner Network.
Alky Control Methanol Injection/Boost Gauge Install with pictures
Hey Guys, I know there is a few of these post but when I was doing the install I had some questions that I could not find the answers to, so I hope this helps someone out in the future. I did take the pictures after everything was installed and buttoned up unfortunately. It was quite an easy install but very time consuming with running the wires, crimping connectors and making it look somewhat clean with electrical tape and zip ties.
Starting with the windshield washer tank, that was pretty self explanatory. Drill a 3/4" hole in the lowest part and run a wire through it and out the top to help fish the bolt into place from the inside. it was kind of a pain to tighten but I was able to fit some needle nose through the low lever sensor hole and hold it in place to tight it from the out side.
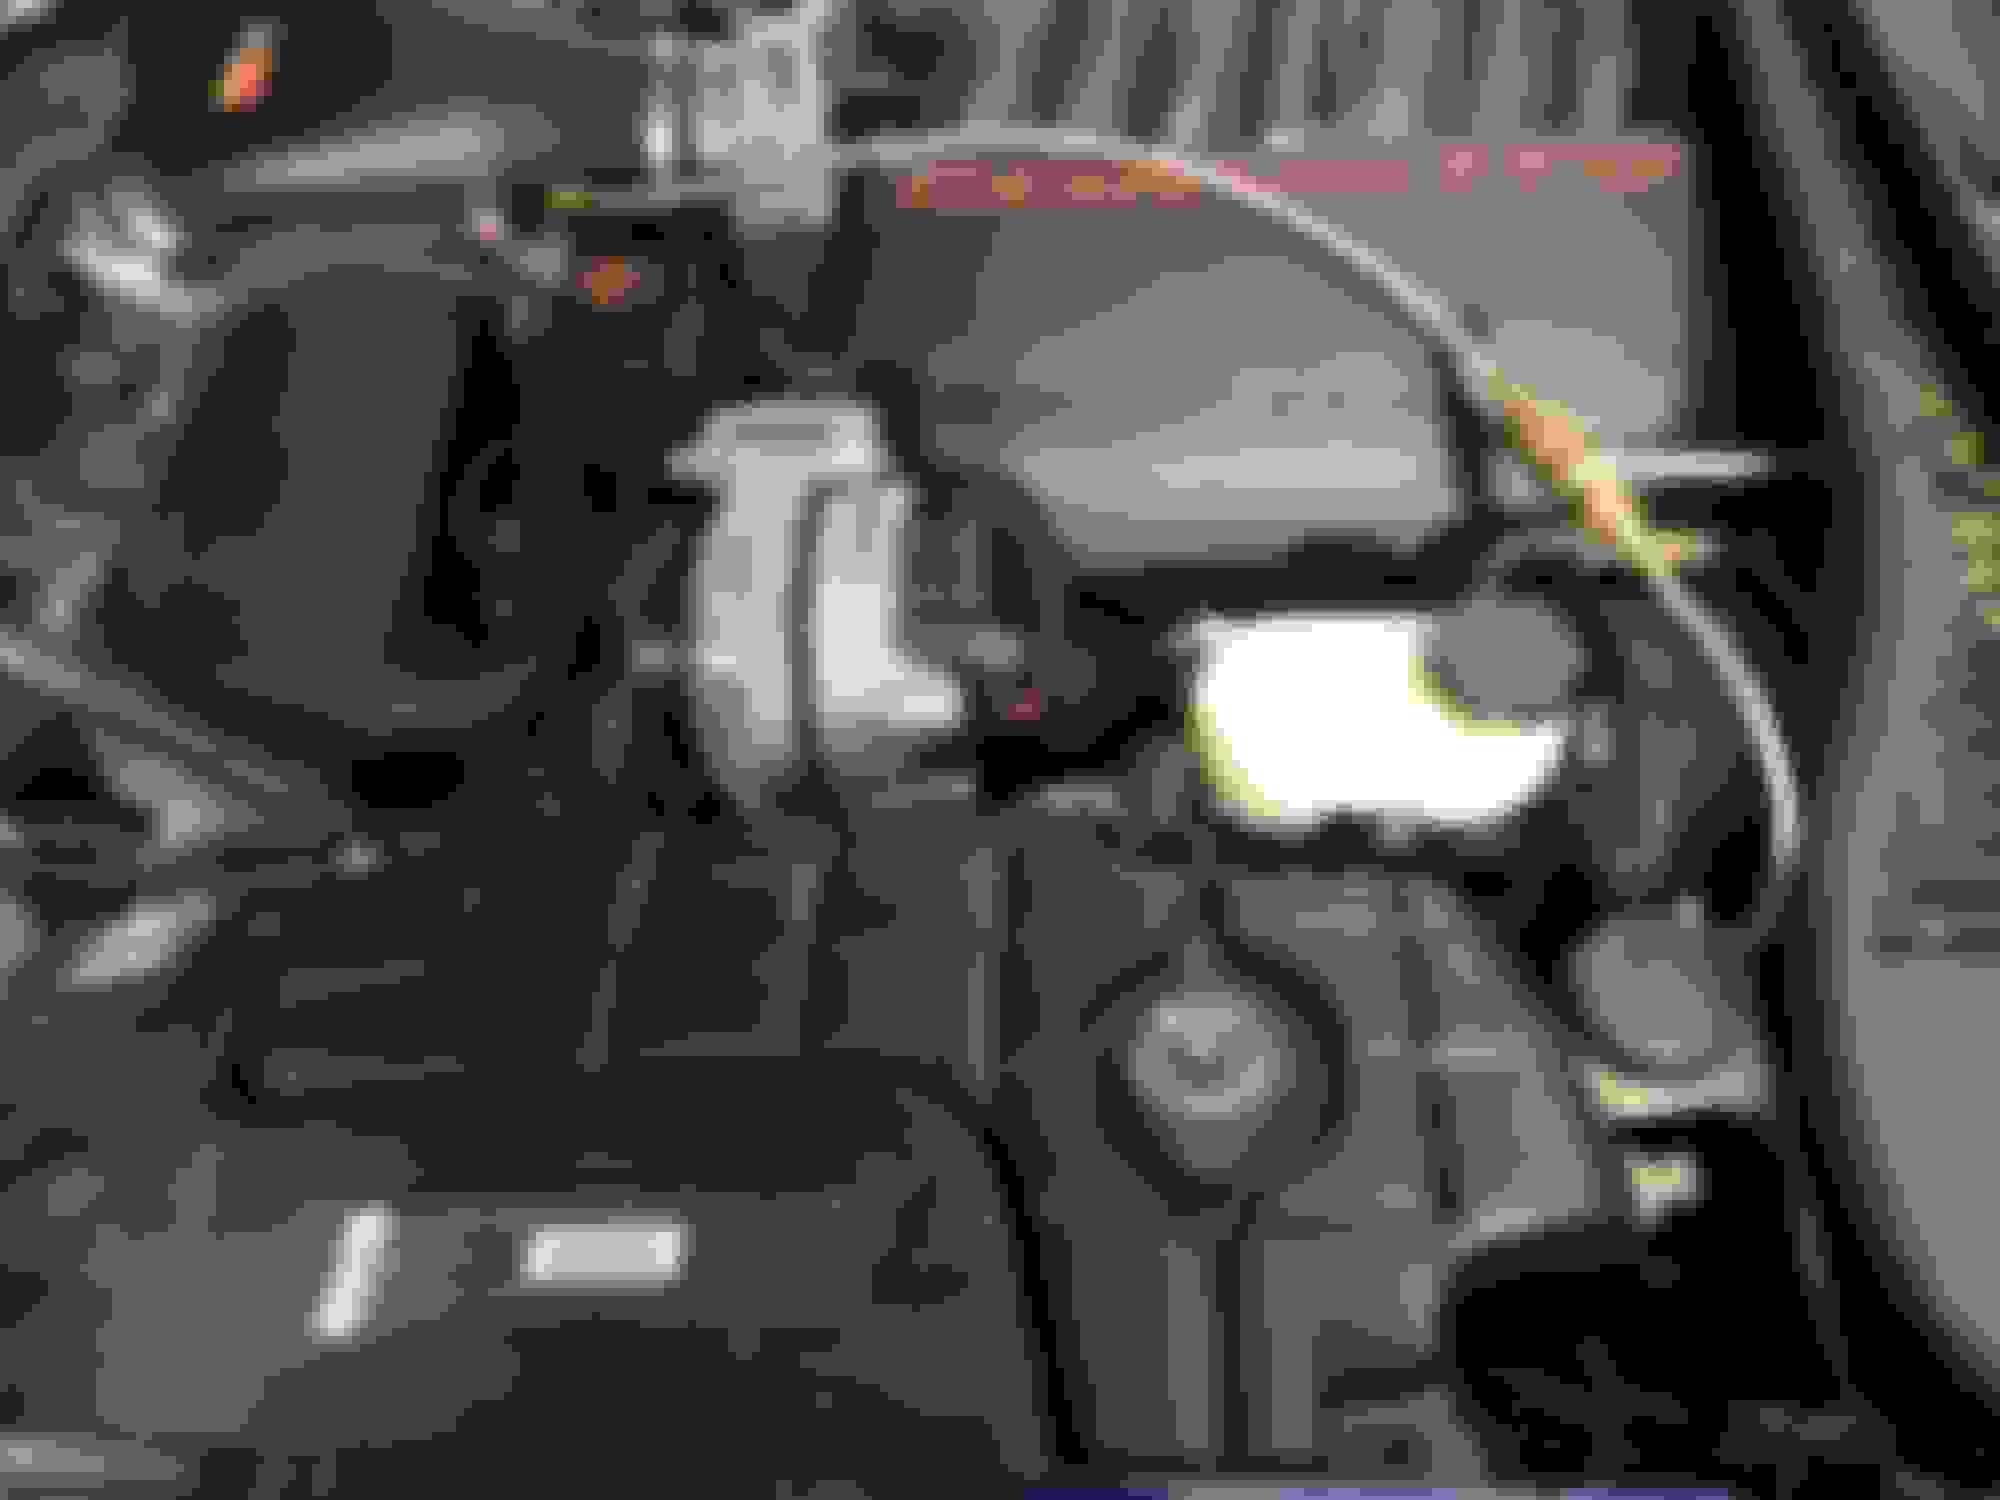
This is looking down right behind the washer tank to show where I mounted the pump. I thought I was going to have to remove the whole left fender but you do not have to. The only piece you have to remove is the wheel well flap right to the right of the front drivers side tire(to the right if you looking straight at the wheel). I took off the wheel to give me more room but I don't believe I needed to. Just drill the 4 self taping screws right into the frame making sure you put the pump far enough back to put the fender flap back on and make sure to put the O-ring connector on one of the bolts to ground the system. To feed the pump wire through the fire wall, the best it to just drill a small whole right beneath the rubber grommet which holds the hood release cables. I also drilled a second whole for the boost gauge hose as well. I drilled the hold nearly the exact same size as the wire so there is no need for silicone as it is a tight fit. It best to drill the whole from the inside so you don't hit anything on the inside. I have a pic coming up.
Here you can see the T fitting for the boost gauge which Ts off inside the car to go to the 2 Bar Map sensor for the Alky kit. I went to Home Depot and in the plumbing section, I made this fitting. It is 1/2" Diameter on the 2 outer pieces and the an 1/4" nipple tip on the top. I plan to get hose clamps to replace the zip ties. Cut the brake booster hose and just put this fitting in between. I did have to cut about 2" off the hose off because the T fitting made the Hose stretch to far past the Brake Booster. I then just ran the smaller hose through the Fire Wall Hole I already drilled before but the Hood release cables.
I mounted my Boost Gauge in the Dash. It was hard to stomach drilling a hole in my perfectly good dash but I could not find and Pods or Pillars mounts I liked. While I was there I drilled a small whole for the Activation light for the Alky kit. It turns on when the system starts spraying or when you hit the test button. This is not a bad place to mount a gauge but there is quite a bit of cutting to do behind the dash that I was not prepared for. Make sure to have a good dremel. For wiring, tap the power wire on the boost gauge to the Purple wire on the Fog light/trunk release button harness right next to it. For a ground, there is a nice brushed metal cylinder right behind and to right of the gauge, can't miss it. The light for the Gauge will only some on when the headlights lights are on and the Fog light button is on. The light for the Alky kit runs down and is fed behind the stereo to go the the passenger side where I have all the PAC controllers at. You will have to extend the wires as it does not completely reach the passenger side.
This just shows the Pump wire and Boost gauge hose come through the Fire wall right but the Hood release cables.
After running the Pump wire through the fire wall, I ran it across the lower dash below the steering wheel and then ran it behind the stereo. You can also see the Orange/Brown wire which is for the activation LED for the Alky kit, it also is run behind the stereo as well. The best way to do this is with a metal coat hanger. I zip tied the wires to the end of the hanger and fed it through until I felt resistance. Then go to the other side, pull down the carpet and make sure it came through. I ran the Pump wires, ALky LED wire and the hose to the 2 Bar MAP sensor which Ts off the Boost Gauge hose...All were fed behind the stereo to connect to the PAC Controller.
To get power for the PAC Controller, I went straight to the fuse box in the Passenger seat floor. I went to AutoZone and got a Fuse piggy back, which already has a wire to plug into. You can use it on any mini fuse as long as it is 15 amps or higher and it turns on by the Ignition key. You can test this with a meter. I went to the #22 port which is normally empty but a previous owner had it wire for a Amp/Sub which is no longer installed.
The 2 items you need to ground on this side are the PAC controller and the 2 Bar Map Sensor. I took both of the Orings wires and put a screw through them and drilled it into the bottom of that shiny metal ECU looking piece. Not sure what it is for but it has a great ground on the bottom as you can see in the pictures. I then ran the wires to the right of it in between it and the Fuse box.
This just shows where the Pump wire, LED wire and Vacuum Hose come out after being pushed through the back of the Stereo with the coat hanger. You can see the rubber hose in the picture. I then ran everything to the Glove box and kept everything above the lower dash cover so nothing can be seen.
This is the Lower dash panel cover. All the wires and Hose are above this, neatly zip tied and tucked away and everything goes to the back of the glove box. The only hard ware above the is the @ Bar Map Sensor. I just zip tied it to a big wiring harness I found. It has Red and Green wire which go to the glove box to get wired into the PAC controller and then it has one back ground wire which got drilled into the Shiny ECU looking thing with the PAC ground wire. The Vacuum line from the boost gauge, that got ran behind the stereo, connects directly to this sensor.
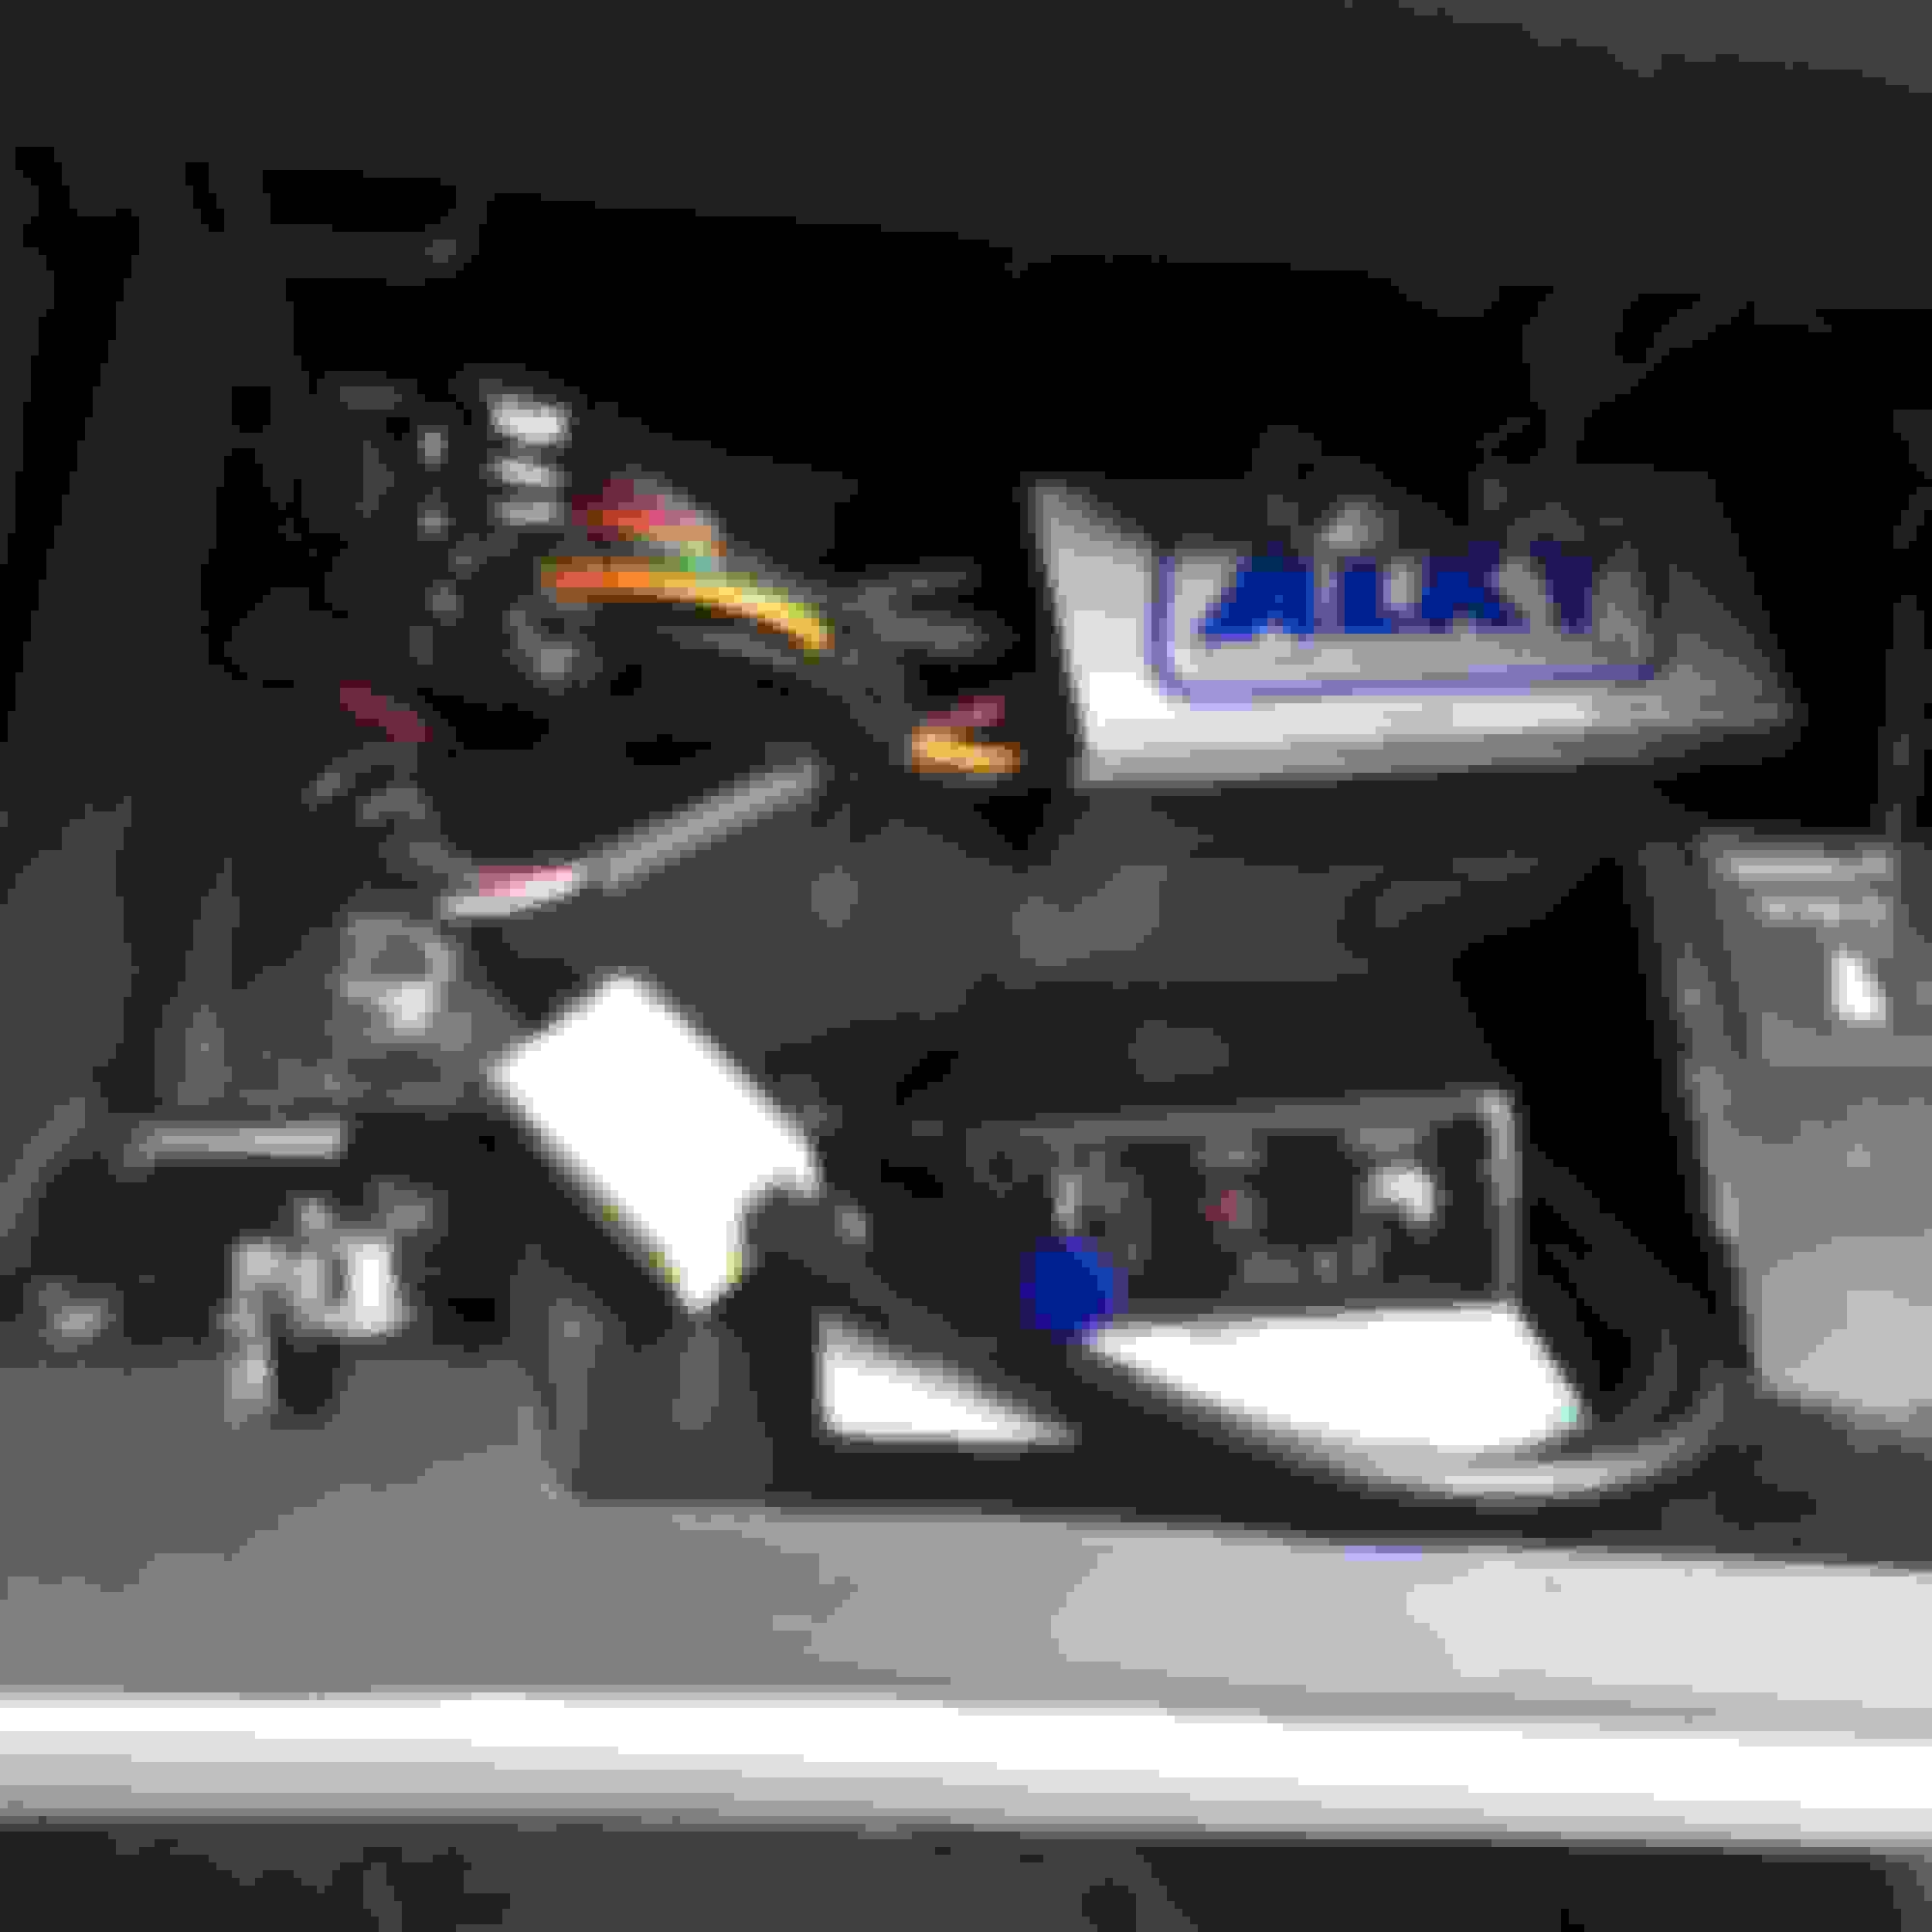
This is the Glove box where I mounted everything. There is a black plug in the glove box that you just pop out with a Flathead screwdriver and then you can run all the wires in from the back. You have the Red Power wire which went to the Piggy back fuse in the Passenger floor, the Black ground wire which when to the Shiny ECU looking thing right next to the Fuse box, The 3 wires coming from the Pump, the Ethernet cable coming from the controller which is also in the glove box and lastly is the 6 pin Harness which has Red and Green wires coming from the 2 Bar Map senor located right behind the glove box and the Orange and Brown wires coming from the LED which got ran through the back of the stereo from the drivers side. The 6 pin connector has purple and gray wires which do not get used so I just taped them off. The kit came which some Velcro that I put on the back of the PAC to help keep it from moving around in the glove box.
Just another view of the wires up close.
This is back on the drivers side below the dash. It shows the Boost gauge hose and Pump wires coming out from the fire wall and also shows the brass T fitting which comes in the Alky kit. You are Ting into the Boost Gauge hose which then send another hose behind the stereo to the 2 Bar Map Sensor. Obviously it is zip tied and tucked away.
And just another photo of where my Boost Gauge and Activation LED were installed. I don't think it turned out too bad.
All and all it was an easy install. Just time consuming. I hope this helps someone down the road and feel free to PM me for any questions. Let me know what you guys thing or if there is anything you would change. I have not put my injector in yet because my Supercharger does not get here till next week. I would have had to reinstall it on the new intake tube. I ordered the ESC kit and I am having Cordes Performance do the install and tune here in Mesa, AZ. I learn so much from these forums, I hope this helps someone down the road. See ya!
Ya I figured that. The brass T that comes with the Alky kit only works with the small plastic tube. I need to get a new T and then install rubber hose. Thank you for the recommendation.
Also the back of the gauge only accepts the really thing tubbing. Do I just get really thin rubber tubing? Will that work with the brass compression fitting on the back of the gauge? I feel like I have seen thing brass tubing used before, is that true? Thanks

 03-03-2015, 07:17 PM