When you click on links to various merchants on this site and make a purchase, this can result in this site earning a commission. Affiliate programs and affiliations include, but are not limited to, the eBay Partner Network.
Just wanted to share by 2001 Z06 build with you guys to maybe help someone out in the future or provide some ideas. I purchased the car pretty cheap as a roller (only missing engine) with the intentions to build it up and see how far I could take it. This is my 4th vette (1974, 2002, and 2005) and I know it won’t be the last. The next big project after this will be 15” conversion spindles, trans brace, and sticky tires, however, I have a deployment coming up so it will be a few months on that.
Now onto the build! The toy I had before this was a 2002 blazer that I picked up as a one owner and put a 370ci/4l80e combo in and with a 100 shot of nitrous ran a best of 11.6@112 in Pueblo, Colorado with a DA of 7700’! I swapped the engine over in about 9 hours and sold the roller to a good friend and used the profits to cover the parts necessary for the Corvette to be up and running. The car seems like it was neglected the last couple of years as far as dirt and grime on the cradles and underneath (cleaned multiple times but can be seen in the pictures) but was mechanically solid and was the perfect candidate to “make my own” and not ruin a mint Z06.
The first big thing I tackled was re-covering the seats with beautiful new full leather covers and new seat foams on the drivers side. I followed a thread on here on how to take them apart and replace everything so it was surprisingly easy and totally revamped the inside of the car. I also scored a set of wheels/tires off of craigslist and made a better sounding exhaust.
After that I automatic swapped it. I scored a quick trade from a local guy that wanted to trade all of the necessary auto parts for my manual parts plus money on his end. I didn’t want to risk it so I rebuilt the 60e and added some goodies to help it live as well as the basic new bushings, seals, clutches, steels, etc. I added a smart shell, 5 gear planetaries, billet servo, heavy duty 3-4 backing plate, 4l65e low roller clutch, heavy duty sprag, wide band, shift kit with various other valve body mods (heavy duty 2-3 shift valve to engage overrun clutches in all gears in d3) and finally a Yank PAS3800 stall. To finish that off, I added a nice big trans cooler to keep it all cool.
And that pretty much brings me up to where I am now which is adding an ECS supercharger kit! Just for a quick run down on the engine mods to cover the basics: iron block 370 with 243 heads, custom BTR 232/247 .605/.600 112.5 cam (will swap for a dedicated blower cam later), BTR .660” springs, 2-piece timing cover to help with that swap later, melling oil pump, FAST 78, Deatschwerks 60 lb/hr injectors, TSP 1-3/4 longtubes with off road x-pipe and magnaflow axle-back, poly engine mounts, and a GM 2 BAR map sensor.
The fuel system consists of 97-98 rails (thanks c5 kirkland), 50 psi 1:1 regulator (standard on 3.8 supercharged cars), 6an return line, ECS boost-a-pump, and the racetronix pump with Hotwire kit. Finding the right regulator took a lot of trial and error but I wanted to drop the base pressure a little to keep the pump happier when I turn it up. I do realize that a lot of people would spring for aftermarket rails and regulator but I have personally made nice power through them on previous turbo builds and they look really stock. The chart is just a generic Walbro flow chart showing what the boost-a-pump and base fuel pressure could POTENTIALLY flow.
This picture is to show the missing boss in the block (2005 lq9) for the ECS idler assembly.
Once the supercharger kit comes in I will continue with the progress pictures. And don't beat me up too bad about the dirtiness of the car, I'm working on it haha.
Finally received the kit (minus head unit due to shipping error) but the install was not bad at all and since the car was apart took about 4 hours to knock out. The only thing I wanted to add about the install for anyone doing this is leave the steering rack loose until you put the main tensioner on to help work the "locking pins" on the tensioner to the bracket. My radiator was very lightly touching the frame rails in the final resting point and just as a precaution I massaged the frame rail on the passenger side so it has plenty of flex room if need be. Other than that the instructions were very clear and made it quick.
I ordered a C5 emblem but had the C6 emblem laying in the basement and wanted to see how it looked (overall I like the C5 emblem without the ring better) but after a quick search on here I realized that someone might put a hit out on me if I leave it on there. So don't worry it's coming off I will also be trimming the bumper a little more because I didn't think it would be that visible through the mesh, and I was NOT trying to make a Chevy logo haha
Pressure checked the fuel system and made sure the regulator held at 50psi.
My wife bought me a Snow Performance methanol kit so I installed it behind the fender and used a Devil's Own quick connect fitting to feed from the windshield washer reservoir. The design of the fitting was pretty neat and I filled it up and put 15 psi to the whole reservoir to try to push water out and then let it sit over night and so far no leaks.
Last edited by simman22; Dec 19, 2018 at 06:57 PM.
thank you sir, just waiting on you guys! just kidding, it�s given me plenty of time to tidy everything up mess with other things I jumped over in order to get to driving it after the swap.
Posted some more progress but also wanted to ask if anyone has made "ducts" around the radiator to help funnel the air through there instead of around kind of like the A&A setup. I saw a nice write up for the C6's but not much for the C5. I'll probably end up cutting some out of that front crash bar so there is a direct route for the air. It seems that overheating issues are very hit and miss, and it will probably help that I will be drag racing as compared to autocross.
Got the head unit Friday night and finalized the install Saturday morning and got to do a little bit of tuning before it started snowing and the roads were a little wet. I had to trim the blower to filter tube about 2” and trim the top of the radiator to get the filter to fit without hitting the front crash bar. I’m having some belt alignment issues (already sent ECS an email) where the belt wants to ride forward one rib. I have the main tensioner adjusted all the way out to where the tensioner pulley is 1/16” from the engine and won’t go any further so I think the belt spacer is too big but we will see.
Last edited by simman22; Dec 23, 2018 at 08:28 PM.
Talked to Chris today and he pointed me in the right direction and all is well with belt alignment now. I needed a .070” washer between the bracket and water pump to line it up perfect and now the belt stays put.
Last edited by simman22; Dec 24, 2018 at 08:02 PM.
Found some matching mesh for the license plate area and luckily it hides the cut beautifully and looks good too.
I wasn’t happy with the huge gaps that were between the radiator and condenser so I made a plate to “seal” them together and used some foam with adhesive to reduce the possibility of friction of metal on metal. My idea behind this was that the fans do an amazing job of keeping coolant temp in check but the trans cooler is between the intercooler and a/c condenser so the fans would pull more air from the huge gaps above and below rather than through the condenser so the trans temps would just kind of hover and slowly go up unless I was going 50+. This significantly slowed the rise of trans temps and sitting at a light the temps would actually go down.
And after that I moved the lower airdam to a more forward and angled location to keep it from hitting my driveway so much and hopefully provide a better path for air. It looks like it would hit more but if you draw a straight line from the lowest part of the bumper (where it would bottom out first) to where the airdam used to sit then it actually sits above that now and it no longer rubs in my driveway.
Last edited by simman22; Dec 30, 2018 at 08:00 PM.
With the tune pretty much done until I get some track time I have almost driven it every day and it is much more fun! With my setup I see about 7lbs at my shift point with the stock restrictor plate and with the 3800 stall it comes in way quicker than the tires like so I will probably run drag radials instead of street tires on the back. That leads me to the car we picked up for my wife (and mostly me haha) which is a 2008 Z51. The c5 was originally intended to be a stepping stone to a c6 but we decided to keep it and put more race emphasis on it and have a nice daily driver.
I finally returned from my deployment and was able to pick the project back up! I started with putting some 325/40r18 ET Street R�s on for my street tires, which made a world of difference for traction. More importantly, I installed some LG 15� spindles, Race Star wheels (15� 7.25 BS), and 28x10x15 Hoosiers (stiff sidewall bias) as my drag pack. Please excuse the dirt, the weather didn�t cooperate with me so I drove it anyways!
Next up will be adding the second fuel pump, larger injectors, and the meth progressive controller.
Last edited by simman22; Nov 10, 2019 at 11:32 PM.
This build is thoroughly awesome. I'm trying to resist attempting to buy the car from you lol. I hope you're having fun with it.
Thank you for the kind words! It has been an absolute blast! And I did a mini photo shoot in the mountains today. I have a few things that I�ve changed up/completed but I�ll update the thread after the holidays.
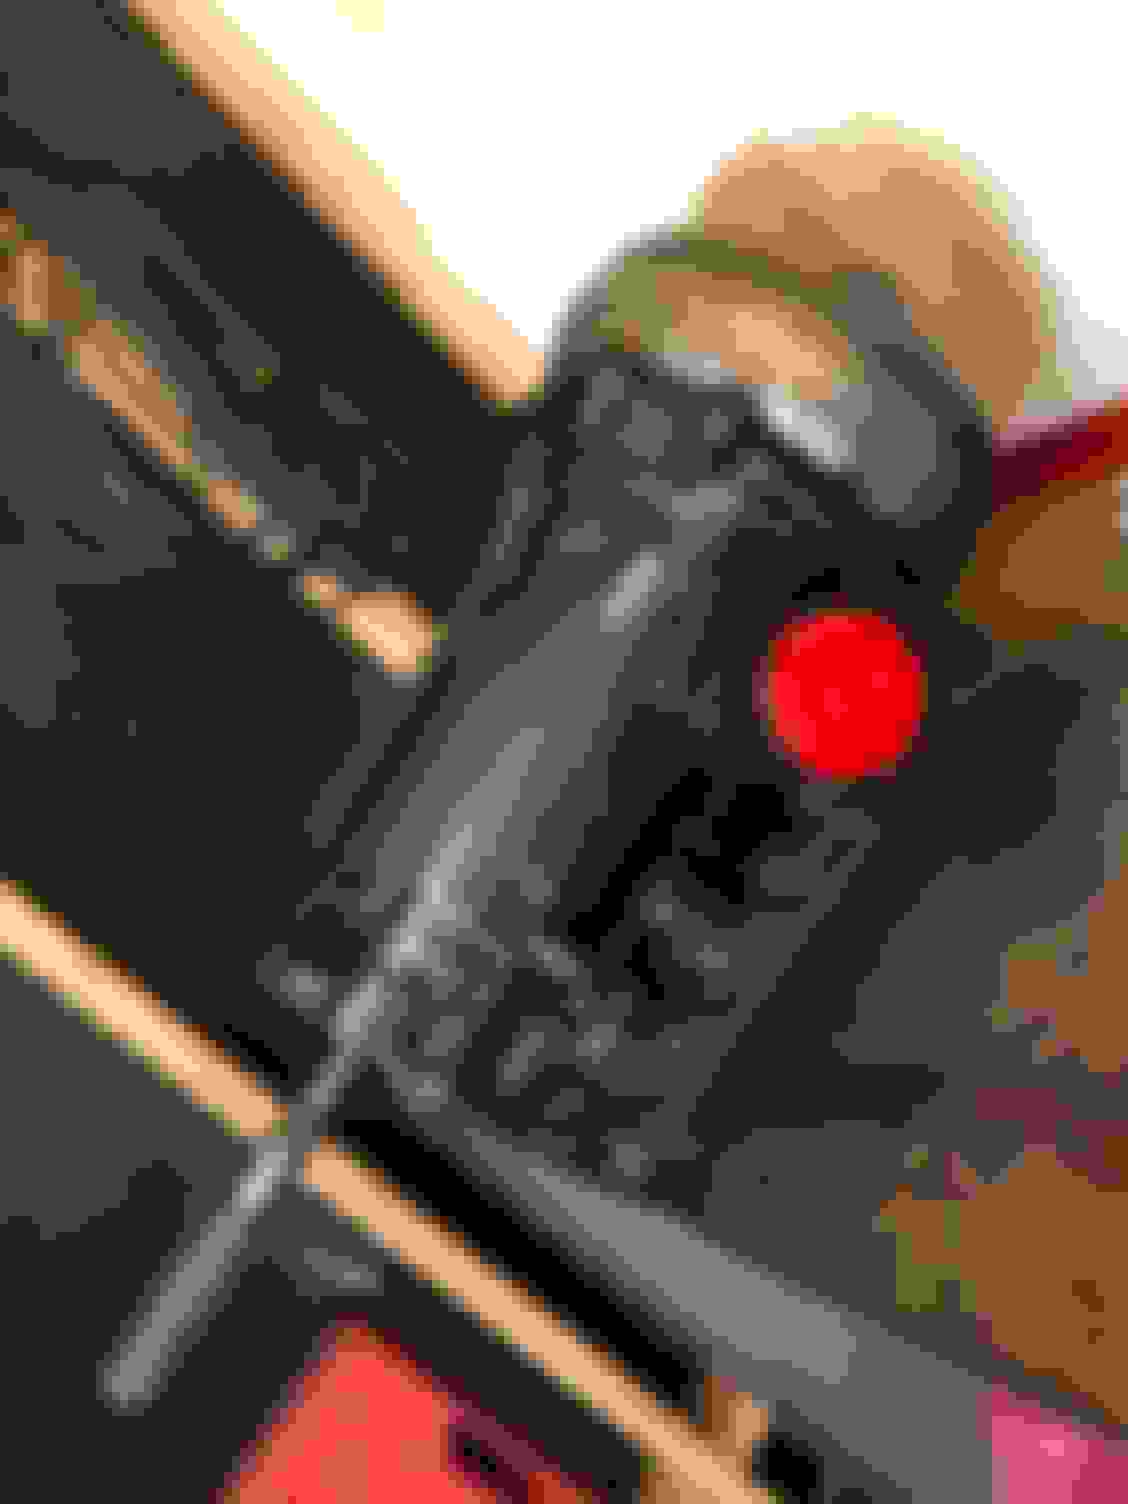
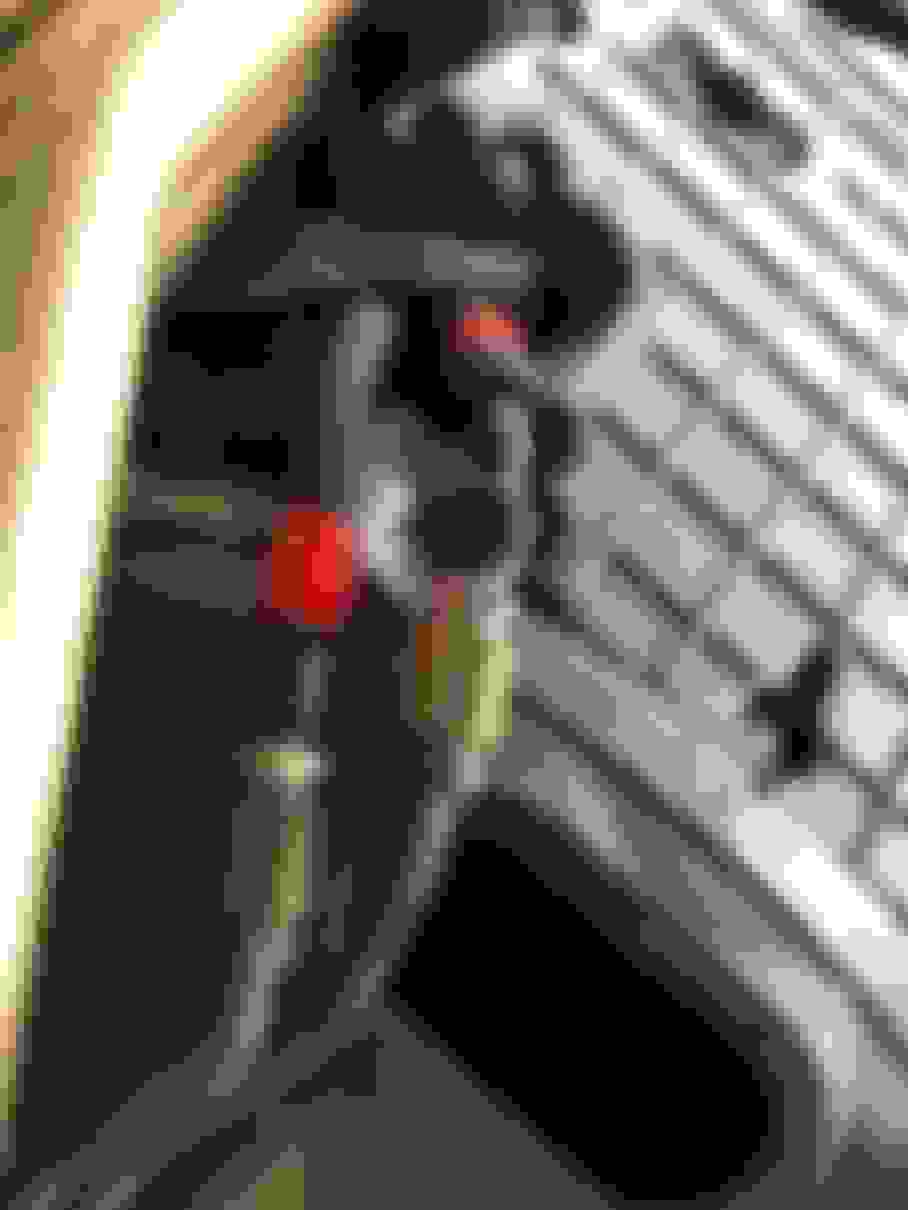
I finalized the install of the secondary fuel pump (centered around the ECS ring) and set the Hobbs switch to activate at 7 psi. Once I can rent the local dyno, I have an electric fuel pressure sensor that I�ll use to fine tune when it comes on to keep from a spike or drop in pressure. Overall very easy to install. Second picture is with the wheel liner back in and the only visible items.
At the same time, I swapped in the ID850�s and swapped over to ethanol. I only had about a gallon left in the tank but the first iteration was about E40 and the second tank is about E60 (pretty consistent in this area. I was going to go the P59 PCM swap route but in the end, I do all of my own tuning and generally have my laptop on me when I�m driving hard.
I�m hoping to secure tickets for drag week next year, so with that, I built a backup transmission to the same specs and have a spare diff on the way. Once I get the tickets (if I�m able to) the next big item will be the cage.
That pretty much catches the build up to where I am now. I still need to make a set of cat-less mid pipes to swap in for racing and using the 2-step, install the methanol progressive controller, and swap the alternator bracket to the 2004 style for strength. I had asked ECS for the kit to run their idler setup on an iron block but that seems to have fallen off.
Designer Imagines A Corvette That Looks More Like a Corvette Than the Corvette
Slideshow: A Jaguar designer's personal project imagines what a modern front-engined Corvette might look like if Chevrolet revisited the golden age of the Stingray.


 I will also be trimming the bumper a little more because I didn't think it would be that visible through the mesh, and I was NOT trying to make a Chevy logo haha