
Leather and Double Dins . . .
 04-25-2010, 11:03 AM
#1
Team Owner


Thread Starter
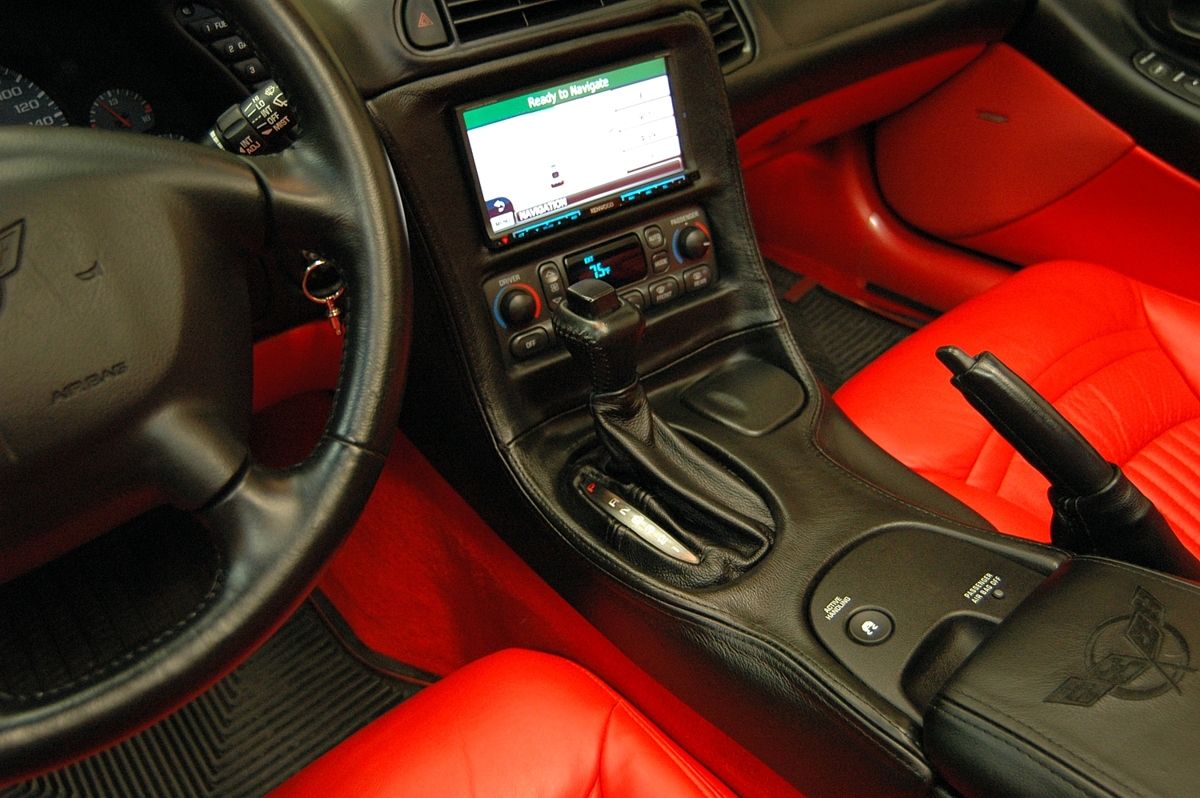
Last December, I did a complete revamp of Mrs. Patches' audio system in her C5 coupe. It included a double din (dd) Kenwood head unit I installed with a dd bezel I won here from Double D Mods. Here's the installation thread I posted in the Audio section.
Audio overhaul
Although this upgrade really brought her C5 into the 21st century, something was missing. I realized that the interior still looked a bit plain and the new HU only accentuated that. I decided some of the key interior pieces needed a healthy dose of leather to give them a bit of class. So, I searched around a while and was recommended to Chris at CarskinZ, a forum vendor. Chris listened and said he understood what I was looking for. Mrs. Patches has been wanting me to tone down the TR interior a bit so I kept the additions as subtle as possible. We agreed to keep all the upgrades black including the stitching he would use.
So, I sourced a few interior pieces here in the 4-sale section and had them sent to Chris. Mrs. Patches C5 is her daily driver so I couldn't afford to pull several parts of the interior out for a substantial amount of time. A good thing I took this approach too because it took Chris over three months after the initial order to get the items to me. (he still owes me a couple I'll post when they arrive).
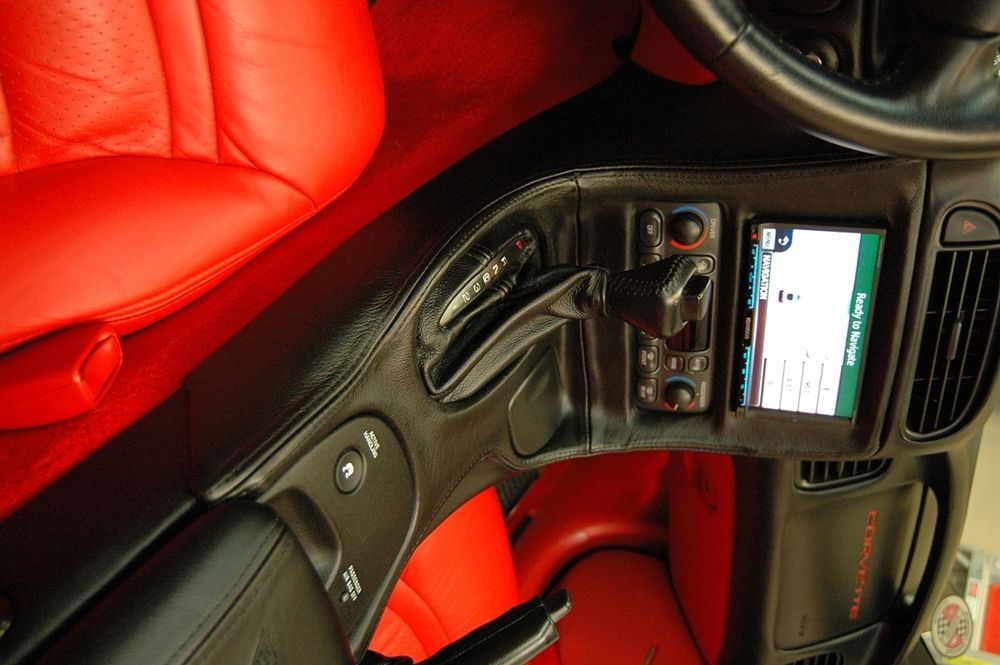
I ordered leather covering on the center console, the console door, the shift and E-brake boots, the bezel and a couple of other pieces. The seat covers are next and will also be toned down considerably. I had to handle the dd bezel differently because it was a one-off piece and I couldn't just pick one up here since it is customized for the Kenwood. I ordered and this time paid for a second dd bezel from another vendor, specified a primer finish and had it dropped shipped to CarskinZ for covering. I finally received everything last week and installed it yesterday. Everything fits like a glove. The results speak for themselves.
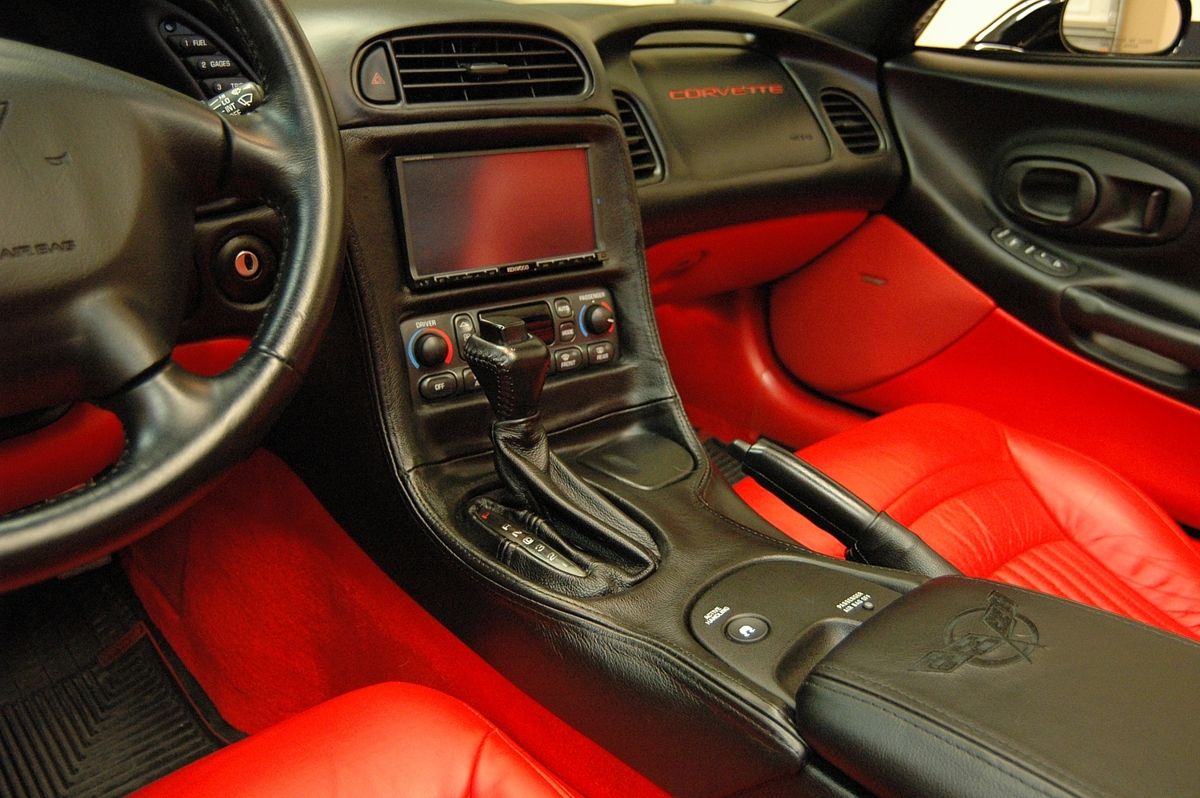
Double din bezel
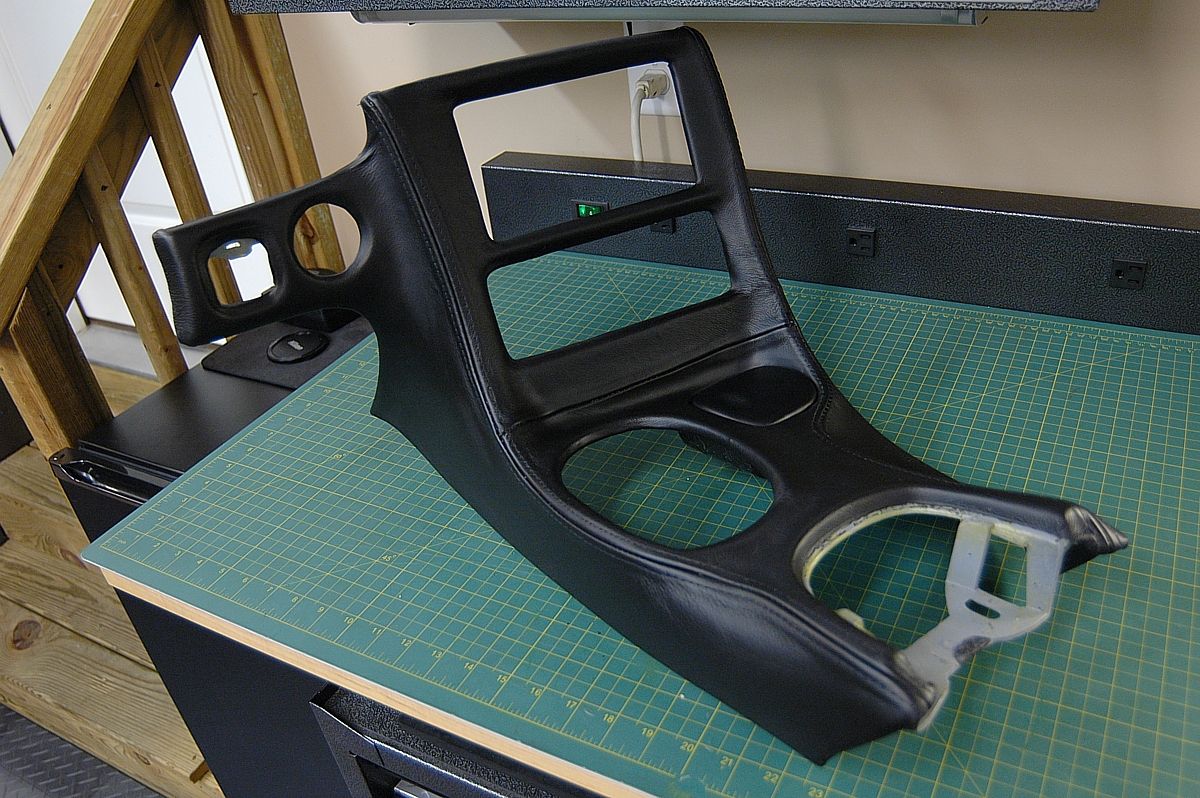
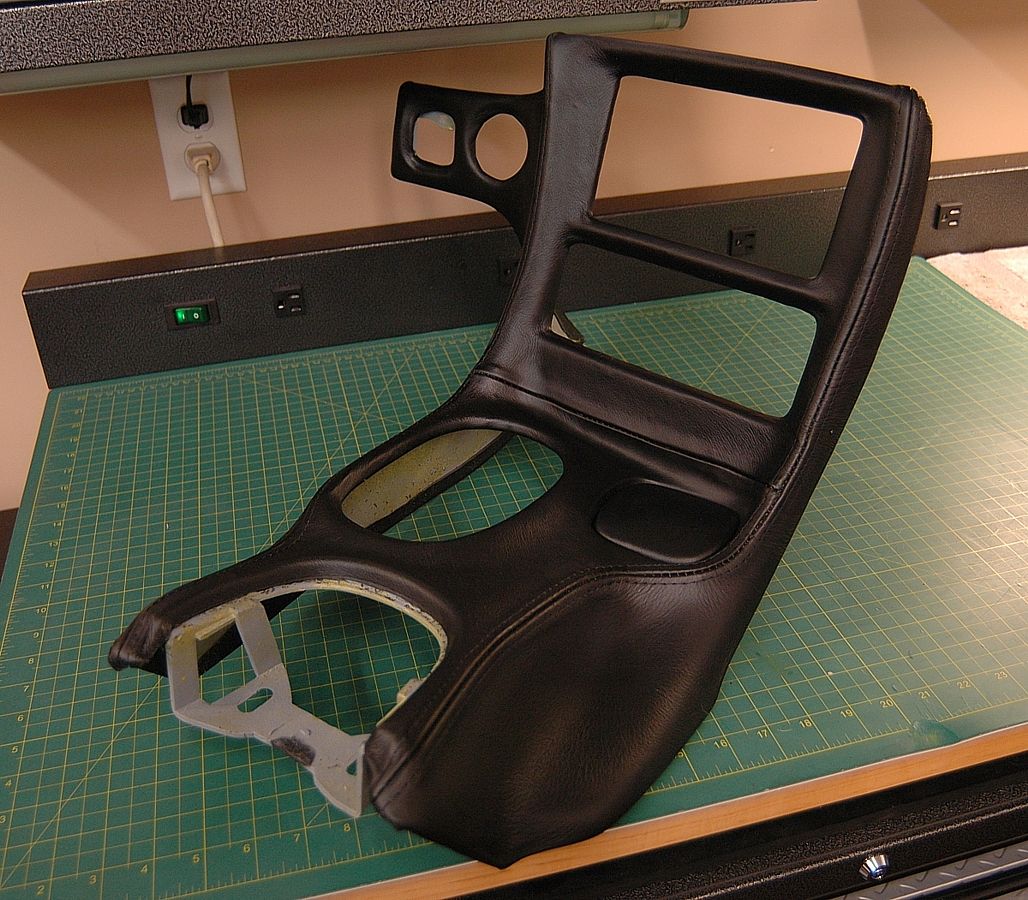
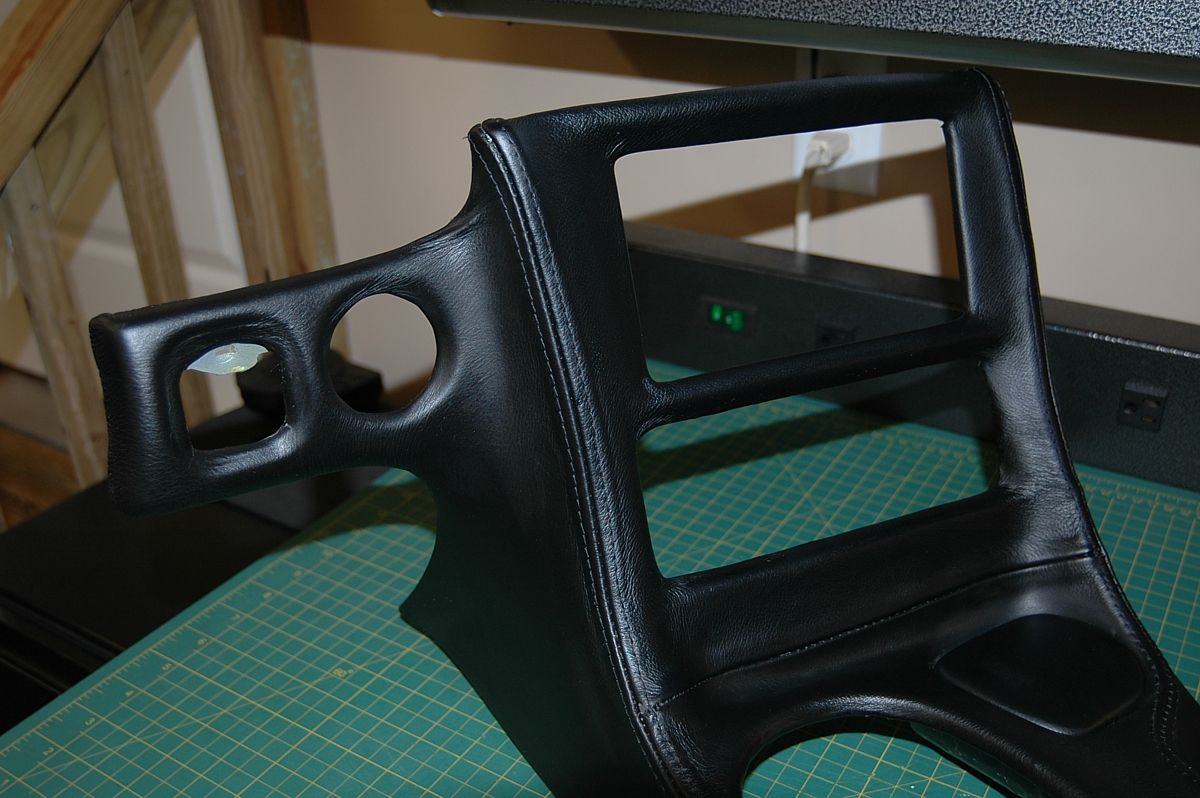
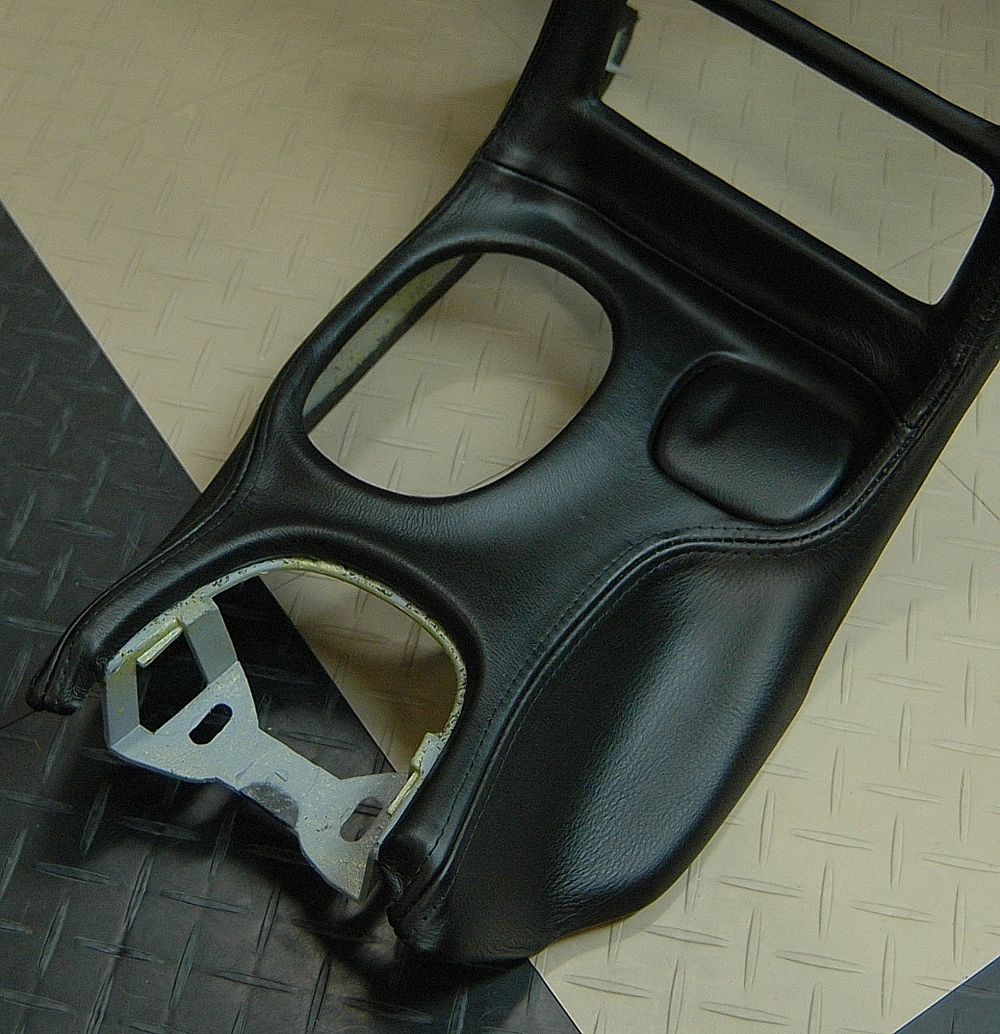
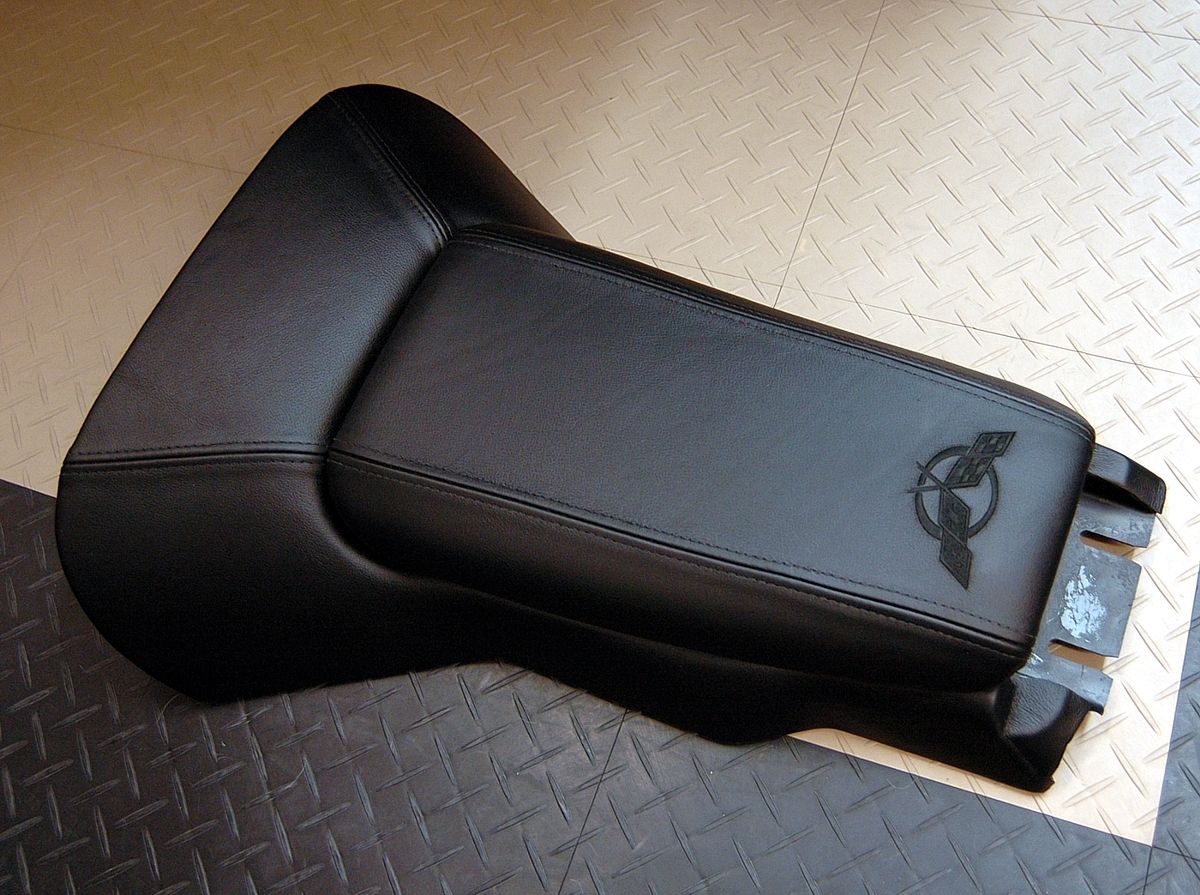
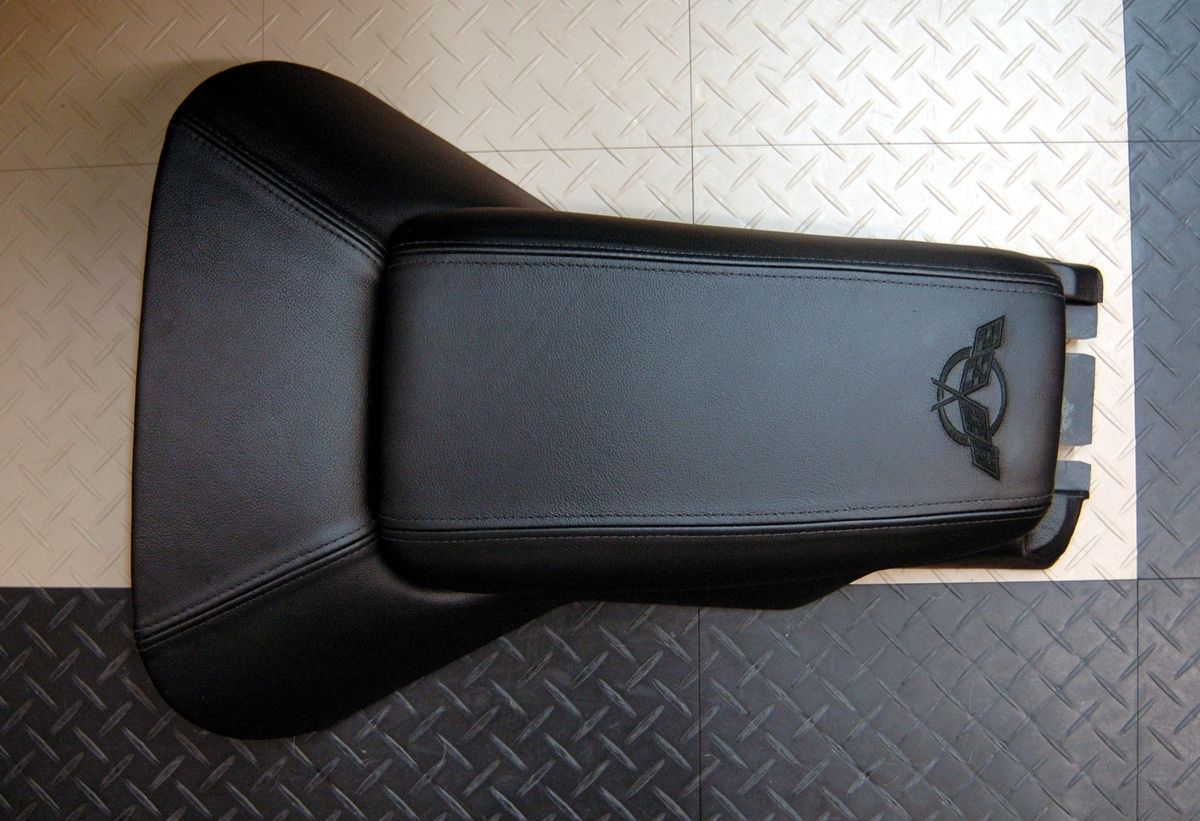
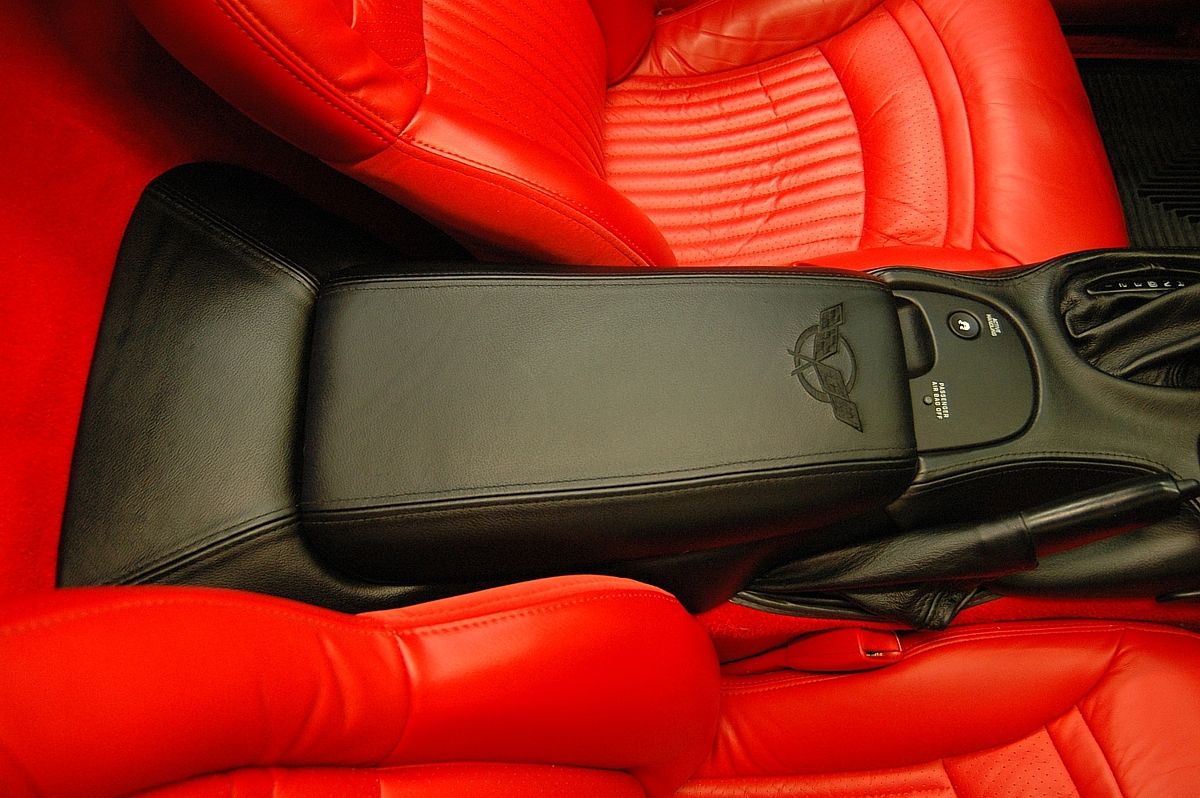
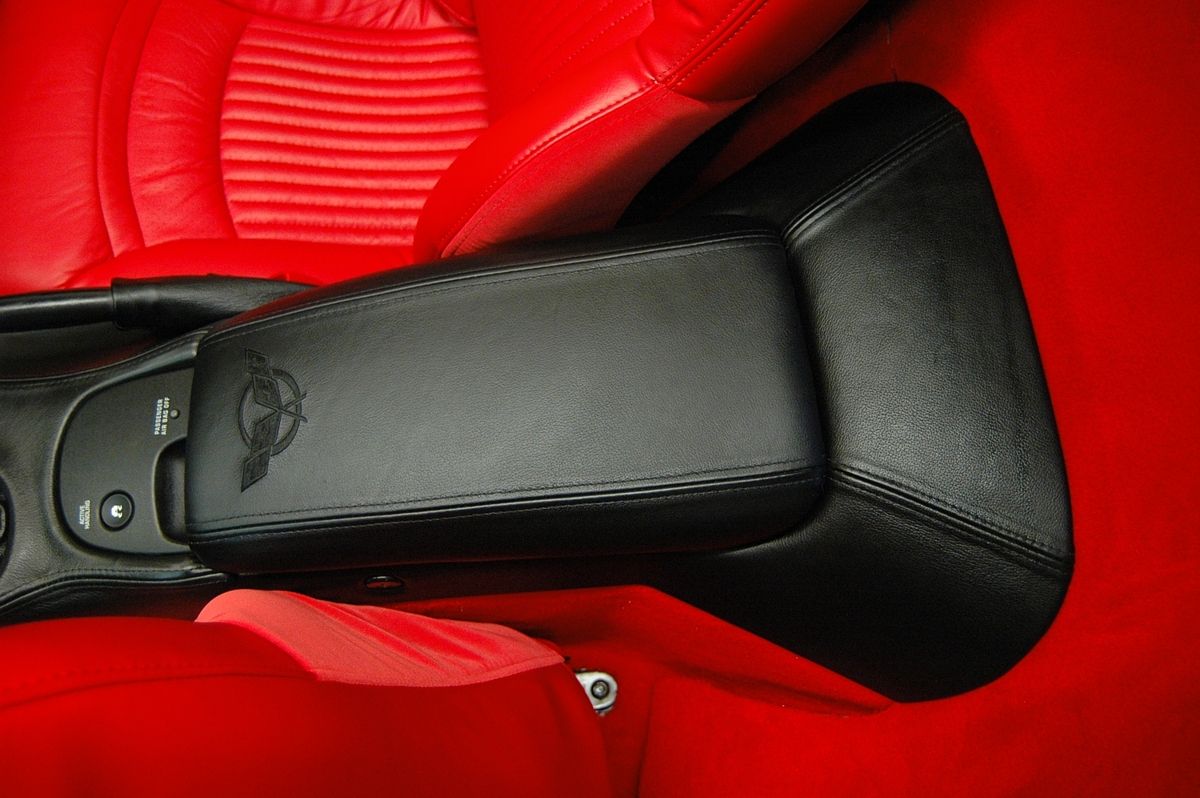
Console with lid
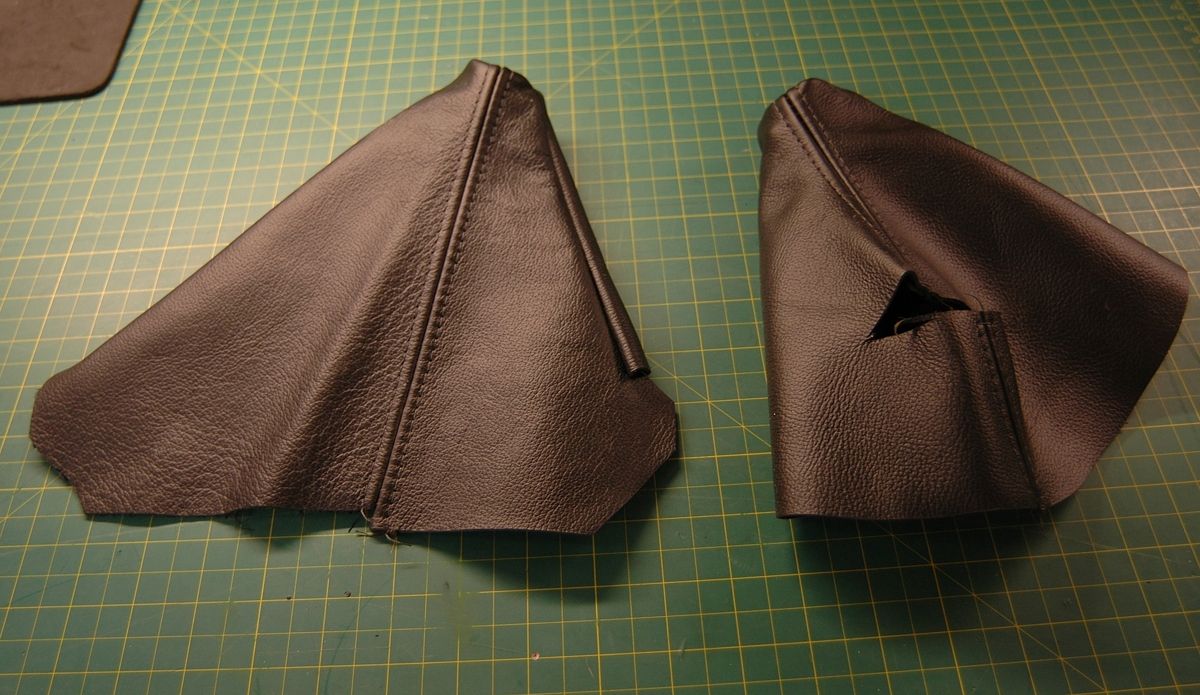
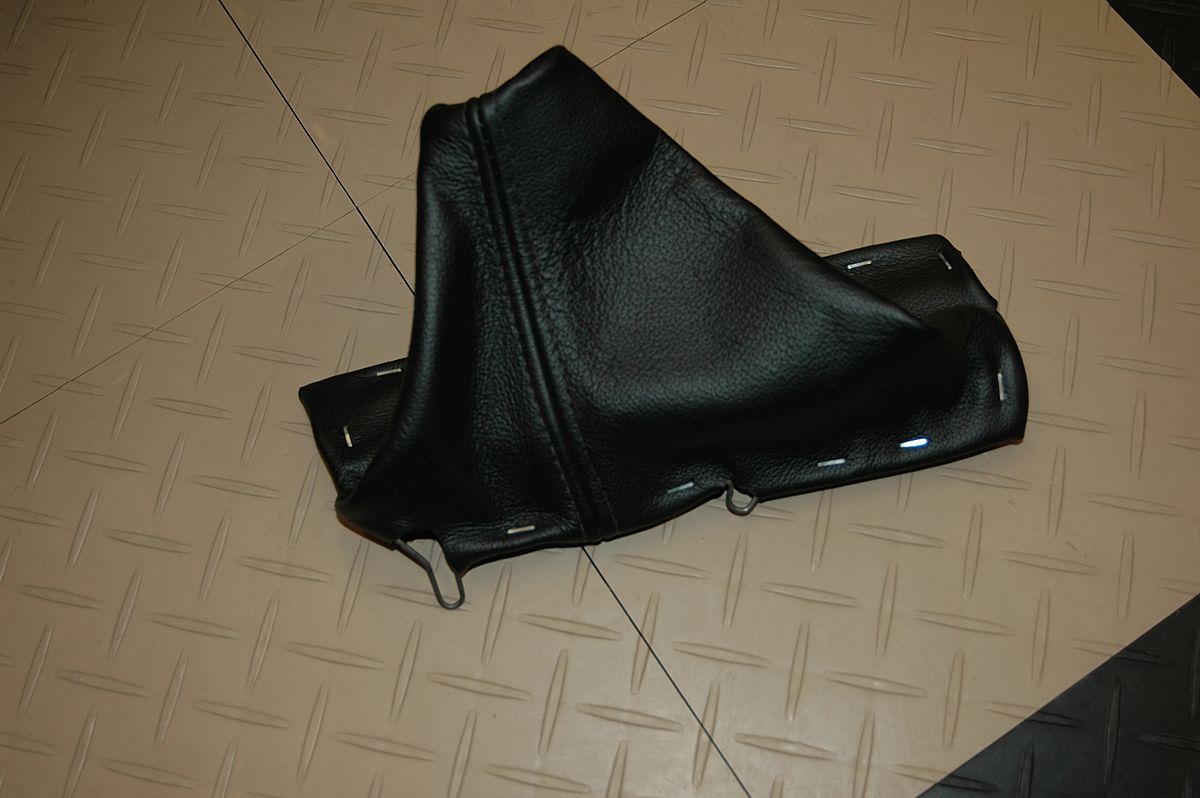
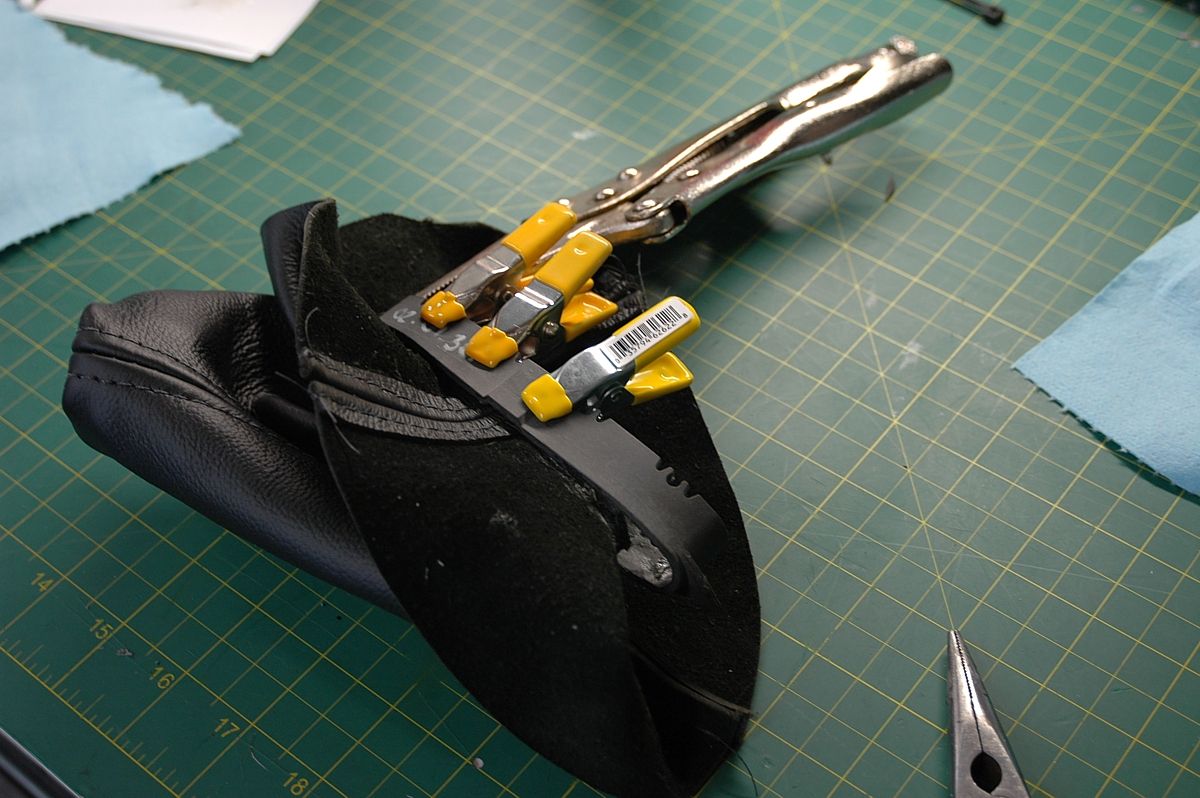
E-brake and shift boots
I reconstructed the factory configuration for the support wire and velcro on the E-brake boot
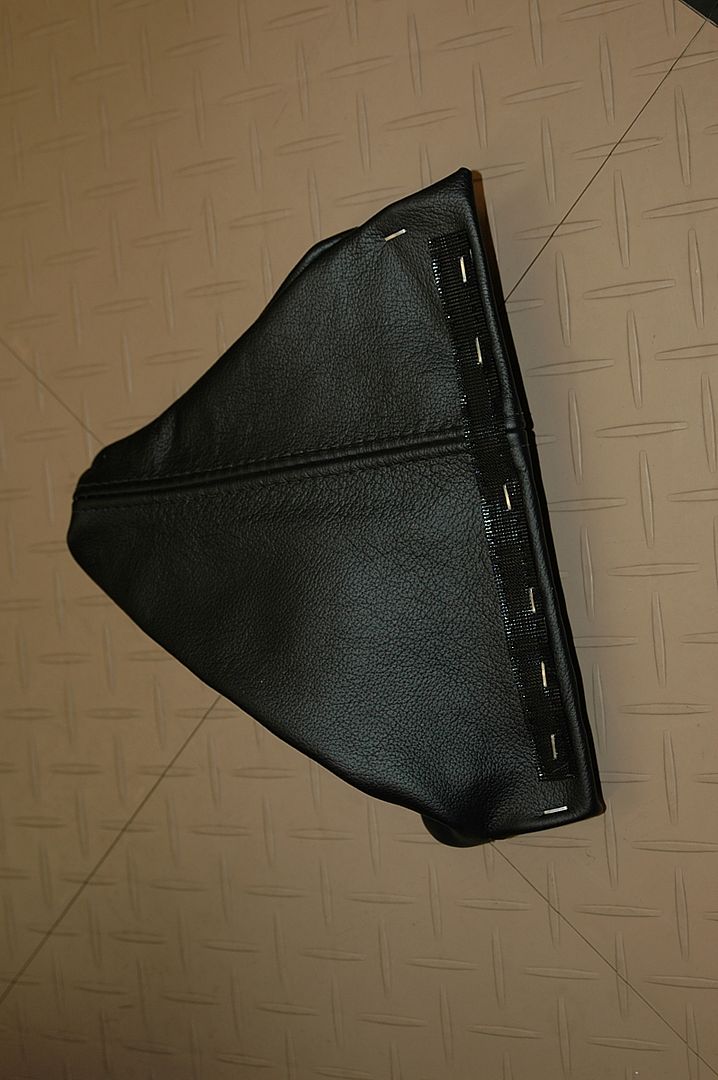
I glued the shift display bezel to the boot like the stocker. Prepping and installing the two boots easily took the longest of the whole project.
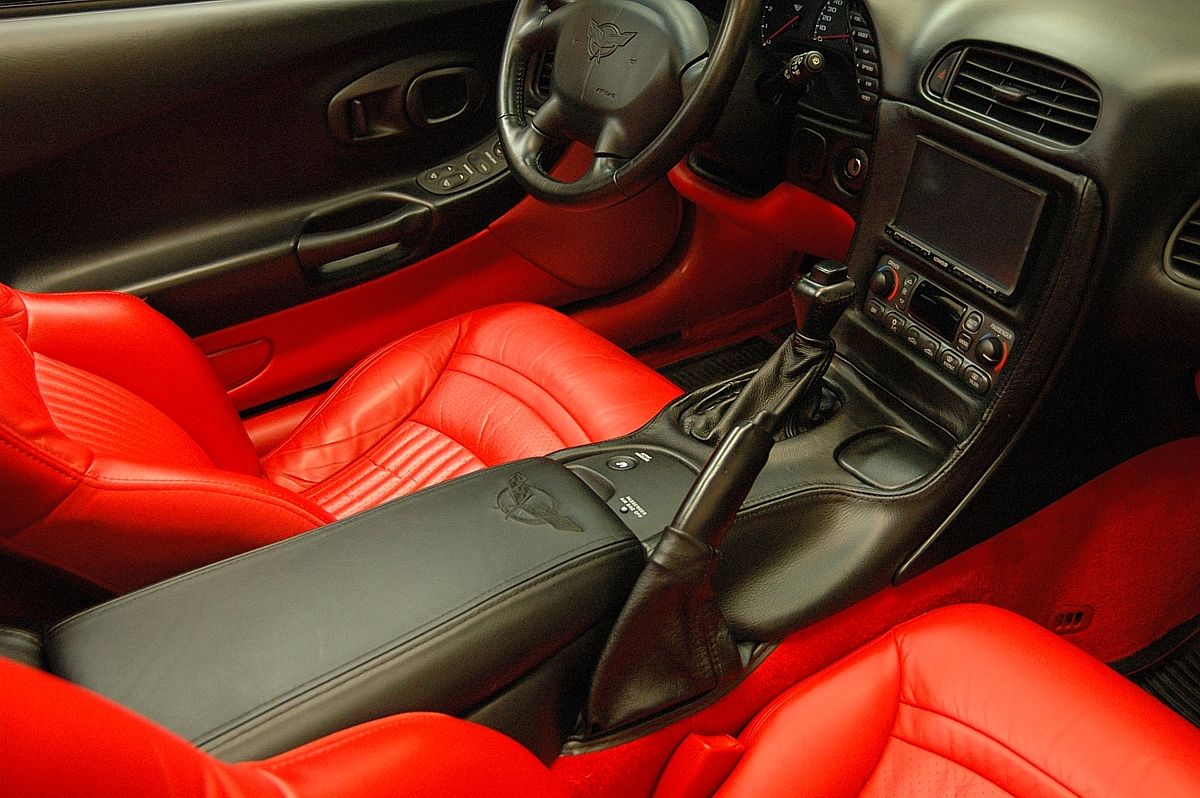
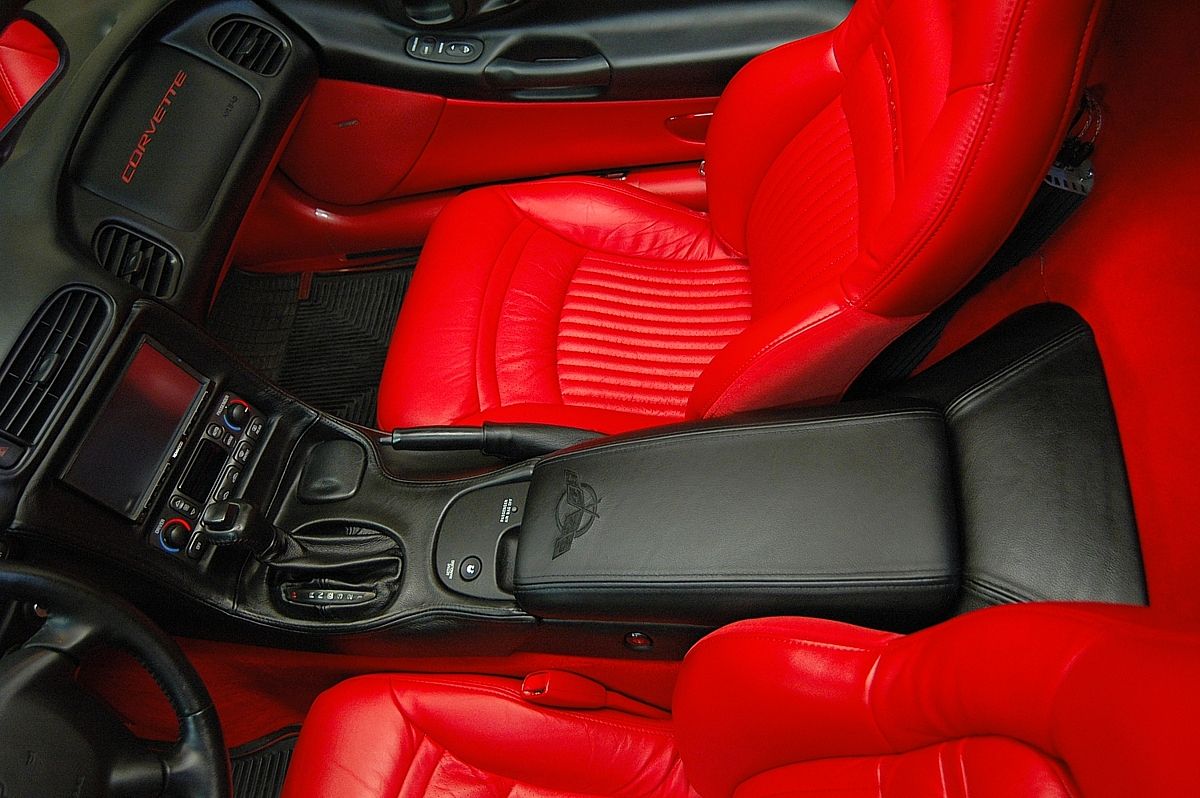
Everything installed
A before/after composite
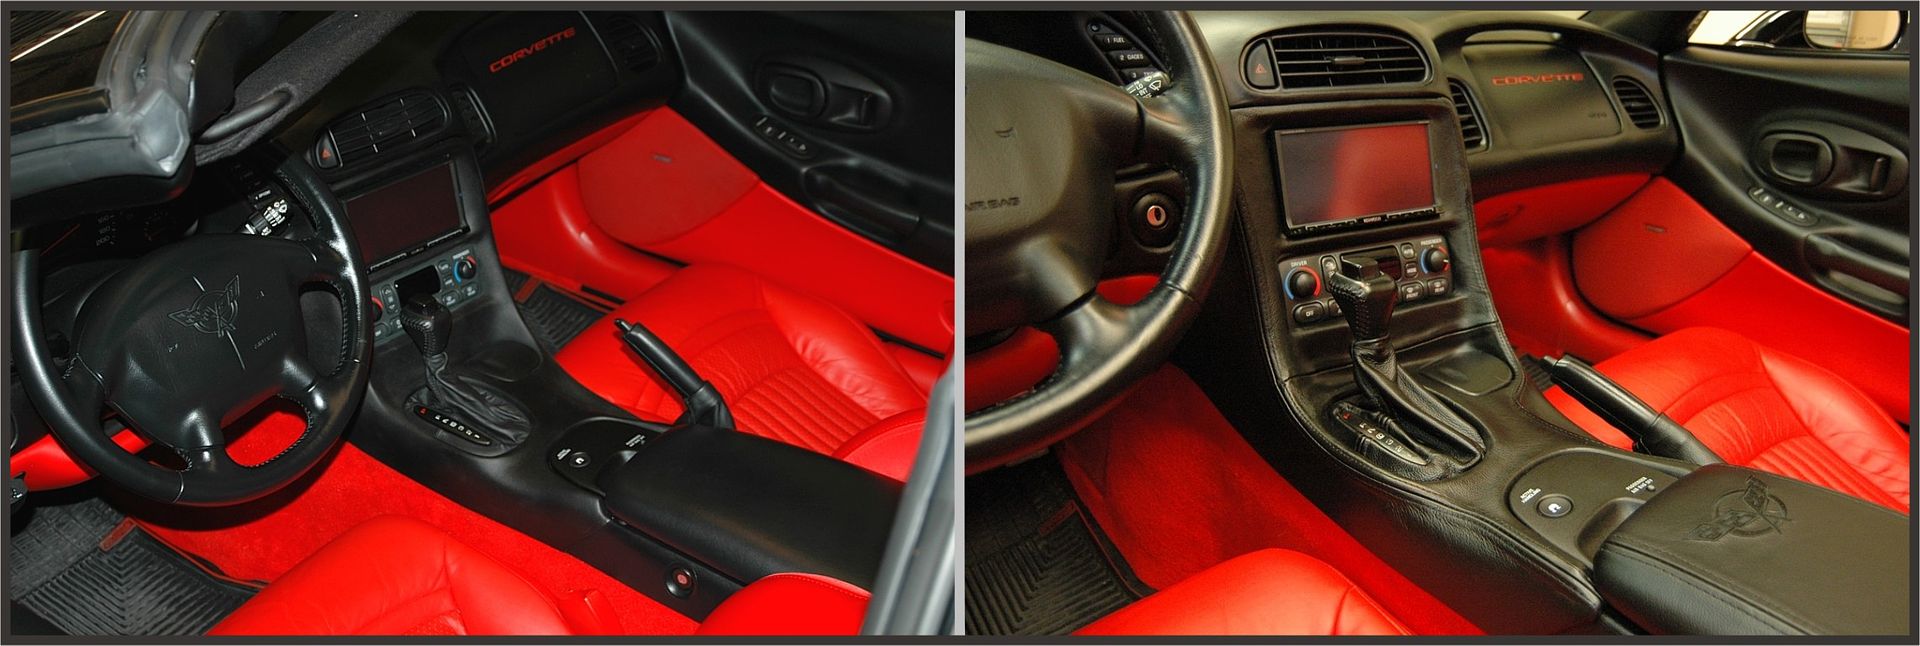
Mrs. Patches is enamored with her new pieces. The feeling of solidness and quality it lends to the interior is truly a delightful surprise. The seat covers are next (after the last CarskinZ items arrive, of course) and the scheme we've chosen for those will boost the feeling of quality even more. The difference is obviously not due to a color change but to texture/feel, rigidity and the details of stitching and imperfections of leather that make it unique as a surface material. It needs to be experienced in person to really get the full impact.
Thanks to all the supporting vendors and others that made this possible.


Audio overhaul
Although this upgrade really brought her C5 into the 21st century, something was missing. I realized that the interior still looked a bit plain and the new HU only accentuated that. I decided some of the key interior pieces needed a healthy dose of leather to give them a bit of class. So, I searched around a while and was recommended to Chris at CarskinZ, a forum vendor. Chris listened and said he understood what I was looking for. Mrs. Patches has been wanting me to tone down the TR interior a bit so I kept the additions as subtle as possible. We agreed to keep all the upgrades black including the stitching he would use.
So, I sourced a few interior pieces here in the 4-sale section and had them sent to Chris. Mrs. Patches C5 is her daily driver so I couldn't afford to pull several parts of the interior out for a substantial amount of time. A good thing I took this approach too because it took Chris over three months
after the initial order to get the items to me. (he still owes me a couple I'll post when they arrive). I ordered leather covering on the center console, the console door, the shift and E-brake boots, the bezel and a couple of other pieces. The seat covers are next and will also be toned down considerably. I had to handle the dd bezel differently because it was a one-off piece and I couldn't just pick one up here since it is customized for the Kenwood. I ordered and this time paid for a second dd bezel from another vendor, specified a primer finish and had it dropped shipped to CarskinZ for covering. I finally received everything last week and installed it yesterday. Everything fits like a glove. The results speak for themselves.
Double din bezel
Console with lid
E-brake and shift boots
I reconstructed the factory configuration for the support wire and velcro on the E-brake boot
I glued the shift display bezel to the boot like the stocker. Prepping and installing the two boots easily took the longest of the whole project.
Everything installed
A before/after composite
Mrs. Patches is enamored with her new pieces. The feeling of solidness and quality it lends to the interior is truly a delightful surprise. The seat covers are next (after the last CarskinZ items arrive, of course) and the scheme we've chosen for those will boost the feeling of quality even more. The difference is obviously not due to a color change but to texture/feel, rigidity and the details of stitching and imperfections of leather that make it unique as a surface material. It needs to be experienced in person to really get the full impact.
Thanks to all the supporting vendors and others that made this possible.


 04-25-2010, 12:33 PM
#10
Le Mans Master

Great job.

 04-25-2010, 03:33 PM
#13
Former Vendor
Looks great Ed
I am waiting for my bezel and console to come back from Chris as well.
Man i love the red interior
I am waiting for my bezel and console to come back from Chris as well.
Man i love the red interior

 04-25-2010, 11:02 PM
#19
Melting Slicks


Nicely done. Looks great!
04-25-2010, 11:30 PM
#20
Night Owl for life
Member Since: Nov 2003
Location: Bugs Bunny should'a made a left turn here
Posts: 23,200
Received 3,247 Likes
on
1,668 Posts
