
Show us your NO or LOW COST HOME MADE do it yourself stuff
 09-28-2011, 03:38 PM
#561
Safety Car

[QUOTE=chasboy;1578821901]
I did the same thing, but with a vacuum being held by the brush to catch the bristles.
And no, one brush won't do it all, think I went thru 3-4 including the bracket (where I could reach)
Now for the rest of the exposed aluminum bits.....
well I took a dremel with a polishing brush. Then cleaned it up making it nice and shiny. It gives a polished look.
Those brass wire? If so, be careful around electrical components, wire wheels, no matter how well made, throw bristles, and brass is an 'ok' conductor.
I'm surprised the brushes lasted long enough to complete the job. I've found them to be woefully fragile.
It does look good tho!
Those brass wire? If so, be careful around electrical components, wire wheels, no matter how well made, throw bristles, and brass is an 'ok'
conductor.I'm surprised the brushes lasted long enough to complete the job. I've found them to be woefully fragile.
It does look good tho!
I did the same thing, but with a vacuum being held by the brush to catch the bristles.
And no, one brush won't do it all, think I went thru 3-4 including the bracket (where I could reach)
Now for the rest of the exposed aluminum bits.....
 09-28-2011, 03:58 PM
#562
Le Mans Master

Member Since: Jul 2011
Location: Morristown New Jersey
Posts: 7,263
Received 914 Likes
on
721 Posts
Oldtimer

[QUOTE=shockwaveAZ;1578821982]
When I taught Industrial Arts-Metal Shop, we would sometimes take an old motor apart to see how it worked and perhaps fix it so it did. We always took special care with the materials we used for cleaning so we would not have any 'surprises'.
 09-28-2011, 10:36 PM
#563
Team Owner


Member Since: Jan 2007
Location: cookeville tennessee
Posts: 28,846
Received 1,762 Likes
on
1,529 Posts


 09-30-2011, 02:11 PM
#566
Racer


Member Since: Aug 2009
Location: Los Angeles Ca
Posts: 439
Likes: 0
Received 0 Likes
on
0 Posts
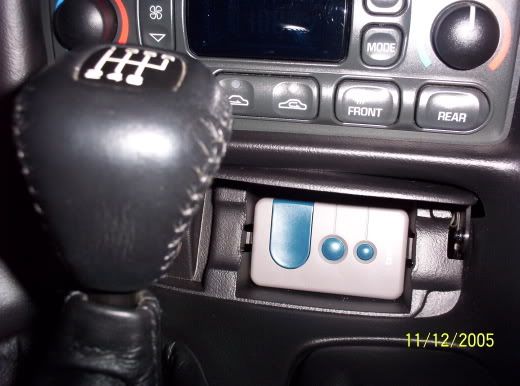
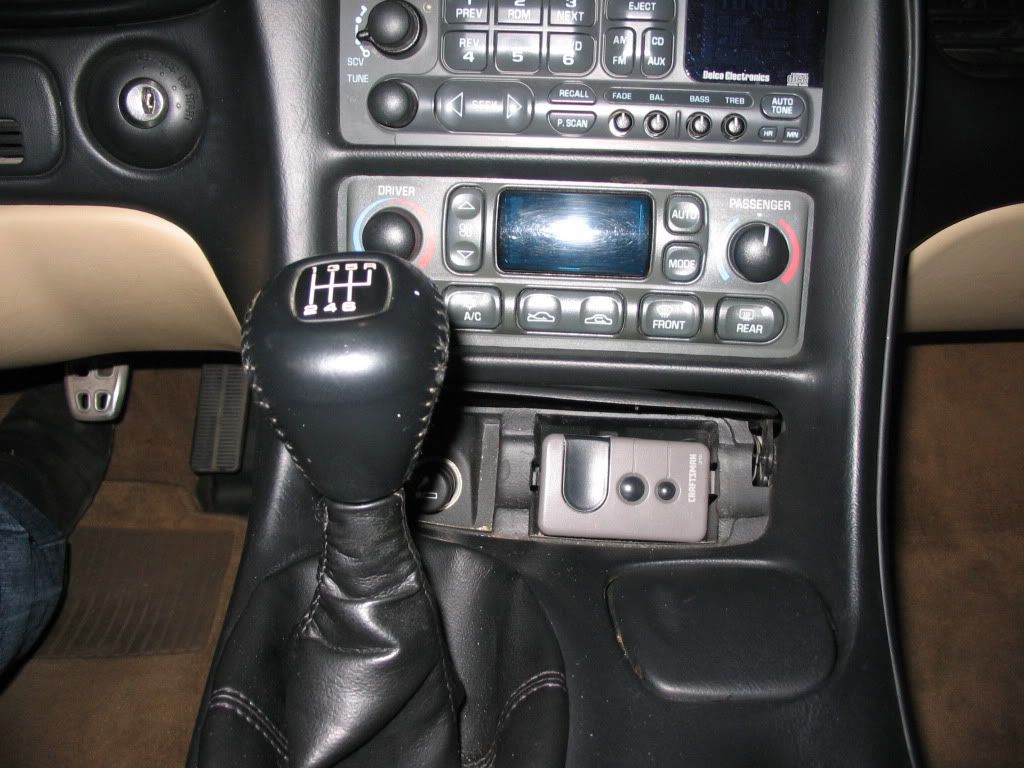
TPMS Upgrade (New RFA) with a DIY harness
Replaced 12102635 with a 4 pin floppy disk molex connector.
You have to trip the tabs on the edge and it fits.
solder a jumper wire to the end and makes for an easy install
pics below


Replaced 12102635 with a 4 pin floppy disk molex connector.
You have to trip the tabs on the edge and it fits.
solder a jumper wire to the end and makes for an easy install
pics below
03-04-2012, 02:37 PM
#567
Instructor
I don't have decent pictures, but I can explain a simple way to install a garage door opener - semi permanant. Take your current working garage door opener and open itup. Remove the 12 volt (or 9 volt) battery. Solder a 24" small gauge wire to each of the existing battery wires. One red and one black colored wire would be nice if you have those colors available (any color as long as you can remember which one is connected to the red wire (positive) inside the garage door remote and which one is ground. These 2 wires can be connected to any 12 volt battery source and good ground since the garage door opener does not draw many amps.
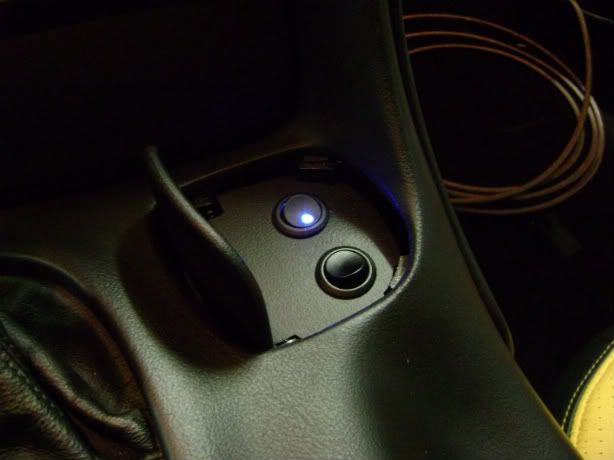
Next, with the garage door opener still opened up, find the micro switch under the push button that operates your garage door opener. Solder a small gauge wires to each terminal of that micro switch ( I used very small speaker wire). No positive or negative terminals here. These small wires will be used to connect a tiny remote monentary switch that can be mounted almost anywhere (inside console lid, in ashtray if it's not used, or remove ashtray and install a plate where the ashtray used to be.) I made a small plate and mounted 3 small micro switches in it and placed it where the ashtray used to be.
Now, velcro the garage door remote on the back of the glovebox or under the passenger side dash, as long as it is out of sight.
Now you have a garage door opener, that has already been working for you, mounted out of sight and connected to a permanent 12 volt source. The only thing that you will see is the tiny momentary switch and you can mount that anywhere you like. The cost is about $4 for the low amp micro momentary switch and a little bit of your time. It's very easy to remove if you ever sell your car. This is the setup that I had on my motorcycle.
Picture Pleases?

 04-27-2012, 10:13 PM
#571
Burning Brakes

Member Since: Apr 2009
Location: Somewhere North of The 49th Parallel Ontario
Posts: 1,150
Received 151 Likes
on
92 Posts
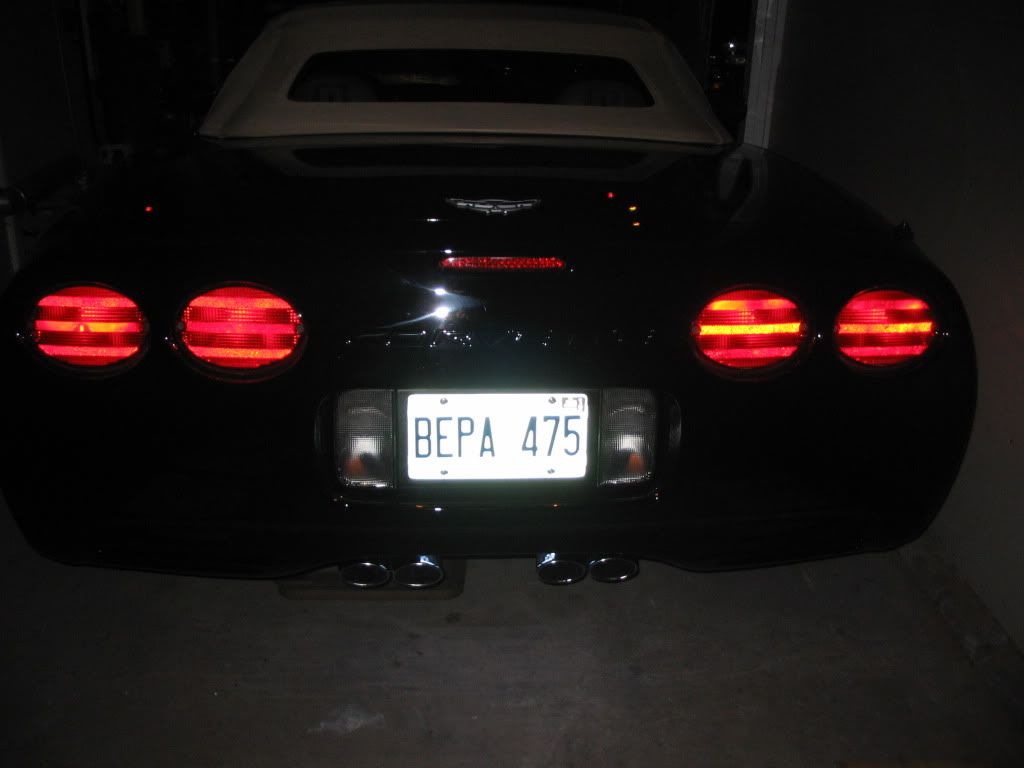
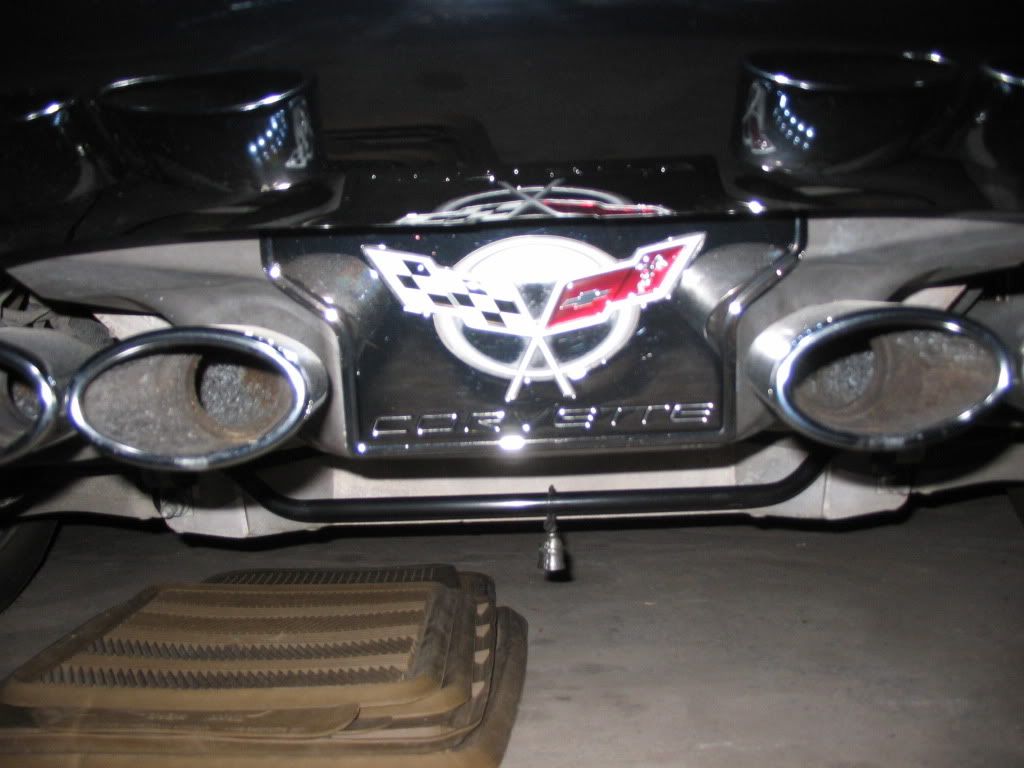
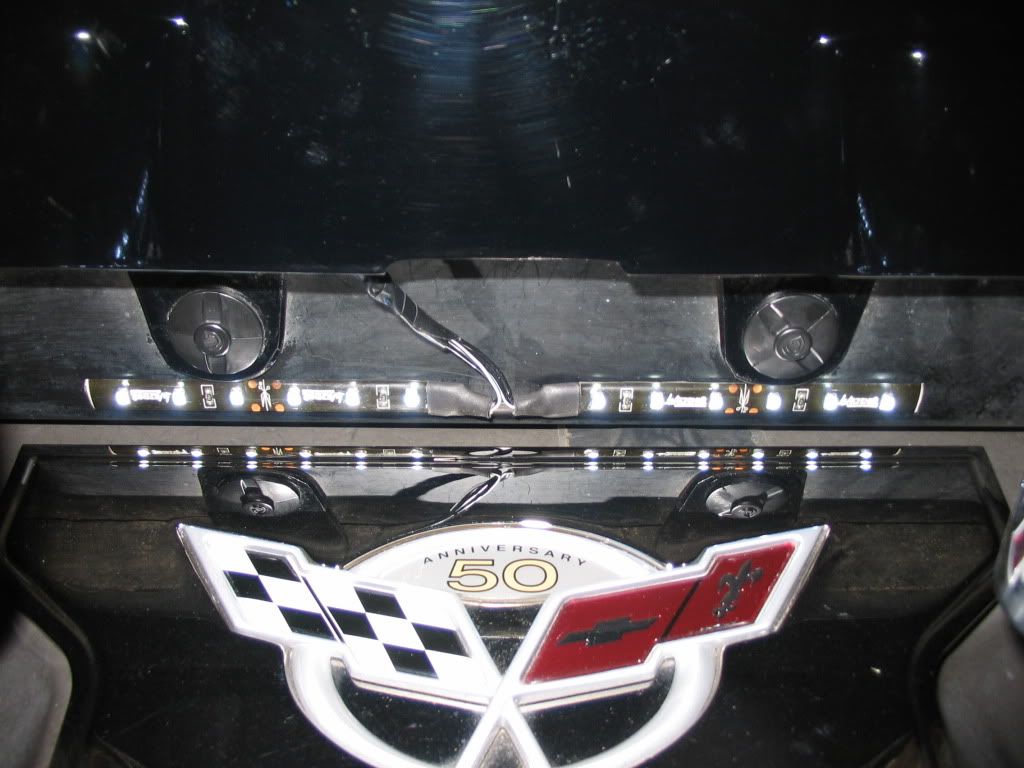
Hey man, thanks for the great idea for the LED lights for the exhaust plate. I have a black 2003 Anniversary Vert and I just did the mod today. Your instructions were spot on and let me just say that it looks freeken awesome. I really think it gives the car a touch of class, as if it didn't have it already.Here are a few pictures but the flash kind of ruined the effect.Thanks again.
Leo
Leo

 04-28-2012, 05:35 AM
#573
Burning Brakes
Member Since: Apr 2009
Location: Somewhere North of The 49th Parallel Ontario
Posts: 1,150
Received 151 Likes
on
92 Posts
I was thinking off putting the red LED lights on, to match all the tail lights, but I think the white light illuminates the area a little bit better. Just my opinion though. Whatever light is used I think it is still a great mod for the area.
04-28-2012, 10:35 AM
#574
Racer
Just saved me Cash and Time on doing the homelink. I have the same opener and it fit perfect in the ash tray opening and hidden too now. I have a convertible and it would always rattle on the visor and drove me crazy. Awesome tip.

 04-28-2012, 09:05 PM
#579
Pro

Member Since: Dec 2009
Location: Sub-Tropical Retirement Zone
Posts: 593
Likes: 0
Received 1 Like
on
1 Post
but I had two... one for the community front gate and one for the garage... and I was always hitting them with my head, which can be very embarrassing when you're on a date. In my case a junk yard picked HomeLink was the only way to go and it cost every bit of $10 (posted on page 5 of this thread).
The DIY HomeLink Sunvisor is an archived jewel! with all of the detailed photos. The thread was started by Keith (RLYSLO) and the detailed photos on page 2 by Bruce (rpm462) make the DIY HomeLink install super easy.
http://forums.corvetteforum.com/c5-g...-my-visor.html