When you click on links to various merchants on this site and make a purchase, this can result in this site earning a commission. Affiliate programs and affiliations include, but are not limited to, the eBay Partner Network.
A few months ago I had my radiator shroud off for installation of a cold air intake. I noticed the foam seals between the radiator and shroud were in poor condition but didn’t do anything at that time because I didn’t have the proper materials. Now that the weather is warming up and my car is running on the hot side, I thought it was time to deal with the situation.
The rubber strip is 2” x 36”, so if you cut it in half length-wise and width-wise you end up with four 1” x 18” strips, which is enough for two radiators. Then cut the foam to length and glue them together with a high-temp silicone adhesive (I found some at the local hardware store rated up to 400 deg F) and let it set overnight. Here’s a completed set for one radiator:
The culprit, after removal of the shroud. Pretty pathetic.
If you’ve never removed the radiator shroud before, directions can be found here: http://www.callawaycars.com/componen...-903-50-9850f/
Basically, you just remove the intake system then unscrew 4 bolts in the engine bay and 7 bolts under the nose. It also helps to remove the air dam (2 additional bolts), particularly if you’ll attempt this without lifting the front of the car. I did it this time without lifting it, but my head and back had to be directly on the floor and it was a tight squeeze. If you lift it you’ll have room for a creeper.
Head to head comparison:
Top view of the installation. You'll have to cut off a couple inches of each strip for a perfect fit. I used that same silicone adhesive and was again liberal with its application, and I cleaned the surfaces with isopropyl alcohol first. Let it sit overnight to fully cure before reattaching the shroud.
Bottom view, after reattachment of the shroud and air dam. Now the air has nowhere to go except through the radiator or air filter.
My oil and coolant temps are now about 10 degrees cooler. One rubber strip and two foam strips are enough material for two radiators, so if you split the cost with a buddy you're looking at a really cheap mod (~$15 each).
Last edited by skyavonee; Apr 9, 2012 at 12:49 PM.
Good DIY project. One suggestion though, use EPDM foam instead of open cell foam.
EPDM is closed cell, resistant to dust, water and everything else that may come in contact with it in an engine compartment environment. It's like the oem product that manufacturers use.
I live in Houston and have a 160* Thermostat and my car never runs hot.
Seems a lot of guys run a 160 tstat. Based on my research it has its drawbacks for a stockish street car. This thread simply covers a cheap, easy, and seemingly drawback-free method for allowing the stock cooling system to perform its job more efficiently.
Only thing missing is the screen mod by the airdam to keep leaves and debris from collecting/clogging the radiator and condenser.
I actually had the Elite Engineering screen installed previously, but I removed it when I did this because I thought it could be contributing to higher temps (not sure how realistic this is). I'll be keeping an eye on the radiator though, so if it starts to accumulate debris then I'll reinstall it.
One thing I saw some guys do was clean out around the radiator. They used an air compressor and one of those long brushes that are used to clean heating ducts. I guess that really helps lower temps. I guess a lot of guys have had a ton of crap drop out of there. Wish I could find the post. Gunnar do mine this spring hopefully.
I�m bumping this old thread rather than starting my own for two reasons, (1) I wanted to give credit since this was one of the few helpful items that I ran across in my research and it got me going in what I feel is the right direction and (2) the OP did a great job of taking pictures and documenting the process. My suspicion is that this is a common C5 problem, but it�s not easy to inspect so likely goes unnoticed by many. Anyway, here�s my addition and I hope it�s helpful to some.
I was doing some routine inspection on my C5 and happened to have the air intake bridge and upper radiator support off. While this was going on, I noticed that the original foam seals that sit between the lower radiator support and the AC condenser had deteriorated and started to come loose. Probably half (the upper portion) of the driver's side seal had come loose and, while the passenger side seal looked a bit better, the foam was brittle and the adhesion was not good. With the seal displaced like this it would allow some of the incoming air to bypass the condenser/radiator. I suppose this isn�t surprising for a car that�s now 16 years old.
The original GM seals (# 10296001) are discontinued and I was unable to find a superseding part so I assumed I was on my own for fabricating replacement parts.
Search terms for this type of thing are somewhat ubiquitous so my internet research expectedly turned up very little. This thread was an outlier. Unfortunately, I�ve seen how poorly some open-cell foams (especially the random box-store stuff) hold up to the elements over time so that option was out. To make matters worse this is my HPDE car so it sees a good deal of heat and air flow at speed. My aim here was to come up with an OEM-like solution that would hold up to my usage.
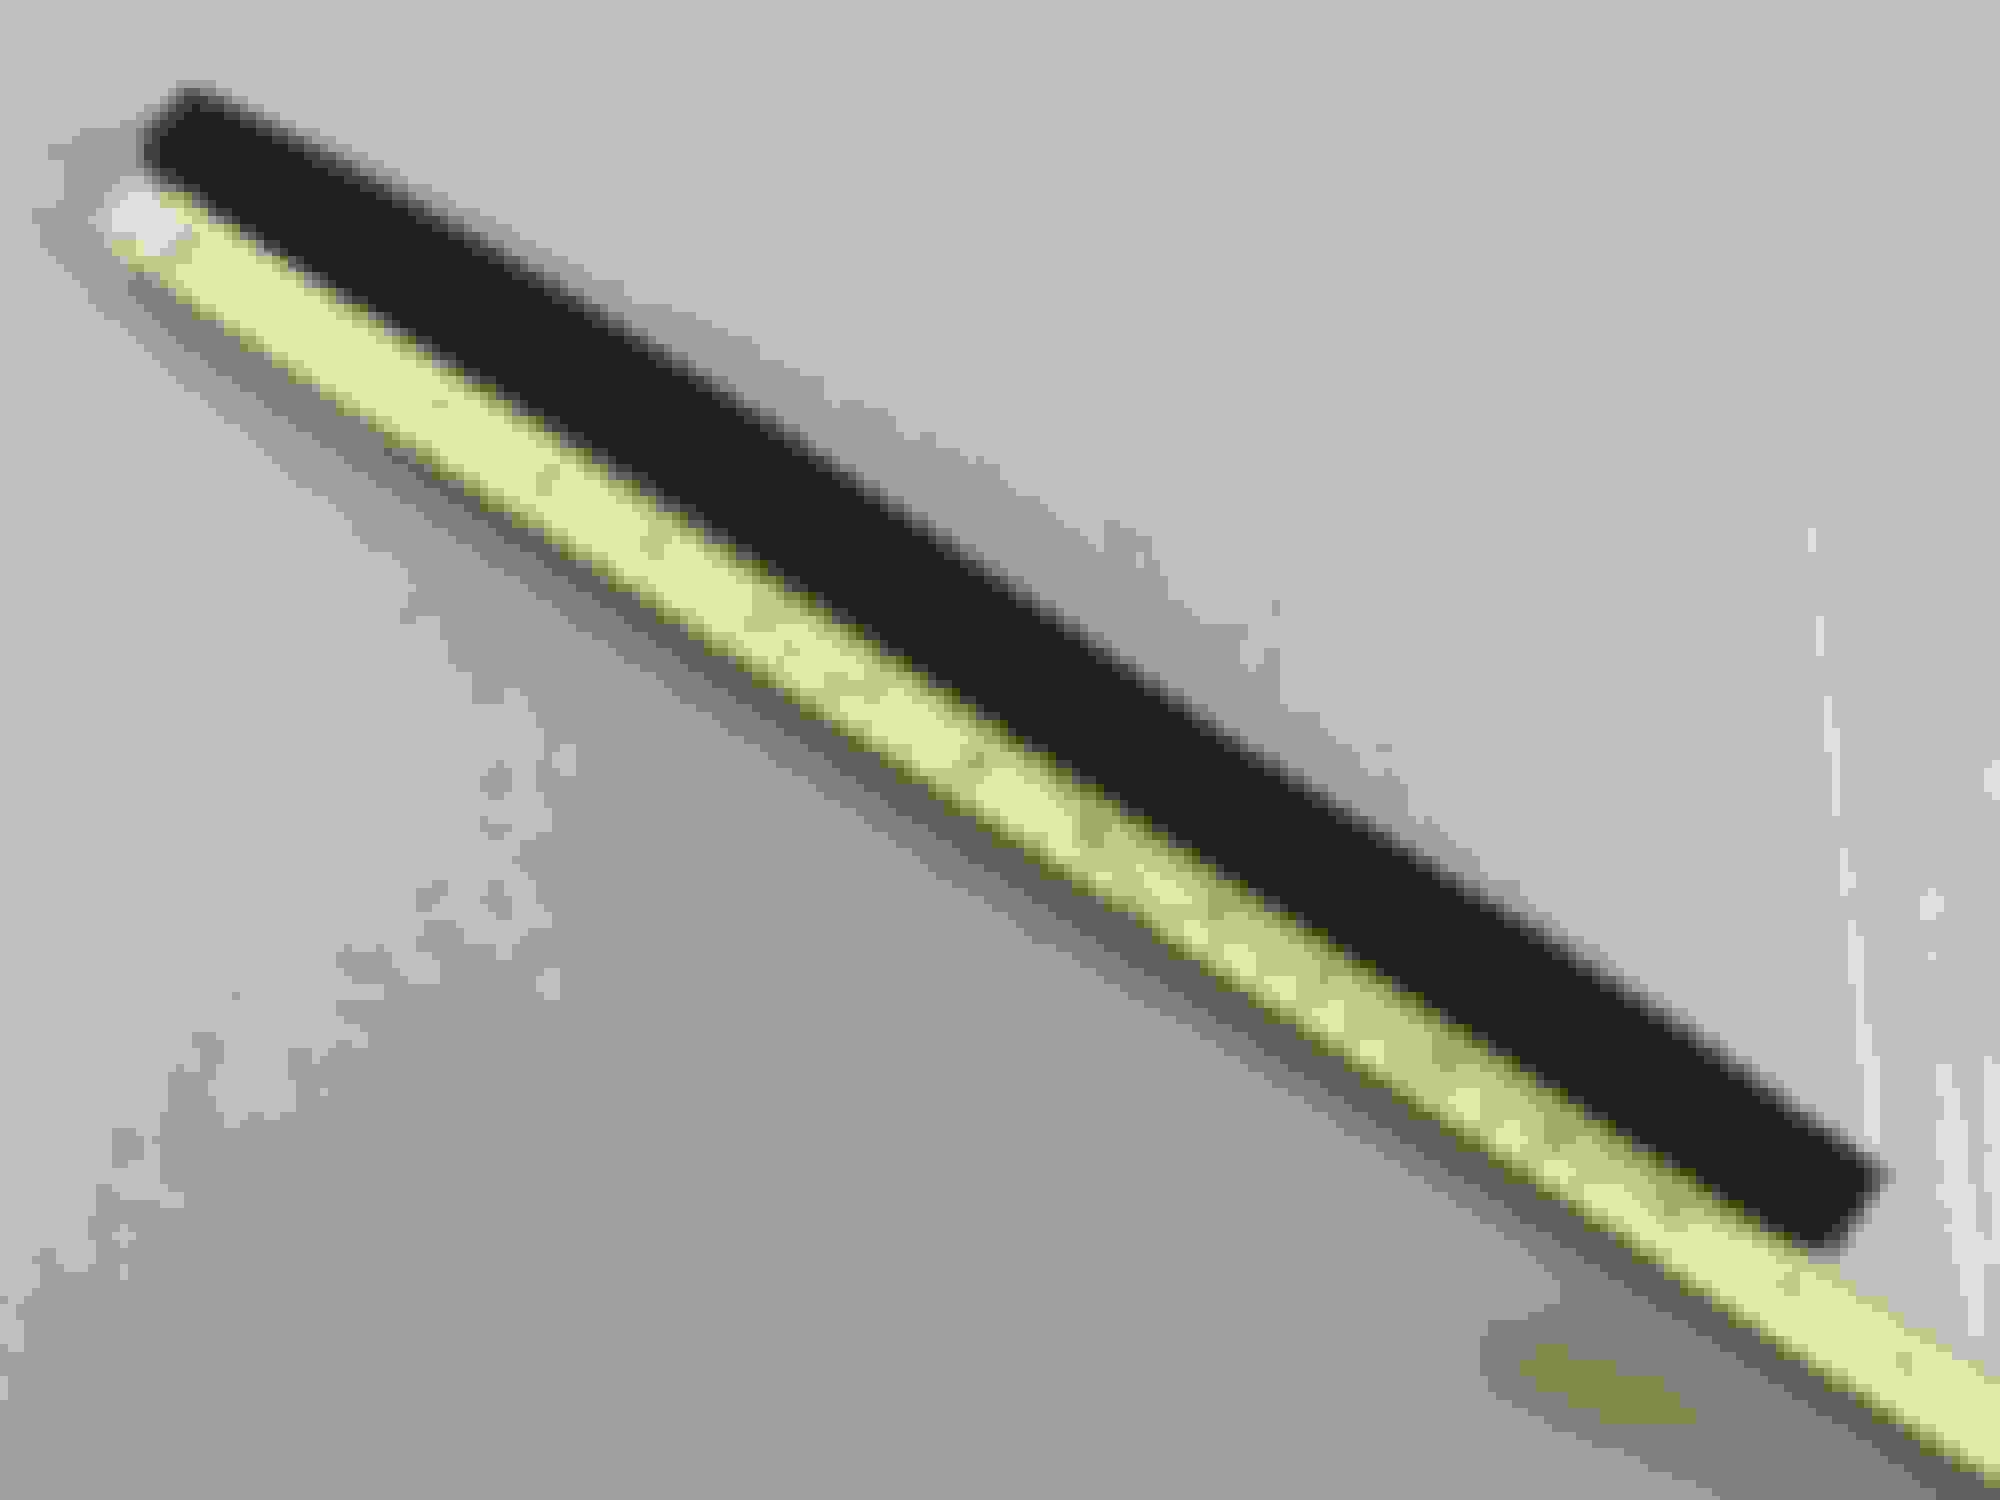
The OEM foam measures �� x �� cross-section and, based on hotwheels57�s suggestion above and my own follow-up research, I settled on EPDM rubber for the replacement. This is a common material used for automotive seal and weather-stripping applications and has good heat and weather resistance properties. I ended up purchasing a 5-ft length in the �� x �� cross-section from McMaster-Carr. This particular version comes with a PSA backing (i.e. peel and stick), which, based on my inspection, matches the OEM approach.
Here is a side-by-side comparison between the original seal and the McMaster-Carr part after cutting to length (new part is on LH side in both pics):
Each of the OEM seals is approximately 15� long so the single 5-ft section from McMaster-Carr was plenty to do both seals and have extra for testing purposes.
McMaster specifies 220F for the upper end of temp range for their adhesive-backed foam, which is uncomfortably close to operating underhood temps, so I wanted to do some experimentation before using the product as delivered. My research indicated that bonding EPDM rubber can be difficult especially when higher temps come into play. The two front runners for EPDM adhesive compatibility were instant bond �super-glue� adhesives and various weather-stripping adhesives. From what I could find, most of the super-glues just don�t have enough high-temp capability. The best alternative in the instant bond category that I could find was Loctite 454 and the best alternative in the weather-stripping adhesive category was 3M 08011. The 3M product seemed to check all the boxes, being specifically designed for bonding EPDM and having a service temp range of up to 250F, which was the highest that I had found. I would have liked to find an adhesive compatible with EPDM that was rated to withstand service temps closer to 300F, but I was unable to do so. Here�s a link to the data sheet for 3M 08011 for reference.
So, for heat testing I cut sample pieces of the leftover foam, bonding each to a prepared (very mildly roughed up and cleaned with isopropyl alcohol) metal substrate using the adhesive manufacturer�s recommended bonding procedure, and allowed them to cure for at least 24-hours at room temp. All three options (the as-delivered peel-and-stick, the super-glue, and the weather-strip adhesive) adhered nicely and felt solid after cure. However, once I applied heat the situation changed. I used a heat gun to warm the metal from behind for several minutes in an effort to simulate what the assembly might see in service. Unfortunately, this was a low-budget production in my garage and I didn�t have a thermocouple and other fun testing equipment so my trusty kitchen thermometer in the foam and on the metal was going to have to suffice. I will say that the metal got HOT and I saw indicated temps on the thermometer approaching 300F so I left it at that. For good measure I also applied heat directly to the foam. In all cases the foam itself held up great as I never witnessed any deterioration or other adverse effects to the foam. Once in this heated condition I tested the adhesion again (�tested� in this case is me pushing and pulling on the foam). At this point the original peel-and-stick variant was soft and noticeably looser than it had been at room temp. Although I did not, I think I could have separated the foam from the adhesive fairly easily at this point. The super glue did a better job, but my coverage may not have been enough. A corner of the material lifted and then it became suspect. I do feel like with proper prep that a Loctite 454 could do the job. The weather-strip adhesive was solid and felt about as good at higher temp as it did at room temp. Applying load at temp may be unrealistic considering the application, but my thought was that if it could hold up to that it could hold up to HPDE abuse.
After cooling I again tested the samples just to see how they would fail. With a reasonable shear load (basically pushing on the side of the bonded section � force applied parallel to the bonding surface) the peel-and-stick version gave up and came loose. Under similar conditions the super glue version came loose at the bond, but in my estimation performed better than the peel-and-stick. Finally, the weather-strip version. This one did well. I actually ended up tearing the foam before it would fail. So, based on this experimentation the 3M 08011 weather-strip adhesive was the clear winner and I went with it.
I pulled off the old seals and thoroughly cleaned the bonding surfaces using a citrus-based adhesive remover and Scraperite orange razor blades. Patience is a virtue here and I laid cardboard over the AC condenser just to make sure that I didn�t damage anything if I slipped or bumped something.
The 3M instructions have you apply adhesive to both mating surfaces and then allow them to get tacky prior to assembly. I found that a small bead run down the bonding surface and an
to spread it out worked great for adhesive application.
Here�s the final result:
And now the caveat. The car is in storage for the winter so I haven�t had the ability to go through a season of usage yet to evaluate. I have confidence that this is a good solution, but will report back after a few track days next year to follow up. I see no reason why this wouldn't be a solid approach for street use at minimum.
Fulton 1, very nice write up . Bookmarking this thread for future reference
Thank you for taking the time to photograph, document, and share.
I had a friend ask me this question and I don't know the answer. If someone knows and would share, I will pass along to him. Here goes: Can you use HVAC coil cleaner on a C5 radiator and condenser and flush with water, or are there chemicals that would be harmful or damage anything?
Thanks in advance
Last edited by lewislgZ06; Dec 16, 2018 at 06:05 AM.
We had our first HPDE track day with the new AC condenser seals late last week. Ended up running four 20-minute sessions and saw oil temps get into the mid-260F range (this is with Ron Davis radiator and internal oil cooler, FWIW). Ambient temps were in the mid-70s. So, all-around pretty mild, but still a good first check. By the time we undertook the two-hour drive home, temps were in the high-70s and we had lots of stop-n-go traffic.
I inspected everything this morning and both the adhesive and the seals held up beautifully. I see zero delamination or degradation. Time will tell, but right now I'm optimistic. If anything changes over time I'll report back again.
I’ll have to check mine again when I get time. I replaced my AC system and don’t recall those seals even being on the old condenser to transfer to the new one. I’ll be ordering those parts soon I’m sure. Thanks for the write up and follow up. Glad it’s working for you.
....... the best alternative in the weather-stripping adhesive category was 3M 08011. The 3M product seemed to check all the boxes, being specifically designed for bonding EPDM and having a service temp range of up to 250F, which was the highest that I had found. I would have liked to find an adhesive compatible with EPDM that was rated to withstand service temps closer to 300F, but I was unable to do so. Here�s a link to the data sheet for 3M 08011 for reference.
....... Finally, the weather-strip version. This one did well. I actually ended up tearing the foam before it would fail. So, based on this experimentation the 3M 08011 weather-strip adhesive was the clear winner and I went with it.
I pulled off the old seals and thoroughly cleaned the bonding surfaces using a citrus-based adhesive remover and Scraperite orange razor blades. Patience is a virtue here and I laid cardboard over the AC condenser just to make sure that I didn�t damage anything if I slipped or bumped something.
The 3M instructions have you apply adhesive to both mating surfaces and then allow them to get tacky prior to assembly. I found that a small bead run down the bonding surface and an acid flux brush to spread it out worked great for adhesive application.......
I know this is an old thread, but it's still very relevant. My C5Z's old condenser side seals were in poor shape. One was shaped like a J and very much detached, the other a little squiggly and attached by only ~1".
The McMaster seal route would have cost more than I wanted to spend (~$40, granted I would have enough for 2 cars worth).
Instead on Amazon I bought a tube of 3M 08011 adhesive for $16 including shipping/tax. Prepared the old seals with isopropyl alcohol and paper towels, followed up by scrubbing with a plastic bristle brush. Applied the adhesive to condenser and seals (quickly! the stuff dries quite fast), and stuck the seals onto the condenser. It didn't seem to me like it would hold well, but the resulting bond is very strong and had no problem retaining the straightened-out J-shaped seal.


 Seems a lot of guys run a 160 tstat. Based on my research it has its drawbacks for a stockish street car. This thread simply covers a cheap, easy, and seemingly drawback-free method for allowing the stock cooling system to perform its job more efficiently.


 Thank you for taking the time to photograph, document, and share.

