


DD Mods Kicker Upgrade Write Up

Thread Starter
Melting Slicks


Joined: Apr 2007
Posts: 2,173
Likes: 62
From: Lufkin Texas
 DD Mods Kicker Upgrade Write Up
Although this applies to my C6 I believe Dennis @ DD mods has this for C5's as well so I thought I would post here as well 
I received my kicker upgrade from Dennis at Double D mods and thought I would do a write up on installation and over all impression. Let me start off first with my thoughts about Dennis and his company (DDMods). Dennis is truly an asset to this forum. This vendor has outstanding customer service in a day and age where that doesn't seem to happen a whole awful lot. If you are deciding to upgrade your audio system he is the man to do business with! With that said I did the Kicker upgrade special to my C6 coupe. Here is my write up:
First off open the doors hood and hatch. I disconnected the battery because I did not want to cause a drain. Simple procedure with a 10mm driver pictured here:
 This image has been resized. Click this bar to view the full image. The original image is sized 1024x768.
 This image has been resized. Click this bar to view the full image. The original image is sized 1024x768.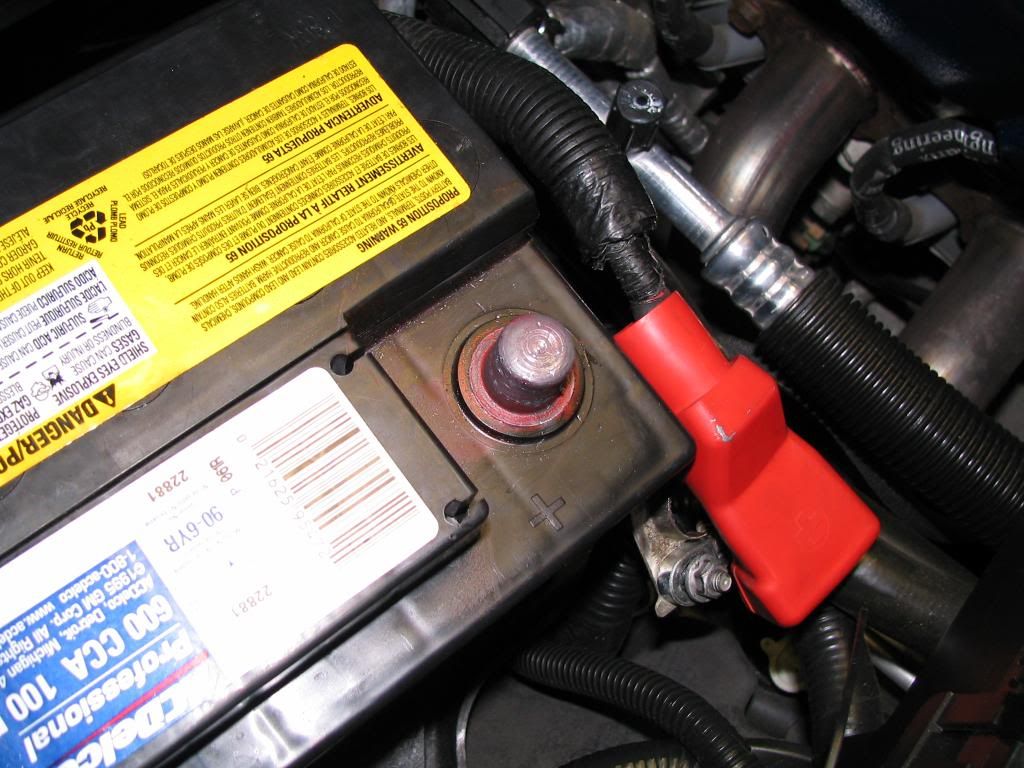
I started with the drivers side door. You must first remover the small plate under the arm rest pictured here:
This image has been resized. Click this bar to view the full image. The original image is sized 1024x768.This image has been resized. Click this bar to view the full image. The original image is sized 1024x768.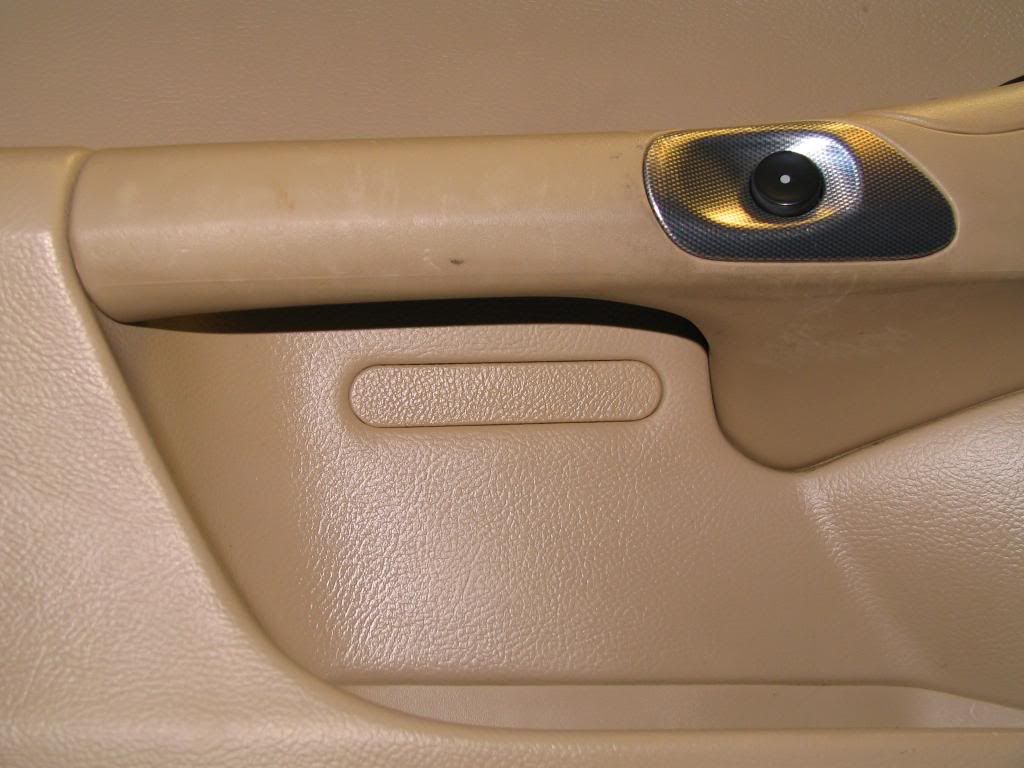
Them remove the 2 screws pictured here using a 30 Torx :
This image has been resized. Click this bar to view the full image. The original image is sized 1024x768.This image has been resized. Click this bar to view the full image. The original image is sized 1024x768.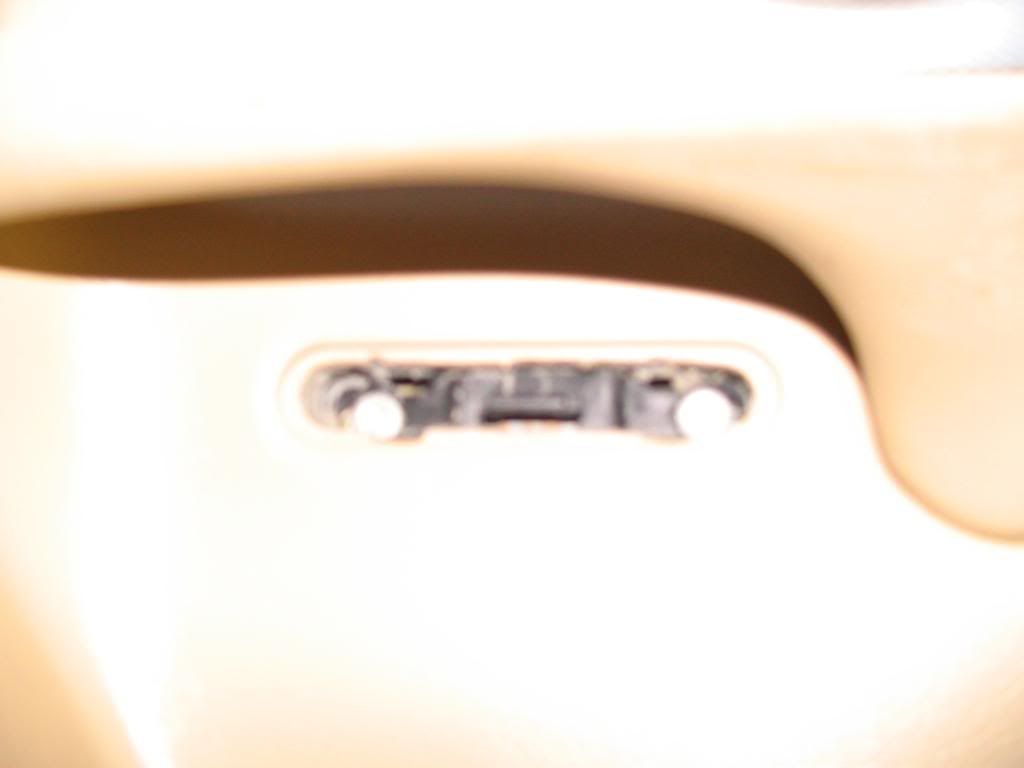
Now time to remove the door panel. I bought this set of panel removers from Harbor Freight for about $6 and it was money well spent as it made the job much easier. Here is what they look like and the Item #:
This image has been resized. Click this bar to view the full image. The original image is sized 1024x768.This image has been resized. Click this bar to view the full image. The original image is sized 1024x768.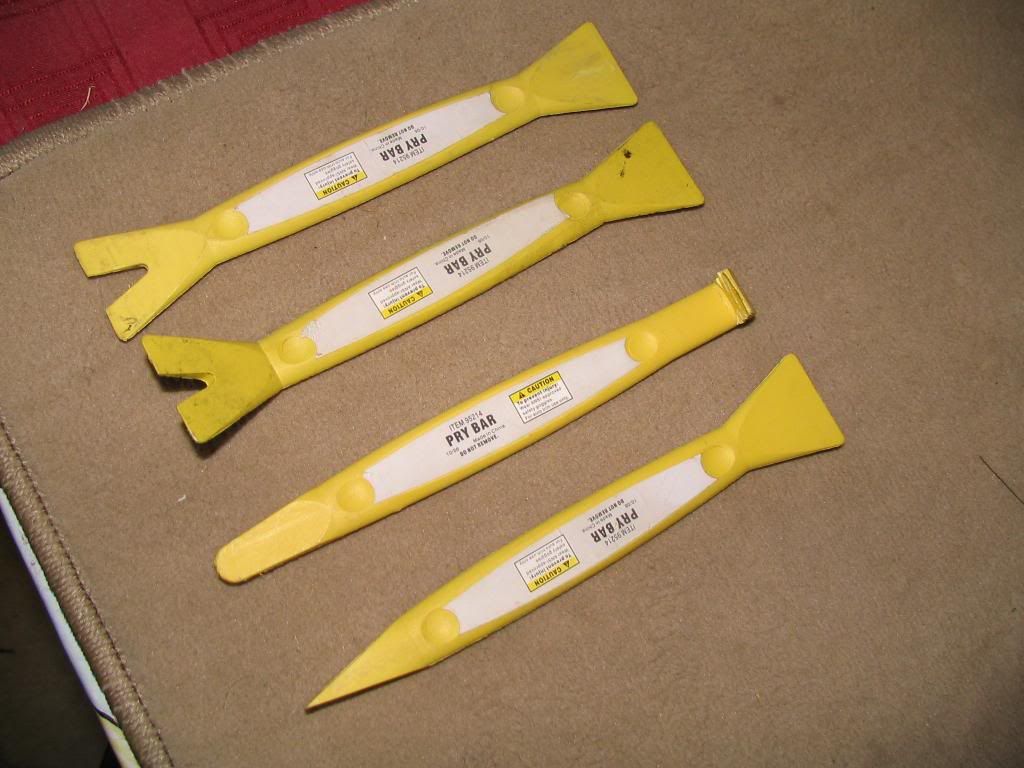
This image has been resized. Click this bar to view the full image. The original image is sized 1024x768.This image has been resized. Click this bar to view the full image. The original image is sized 1024x768.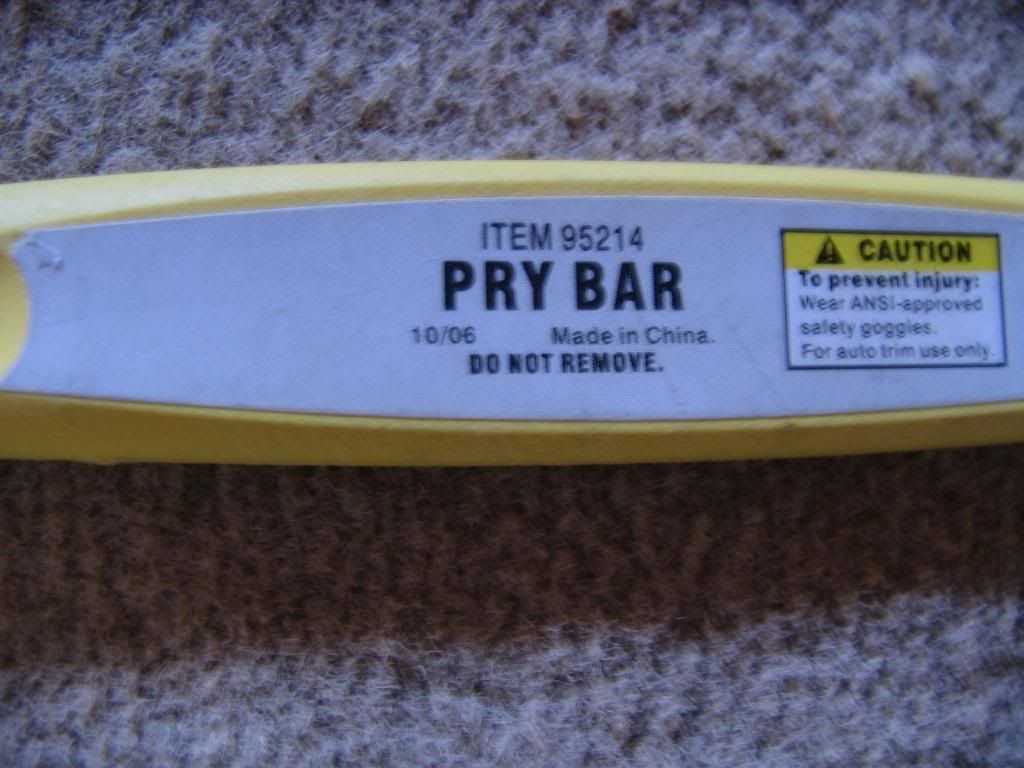
There are 8 pins holding the door on and metal hangers on top. Don't worry as you are prying the pins loose as it will make a horrible sound. Once the door panel is loose you will have to disconnect this plug pictured here:
This image has been resized. Click this bar to view the full image. The original image is sized 1024x768.This image has been resized. Click this bar to view the full image. The original image is sized 1024x768.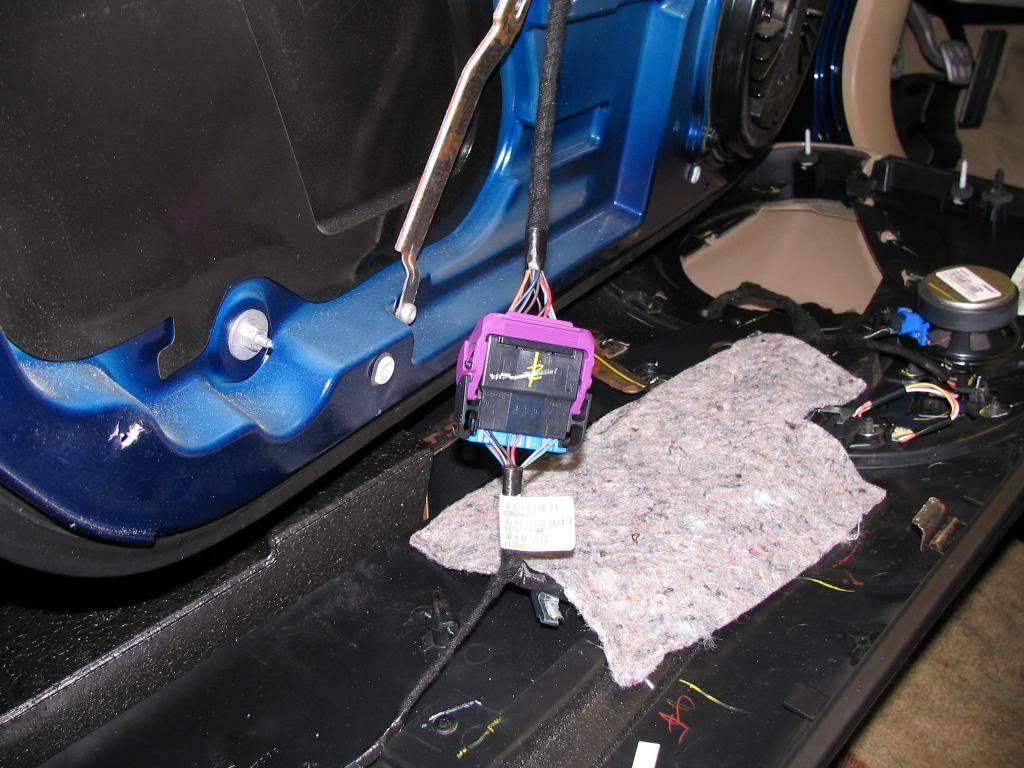
Once that plug is disconnected your door panel will be free from the door as pictured here:
This image has been resized. Click this bar to view the full image. The original image is sized 1024x768.This image has been resized. Click this bar to view the full image. The original image is sized 1024x768.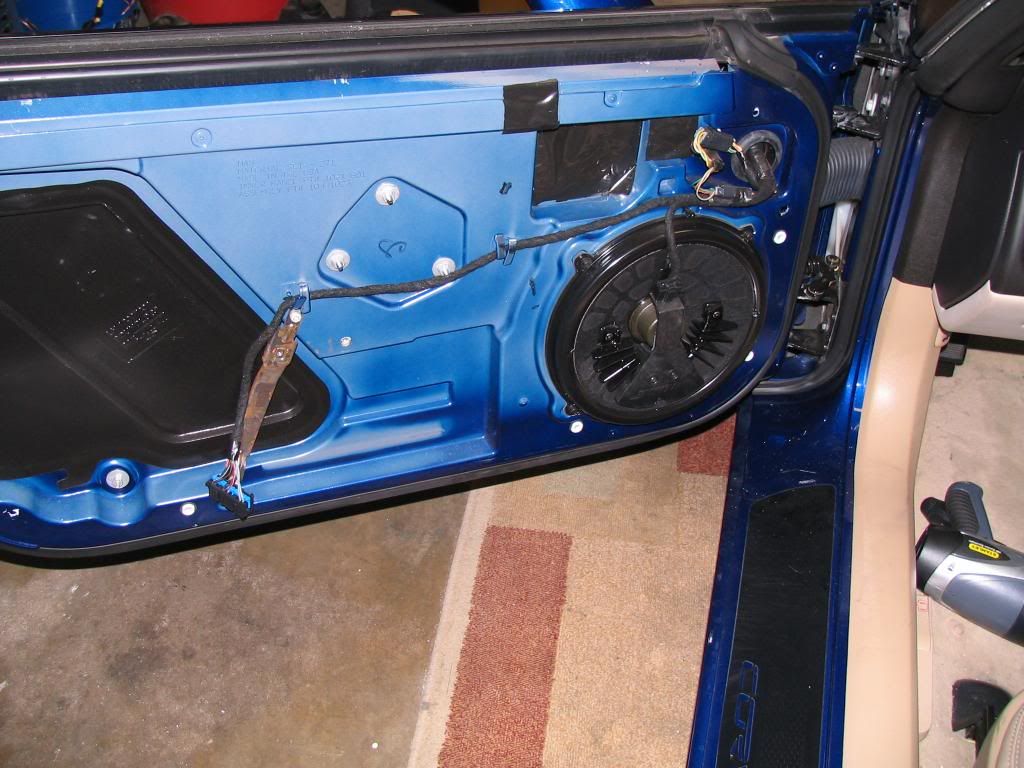
Now that your door panel is removed you can install the tweeters in the door panel. There are 4 Phillips screws and a connector plug to remove pictured here:
This image has been resized. Click this bar to view the full image. The original image is sized 1024x768.This image has been resized. Click this bar to view the full image. The original image is sized 1024x768.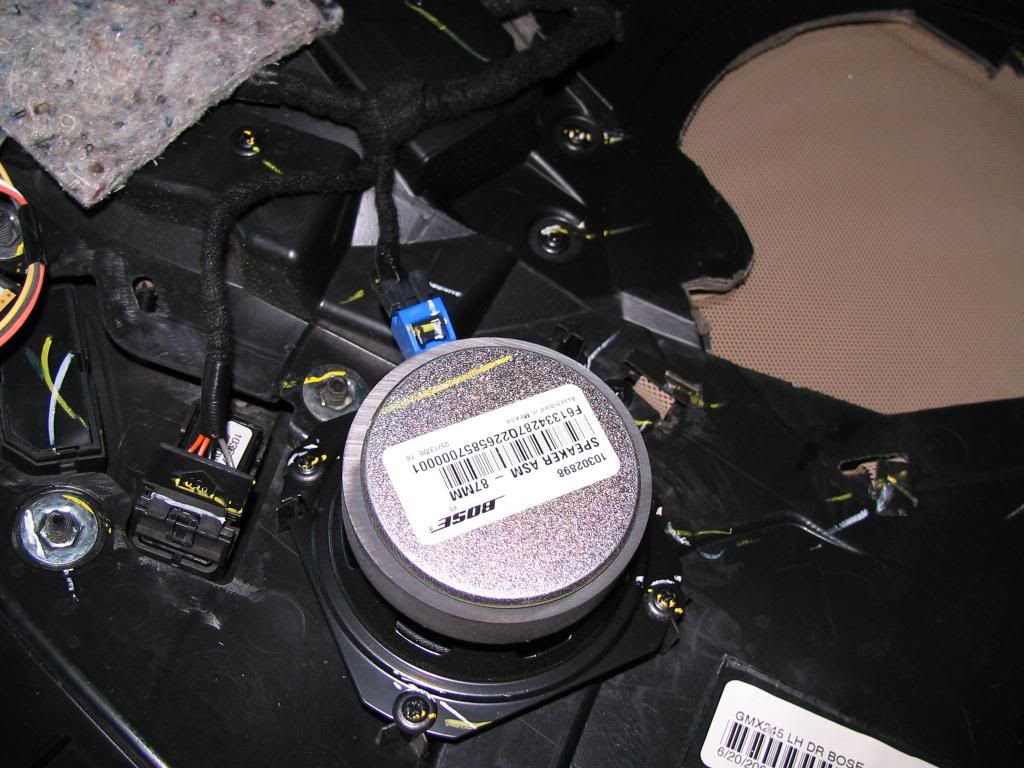
Now install your Kicker speaker in the door using the supplied Metra harness kit pictured here:
This image has been resized. Click this bar to view the full image. The original image is sized 1024x768.This image has been resized. Click this bar to view the full image. The original image is sized 1024x768.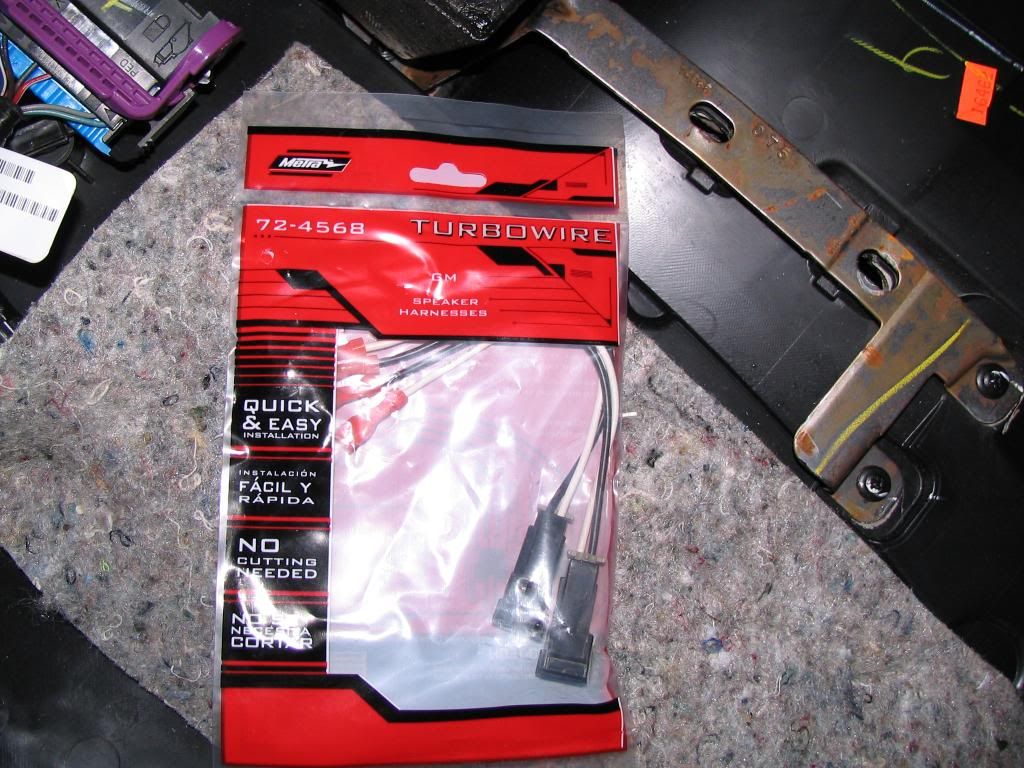
This harness kit is plug & play and is fail proof as there is only 2 wires and they are different sizes + & - as pictured here:
This image has been resized. Click this bar to view the full image. The original image is sized 1024x768.This image has been resized. Click this bar to view the full image. The original image is sized 1024x768.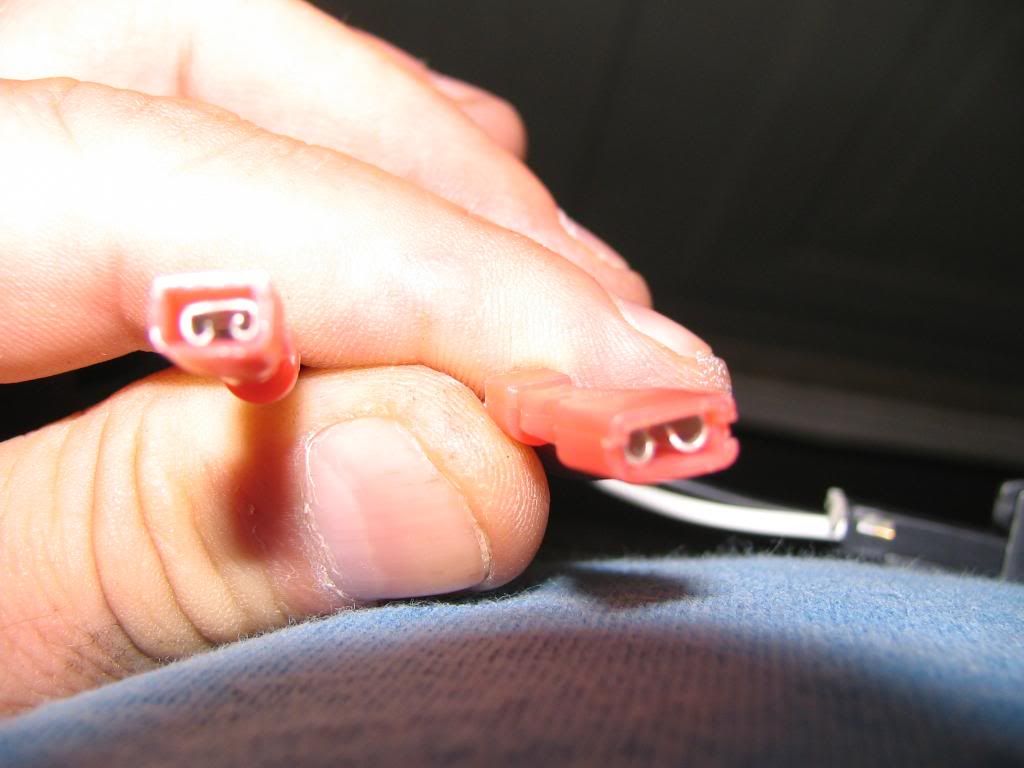
Here is the installed tweeter pictured here
This image has been resized. Click this bar to view the full image. The original image is sized 1024x768.This image has been resized. Click this bar to view the full image. The original image is sized 1024x768.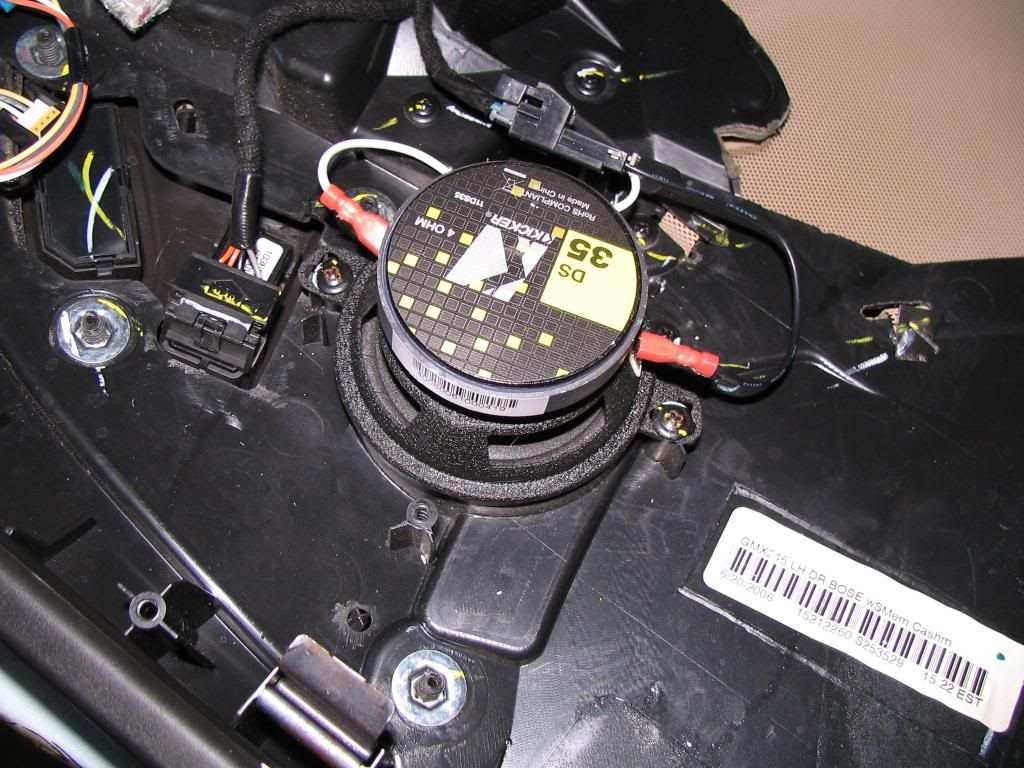
Now you are ready to re-install the door panel. There is a new technique for installing the door panels. Refer to this link:
http://forums.corvetteforum.com/c6-c...ll-method.html
Here is the pictures from my door. I used shoe stings and it worked like a charm :
:
This image has been resized. Click this bar to view the full image. The original image is sized 1024x768.This image has been resized. Click this bar to view the full image. The original image is sized 1024x768.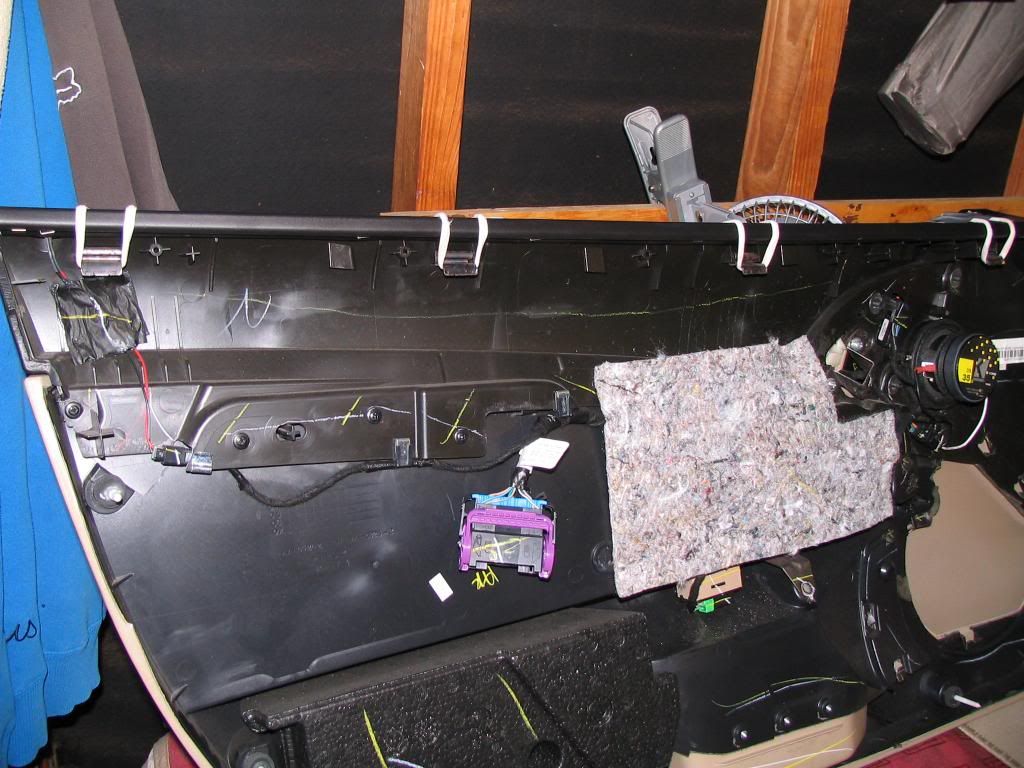
This image has been resized. Click this bar to view the full image. The original image is sized 1024x768.This image has been resized. Click this bar to view the full image. The original image is sized 1024x768.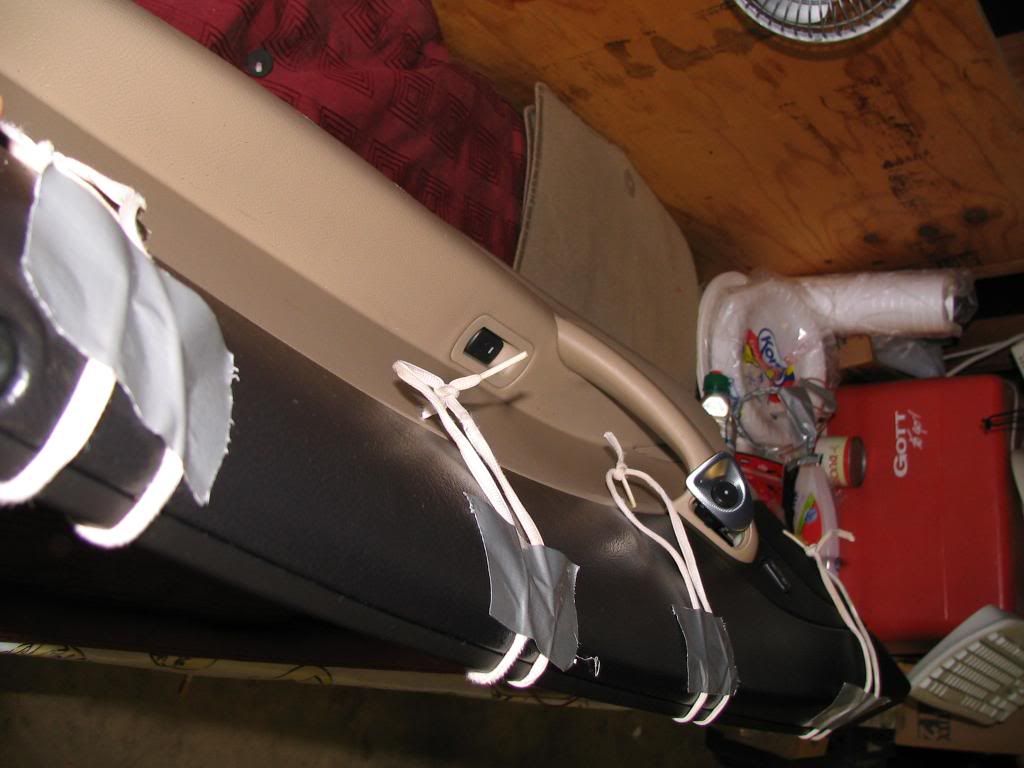
For the passenger door you will have to remove 2 screws. The first location pictured here:
This image has been resized. Click this bar to view the full image. The original image is sized 1024x768.This image has been resized. Click this bar to view the full image. The original image is sized 1024x768.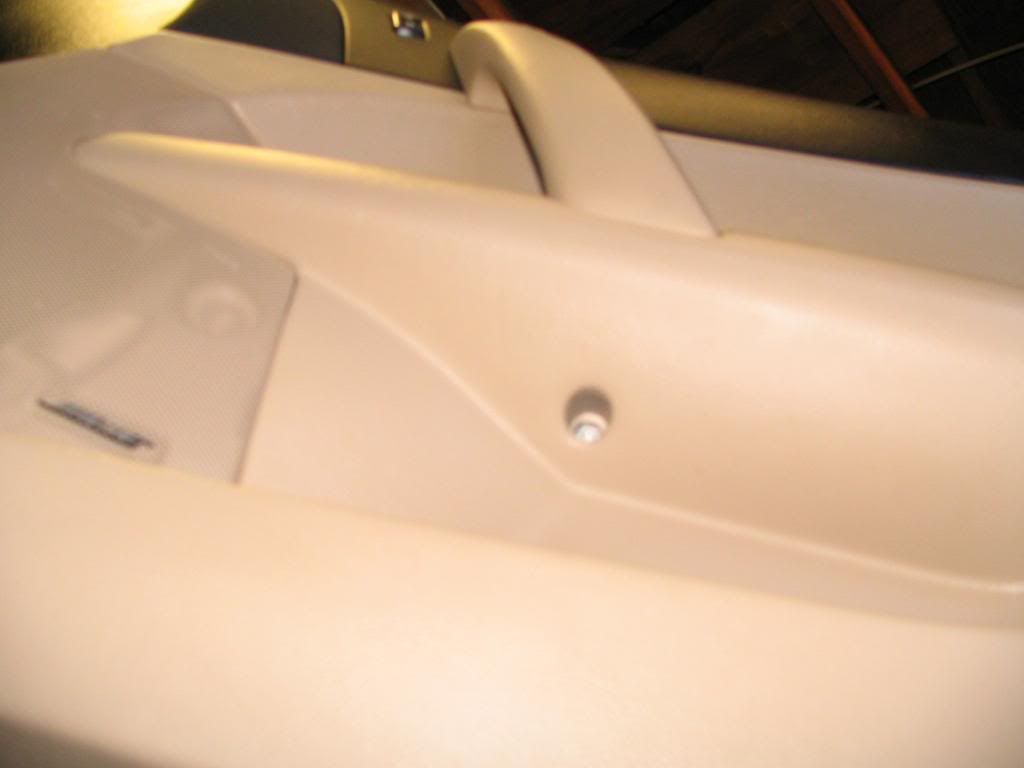
The second one is the door release button pictured here:
This image has been resized. Click this bar to view the full image. The original image is sized 1024x768.This image has been resized. Click this bar to view the full image. The original image is sized 1024x768.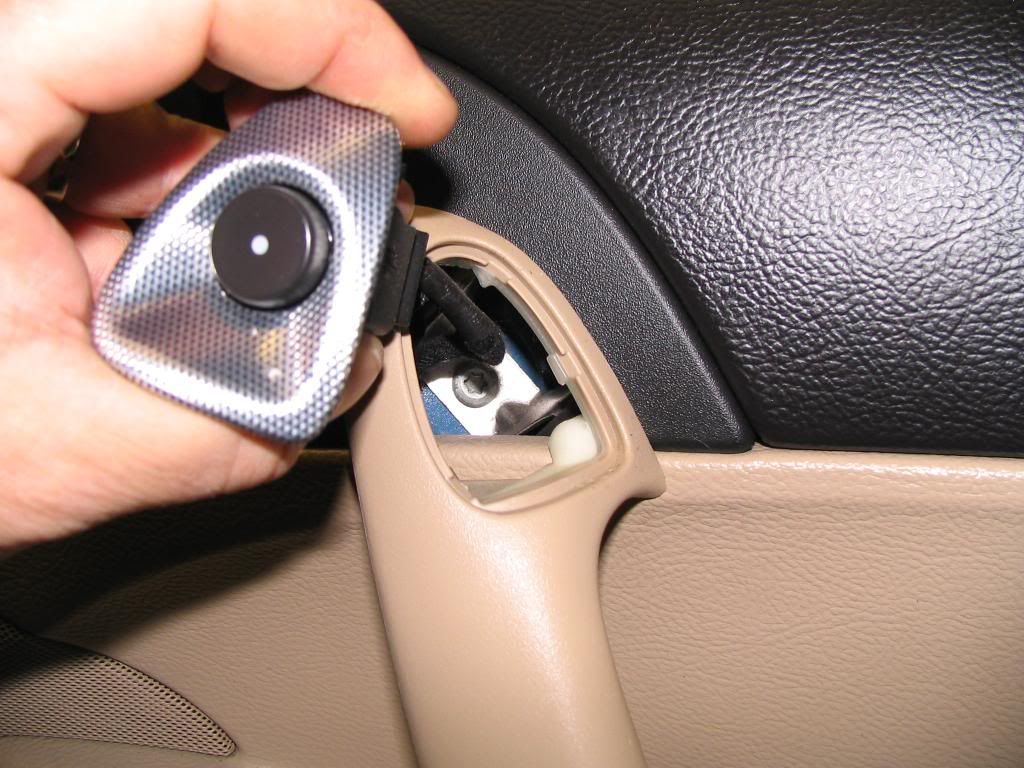
Once they are removed follow the same steps as the drivers side door.
On to the back speakers. Support the hatch, even if you do it one side at a time, just one shock can't hold it up. The rope doesn't need to be tight, it just needs to keep the hatch from falling. couldn't find any rope so i just rigged up a extension cord and it worked fine. Pictured here lol:
This image has been resized. Click this bar to view the full image. The original image is sized 1024x768.This image has been resized. Click this bar to view the full image. The original image is sized 1024x768.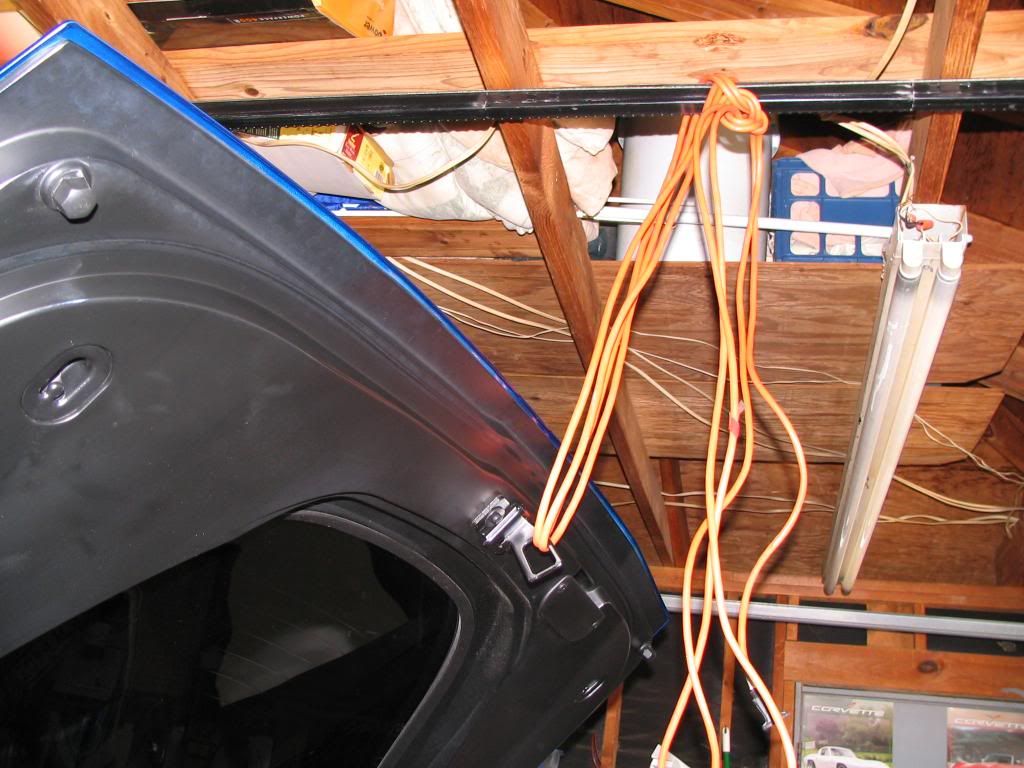
Pull up the rubber boot at the bottom of one of the shocks. Unplug the rear defogger. Pry out the retaining clip far enough to grab it with a pair of pliers, then pull it out. Push up on the hatch to release the tension on the shock and it will easily slide right off of the mount. Repeat on the other side. Pictured here:
This image has been resized. Click this bar to view the full image. The original image is sized 1024x768.This image has been resized. Click this bar to view the full image. The original image is sized 1024x768.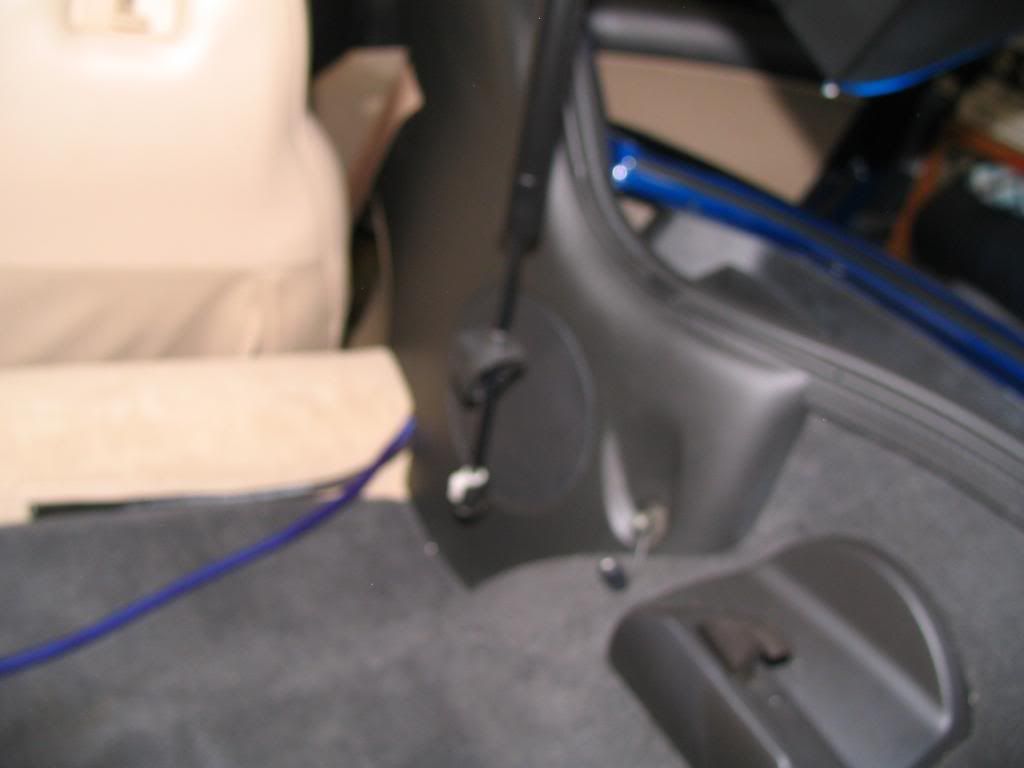
Next Pull out the four push pins at the top edge of the speaker trim plates (two on each side). Kinda hard to see in this picture:
This image has been resized. Click this bar to view the full image. The original image is sized 1024x768.This image has been resized. Click this bar to view the full image. The original image is sized 1024x768.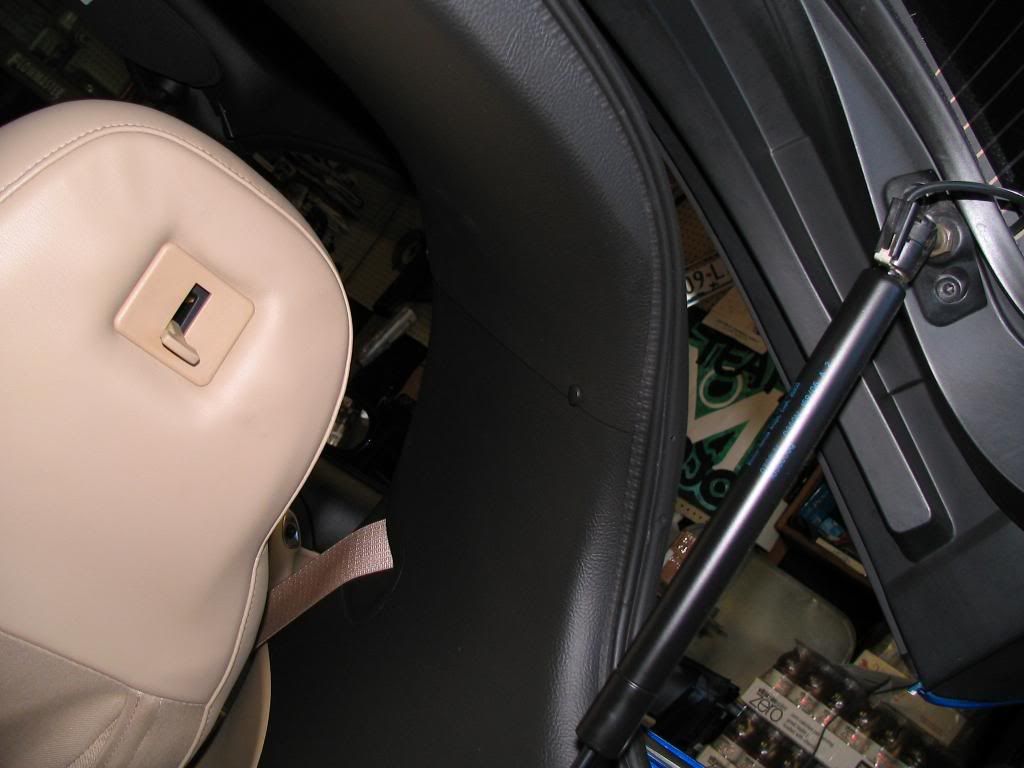
To pull off the trim panel, reach under the front lower corner and pull straight out about 1". You should feel one of the friction clips release. Slide your hand up near the top front corner and pull it out until that clip releases. Undo the four screws holding in and pull out your old speaker. Here is the picture of the new mounted Kicker speaker:
This image has been resized. Click this bar to view the full image. The original image is sized 1024x768.This image has been resized. Click this bar to view the full image. The original image is sized 1024x768.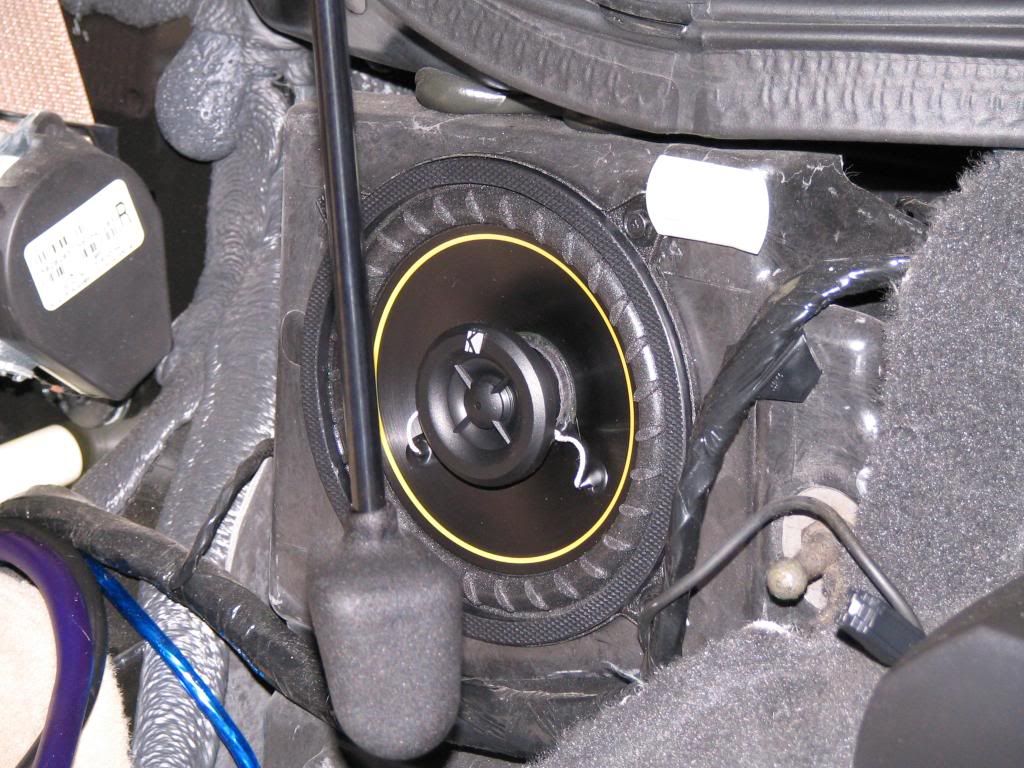
Repeat process for other side. That is basically it.
My initial impression of the speakers:
They will not be any louder but you will notice a big difference in sound. The tweeters bring more crisper highs then the Bose ever did and the rear speakers sound much better as a fill in now. I have a Pioneer X930BT installed which I also bought from Dennis as part of his Rocktober special so I can tweak my sound a little more then the stock Nav unit that was in before. But even with a stock unit you will notice a big difference! I am also adding a box with two Kicker 10's and a amp from Dennis next month which should finished out my sound system. Here are a couple of videos so you can hear what the Kickers sound like:
Rock:
Rap:
Country:
I hope this helps anyone who is on the fence about buying this package
I am very happy with the results and again with the top of the line service Dennis and his company provides for us.
A big Thanks to Dennis @ DD Mods
I received my kicker upgrade from Dennis at Double D mods and thought I would do a write up on installation and over all impression. Let me start off first with my thoughts about Dennis and his company (DDMods). Dennis is truly an asset to this forum. This vendor has outstanding customer service in a day and age where that doesn't seem to happen a whole awful lot. If you are deciding to upgrade your audio system he is the man to do business with! With that said I did the Kicker upgrade special to my C6 coupe. Here is my write up:
First off open the doors hood and hatch. I disconnected the battery because I did not want to cause a drain. Simple procedure with a 10mm driver pictured here:
This image has been resized. Click this bar to view the full image. The original image is sized 1024x768.This image has been resized. Click this bar to view the full image. The original image is sized 1024x768.I started with the drivers side door. You must first remover the small plate under the arm rest pictured here:
This image has been resized. Click this bar to view the full image. The original image is sized 1024x768.This image has been resized. Click this bar to view the full image. The original image is sized 1024x768.Them remove the 2 screws pictured here using a 30 Torx :
This image has been resized. Click this bar to view the full image. The original image is sized 1024x768.This image has been resized. Click this bar to view the full image. The original image is sized 1024x768.Now time to remove the door panel. I bought this set of panel removers from Harbor Freight for about $6 and it was money well spent as it made the job much easier. Here is what they look like and the Item #:
This image has been resized. Click this bar to view the full image. The original image is sized 1024x768.This image has been resized. Click this bar to view the full image. The original image is sized 1024x768.This image has been resized. Click this bar to view the full image. The original image is sized 1024x768.This image has been resized. Click this bar to view the full image. The original image is sized 1024x768.There are 8 pins holding the door on and metal hangers on top. Don't worry as you are prying the pins loose as it will make a horrible sound. Once the door panel is loose you will have to disconnect this plug pictured here:
This image has been resized. Click this bar to view the full image. The original image is sized 1024x768.This image has been resized. Click this bar to view the full image. The original image is sized 1024x768.Once that plug is disconnected your door panel will be free from the door as pictured here:
This image has been resized. Click this bar to view the full image. The original image is sized 1024x768.This image has been resized. Click this bar to view the full image. The original image is sized 1024x768.Now that your door panel is removed you can install the tweeters in the door panel. There are 4 Phillips screws and a connector plug to remove pictured here:
This image has been resized. Click this bar to view the full image. The original image is sized 1024x768.This image has been resized. Click this bar to view the full image. The original image is sized 1024x768.Now install your Kicker speaker in the door using the supplied Metra harness kit pictured here:
This image has been resized. Click this bar to view the full image. The original image is sized 1024x768.This image has been resized. Click this bar to view the full image. The original image is sized 1024x768.This harness kit is plug & play and is fail proof as there is only 2 wires and they are different sizes + & - as pictured here:
This image has been resized. Click this bar to view the full image. The original image is sized 1024x768.This image has been resized. Click this bar to view the full image. The original image is sized 1024x768.Here is the installed tweeter pictured here
This image has been resized. Click this bar to view the full image. The original image is sized 1024x768.This image has been resized. Click this bar to view the full image. The original image is sized 1024x768.Now you are ready to re-install the door panel. There is a new technique for installing the door panels. Refer to this link:
http://forums.corvetteforum.com/c6-c...ll-method.html
Here is the pictures from my door. I used shoe stings and it worked like a charm
:This image has been resized. Click this bar to view the full image. The original image is sized 1024x768.This image has been resized. Click this bar to view the full image. The original image is sized 1024x768.This image has been resized. Click this bar to view the full image. The original image is sized 1024x768.This image has been resized. Click this bar to view the full image. The original image is sized 1024x768.For the passenger door you will have to remove 2 screws. The first location pictured here:
This image has been resized. Click this bar to view the full image. The original image is sized 1024x768.This image has been resized. Click this bar to view the full image. The original image is sized 1024x768.The second one is the door release button pictured here:
This image has been resized. Click this bar to view the full image. The original image is sized 1024x768.This image has been resized. Click this bar to view the full image. The original image is sized 1024x768.Once they are removed follow the same steps as the drivers side door.
On to the back speakers. Support the hatch, even if you do it one side at a time, just one shock can't hold it up. The rope doesn't need to be tight, it just needs to keep the hatch from falling. couldn't find any rope so i just rigged up a extension cord and it worked fine. Pictured here lol:
This image has been resized. Click this bar to view the full image. The original image is sized 1024x768.This image has been resized. Click this bar to view the full image. The original image is sized 1024x768.Pull up the rubber boot at the bottom of one of the shocks. Unplug the rear defogger. Pry out the retaining clip far enough to grab it with a pair of pliers, then pull it out. Push up on the hatch to release the tension on the shock and it will easily slide right off of the mount. Repeat on the other side. Pictured here:
This image has been resized. Click this bar to view the full image. The original image is sized 1024x768.This image has been resized. Click this bar to view the full image. The original image is sized 1024x768.Next Pull out the four push pins at the top edge of the speaker trim plates (two on each side). Kinda hard to see in this picture:
This image has been resized. Click this bar to view the full image. The original image is sized 1024x768.This image has been resized. Click this bar to view the full image. The original image is sized 1024x768.To pull off the trim panel, reach under the front lower corner and pull straight out about 1". You should feel one of the friction clips release. Slide your hand up near the top front corner and pull it out until that clip releases. Undo the four screws holding in and pull out your old speaker. Here is the picture of the new mounted Kicker speaker:
This image has been resized. Click this bar to view the full image. The original image is sized 1024x768.This image has been resized. Click this bar to view the full image. The original image is sized 1024x768.Repeat process for other side. That is basically it.
My initial impression of the speakers:
They will not be any louder but you will notice a big difference in sound. The tweeters bring more crisper highs then the Bose ever did and the rear speakers sound much better as a fill in now. I have a Pioneer X930BT installed which I also bought from Dennis as part of his Rocktober special so I can tweak my sound a little more then the stock Nav unit that was in before. But even with a stock unit you will notice a big difference! I am also adding a box with two Kicker 10's and a amp from Dennis next month which should finished out my sound system. Here are a couple of videos so you can hear what the Kickers sound like:
Rock:
Rap:
Country:
I hope this helps anyone who is on the fence about buying this package
I am very happy with the results and again with the top of the line service Dennis and his company provides for us.
A big Thanks to Dennis @ DD Mods
Last edited by Mojo 97 Vett; Nov 29, 2011 at 10:52 AM.

Administrator


Joined: Mar 2001
Posts: 368,075
Likes: 24,732
From: In a parallel universe. Currently own 2014 Stingray Coupe.
C7 of the Year - Modified Finalist 2021
MO Events Coordinator
St. Jude Co-Organizer
St. Jude Donor '03 thru '25
NCM Sinkhole Donor
CI 5, 8 & 11 Veteran
Great writeup and pics. Thanks for taking the time to do this.


Race Director


Joined: Oct 2004
Posts: 13,587
Likes: 1,352
From: Home of the VOLS ! Knoxville, TN. Tennessee
St. Jude Donor '11-'12-'13, '15, '16-'17-'18-'19
Am I wrong to believe that the C5 does not have subs in the doors like the C6 does?
The C6 has thumpers( not quite subs) down low and small speakers up high. The c5 only has speakers down low, no subs.
The C6 has thumpers( not quite subs) down low and small speakers up high. The c5 only has speakers down low, no subs.


Thread Starter
Melting Slicks
Joined: Apr 2007
Posts: 2,173
Likes: 62
From: Lufkin Texas










