When you click on links to various merchants on this site and make a purchase, this can result in this site earning a commission. Affiliate programs and affiliations include, but are not limited to, the eBay Partner Network.
St. Jude Donor '03-'04-'05-'06-'07-'08-'09-'10-'11-'12-'13-'14-'15-'16'-'17-�18-'19-'20-'21-'22-
'23-'24
I tossed my back out so haven't been doing much on the Vettes but I did get the new shift **** in (MGW shifter underneath). I still need to tidy up the shifter boot a bit and then put the rest of the console back in.
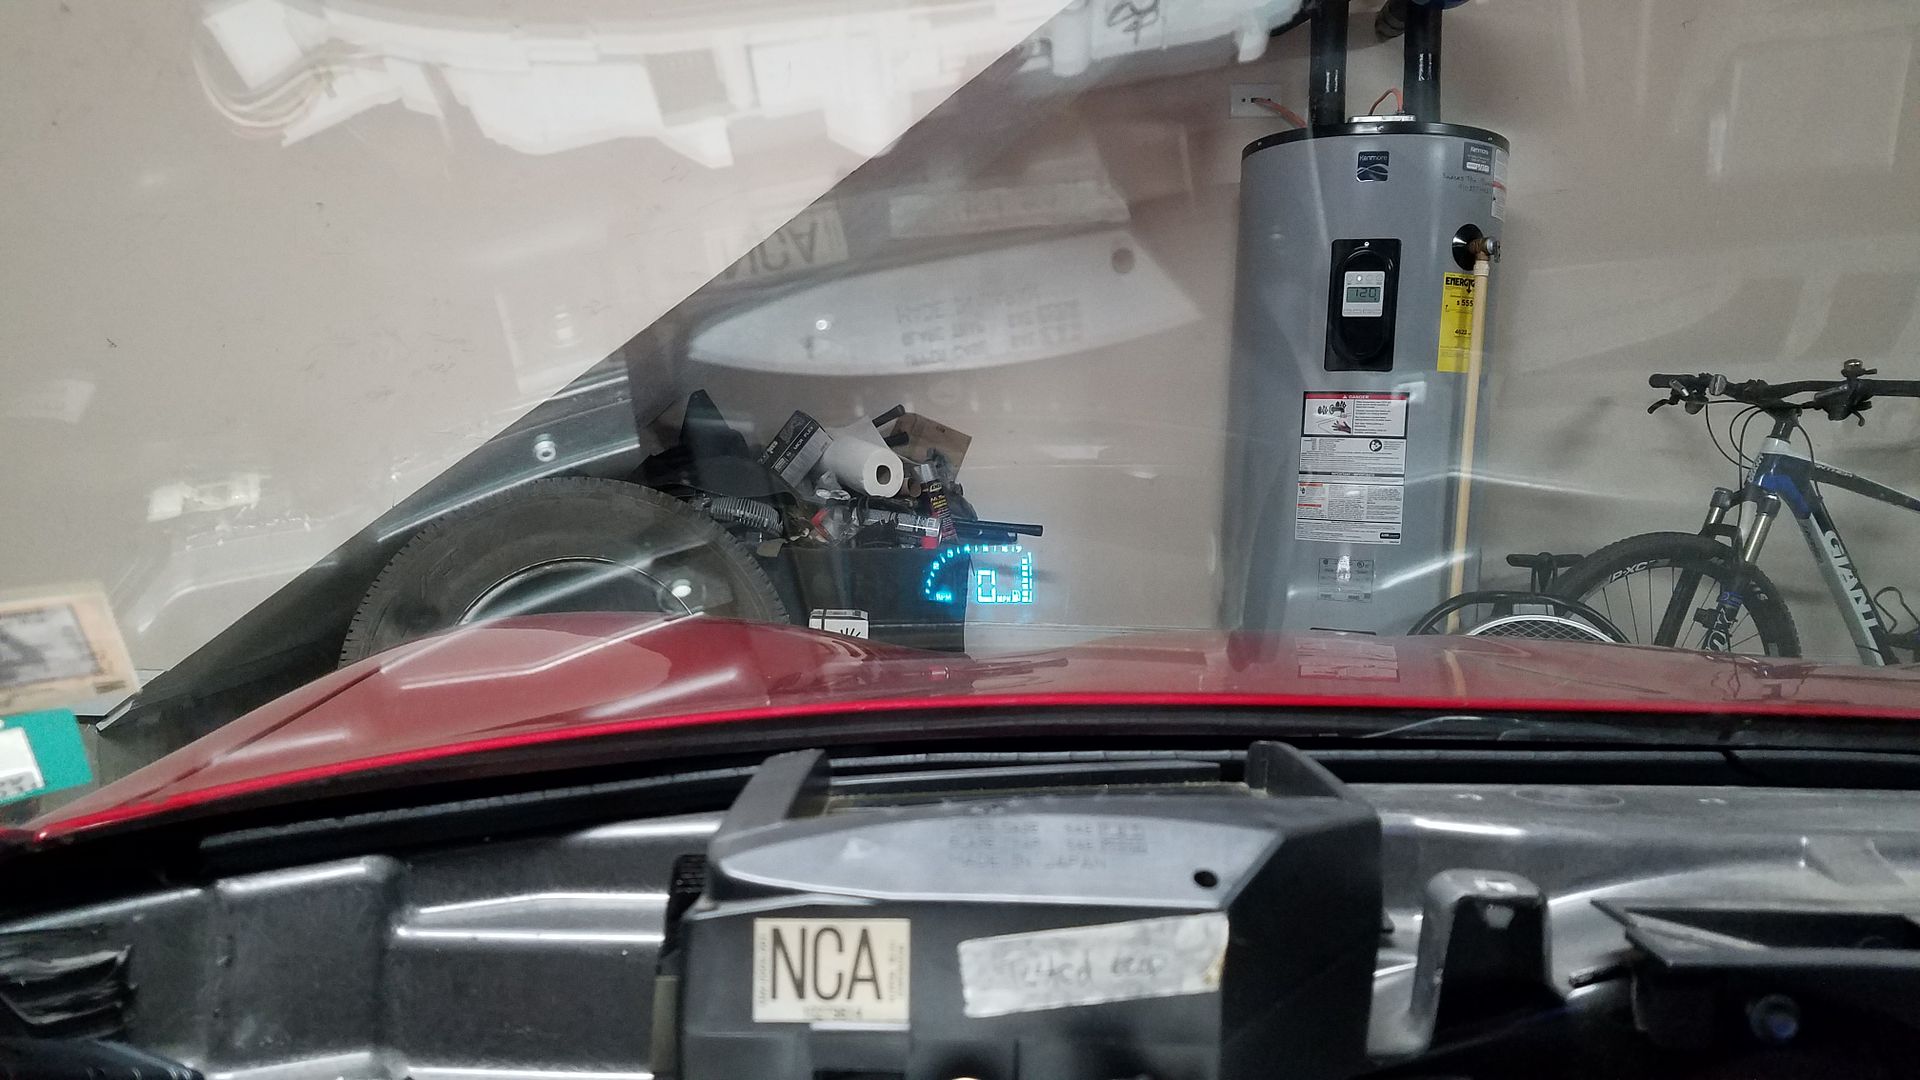
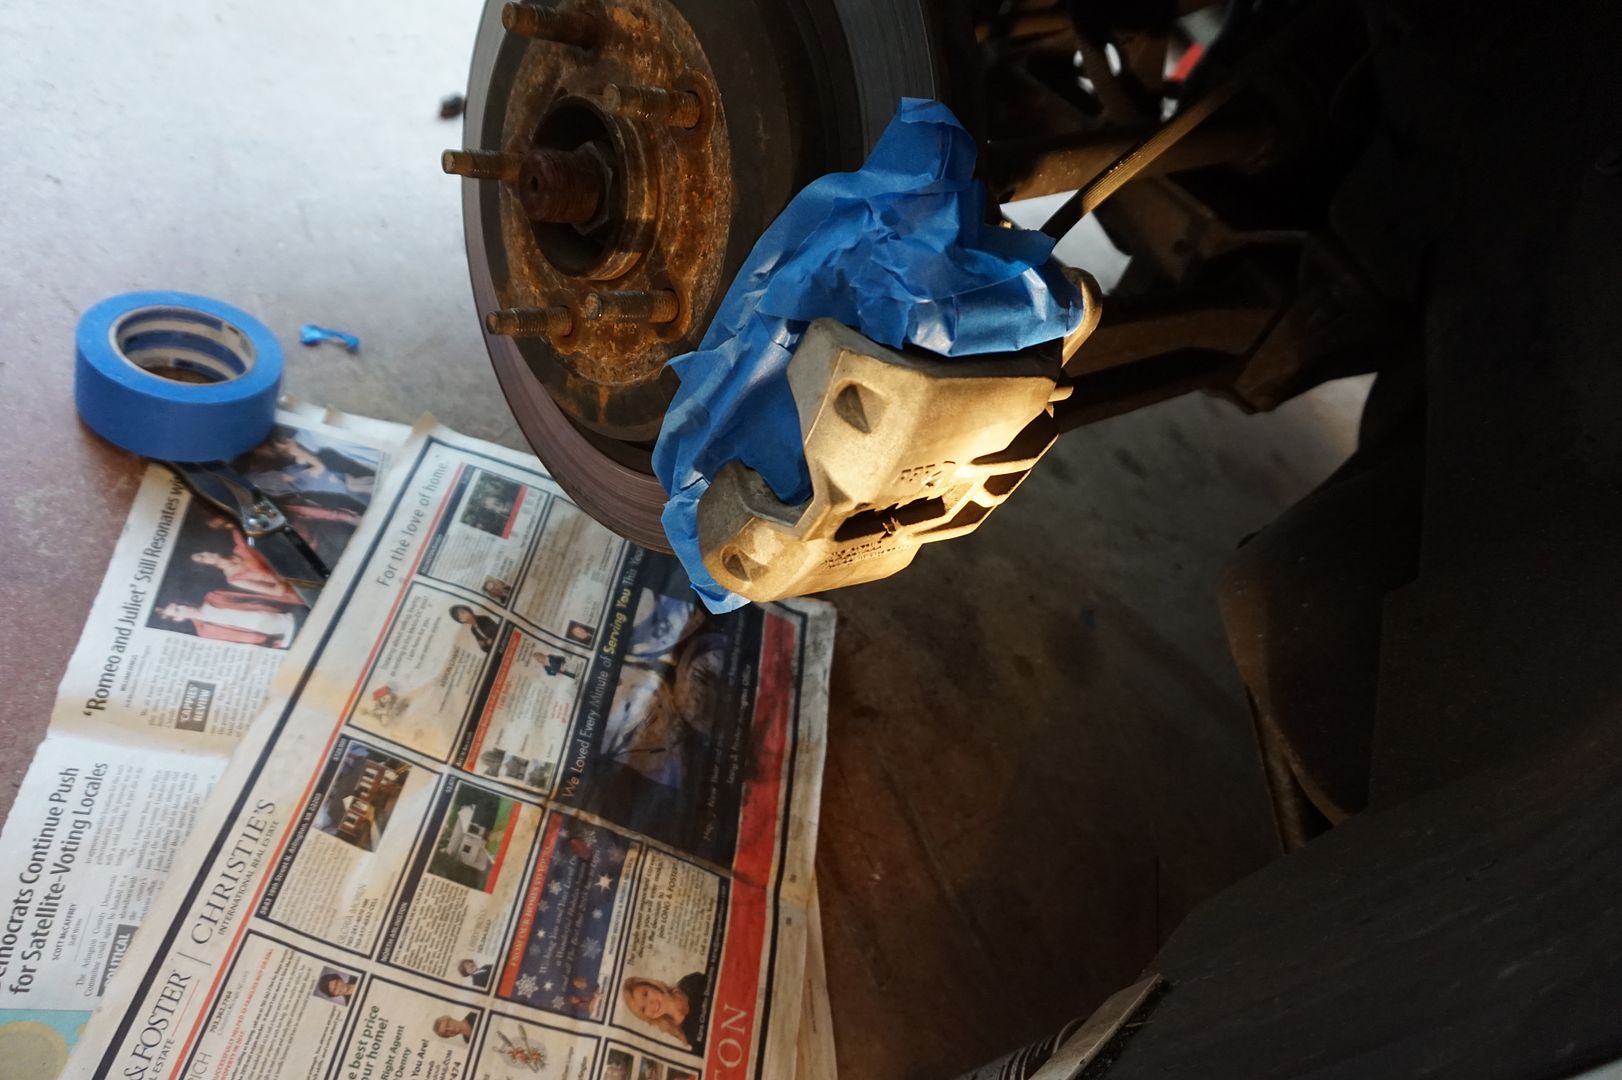
Cheap adhesive strips supplied with the kit. Didn't stick worth a $@#%!
I ended up putting my Dremel to work! Made the holes and used license plate anchors and screws. Now it's secured! Wiring instructions were easy to follow. Everything worked on the first try
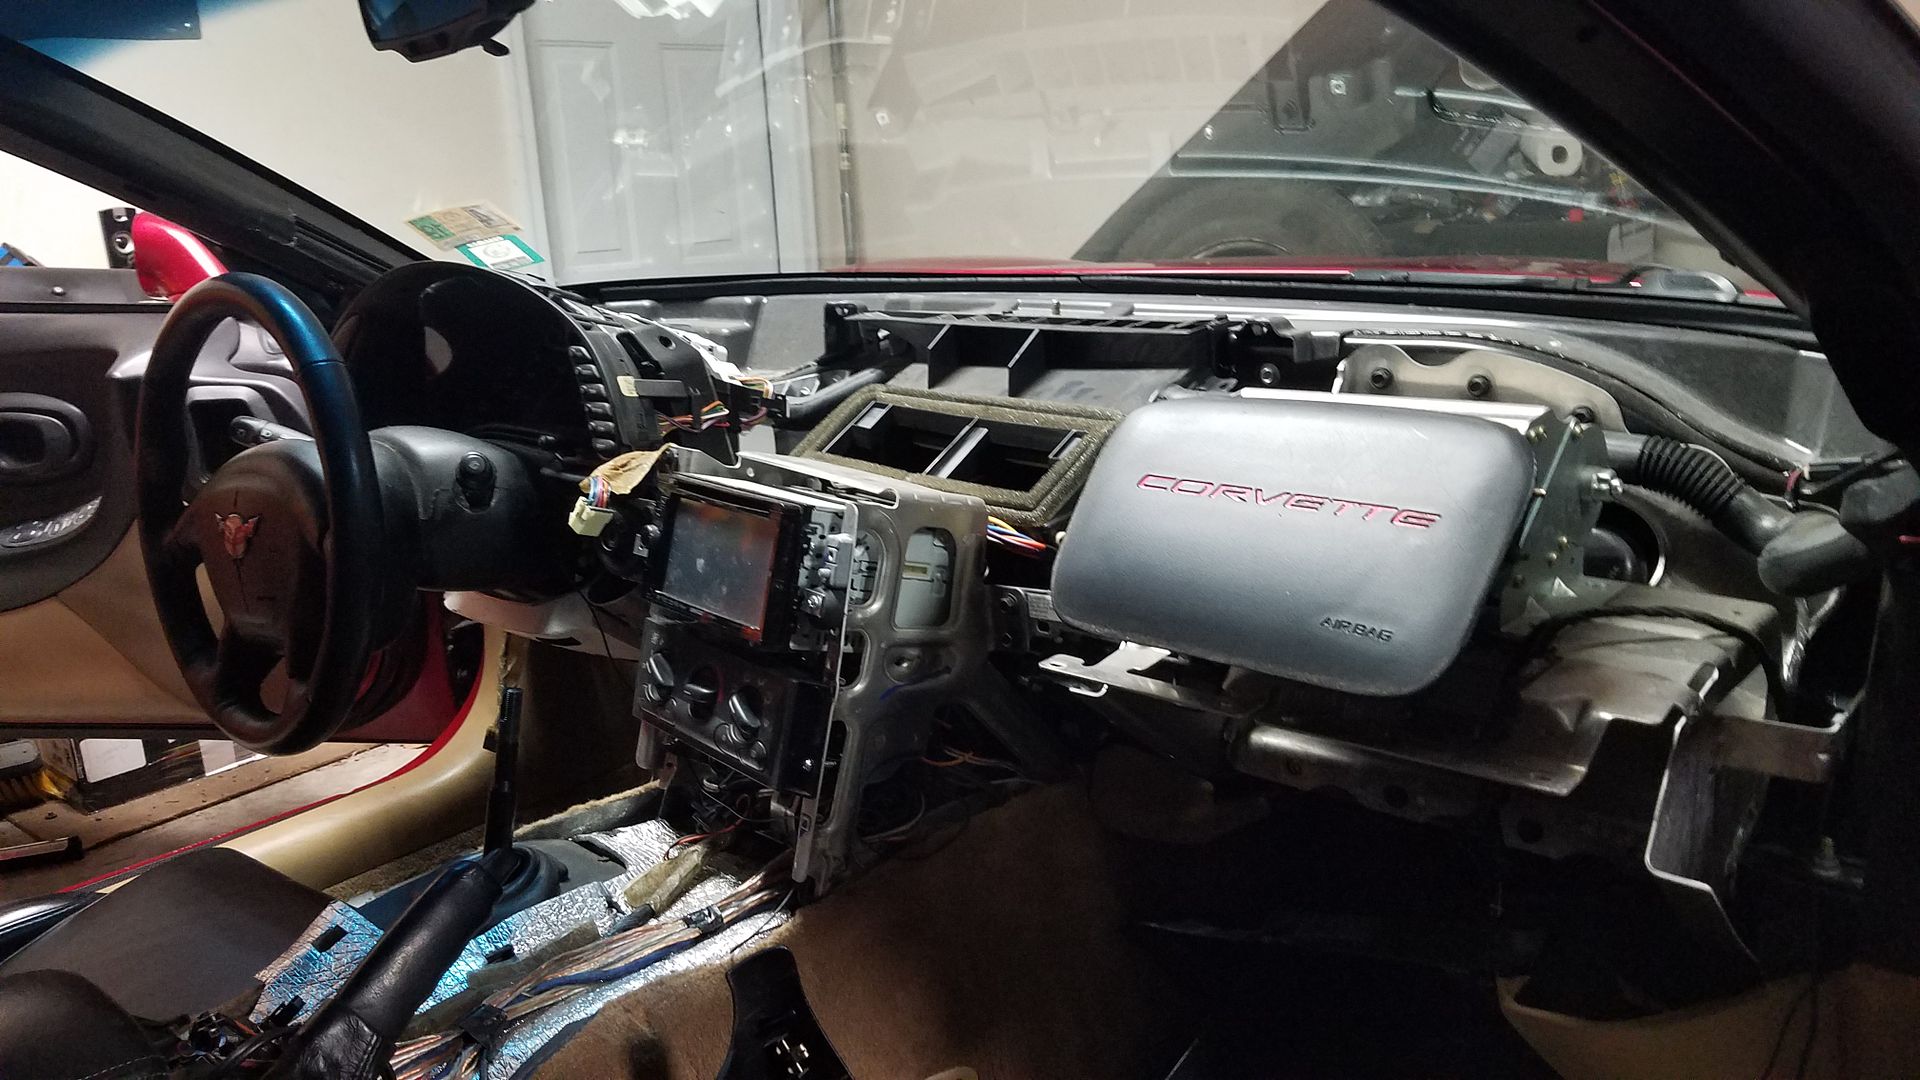
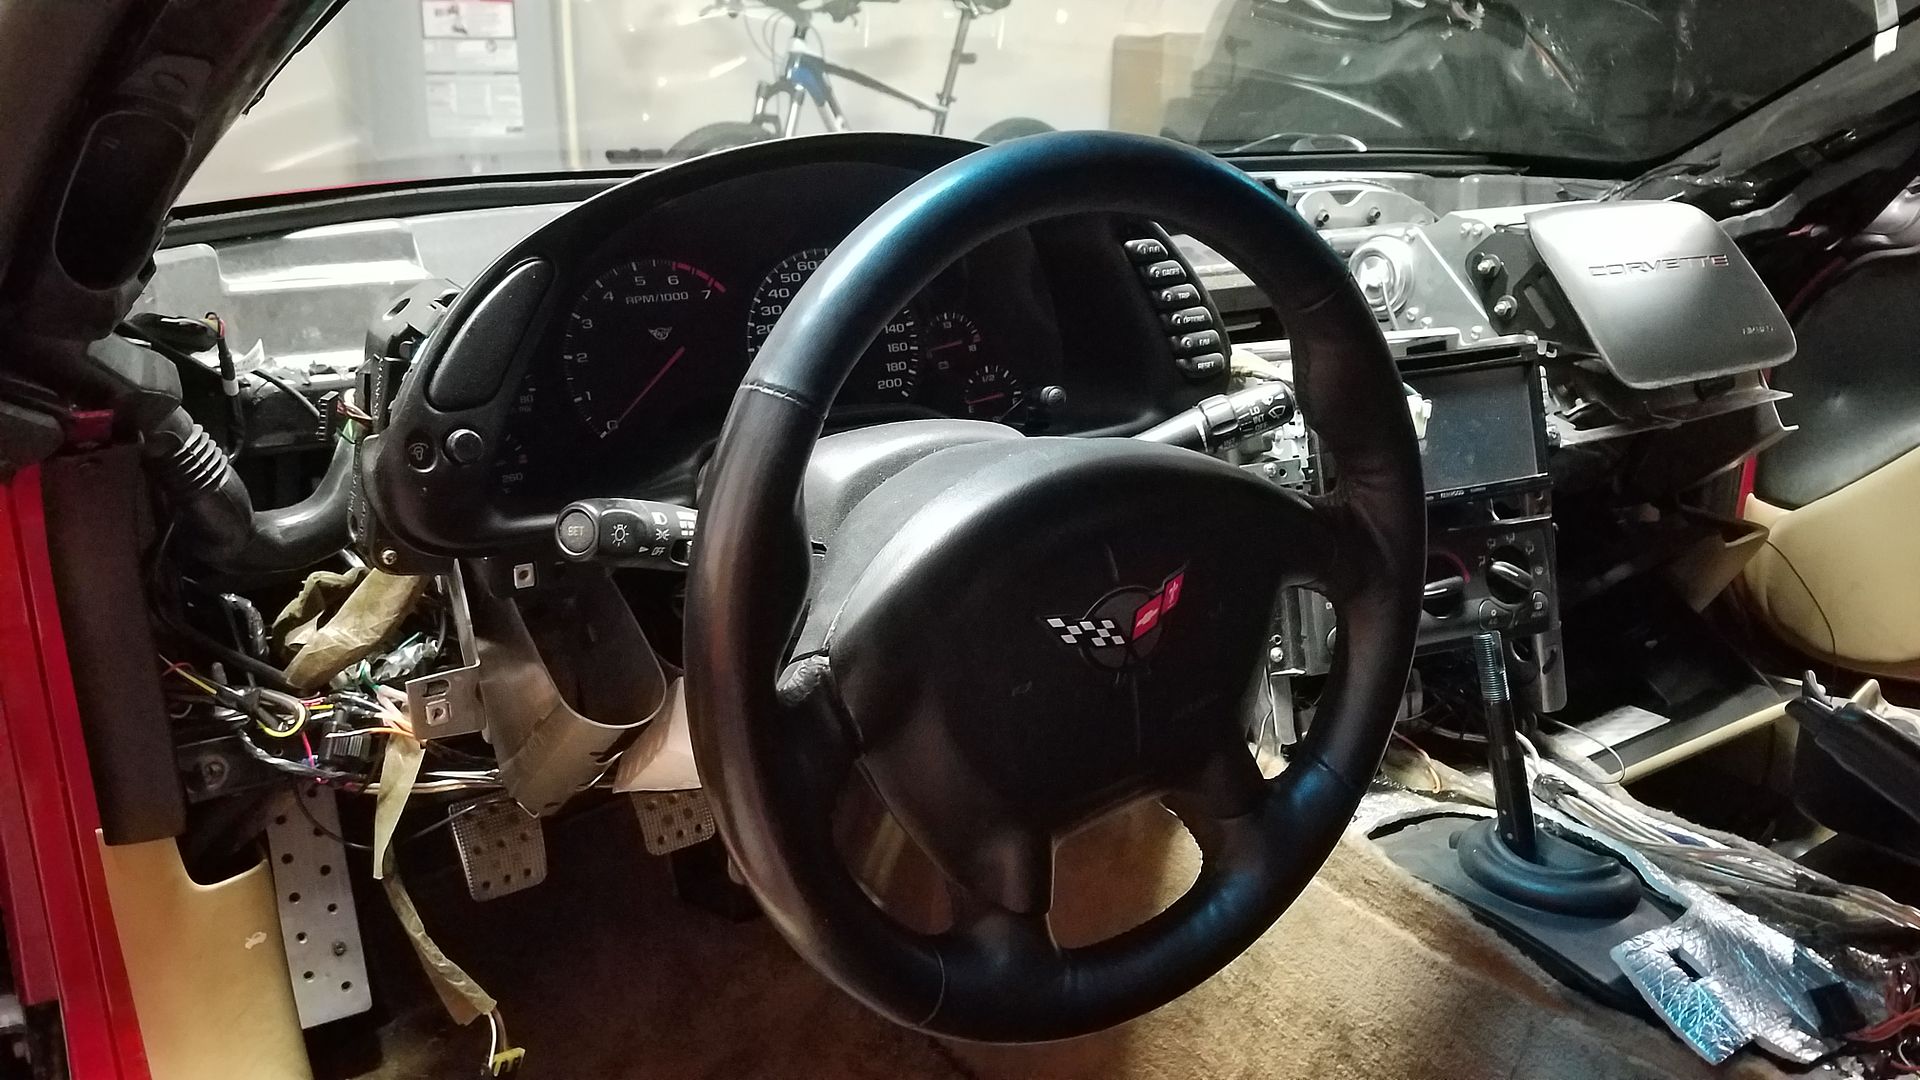
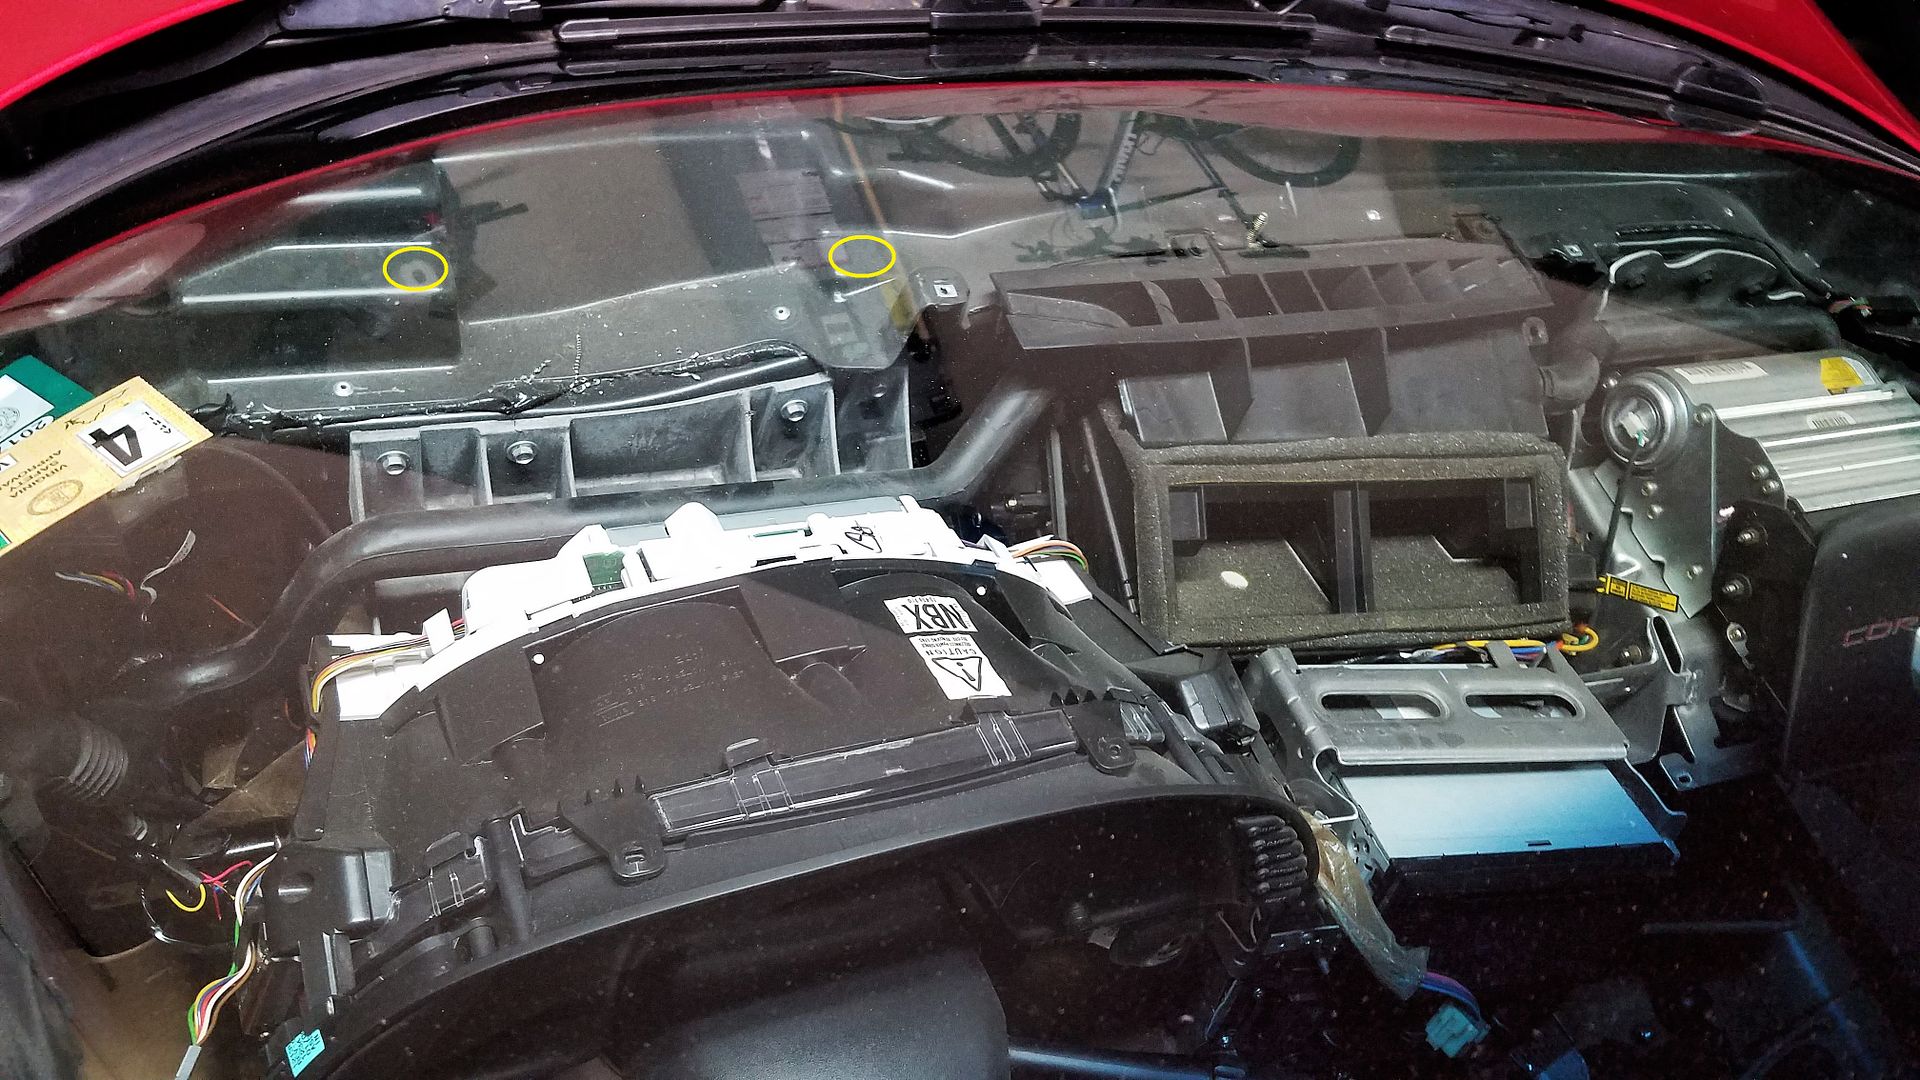
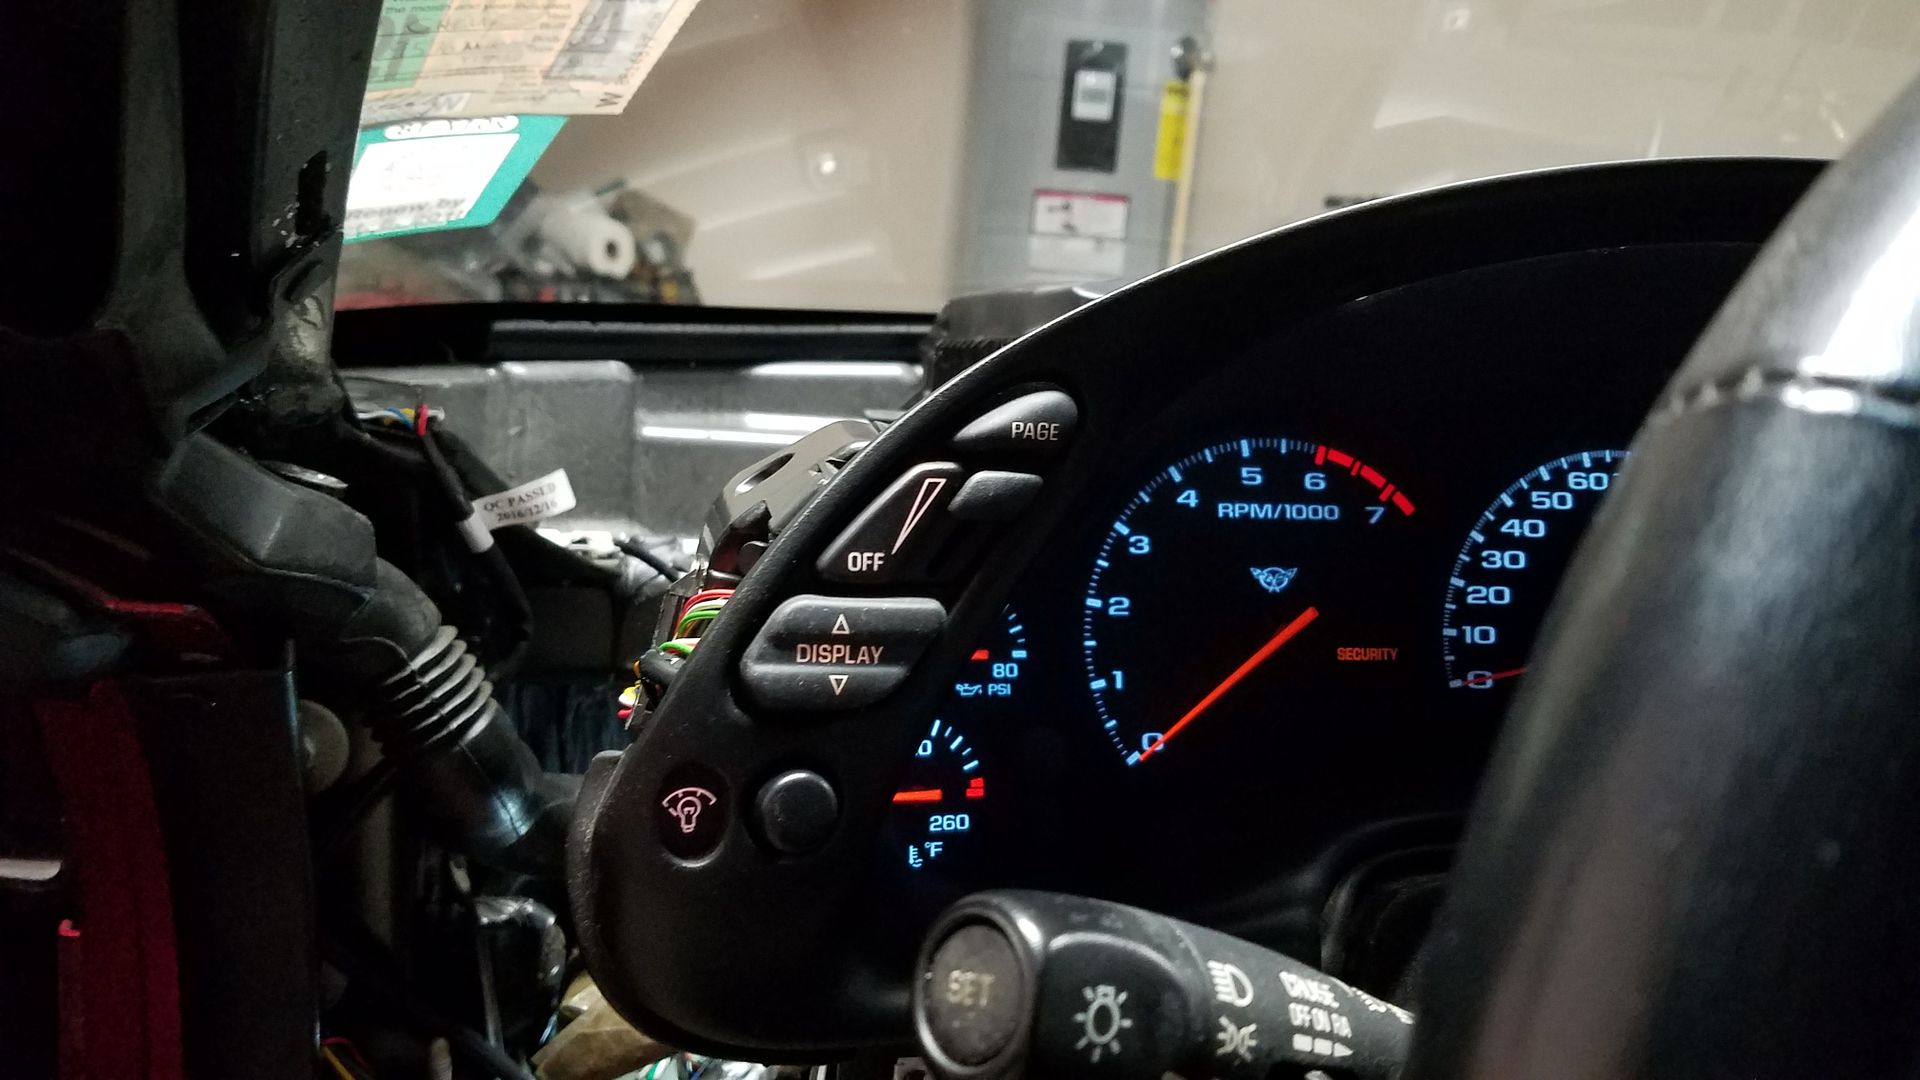
The new switch involved removing two T-15 torx screws at the top/rear of the instrument panel to be able to remove the old dimmer switch and replace it with the HUD/dimmer switch.
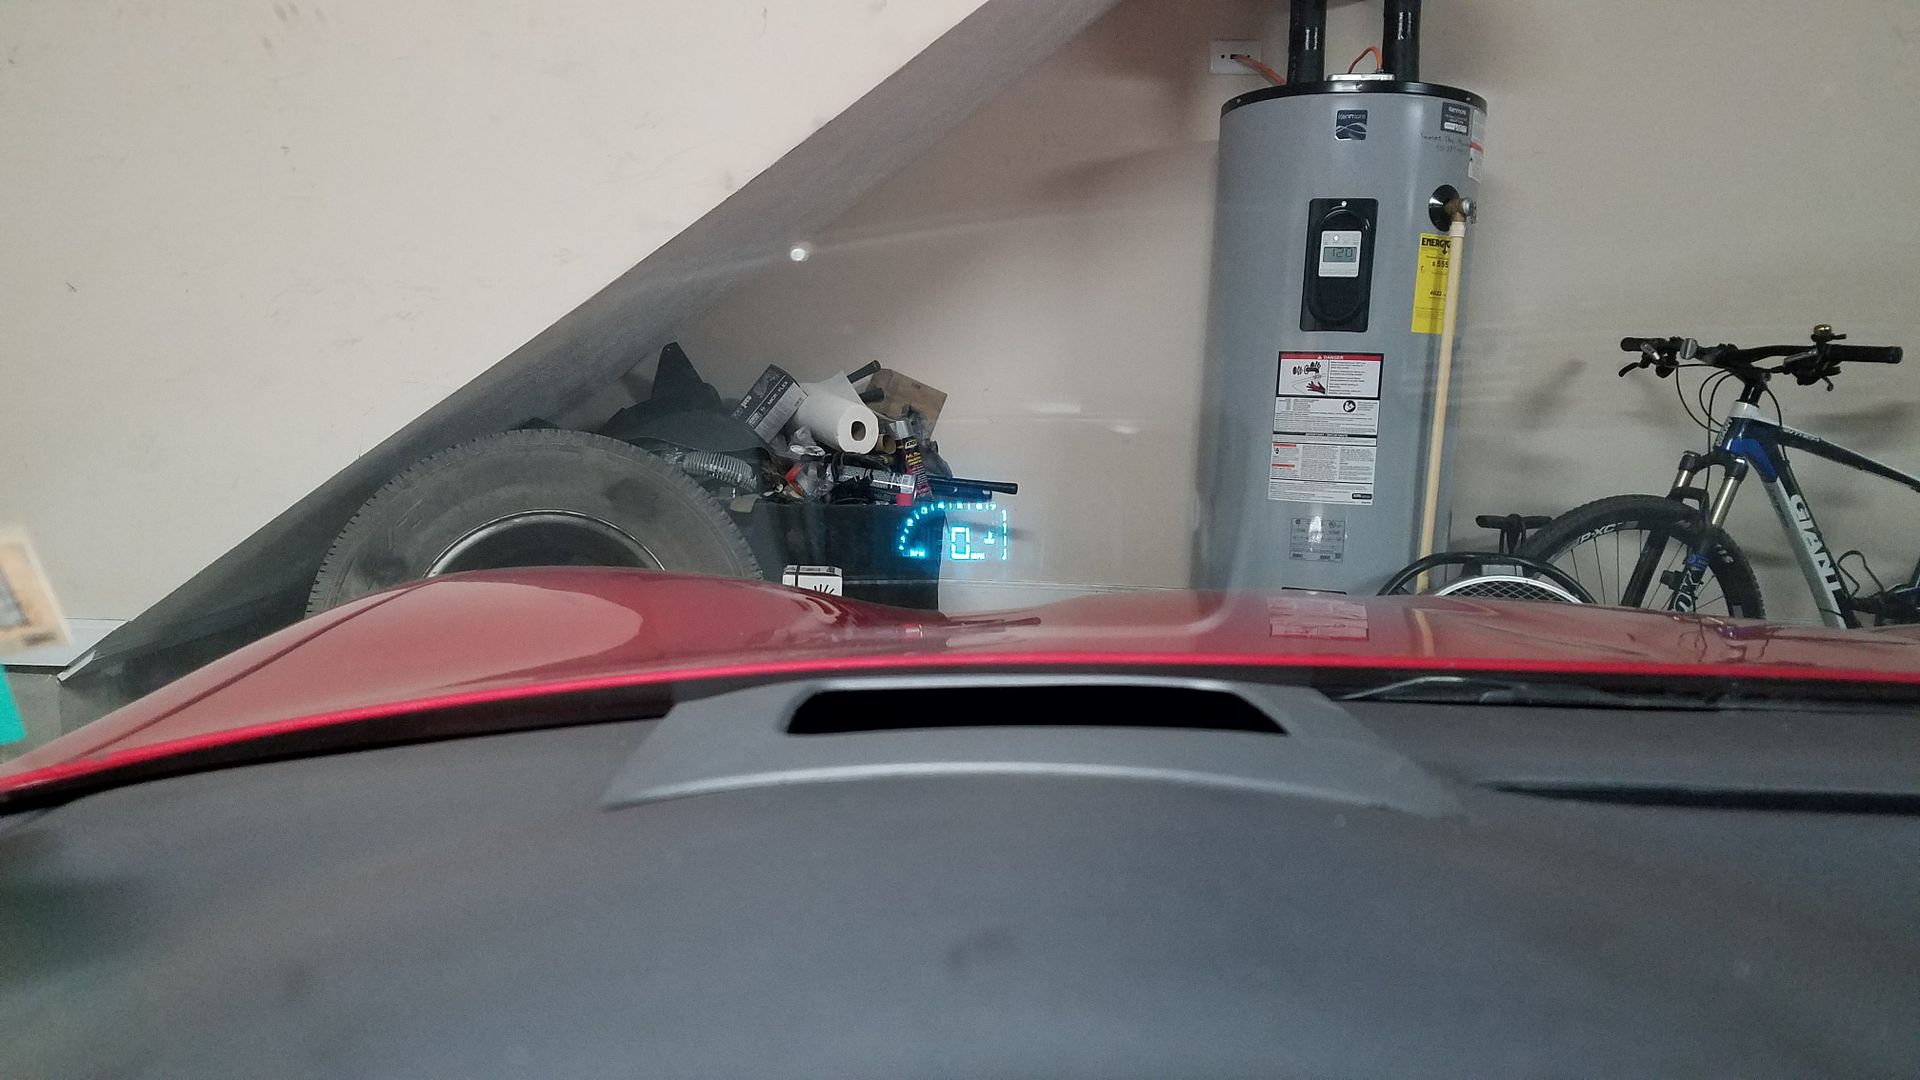
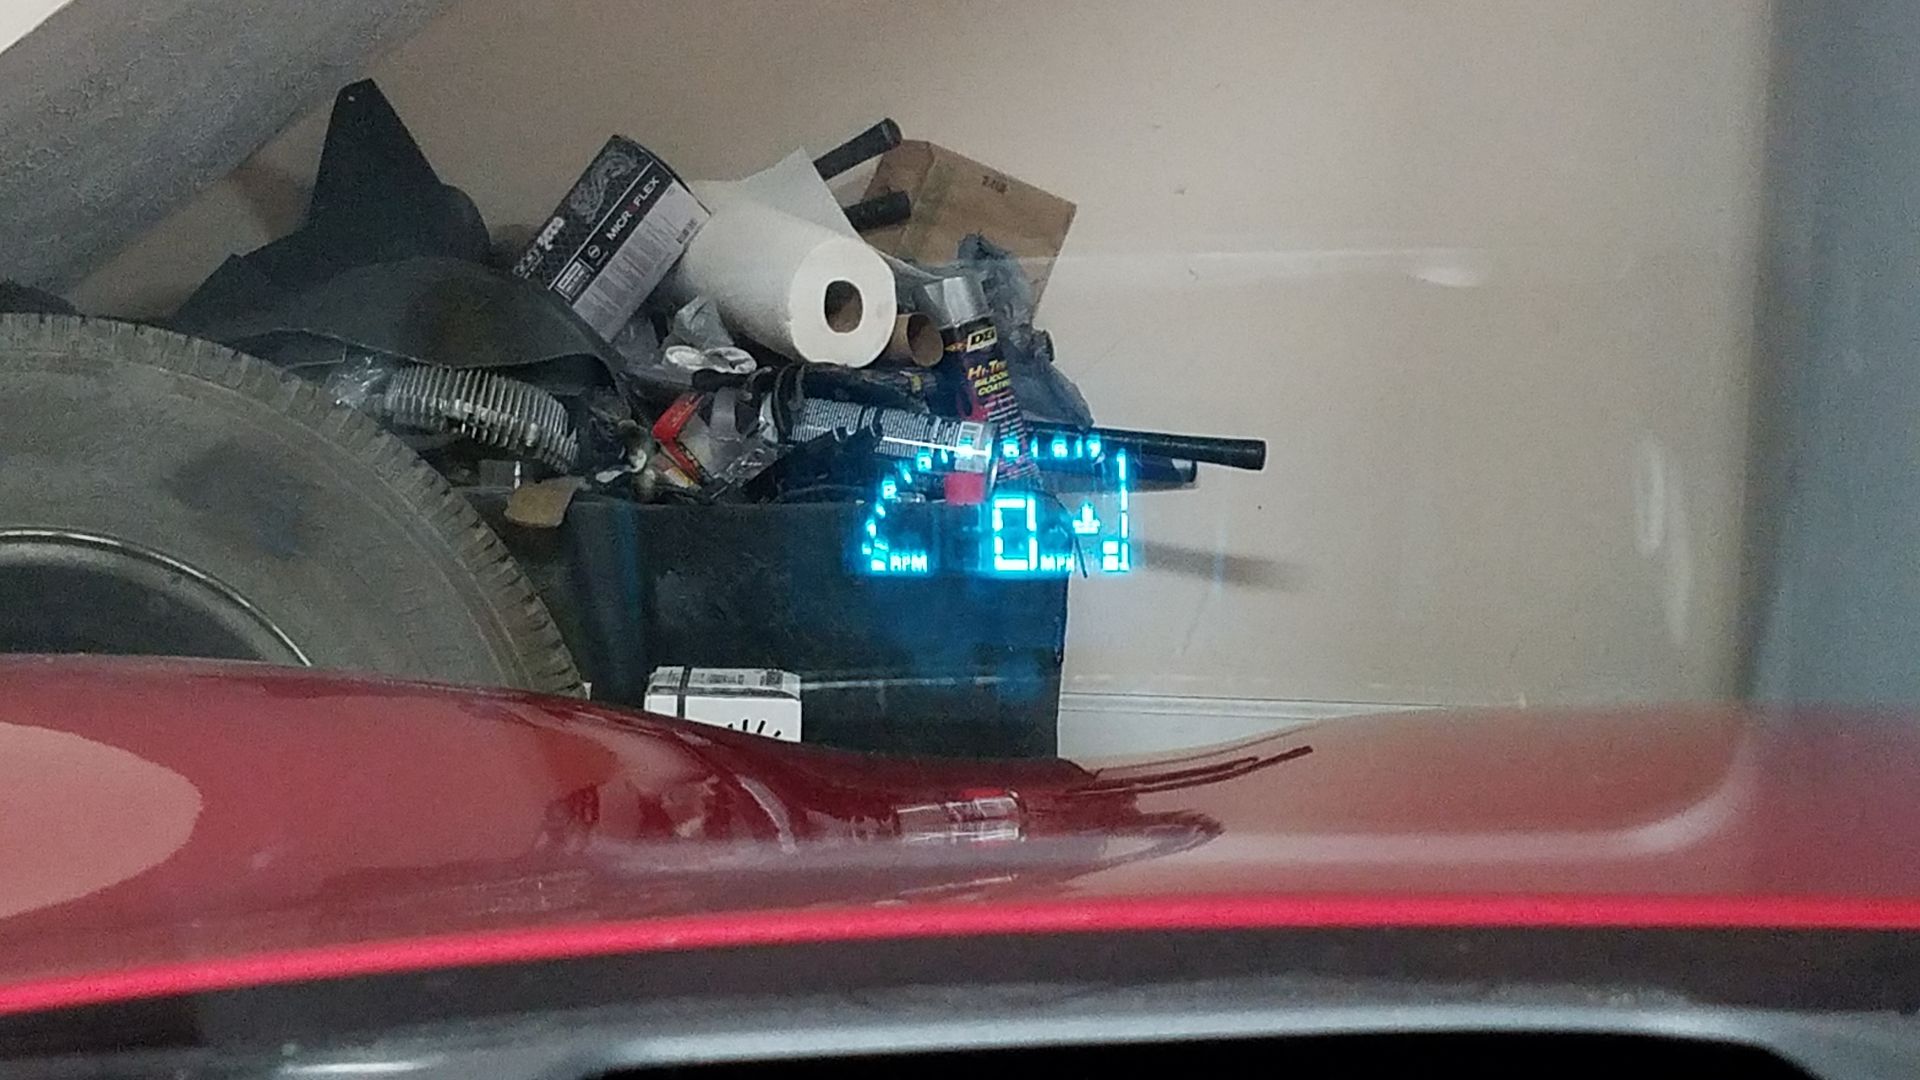
Sorry I didn't take any pictures of the dash cover mod for the projector plate. Dremel worked OVERTIME along with a razor blade! The finished product was worth it.
Now I actually need to start cleaning out the garage!!!
Last edited by MAJ_Charlie; 05-02-2018 at 11:04 AM.
Cheap adhesive strips supplied with the kit. Didn't stick worth a $@#%!
I ended up putting my Dremel to work! Made the holes and used license plate anchors and screws. Now it's secured! Wiring instructions were easy to follow. Everything worked on the first try
The new switch involved removing two T-15 torx screws at the top/rear of the instrument panel to be able to remove the old dimmer switch and replace it with the HUD/dimmer switch.
Sorry I didn't take any pictures of the dash cover mod for the projector plate. Dremel worked OVERTIME along with a razor blade! The finished product was worth it.
Now I actually need to start cleaning out the garage!!!
Sorry no pics, but last weekend replaced the (cracked) OEM Rad with a new ECP all aluminum Rad, changed the oil, and this weekend will be changing the diff fluid. Loving the Spring time weather!!
First time using a Snow Foam Cannon. Wow! I've had a power washer for years yet, I've never used a snow foam cannon until a friend brought one buy the house. I am sold on these things. Makes washing fast, easy, and lots of fun.
took it out of storage day before yesterday. By the end of the day yesterday had done oil change, filter, checked air filter (clean), replaced all of the splash guards (broke one last year, don�t ask. LoL), cleaned inside of wheels while off, and had System X ceramic coating done. Also hit any electrical connections I could get at with dielectric grease while it was on the hoist. Found a broken rear sway bar end link, part will be here Monday.
I got spoiled having a backup camera in our Toyota Highlander and wished I had one in the Vette.
After buying a new Gamin DriveSmart 50LMT GPS, I found that Garmin also has a BC50 back-up camera that pairs with the GPS, so I ordered one.
Yesterday I wired and installed the new backup camera. The transmitter for the camera plugs into the camera lead wire, and two additional wires off that same wiring are spliced into the power and ground wires on one of the wire harnesses to a rear backup light. I mounted the transmitter to the carpet bulge around the back trunk latch and hid additional wiring between the carpet and tub behind the trunk latch mechanism. I ran the main wire through a 3/8" hole I drilled near the top of the tub and ran that behind the license plate wall to the camera. After pairing, I roughly set up the guidelines while in the garage. I will need to refine that with parking lot space lines later. Just shift into reverse and the GPS screen switches to the rear camera. It works great.
First time using a Snow Foam Cannon. Wow! I've had a power washer for years yet, I've never used a snow foam cannon until a friend brought one buy the house. I am sold on these things. Makes washing fast, easy, and lots of fun.

 04-29-2018, 06:24 PM