When you click on links to various merchants on this site and make a purchase, this can result in this site earning a commission. Affiliate programs and affiliations include, but are not limited to, the eBay Partner Network.
Would be really great if you offered them already painted but I guess you could not fold them in half for shipping and that would be a whole new expense.
There is something weird going on with your posts E.T.
Your last 2 posts didn't show up until Faster5 posted, and now his post has showed up twice.
I promise you I would never disrespect you in any way.
The painters tape method was the only way I could think of to make the OEM marks identically on the duckbill bumper.
My posts are not weird, its me that is weird .just ask Kenny.. I thought your comment on painters tape was fine.. it looked like you wee just agreeing with my method.by repeating it. . Nothing here is taken too seriously. except personal attacks or disrespect.. I just cant get over that hump..
My posts are not weird, its me that is weird .just ask Kenny.. I thought your comment on painters tape was fine.. it looked like you wee just agreeing with my method.by repeating it. . Nothing here is taken too seriously. except personal attacks or disrespect.. I just cant get over that hump..
No Sir, it's not your posts that are weird, it that they sometimes don't show up until someone else posts after you do. Got to be a system glitch.
My posts are not weird, its me that is weird .just ask Kenny.. I thought your comment on painters tape was fine.. it looked like you wee just agreeing with my method.by repeating it. . Nothing here is taken too seriously. except personal attacks or disrespect.. I just cant get over that hump..
um....Kenny my ****.......you DO NOT want to ask Kenny............
Ok guys, I picked up my bumper yesterday and have it in my basement now.
I have the ACI braces and JB Weld ready, but I don't have any clamps yet.
As soon as I get the lower fascia braces on and cured, im going to get the bumper on the car, finally!
As soon as I get it on, I'll post up a picture.
Sadly, it's gonna have to be repainted due to runs in the rear vent areas and trash in the paint, but after what I've been through so far with it, that's not big deal if it fits well. It will definitely just be a scuff and shoot this time.
Good to hear! I'm still faced with weather that's way too cold to be working on the car, and potentially a foot, to a foot and a half of snow, in the next 2-3 days.....
Good to hear! I'm still faced with weather that's way too cold to be working on the car, and potentially a foot, to a foot and a half of snow, in the next 2-3 days.....
I hate winter! It hasn't been too bad here yet, but we're supposed to get some pretty cold temps this weekend.
Fortunately my basement is heated, so I can work on mine during the winter months and just enjoy it the rest of the year.
I wanted to ask you if one tube of the JB Weld was enough for both braces?
I was using my heat gun to remove and replace the letters on my front license plate cover last night and decided to heat the spots where the braces go and bend them back to shape. I was amazed how much heat it took. I had to use a rag to hold it in place until it cooled, but now it's ready for the braces when I get some clamps.
I really think the bumper will be just fine when it's bolted in place on the car. It seems even more sturdy now with the paint applied. To bad I'm gonna have to have it repainted, but my first paint guy did great on the prep work and didn't charge me anything, so I'm just out for my time waiting so far, and a scuff and shoot should be very affordable.
Also, I was looking at my OEM fascia today and its deformed just like the ducktail in that lower area.
�..Fortunately my basement is heated, so I can work on mine during the winter months and just enjoy it the rest of the year.
I wanted to ask you if one tube of the JB Weld was enough for both braces?
Also, I was looking at my OEM fascia today and its deformed just like the ducktail in that lower area.
My basement is fairly warm, but I'd never consider doing any spray painting, beyond maybe a model car, down there. Consequently, all I can do is drill the holes for the lower retaining tabs, the tail lights, and the license plate/back-up lights, then wait until the weather is more co-operative, to continue the project.
The JB Weld comes in two formulations, black or tan. I wanted to use the black, and research showed that it was more difficult to find it. I wound up ordering it online, from "zorro.com". I wanted to make sure that I didn't run out, so I ordered 4 packages of it. I wound up using only 2 of the packages, one for each brace. One thing to note, once you thoroughly mix the glue, it starts to activate pretty quickly, so make sure that you have all of your clamps, tape, etc, etc, on hand and ready to go. I also scuffed both the inside of the fascia, as well as the braces themselves, with 100 grit sandpaper, and cleaned them thoroughly with wax/grease remover, before applying the glue.
When I first got my C-5, back in 2001, there were already horror stories going around about the heat from the mufflers deforming the rear fascia. Therefore, I installed a pair of the braces on my OE fascia, about a year later. They're still in place, and keeping my fascia "in shape". Back then, I used RTV to hold them in place, even though I seem to recall they were described as "snap in".
Hey guys, I’m sure some of you follow him but if not check out his channel on YouTube. He has a backyard build C5 which I’m sure a lot of you can appreciate. Anyway he’s getting ready to install our rear bumper, so figured I’d post this up...check him out and subscribe to his channel
Update: I now have my ACI braces on. Thanks leadfoot4 for the info on the JB Weld. 1 tube per side was the perfect amount needed, and yes, it sets up quickly! I had everything in place and ready to clamp them down. I don't think I'll ever have to worry about them coming off. That stuff is amazing!
I got all the lights off the OEM bumper today, located the six holes across the trunk lid with the painters tape, transferred it over to the ducktail bumper, and drilled those holes.
Hoping to get the OEM bumper off on Friday and to have the ducktail bumper on by Saturday.
If it fits well, I hope to have it at the paint shop early next week. It will just need a little bit of sanding, filling a handful of pin holes, and paint, so I don't expect it to take but a couple of days to get it done.
Man, I can't wait to get this bumper on! It is really going to complete the look I've been working toward for my body mods.
Glad to hear that you're making good progress!! Although we had a break in the weather, yesterday, and the temps actually rose to the high 30s, it's snowing again today (at least I was able to wash down the winter cars!). And based on the advice I got from resident CF body shop guru, "DUB", I'm waiting for warmer weather to get my fascia fitted and painted.
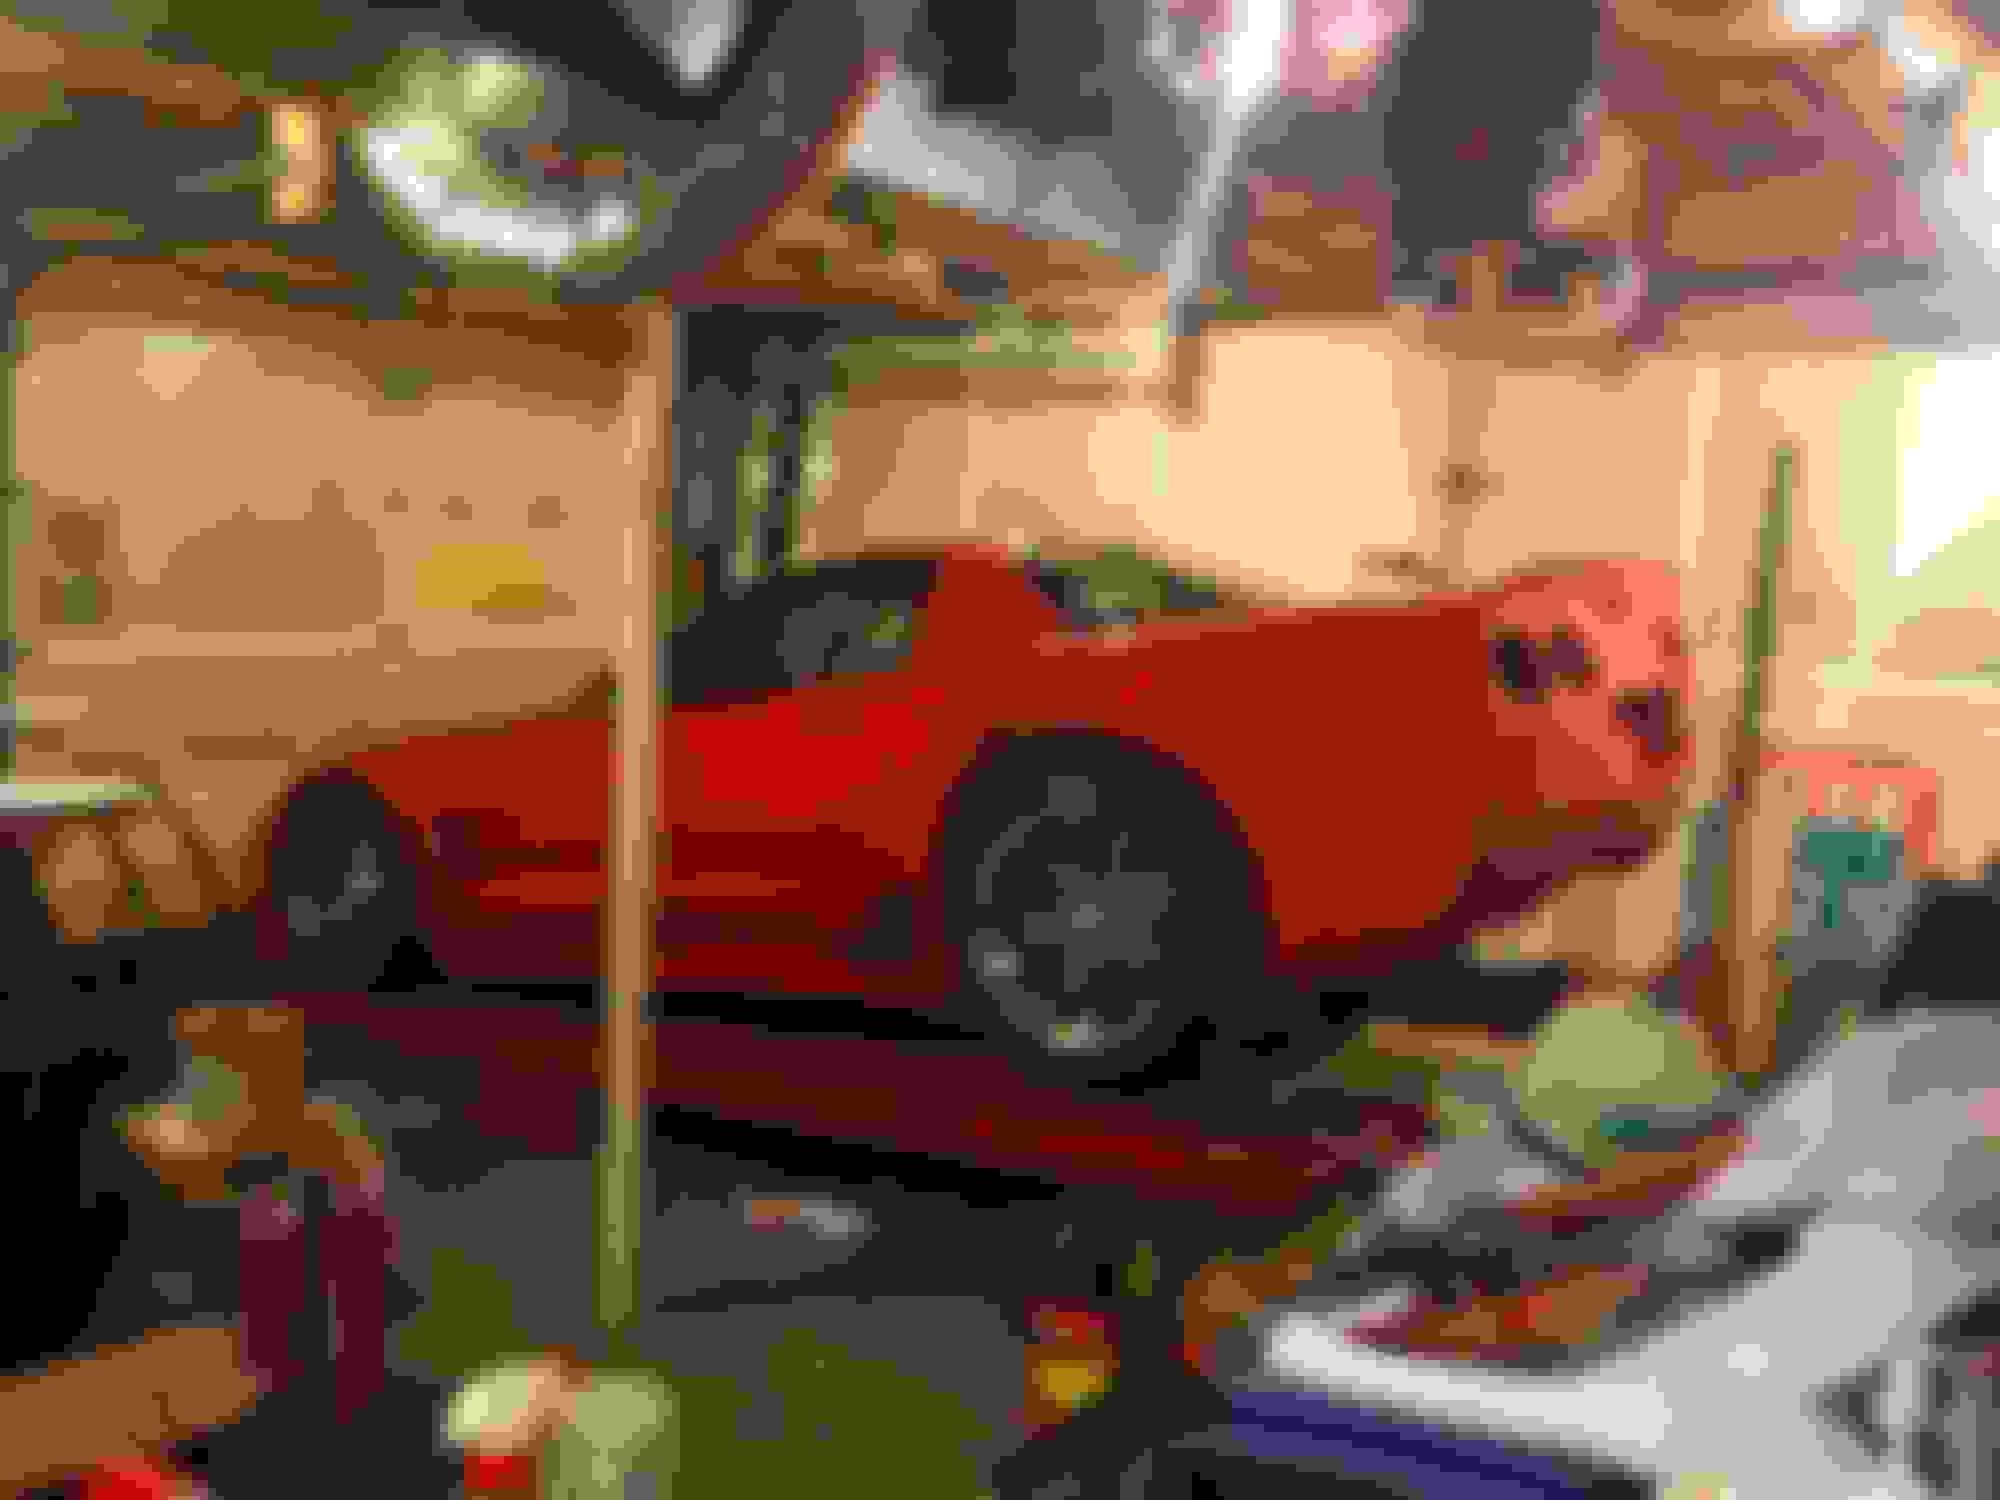
Progress has been very slow because of my nerve damage in my back, but I'm ever so slowly making some. As stated previously, the ACI braces are on, the OEM bumper is off and all lighting, and the ducktail bumper is now hanging on the car with a few clamps. Hoping to have it bolted on soon, then off to paint.
Note: These things are very difficult (stiff) to work with in cold weather. My basement on the finished side is heated and the garage stays pretty warm, but if I didn't have a heat gun and alot of patience, I wouldn't have gotten this far yet.
Last edited by lewislgZ06; 02-01-2019 at 01:14 PM.
Reason: Attempting to add photos
I drilled out the holes for the taillights, the license plate bracket, and the 4 tabs on the bottom of the fascia, but that's as far as I've gotten. It appears that you remove the bolts along the perimeter of the fascia, by reaching through the taillight openings, correct?
I drilled out the holes for the taillights, the license plate bracket, and the 4 tabs on the bottom of the fascia, but that's as far as I've gotten. It appears that you remove the bolts along the perimeter of the fascia, by reaching through the taillight openings, correct?
Correct, everything is accessed through the tail light holes. 4 bolts down the sides, and two at the bottom.
I had to dremel around my tail light openings to get my Radioflyer LED tail lights to slide in. If yours are OEM, you probably won't need to. I'm also gonna need to drill and dremel another place in the middle of the license plate frame for a piece that goes through that. It's a lot more time consuming than I realized, but I'm enjoying doing it myself, when I'm able. After about 5 hours of working on it yesterday, I'm laid up today.
It appears that it's going to fit well, but it would be so much easier to work with if it was a lot warmer. Once I got it clamped, I spent a lot of time with the heat gun getting it to move into place. It seems very sturdy with the six screws on the top, the four tabs on the bottom, and three small clamps on each side, holding it in place now.
I think the juice is gonna be well worth the squeeze!
Last edited by lewislgZ06; 02-01-2019 at 05:23 PM.
So Far, so good... fingers crossed that this will workout for Pete and all those who bought in. One point of interest in the design, while it seems to flow well with the C5 's design. ( 20 years old ) This is a good thing, since the C5 design seems to still be relevant.
I noticed that a side view appears to make the rear end look shorter. Of course it is not any shorter but the integrated design of the fascia and spoiler makes it appear to be shorter.
I am enjoying the evolution of this modification.. Hoping the structural integrity stays positive through the heat cycle of the summer season.
Bill aka ET
Correct, everything is accessed through the tail light holes. 4 bolts down the sides, and two at the bottom.
I had to dremel around my tail light openings to get my Radioflyer LED tail lights to slide in. If yours are OEM, you probably won't need to. I'm also gonna need to drill and dremel another place in the middle of the license plate frame for a piece that goes through that. It's a lot more time consuming than I realized, but I'm enjoying doing it myself, when I'm able. After about 5 hours of working on it yesterday, I'm laid up today.
It appears that it's going to fit well, but it would be so much easier to work with if it was a lot warmer. Once I got it clamped, I spent a lot of time with the heat gun getting it to move into place. It seems very sturdy with the six screws on the top, the four tabs on the bottom, and three small clamps on each side, holding it in place now.
I think the juice is gonna be well worth the squeeze!
Other than the holes along the sides, the only additional drilling I have to do, is the "slots" for the center brake light. Then, when it gets warmer, I'll pull the OE fascia, "rough it in", then drill the holes on the sides, then send it out for paint.


 01-04-2019, 07:11 PM


 ...his posts ARE weird....


 ...sometimes and sometimes not so much...this time yes...


 ...you DO NOT want to ask Kenny.....
 .......