When you click on links to various merchants on this site and make a purchase, this can result in this site earning a commission. Affiliate programs and affiliations include, but are not limited to, the eBay Partner Network.
Amazing story. Glad you were able to see your dream car come into your life so early in life. Now that you're getting your son involved it makes it even more special. Thanks for taking the time to post your car and sons life lessons for us to enjoy. Keep up the great work.
Originally Posted by Route99
Dino, I join with the others in saying thank you for the interesting story line to accompany the photos and how tos for some of the work you have done. It's so great to see you including your son in all this. Undoubtedly, he'll follow in your footsteps with both an appreciation of cars and a love of Corvettes! Great wife to keep you moving forward, too! Looking forward to more postings.
Originally Posted by Vetteman Jack
Great story and awesome that you get to share your Corvette journey with your son.
7/5/2017
My wife went to pick up the Momo steering wheel. It was worth the wait. A few more parts came in today too, like a couple of tensioners, head bolts, NRG steering adapter, thermostat, axle nuts and belt. I’ll have an entire parts list of everything purchased soon.
7/6/2017
Hose dress up kit arrived.
7/7/2017
Corbeau Seats are in. I can’t believe the quality of these seats. I’m glad I spent a few hundred more to get something that feels like this. Highly recommended.
Harrison approves of them too.
And a few more parts are in, cam, valve springs, timing chain, intake, etc. I can't believe my wife allowed him to play like this considering she'll be cleaning it up afterwards. But boy was he happy!
SAFETY NOTE: it looks like you have only the 4 jacks under the suspension crossmembers. that'll hold the car up but the jacks are closely spaced and it's tippy side to side. 2-4 more jacks under the factory jack points please! especially when you are putting major torque on those big fasteners.
Corbeau Evolution X for the win. I am on my 2nd set (in my 2nd vette). Just enjoyed them 10minutes ago on the drive to work today.
Good choice on the steering wheel too - and looking forward to your wrestle with the stocker. it's a bear.
7/19/2017
I opted for the BC Racing Coilovers. Saw nothing but good reviews on them and couldn’t really beat the price either. It took about a month to get them in; I ordered them on June 27th, 2017. Like I mentioned earlier, this car will be riding on independent suspension. Having driven my lowered C6 (on stock bolts) I can truly say that the ride comfort is nonexistent. It truly feels like you have no suspension whatsoever.
Here’s a photo of all the parts that I got so far. Boxed up and stored in the trunk.
8/3/2017
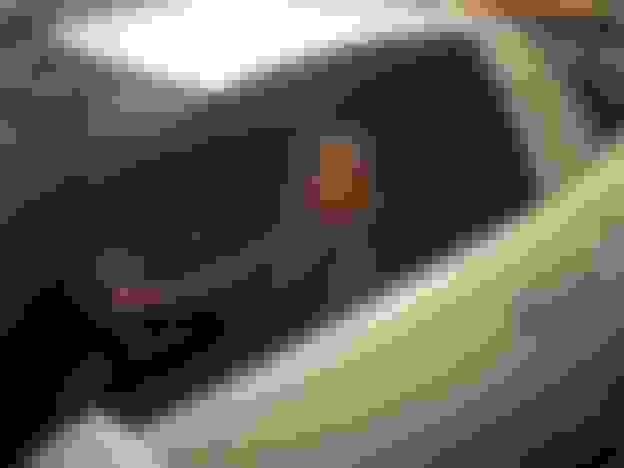
Time to get the steering wheel replaced. This had to be one of the most painful things I’ve done on the car so far but it’s doable. I was also a nervous wreck thinking the airbag was going to explode at any minute. You’ll need a star key set to get started removing the airbag.
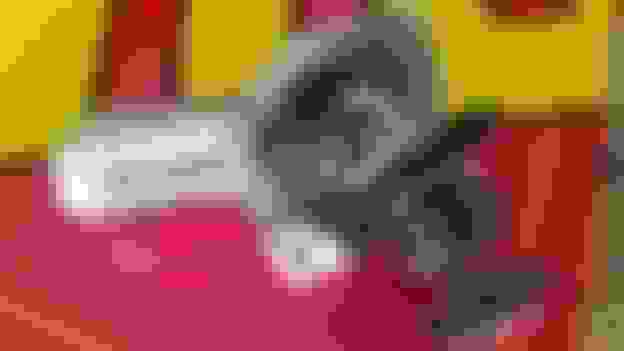
The photo below shows the location to access the bolt that you’ll have to remove to get the airbag out. It’s on the back of the steering wheel.
Once that bolt is out, you can start removing the airbag.
And like magic, the airbag is out. Take your time disconnecting the connectors.
Time to remove the main nut from the steering wheel. You’ll need a 21mm socket.
Then it’s time to attach the steering wheel removal tool. I can’t believe it, well actually I can, but my dad had one laying around the house.
There’s really no other way to remove that. Work really slow since that tool will slip on you if you don’t have it perfectly positioned. I have seen videos of people beating it with hammers for hours to get it to budge. It took 10 minutes with the tool.
And after losing approximately two pounds to sweat, the steering wheel is out.
I have no idea where the photos went but like magic, here’s the MOMO steering wheel installed. The process is not too complicated. You do have to put on the steering wheel adapter. I also purchased the quick release so that was installed too. Just follow the instructions that are included. There’s really no way to mess up. I did have to add a 2-ohm resistor to trick the airbag light from not coming on. Here's a good write up on that:
After some painful attempts, I had to get my wife to help me to place the quick release into the steering wheel adapter. It’s way too snug and will probably not be doing any quick-releasing any time soon.
Quick note, the NRG steering wheel adapter is quite snug with the plastic on the back and you'll hear it ever so slightly when you turn. I may take that plastic off eventually and sand it down slightly to eliminate the noise.
This is an amazing read! Keep it up! Aweosme that your son is so involved too!
Thanks!
Originally Posted by acroy
Badass! great write up. Enjoying it with you!
SAFETY NOTE: it looks like you have only the 4 jacks under the suspension crossmembers. that'll hold the car up but the jacks are closely spaced and it's tippy side to side. 2-4 more jacks under the factory jack points please! especially when you are putting major torque on those big fasteners.
Corbeau Evolution X for the win. I am on my 2nd set (in my 2nd vette). Just enjoyed them 10minutes ago on the drive to work today.
Good choice on the steering wheel too - and looking forward to your wrestle with the stocker. it's a bear.
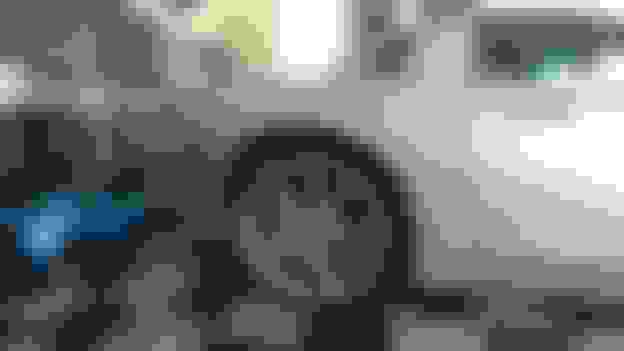
Thanks for the kind words and for the safety concern. I thought about that too. What you don't see in majority of the photos is that when I do start working on it I actually have 2 jacks that I use to help keep the balance. Here's a photo of something recent but you get the picture nonetheless.
8/26/2017
Time to start painting some of the parts that I took off. This took forever. Not only did I have to clean off all the grease that was on these suspension components (my fault PB blasting it) but I also needed to remove the dirt and oxidation that accumulated on them. A steel brush isn’t going to do the trick. I spent days with the Dremel tool and wire wheel attachments working on it. It was even worse when it came to the calipers. But after some time, about a hundred Dremel wheel wire brush attachments, a gallon of Lacquer Thinner and a few bottles of Prep-All, it was time to start painting.
9/24/2017
Quick note: don’t paint the suspension components with the suspension paint that you can buy. It will chip like mine did. I painted some with primer and other without and they both chipped. Had to sand it all down and repaint all the components with caliper paint. It was the brush on kind and not the spray can kind and it worked like a charm.
9/29/2017
Today I decided to remove the rear leaf spring and do some painting.
Took out the bolt attaching the leaf spring to the lower control arm.
I had to disconnect the tie rod end so that the leaf spring can be slid out. It’s under a lot of tension.
After that I took out the bolt on the other side that holds the leaf spring to the other lower control arm and slowly removed the brackets from underneath the car that hold it attached to the frame. And out comes the leaf spring.
I proceeded to strip down all the excess rust that had built up in the wheel well. I used rust to black primer and let it sit for about 8 hours for it to do its thing. After that, I used black caliper paint and brushed it on anything that needed it. I also removed the brake line since most of the brake fluid had drained at this point.
9/30/2017
I think it’s about time to start putting some components back on. Things start moving fast from this point on since I finally got some time to relax. Let’s start with the BC Racing Coilover and the stainless-steel brake line.
Of course the family’s here.
In goes the upper control arm.
Slowly but surely other pieces start making their way back.
Harrison started working on his own Corvette.
After bolting up a few things, here it is.
Time to put the rotor and caliper on.
And here’s the finished product, only three more to go…
I guess it’s about time to start working on the other side.
10/1/2017
I spent a good portion of the night painting and getting the parts ready to install. Time to start putting the other side back together.
And the rear passenger side has been put back together.
10/2/2017
I got a little ahead of myself and took the front passenger side off. This one was a bit more painful considering I had to remove the shock as well. You’ll have to get access to it from the top and of course it requires a special tool to hold it from spinning. I got some locking pliers and held it in place while I unscrewed it from the top. Very painful process without the right tool but the shock is going in the garbage anyway.
10/7/2017
Front passenger side suspension components removed and ready for some deep cleaning and oxidation stripping.
This process takes the longest. It honestly takes me days to get everything cleaned and ready for paint.
10/9/2017
Everything in the front passenger wheel well has been painted and reassembled.
10/15/2017
The day has come to start putting the body components back on. I got the rear done today and will do the front tomorrow. Once it’s complete it’ll be time to start working on the interior.
10/16/2017
Time to put the front end back together. The one thing that I forgot to do, even though I bought it previously, is changing the gear in the headlight motor since it’s grinding when the lights flip down, so I guess I’ll be taking apart the front end soon again.
And she has officially been put back together again.
It’s been some time since I’ve seen her sitting on the floor like that.
10/20/2017
The suspension has had some time to settle. I think I’m going to lower it even more (just slightly). I did take her for a spin and there’s a piece of plastic at the bottom that helps direct the air into the engine. The car is too low, and it scrapped like crazy, so as soon as I got home I took that piece out.
10/21/2017
Didn’t take too long for me to start working on the interior. Time to gut it and start fresh. I started off by creating the wiring harness for the Kenwood Double Din player. This was a process but luckily there were some helpful tutorials online to get me through it. I got the following parts for the radio.
97 - 04 Corvette Car Stereo Aftermarket Radio Install Wiring Harness Plug Bose.
Kenwood DMX7704S Double 2 DIN Media Player Android iPhone HD Radio Bluetooth
Kenwood DMX7704S Night Vision Color Rear View Camera – Black Metal Frame
Kenwood DRV-N520 Drive Recorder Dash Cam HD Camera DMX7704S Collision Warning
That way, since I already have most of the interior out, I can do the front dash camera and rear view camera too.
And the seats are out.
10/22/2017
Okay, got the blade and time to do some cutting.
The player fits and bolts up decently.
It’s about that time to install the Hurst Short Shifter. Pretty simple install.
I was even able to reuse the old boot.
Now it’s onto the most difficult, in my opinion, part of this whole thing: getting the center trim to fit perfectly around the double din player. I thought about buying a pre-made one online, but for the price I thought I’d give it a shot and see if I can do it myself. Since I’m going to be relocating those hideous HVAC controls to the glove box, I just needed to get rid of that plastic piece in the middle. Here’s what it came out looking like.
After sanding it down the first time, it came out looking decent. There was still more work to be done.
10/27/2017
The Corbeau 5-Point Harness came in today.
Harrison was having a blast with it.
10/28/2017
After looking around the house for something that I can use to help finish manufacturing the center trim, I stumbled upon a storage bin. The lid had plastic that was thick enough and easy to cut. I kept measuring everything out until I came up with this.
It was time to put some bondo on it and get to sanding later.
11/12/2017
Today Harrison and I worked on the HVAC wiring. Needed to extend it. After I soldered everything, he came in to help me hold the flashlight.
The wiring was run behind the dash and out towards the glove box. The best part is, there is a plug in the glove box that you can remove and push the wiring through. The bad part was that I already soldered all of the wiring to the connector. I had to cut the wires again and re-solder them in order to get the wires to fit through that plug. I also put the center trim back in; fits like a glove.
11/13/2017
The HVAC Controls have been successfully relocated to the glove-box. Word of caution, if you plan on doing this, and you have a 5-point harness, you will not be able to reach your glove-box unless you release the tension from your harness. I did have to cut the mounting plastic pieces off of it to get it to fit like that.
11/14/2017
The harness bar arrived so I decided to install it, install the harnesses and install the seats in order to complete the interior. I removed the existing seat belts and tucked them underneath the carpeting. While everything was still torn apart, I ran the wiring for the amplifier in the back.
After struggling with the seat brackets a little, I finally got the seats in.
11/15/2017
I finished with the wiring in the trunk. The amp and sub are done. I can officially say that the interior is fully complete.