When you click on links to various merchants on this site and make a purchase, this can result in this site earning a commission. Affiliate programs and affiliations include, but are not limited to, the eBay Partner Network.
Does anyone have a bookmarked thread with good install pictures of the Vararam install? I will be tackling this soon and everything I can find talks about how it's a PITA and links with in the threads seem to no longer be working. Hoping to find a good thread with instructions to mull it over before beginning.
Not sure why many say it's a huge PITA it doesn't look bad at all, but then again I don't want to eat my words. Thanks for posting the links to the videos.
If the CEL comes on it’s common with Z06 vararam installs.
I offer no advice, just know it’s in the tuning. Nothing I can explain specifically (I have zero advice, please don’t ask, both now or years from now if you find this post) just that is very common z cars to have intermittent codes.
If that happens on your car, remove the vararam. Don’t chase the rabbit. Trust me.
If the CEL comes on it�s common with Z06 vararam installs.
I offer no advice, just know it�s in the tuning. Nothing I can explain specifically (I have zero advice, please don�t ask, both now or years from now if you find this post) just that is very common z cars to have intermittent codes.
If that happens on your car, remove the vararam. Don�t chase the rabbit. Trust me.
Car has long tubes, Corsa Extremes, and a tune. I'll take it back to the shop for a retune if need be. I imagine it has to do with the placement of the MAF or air turbulence. It's been a minute since I pulled the factory air ducting, but IIRC it has no honeycomb in place to smooth the airflow. Years ago I had a GTP and messing with the car I removed the honeycomb and it set the CEL. Of course that was a turbo car and this one the Z is NA, but I imagine it's the same concept.
I just installed an intake on my CTS-V and it set the CEL, and I'm almost positive that one has to do with the air turbulence. It's gotta go in for a tune now. Gotta love modding a car and how it quickly becomes a money pit
Not sure why many say it's a huge PITA it doesn't look bad at all, but then again I don't want to eat my words. Thanks for posting the links to the videos.
It's not as hard as I thought it would be. I watched (and followed the video) and the written directions. Good tip too on letting it float in the lower vents. The hardest part for me was trimming the last coupling... I was too nervous I'd trim it too short.
Also, MAF placement.... some left it in the factory position and others moved it to the front of the TB. I was one that left it and had no issues (granted I don't have a Z06 and do have an early C5.... '99)
Watch that vid three times as the rest of the vids out there are not nearly as thorough enough.
Do this mod when you have no distractions and take your time. Its not that bad but you will NOT be doing this in a hour or two, while you are in the middle of this, you will realize it is a perfect time to thoroughly clean your radiator and surrounding areas.
I didnt bolt down the ducts like Pounder mentioned either.
Good time to clean the MAF sensor & throttle body,
When trimming the rubber duct at the end, use a brand new razor and a metal ruler to clamp & guide/cut.
I am very happy with mine/about 4 hr job give a little, depends on how much cleaning you do
Doesn't look too difficult. What filter is used in this intake? K&N? One thing I've been noticing about the C5 from watching all of these youtube "how to" videos....GM sure used A LOT of plastic on these things. In fact, one could say they got more than a little carried away with it...
Doesn't look too difficult. What filter is used in this intake? K&N? One thing I've been noticing about the C5 from watching all of these youtube "how to" videos....GM sure used A LOT of plastic on these things. In fact, one could say they got more than a little carried away with it...
Doesn't look too difficult. What filter is used in this intake? K&N? One thing I've been noticing about the C5 from watching all of these youtube "how to" videos....GM sure used A LOT of plastic on these things. In fact, one could say they got more than a little carried away with it...
First and foremost I have the most awesome wife in the world! She loves turning a wrench and helped to make this job easier and faster. In total it took about 3 hours. The longest part was removing the metal clips to get the air dam removed. Got towards the end of the install and realized we were missing a coupler since I was reinstalling the carbon fiber air bridge. Lucky for us were also reinstalling the factory air intake on the CTS-V so we just used the one that came with Corsa intake. I'll have to order some so it's not a mix match of colored couplers, but for now it will do.
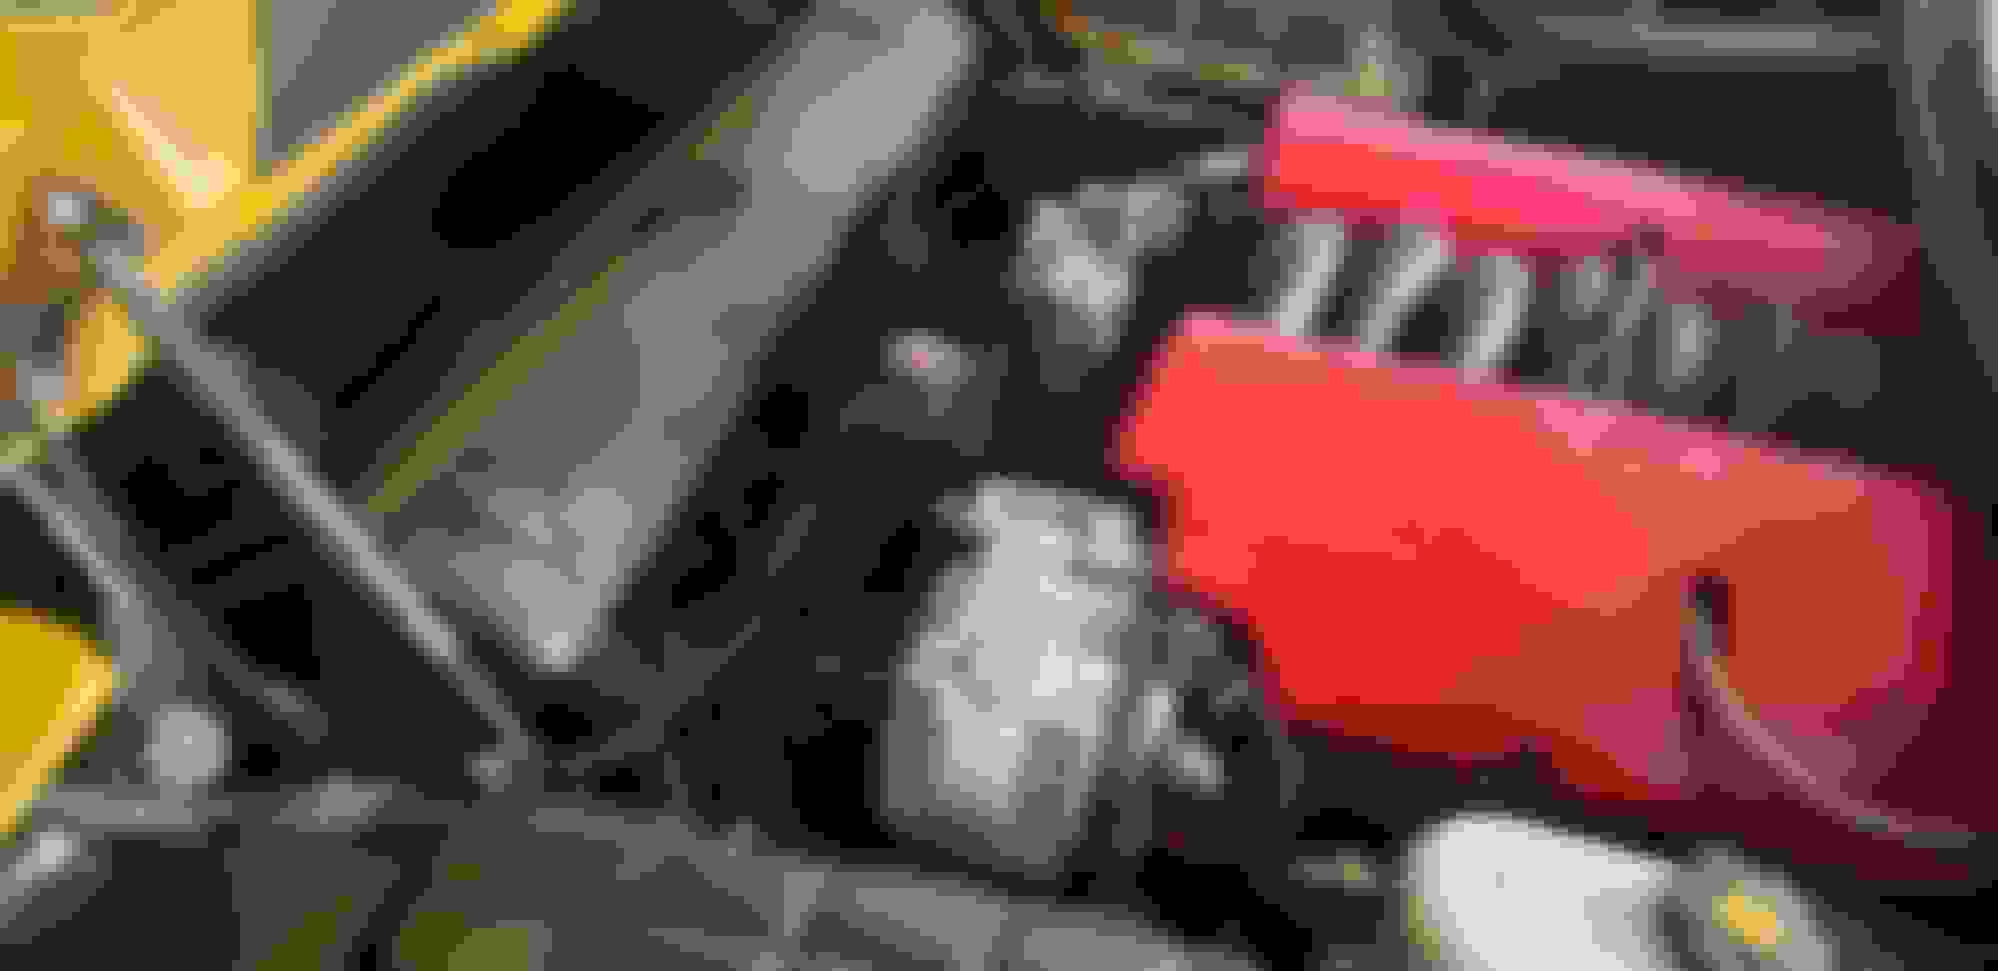
Vararam all lined up ready for install
Factory air bridge and blackwing intake removed
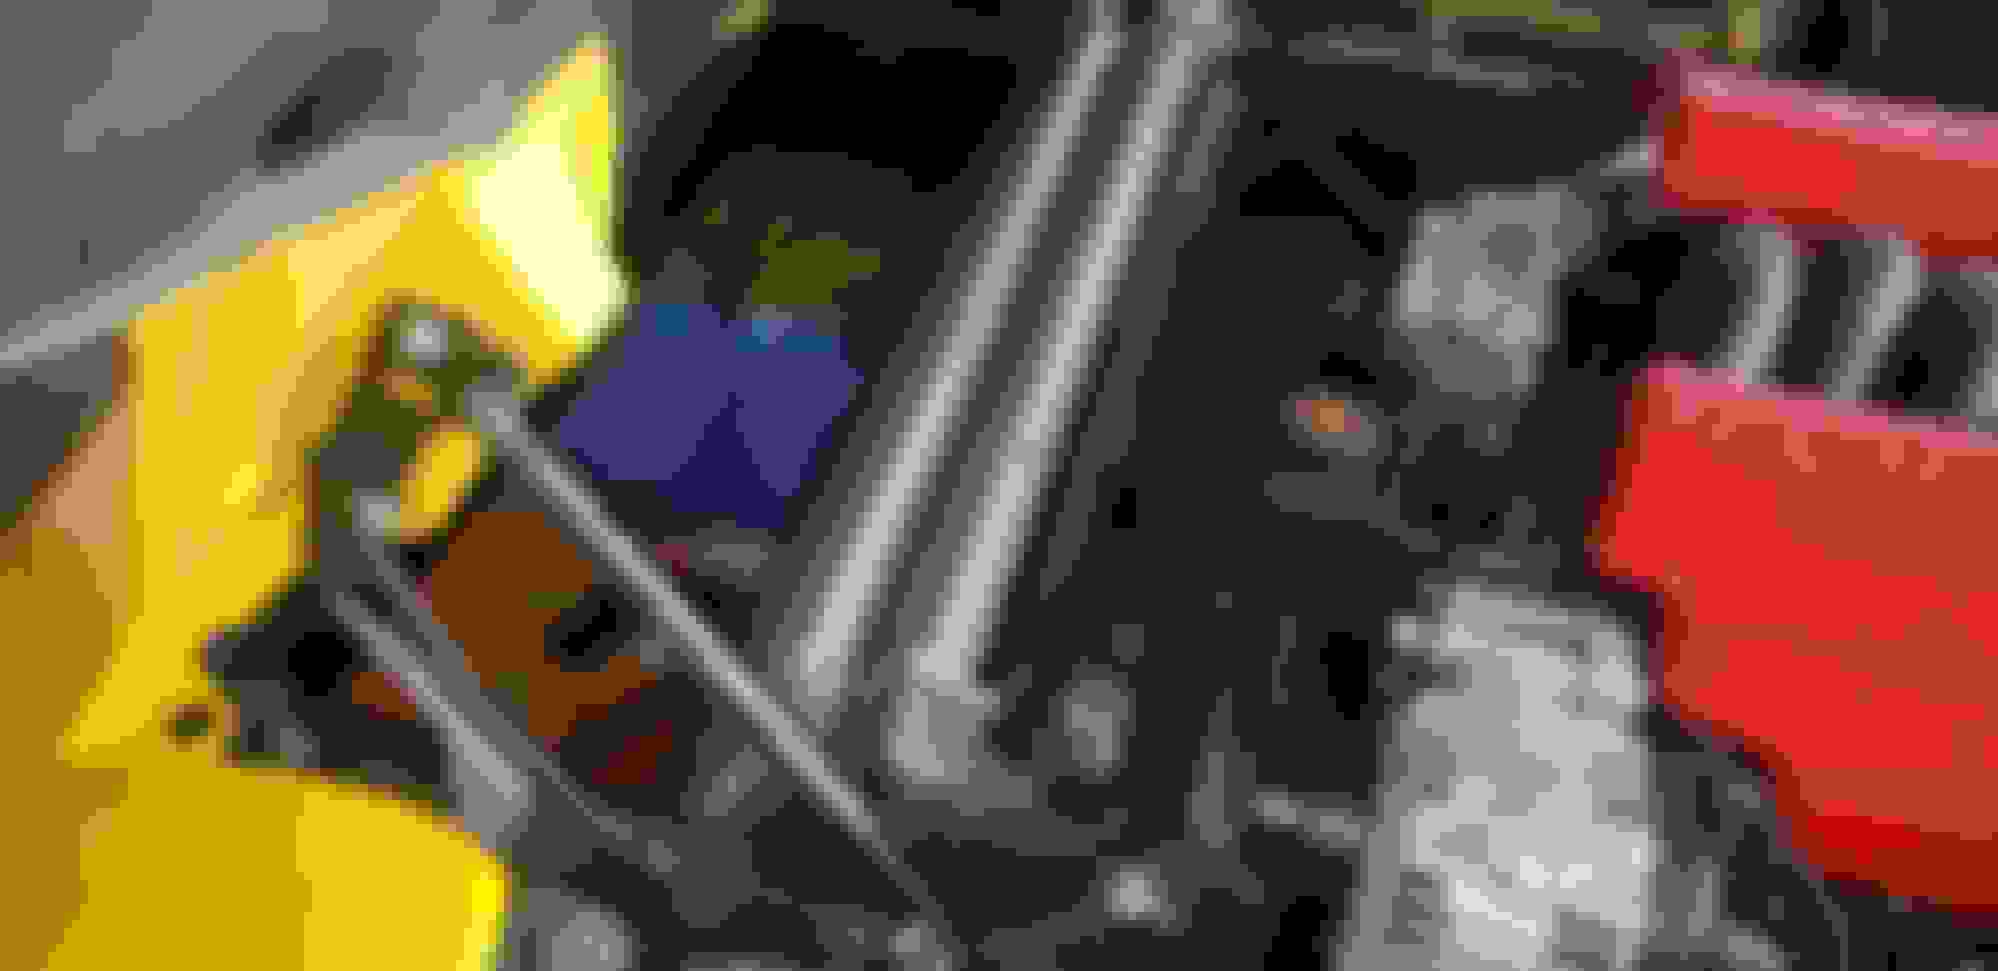
The PITA metal clips that have to be pried off. This is the part of the install that took the longest.
Air dam all removed ready for install
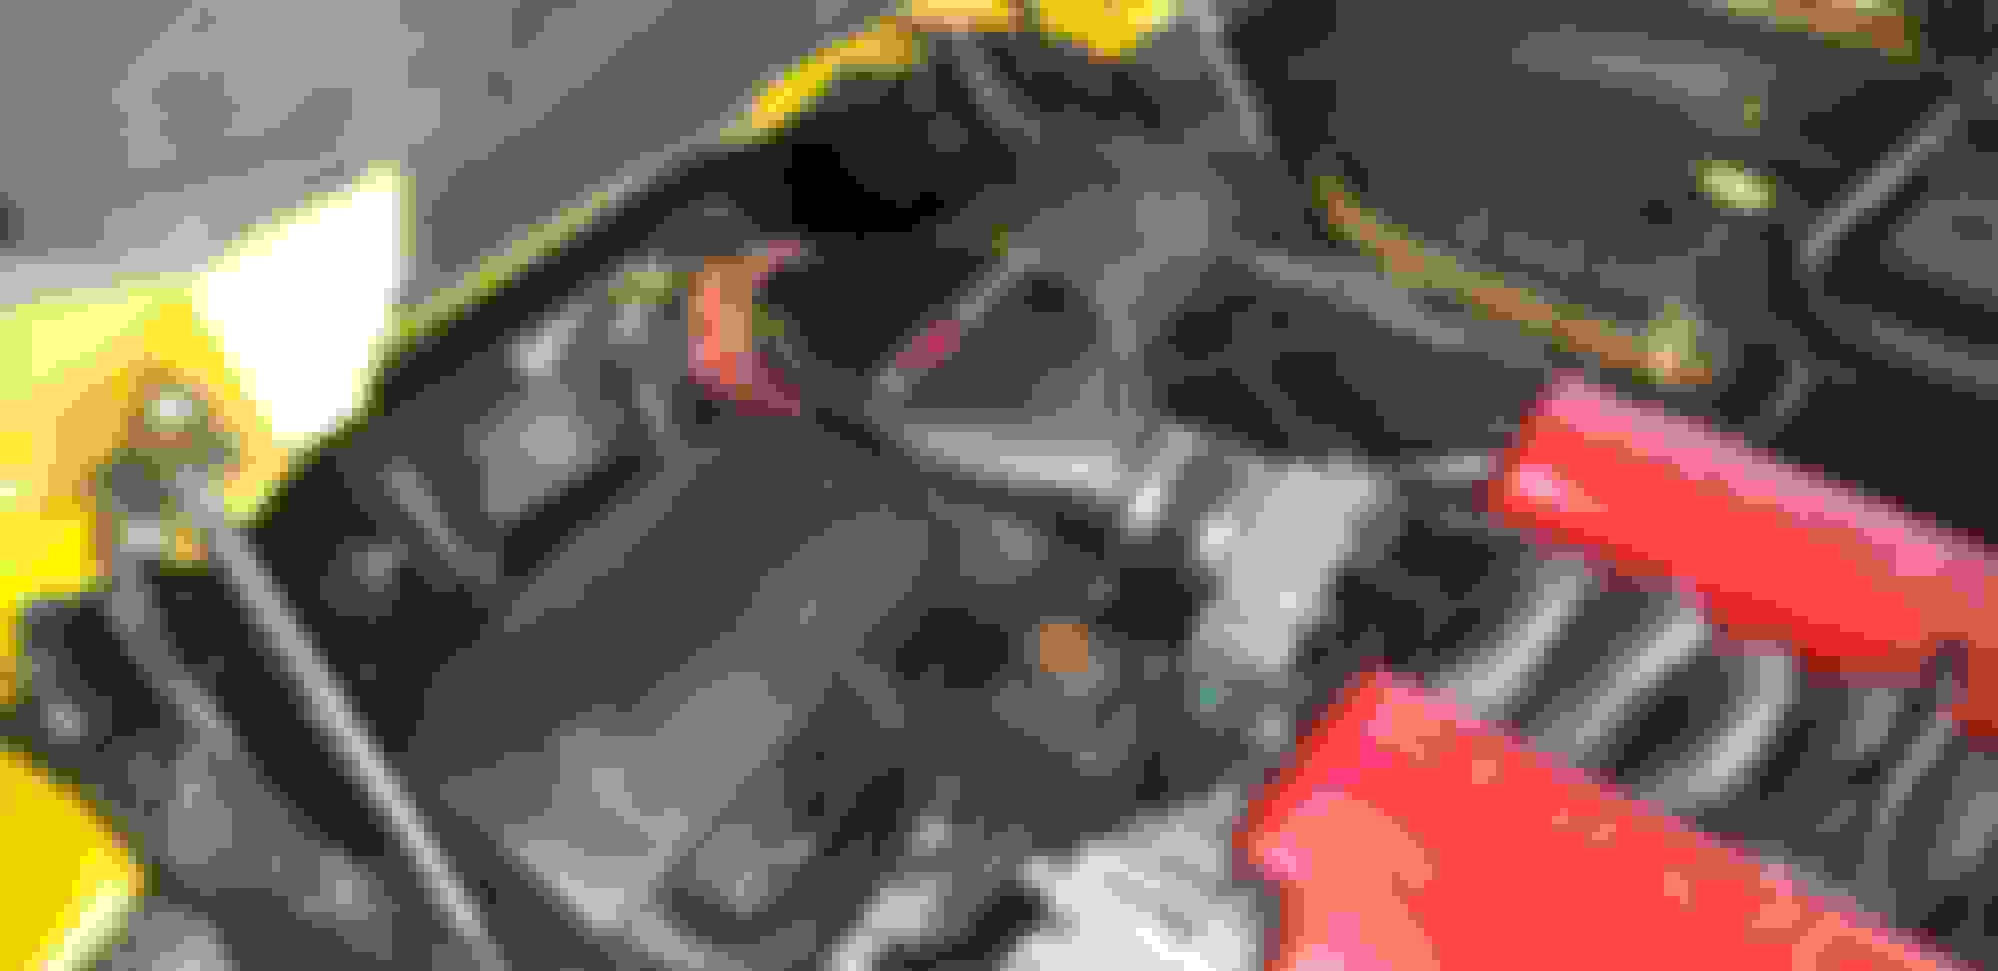
Look at those cheap flimsy GM screens that come on the Z06.
I had no trouble installing mine either. I read the horror stories about the install, but it was Fake news. Yes it takes some time, and you're working in tight spots like everthing on a C5. Question, did you leave your lower intake covers floating, or did you bolt them in the stock location? I left mine float per the video.
I had no trouble installing mine either. I read the horror stories about the install, but it was Fake news. Yes it takes some time, and you're working in tight spots like everthing on a C5. Question, did you leave your lower intake covers floating, or did you bolt them in the stock location? I left mine float per the video.
I left the lower intake covers floating as well. The intake isn't moving so I don't see it ever being an issue. The upper does a pretty good job of keeping it in place.
I left the lower intake covers floating as well. The intake isn't moving so I don't see it ever being an issue. The upper does a pretty good job of keeping it in place.
The reason they tell you to let hang loose is because the ducts won't even fit to the fascia.After putting the car up on a hoist, I tried to install the ducts individually and the passenger side duct was about a inch to short to completely cover the bumper cover opening. Spent about 4 hours trying to get a factoy looking install. I think it could be done, if you used the (heavily modified) factory covers. The idea behind the vararam is great, the execution not so much. I really wished they would have perfected the product, instead of going the cheaper route, and saying just let it hang. I can only imagine the GM factory putting it out hanging loose, and listen to the forum members ranting about the poor quality. If you are happy with the product, great. Just my experience. Ron B.
The reason they tell you to let hang loose is because the ducts won't even fit to the fascia.After putting the car up on a hoist, I tried to install the ducts individually and the passenger side duct was about a inch to short to completely cover the bumper cover opening. Spent about 4 hours trying to get a factoy looking install. I think it could be done, if you used the (heavily modified) factory covers. The idea behind the vararam is great, the execution not so much. I really wished they would have perfected the product, instead of going the cheaper route, and saying just let it hang. I can only imagine the GM factory putting it out hanging loose, and listen to the forum members ranting about the poor quality. If you are happy with the product, great. Just my experience. Ron B.
Couldn't agree more. They were so close and those brackets bolting up to the cover. Maybe there was a reason for the design. Who knows. You could definitly make the factory covers work with a little doing.
Designer Imagines A Corvette That Looks More Like a Corvette Than the Corvette
Slideshow: A Jaguar designer's personal project imagines what a modern front-engined Corvette might look like if Chevrolet revisited the golden age of the Stingray.