When you click on links to various merchants on this site and make a purchase, this can result in this site earning a commission. Affiliate programs and affiliations include, but are not limited to, the eBay Partner Network.
Hey everyone. A few weeks ago I installed some hood louvers. I figured I'd post up a thread on the install process in case anyone is interested. I would like to start by giving a HUGE shout out to Lakeside Auto in Richmond, VA. They're a fantastic shop that specializes in Corvettes and classic cars. I've had a great relationship with them over the years. Unlike most shops, they actually allowed me to help work on the install. I was very concerned about just cutting into the hood on my own, but with their help, it was an awesome experience!
To start, I didn't want anything that was going to require cutting into the support structure of the hood. I also wanted something that wouldn't interfere too much with the stock lines of the car. I found a set of cheap louvers on eBay. You get what you pay for, and the cheap louvers were not great to start with. I sanded down the edges that showed where they had been cut from the molds. I then had a body shop paint them to match the car. After this was done, I carefully sanded the underside of the outer lip so that the adhesive would have a better surface to hold on to. Here are the eBay louvers after they have been sanded and painted.
The first step of the install was to remove the MANY plastic pop rivets holding the hood liner in place. This will expose the underside of the hood.
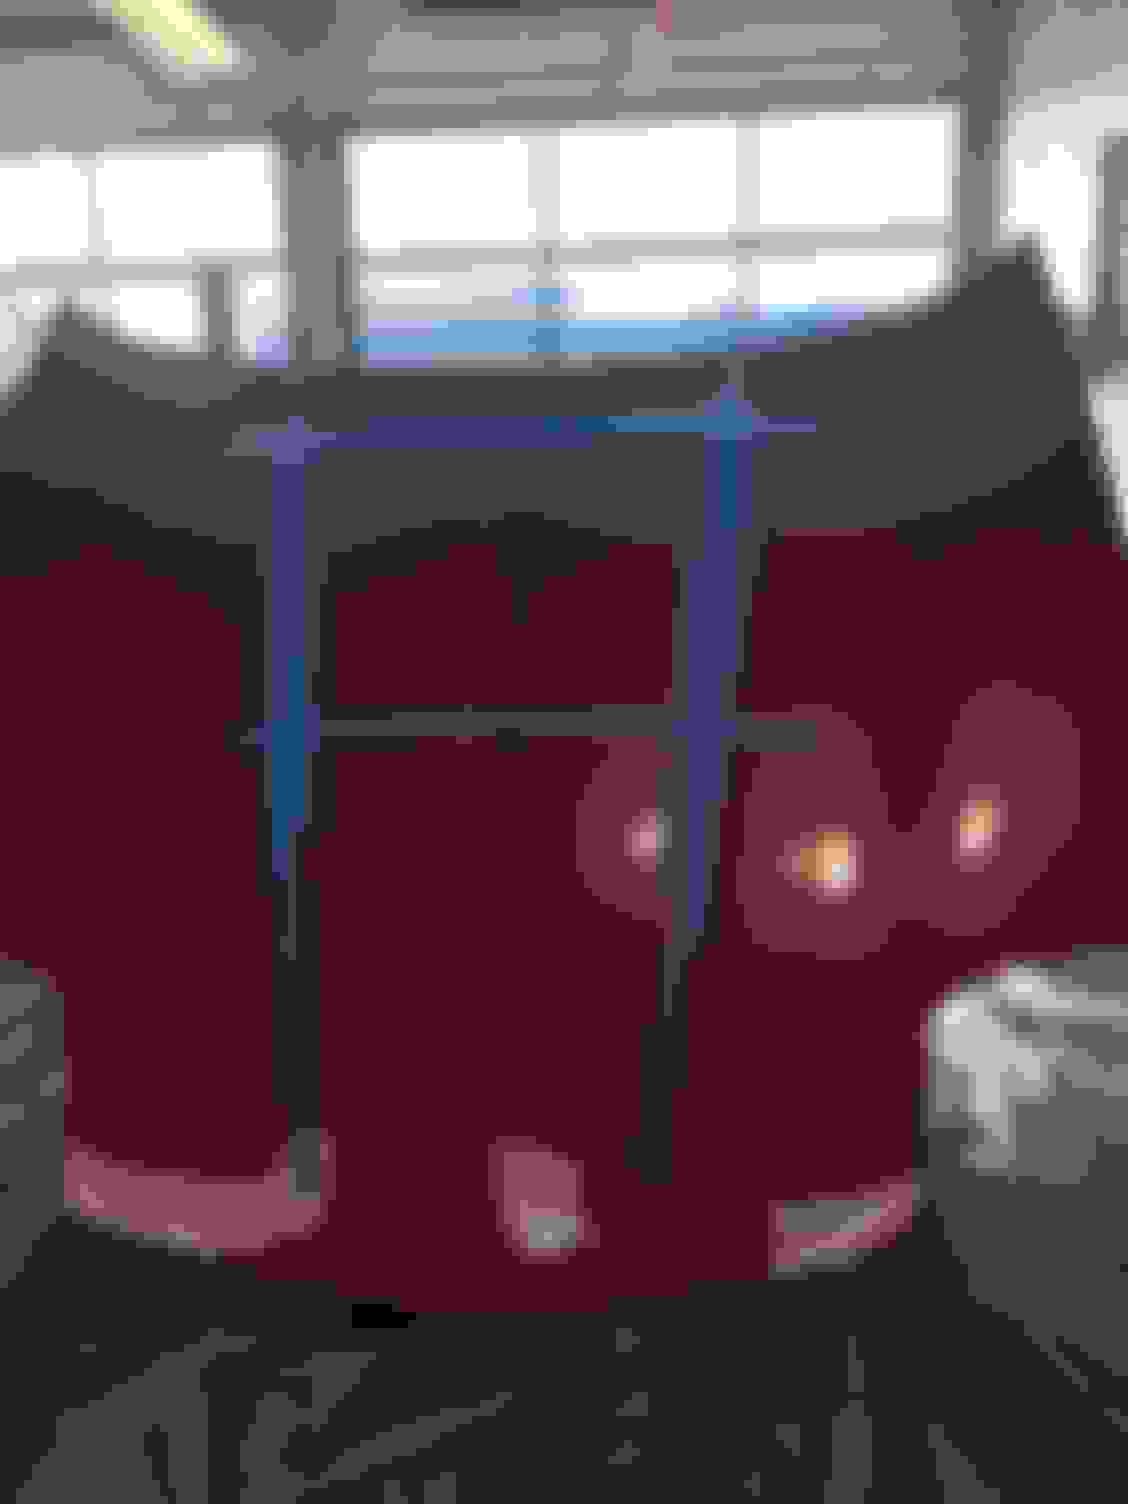
The underside of the hood with the hood liner removed. Note the mid and upper hood support structure
I decided that I wanted the louvers placed right on the edge of the "hump" in the stock hood. So, the first thing we did was place a line of painters tape alone this body line on each side. We then placed a horizontal piece of tape to mark the position of the hood structure. The louvers were just the right size to fit between them. Also make sure to thoroughly cover the outside of the car and the engine bay as this gets messy! The long vertical tape lines mark the body line on the edge of the humps. The horizontal marks the hood structure. Additional tape was added around the original lines to allow us to "draw" on the hood. This will be shown later.
We then used a paper floor mat to create a template of the hood louvers. (unfortunately, I did not take a picture of the template). The outer edge of the template perfectly matched the outer edge of the louver, and the center of the template was cut out to match the portion of the louver that extends below the hood line. We built up the tape on the hood while taking note of the original tape lines that were placed. We held the template up to the hood to the perfect placement (on the passenger side), and used a sharpie to draw a line around the cut out portion of the template. We then flipped the template over, and did the same thing on the driver's side. We carefully measured from the top corners of our marking up to the top edge of the hood to make sure that the distance was exactly correct. The outline of where we need to cut drawn "on" the hood.
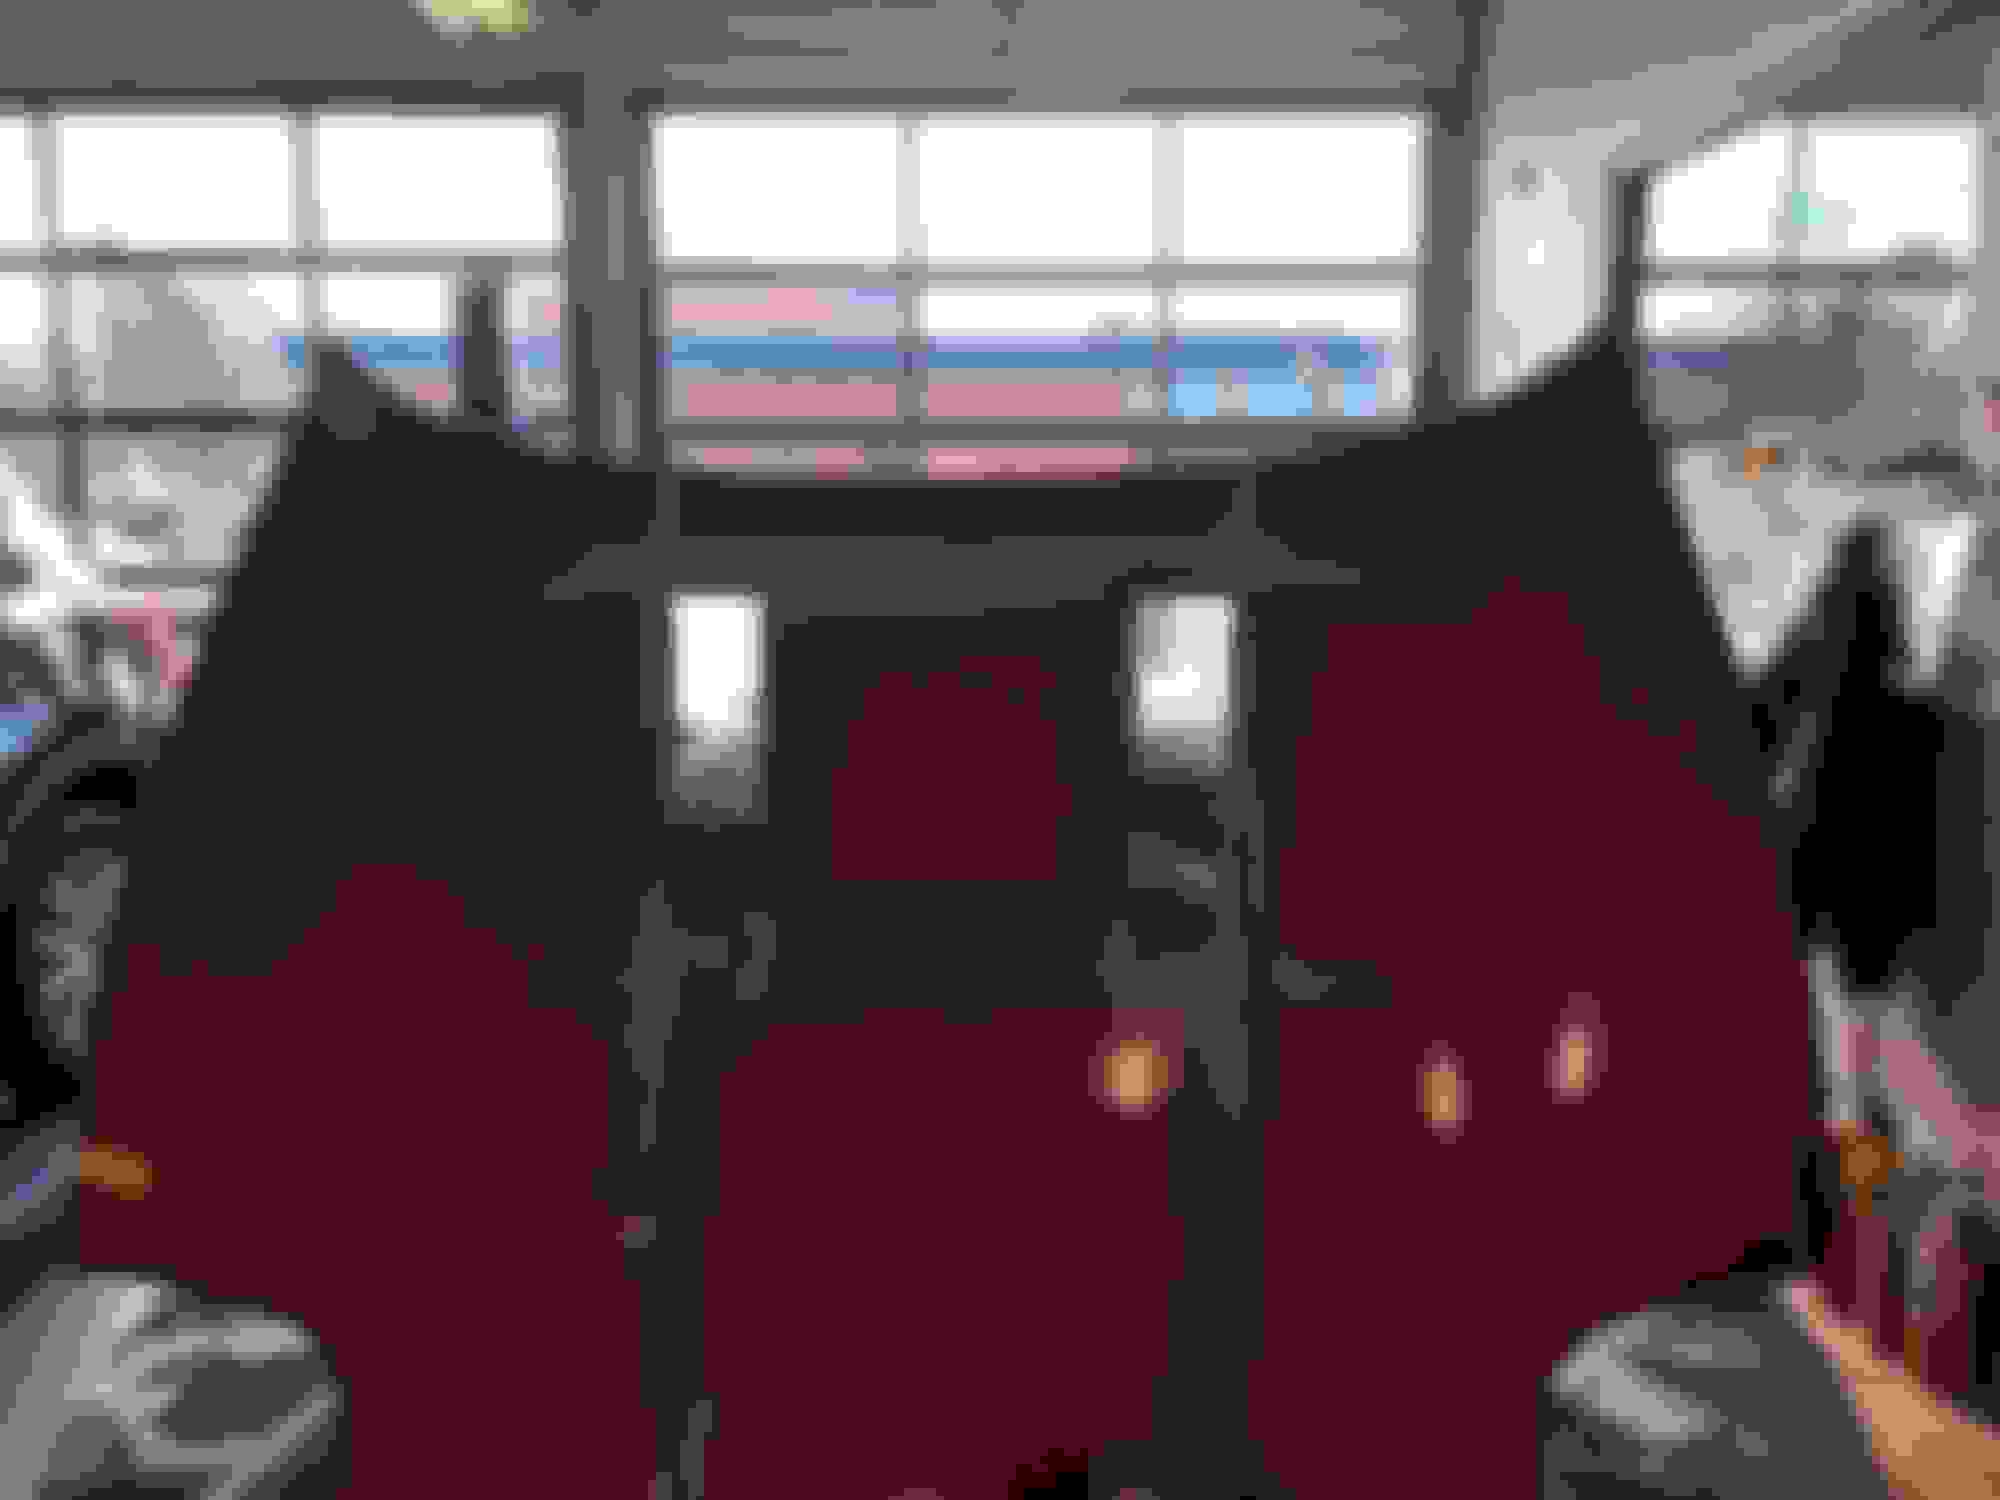
Once that was done, holes were drilled in the corners of the outlines to allow saw access. Note: this is the point of no return. Be absolutely certain everything is perfect before taking this step!! Also note that the upper hood structure is not perfectly straight. The hood with holes drilled in the corners of the outlines.
We used a pneumatic jigsaw to make the cuts in the hood. We cut directly on the lines that we had drawn. A big tip for doing this is to cut the vertical lines first. If you cut the horizontal lines first, you will get a TON of vibration in the piece that you're cutting towards the end of the process. Either way, you should have someone holding the hood in place the entire time. They should also VERY CAREFULLY apply pressure to the back of the piece that is being cut out in order to reduce the amount of vibration. Be VERY CAREFUL NOT to put your hand in the path of the blade. Once both pieces have been cut out, use a sanding block to smooth out the edges. The hood after the cuts have been made and sanded Back of the hood after it has been cut and sanded.
The next step was to apply 3M double sided tape to the bottom edge of the louvers. We made sure to cover the entire surface with the tape, and cut it to fit the shape of the louver. We then used rubbing alcohol to clean the area of the hood that the louvers would stick to, removed the tape backing, and applied it to the hood.
hood louver just after install
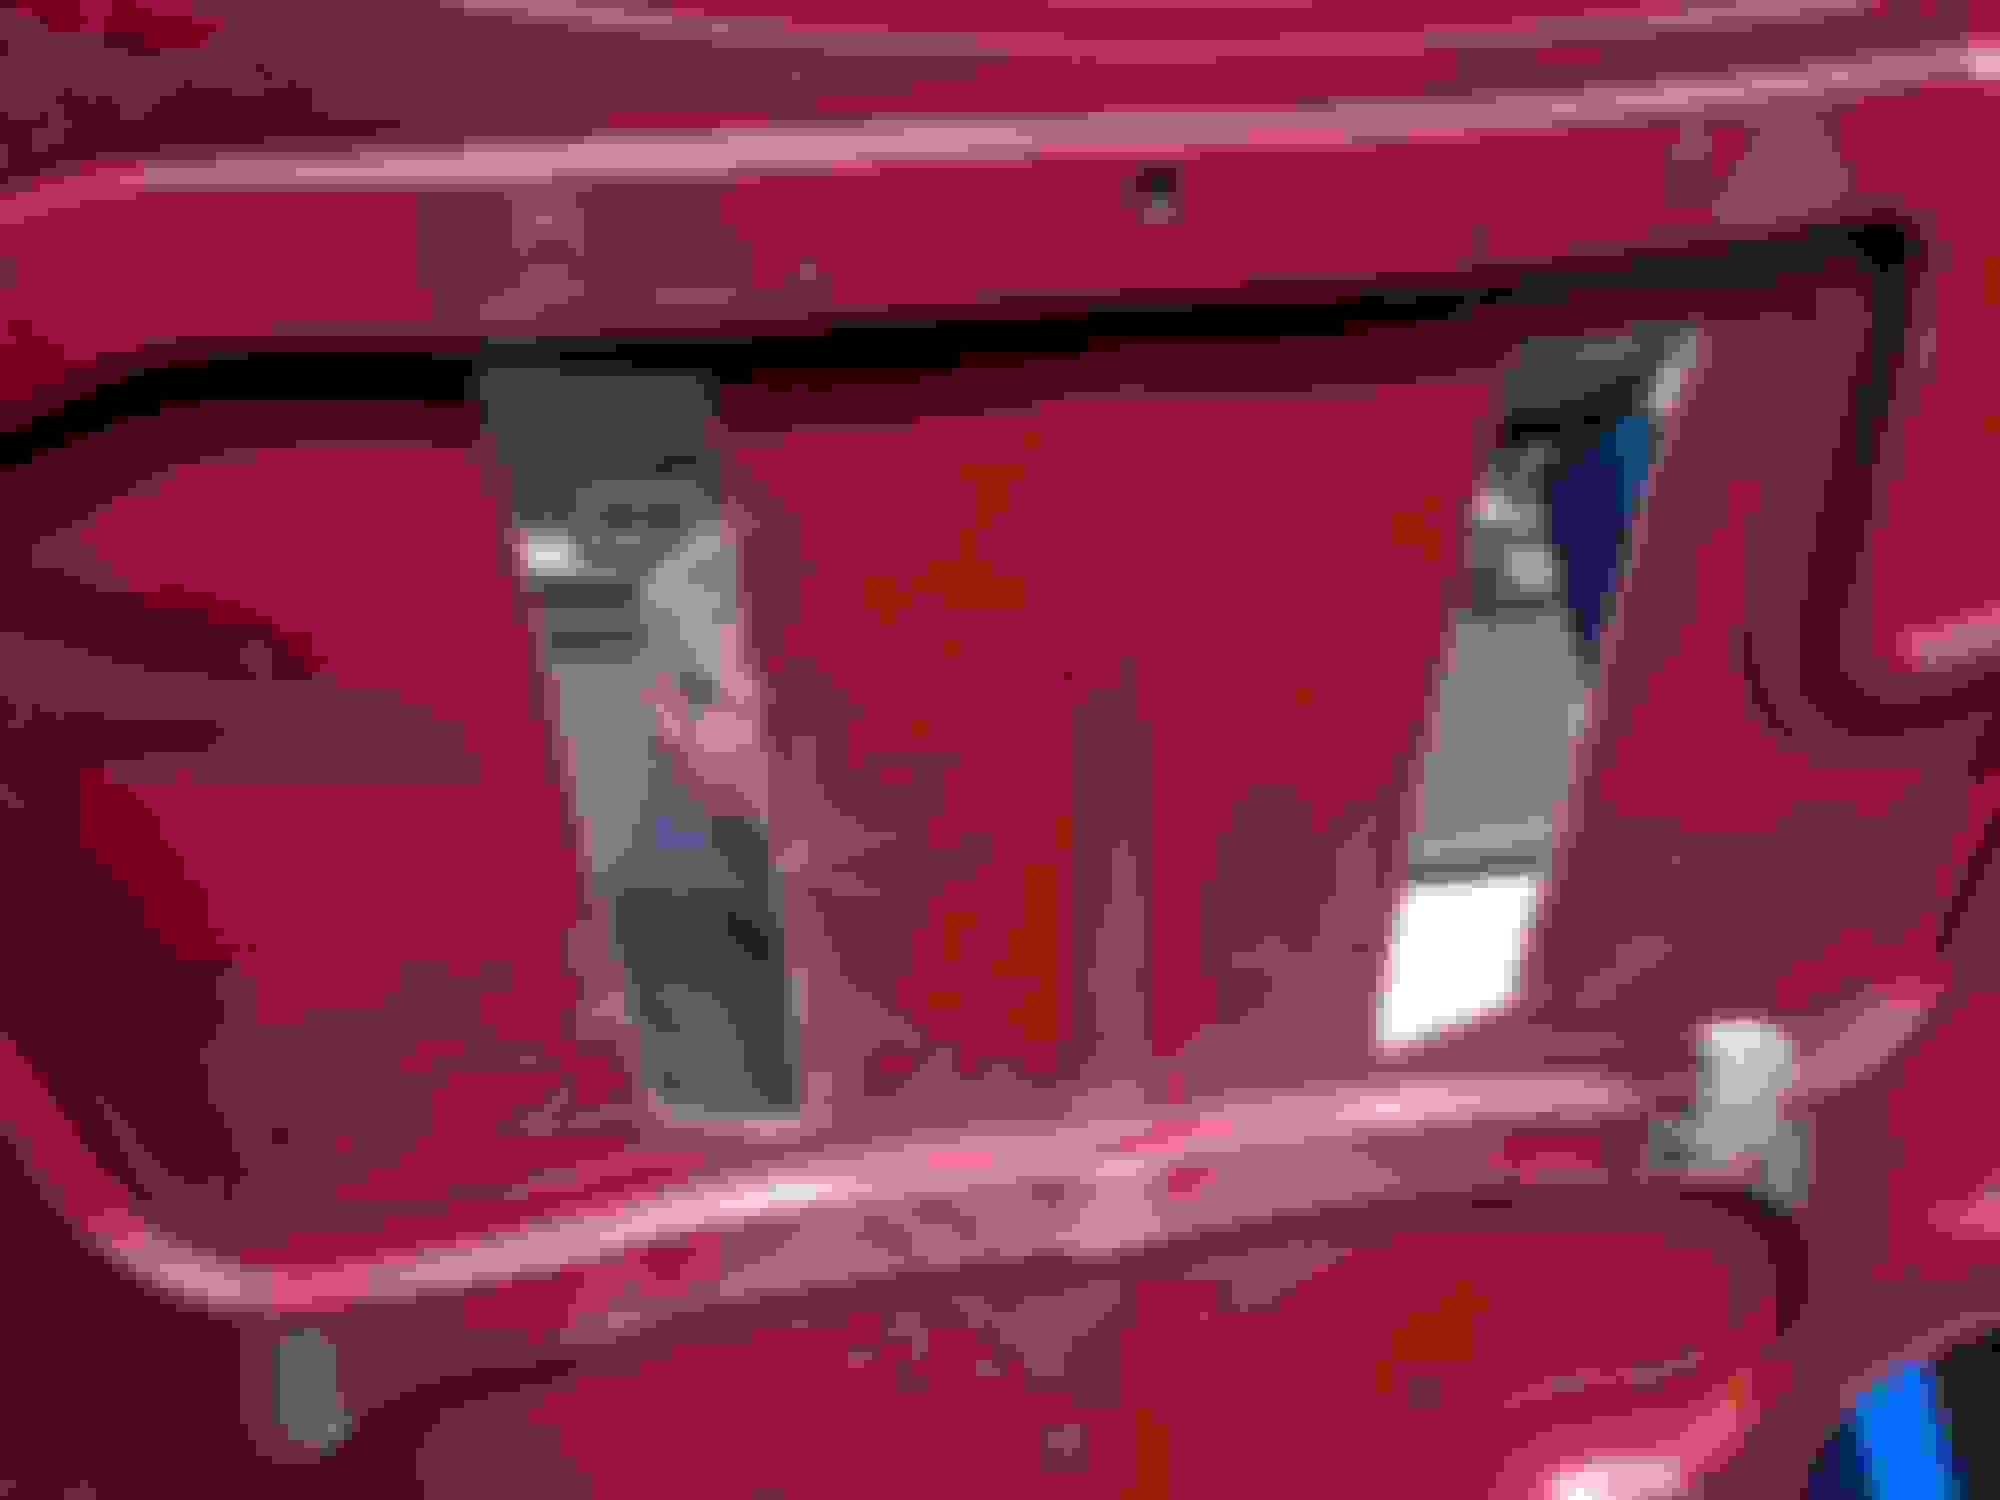
We held the hood liner up, and used the same template to draw a sharpie outline. We then used a razor blade to cut matching holes in the hood liner. After the holes were cut we reinstalled the hood liner by replacing the MANY plastic pop rivets. I am not sure I am happy as this does mostly block the very front opening of the louvers. I'm currently working on a solution to this The cut hood liner as it is currently.
Finally, here are some pictures of the finished product.
Let me know what you think, or if you have any questions.
Last edited by MWWarlord; 01-19-2021 at 08:55 AM.
Reason: Spelling
Hey everyone. A few weeks ago I installed some hood louvers. I figured I'd post up a thread on the install process in case anyone is interested. I would like to start by giving a HUGE shout out to Lakeside Auto in Richmond, VA. They're a fantastic shop that specializes in Corvettes and classic cars. I've had a great relationship with them over the years. Unlike most shops, they actually allowed me to help work on the install. I was very concerned about just cutting into the hood on my own, but with their help, it was an awesome experience!
To start, I didn't want anything that was going to require cutting into the support structure of the hood. I also wanted something that wouldn't interfere too much with the stock lines of the car. I found a set of cheap louvers on eBay. You get what you pay for, and the cheap louvers were not great to start with. I sanded down the edges that showed where they had been cut from the molds. I then had a body shop paint them to match the car. After this was done, I carefully sanded the underside of the outer lip so that the adhesive would have a better surface to hold on to. Here are the eBay louvers after they have been sanded and painted.
The first step of the install was to remove the MANY plastic pop rivets holding the hood liner in place. This will expose the underside of the hood.
The underside of the hood with the hood liner removed. Note the mid and upper hood support structure
I decided that I wanted the louvers placed right on the edge of the "hump" in the stock hood. So, the first thing we did was place a line of painters tape alone this body line on each side. We then placed a horizontal piece of tape to mark the position of the hood structure. The louvers were just the right size to fit between them. Also make sure to thoroughly cover the outside of the car and the engine bay as this gets messy! The long vertical tape lines mark the body line on the edge of the humps. The horizontal marks the hood structure. Additional tape was added around the original lines to allow us to "draw" on the hood. This will be shown later.
We then used a paper floor mat to create a template of the hood louvers. (unfortunately, I did not take a picture of the template). The outer edge of the template perfectly matched the outer edge of the louver, and the center of the template was cut out to match the portion of the louver that extends below the hood line. We built up the tape on the hood while taking note of the original tape lines that were placed. We held the template up to the hood to the perfect placement (on the passenger side), and used a sharpie to draw a line around the cut out portion of the template. We then flipped the template over, and did the same thing on the driver's side. We carefully measured from the top corners of our marking up to the top edge of the hood to make sure that the distance was exactly correct. The outline of where we need to cut drawn "on" the hood.
Once that was done, holes were drilled in the corners of the outlines to allow saw access. Note: this is the point of no return. Be absolutely certain everything is perfect before taking this step!! Also note that the upper hood structure is not perfectly straight. The hood with holes drilled in the corners of the outlines.
We used a pneumatic jigsaw to make the cuts in the hood. We cut directly on the lines that we had drawn. A big tip for doing this is to cut the vertical lines first. If you cut the horizontal lines first, you will get a TON of vibration in the piece that you're cutting towards the end of the process. Either way, you should have someone holding the hood in place the entire time. They should also VERY CAREFULLY apply pressure to the back of the piece that is being cut out in order to reduce the amount of vibration. Be VERY CAREFUL NOT to put your hand in the path of the blade. Once both pieces have been cut out, use a sanding block to smooth out the edges. The hood after the cuts have been made and sanded Back of the hood after it has been cut and sanded.
The next step was to apply 3M double sided tape to the bottom edge of the louvers. We made sure to cover the entire surface with the tape, and cut it to fit the shape of the louver. We then used rubbing alcohol to clean the area of the hood that the louvers would stick to, removed the tape backing, and applied it to the hood.
hood louver just after install
We held the hood liner up, and used the same template to draw a sharpie outline. We then used a razor blade to cut matching holes in the hood liner. After the holes were cut we reinstalled the hood liner by replacing the MANY plastic pop rivets. I am not sure I am happy as this does mostly block the very front opening of the louvers. I'm currently working on a solution to this The cut hood liner as it is currently.
Finally, here are some pictures of the finished product.
Let me know what you think, or if you have any questions.
I commented previously in the thread I started about hood vents on how nice these look, and it's worth repeating. I love the way these look. Now that you've done an extensive how-to, congrats on an excellent write up as well!! Great job, MWWARLORD!!!!
They look good. Did they reduce engine temperatures?
Any issues with water getting in engine bay?
I have a garage, and generally don't drive the car in the rain, so there has not been a chance for water to get in the engine bay. Even if I were to get caught in the rain, I don't think there would be a huge issue. I probably wouldn't want to store the car outside without a cover on a permanent basis, but for me it hasn't been an issue at all.
As for engine temps, I'll be able to better evaluate that over time as it has been too cold here most days for me to drive the car. I can say that driving the car a little around Richmond and on the highway between Richmond and Fredericksburg (Plus a detour to Mexico where I took the car up to 125MPH), the engine never got above 198 degrees (the cooling fans kick on at 199). It should be noted though that it was only 50 degrees outside during all of this. I should get a better indication once the weather is warmer. I will say that after driving it, you can feel the heat radiating out of the vents. Also, my main purpose in doing this was actually to reduce engine bay temps more than actual engine temps. I'm going to be installing headers, and I was worried about the headers melting my spark plug and starter wires, as well as potentially the starter itself. I'm very confident that they are functioning well for that purpose.
Thanks everyone for your kind words. I had a ton of fun working on this project, and I'm very happy with the results. I would encourage any of you who may be considering something like this to go for it.
Are these functional at all to increase cooling of the motor, in the location where they are installed?
As I mentioned above, it will be hard to say exactly how much effect they've had on engine cooling until I've had a chance to drive the car in warmer weather. However, driving the car in the city, on the highway, and at high speed (125MPH), the engine never got above 198 degrees, and the cooling fans never turned on. Given that, I would say that there is at least some engine cooling functionality. My cooling fans are set to turn on when my engine temp hits 199 degrees. As such, my engine never gets over 209 degrees and usually stays between 199-205. The fact that the engine temp never got high enough for the fans to kick on means it was doing something. However, it's hard to say just how much, since I'm comparing engine temp with the fan off vs engine temp with the fan on. The outside air temperature was 50 degrees when I drove it after the install. I'll have to wait and see what happens this Summer when the outside air is 100 degrees. The real test will be once I get the headers installed. I'm hoping for no notable engine temperature increase from the headers at all.
I fully admit that the size and placement that I have chosen is not the optimal location for engine cooling or pressure relief. However, I do believe that it still functions (although not as well) to do those things.
Thanks! Unfortunately, Florida is a bit far for me to travel. Hopefully, you can use this thread to do it yourself. (It is best done as a two person job though). I'm more than happy to answer any questions if you have them.

 01-18-2021, 05:18 PM


 I had a ton of fun working on this project, and I'm very happy with the results. I would encourage any of you who may be considering something like this to go for it.


