When you click on links to various merchants on this site and make a purchase, this can result in this site earning a commission. Affiliate programs and affiliations include, but are not limited to, the eBay Partner Network.
I recently purchased my 2003. It�s in very good overall condition, but the paint is definitely showing it�s 19 years. Lots of lights scratches, swirls from washing, etc.
I brought it to a local professional detailer who I have used many times with good results. I wanted a full refurbish of the finish, with compounding, buff, glaze, etc.. I was advised not to compound the car, as the fibreglass panels make it difficult. The reason I was given was that they can�t get it heated up enough to work properly; metal sheet panels get hotter.
their advice was to do the buff and wax. Long story short, it�s no better than before. Still all of the swirls and light scratches. Anyone have advice or thoughts on compounding your C5?
I was advised not to compound the car, as the fibreglass panels make it difficult. The reason I was given was that they can�t get it heated up enough to work properly; metal sheet panels get hotter.
Your "professional" detailer needs to take some basic detailing lessons. Besides, not many Corvette body panels actually are fiberglass...
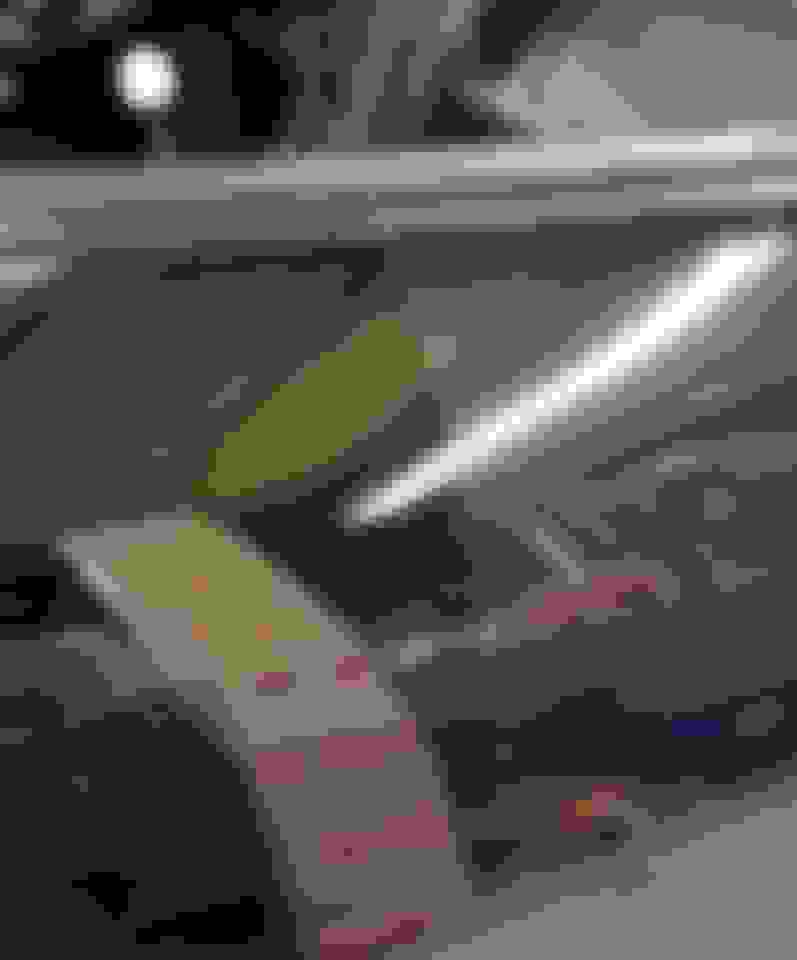
Here is some of my non-professional work, using non-professional tools and liquids. One trashed 2004 Corvette. Every panel looked like Wolverine was wrestling Freddy Krueger on it. Feel free to send these pics to your "professional".
Tools used: Porter Cable 7424XP and Griot's Garage G9 with 5.5" pads.
Liquids used: Meguiar's M100 compound and Meguiar's Ultimate Polish, literally bought at Walmart.
Find another detail-er, this one does not know what he is doing. With the right set of pads and compounds all light scratches and swirls can be removed.
My buddy and I have used Menzerna 400 on wool pads to get the finish cleaned up of the scratches and swirls. Then using Rupes DA yellow pads along with the Rupes polish that goes along with the pads to bring up the shine.
Finishing off with Blackfire Paint Sealant and topped with Blackfire Midnight Sun wax. This combo works well on a darker color car to put depth into the finish.
Rupes and Flex polishers were used to apply the compounds.
I did my own and it came out great. I bought a Harbor Freight DA polisher, I used a product called 3D ONE, it�s a one step cut and polish. It is not very aggressive and you shouldn�t get in trouble. I used a pad called Buff and Shine Uro 50/50 pad. The pad and compound can be found on Amazon. I learned how to do it on YouTube on a channel called Apex Detail. Just search his channel for the compound and that pad. He will show the steps to do it. You can�t screw it up if you follow his steps. Good luck!
I did my own and it came out great. I bought a Harbor Freight DA polisher, I used a product called 3D ONE, it�s a one step cut and polish. It is not very aggressive and you shouldn�t get in trouble. I used a pad called Buff and Shine Uro 50/50 pad. The pad and compound can be found on Amazon. I learned how to do it on YouTube on a channel called Apex Detail. Just search his channel for the compound and that pad. He will show the steps to do it. You can�t screw it up if you follow his steps. Good luck!
I too have used the 3D products. It is easy to use for rookies and safe because it won�t let you get in trouble like some of the aggressive professional products.
Sounds like he doesn't know what he's doing or just didn't want to take the job because our clear coat is HARD. Having never attempted the task before, I've done just fine with a Harbor Freight DA polisher and Meguair's 105 and 205, as well as ultimate compound and ultimate polish.
After remembering which was which, definitely don't use 105....the dust is annoyingly excessive and a pain to clean from every crevice after. Definitely go with 100. Very similar, but WAY less dust.
Find another detail-er, this one does not know what he is doing. With the right set of pads and compounds all light scratches and swirls can be removed.
My buddy and I have used Menzerna 400 on wool pads to get the finish cleaned up of the scratches and swirls. Then using Rupes DA yellow pads along with the Rupes polish that goes along with the pads to bring up the shine.
Finishing off with Blackfire Paint Sealant and topped with Blackfire Midnight Sun wax. This combo works well on a darker color car to put depth into the finish.
Rupes and Flex polishers were used to apply the compounds.
Gary
I am the buddy referenced above. Yes, the factory Corvette clear is hard as diamonds. However, with the right tools, products, and know how and extremely fantastic finish can be achieved. We took a neglected C5 from abused to better than showroom finish. Like others said, find yourself a detailer who knows Vettes and or exotics. Knowledge is king.
I was advised not to compound the car, as the fibreglass panels make it difficult. The reason I was given was that they can�t get it heated up enough to work properly; metal sheet panels get hotter.
Your "professional" detailer needs to take some basic detailing lessons. Besides, not many Corvette body panels actually are fiberglass...
Here is some of my non-professional work, using non-professional tools and liquids. One trashed 2004 Corvette. Every panel looked like Wolverine was wrestling Freddy Krueger on it. Feel free to send these pics to your "professional".
Tools used: Porter Cable 7424XP and Griot's Garage G9 with 5.5" pads.
Liquids used: Meguiar's M100 compound and Meguiar's Ultimate Polish, literally bought at Walmart.
Good job, I'm surprised you could get those deeper scratches out without wet sanding....
I have used Adams polishes with great success. When I first got my car it only had 34K miles and lots of scratches from being washed with regular cotton. I spent about 30 hours doing the whole car in 3 stages. Coarse pad with rubbing compound, foam pad with rubbing compound, and softer foam with polish. Whole car looked like glass. Zero issues with the fiberglass.
Before any work you can see all the swirls in the light.
I start by determining what is needed for the specific paint on the vehicle. Most of my cars aren�t in too bad of shape, paint-wise�but if they are, I begin with clay to clean the paint and then use Meguiar�s Diamond Cut to clean up any damaged areas.
I use Clay Magic, the original clay. It is not a polish, but it cleans the paint of any embedded materials, like road grit, dead bugs, and other stuff like that. Note that this is a more abrasive compound, and you only want to use it on paints in need of repair from deeper scratches. This is not one you will use regularly.
Step 2 � Start With an Initial Polish
I use 3M Machine Polish to bring back the shine and clean up the damaged areas even more. I use a six inch orbital polisher with a yellow pad. These are more aggressive pads for removing defects in the paint. This polish and the rest are not very abrasive and can be used regularly. If you keep up on your car�s paint care and maintenance from now on, you can skip these early steps in the future.
Step 3 � Finishing Polish with a Fine Pad
I follow step two with 3M Micro Polish. This is a finishing polish that removes any small details of the paint that are still not corrected. Sometimes I may have to go back to a more abrasive polish and work it some more. In this step I can use a yellow pad, or go with a less-aggressive white pad.
Step 4 � Bring Out Depth & Shine
For darker colors, including black, I follow up the Micro Polish with Black Light Polish from Chemical Guys. This adds depth to the finish, and takes a great shine and makes it even deeper. I continue with a white pad for this step. (Chemical Guys also offers a White Light Polish for vehicles with lighter colors.)
Using the correct tools is important. I will polish using a three and six inch orbital polisher. (Having the two pad sizes helps when working in tight areas and creases.) Note that these machines are safe and are difficult to burn the paint�but they will do more work than you can by hand and save a lot of time.
I also use the appropriate foam pads to match the aggressiveness I need for the panel I�m working on. They are color-coded and marked on their bags. Red is good for applying wax and is non-aggressive; on the other hand, yellow is highly aggressive and good for cleaning up paint damage. Other colors have different levels of aggressiveness much like sandpaper. You can choose what you like�I often use yellow, then white, and then red. This is more important than most realize. The Orange pad cleans up the paint but if you just need to finish I use black. They really are of different aggressiveness. If unsure use less aggressive till you learn your way.
Burning through is rare with orbital polishers but it can happen if paint is thin. Tape off edges.
To wipe off polish and wax I use Chemical Guys Happy Ending Towels. They work really well in my opinion and deliver a great finish. They are very soft, and leave an excellent shine.
Vehicle Paint Restoration & Protection Product List
This is not hard but you need to go slow and learn.
Detailing paint is like finishing wood. Polishes and polishing pads are in different aggressiveness. Much like grades of sand paper.
I use the above for great results on my Vette and Pontiac. I just took first in class at the Pontiac Nationals with a car that is still over half factory GM paint that is nearing 40 years old.
I know photos on the web make bad paint look good but in this case it does not show how much better it is. Much of what you see here is factory paint from 1985. This was Saturday at the show.
This was the Vette after the first detailing when I bought it. I have it to the next level now with full paint correction. Again with Red the web does not show the true quality of the paint. It is better than it looks here. Red hides flaws it is not the best to show as an example in photos.
I work paint till every possible flaw is out. Use care if a scratch is deep and through the clear as you will not get those out without paint work.
Note most of what I use is what body shops use. Paint supply houses and Summit Racing stock most of these products.
Work slow and smart. The more you polish the better it will get too. I use this on all my vehicles even my daily drivers and my tractor.
Note my Vette paint was neglected and it has come back better than new. Learning this is not hard and just requires practice. There are a number of good products today that make this easy . Above is just what I use.
The other benefit once detailed it is easy to maintain and will net better results when you sell.
Your "professional" detailer needs to take some basic detailing lessons. Besides, not many Corvette body panels actually are fiberglass...
Here is some of my non-professional work, using non-professional tools and liquids. One trashed 2004 Corvette. Every panel looked like Wolverine was wrestling Freddy Krueger on it. Feel free to send these pics to your "professional".
Tools used: Porter Cable 7424XP and Griot's Garage G9 with 5.5" pads.
Liquids used: Meguiar's M100 compound and Meguiar's Ultimate Polish, literally bought at Walmart.
I think I win the prize for buying the most hammered paint on a 40k mile car..... or at least even with Fyrarms. Me, 30 hours, and Mr. Rupes system brought some life back to it. I'm very amateur but a little effort goes a long way. The paint on these cars is pretty durable and can take a hard buffing. These shots are after the first round of sanding and coarse wheel.
Last edited by shelteredV; Jul 23, 2024 at 07:35 PM.
This was the Vette after the first detailing when I bought it. I have it to the next level now with full paint correction.
The other benefit once detailed it is easy to maintain and will net better results when you sell.
Good prep was part of this but good light and digital cameras help too.
I have seen cars in the web that look good but in person they are bad. In this case it turned out good and since I have gone through snd corrected every defect but one. I have one I fear if I go to correct it I may go through the clear. But no one can find it but me.
When I bought it the paint was in need of work and I knew it was in my wheel house to fix it.
I have saved a number of paint jobs for friends and family. Good hobby to have.
Designer Imagines A Corvette That Looks More Like a Corvette Than the Corvette
Slideshow: A Jaguar designer's personal project imagines what a modern front-engined Corvette might look like if Chevrolet revisited the golden age of the Stingray.


 That paint is definitely hammered!