

Fix for Leaky Directionals (Repost with Pics)

Thread Starter
Race Director


Joined: Mar 2000
Posts: 17,602
Likes: 20
From: Palm City Florida
finally got sick and tired of washing the car and having my directional bulbs blow as soon as I used them after the washing..
I have replaced at least 5 bulbs in the past year...
So I put her up on Rhino Ramps and got started... I removed the access panel in front of the front tire. You need to carefully push the brake cooling duct out of the way and then you can see and access the 2 screws holding them in..
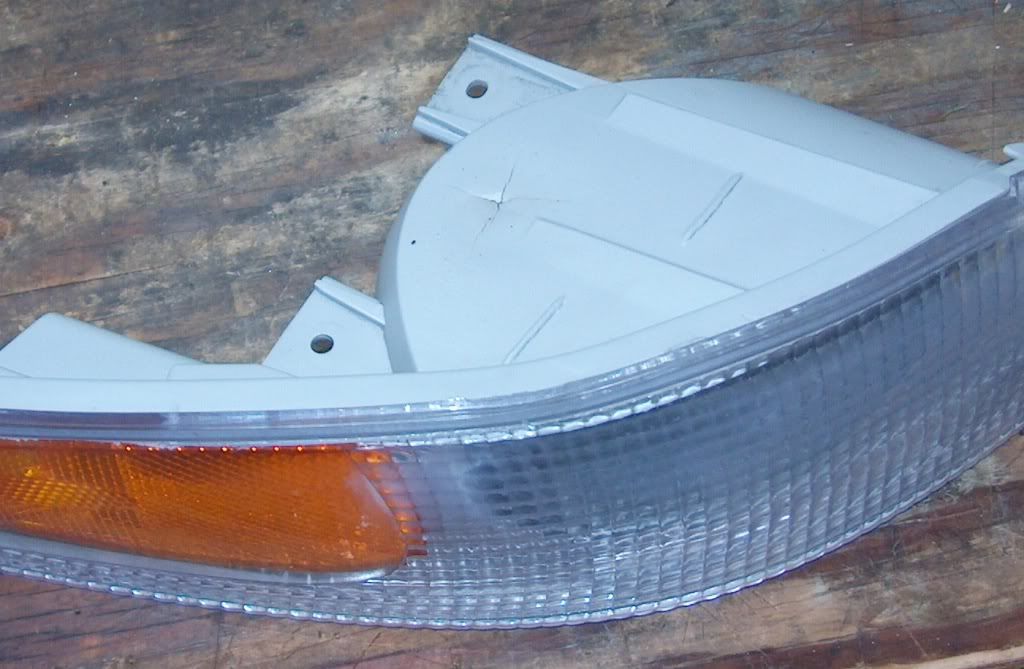
Once the lenses were out and on my bench it was clear what had happened.. The bulbs get really hot and cause the plastic over the top of the bulb to melt and crack... Once the cracks are open.. Water drains inside directly on top of the hot bulb... POOF!
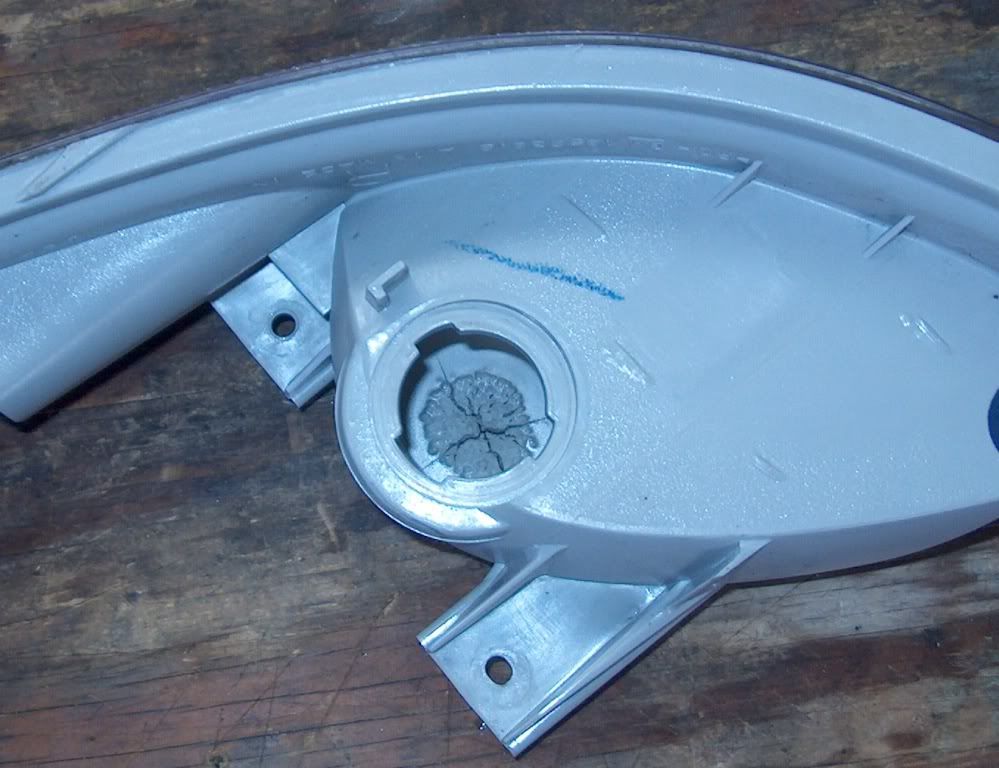
So I sanded the cracked surface to clean and roughen it up.. Then I used a small amount of (FASTSTEEL) Putty. You can get it at Home Depot. The rest of the lens would melt before this stuff would...
I kneaded it and spread it smoothly over the affected area and let it harden... Perfect.. Except for the powder fog that all over the inside of the lens and clouded it up. This fog is cause by the bulb blowing up inside the lens..
I shot windex inside the lens and swished it around real good and then rinsed it with hot water and Dawn detergent..
Now for drying.. I have a cool trick.. Shake all the water out that you can.. Then put the oven on 180 Degrees. Rest each lens on top of a pot holder with the bulb holes facing upward to allow the moisture to exit..
Bake for 30-45 minutes.. Viola.. perfect...
In this picture you can clearly see the Cracks and the FOGGED Inside..

I have replaced at least 5 bulbs in the past year...
So I put her up on Rhino Ramps and got started... I removed the access panel in front of the front tire. You need to carefully push the brake cooling duct out of the way and then you can see and access the 2 screws holding them in..
Once the lenses were out and on my bench it was clear what had happened.. The bulbs get really hot and cause the plastic over the top of the bulb to melt and crack... Once the cracks are open.. Water drains inside directly on top of the hot bulb... POOF!
So I sanded the cracked surface to clean and roughen it up.. Then I used a small amount of (FASTSTEEL) Putty. You can get it at Home Depot. The rest of the lens would melt before this stuff would...
I kneaded it and spread it smoothly over the affected area and let it harden... Perfect.. Except for the powder fog that all over the inside of the lens and clouded it up. This fog is cause by the bulb blowing up inside the lens..
I shot windex inside the lens and swished it around real good and then rinsed it with hot water and Dawn detergent..
Now for drying.. I have a cool trick.. Shake all the water out that you can.. Then put the oven on 180 Degrees. Rest each lens on top of a pot holder with the bulb holes facing upward to allow the moisture to exit..
Bake for 30-45 minutes.. Viola.. perfect...
In this picture you can clearly see the Cracks and the FOGGED Inside..

Burning Brakes


Joined: Nov 2011
Posts: 1,037
Likes: 120
Very nice write-up. I was installing some LEDs (which only takes a few minutes), but had delayed the project to make sure I had time to deal with the cracked housings. Sort of a pain to remove them, but not ridiculous.
Mixed up some epoxy and used my heat gun at 120' to speed up the cure.
Now to find some slick trick for installing the hyper-flash resistors so they don't melt wires or plastic.
Mixed up some epoxy and used my heat gun at 120' to speed up the cure.
Now to find some slick trick for installing the hyper-flash resistors so they don't melt wires or plastic.


