When you click on links to various merchants on this site and make a purchase, this can result in this site earning a commission. Affiliate programs and affiliations include, but are not limited to, the eBay Partner Network.
I had to do the dreaded hazard switch replacement this weekend. By the book, you are supposed to take the whole top of the dash out to get at it. I've also seen writeups on here and other places to just take off the center console, remove the radio, disengage the bottom tab, and then "give it a sharp rap with a screwdriver" or something like that to get the switch to pop out. Some unfortunate users have broken their vents doing this. I have found a better way.
First, remove the hazard button from the switch, as well as the console and radio as those methods advise. This will give you access to the bottom tab. Drill a hole in the black plastic right above the switch. You want to drill until you are about 1/2" or so away from the tab on the switch. Don't go too far, or you'll break into the clip area that holds the switch in. Use tape to mark your drill bit for proper depth.
This is a pin vise, which I used to make the hole. It's very controllable. You could also use a regular drill with extra caution.
Once you have the hole drilled, dislodge the bottom tab as other posts have suggested before the "screwdriver rap." Then, instead of risking breaking something, insert a straight hose pick or small screwdriver into the hole you just drilled, and pry up, pushing the upper tab down. Push the switch into the dash simultaneously, and out it comes!
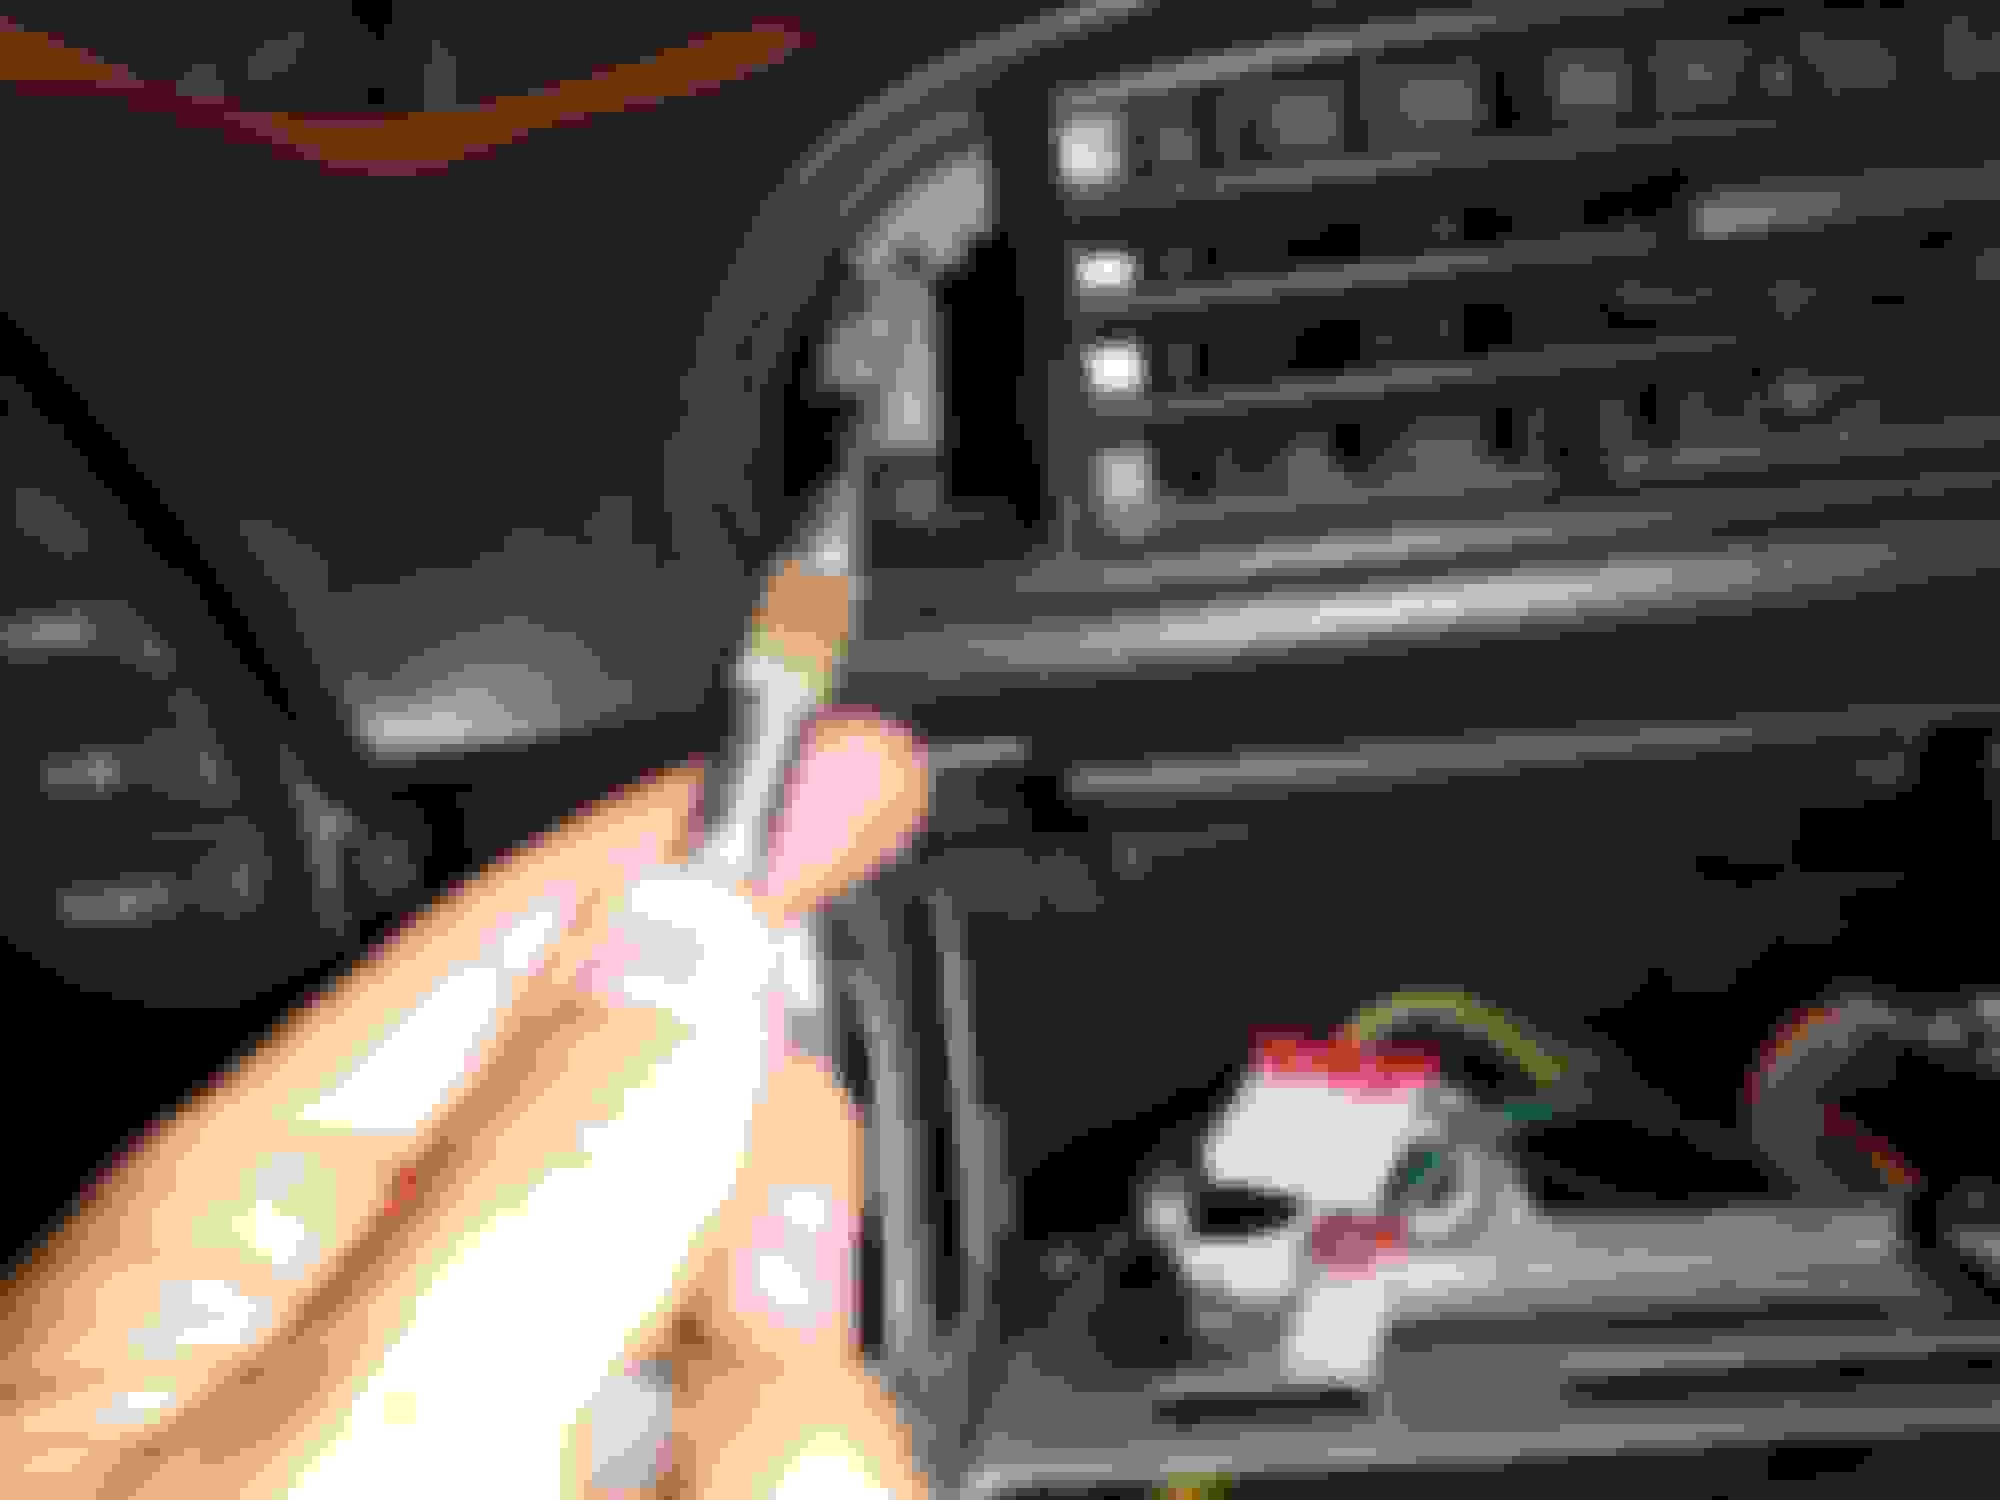
Here is the hole once the switch was popped out.
I've heard people say they took the switch out through the radio hole, but it was WAY easier for me to just take it out the side where the trim piece was removed. It was just right there, easily accessible.
Once you have it out, just reverse the process to install the new switch. Make sure it works before you shove it in! In my case, the old one actually worked once I took it out, but I replaced it with a new one anyway. The hole you drilled will be covered up by the hazard button.