


Installing window motor


Moderator


Joined: Dec 2002
Posts: 40,888
Likes: 4,342
From: Lakewood Ranch, FL

Removing the door panel is not difficult. There are some threads that you can search on. Basically it goes like this:
Driver: remove the cover behind the door pull and remove the three torx bolts. On the bottom of the door at the rear there is an indentation. Start there and using a flat tool (I have a V grove tool) lever the panel away from the door. There are a bunch of christmas tree push pins that hold the door and they sound awful coming out. They can break so you may want to buy some spares. When all the push pins are loose, lift the panel up to clear the 4 metal clips on the top. Behind the door panel is the electrical connection, It has a leaver locking mechanism. To replace the panel start with the 4 metal clips and take your time. Be sure that the push pins are lined up and don't forget to hook up the electrical connection.
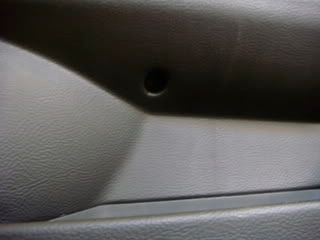
On the passenger side, the procedure is the same except the torx bolts - there are 2. (1) is behind the door release button - just use a small screwdriver or right angle pick to pop it out - you can then see the bolt. The second bolt is at an angle upwards through a hole in the bottom of the pull handle.
Melting Slicks

Joined: Jan 2007
Posts: 2,749
Likes: 2
From: SOUTHERN CALI - Most of the time California
Shop manual...
Removing the door panel is not difficult. There are some threads that you can search on. Basically it goes like this:
Driver: remove the cover behind the door pull and remove the three torx bolts. On the bottom of the door at the rear there is an indentation. Start there and using a flat tool (I have a V grove tool) lever the panel away from the door. There are a bunch of christmas tree push pins that hold the door and they sound awful coming out. They can break so you may want to buy some spares. When all the push pins are loose, lift the panel up to clear the 4 metal clips on the top. Behind the door panel is the electrical connection, It has a leaver locking mechanism. To replace the panel start with the 4 metal clips and take your time. Be sure that the push pins are lined up and don't forget to hook up the electrical connection.
On the passenger side, the procedure is the same except the torx bolts - there are 2. (1) is behind the door release button - just use a small screwdriver or right angle pick to pop it out - you can then see the bolt. The second bolt is at an angle upwards through a hole in the bottom of the pull handle.
Removing the door panel is not difficult. There are some threads that you can search on. Basically it goes like this:
Driver: remove the cover behind the door pull and remove the three torx bolts. On the bottom of the door at the rear there is an indentation. Start there and using a flat tool (I have a V grove tool) lever the panel away from the door. There are a bunch of christmas tree push pins that hold the door and they sound awful coming out. They can break so you may want to buy some spares. When all the push pins are loose, lift the panel up to clear the 4 metal clips on the top. Behind the door panel is the electrical connection, It has a leaver locking mechanism. To replace the panel start with the 4 metal clips and take your time. Be sure that the push pins are lined up and don't forget to hook up the electrical connection.
On the passenger side, the procedure is the same except the torx bolts - there are 2. (1) is behind the door release button - just use a small screwdriver or right angle pick to pop it out - you can then see the bolt. The second bolt is at an angle upwards through a hole in the bottom of the pull handle.
Removal & Insulation of Door Panels
This information might be beneficial to others if they decide on upgrade speakers or insulation of the doors.
The driver’s door
The first thing you want to do is raise the window up. Once you pull off the panel, you can’t raise the window and you won’t have access to the inner shell of the door.
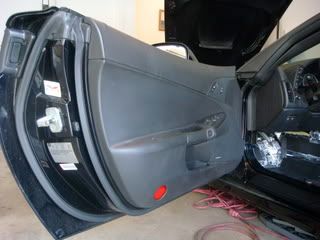
The driver’s door has a total of two bolts. They are located right below the door handle. If you look closely, you will see a small plastic cover. Remove the cover and you will see the two bolts. Uses the proper tools and remove the bolts, failure of using the proper tools may strip the bolts.
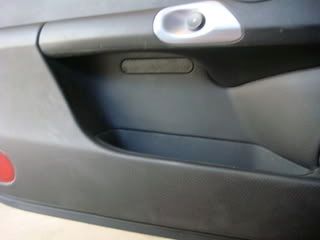

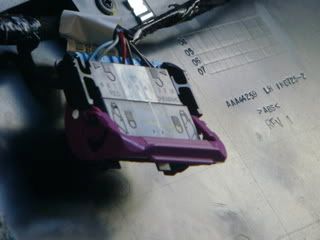
On the bottom of the door there is a little opening to pull the panel off. Just pull away at different positions. It’s going to sound like the door is ripping apart, but that’s from the plastic holders. Once you have the panel loose, don’t yank it out. There is one main cable harness that needs to be taken off.

Once you get to this point, you will see the exposed outer door shell. You will also see the 10” Bose woofer and a large rubber cover on the left side of the door. The rubber cover provides access to the inner shell of the door.
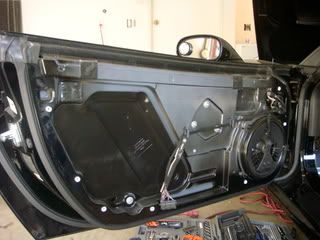
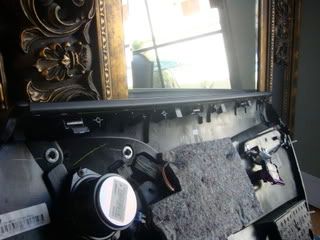
Remove the Bose woofer from the door. There is a little connector that you need to disconnect when the speaker is loose. Then you want to remove the large plastic cover on the left side of the door. Once all that is done, you will have partial access to the inner shell of the door. Do not remove any bolts on the outer shell of the door; these bolts hold the window system.

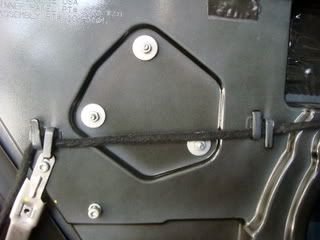
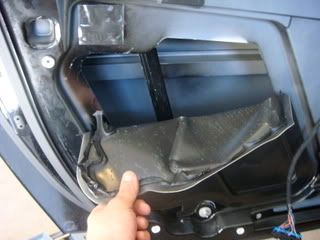
I basically covered ¾ of the inner shell of the door with Damplifer Pro and Luxury liner. It’s a tight squeeze but it’s doable with the speaker and rubber opening. That area took me about an hour or so to do. I then did the outer shell of the door with Damplifer Pro. This area is very hard to do and the surface is not flat. The outer shell took me 2-3 hours to do.
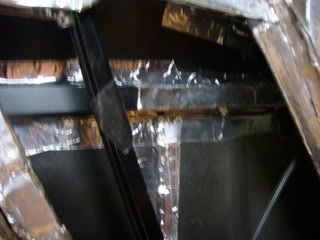
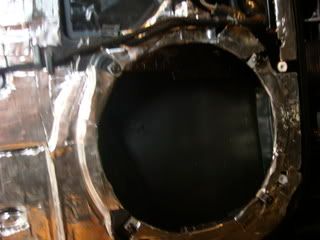
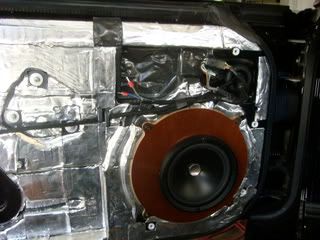
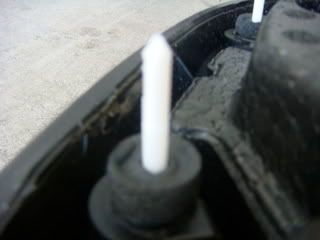
This pic shows an upgraded JL speaker and mount plate.
A WARNING – be careful not to insulate the edges of the door because they are exposed with the door panel on. I made this mistake on the outer shell and it took me a couple hours per door to clean up. Just insulate to the edge of the panel clips, basically leave at least one-inch strip around the door without any insulation.
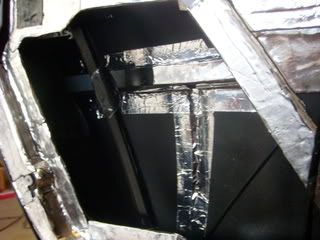
The driver’s side has about 10-15 pounds of insulation. But, it is so solid and it shuts better than a Lexus, a nice thump. This will definitely improve the sound of the speakers.
Putting the door panel back is a partial PITA. On the top of the door panel, there are metal hooks. You want to put those in before pushing in the clips. It will help to have the window down. Just take your time to figure it out so you don’t scratch your door. When you push in the clips, make sure they are perfectly aligned, so you don’t break any.
The Passenger Door
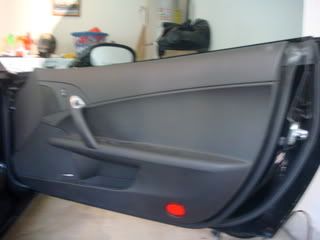
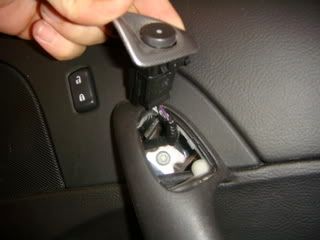
Removal of the passenger door panel is different than the driver’s side. First you have to pop off the door open button plastic piece. You will see a bolt; just remove it with the proper tools. There is another bolt on the bottom of the handrail. Repeat the process similar to the driver’s side.

Thread Starter
Advanced


Joined: Aug 2003
Posts: 52
Likes: 0
From: North Port FL
Removing Door panel
Thanks for the great response ,the details are for a C6 ,I can use them also.because I do have a C6. I thought I was on the C5 forum when I summited the question.If you have the same details for a C5 can you put them on the forum?? Thanks again.









