When you click on links to various merchants on this site and make a purchase, this can result in this site earning a commission. Affiliate programs and affiliations include, but are not limited to, the eBay Partner Network.
Having some trouble finding a new HUD unit for my '06. I've tried Cultrag , but can get no response from them , and an order placed went unfilled , unconfirmed , and no end of emails to them went unanswered. So it looks like I need to find one elsewhere. Anyone know who has 'em ? You'd think the 'tinterweb would come to the rescue, but it seems not. It's driving me nuts.
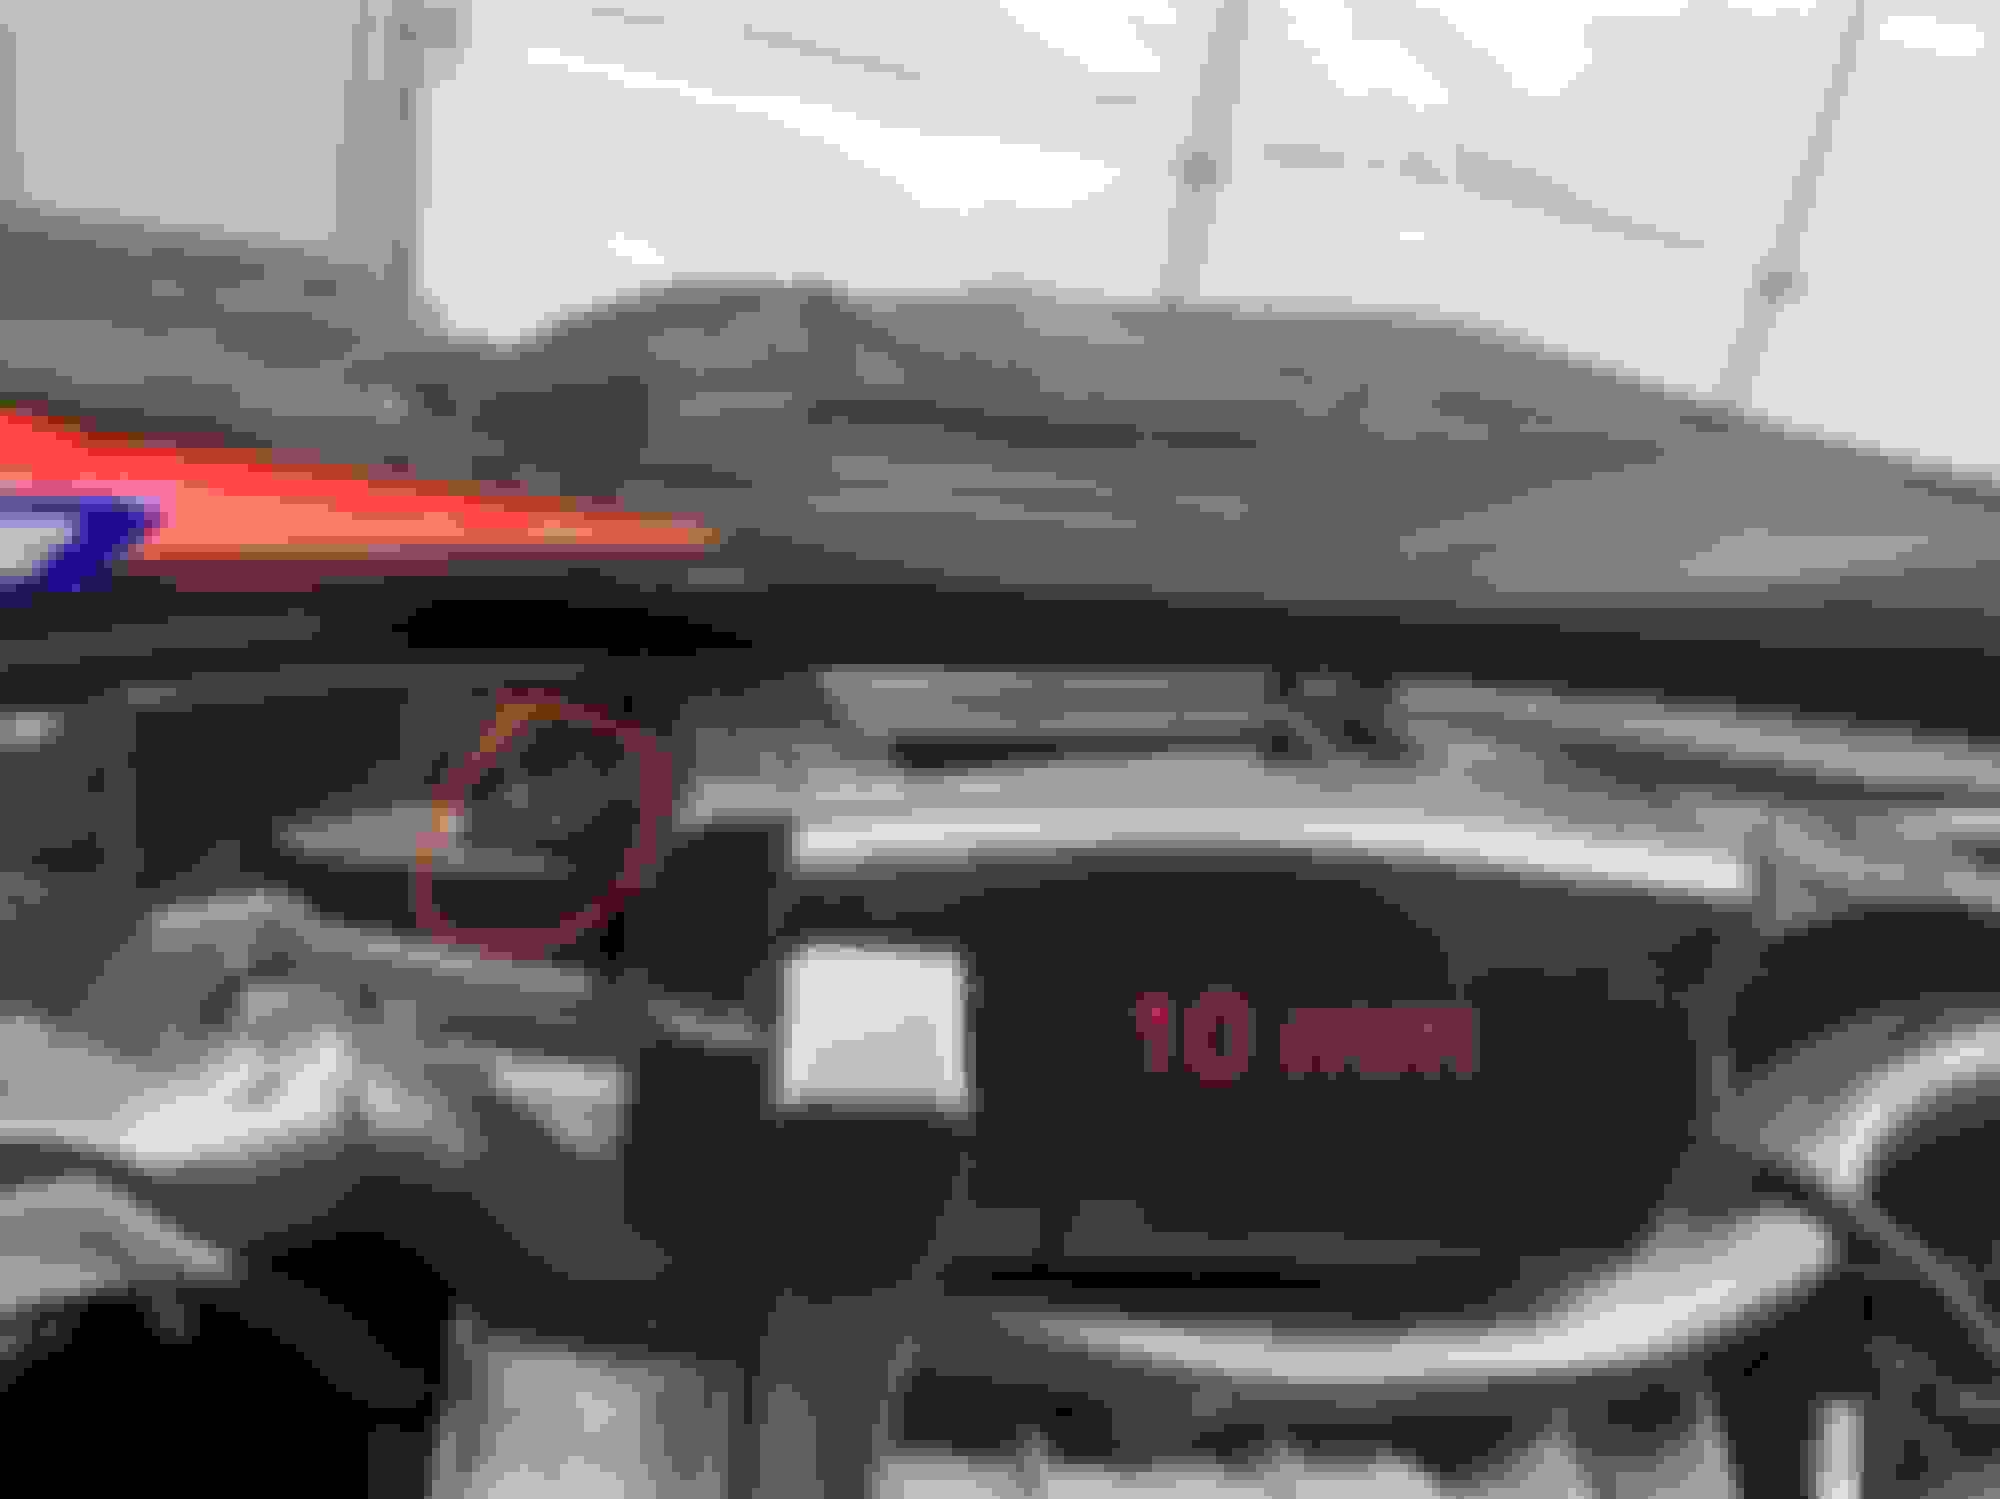
Getting cheezed off with the HUD and it's turning into a saga . As today was a forecast dry day- it's been incessantly wet for ages - Thought I'd pull the gauge cluster , and have a look in there, just on the offchance a plug may have come adrift. Got the bezel off right away, easy enough , but the HUD and option switch blocks , I could not get off. Trouble is, not being too familiar with GM's connectors and their locking features, and being as how these swith banks have their back away from me , and seeing behind them is difficult , I couldn't figure it out. So , I tried to remove the screws that hold the switches, but still can't get 'em out. Are there only 2 screws per switch panel/ Or did I miss some ? Managed to get the temp sensor and start switch out easy enough. So , got frustrated , gave up , opened a beer and did somehouse painting. How the blazes do I get the connectors to the swiches apart? How do the switches come out if I decide to remove them from the bezel? More than 2 screws ? I need more than 2 beers , now !
The connectors have a single lock connector on the top side if i recall correctly. They are indeed a pain to release. The button cluster itself has 3 screws per side. I seem to recall the last time i took them out I struggled with the right connector for a good 30 mins. Small screw driver and alot of patience and contortion
Reach out to @JABCAT . He’s had his dash apart more times than many people change their underwear (knickers to you), so he’ll likely be able to assist.
S.I.S.; just found a vid on Utube , bit long-winded , but eventually got a look at the switch connectors , and how the locking barb works. They are fitted so that the lock is underneath , from your position sitting in there, but knowing how they work ought to make it happen . Maybe.
Fats; So....Jabcat's had his dash out once a year???!! BUT.. if you throw them knickers at the wall , and they don't stick , they's good to go , even if it's been more than a year. Save the planet -do less laundry ! Seriously, I was planning to take the dash out, but looks like it's on hold , if I can't get a hud. I did consider, and this being a reason I decided to have a look in there this morning, doing the butchery of cutting the duct , and seeing if my unit is repairable . Did not consider it worthwhile to pull the full dash just for that, in case my unit is D.O.A. I can see , when looking down into the HUD from outside ,looking back thru' a bit of a slot in the base of the unit, in the direction of towards the driver's seat, a bit of green circuit board. Don't know if tha's normal , or whether it's something displaced. I still get the slightly visible green oblong area that shows up on full brightness , and responds to the dimmer for the HUD , but it is only faint on both the windshield, as projected , and looking directly into the HUD. I am led to believe that if it has suffered 'mirror drop ' , then I ought to be able to see the display board down in there somewhere with the data as it should be projected. I'll have another go at the cluster removal , but I need to e careful , as I have in the last week , aggravated a troublesome back disc, and it seems to be just about improving. Contorting into the position I need to to do this is exactly the thing that mashes it. Oh , and it be rain solidly for the foreseeable, now. At least if i hang me knickers out I'll get 'em washed ! Time for more ale, methinks. Thanks guys for your ultra-quick replies, too. All the best to y'all ..
Last edited by Fatbloke-Dim; 05-12-2023 at 02:09 PM.
Reason: typos !
I've installed a HUD in a non-HUD C6 using the "cut the duct" method & I've removed the dash in my current Z06. I think removing the dash is the easier method. Even cutting the duct, it's a huge hassle getting the HUD projector over the bolt closest to the windshield.
It took me and my 12-year old son less than 2 hours to remove the entire dash. That included taking our time separating and labeling the screws, nuts, bolts. Once the dash is off, you can remove the air ducts and easily get to the HUD projector.
Once the projector is out you can open it up and reinforce the mirror by adding washers under all the screws.
Jabcat;
Thanx for that post, there's tons of good info there. I do have to plan this job as a military operation , given that; 1- my back is soooo delicate just now. My fault entirely, that's what you get for gardening instead of messin' with cars. 2- the car is outside on a drive just about the same size as the car, with some very large, robust foliage right at the side of the driver's door , limiting access somewhat. 3- if the job goes '****' , it be a bit impractical to leave the car half finished, due to rain, which is ever present hereabouts. Not for nothing is Manchester known as 'rainy city' .Having said that , the car is covered with a decent cover, that does breathe well , and is waterproof as long as you keep periodically treating it with Fabsil. 4- if the local ******* suspect that the windows are down, even covered up , they'll be into it. Bastards.
I can only work on it a day on, a day off, having to take Missus FB-D to dialysis every other day. Having said that, it gets light in the mornings pretty early these days, in fact never going completely dark around a few weeks either side of midsummer's day, so an early start gives me a good long day to go at it. But I won't even start the job until I have a replacement HUD in my sweaty grasp . And that is where I'm stuck just now, can't find one. Not a new one , anyway. But I'm sure that with your posts to hand, I will have an advantge, just have to be prepared for the frustration of those wiring connectors. These ain't so common on my daily drivers, which are VW group cars. There's another post on here someplace, about changing the dash for a leather - trimmed one, and that will have to be placed on my 'phone along with yours for on - the - job reference.Now off to find the holy grail of a HUD........wish me luck. If I'm not back by next year , send a search party !
Maybe they’d sell you just the HUD, but maybe it’s worth it to you to buy the whole kit just to get your project back on track and start driving it again. They may not be the only company offering it - I stopped looking when I found this one. Don’t know about shipping to the UK either.
Last edited by FatsWaller; 05-14-2023 at 09:46 AM.
Maybe they�d sell you just the HUD, but maybe it�s worth it to you to buy the whole kit just to get your project back on track and start driving it again. They may not be the only company offering it - I stopped looking when I found this one. Don�t know about shipping to the UK either.
beware that they bought Corvette Mods, and I don't know anything about their service or if they actually house inventory vs ordering it from a dealer then selling it to you. If no dealers have parts in inventory, I doubt these guys do.
Do C6 HUDs fail more frequently than other cars? Curious as I have an old 2002 Pontiac Grand Prix that is my current daily beater and the HUD works fine though I've heard they sometimes get cracked solder joints that cause them to dim.
Do C6 HUDs fail more frequently than other cars? Curious as I have an old 2002 Pontiac Grand Prix that is my current daily beater and the HUD works fine though I've heard they sometimes get cracked solder joints that cause them to dim.
Yes. There is no support in the thin plastic where the screws for the mirror pivot points are. Over time the plastic breaks and the mirror falls into the projector. The projector still works, so technically the hud doesn't fail, you just can't see the projection on the windshield.

 05-12-2023, 10:10 AM