When you click on links to various merchants on this site and make a purchase, this can result in this site earning a commission. Affiliate programs and affiliations include, but are not limited to, the eBay Partner Network.
[Z06] 2010 Z06, 15,000 kms, pulled the heads, pics and short vid
C6 Corvette ZR1 & Z06General info about GM�s Corvette Supercar, LS9 Corvette Technical Info, Performance Upgrades, Suspension Setup for Street or Track
So, I got my "raw wiggle test" data from AHP today. For clarity, this engine is out of a 2010 Z06 with 15,000 kms (9500 miles) The car was very well taken care of, was never beat on, just a cruiser, and had 3-4 oil changes done at the previous owner's local dealership with factory recommended M1 5w-30 and a couple of little electrical issues handled under warranty...that is it for service history.
According to Kohle anything that is .008" is right at the end of the GM spec and anything .009" or over is out of spec.
8/8 intakes are out of spec and surprisingly, 8/8 exhaust are within spec, but (not surprisingly) all are worn. Given the low mileage, it is somewhat probable in my estimation that some (or possibly all?) of these guides were out of spec when the heads were built. If I were a betting man, I would not be putting much $$ down that this engine was destined to live a long service life...I would bet to the contrary.
I have been reading these guide/valve/head threads for years and have read dozens and dozens of owners stories regarding this issue and I truly empathized with them as I read. Now that it is my car and my LS7, I am more angry than anything else, and like many/all the others, genuinely disappointed in GM. Anyhow, the heads are in good hands, I trust Kohle and AHP and I'm confident the car will soon be back, better than ever and I am looking forward to many years enjoying the car. I'm really looking forward to getting my heads back (snow has all but melted and just waiting for the street cleaners to do their thing!)
nice write-up!
I don't have the skill nor mechanical aptitude to have done the swap myself, but if its of any interest, here's the results of my heads...and the car only had 11,000kms when this was done last summer (I had just bought it, an 08...and it had had annual oil changes at the dealer over 10yrs)
Not drastically out of the .008" spec, and AHP used a wiggle test to determine this, so I'm not sure how accurate that is. Nonetheless, I'm glad its done and consider it as insurance.
Last edited by tommyc6z06; 03-21-2019 at 01:32 PM.
nice write-up!
I don't have the skill nor mechanical aptitude to have done the swap myself, but if its of any interest, here's the results of my heads...and the car only had 11,000kms when this was done last summer (I had just bought it, an 08...and it had had annual oil changes at the dealer over 10yrs)
Not drastically out of the .008" spec, and AHP used a wiggle test to determine this, so I'm not sure how accurate that is. Nonetheless, I'm glad its done and consider it as insurance.
Thanks for posting...0.008 is the absolute limit of wear according to Kohle, so looks like you were pretty much out of spec on 7/8 intakes and like mine, your exhausts were wearing, although not as badly. I am sure Apocolipse and Unreal are correct, CrN coating chews through the OEM guides rather quickly (as I understand it, Del West recommended the tumble polish from the get-go, GM declined )
Unfortunately - even polishing does not "fix" the issue as the coating itself eventually fails by pressure delamination and then proceeds to chew the guide. I am currently studying my findings and will post results on the forum.
I am expecting my heads to arrive today from AHP. I have a couple questions before I go ahead and reassemble the engine:
1. I am installing new GM lifters, do I need to soak these in oil before I install them? If so, is say, overnight sufficient for soak time? 24 hrs? (I bought new lifter trays as a few slots had a loose grip on lifter)
2. Do I need/should I use assembly lube for lash caps, valve tips, rockers, pushrods, etc? (I plan to change the oil before initial start up, after assembly is complete)
Yup, no other mods. I asked AHP about this and they have some pretty high hp builds with stock GM lifters and zero issues, so I expect (hope) I'll be fine.
this is what they just told me when I asked the same question. With 50k miles he just inspect and make sure the roller rolls and there is no wear on the lifters that your fingernail catches. Considering I was ready to add lifters to my head order the fact he told me to wait and not spend money I don�t need to with him says a lot
AHP check, New lifters check, motor oil or a little assembly lube on the lash caps and pushrod tips check. The LS7 lifters I got from AHP were in and oil filled bag so I did not soak them. They were fine. Some aftermarket lifter manufactures recommend no soak. I would not install them dry. Unfortunately the original finish specification for the CrNi coating on the original intake valves, lack of concentricity between guide and seat, GM powdered metal guides, and some side loading due to lack of roller tip rockers seems to be the recipe for excessive wear. The factory guides were probably too large to start with as well. Factory rockers can probably live well provided the other issues are corrected. Be sure to check push rod length/lifter preload.
[QUOTE=Apocolipse;1599085386]Unfortunately - even polishing does not "fix" the issue as the coating itself eventually fails by pressure delamination and then proceeds to chew the guide. I am currently studying my findings and will post results on the forum.
[/QUO
Looks like too much heat although pictures can be misleading.
AHP check, New lifters check, motor oil or a little assembly lube on the lash caps and pushrod tips check. The LS7 lifters I got from AHP were in and oil filled bag so I did not soak them. They were fine. Some aftermarket lifter manufactures recommend no soak. I would not install them dry. Unfortunately the original finish specification for the CrNi coating on the original intake valves, lack of concentricity between guide and seat, GM powdered metal guides, and some side loading due to lack of roller tip rockers seems to be the recipe for excessive wear. The factory guides were probably too large to start with as well. Factory rockers can probably live well provided the other issues are corrected. Be sure to check push rod length/lifter preload.
Thanks for the reply tomcat11
The heads did arrive today and they look great! My LS7 lifters are also in an oil filled bag, so I'll just go with them the way they are. I'll grab some assembly lube and get after it this weekend. Hopefully, this has minimized the known issues with these heads, although nothing I did will help much with side loading. Thanks again!
Some good info, thanks. Interesting thought on guide length. I would be a bit concerned with extending the exhaust guide 1/4", the OEM exhaust valve is hollow sodium filled as we all know, and this is to extract heat. I envision that extra 1/4" of guide protruding into the exhaust flow getting pretty hot...not sure I'd be good with that, but hey, I'm no engineer.
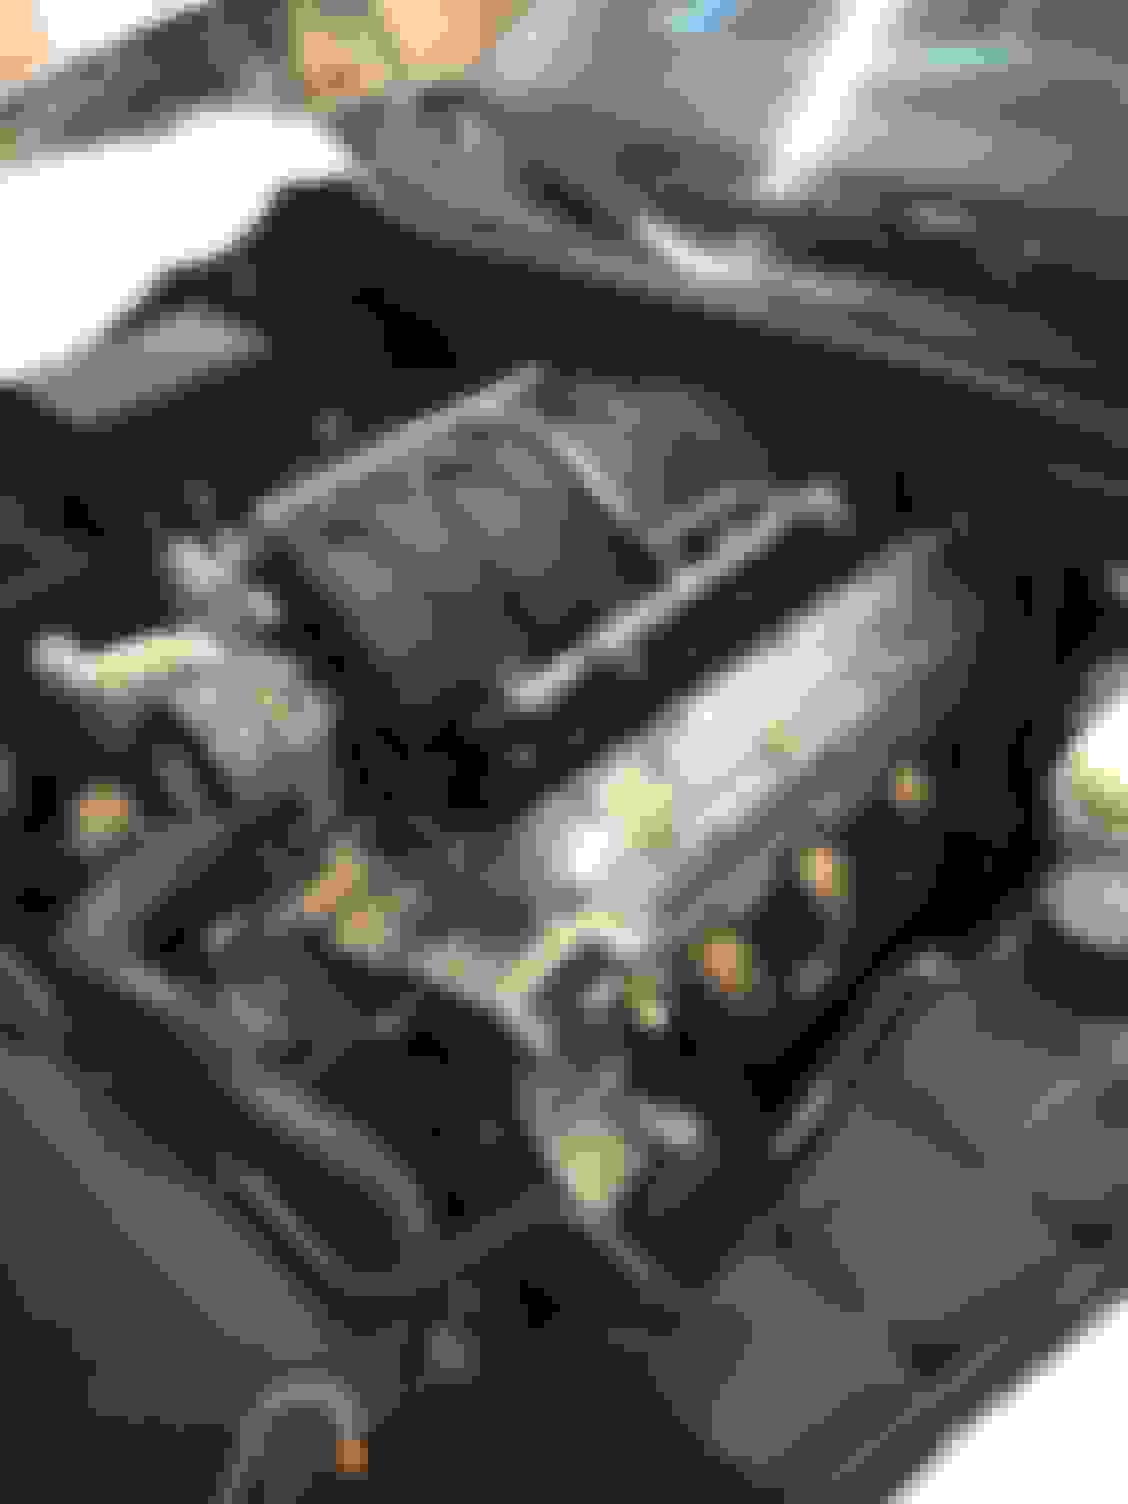
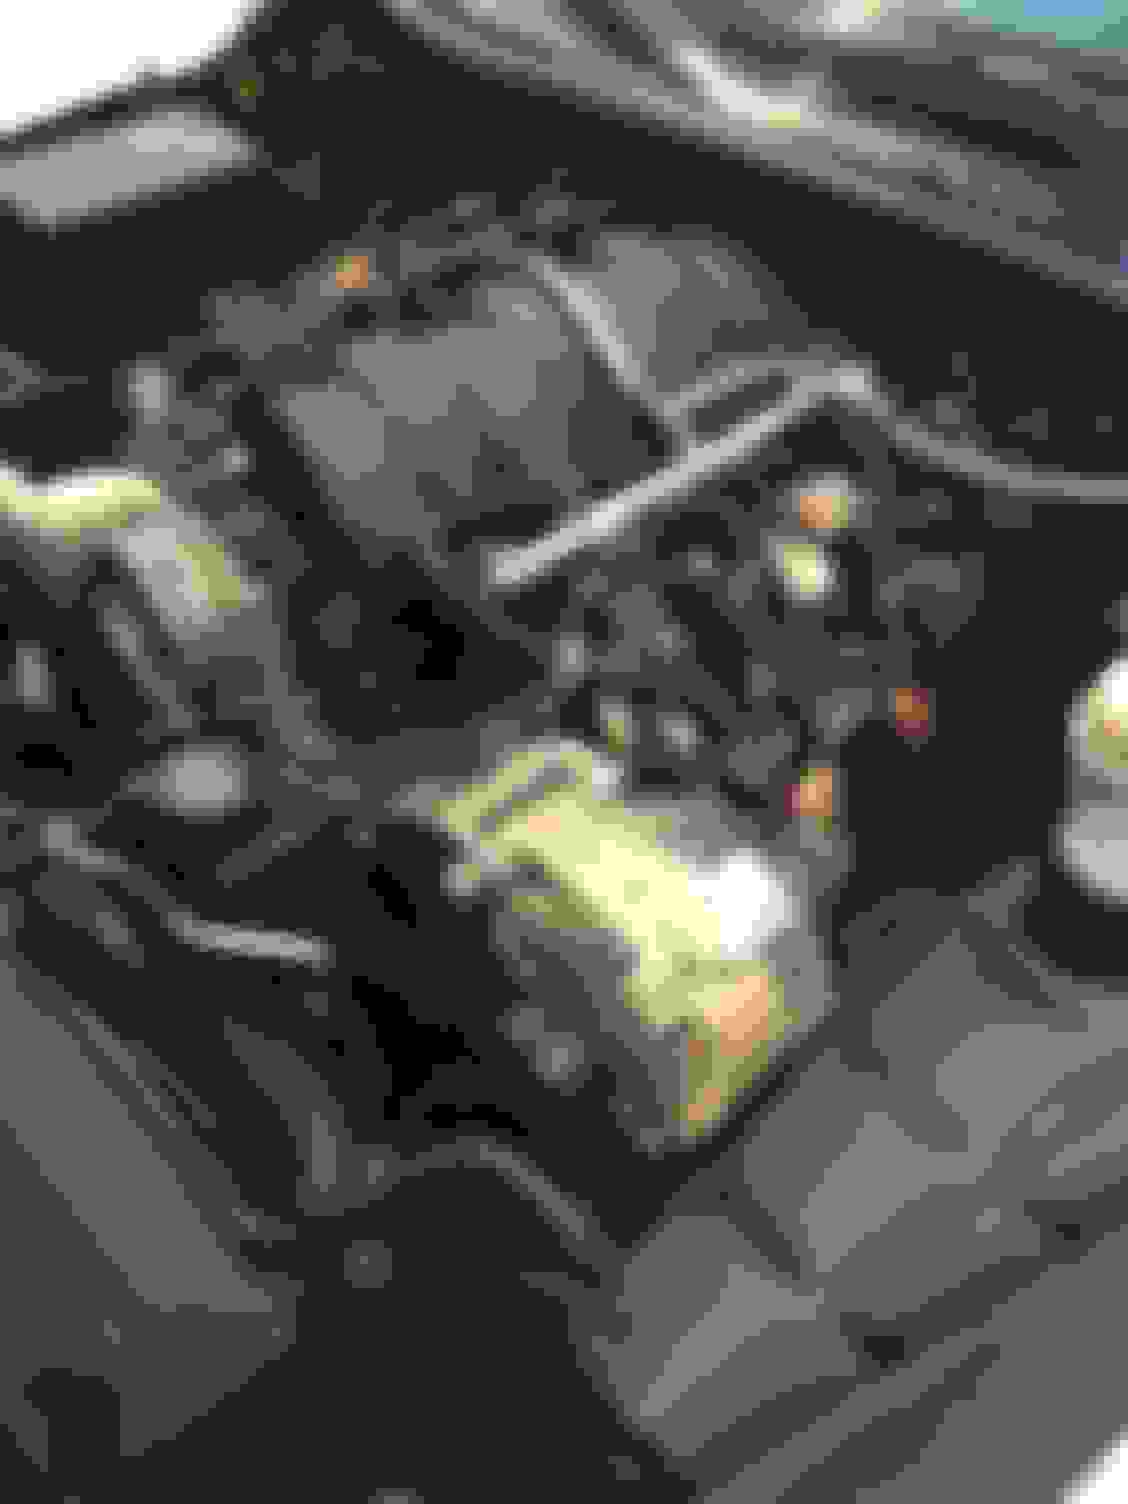
I wiped down the decks and mating face of the heads with isopropyl alcohol. I also inspected the ARP bolts and they got the alcohol wipe down. Wiped down the gaskets and started assembly.
I know for lots of you, a head swap is something you can do in your sleep, but for me, this was my first significant engine teardown and reassembly. I know it was not a complete engine build, but like I said above, I truly enjoyed the process.
I was not worried when it came time to press the start button, but the heart was beating a bit quicker ...it was pretty exciting. After changing the oil and filter, I did the gas pedal to the floor, pre-oil trick (worked perfectly) and hit "Start". It fired right up and had great oil pressure right away. Here is a short vid I edited down...warning: wife screams (I honestly think she might like this car more than I do, lol) and my cameraman, son gets the shakes, but hey, the whole family loves this Vette.
Edit: The engine is waaay quieter as far as valvetrain/ticking goes (at least running it in the garage it is). I will follow up once I have driven the car.
Thanks to Kohle and Jake at American Heritage for their excellent work

 03-21-2019, 12:19 AM


 )
)


 ...it was pretty exciting. After changing the oil and filter, I did the gas pedal to the floor, pre-oil trick (worked perfectly) and hit "Start". It fired right up and had great oil pressure right away. Here is a short vid I edited down...warning: wife screams (I honestly think she might like this car more than I do, lol) and my cameraman, son gets the shakes, but hey, the whole family loves this Vette.