Deburring and Polishing Engine Parts


 01-02-2018, 02:14 PM
#82
Not quite about polishing or deburring but I got a valvespring pressure tester for Christmas and checked the valvesprings at their installed height. I got 182 @ 1.800” and 200 @ the actual installed height of 1.740” (using a .060” shim to get closer to coil bind and add some seat pressure to combat the boost behind the intake valve). Coil bind is more like 1.055” and even then I can get a .010” feeler gauge between each of the active coils on the inner and outer springs. This probably explains why there was signs of wear on the retainers/seats using 7.400” pushrods on the previous engine along with it not making the power it should have and being noisy as hell.
This is what I thought the springs were:
Install Height: 1.800"
Closed Spring Pressure: 145lbs @ 1.800"
Open Spring Pressure: 450lbs @ 1.150"
Maximum Spring Lift: .650"
Coil Bind 1.080"
Spring Rate: 469lbs/in
So 1.740”-1.055”= .685 .... max valve lift is .6215 so round up to .622
.685-.622= .063” away from coil bind but in reality it’s more than that since I can get the .010” feeler gauge between each active coil at 1.055”.
Or go 1.740” installed - .622 valve lift - .060 margin/clearance = 1.058” which is greater than the 1.055” coil bind so I should be good to go.
So what Texas Speed sold me back in 2010/2011 as .650” lift springs are actually .700” lift springs. They were sold by TSP as their springs but are actually PAC 1222X RPM LS Race springs with titanium retainers.
Closed pressure @ 1.8” = 180
Open Pressure @ 1.1” = 480
Max spring lift = .700”
Coil bind = 1.055”
Spring rate = 425
Nice little tool to have Proform 66842
Last edited by Petraszewsky; 01-02-2018 at 02:16 PM.
01-04-2018, 03:48 PM
#83
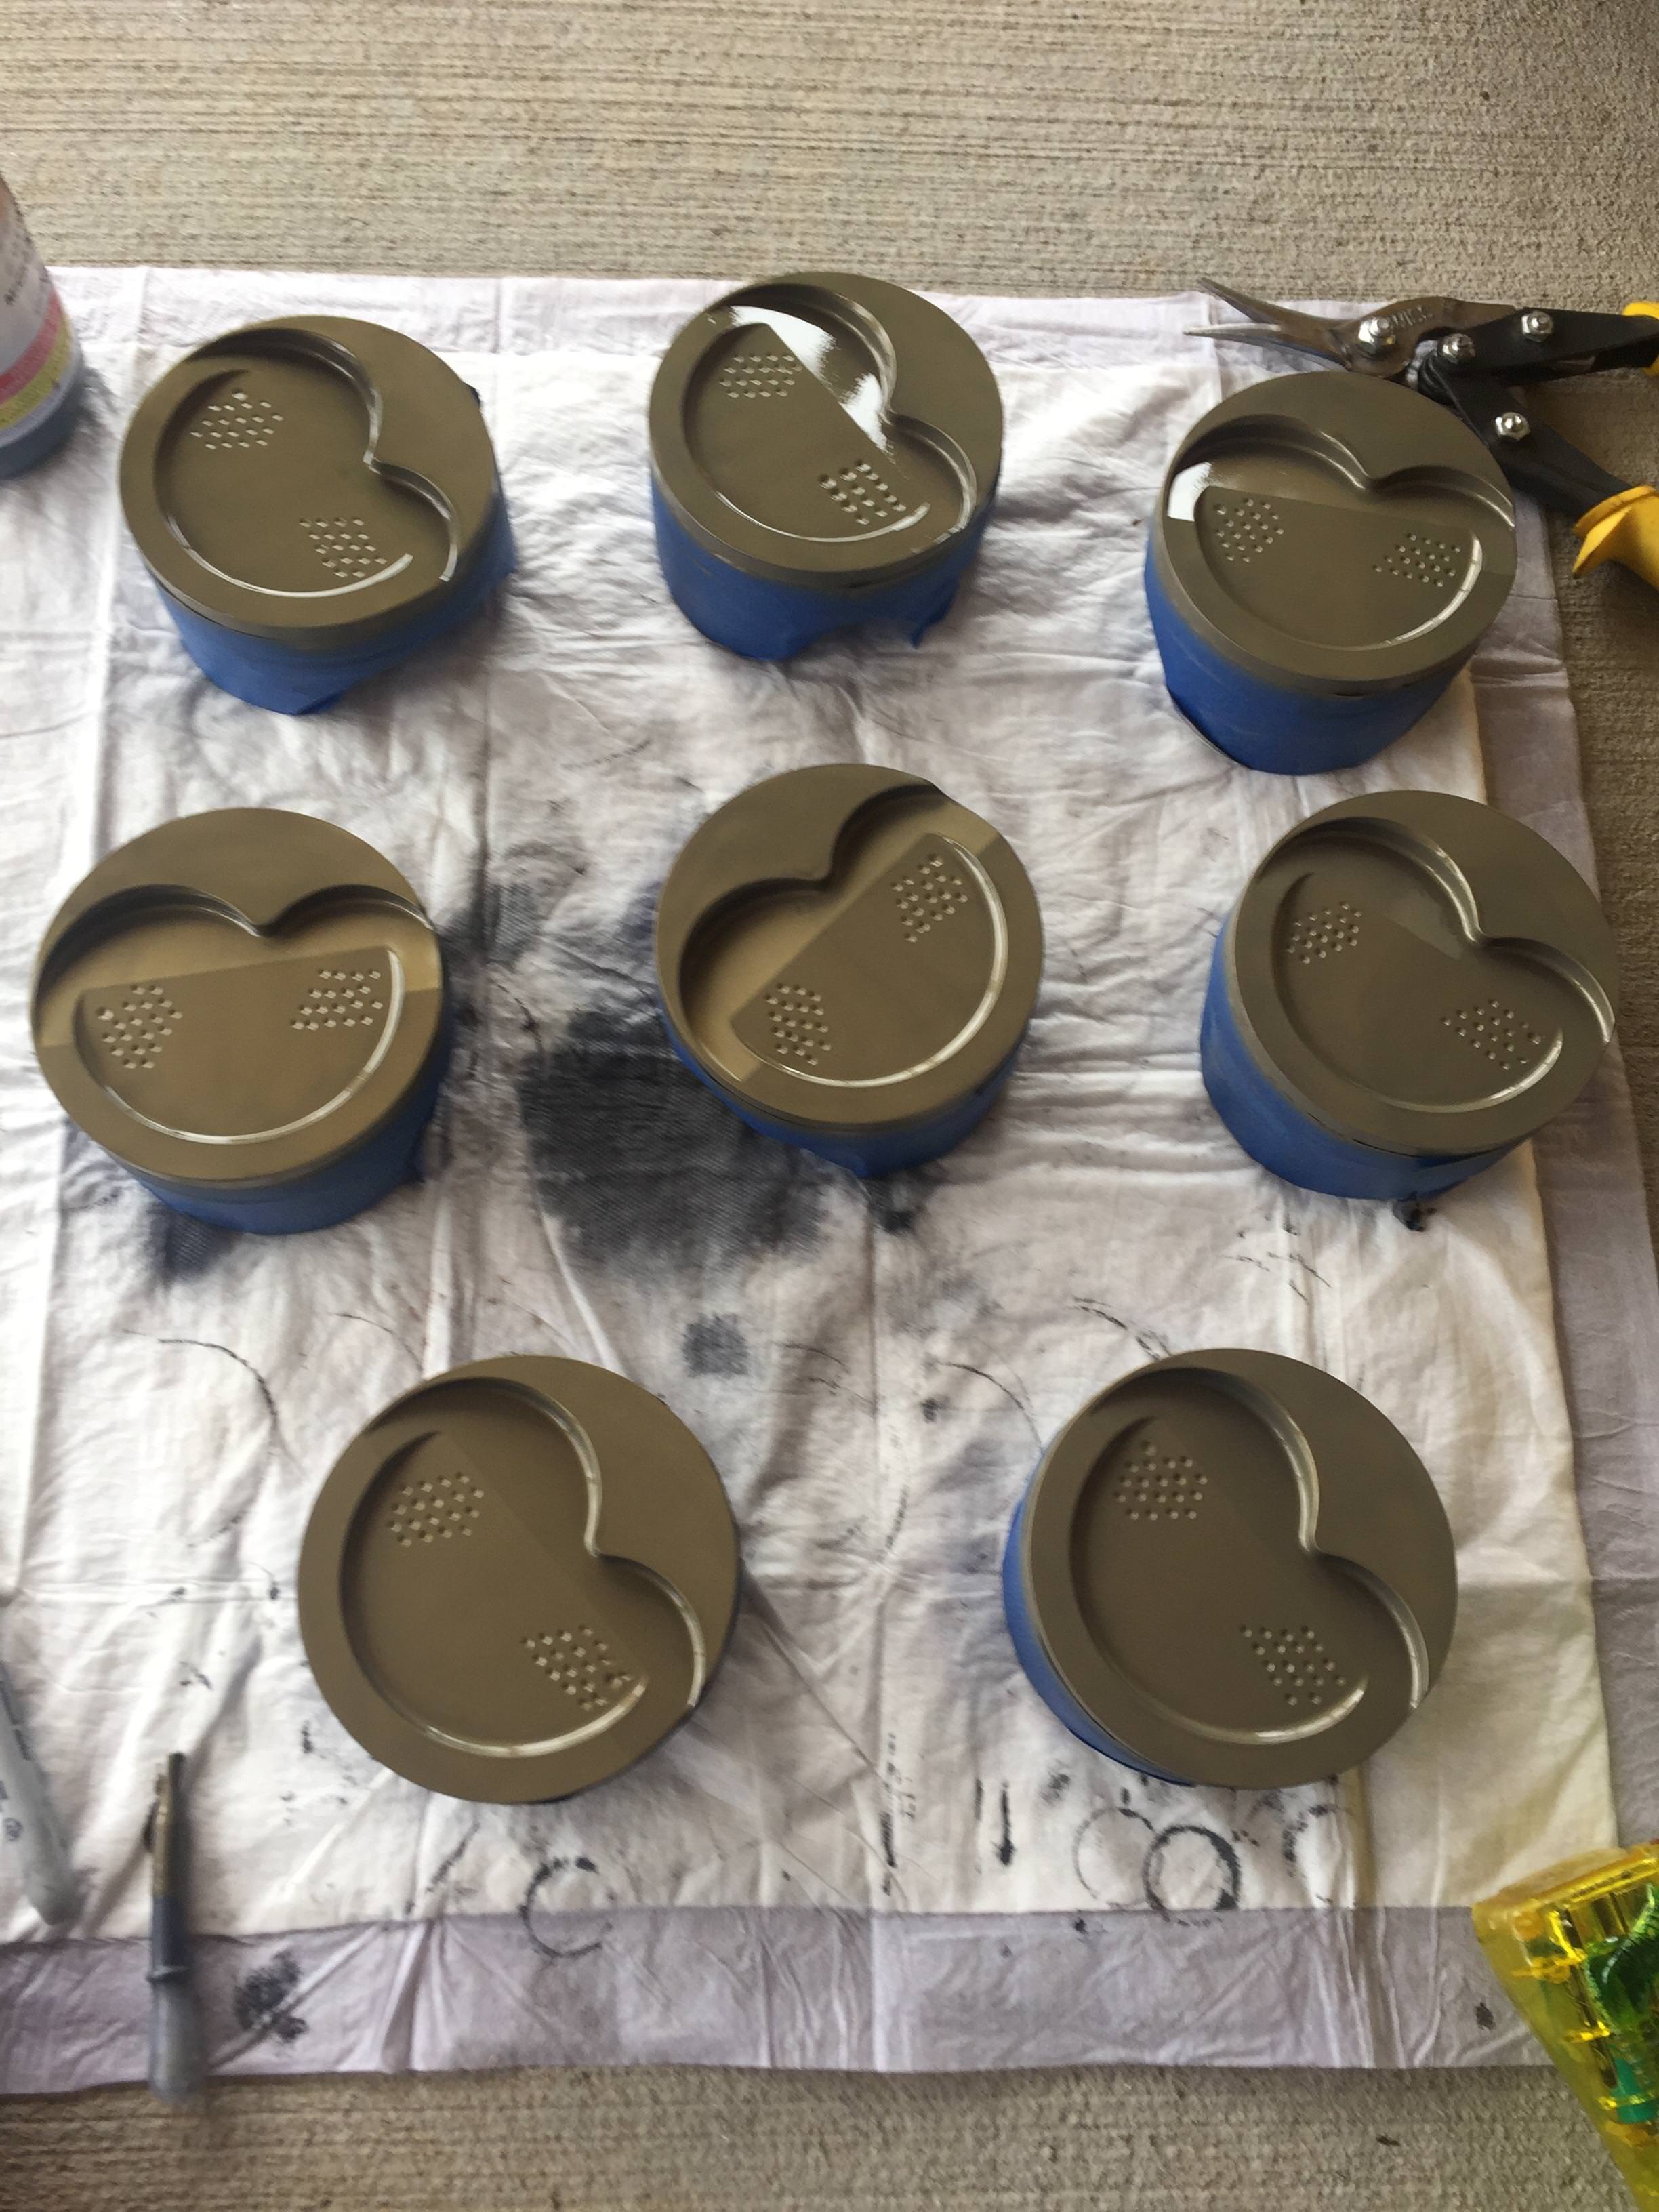
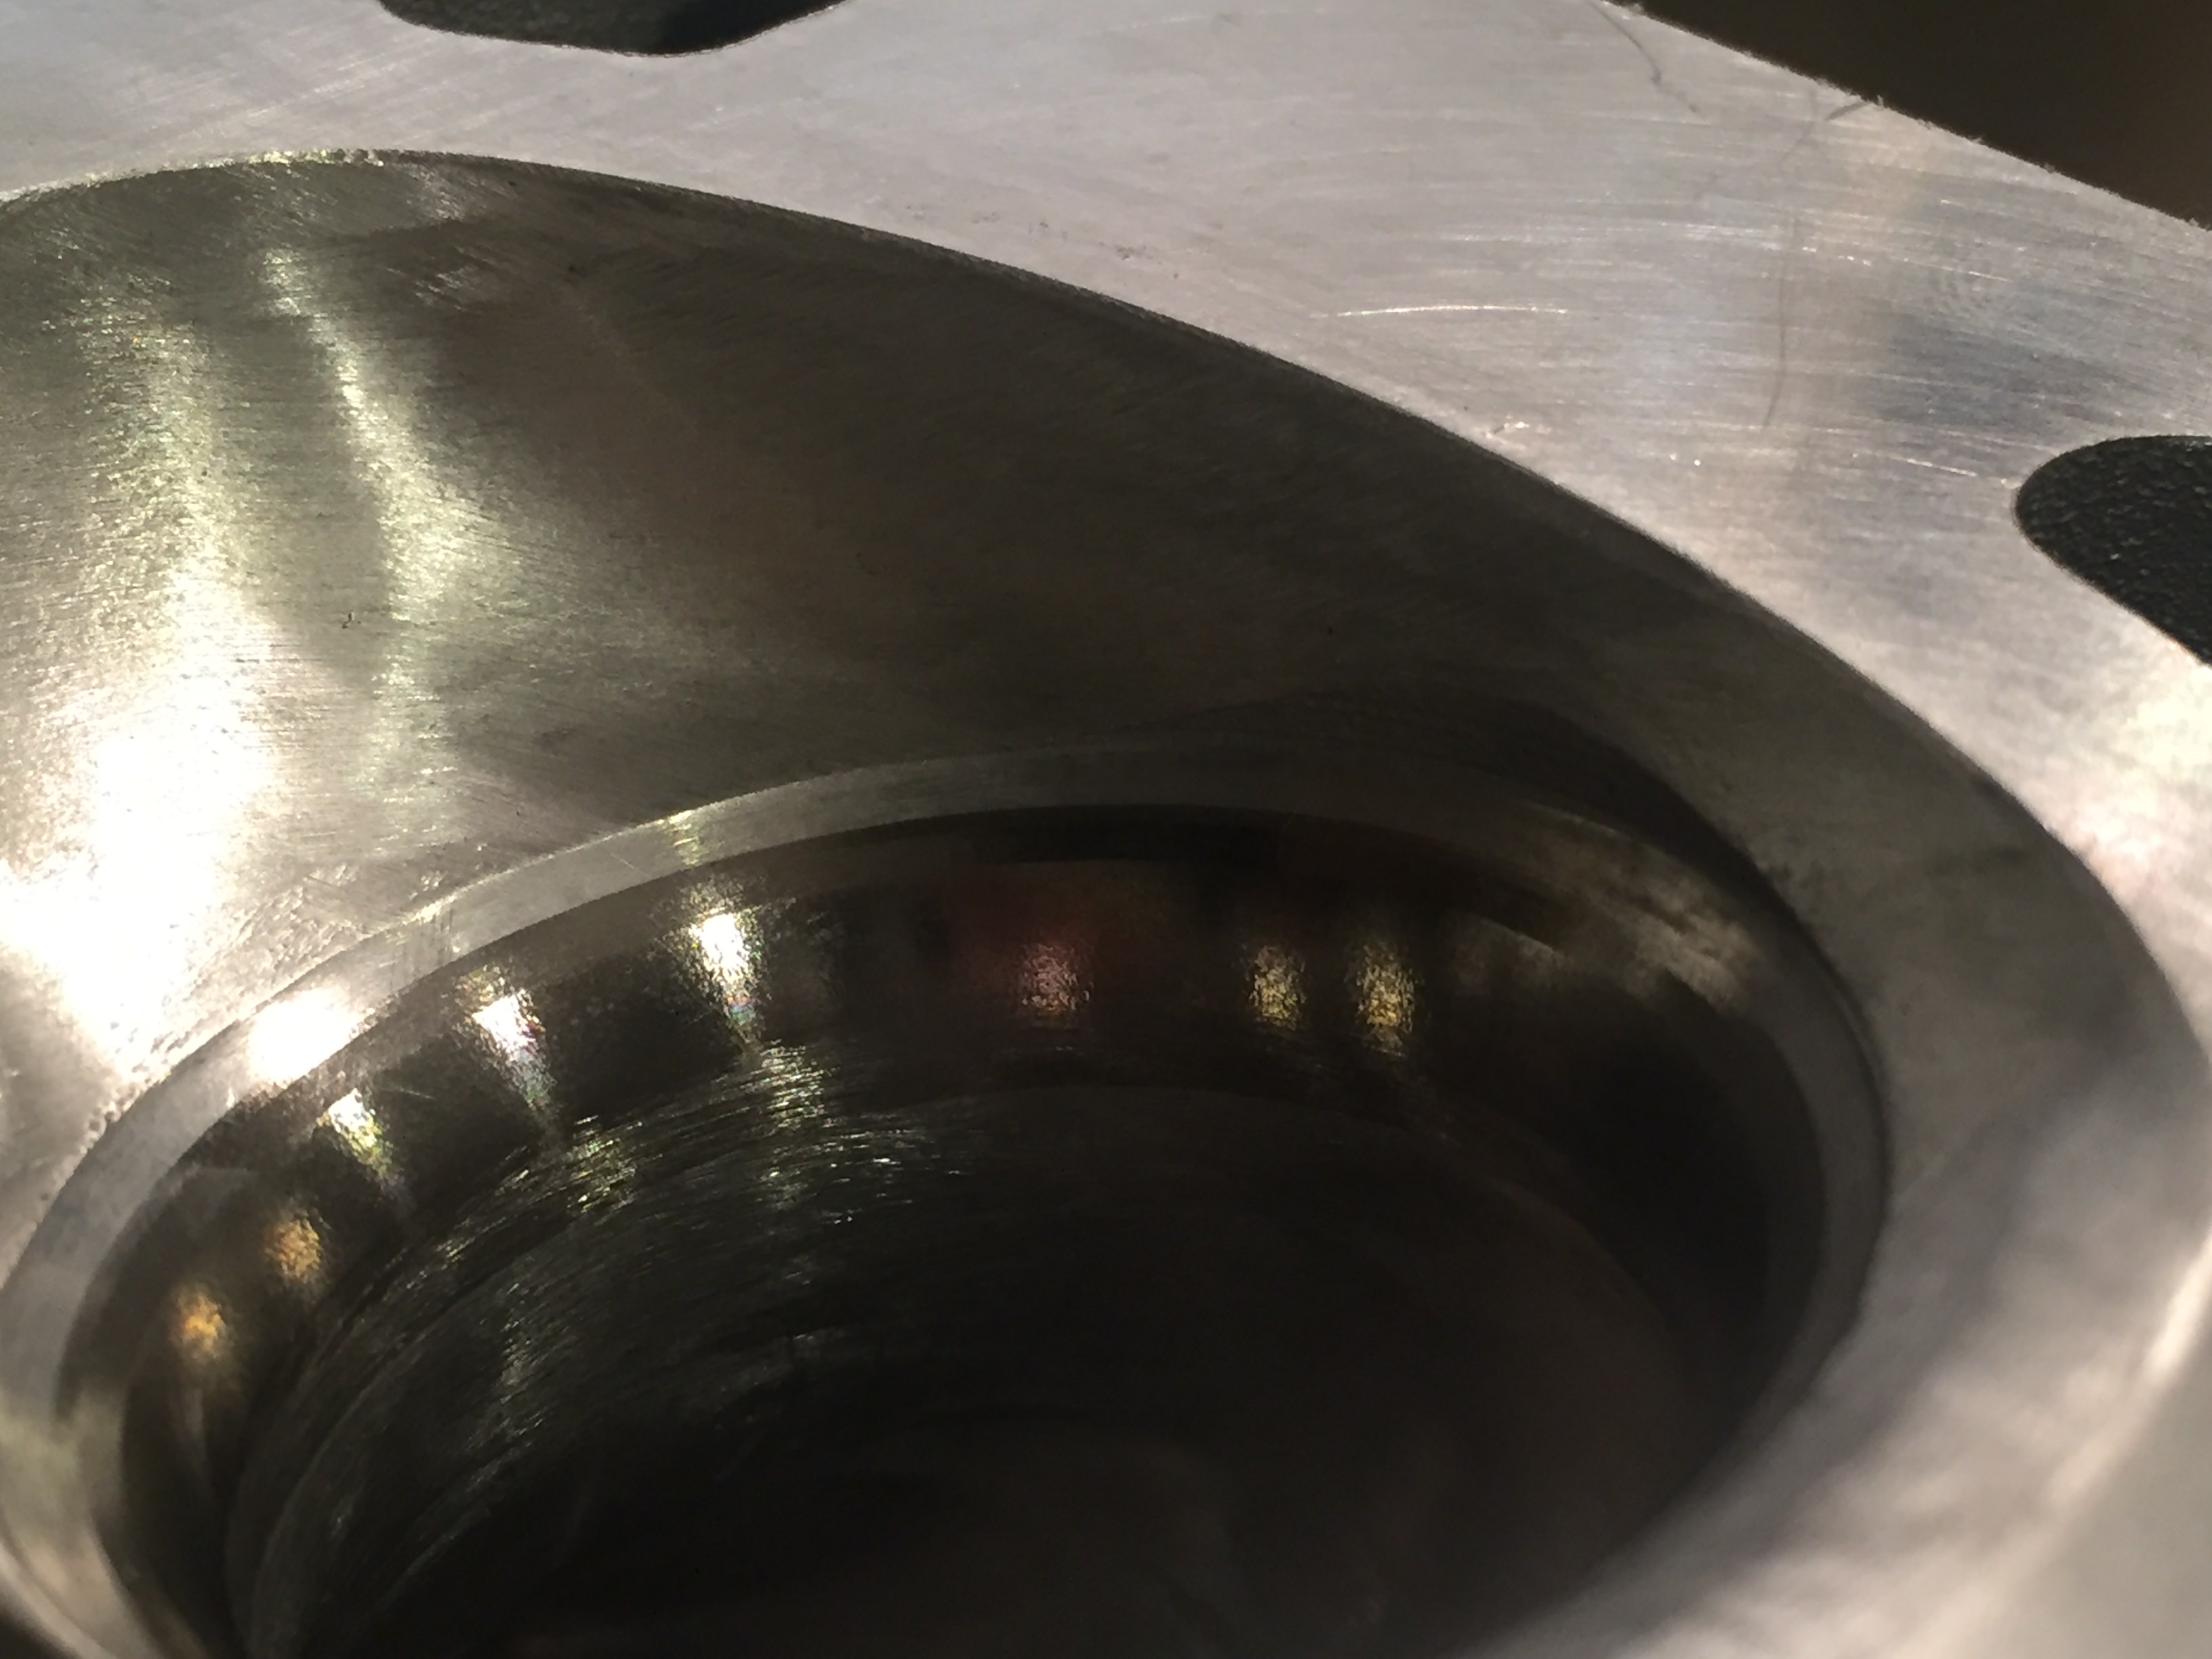
The last few weekends I’ve been smoothing the crankcase. It’s taking longer than I expected it to but no biggie as I have plenty of time left to do it. I softened the bottom edges on the piston skirt and bottom of the oil ring groove before I coated them. My thought process was that the sharp edges on the skirt could scrape oil off the cylinder wall especially on the major thrust side. I am thinking about putting a chamfer/softer edge on the bottom of the liner like what’s at the top to possibly help reduce skirt wear. I also softened the edges on the top and bottom of the lifter bores along with the openings inside the lifter bore to the oil passage. My thought process was that it would help prevent oil shear and scraping the lifter. I also noticed on my old lifters that they were worn/scratched from the sharp edges on the bottom/top/oil passage opening so that was another reason for it. Hopefully we’ll be measuring the lifter bores this weekend. It’s getting close!!!
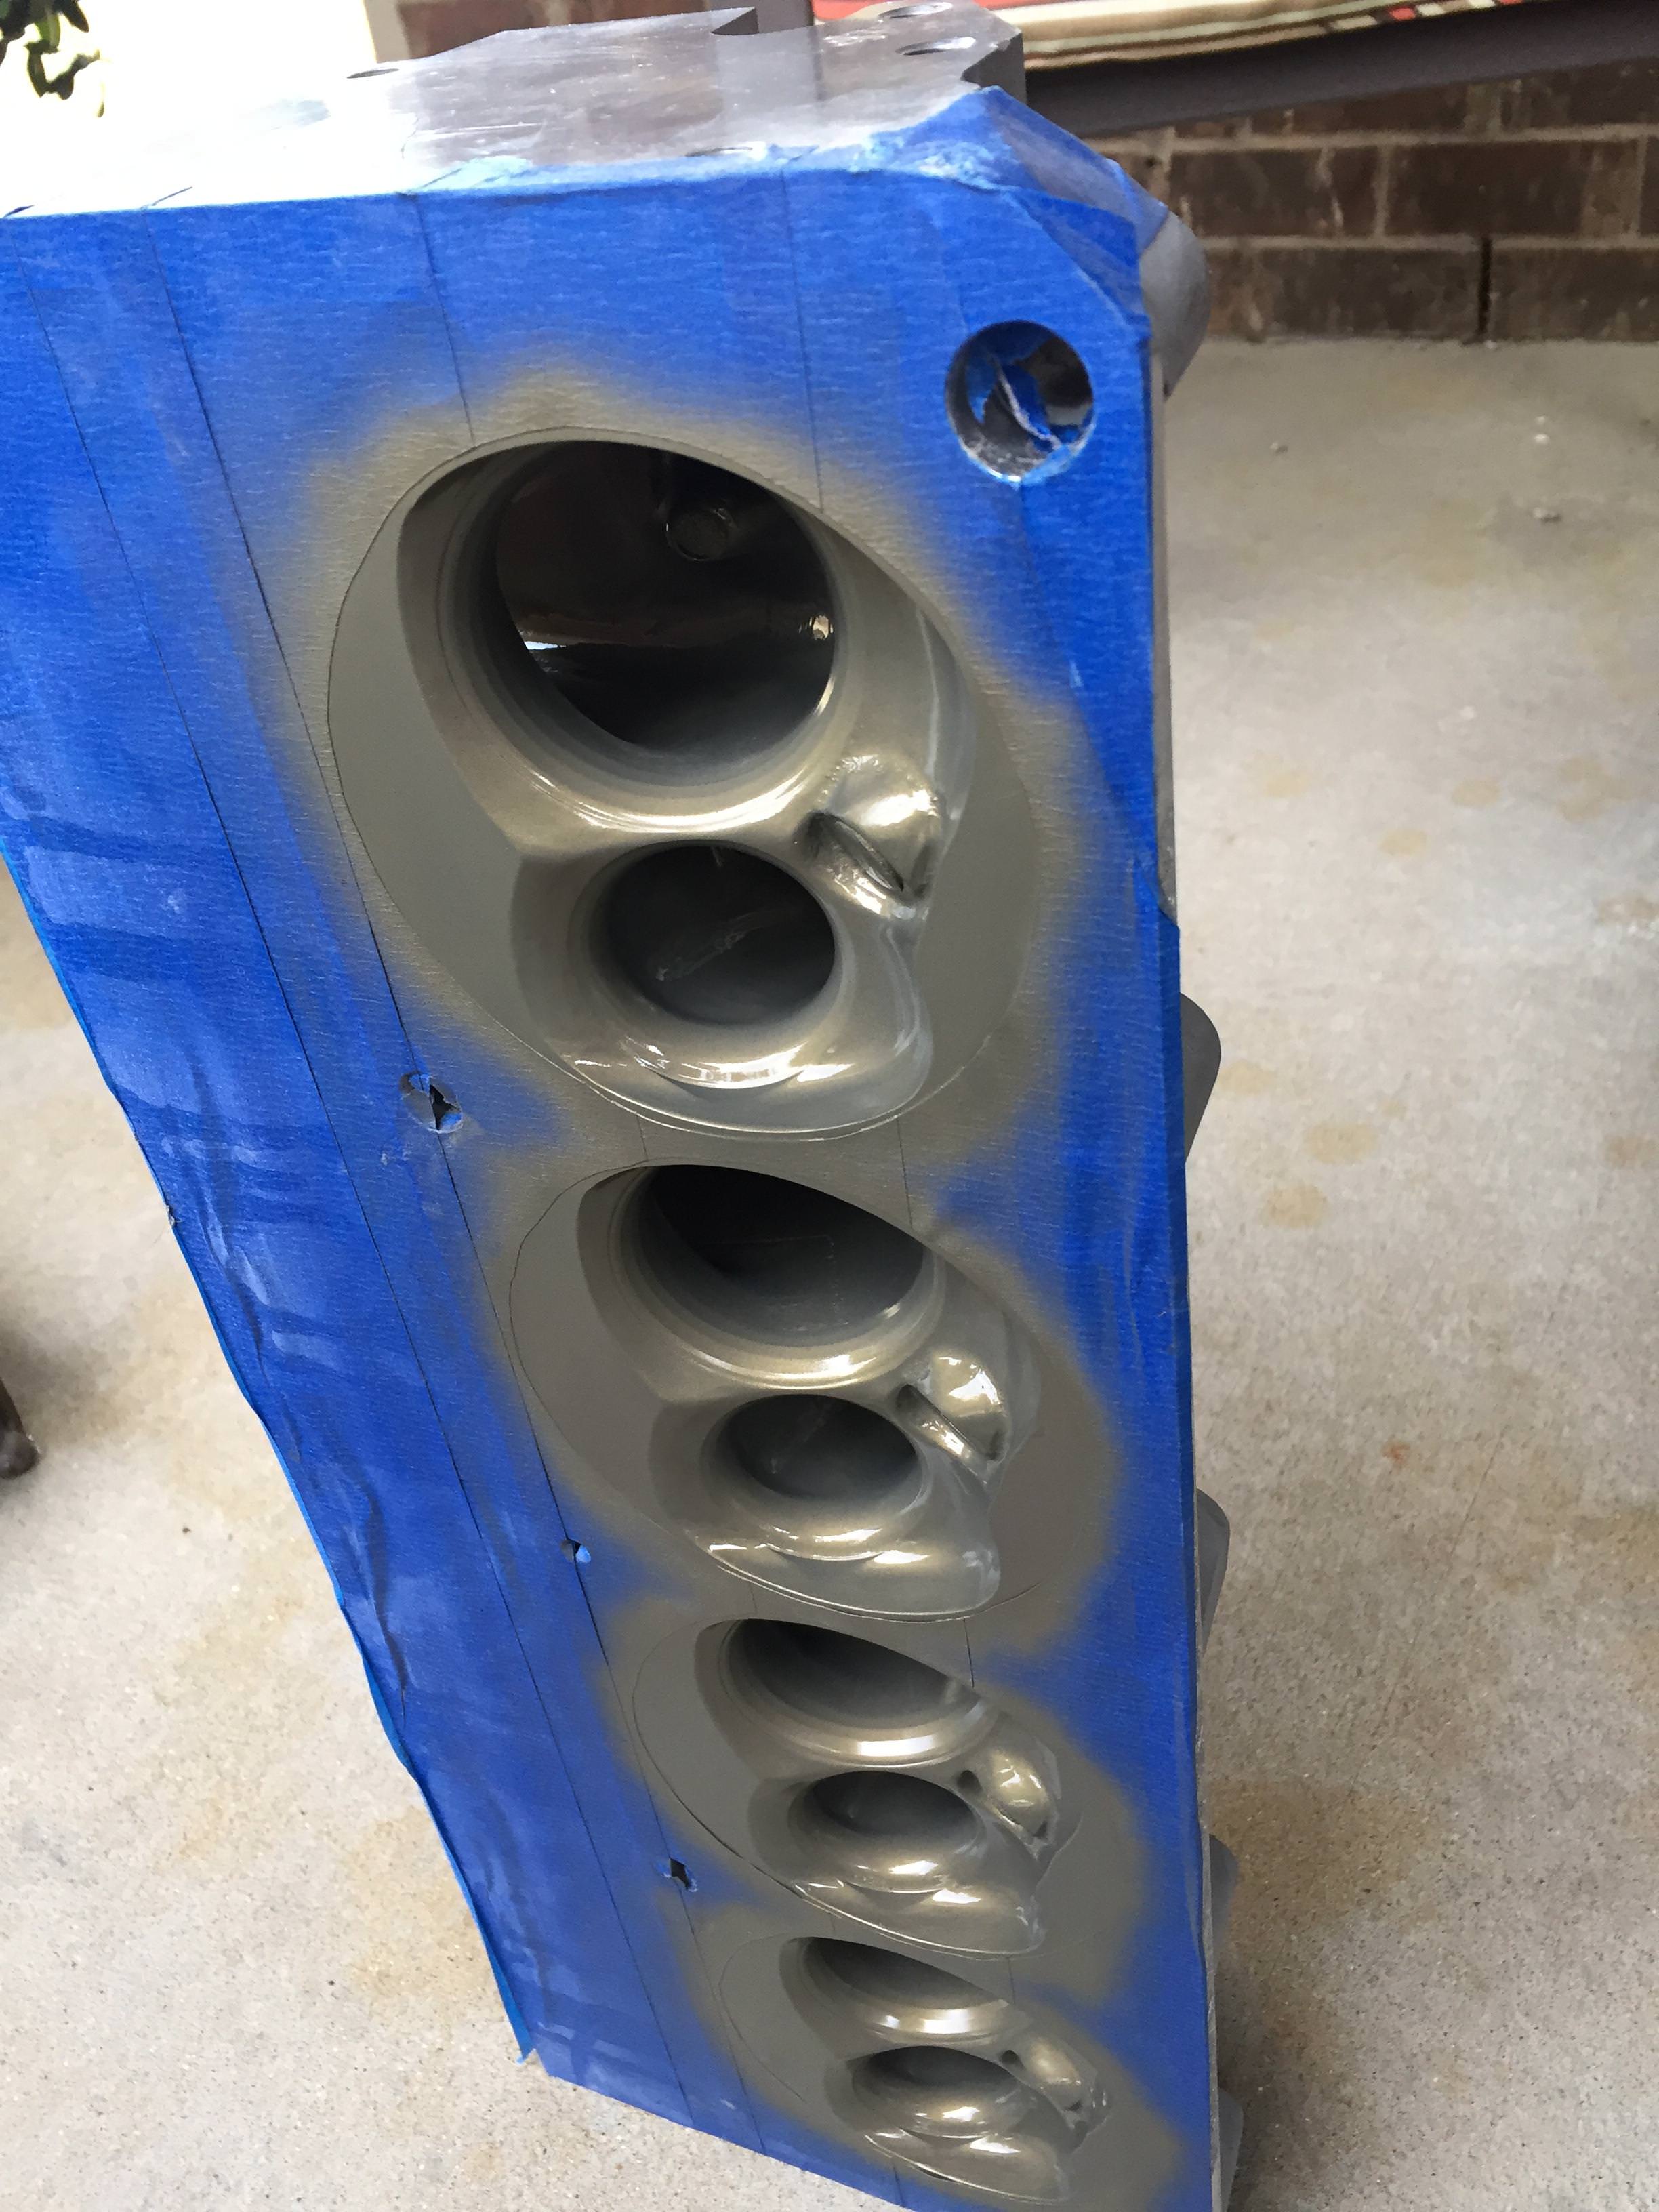
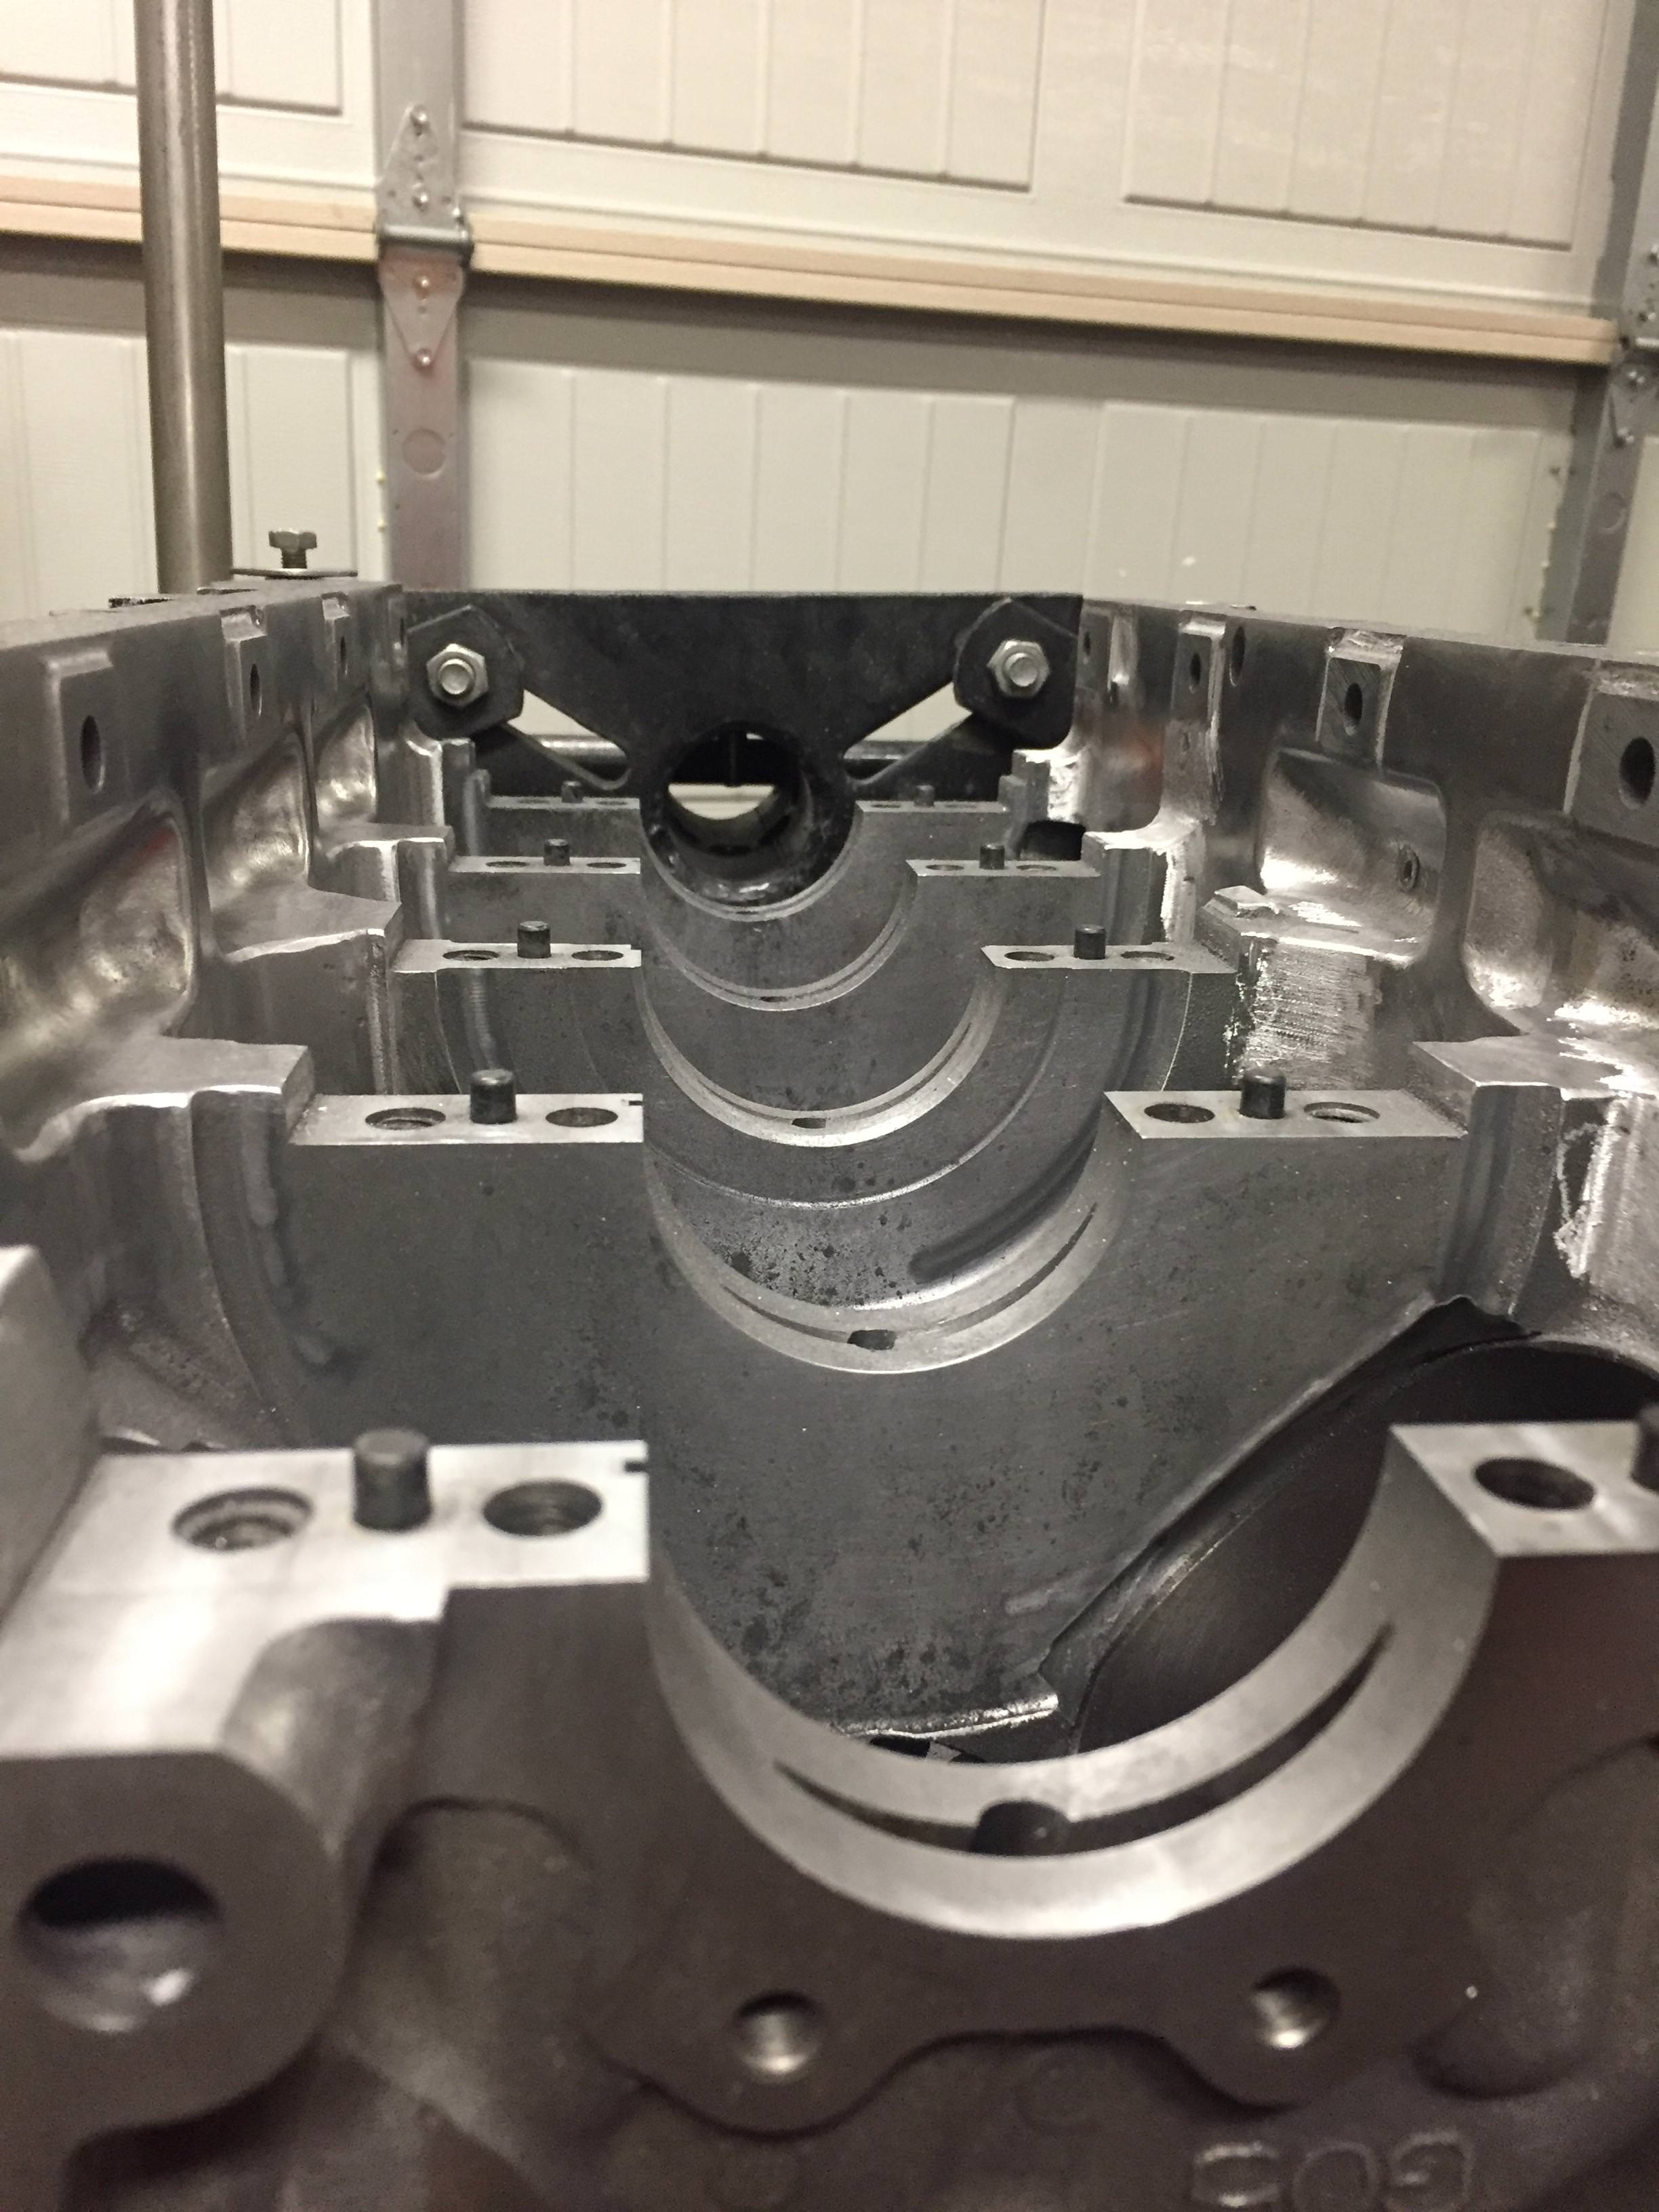
Spray bars installed....now to tinker with the ports and floor design
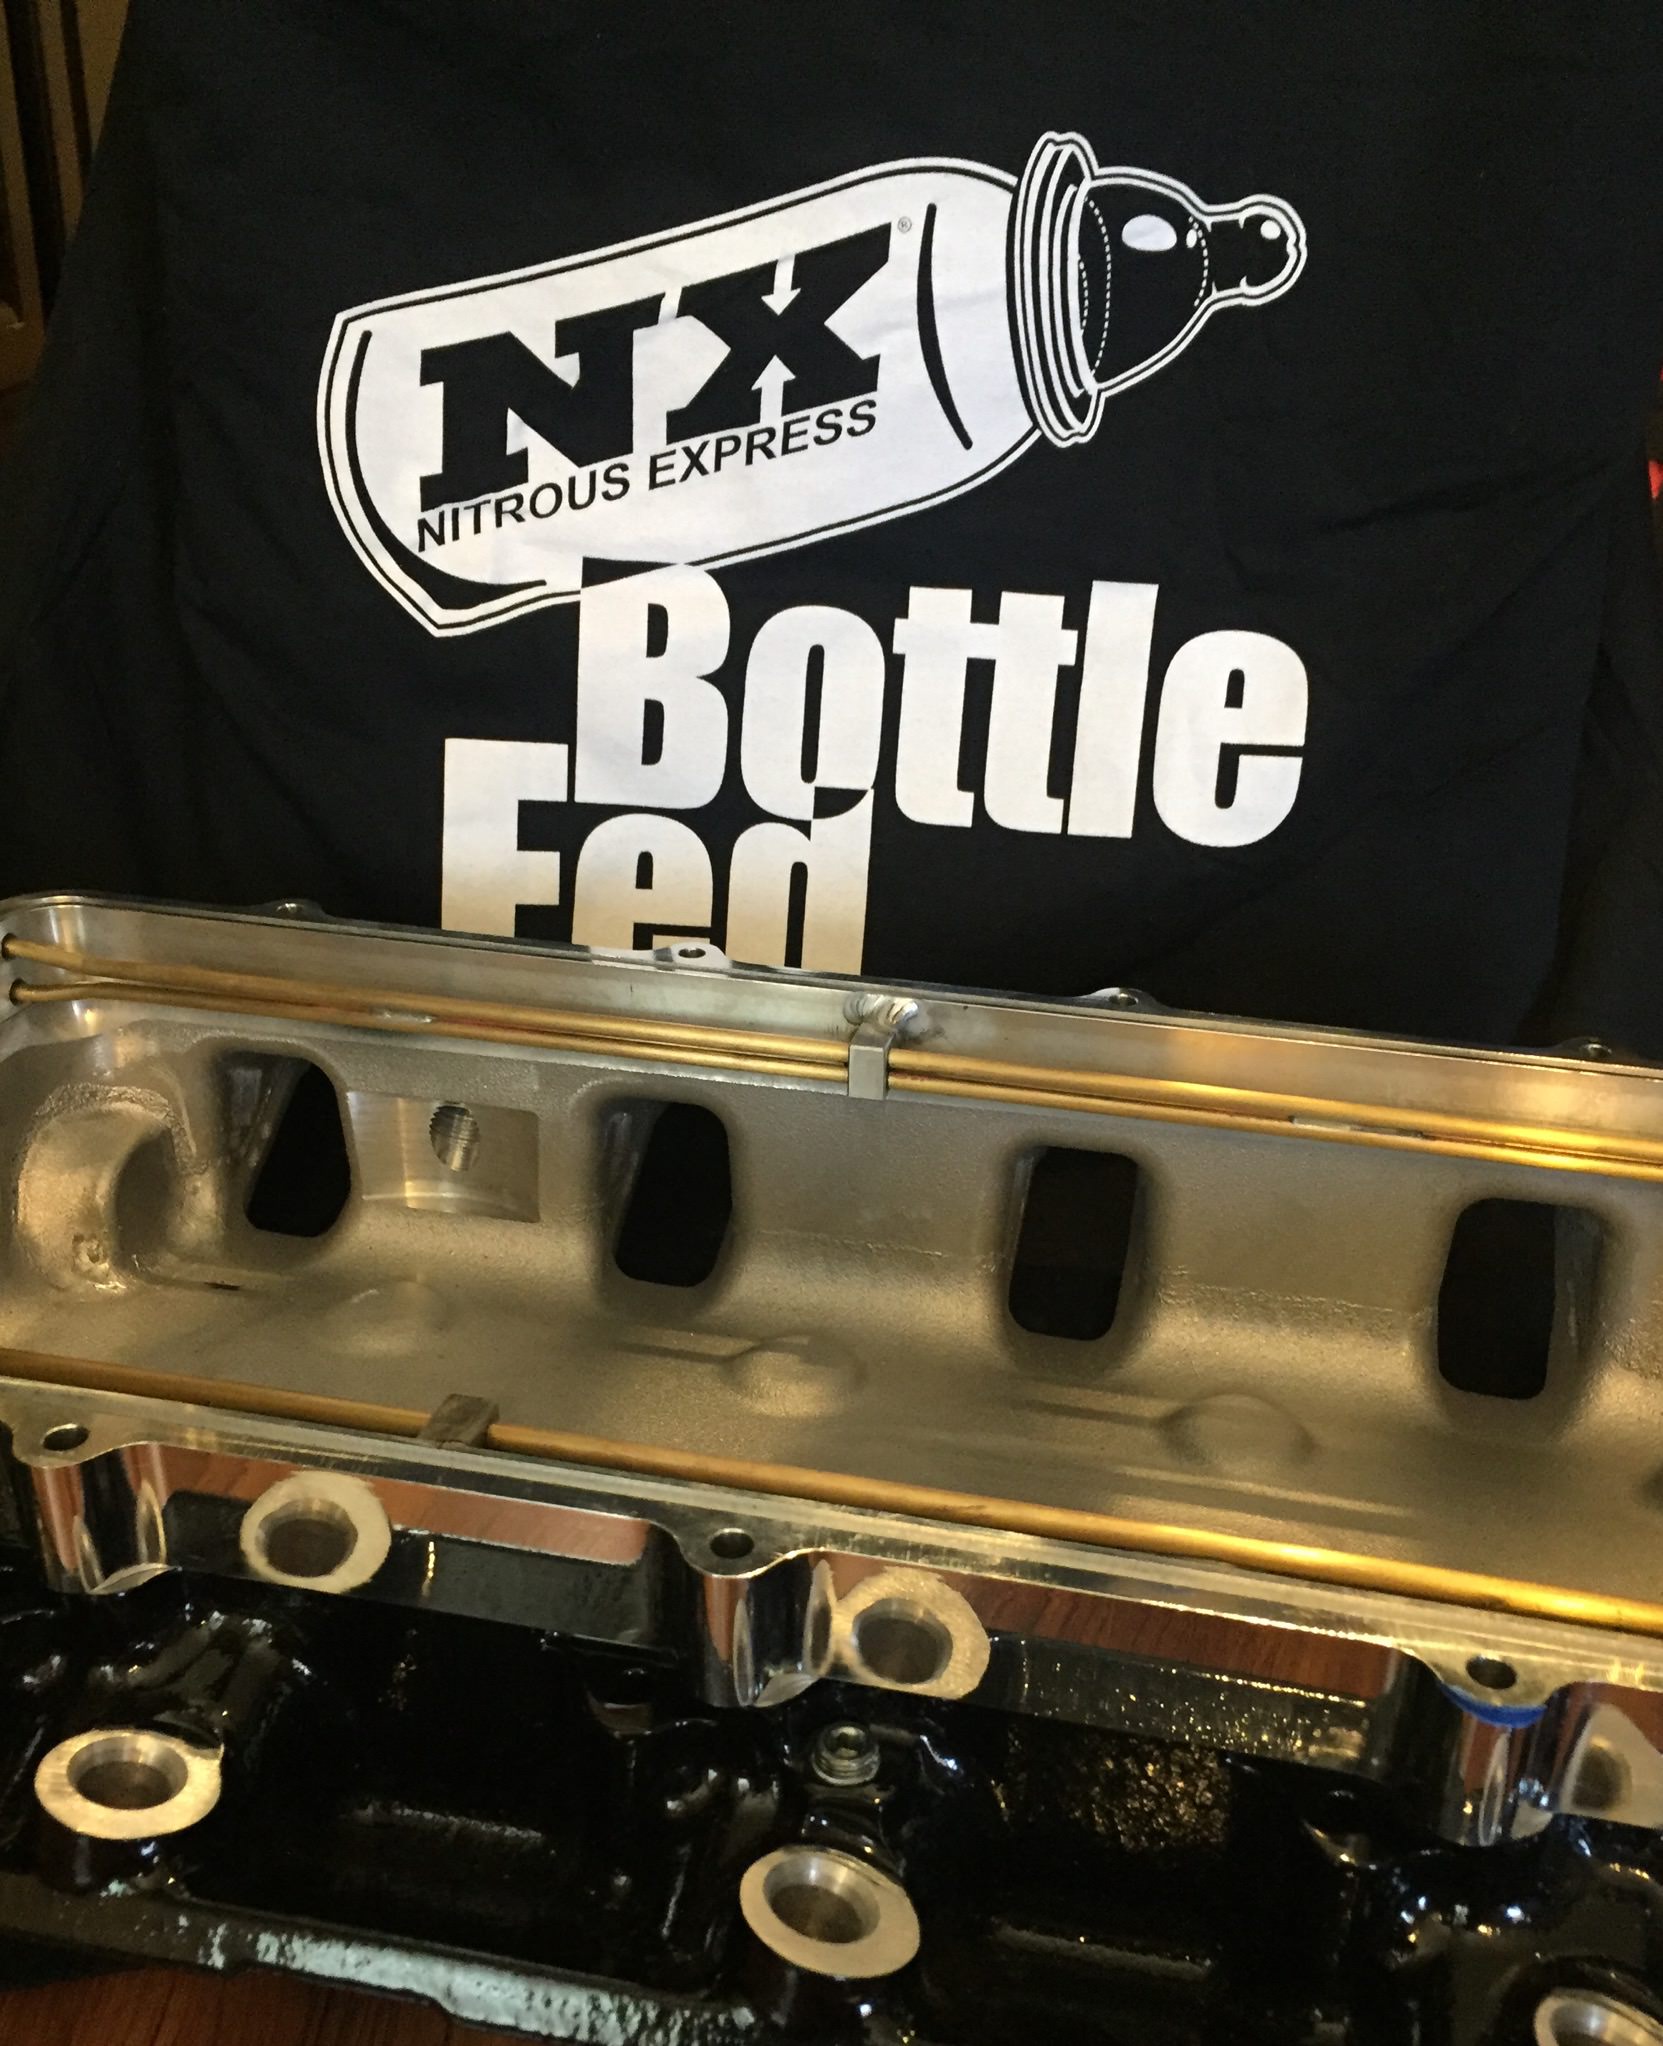
Spray bars installed....now to tinker with the ports and floor design
The following users liked this post:
schpenxel (01-04-2018)
01-07-2018, 06:56 PM
#84
Lifter bores check in at a average of .0026” which is what is recommended for iron blocks not aluminum blocks. One is a bit large at .0051” clearance...I wonder if GM machines all the blocks the same?
01-15-2018, 07:27 PM
#85
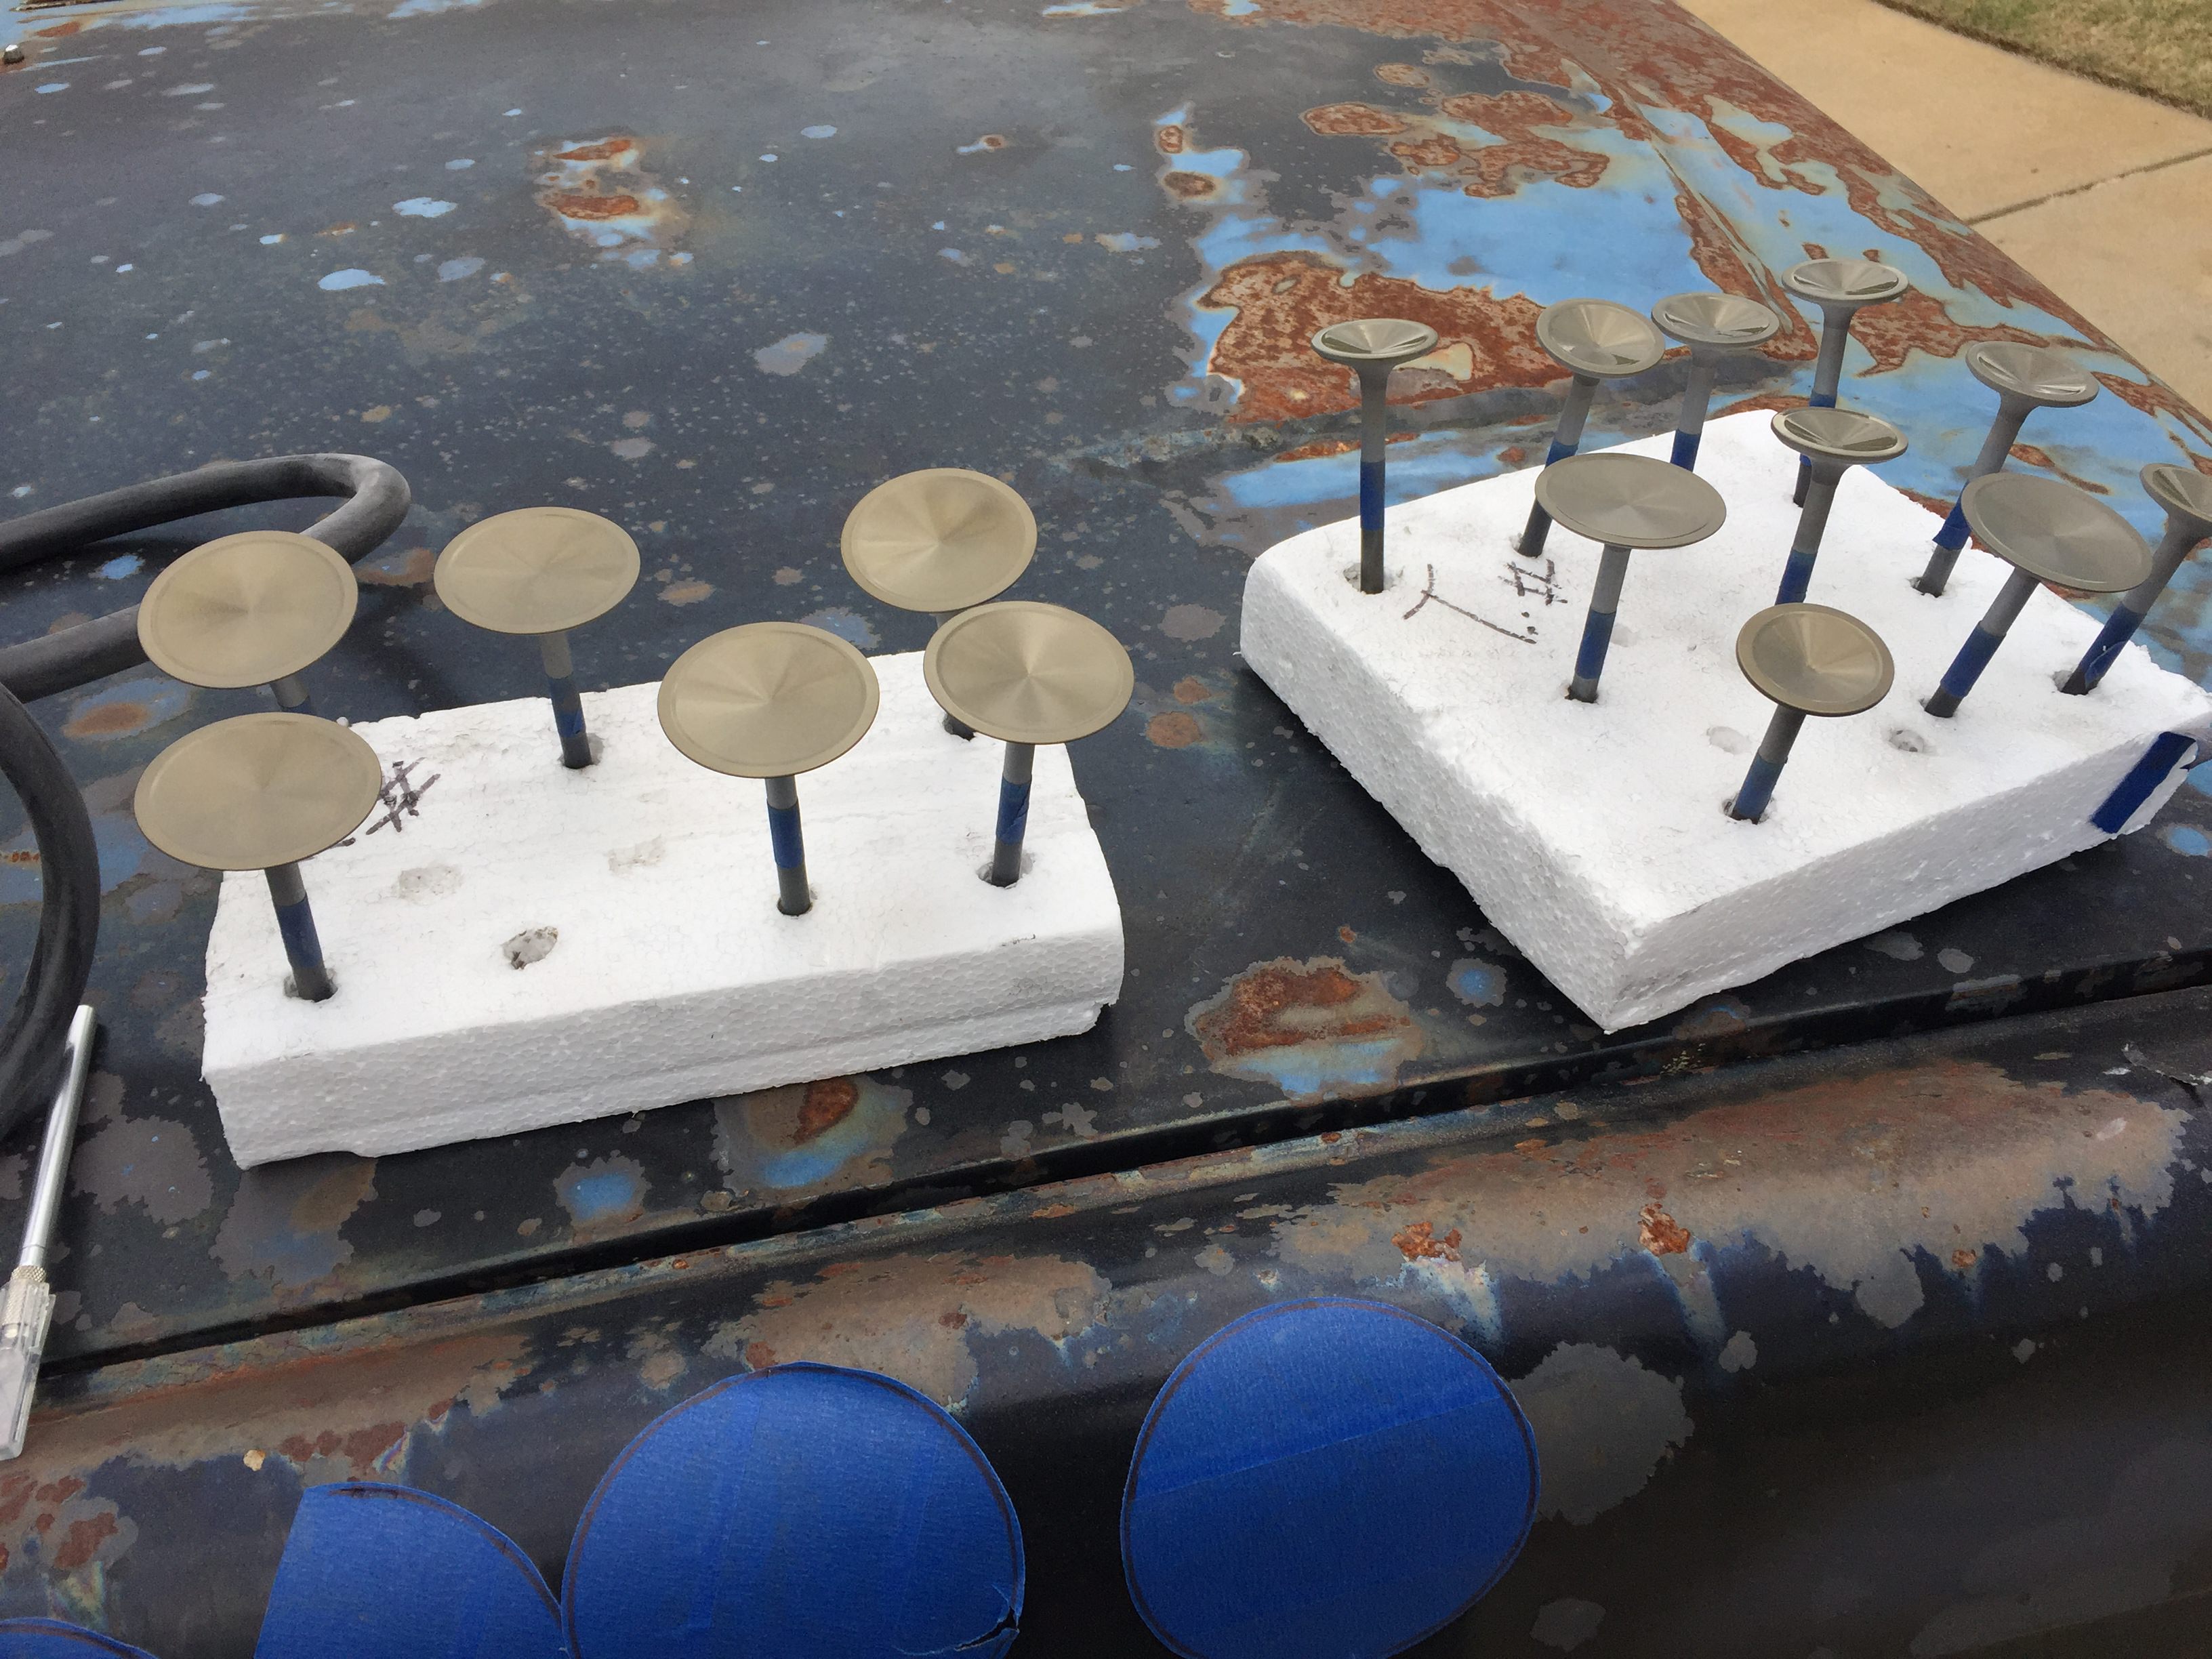
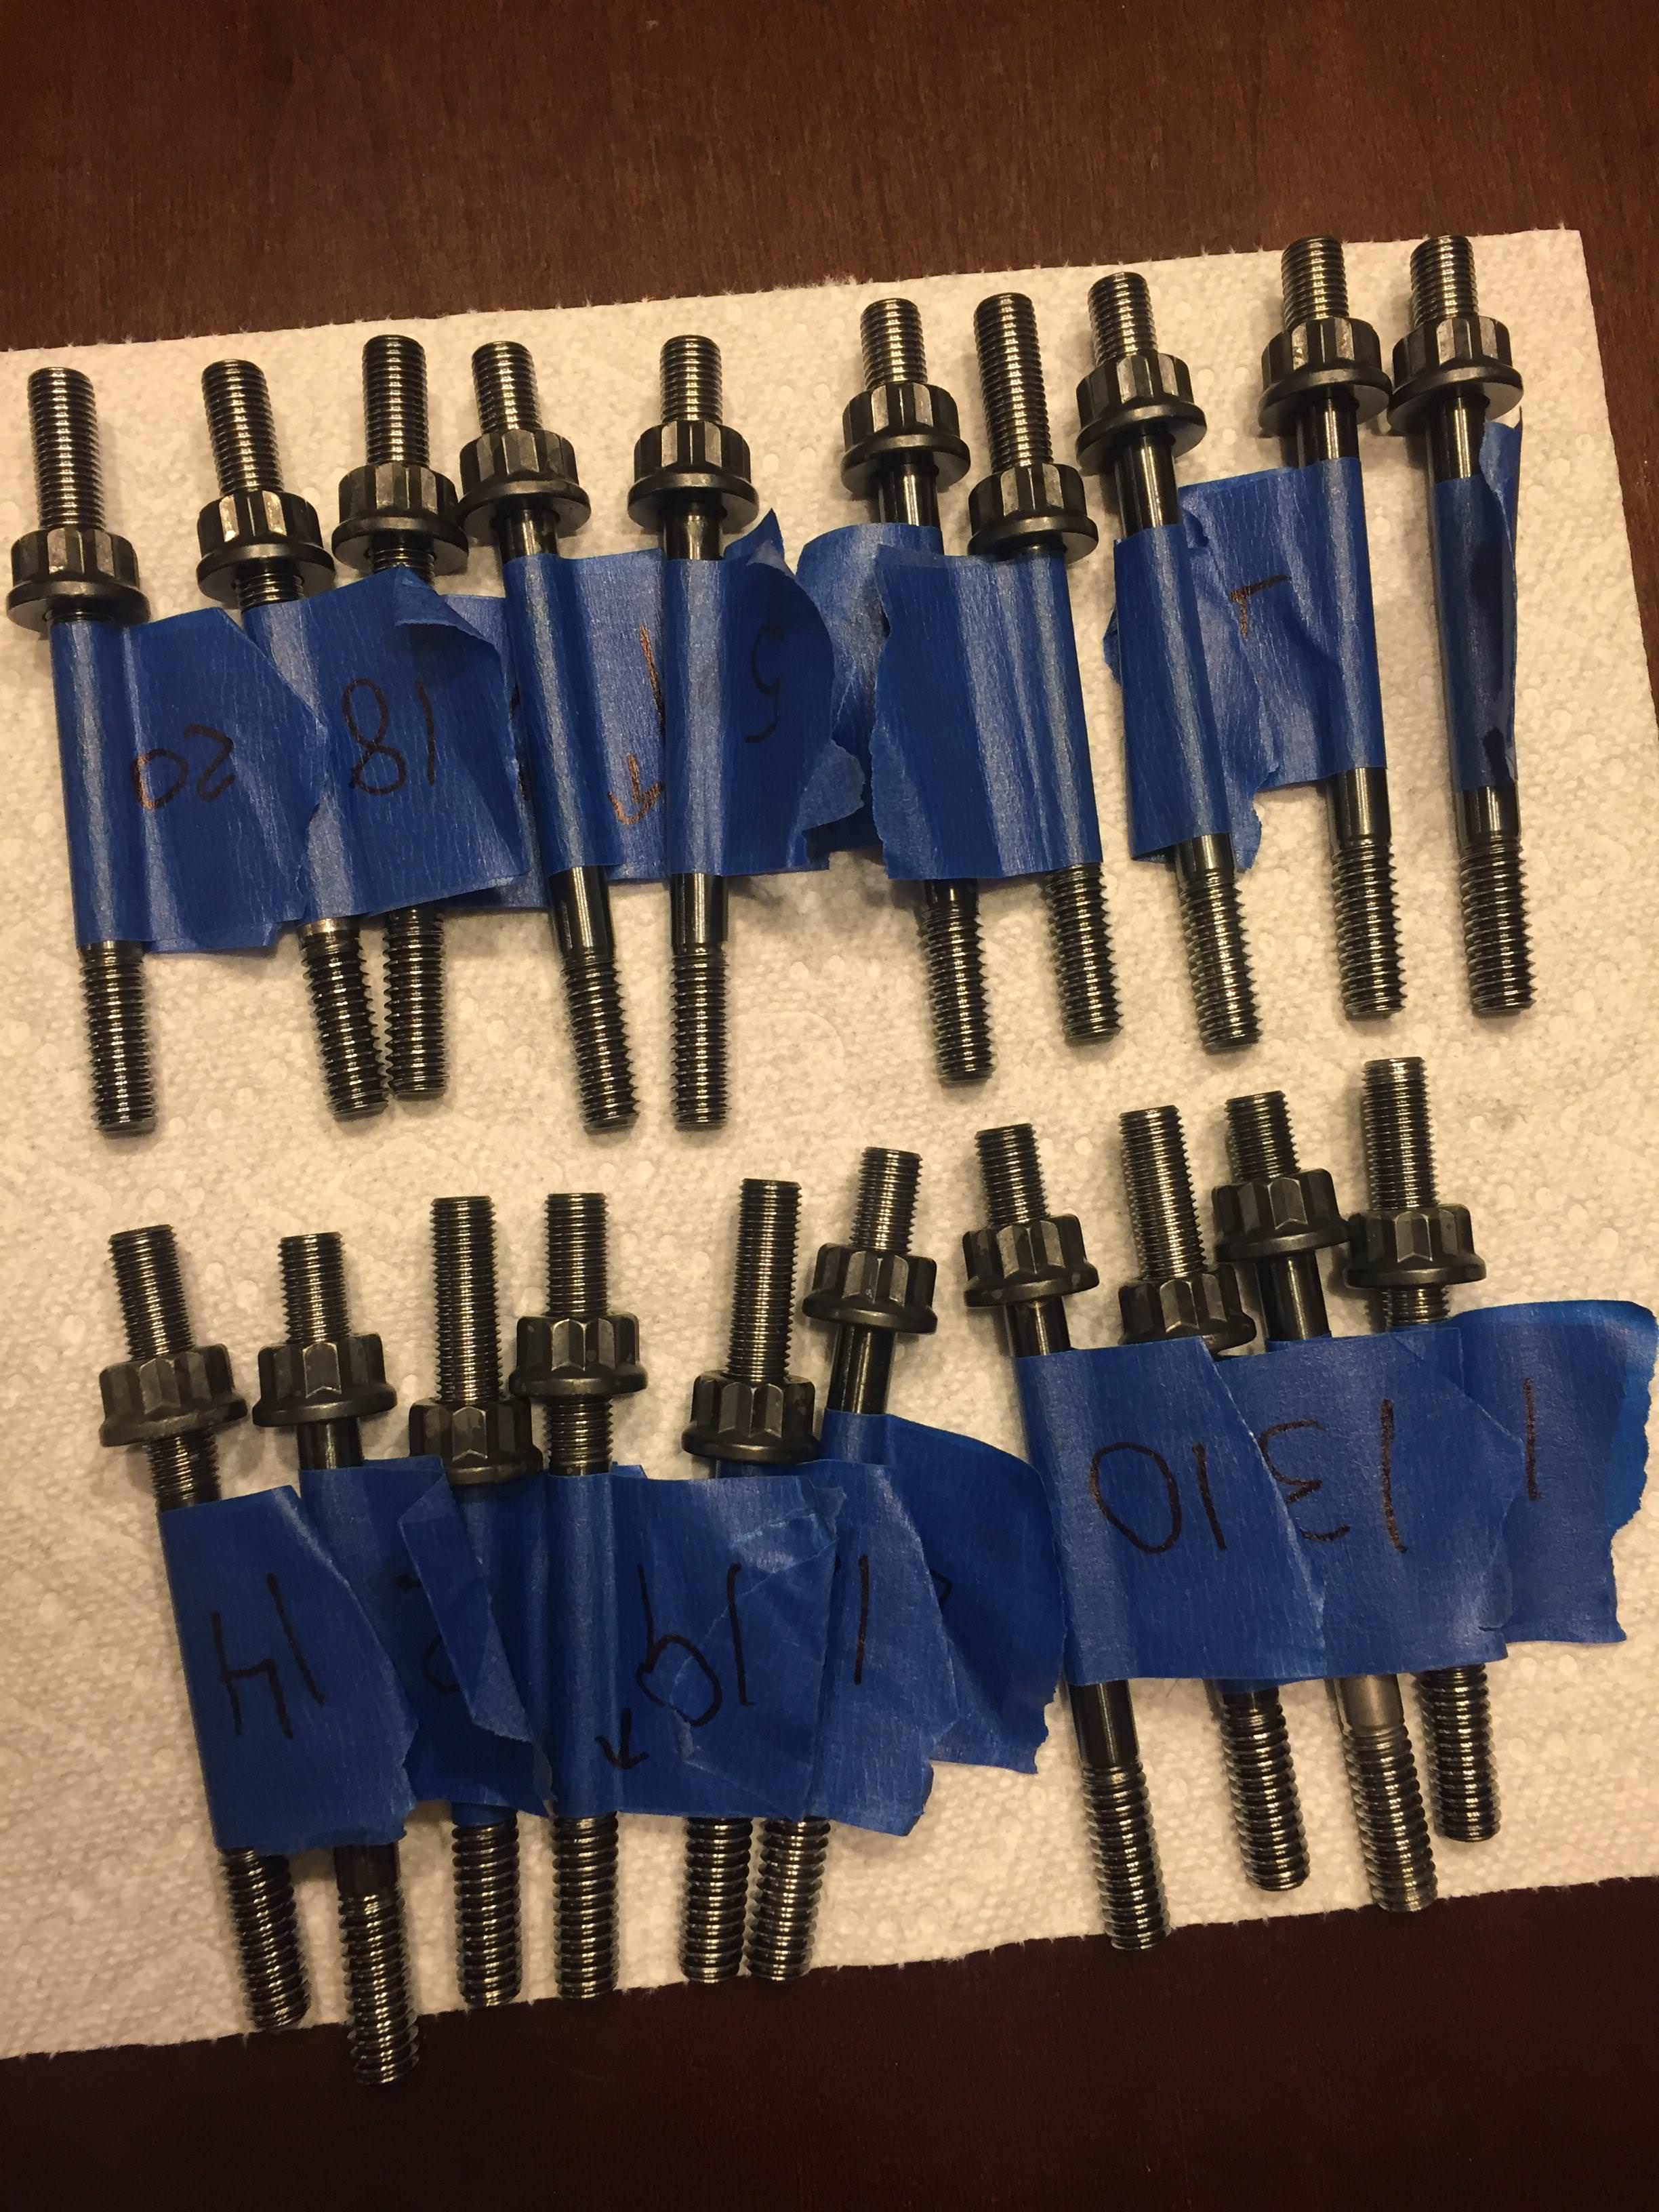
Almost done wire wheeling and polishing every bolt/stud for the engine:
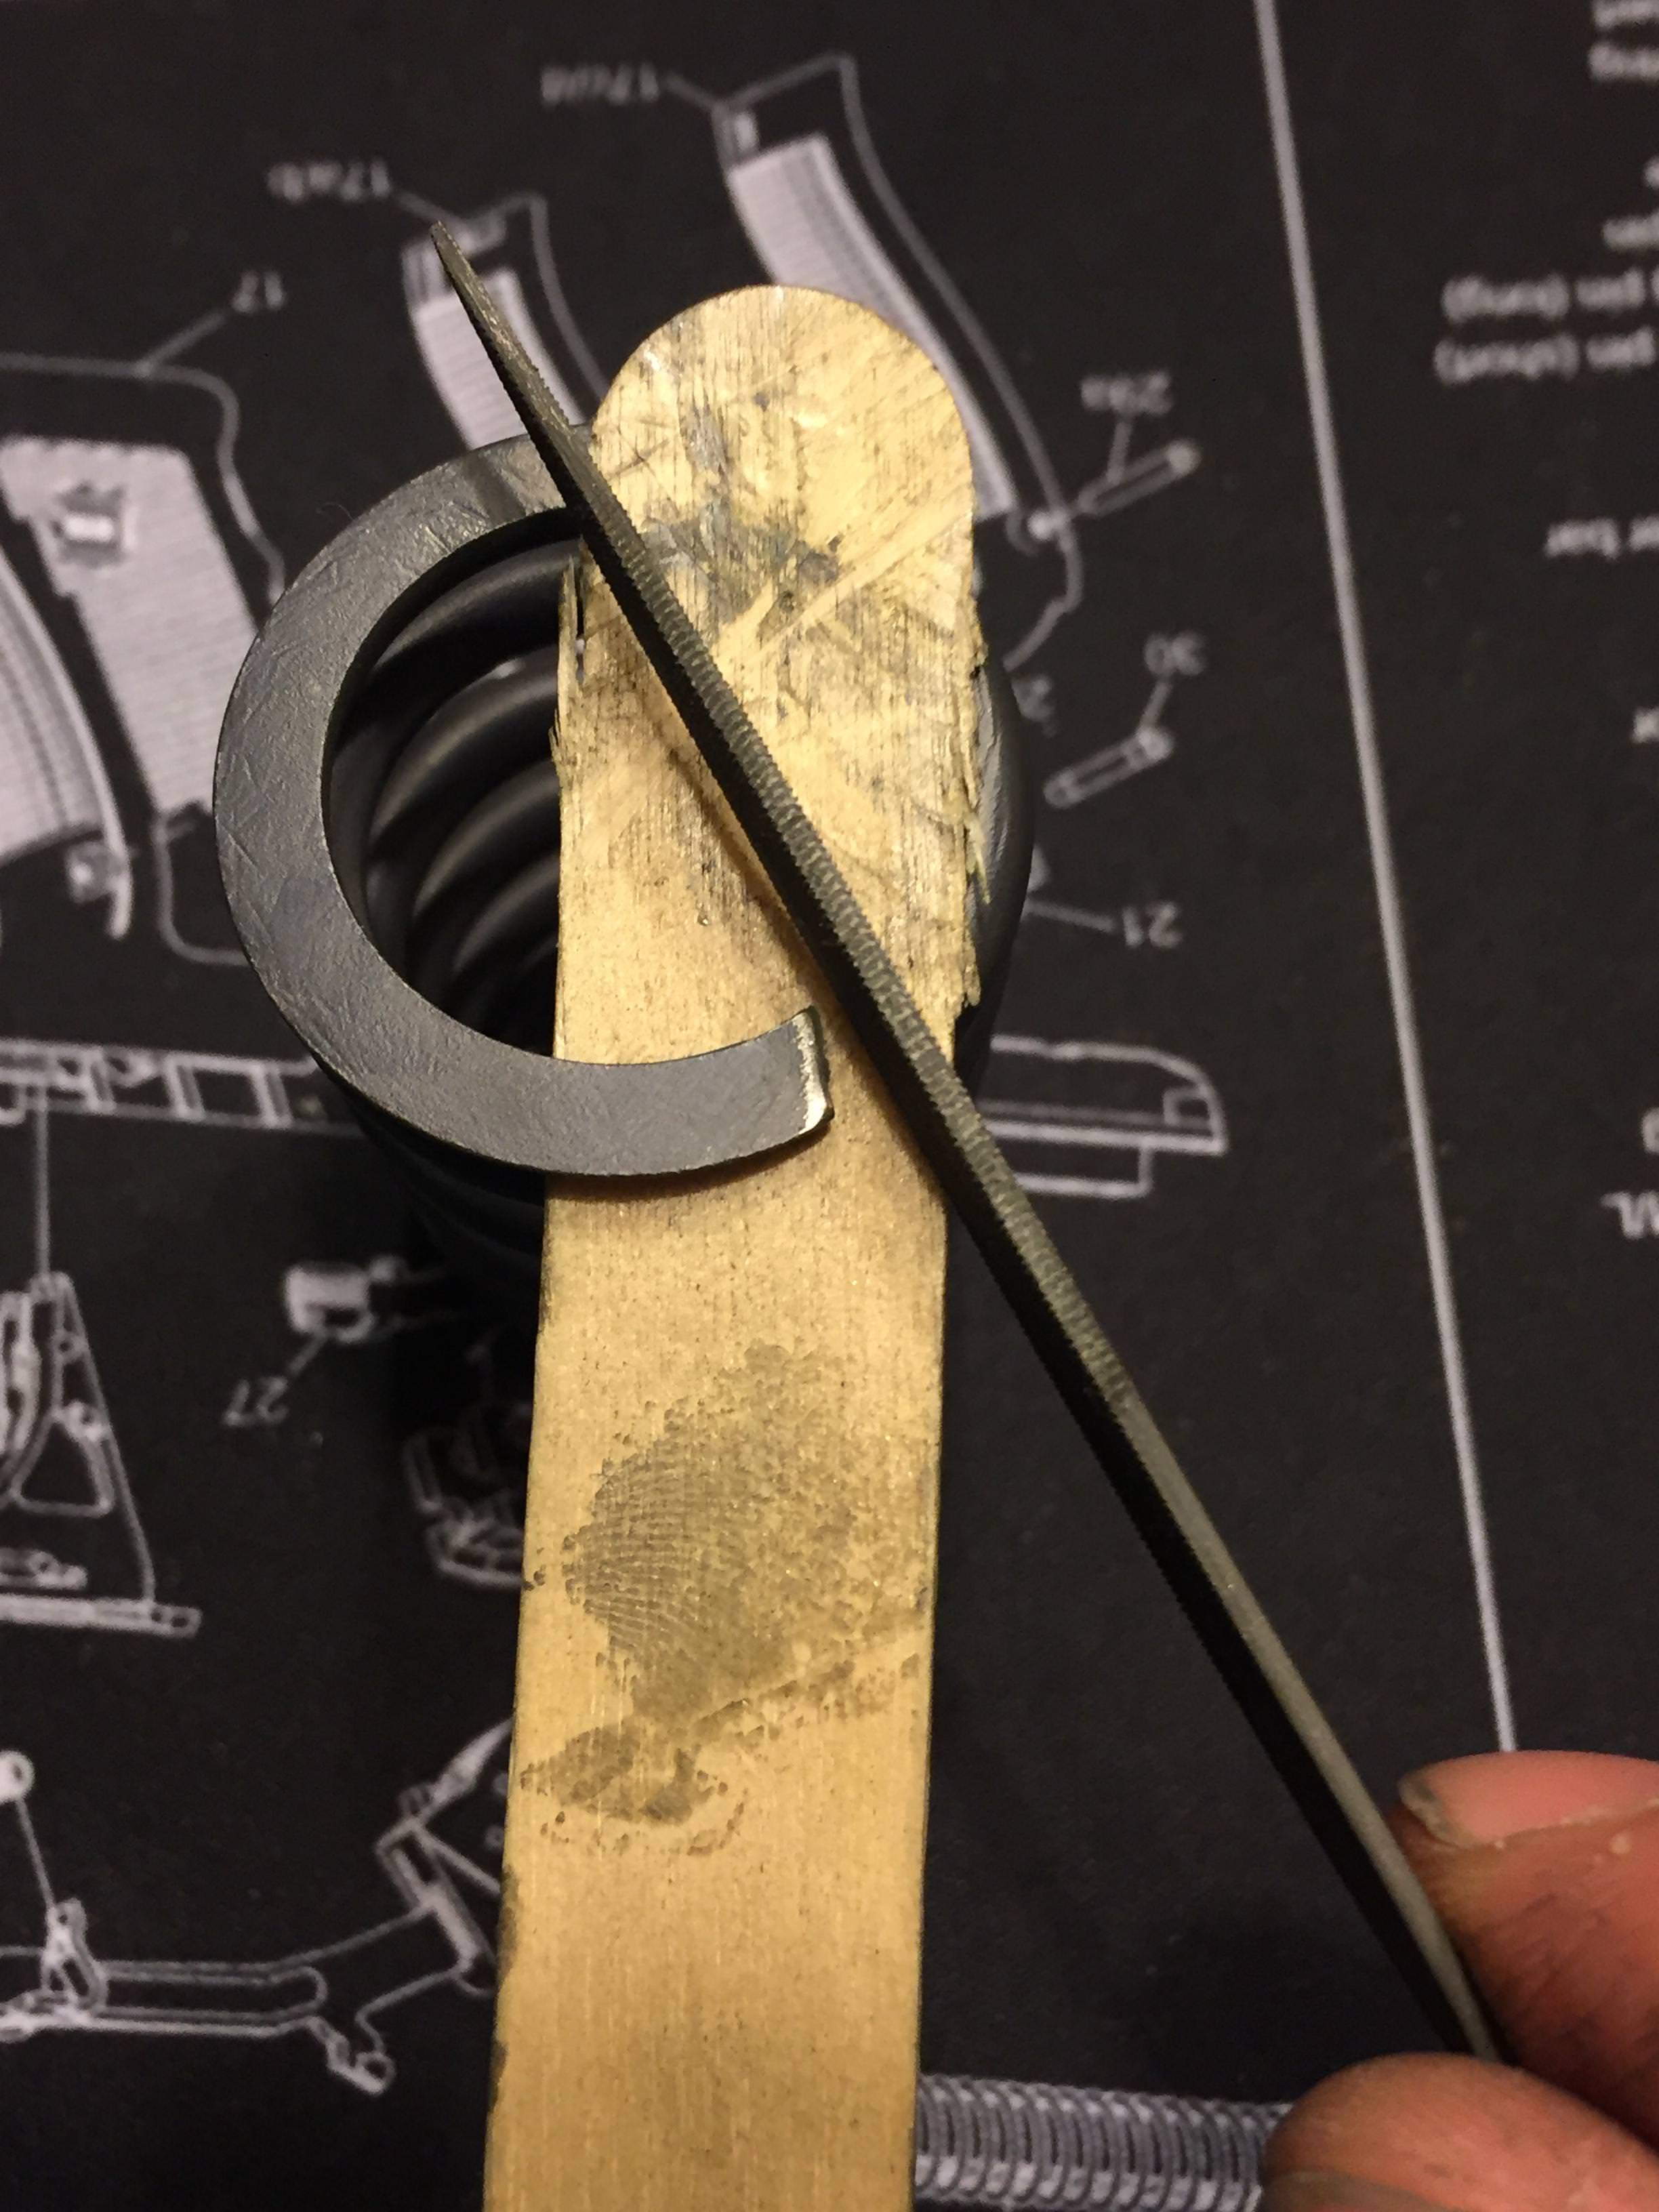
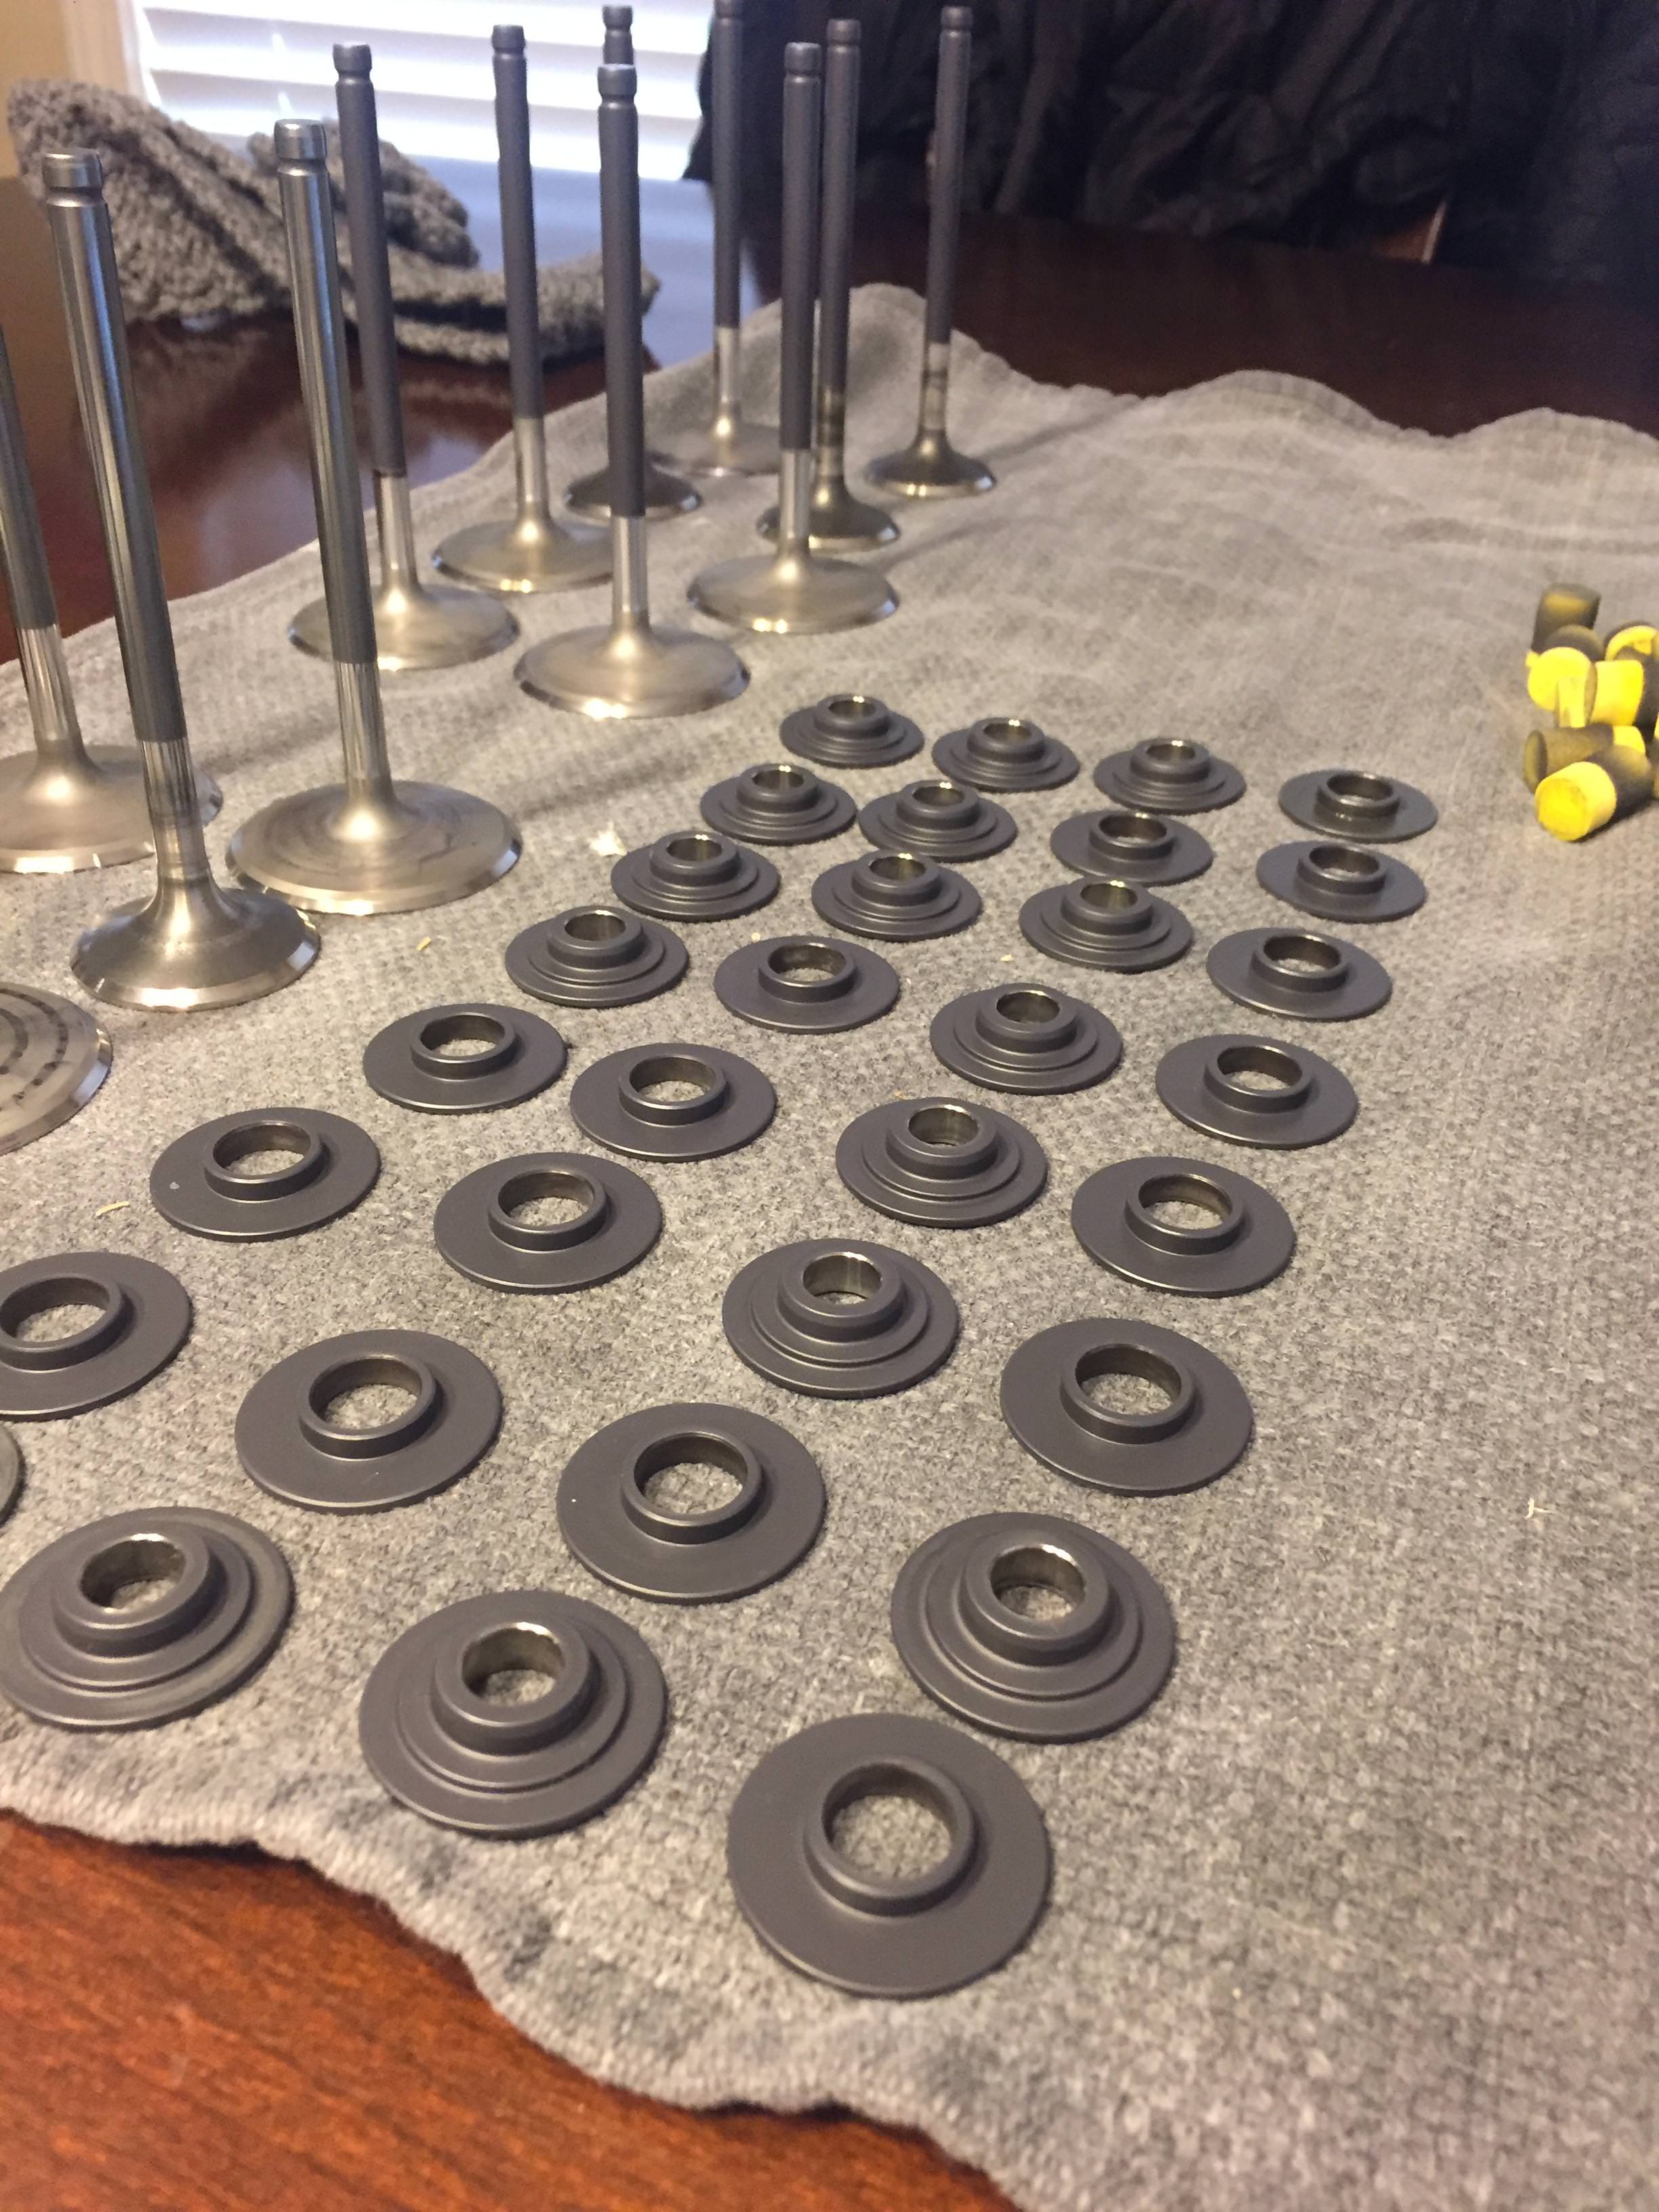
Putting the final touches on the valvesprings...chamfer on both ends of each spring...that’s 64 ends total!!! This prevents the springs from digging into the seats/retainers and creating metal shavings/wear. I have another tool to chamfer the inner diameter as well to complete the process. Titanium galls easily so the coating helps prevent galling and the chamfer is another failsafe.
Putting the final touches on the valvesprings...chamfer on both ends of each spring...that’s 64 ends total!!! This prevents the springs from digging into the seats/retainers and creating metal shavings/wear. I have another tool to chamfer the inner diameter as well to complete the process. Titanium galls easily so the coating helps prevent galling and the chamfer is another failsafe.
01-17-2018, 09:08 PM
#86
Testing pressures on each spring was bringing up differences of +/- 8lbs so I ran each individual spring down to coil bind and waited 1 minute before releasing it. I then pressure tested them again and got more consistent results. I matched each spring to get 178 or 180lbs @ 1.800” height. This netted a consistent 200 or 202lbs @ 1.740”
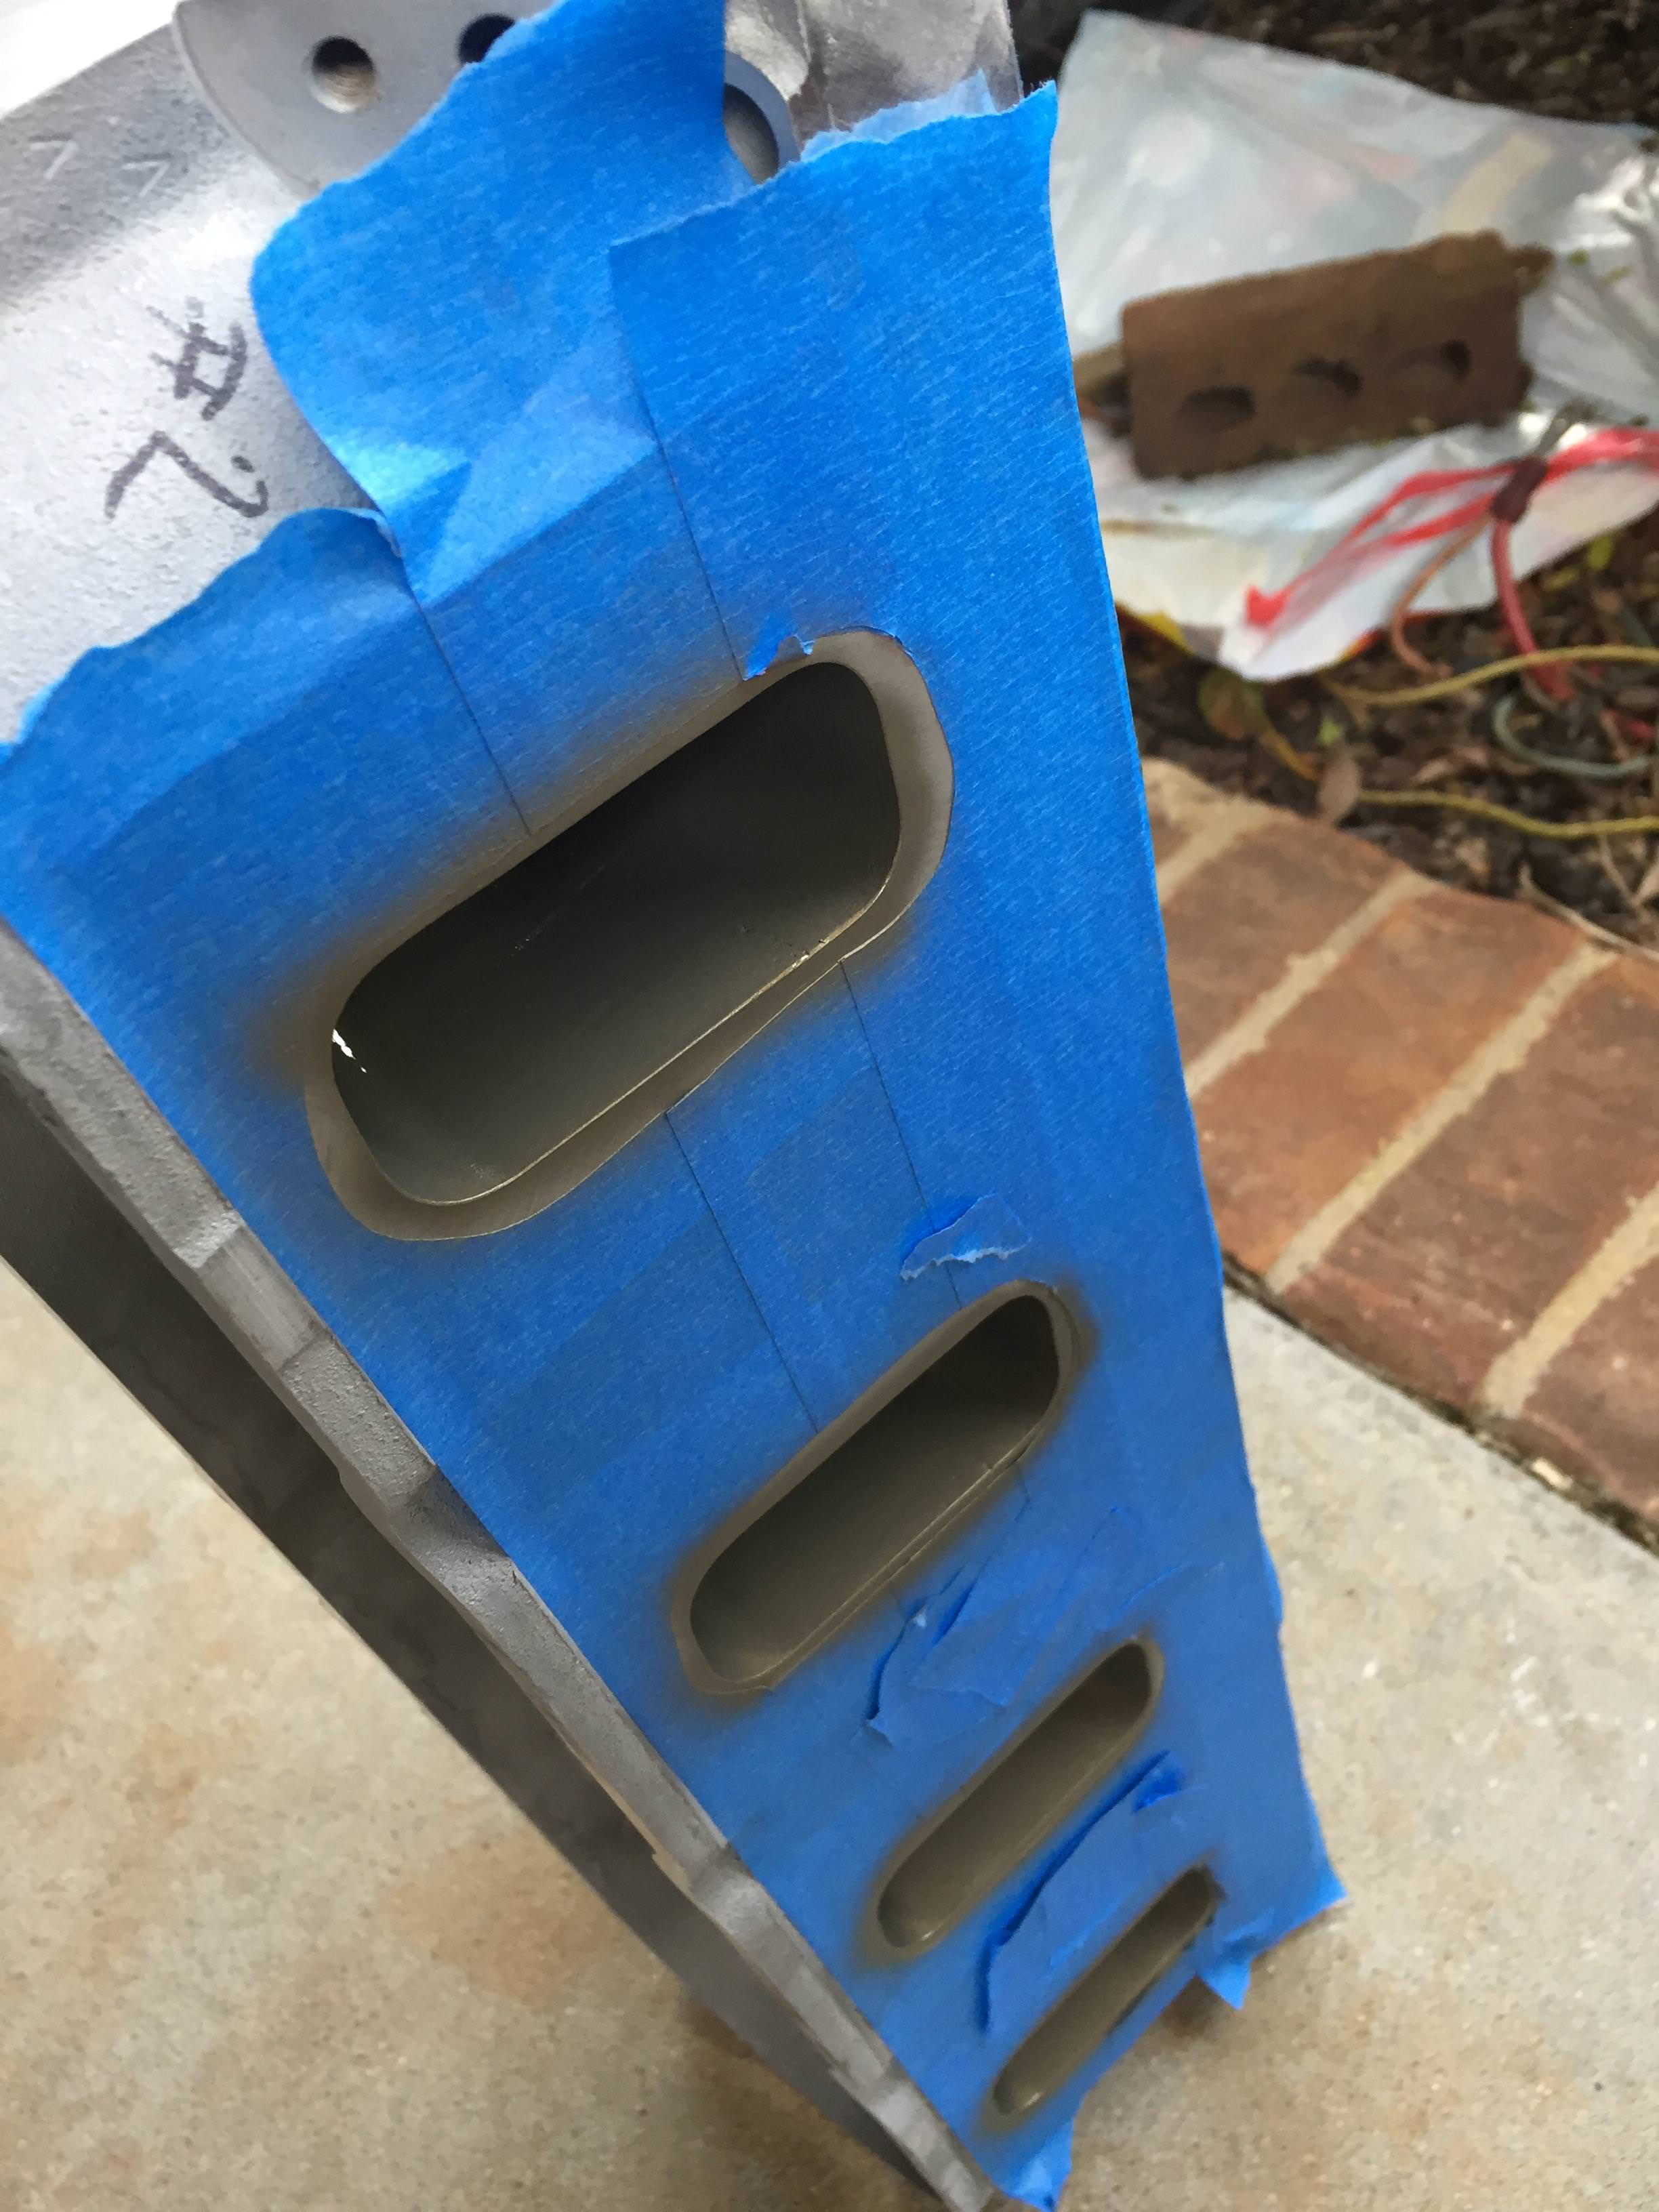
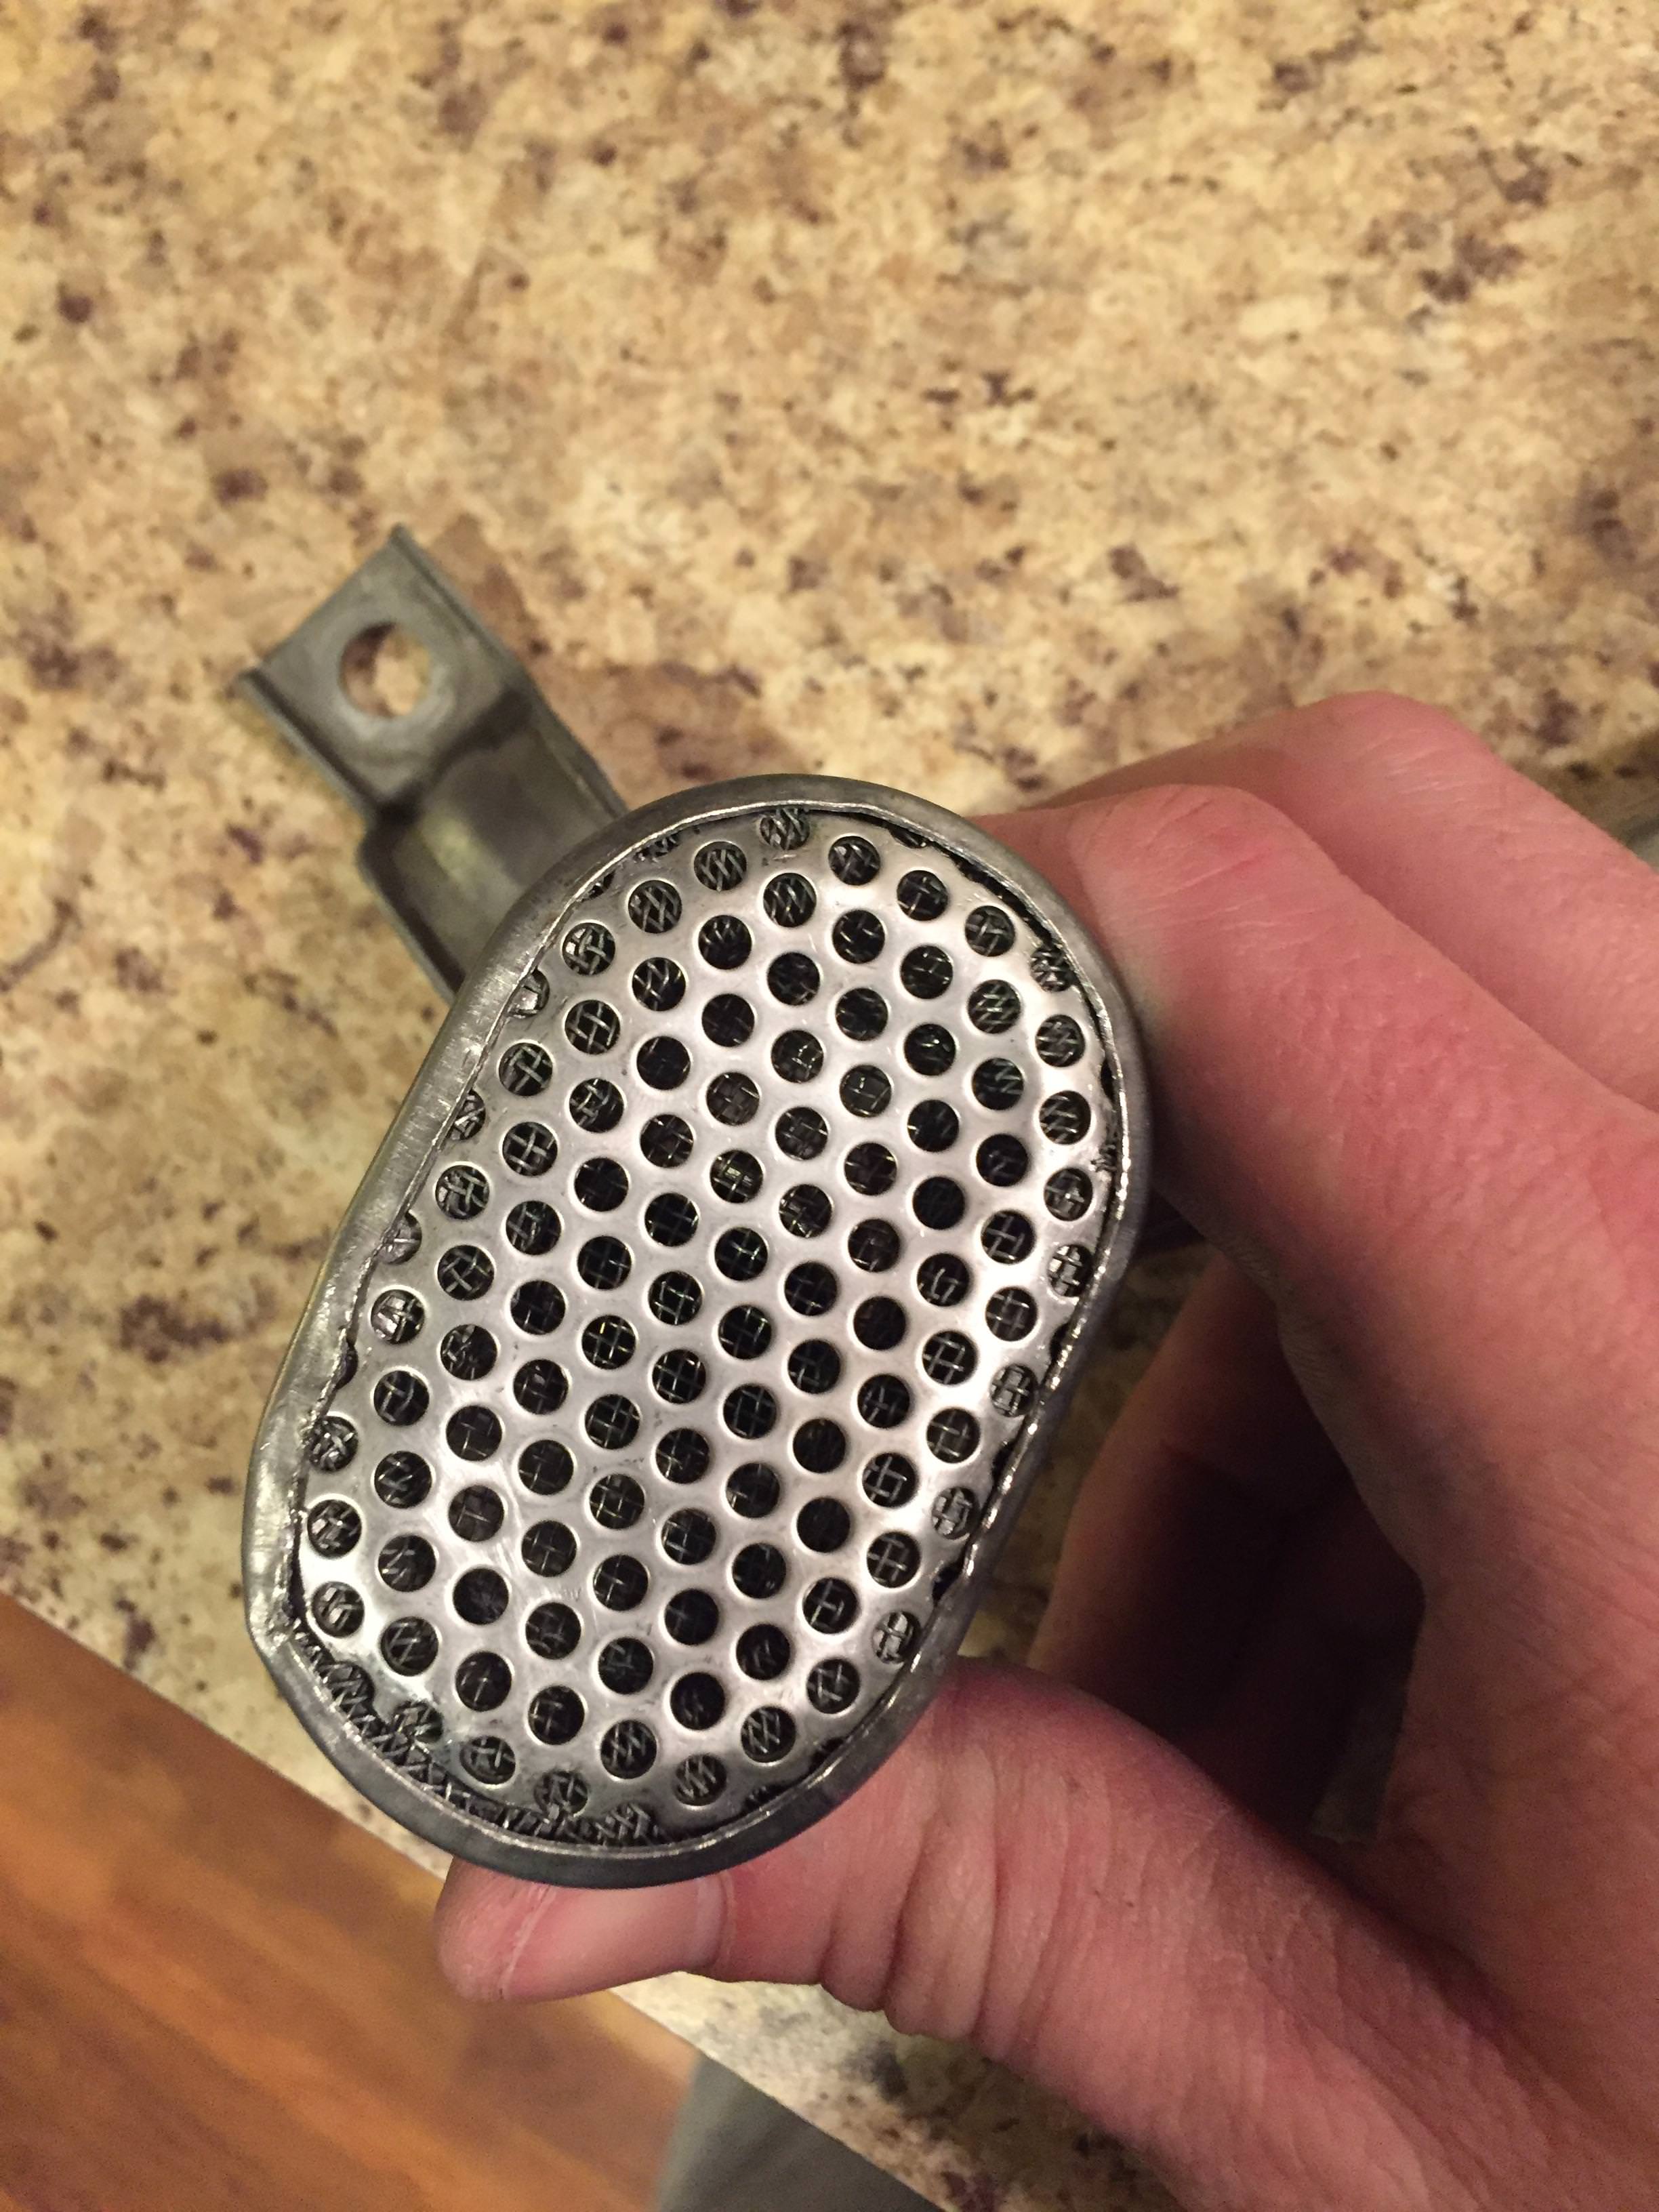
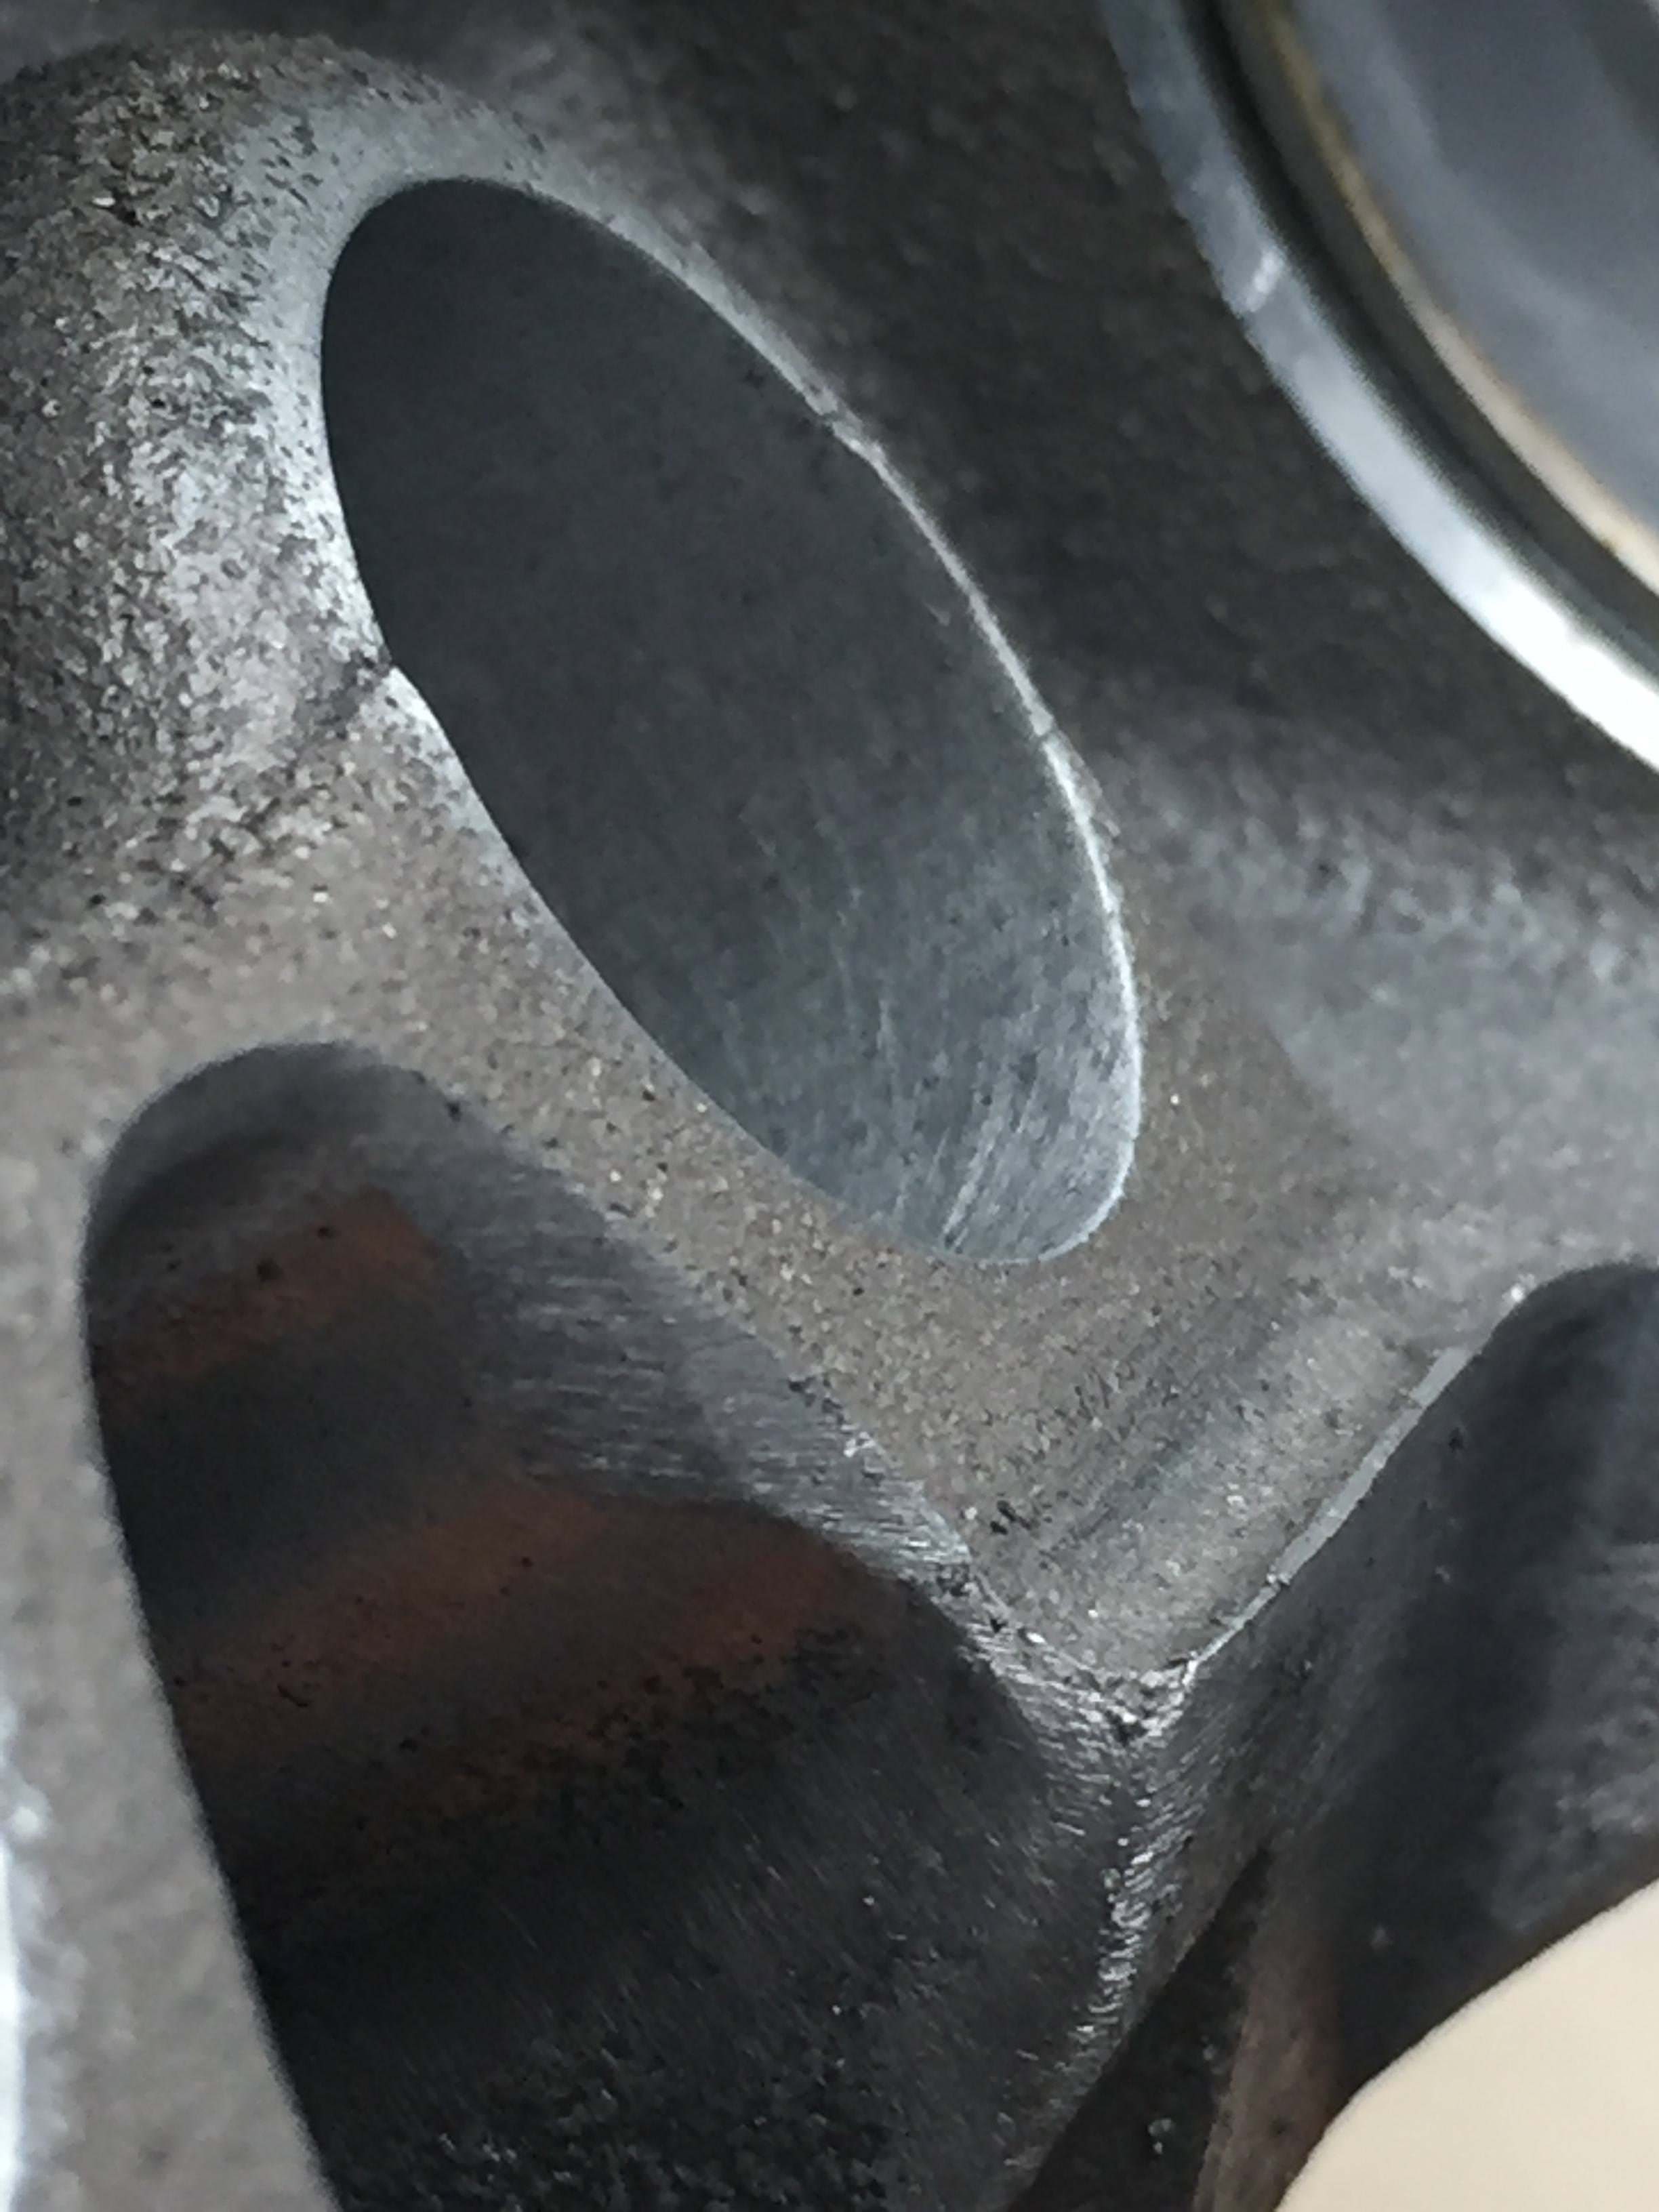
Not quite done but you get the idea....roughly 24% increase in open area to compliment the 18% greater flow rate of the Melling 10296 pump.
Not quite done but you get the idea....roughly 24% increase in open area to compliment the 18% greater flow rate of the Melling 10296 pump.
01-24-2018, 02:45 PM
#87
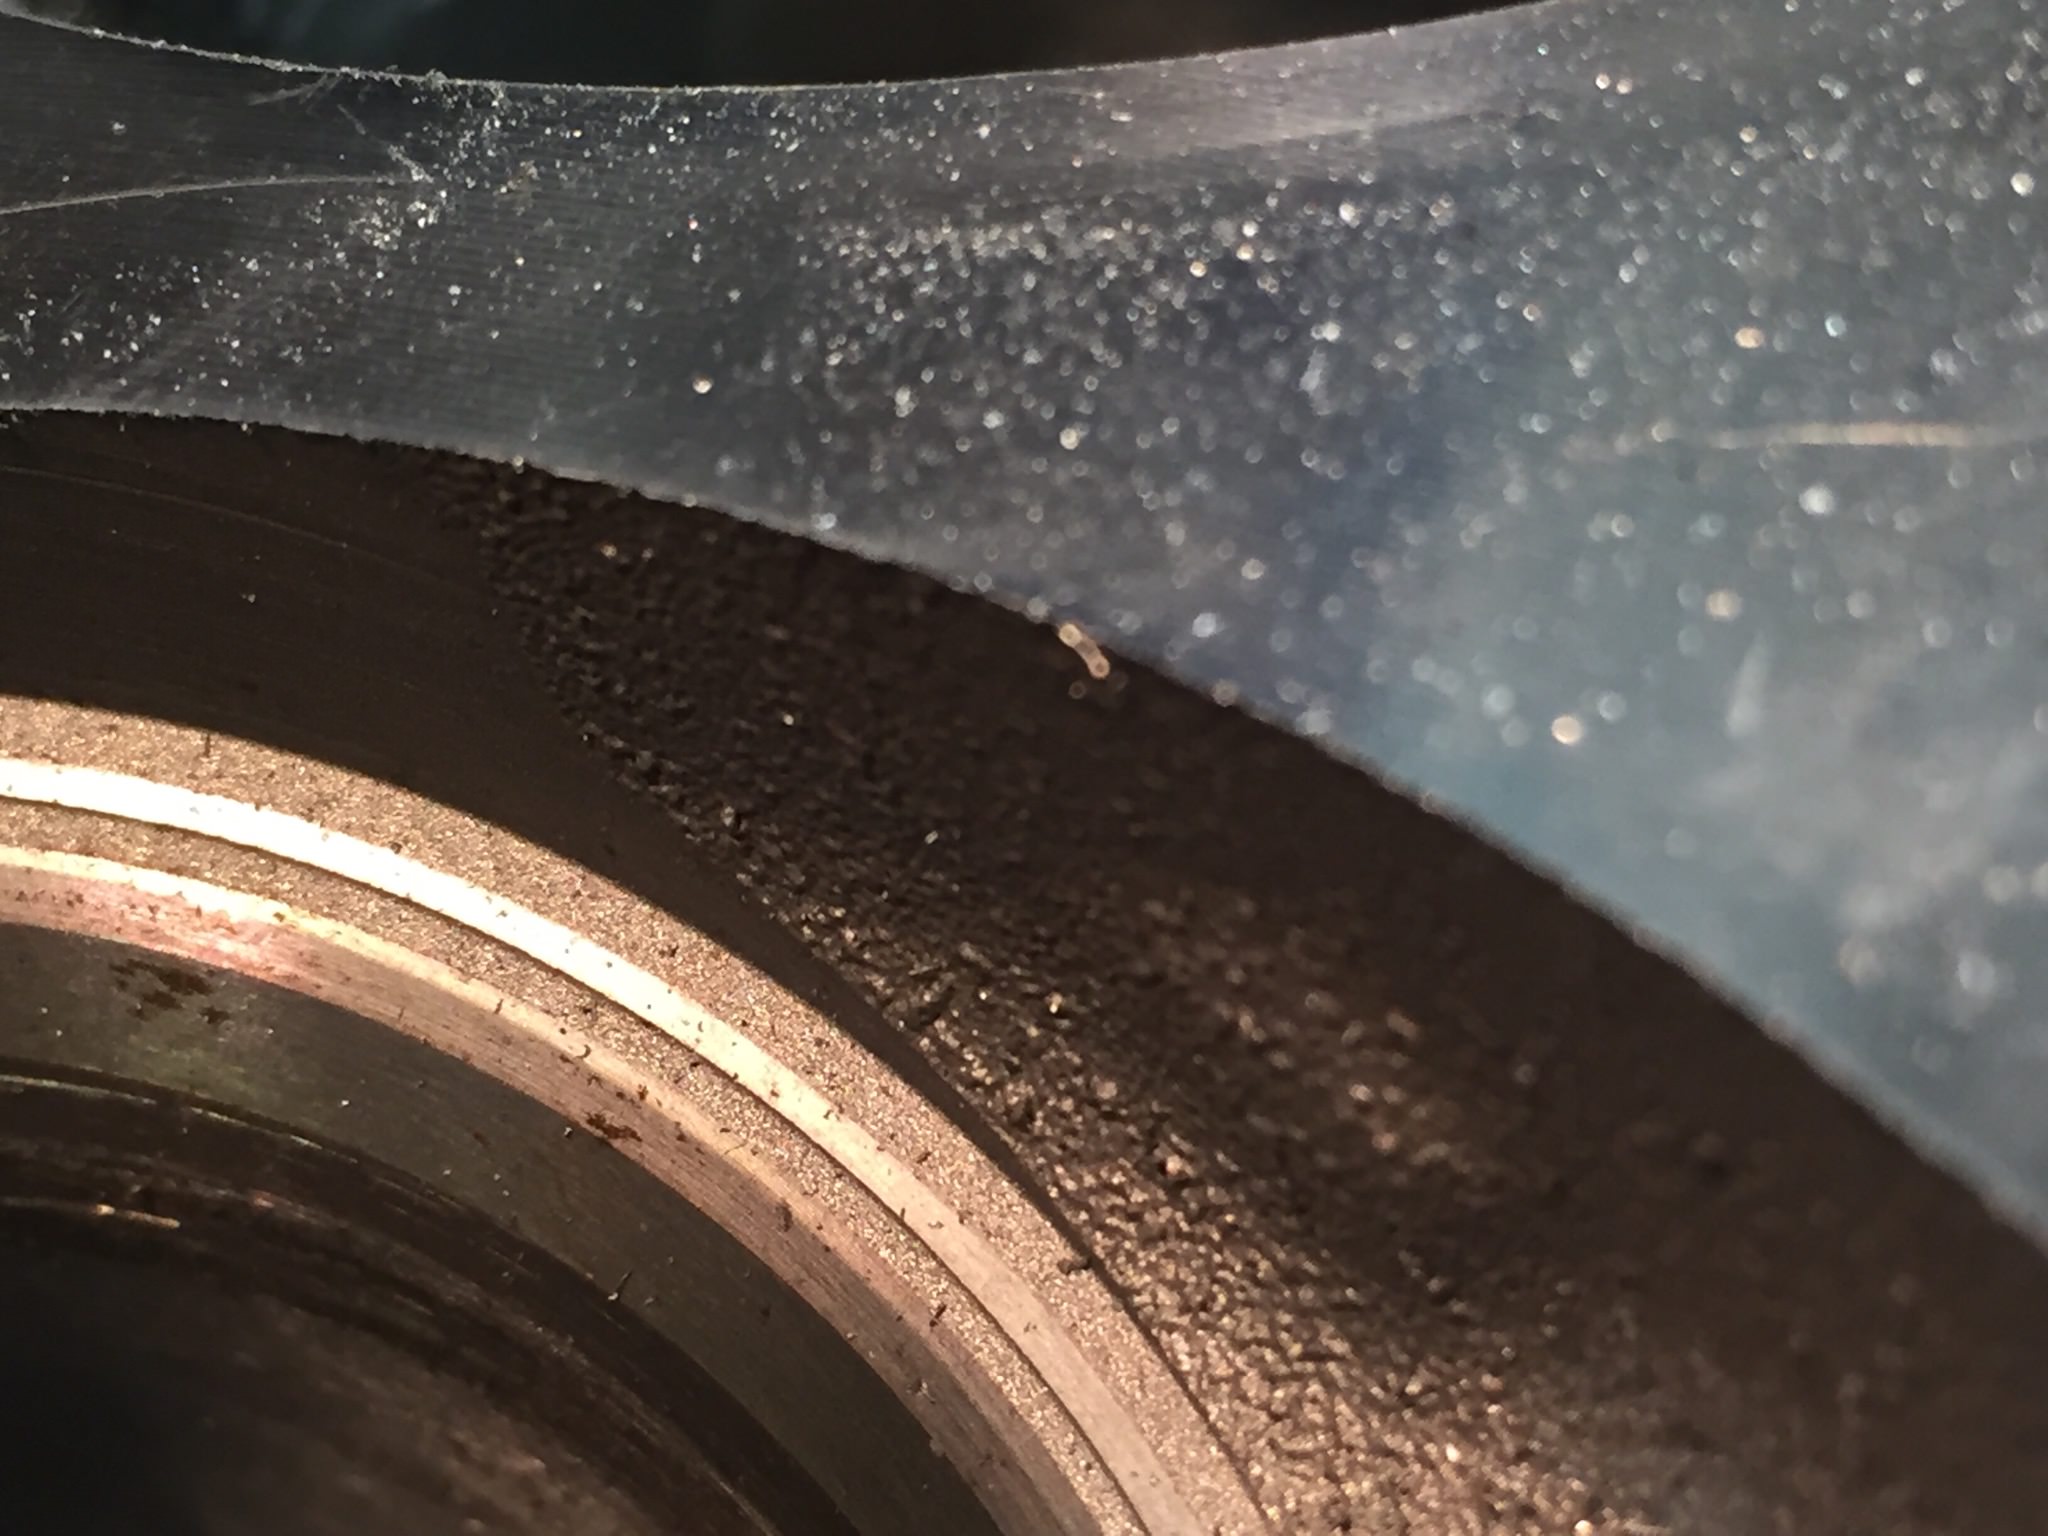
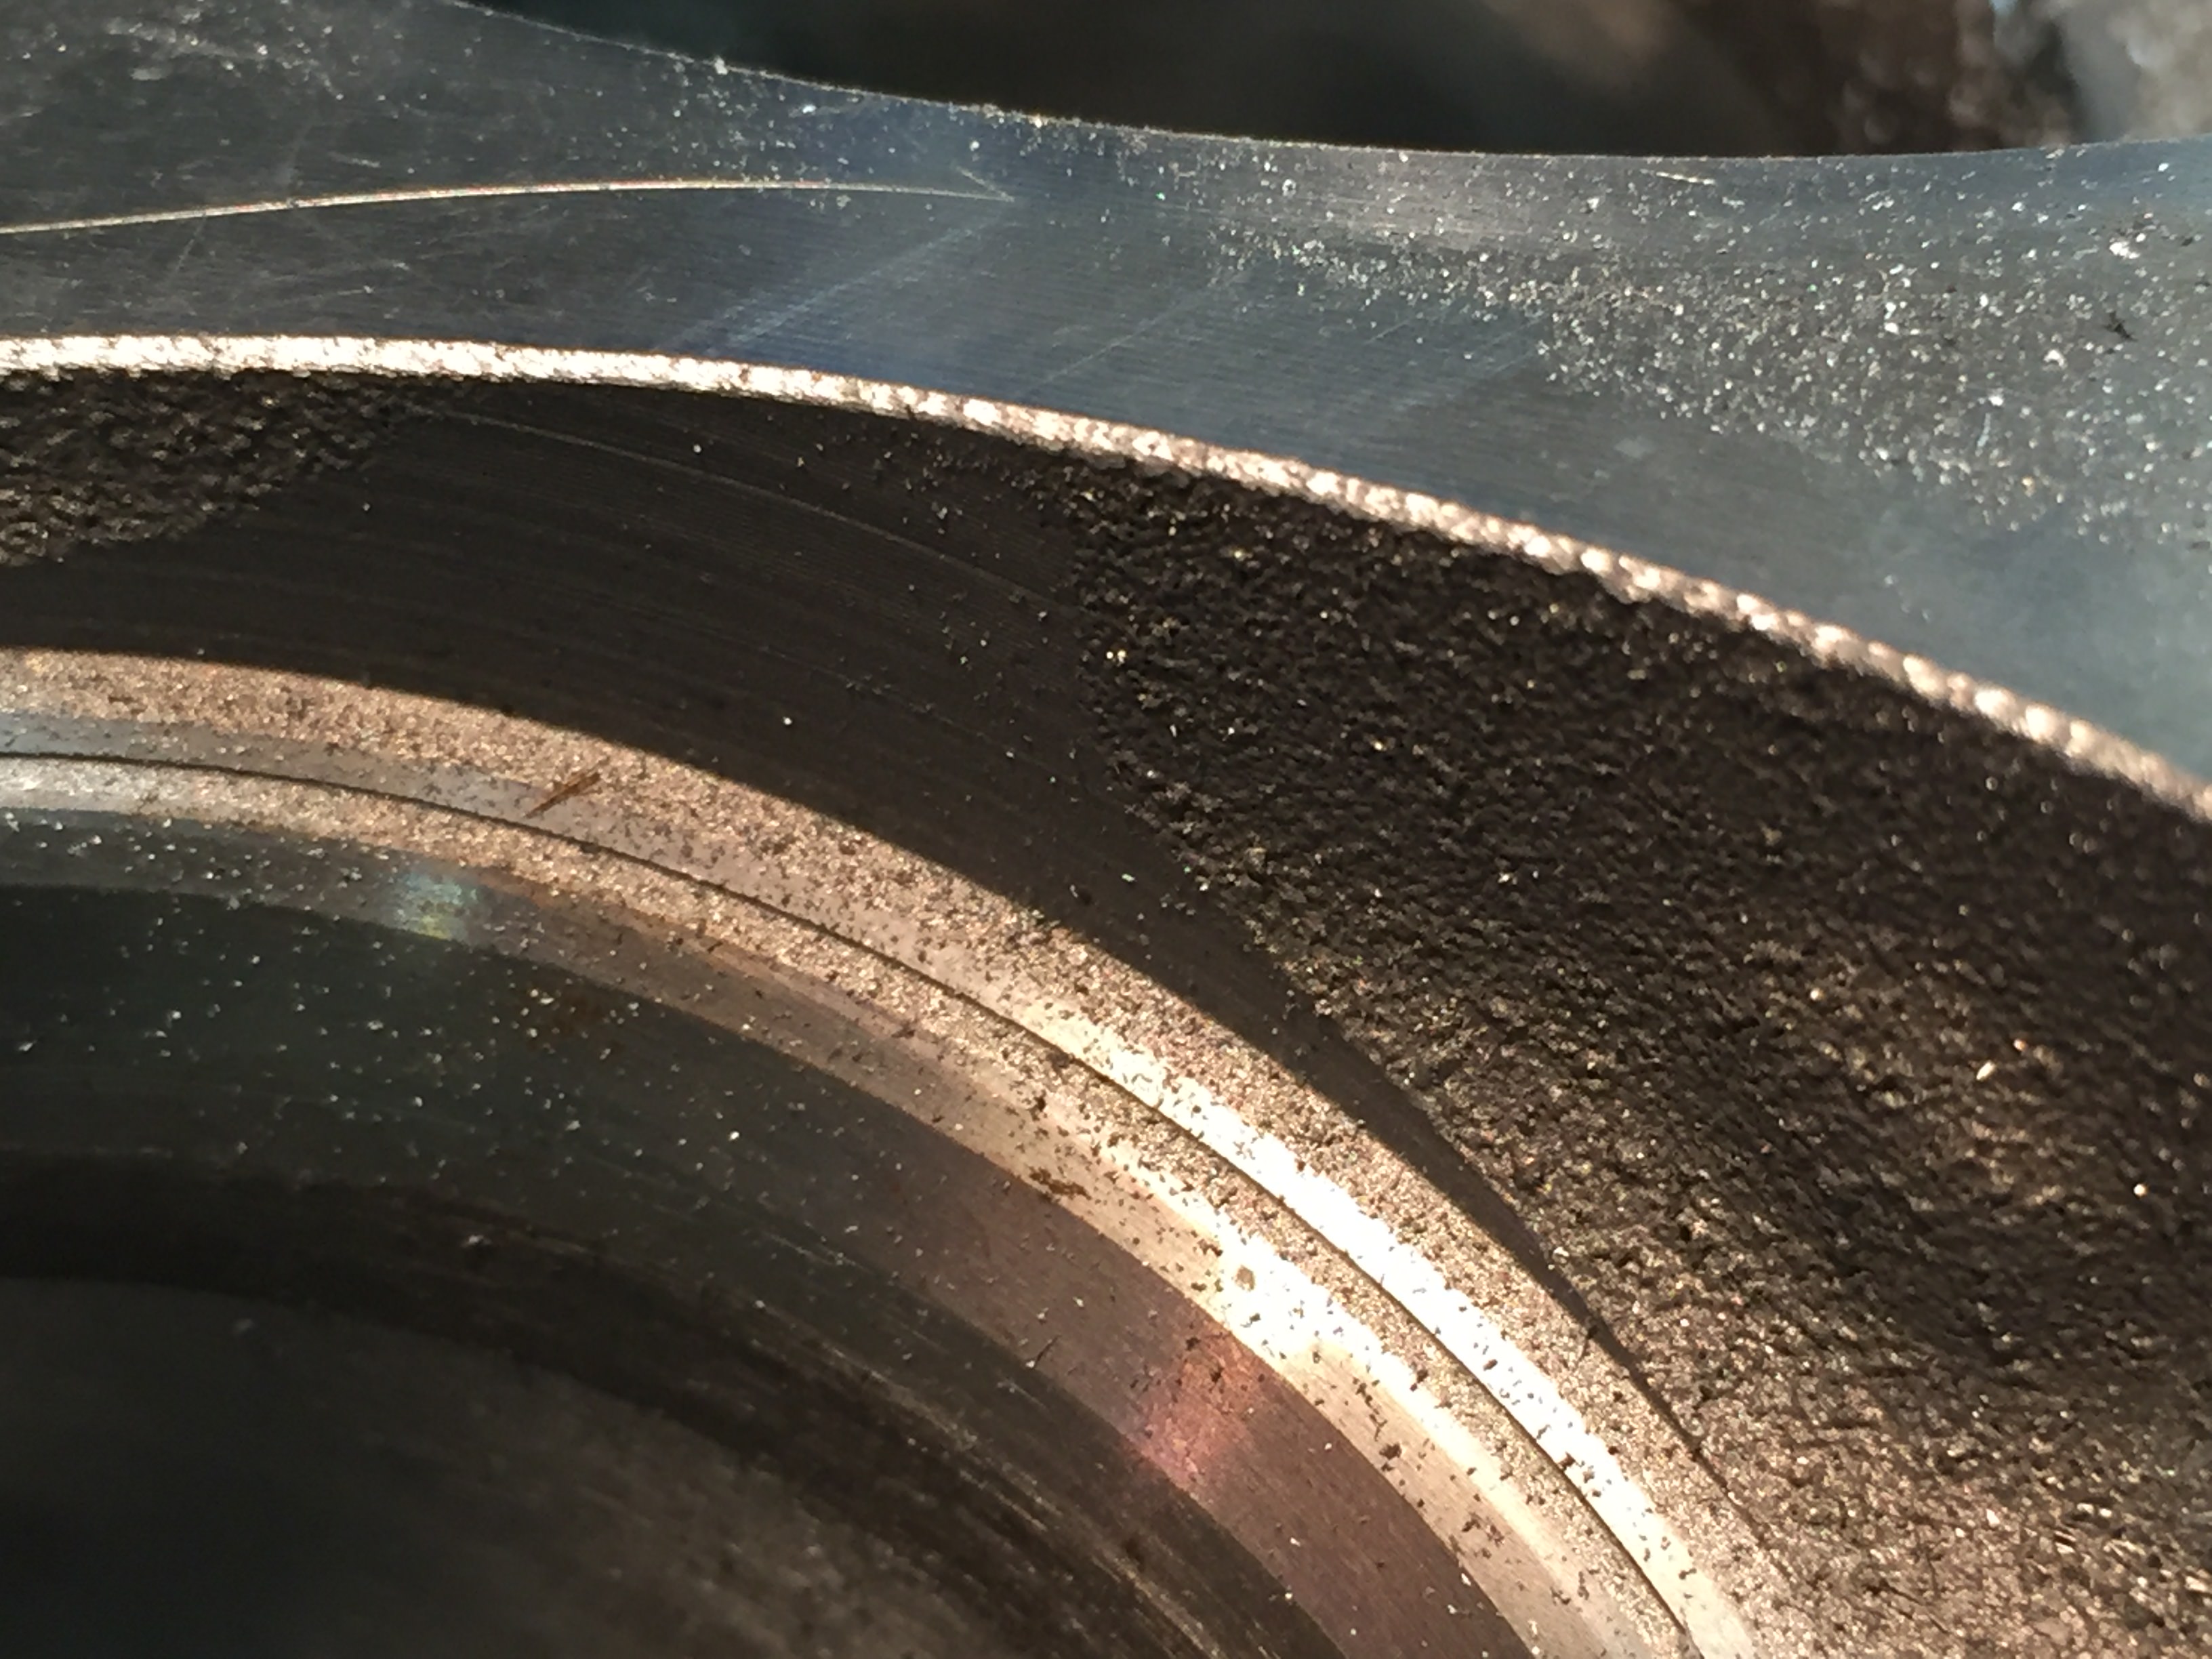
So close to being finished with the crankcase. All bolt holes and hard edges have been chamfered. With aluminum flexing and expanding so much the chamfer on the bolt holes will help prevent the studs pushing up on the edge creating a micro crack that turns macro...main caps seat properly...stop a burr from forming by the stud pushing on hard edge that could prevent the head gasket from doing its job etc etc
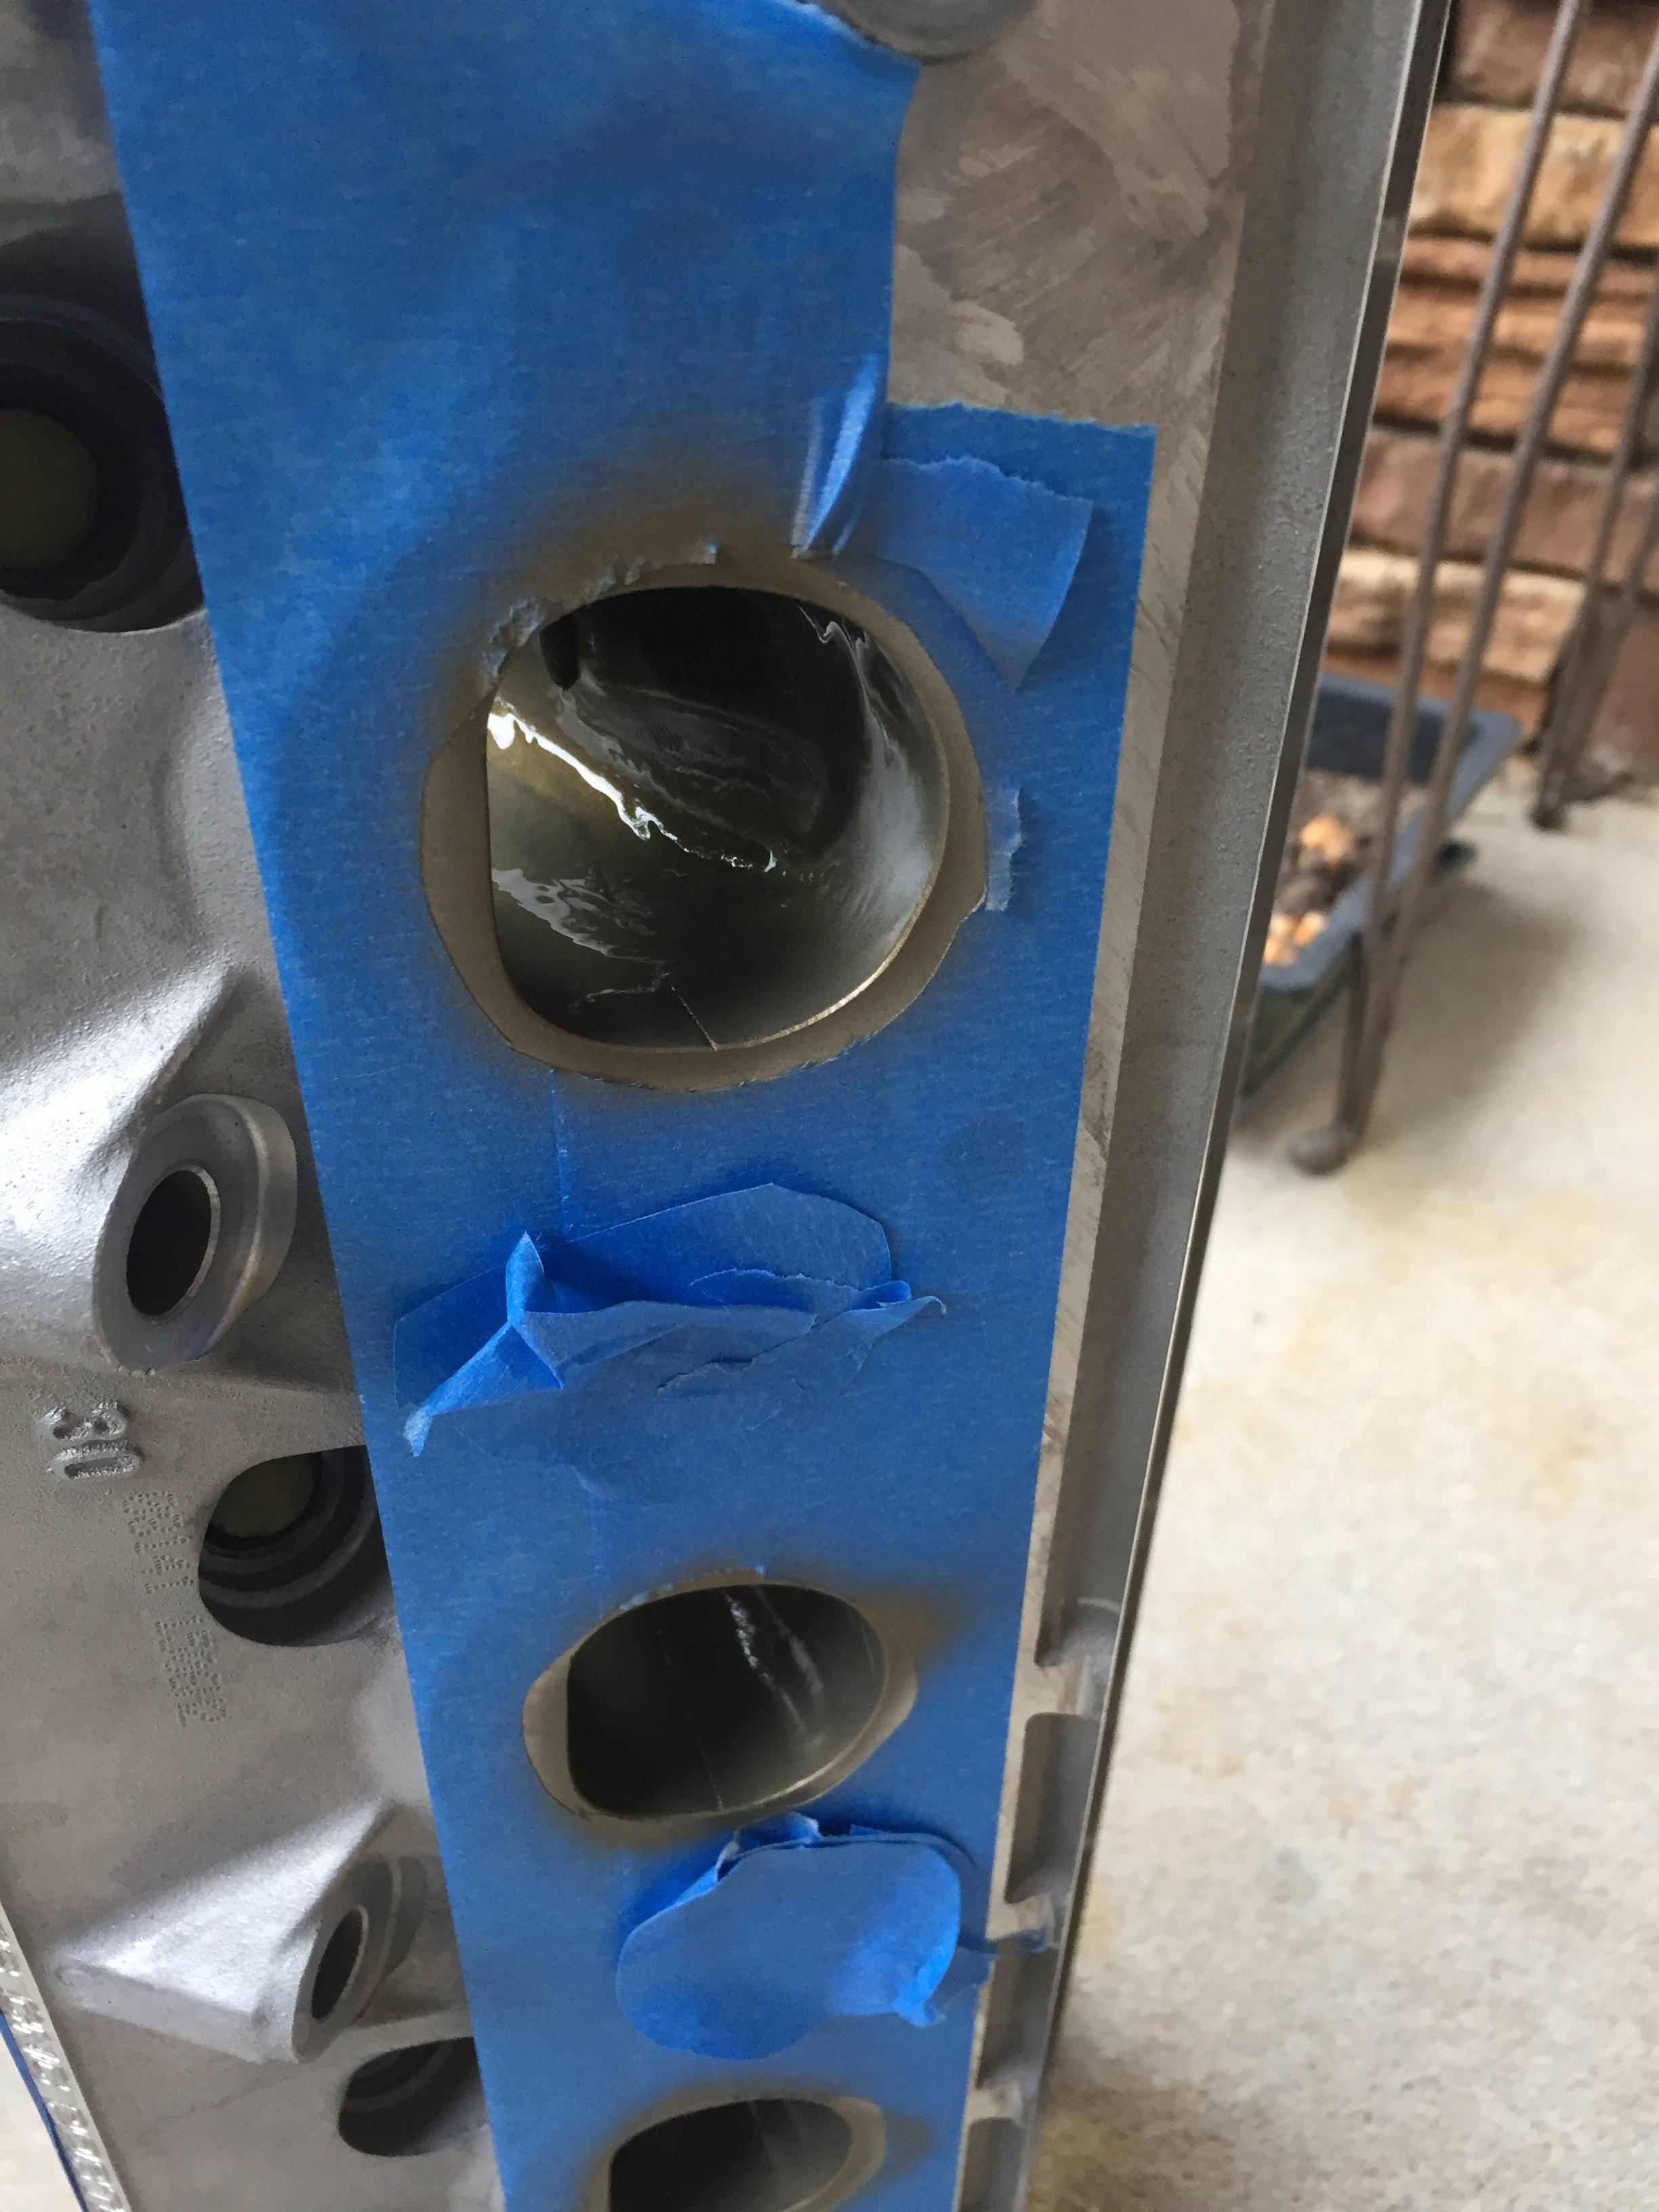
Porting front oil crossover....I’m softening the edges on all the oil passages
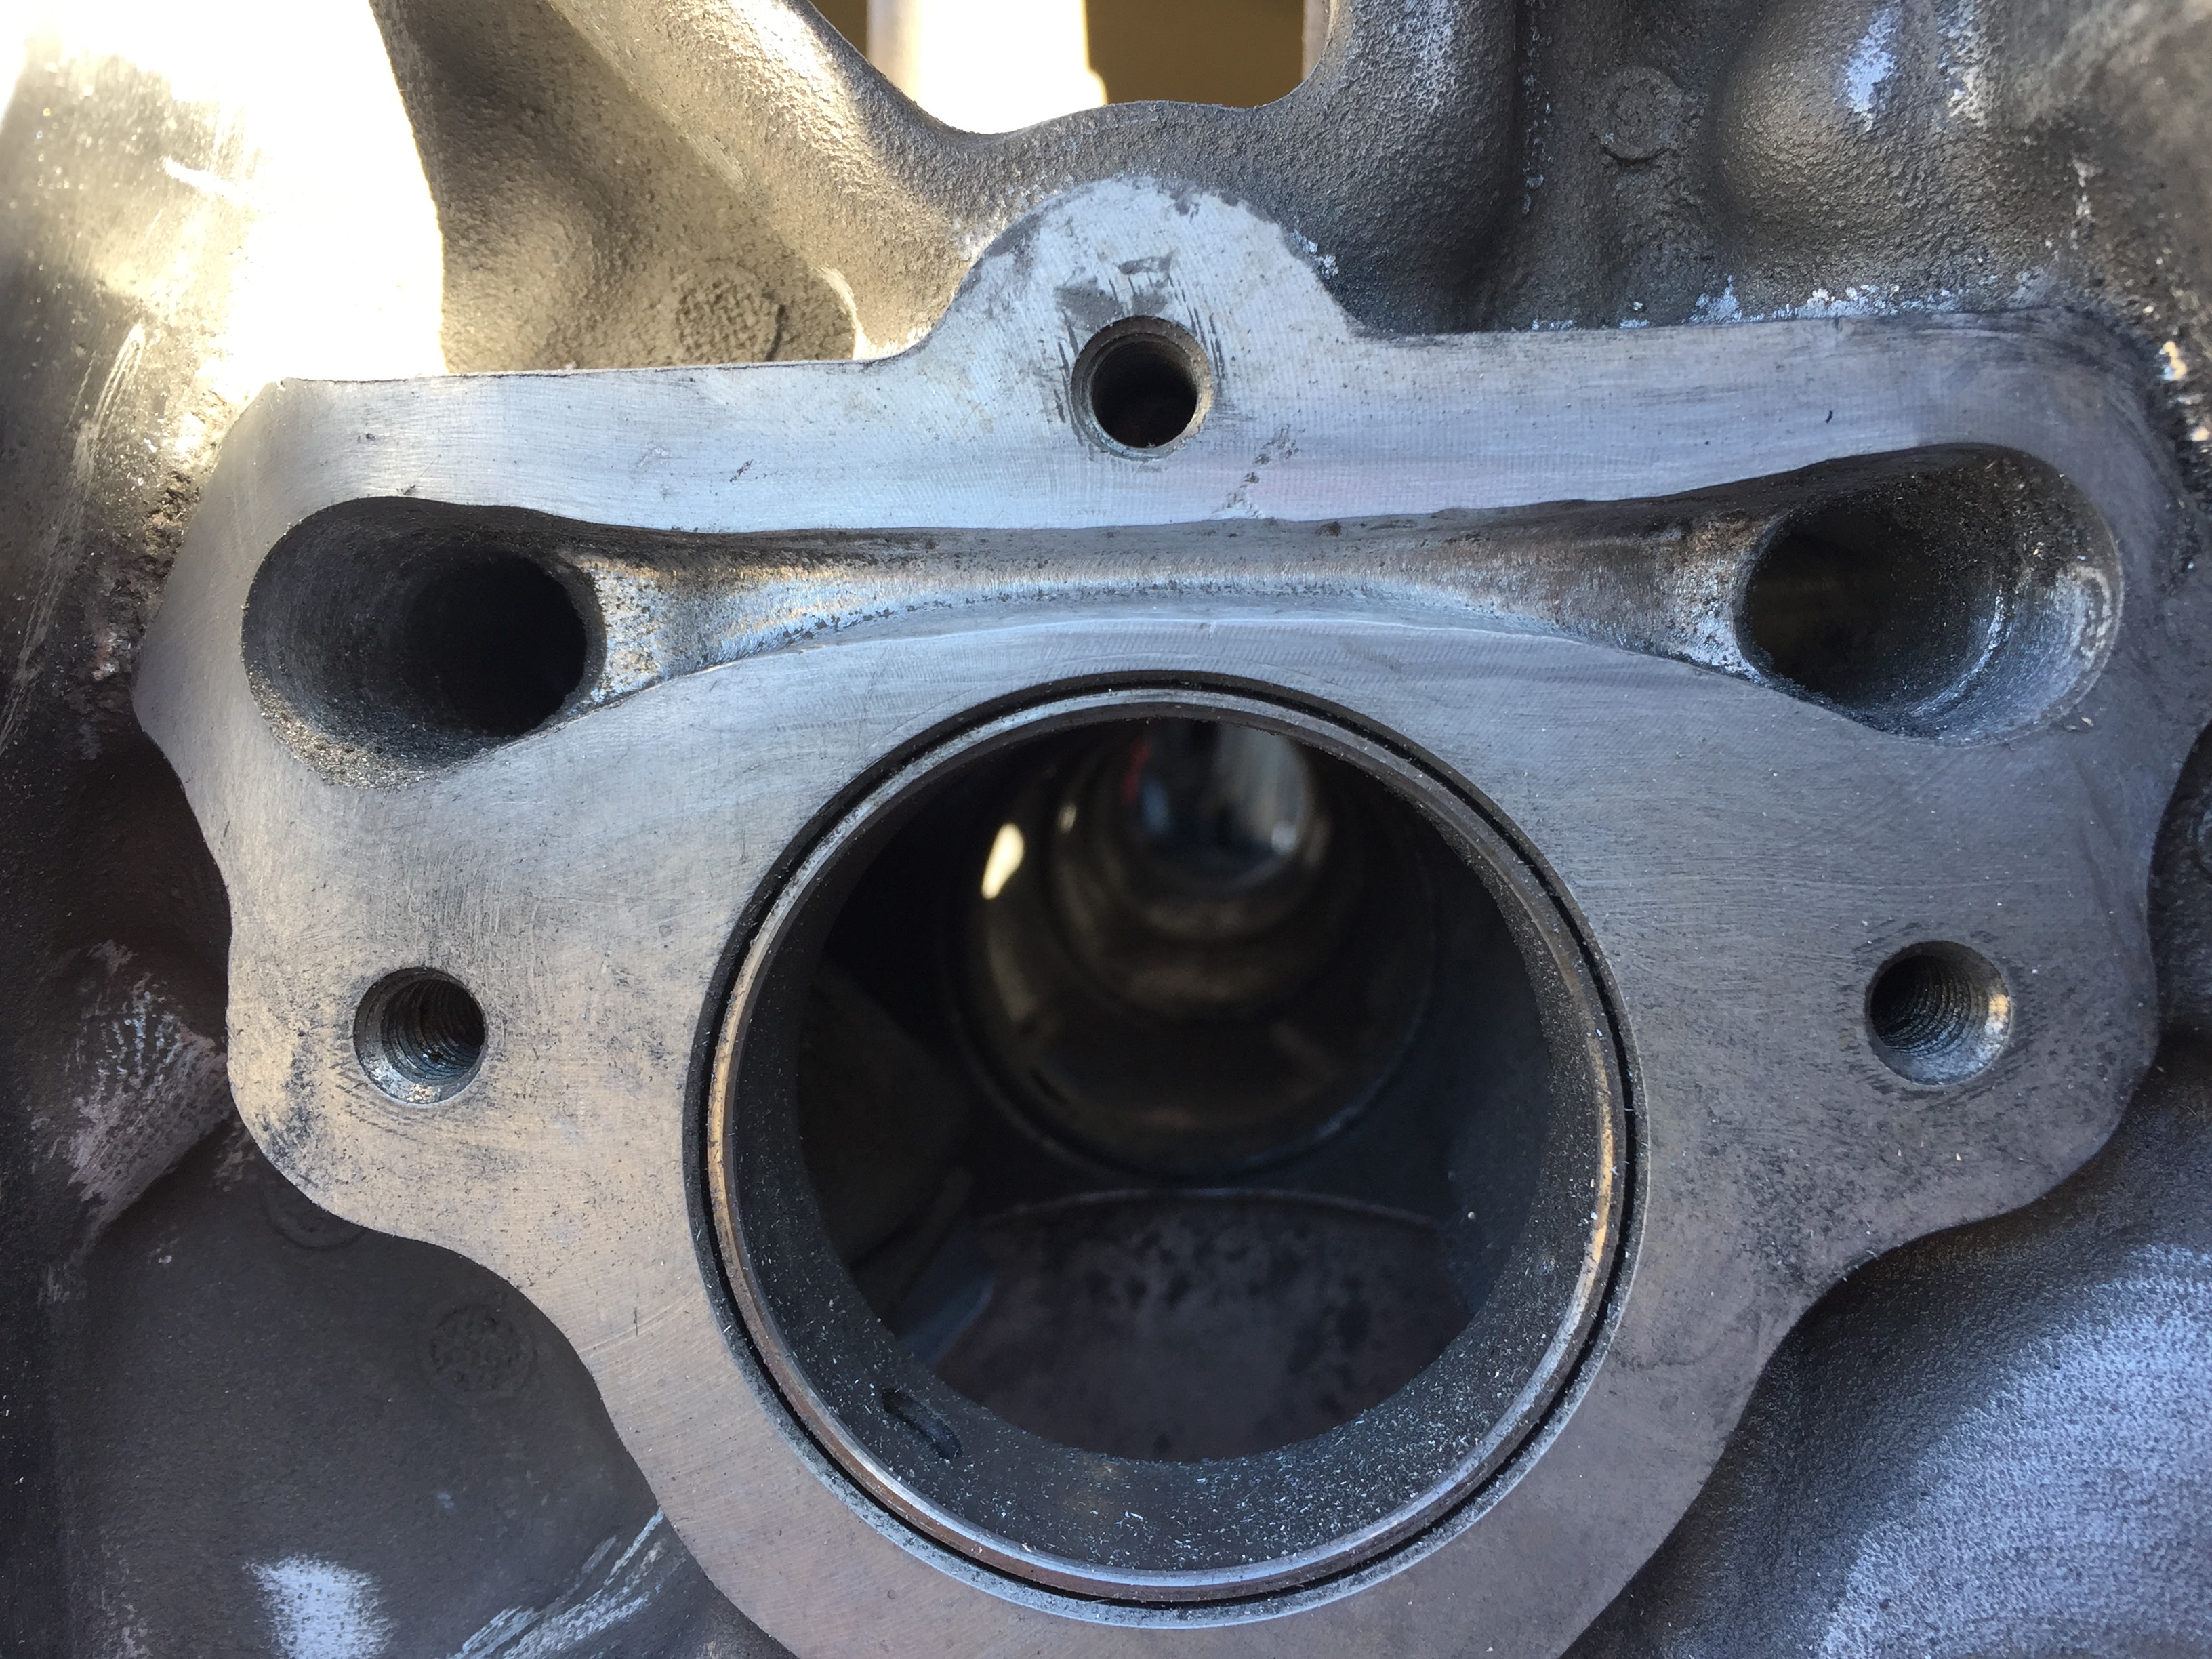
Porting front oil crossover....I’m softening the edges on all the oil passages
01-26-2018, 03:31 PM
#88
Burning Brakes


Man I hope all of this work pays off in some sort of measurable fashion because it'd be a shame to put this much effort in and not get anything from it. One of my favorite threads on any of the forums I'm on.

 01-30-2018, 03:44 PM
#92
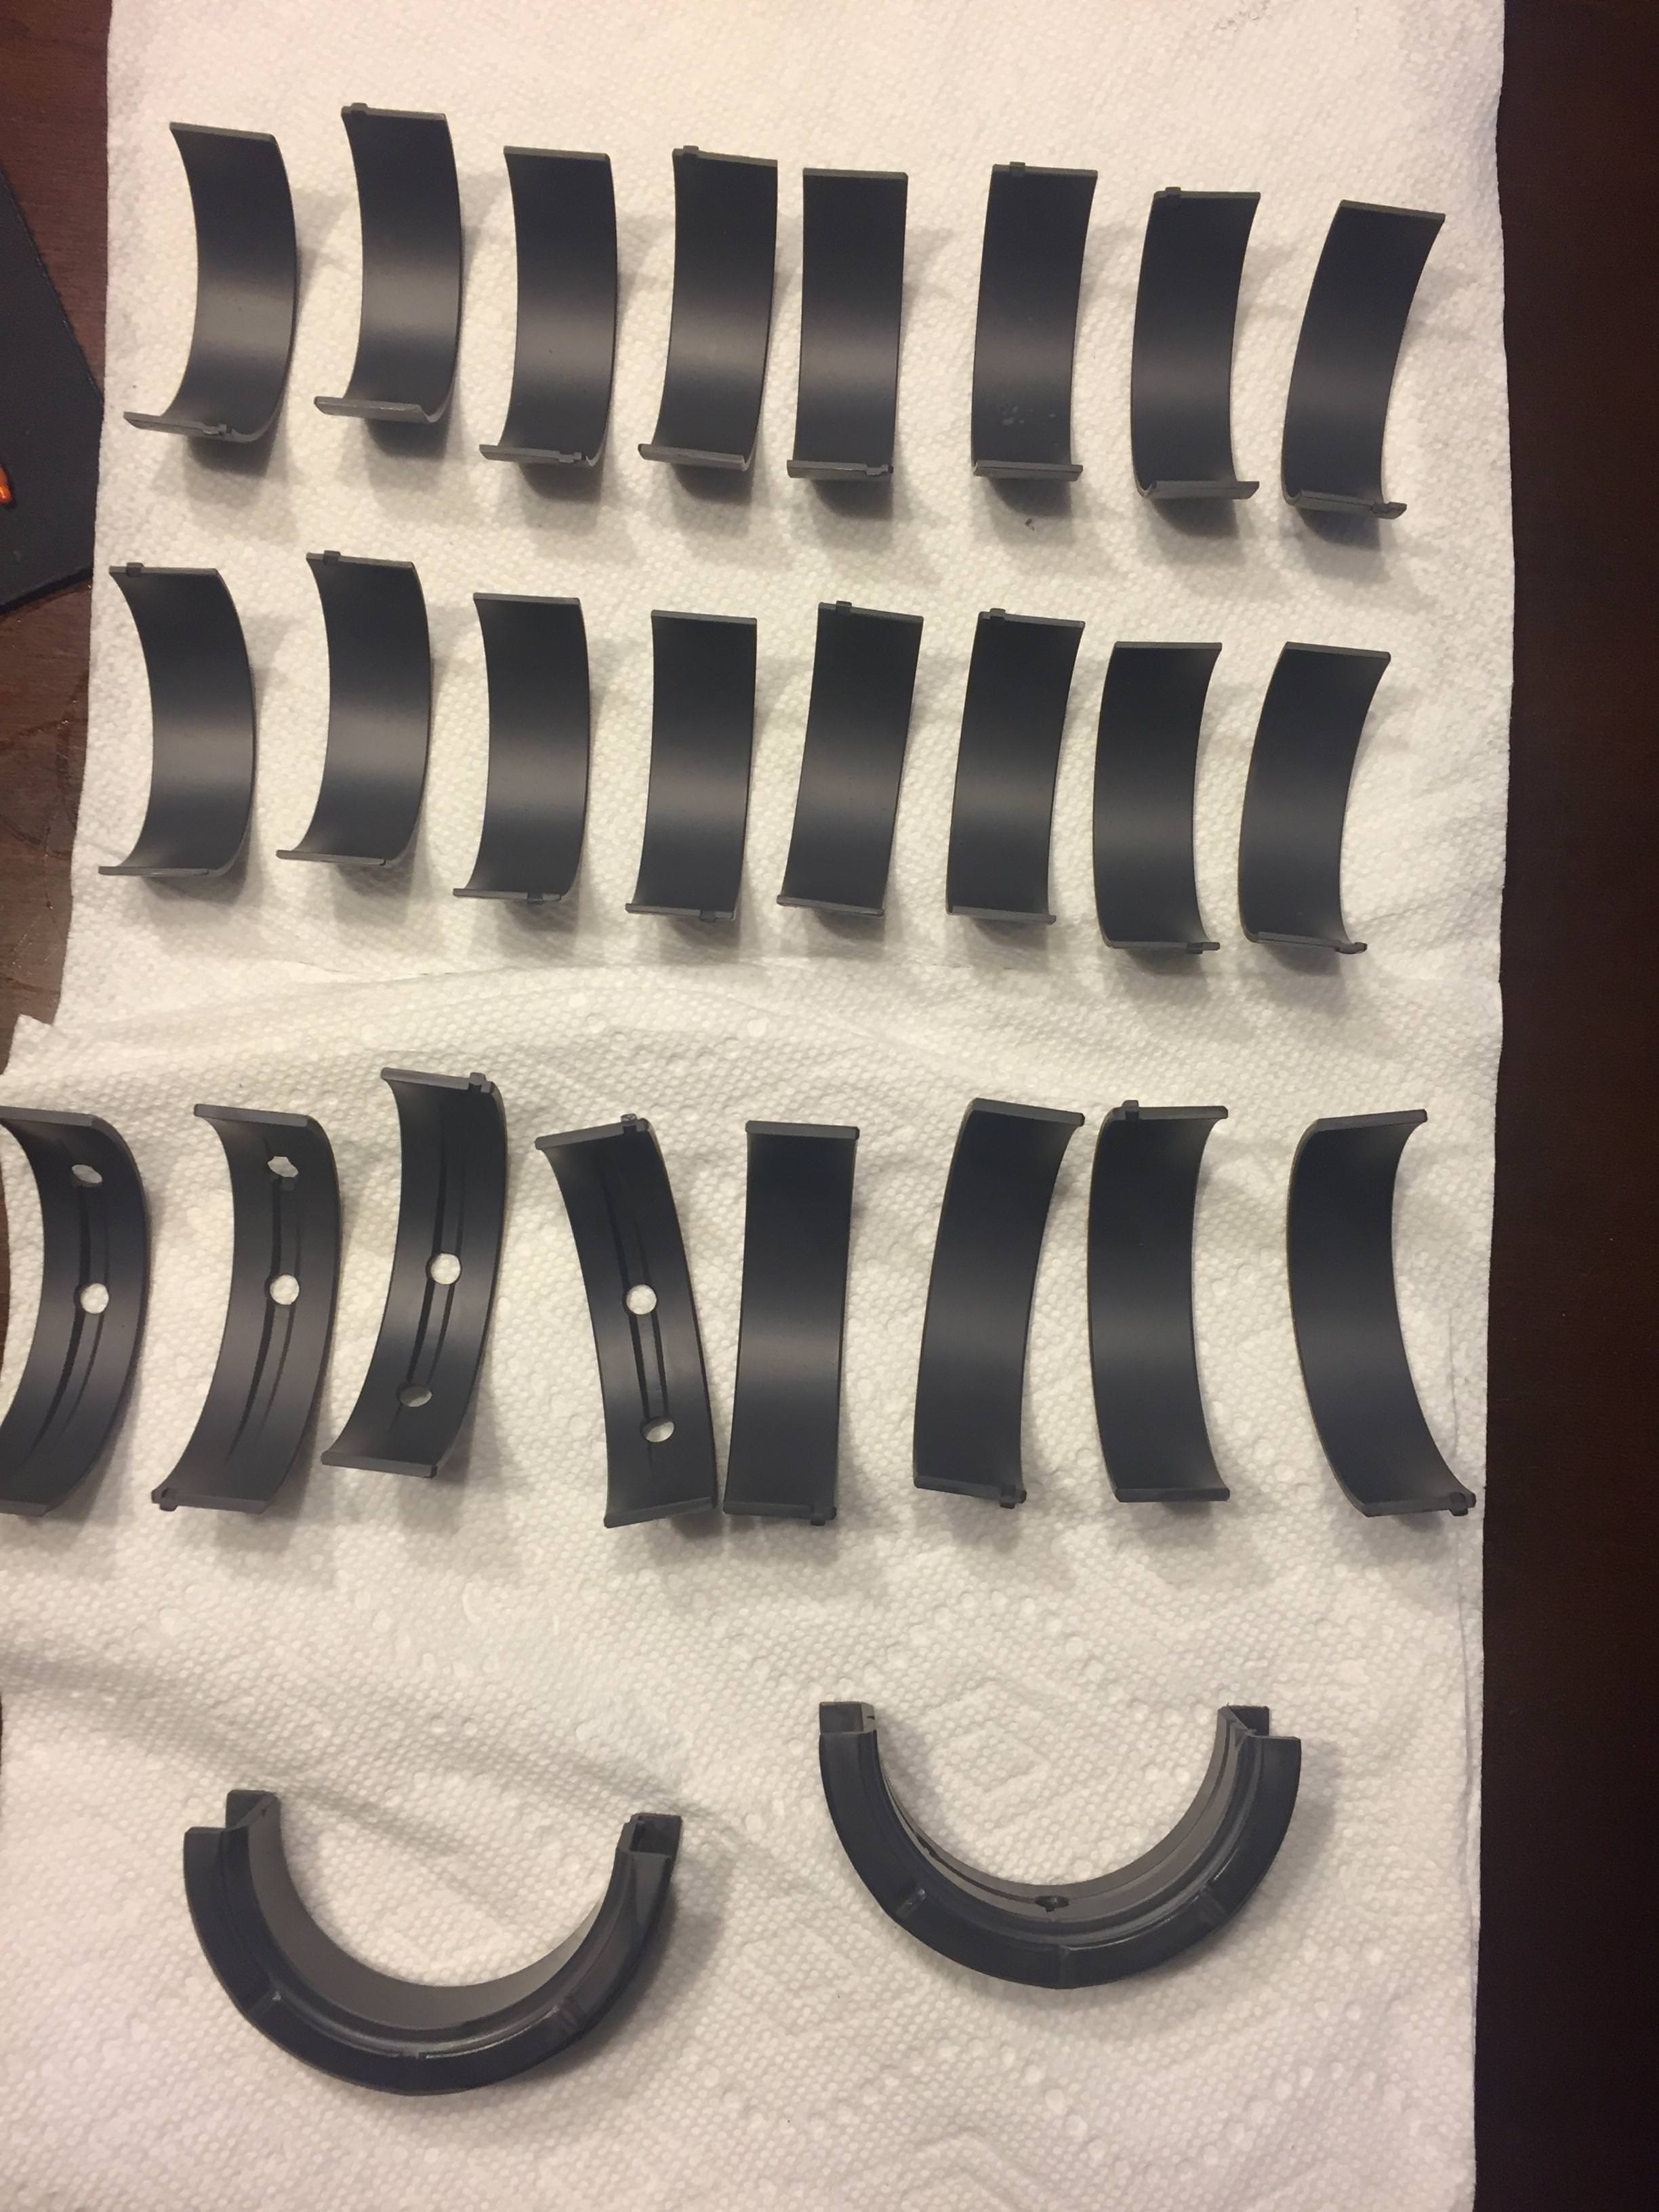
Because hydrodynamic films are basically impossible to create between parallel flat surfaces. That’s one reason crank thrust bearing faces cannot support heavy loads. The fluid film is squeezed out of the annular contact. Now to file feed grooves to them. Some spiral or chevron grooves actually promote a inward (non leaking) hydrodynamic film to form.
Camshaft end play is roughly .003-.004”....within the spec of minimum and maximum of .001-.012”
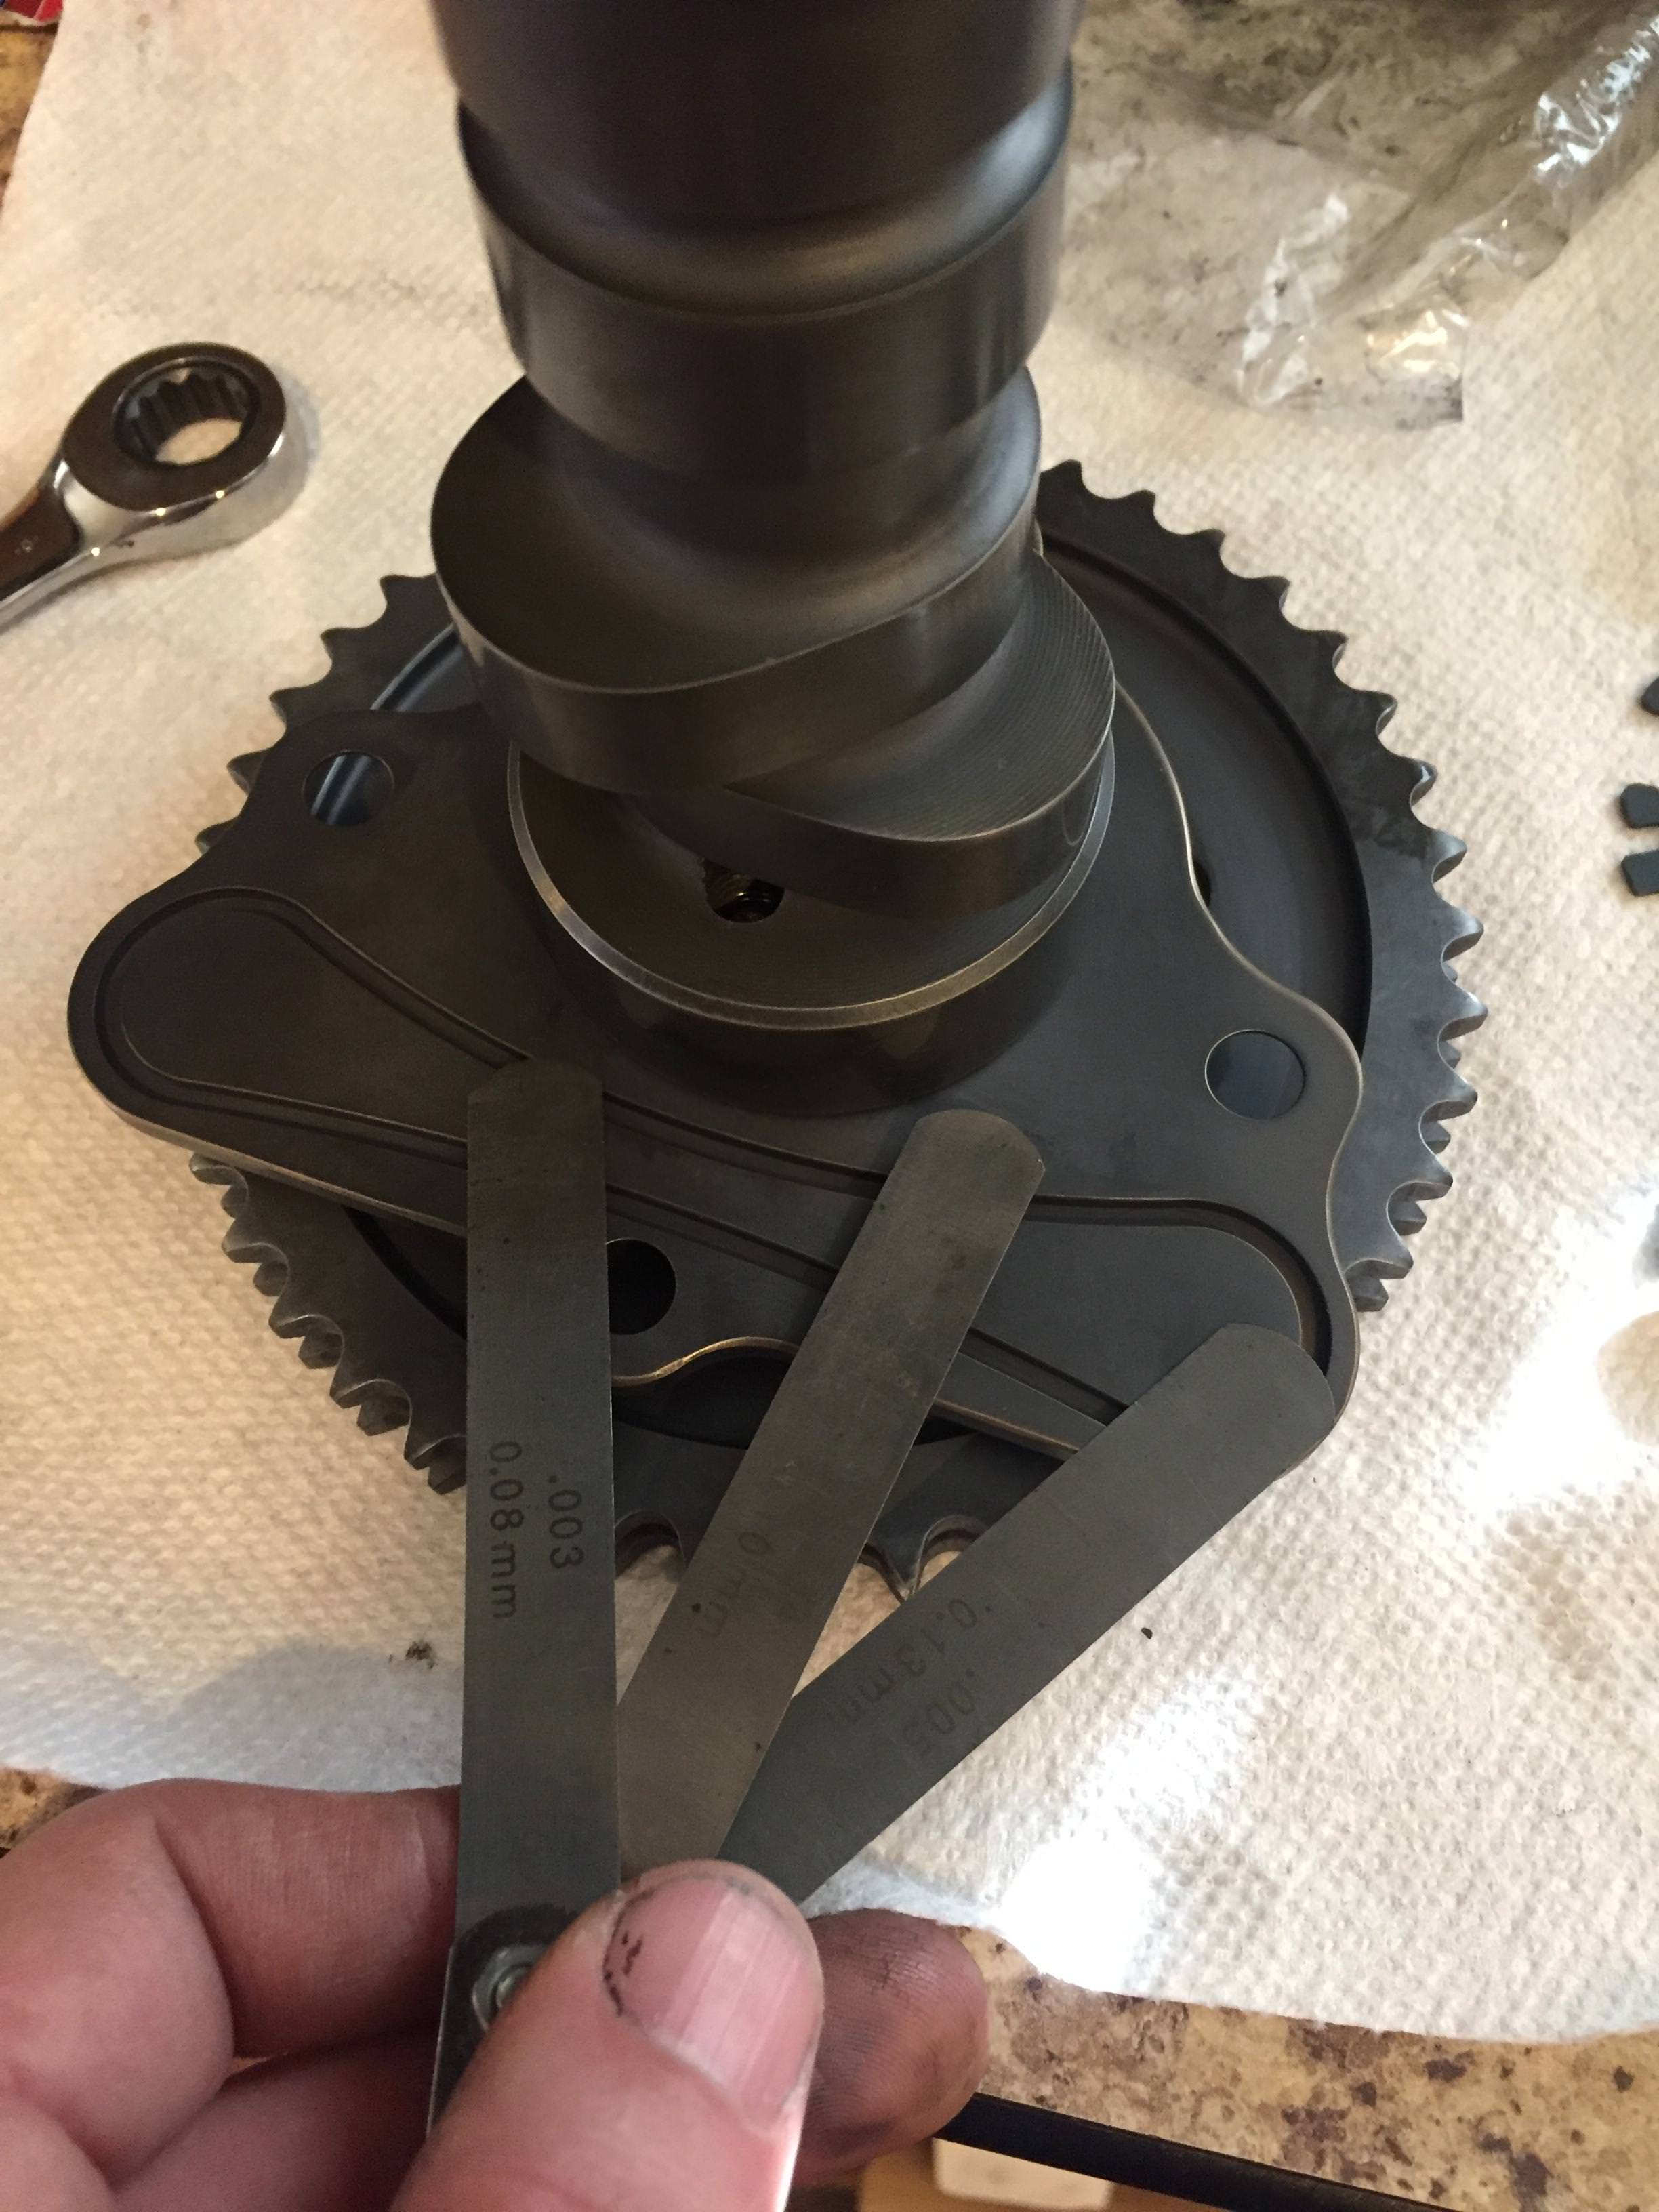
Camshaft end play is roughly .003-.004”....within the spec of minimum and maximum of .001-.012”
02-04-2018, 01:03 PM
#93
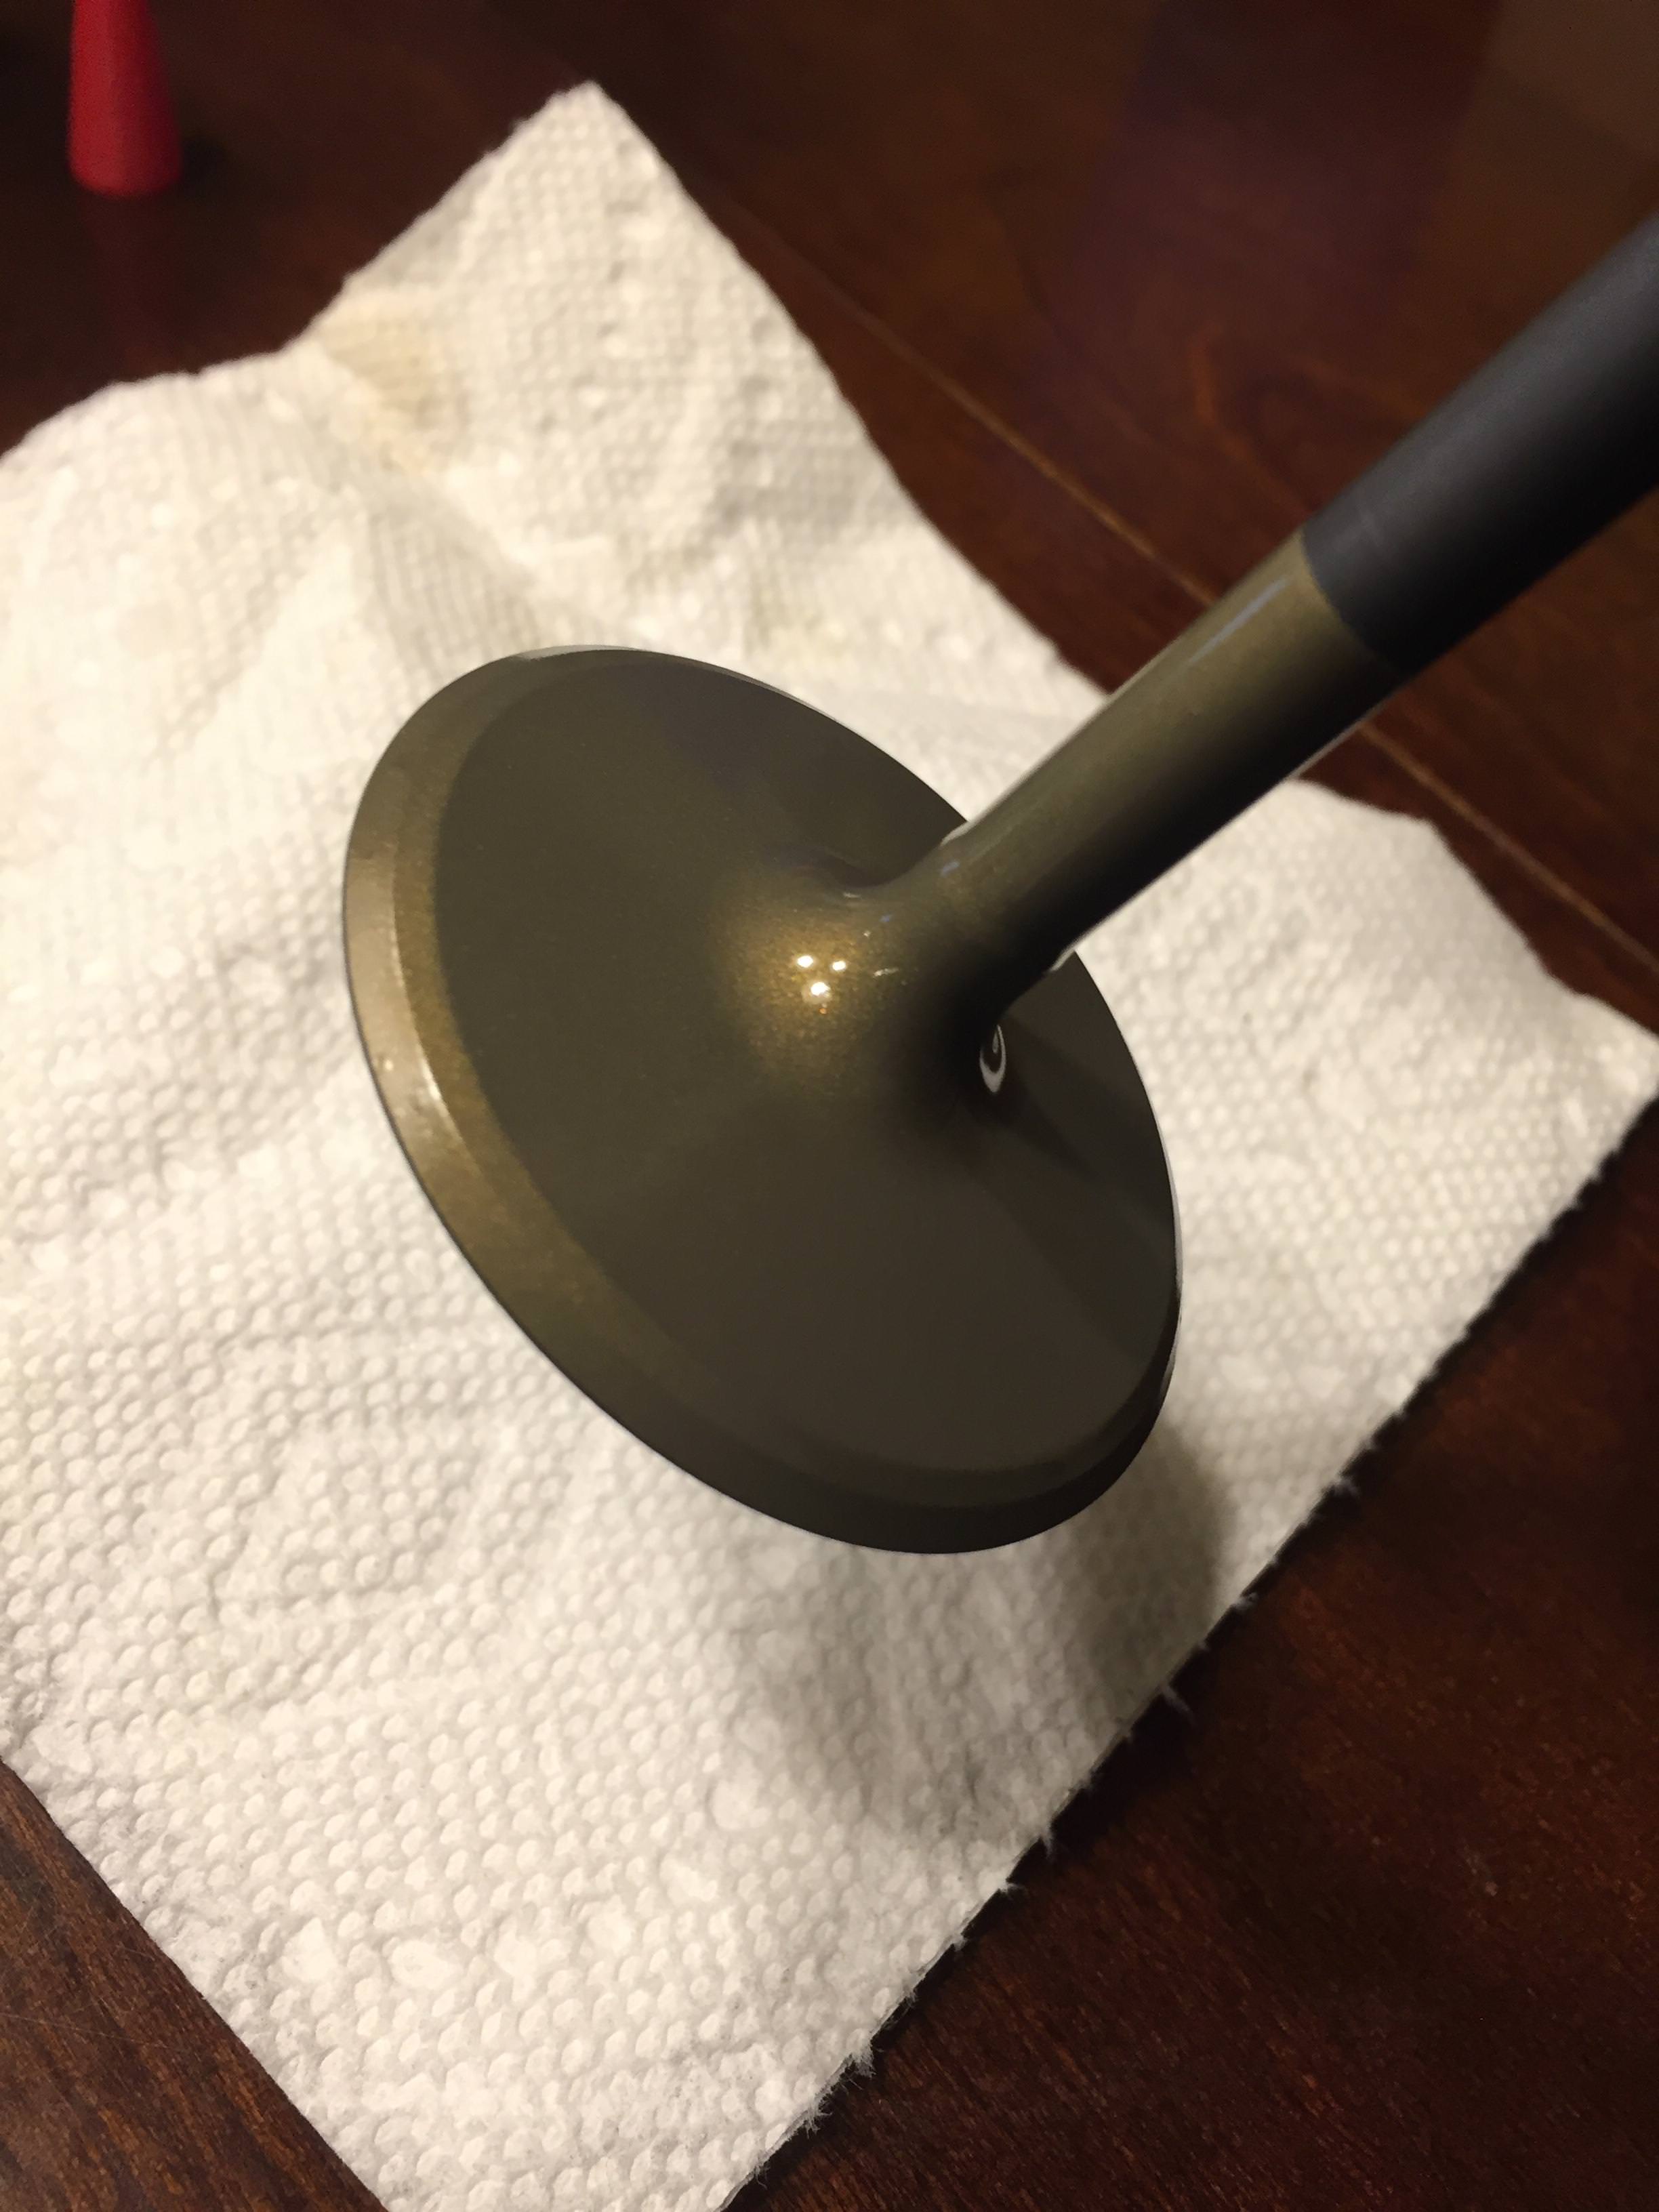
Finally got around to coating the rest of the valvestems with Mircoslick. I had plenty of Mircoslick leftover so I blasted and coated the tops of the seats and bottoms of the titanium retainers.
Scroll down to page 16 and you can see the testing Cerakote did with their thermal barrier coatings. The C-186 Piston Coat I’m using performed well reducing temps by 81* with internal temps of 1706*. The V-171 Turbine Coat did even better in the testing. The turbine coat reduced temps by 185*!
http://www.nicindustries.com/images/...0Manual(2).pdf
Last edited by Petraszewsky; 02-04-2018 at 01:15 PM.
 02-16-2018, 12:14 PM
#95
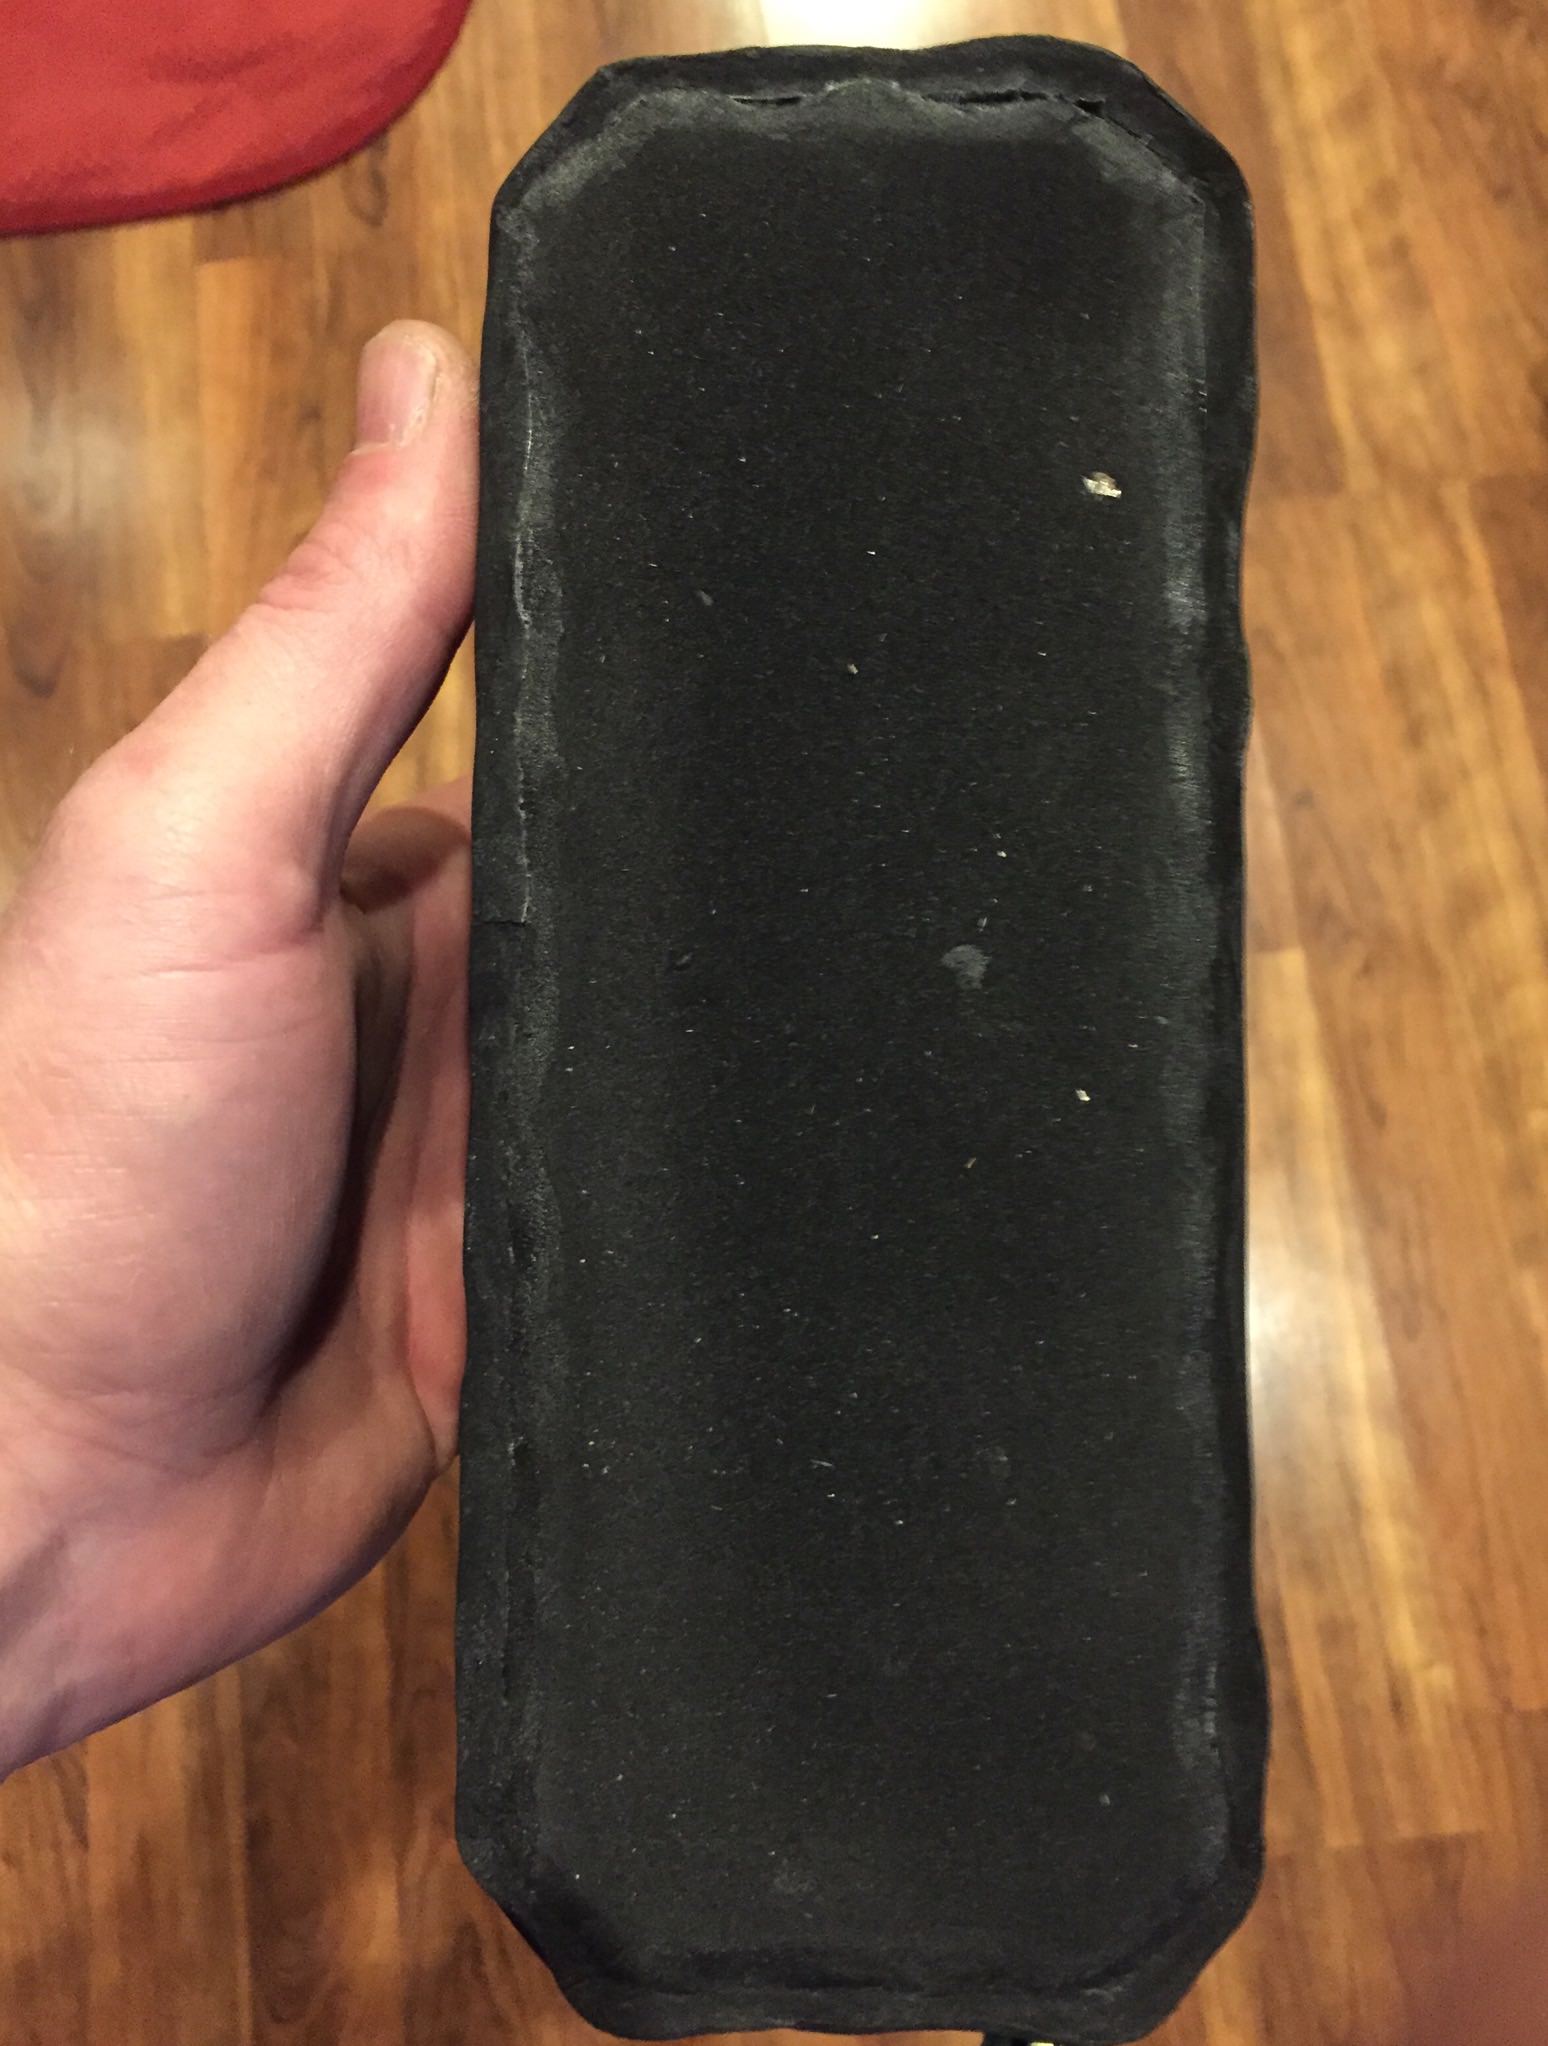
Finally got around to finishing up both cylinder heads
Before breaking hard edges on the combustion chamber. Help prevent detonation causing hot spots and give the coating a softer edge since paint is thinnest at hard edges. Those little pieces of casting flash act like mini blow torches
Chambers smoothed...I still have to break hard edges on the casting holes. If you look at the head at the top you can see the edges smoothed and bolt holes chamfered.
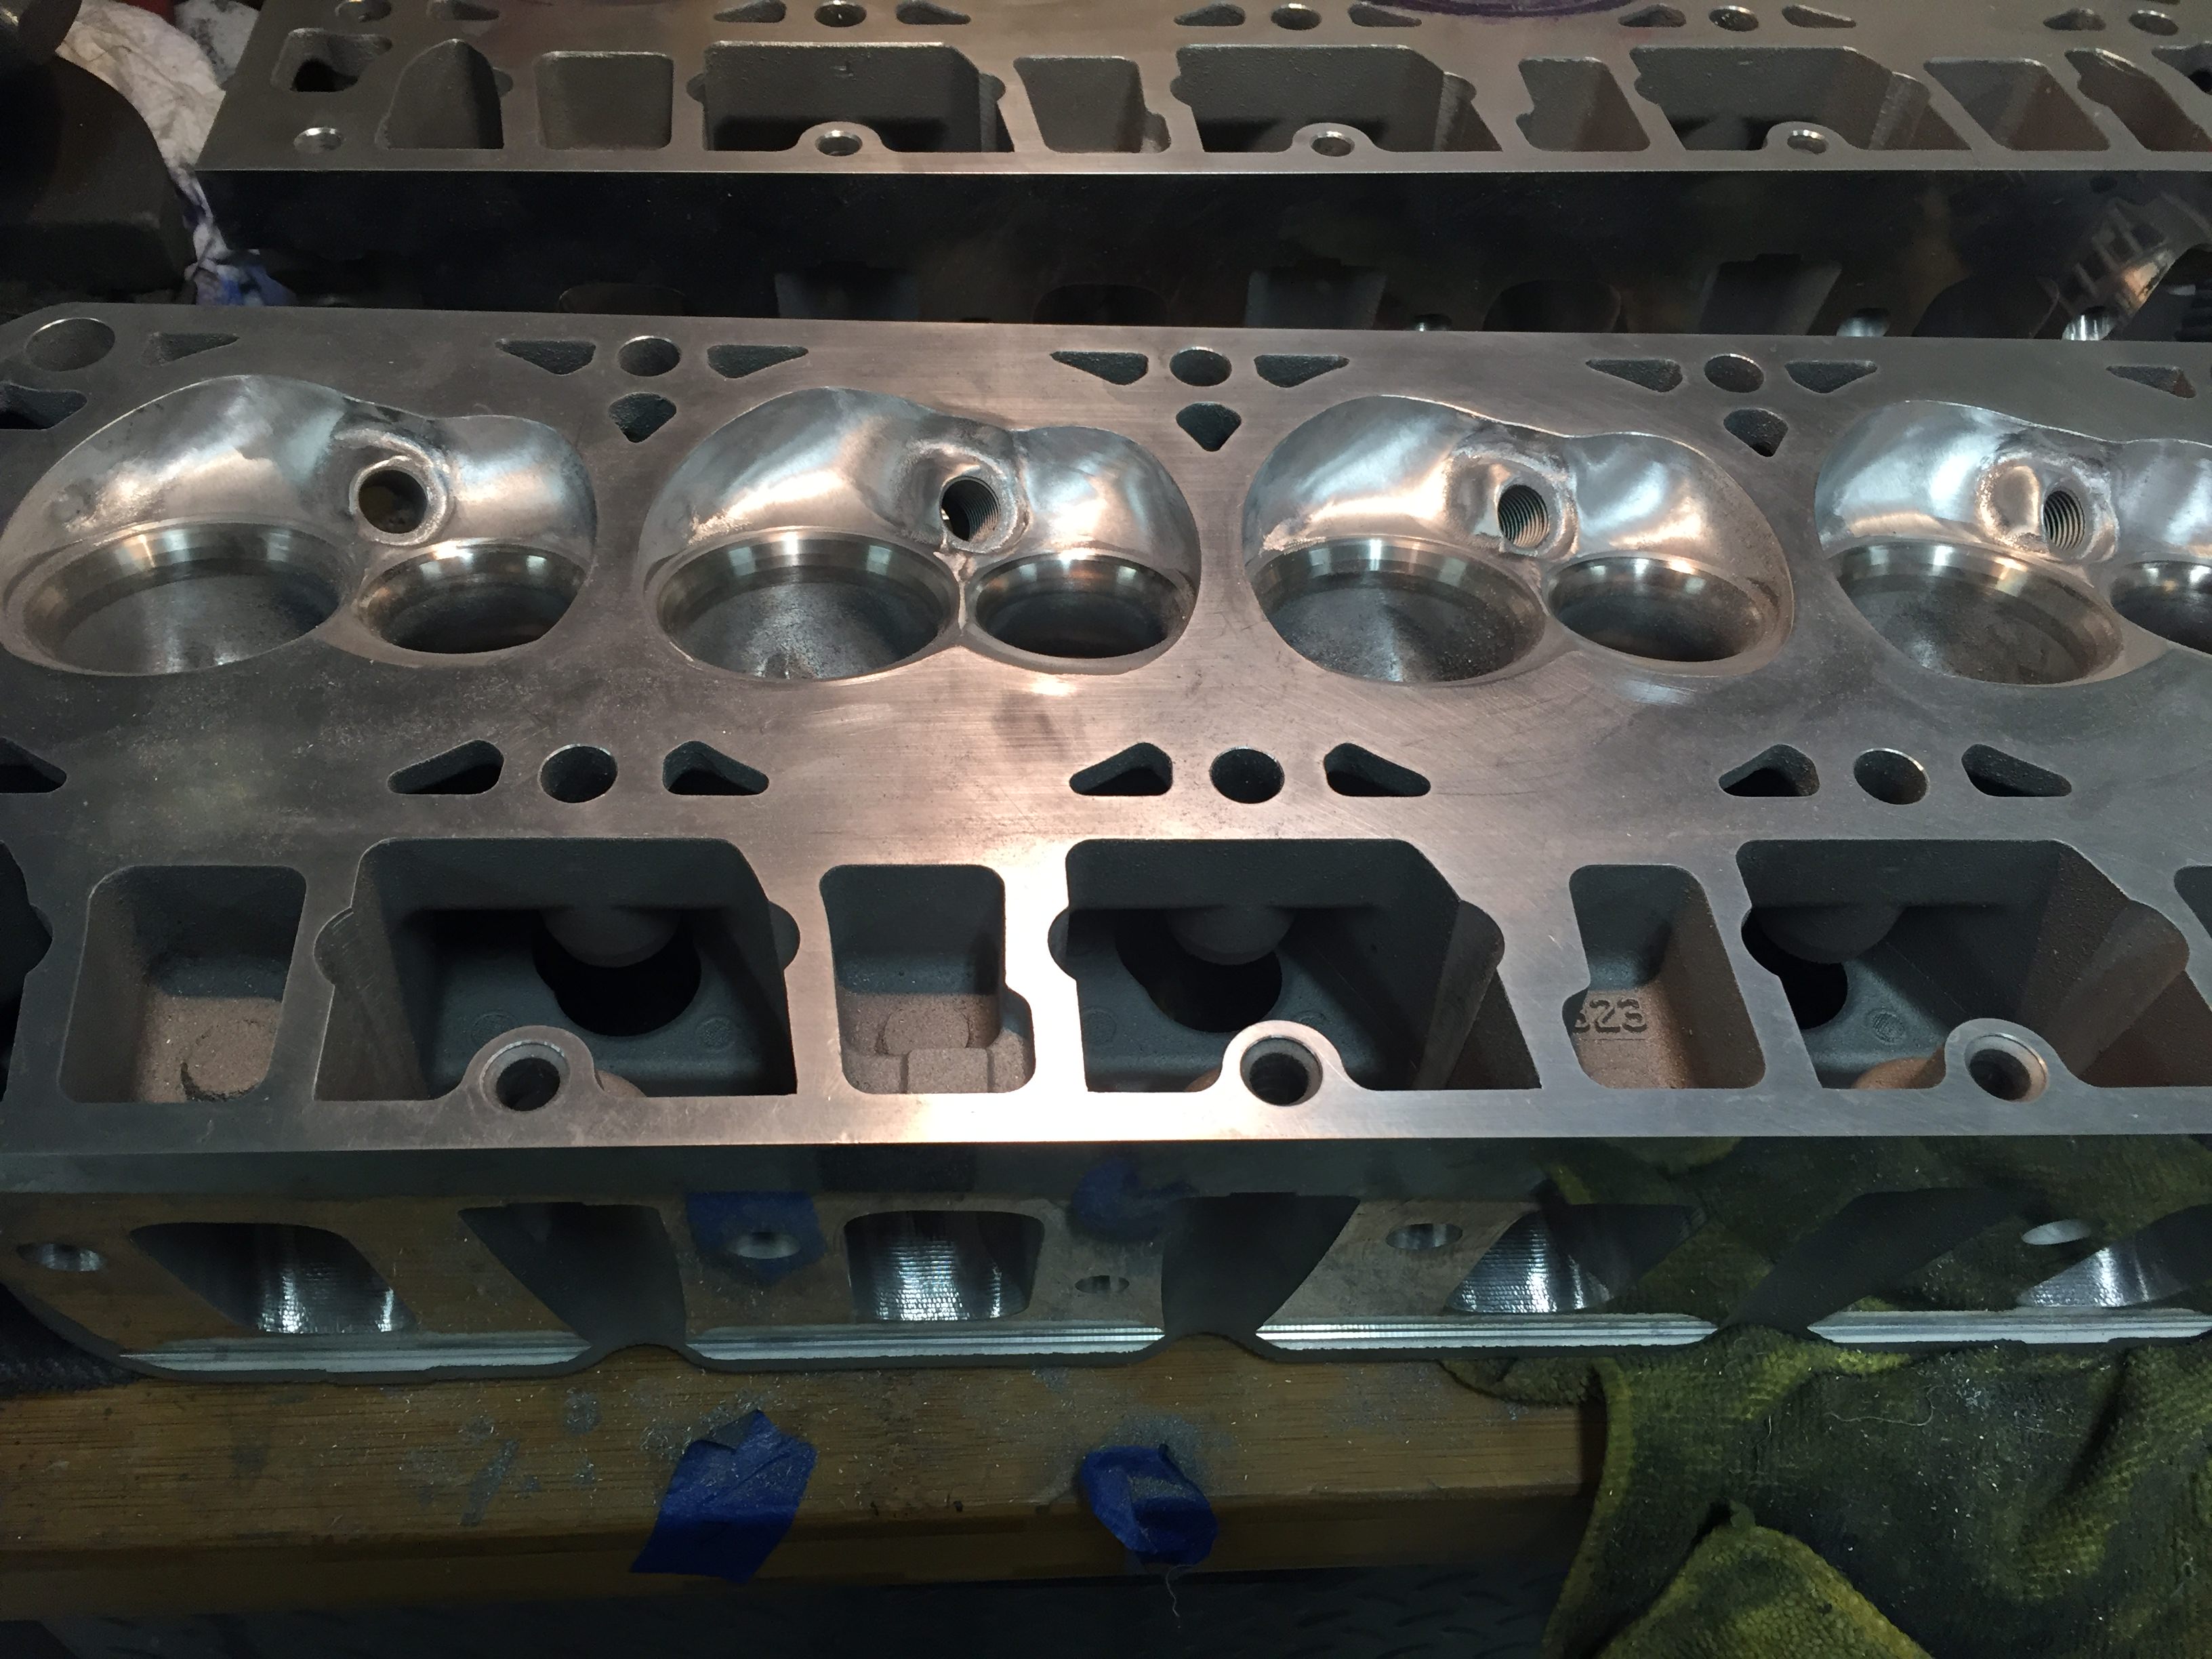
Just enough sanding to remove the casting flash and give the thermal barrier coating a more consistent surface for more even coverage.
Before breaking hard edges on the combustion chamber. Help prevent detonation causing hot spots and give the coating a softer edge since paint is thinnest at hard edges. Those little pieces of casting flash act like mini blow torches
Chambers smoothed...I still have to break hard edges on the casting holes. If you look at the head at the top you can see the edges smoothed and bolt holes chamfered.
Just enough sanding to remove the casting flash and give the thermal barrier coating a more consistent surface for more even coverage.
03-05-2018, 03:51 PM
#97
Nothing spectacular...with it raining almost everyday for the last month I’ve been stuck. Plus I was mocking some stuff up last week and the rotor housing/upper manifold for the Whipple wobbled a little on the lower manifold. I thought to myself something isn’t right and starting looking and FedEx had dropped the box when Nitrous Express shipped it back to me. They dropped it hard enough to crack the case and bend/warp the mounting flange. So I’m waiting to hear back if FedEx is going to cover the damage. It’s a brand new never been turned Whipple and it’s trash. Anywho slowly getting there. I just need more hours in a day and no rain haha.
Last edited by Petraszewsky; 03-05-2018 at 03:53 PM.
03-06-2018, 06:21 AM
#98
Safety Car


Nothing spectacular...with it raining almost everyday for the last month I�ve been stuck. Plus I was mocking some stuff up last week and the rotor housing/upper manifold for the Whipple wobbled a little on the lower manifold. I thought to myself something isn�t right and starting looking and FedEx had dropped the box when Nitrous Express shipped it back to me. They dropped it hard enough to crack the case and bend/warp the mounting flange. So I�m waiting to hear back if FedEx is going to cover the damage. It�s a brand new never been turned Whipple and it�s trash. Anywho slowly getting there. I just need more hours in a day and no rain haha.