
Deburring and Polishing Engine Parts


 04-18-2018, 10:30 PM
#102
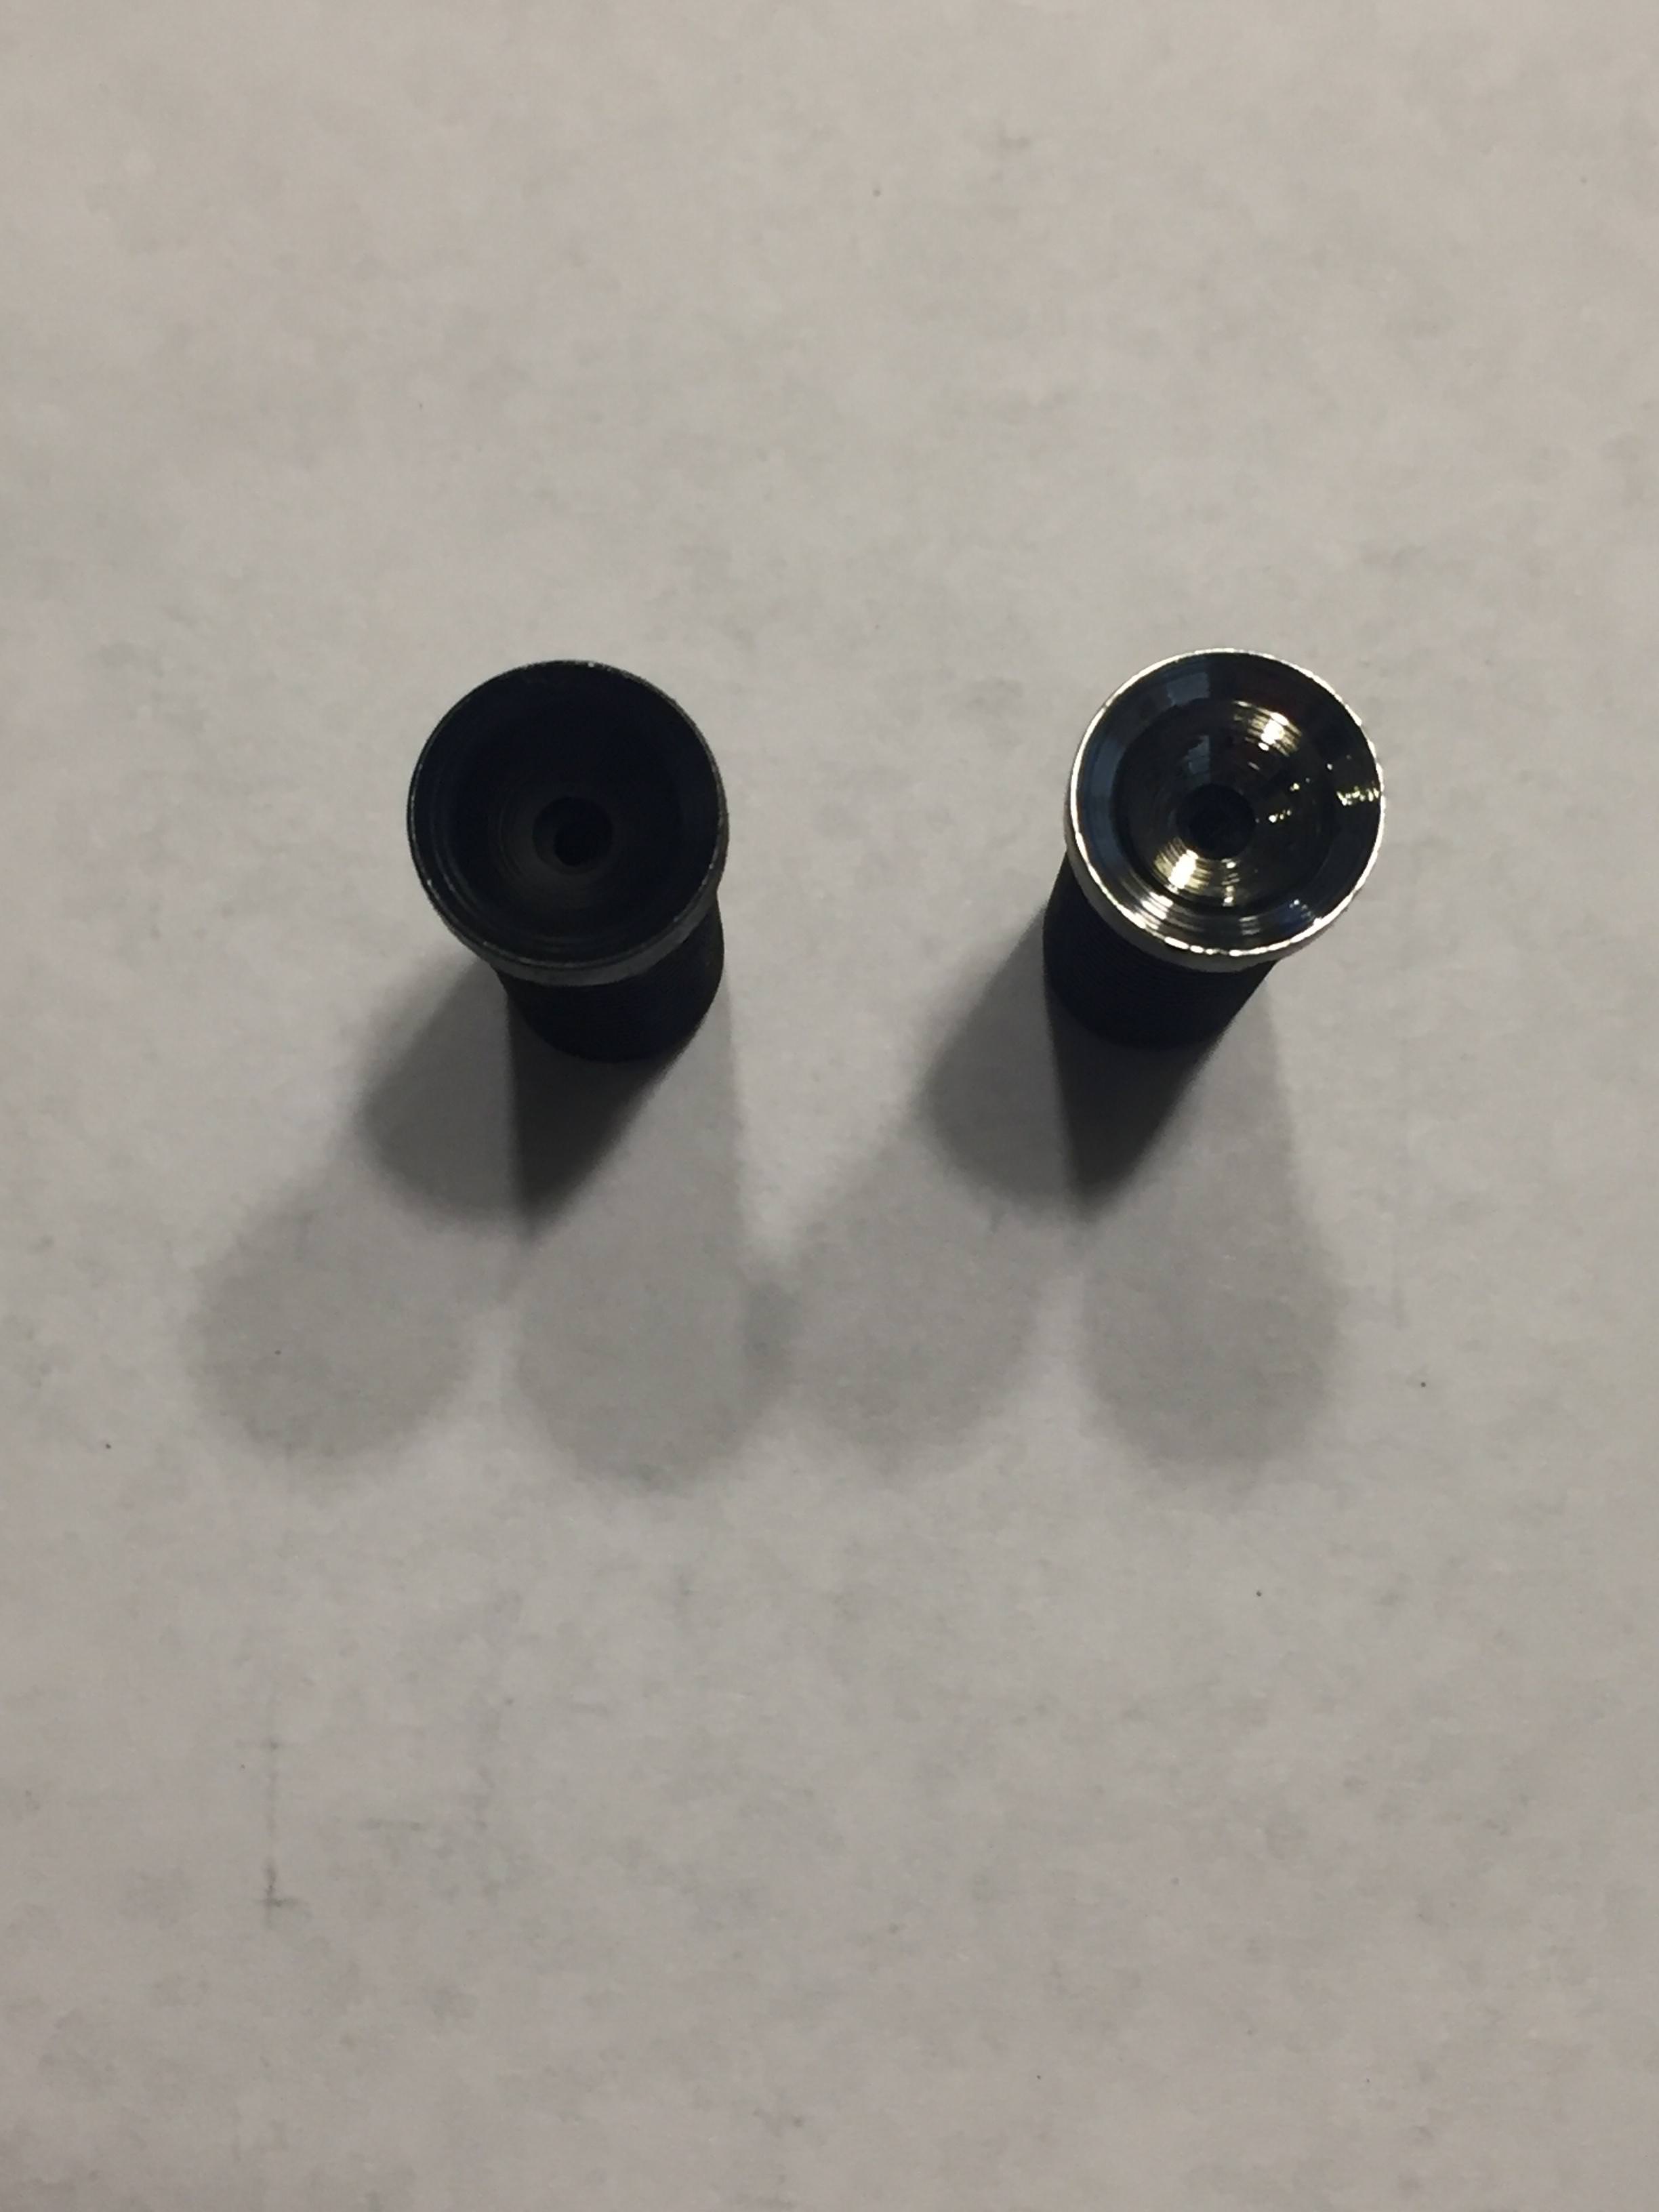
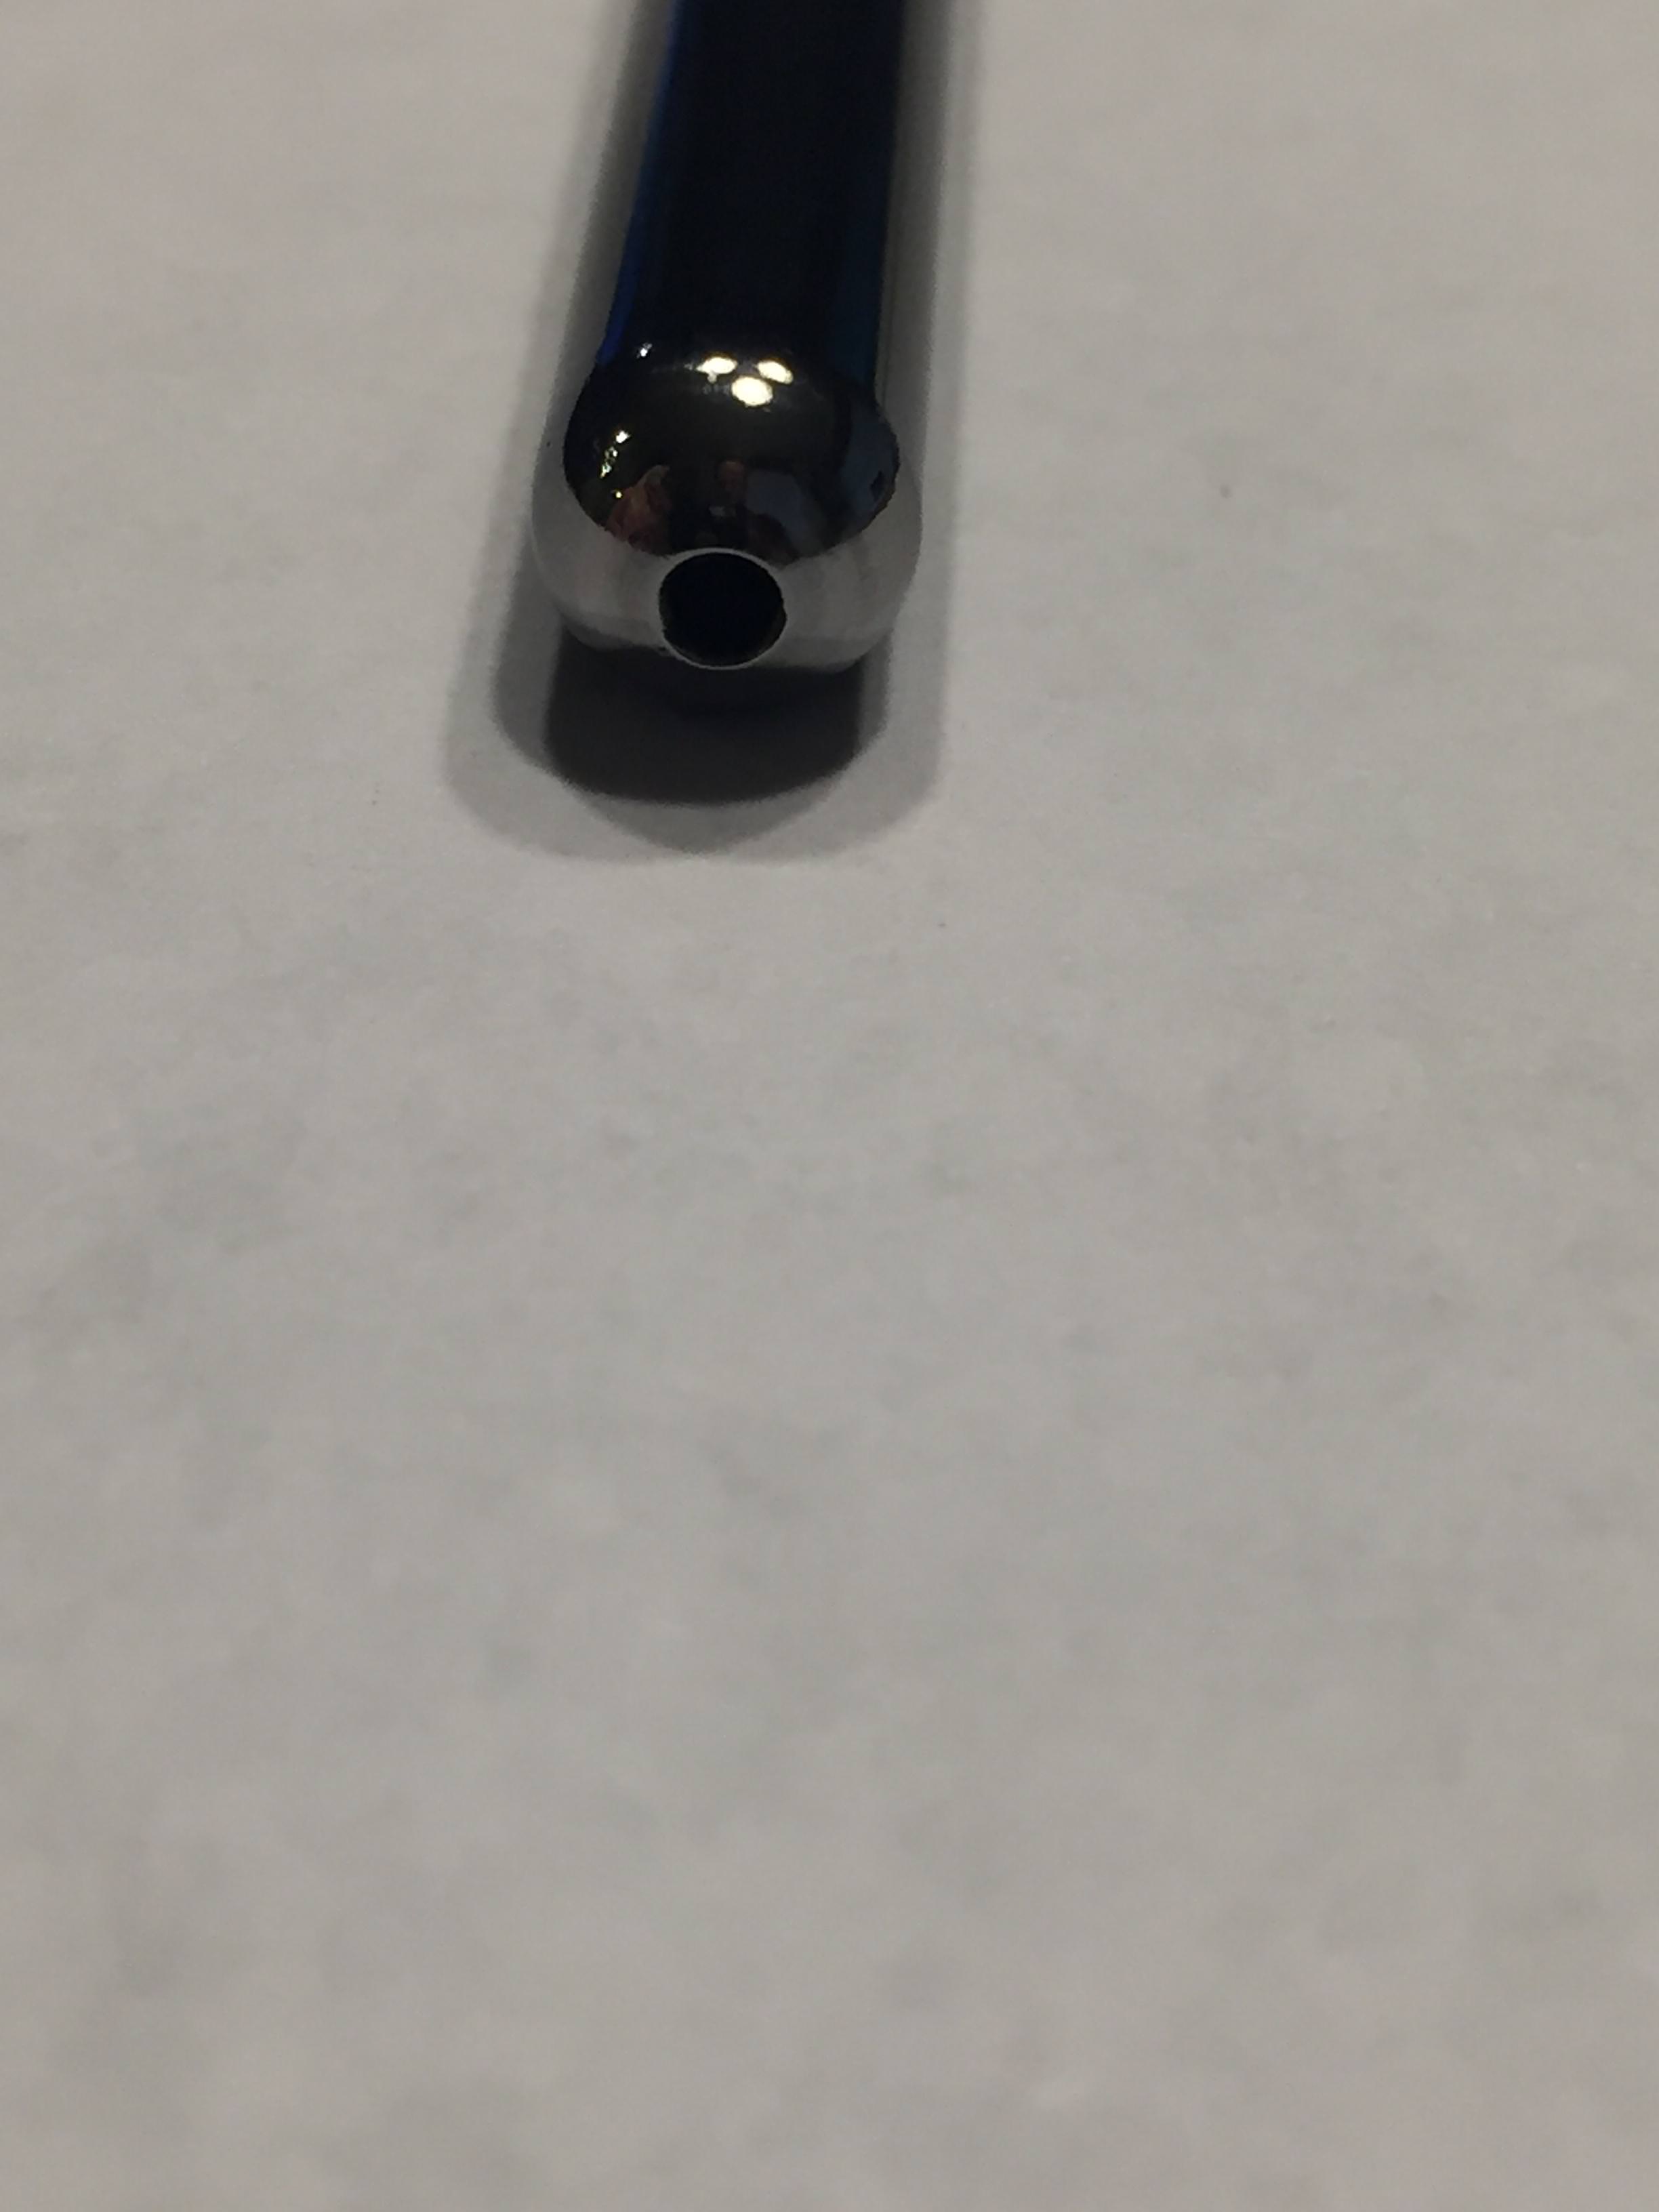
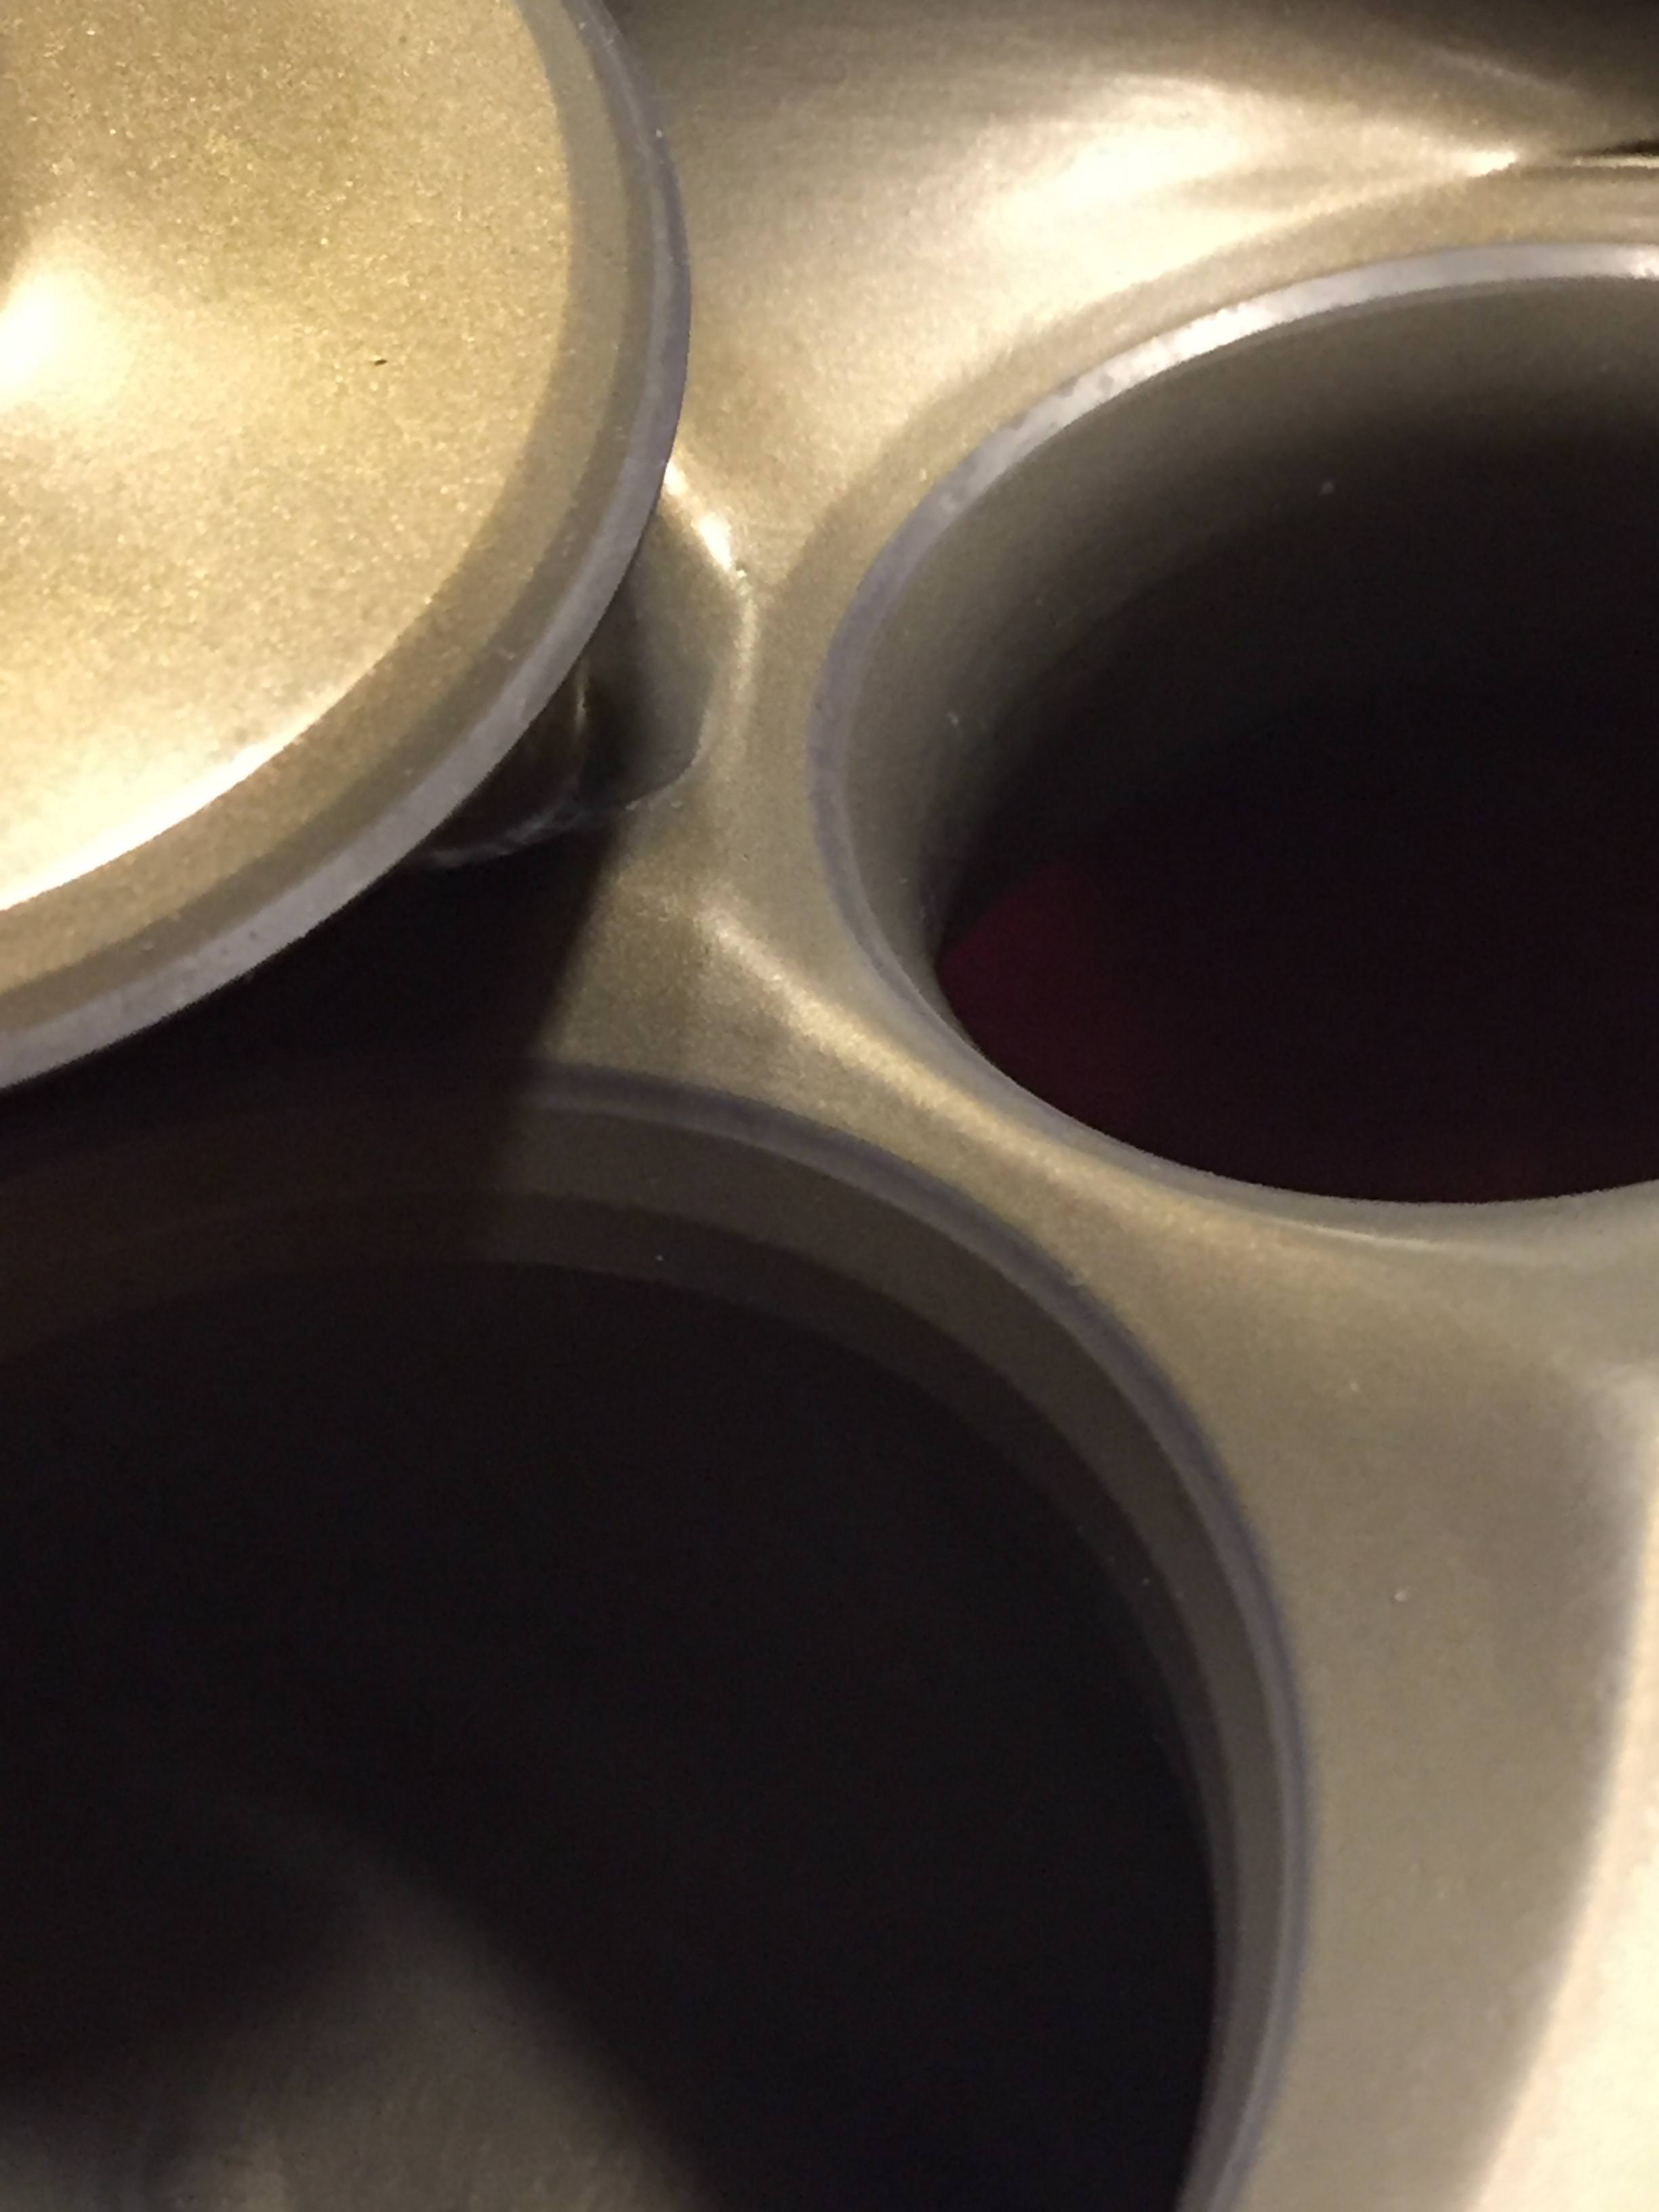
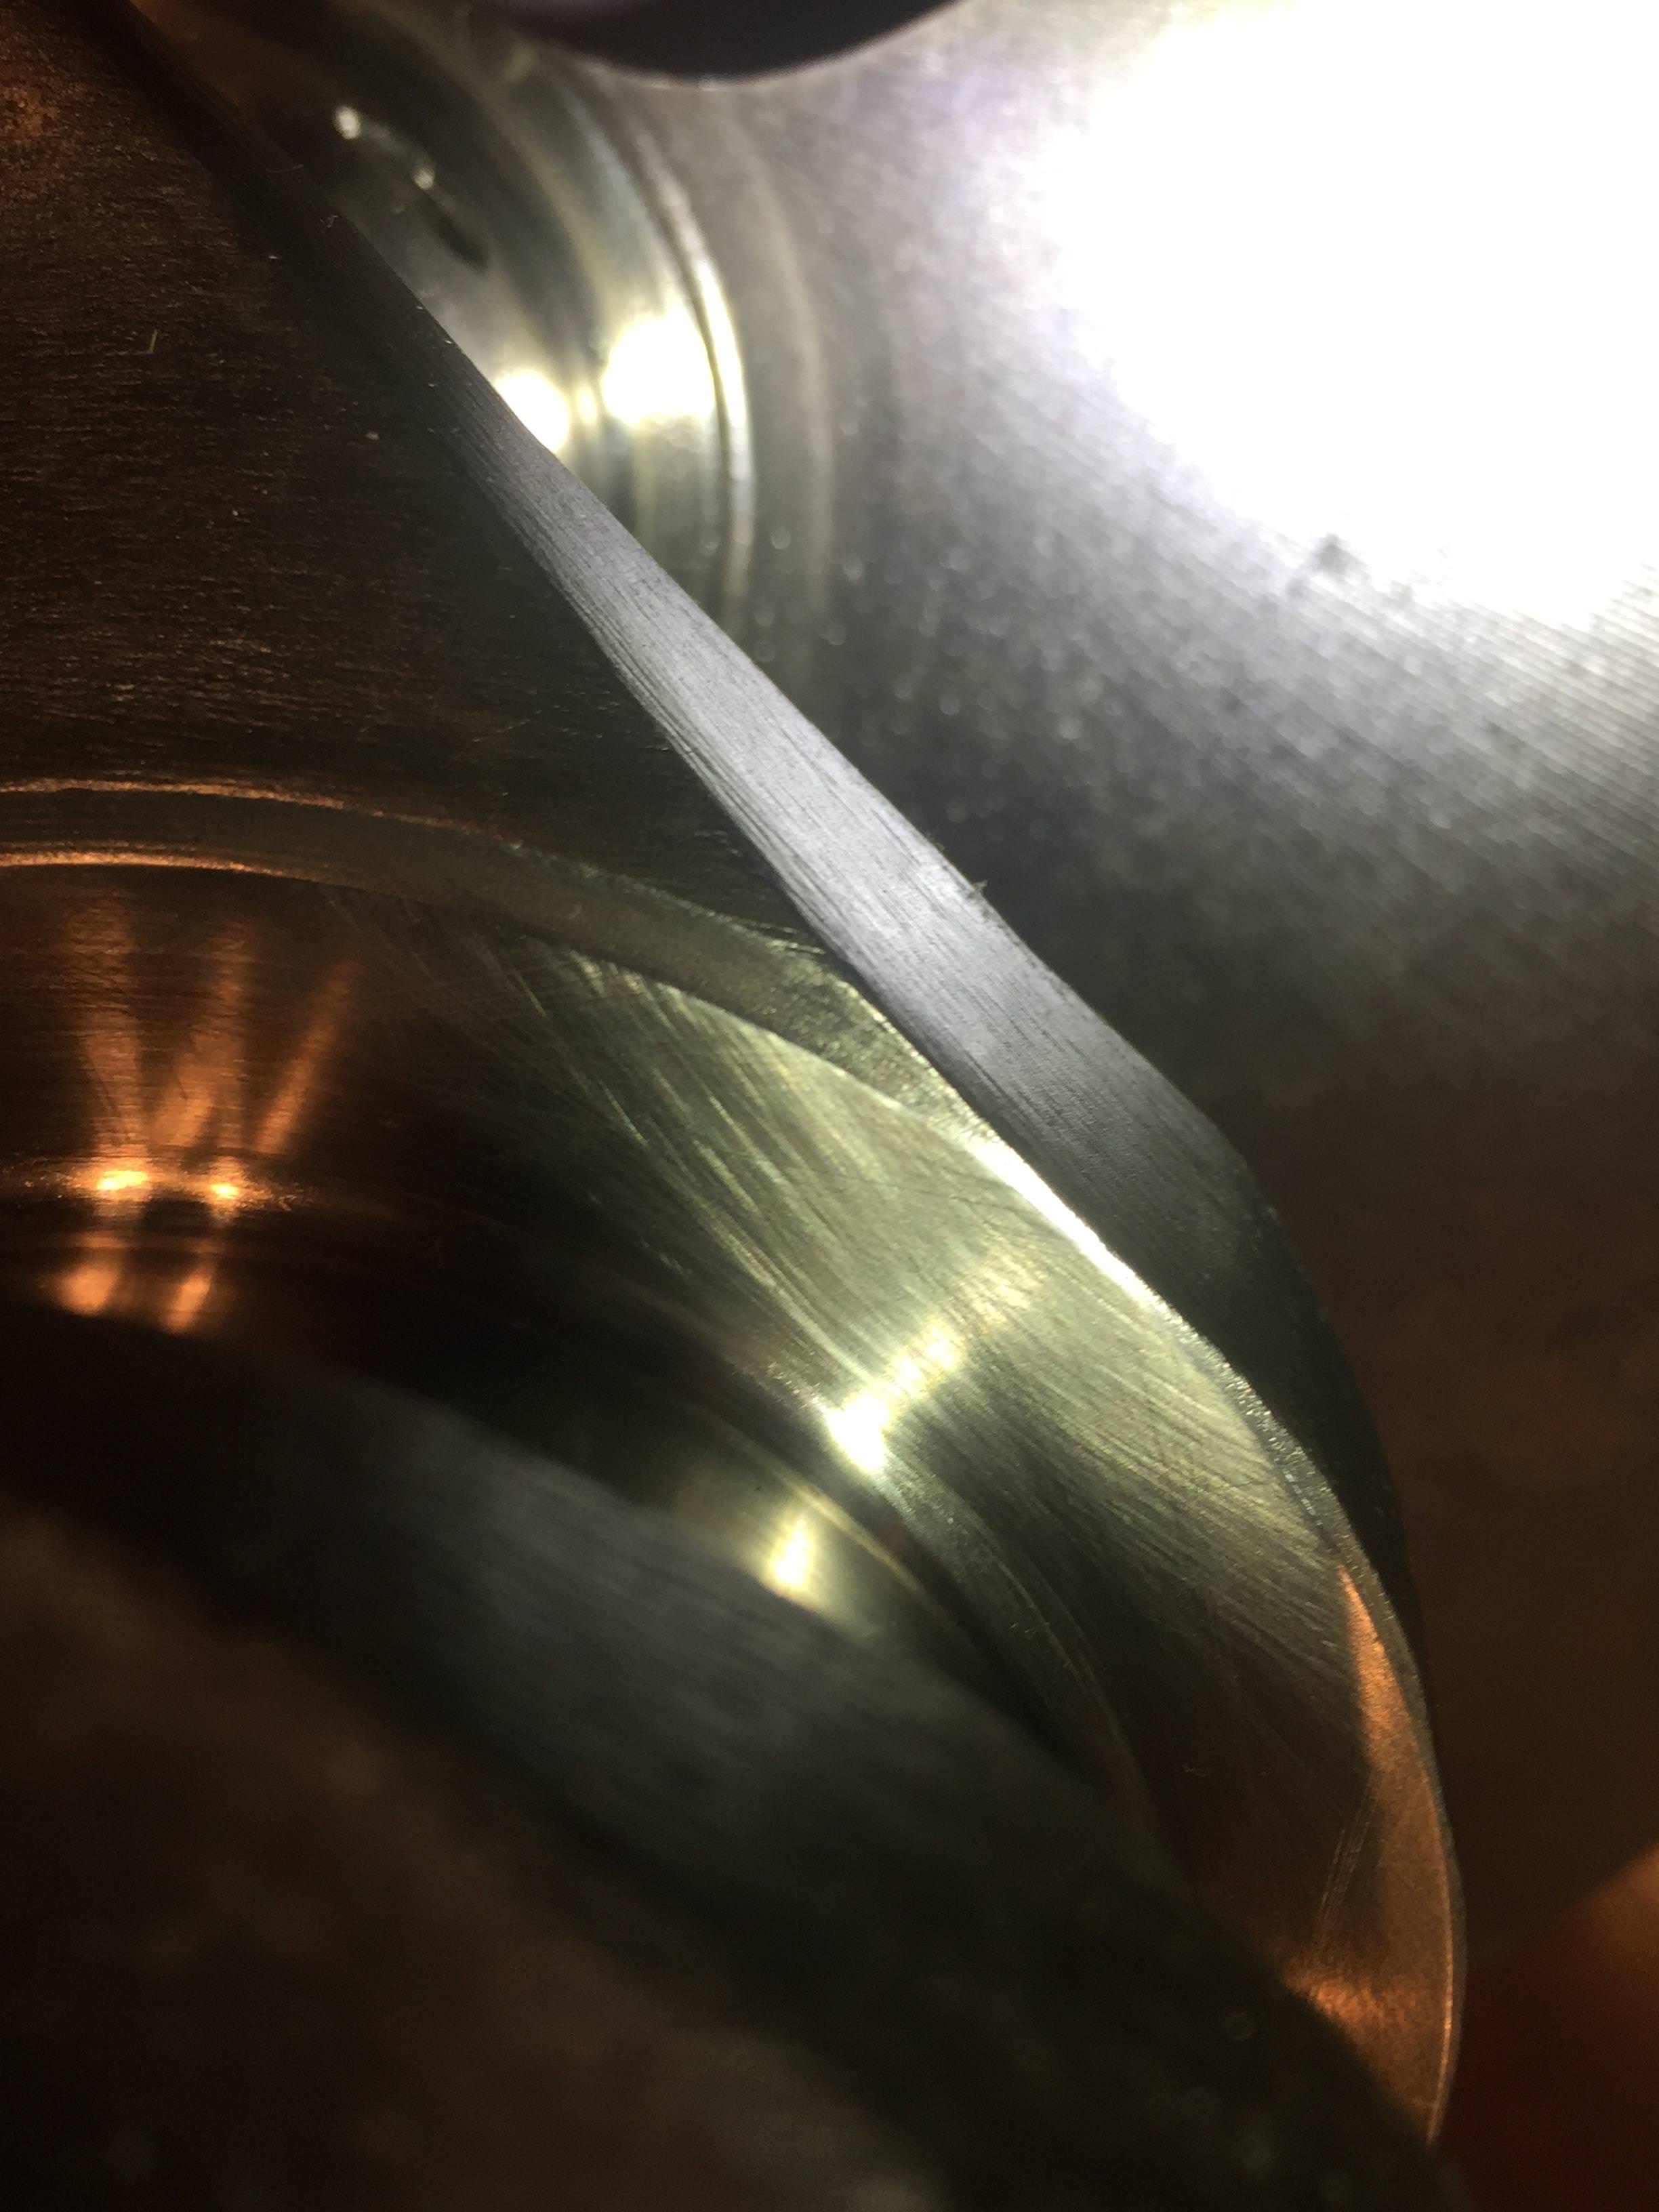
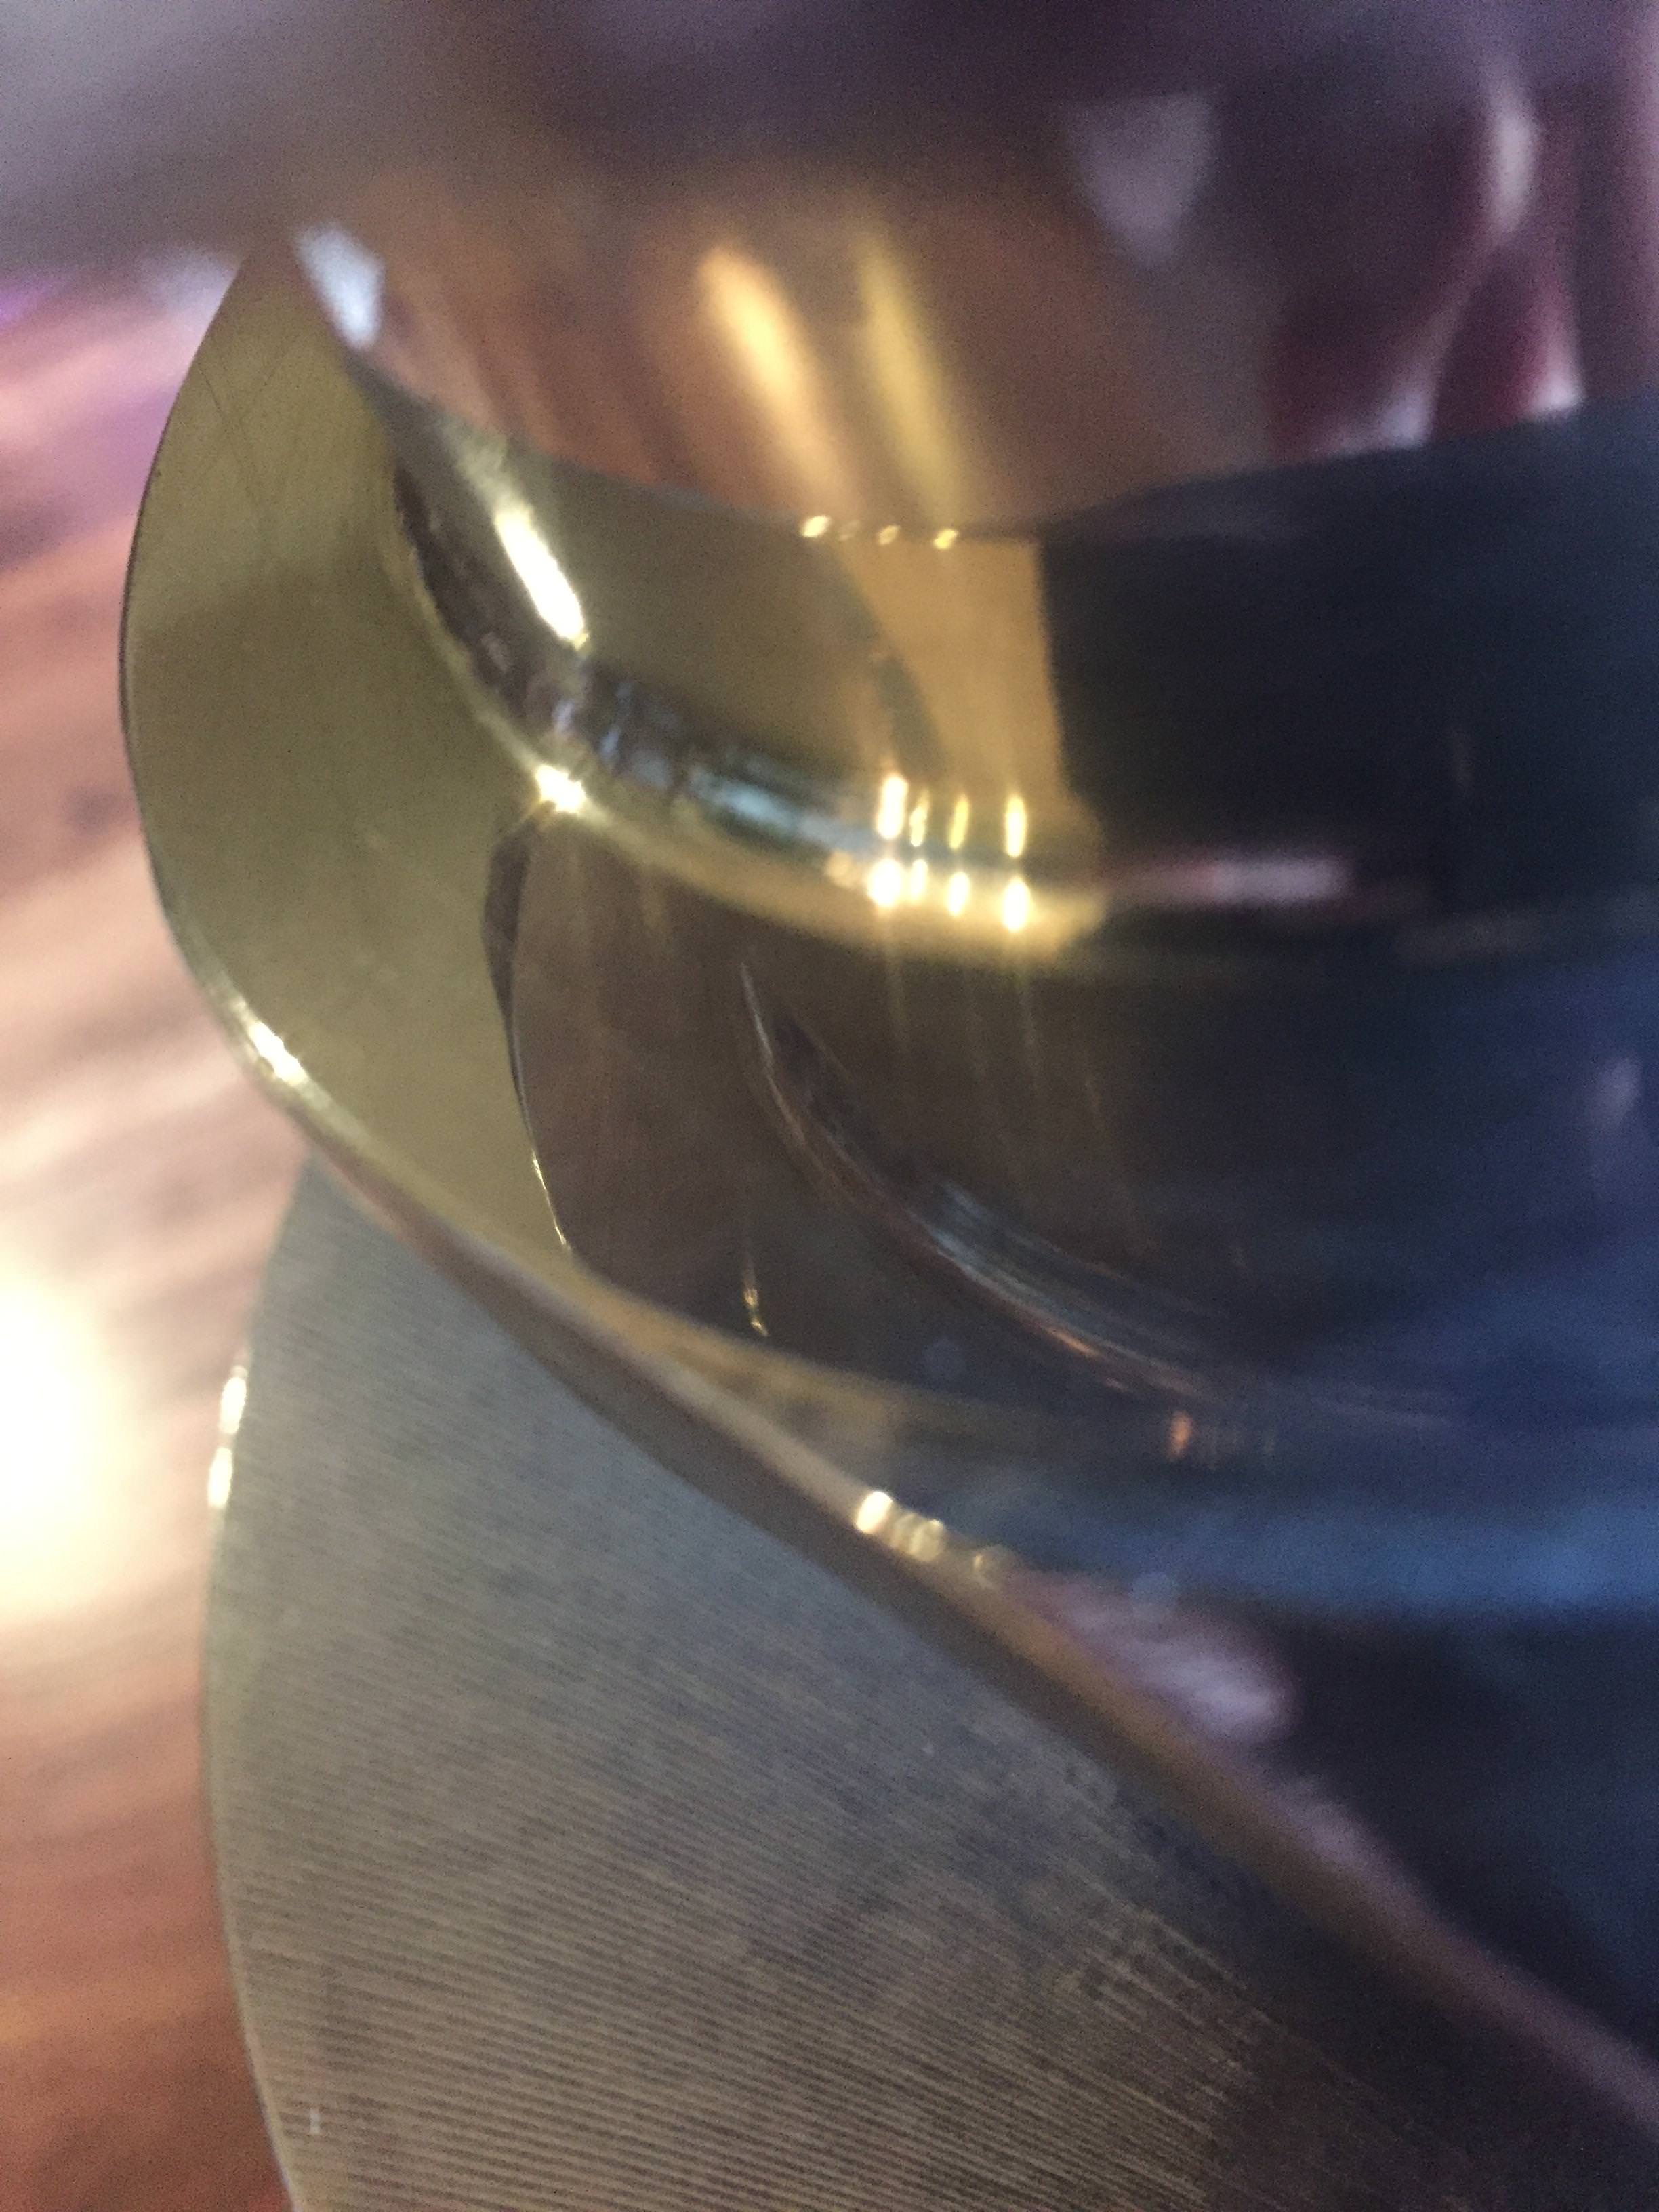
I checked them before I lapped them and they sealed water on their own without any springs or grease. I still hand lapped each one with 1200 grit compound and labeled them for their spots. I also CC’d each one again. There was no noticeable difference in volume. (Maybe .1 cc which is less than a drop of water.) The nice thing is that the coating smoothed all the surfaces and transitions. I also like the fact that the shared wall between the intake and exhaust is protected now. Imagine how much heat that shared wall puts into the intake charge. Anywho slowly plugging along.


 04-19-2018, 04:51 PM
#104
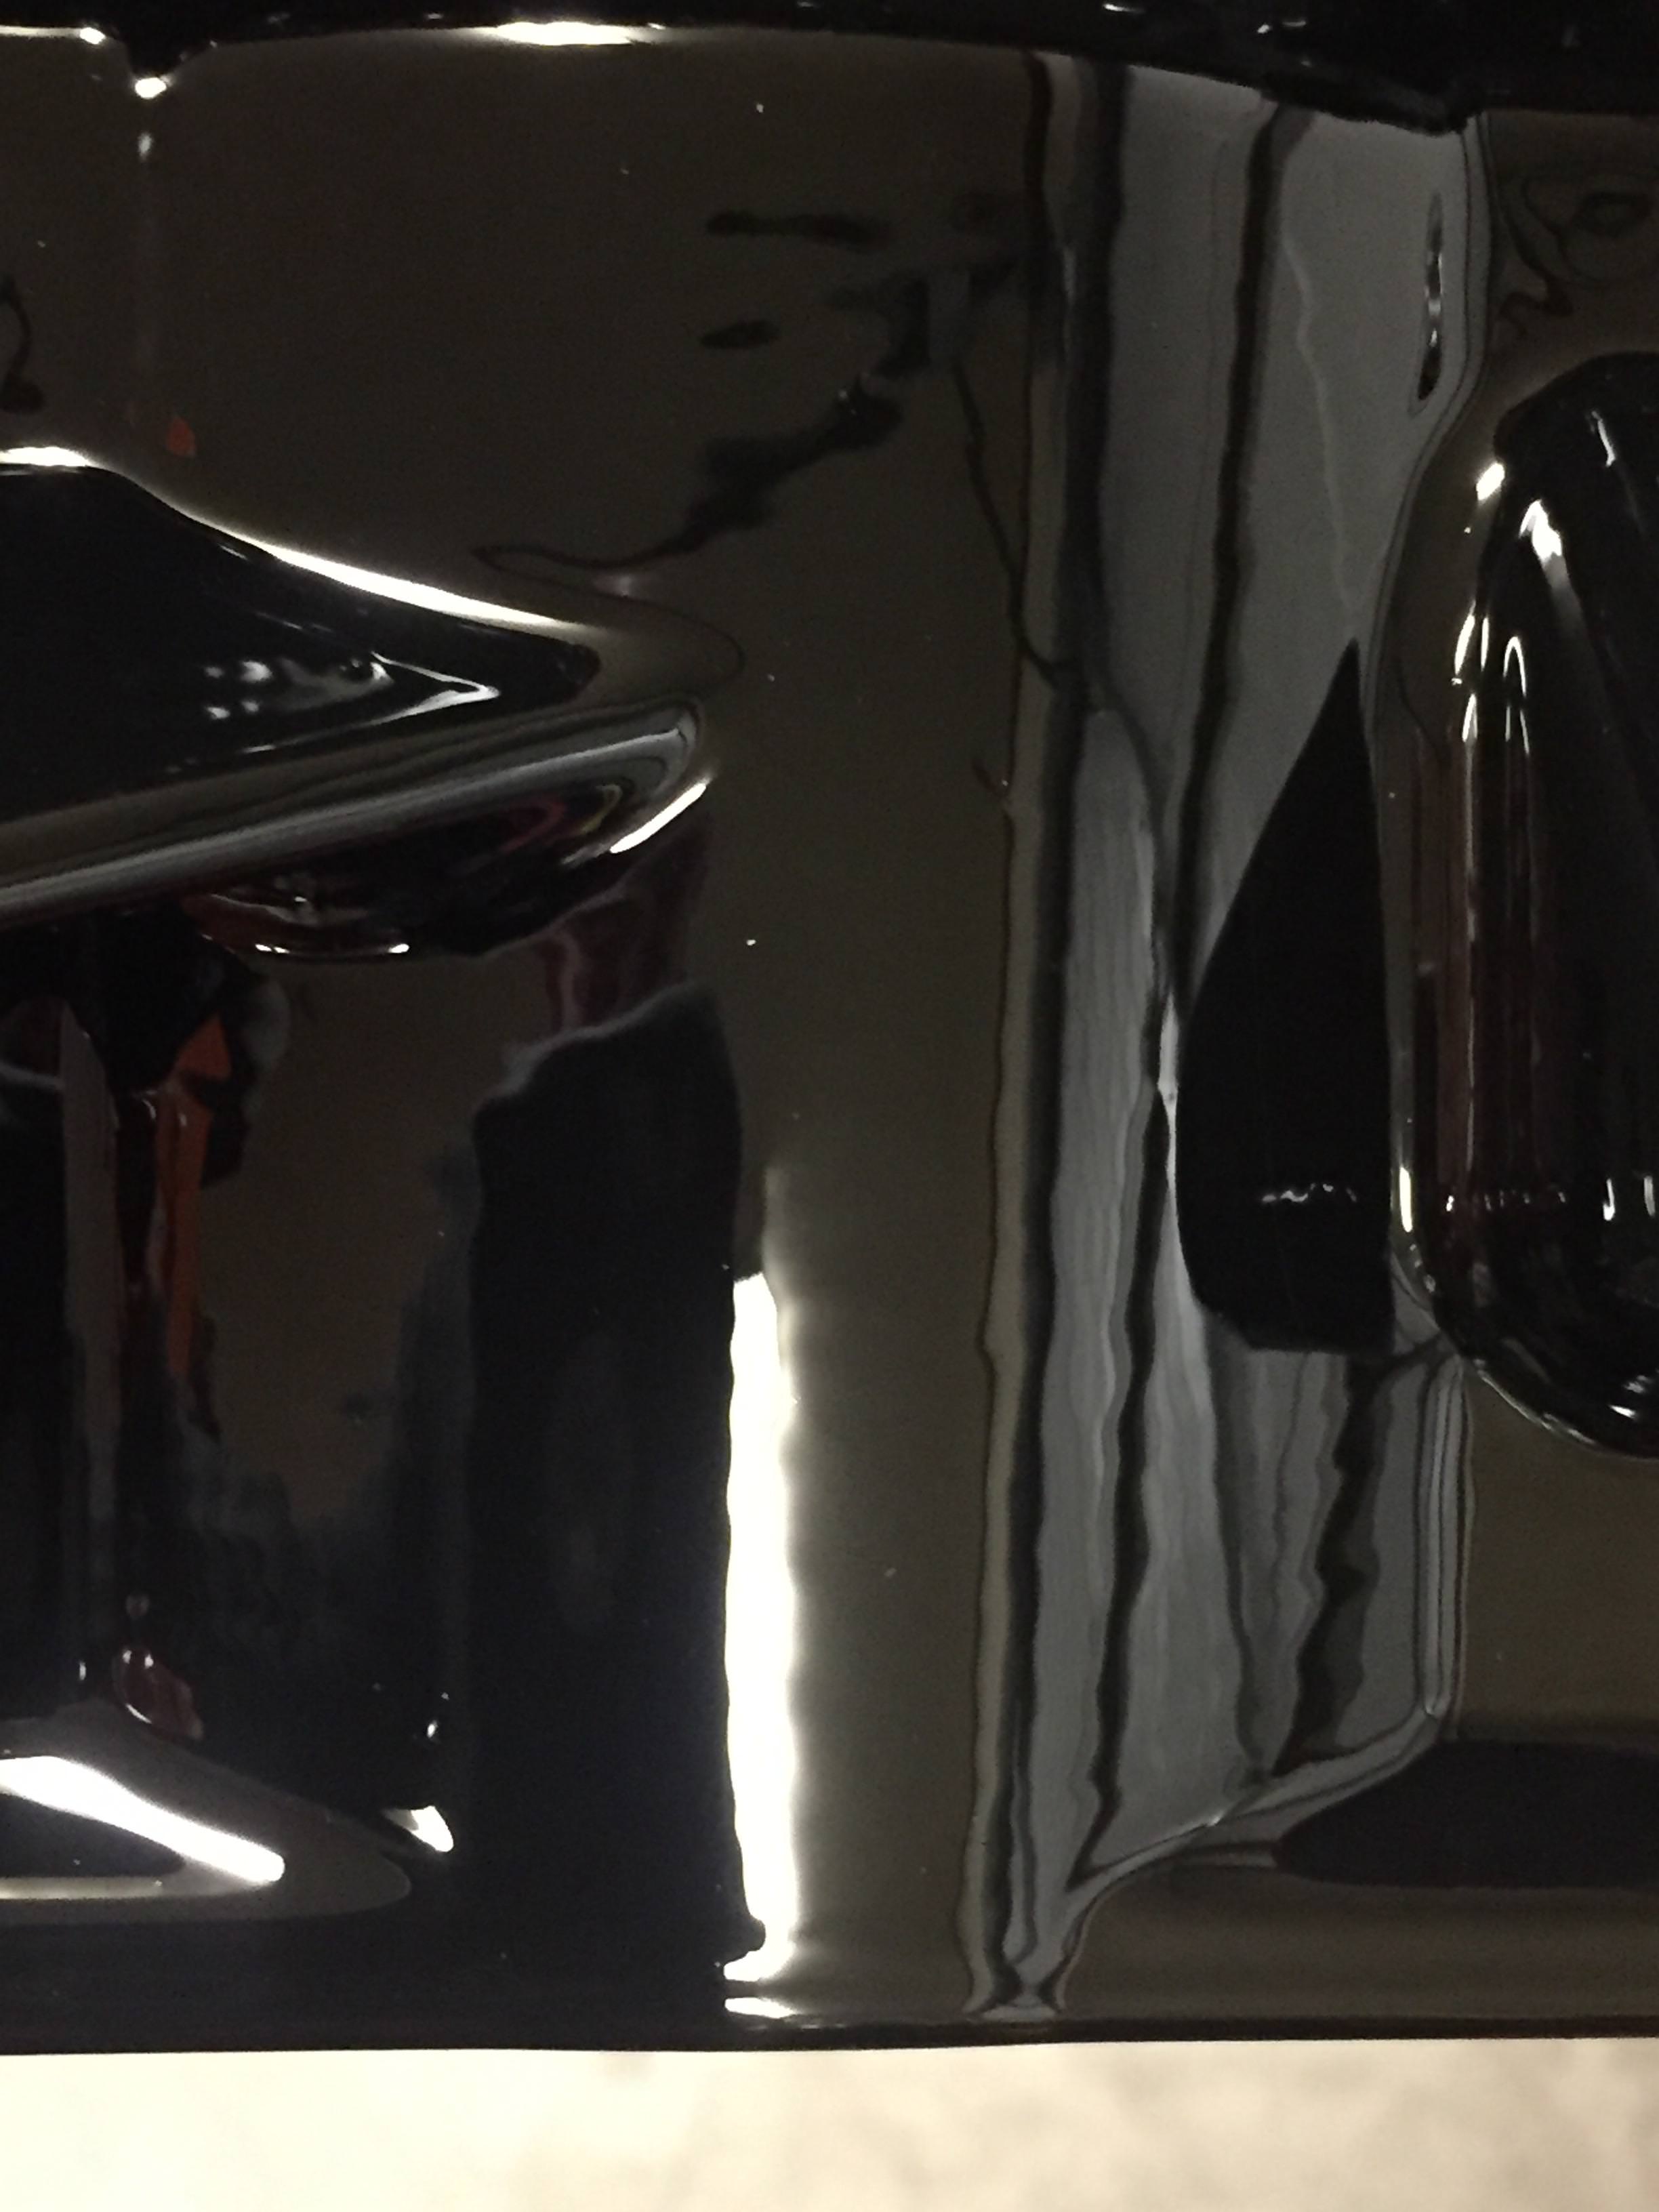
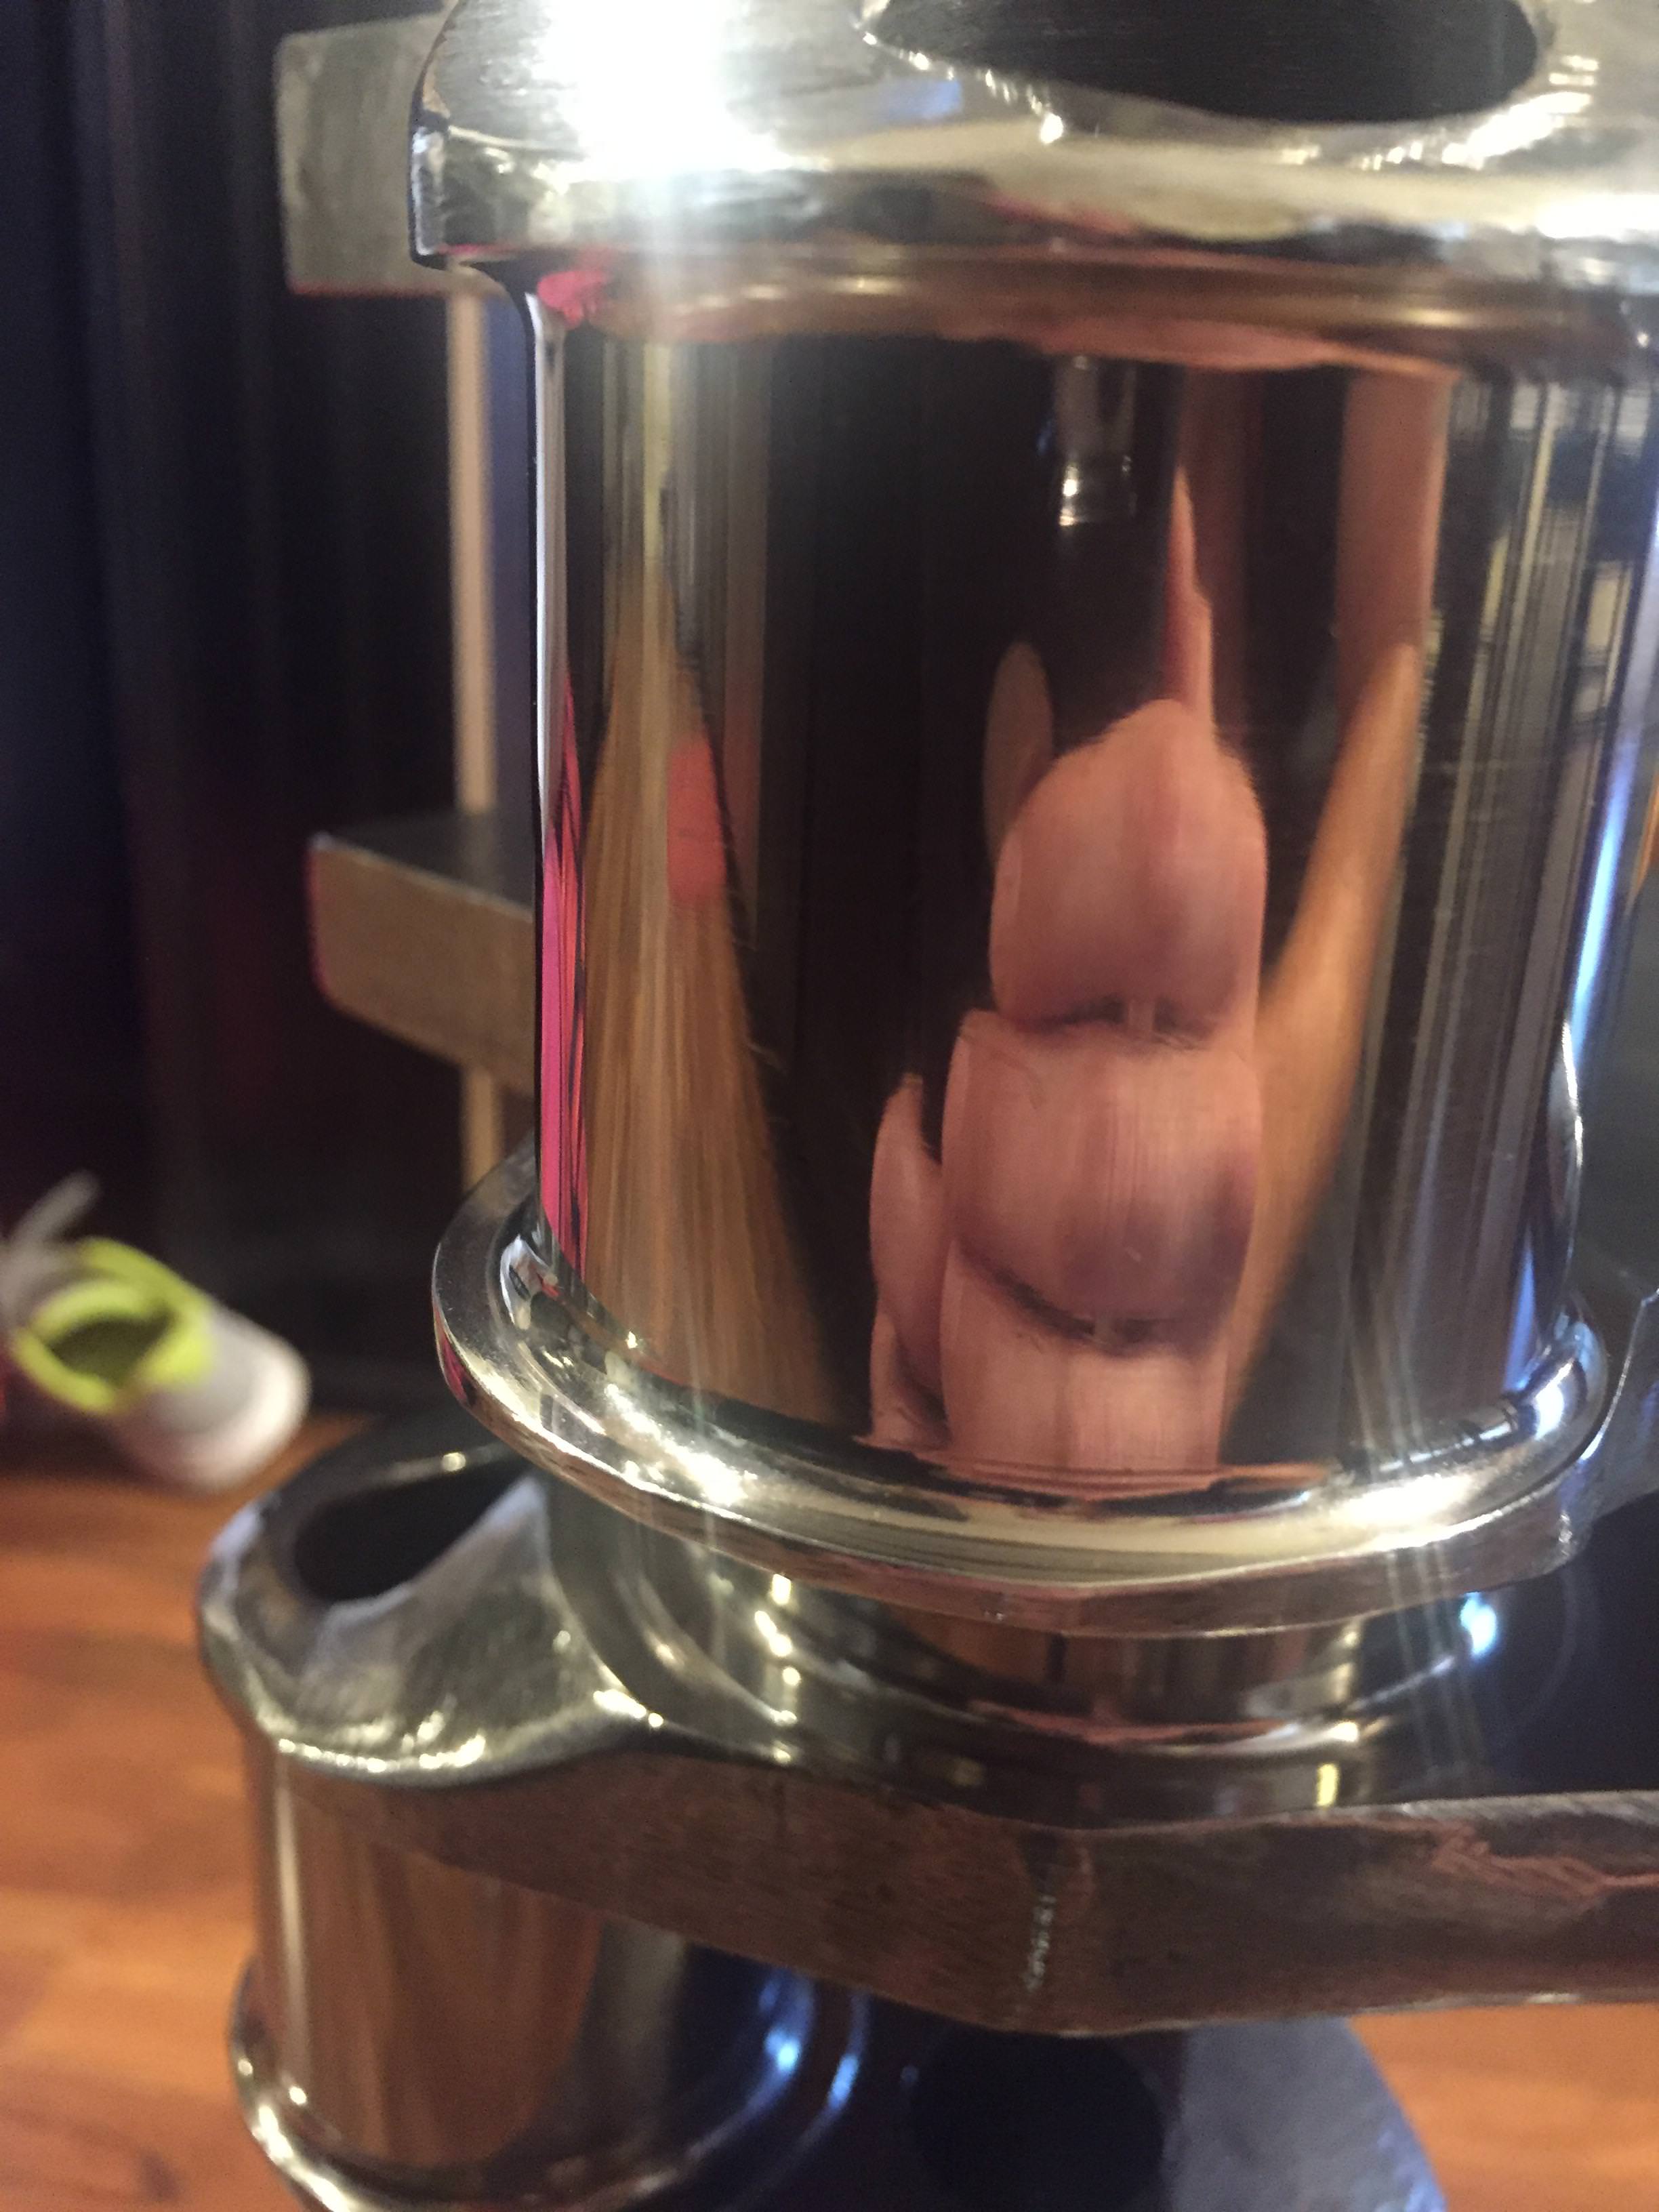
After 3-4 coats of gloss black and sanding inbetween I was finally happy enough with the finish. I just finished up putting 3 coats of clear on it and when it fully cures I�m going to start putting the shortblock back together.
 04-26-2018, 01:14 PM
#105
Le Mans Master


subb'd. Devils in in the details huh?
04-27-2018, 01:16 AM
#106
Melting Slicks

I love all the experiments,
you put all the coating on yourself?
Also super curious how you knew 'dry rolling' lifters was ok. If I understood that correctly.
Can I just take any lifter from any LS engine and dry roll it like that?
you put all the coating on yourself?
Also super curious how you knew 'dry rolling' lifters was ok. If I understood that correctly.
Can I just take any lifter from any LS engine and dry roll it like that?
04-27-2018, 09:00 AM
#107
Yeah I’ve done everything myself. Saved a ton of money as well. (As long as it doesn’t mess anything up haha)
I have no clue if “dry rolling” the lifters messed them up or if it’s ok to do it. The instructions boldly state to not use compressed air to spin the lifters. I’m guessing that’s because they have a rpm limit. The rpm my buffer can spin them at is probably close to what the cam does with surface speeds. It might of ruined them but I’m just willing to tinker around with stuff is all. I get a idea then test it out and actually do it if I like it.
I have no clue if “dry rolling” the lifters messed them up or if it’s ok to do it. The instructions boldly state to not use compressed air to spin the lifters. I’m guessing that’s because they have a rpm limit. The rpm my buffer can spin them at is probably close to what the cam does with surface speeds. It might of ruined them but I’m just willing to tinker around with stuff is all. I get a idea then test it out and actually do it if I like it.
06-02-2018, 09:55 AM
#109
 08-02-2018, 09:58 AM
#111
Just got the check from FedEx to fix the Whipple. I�m still waiting on a return call from a machine shop that will fix the lower manifold to head angles. Nothing much and not motivated with it being so damn hot
09-11-2018, 04:02 PM
#112
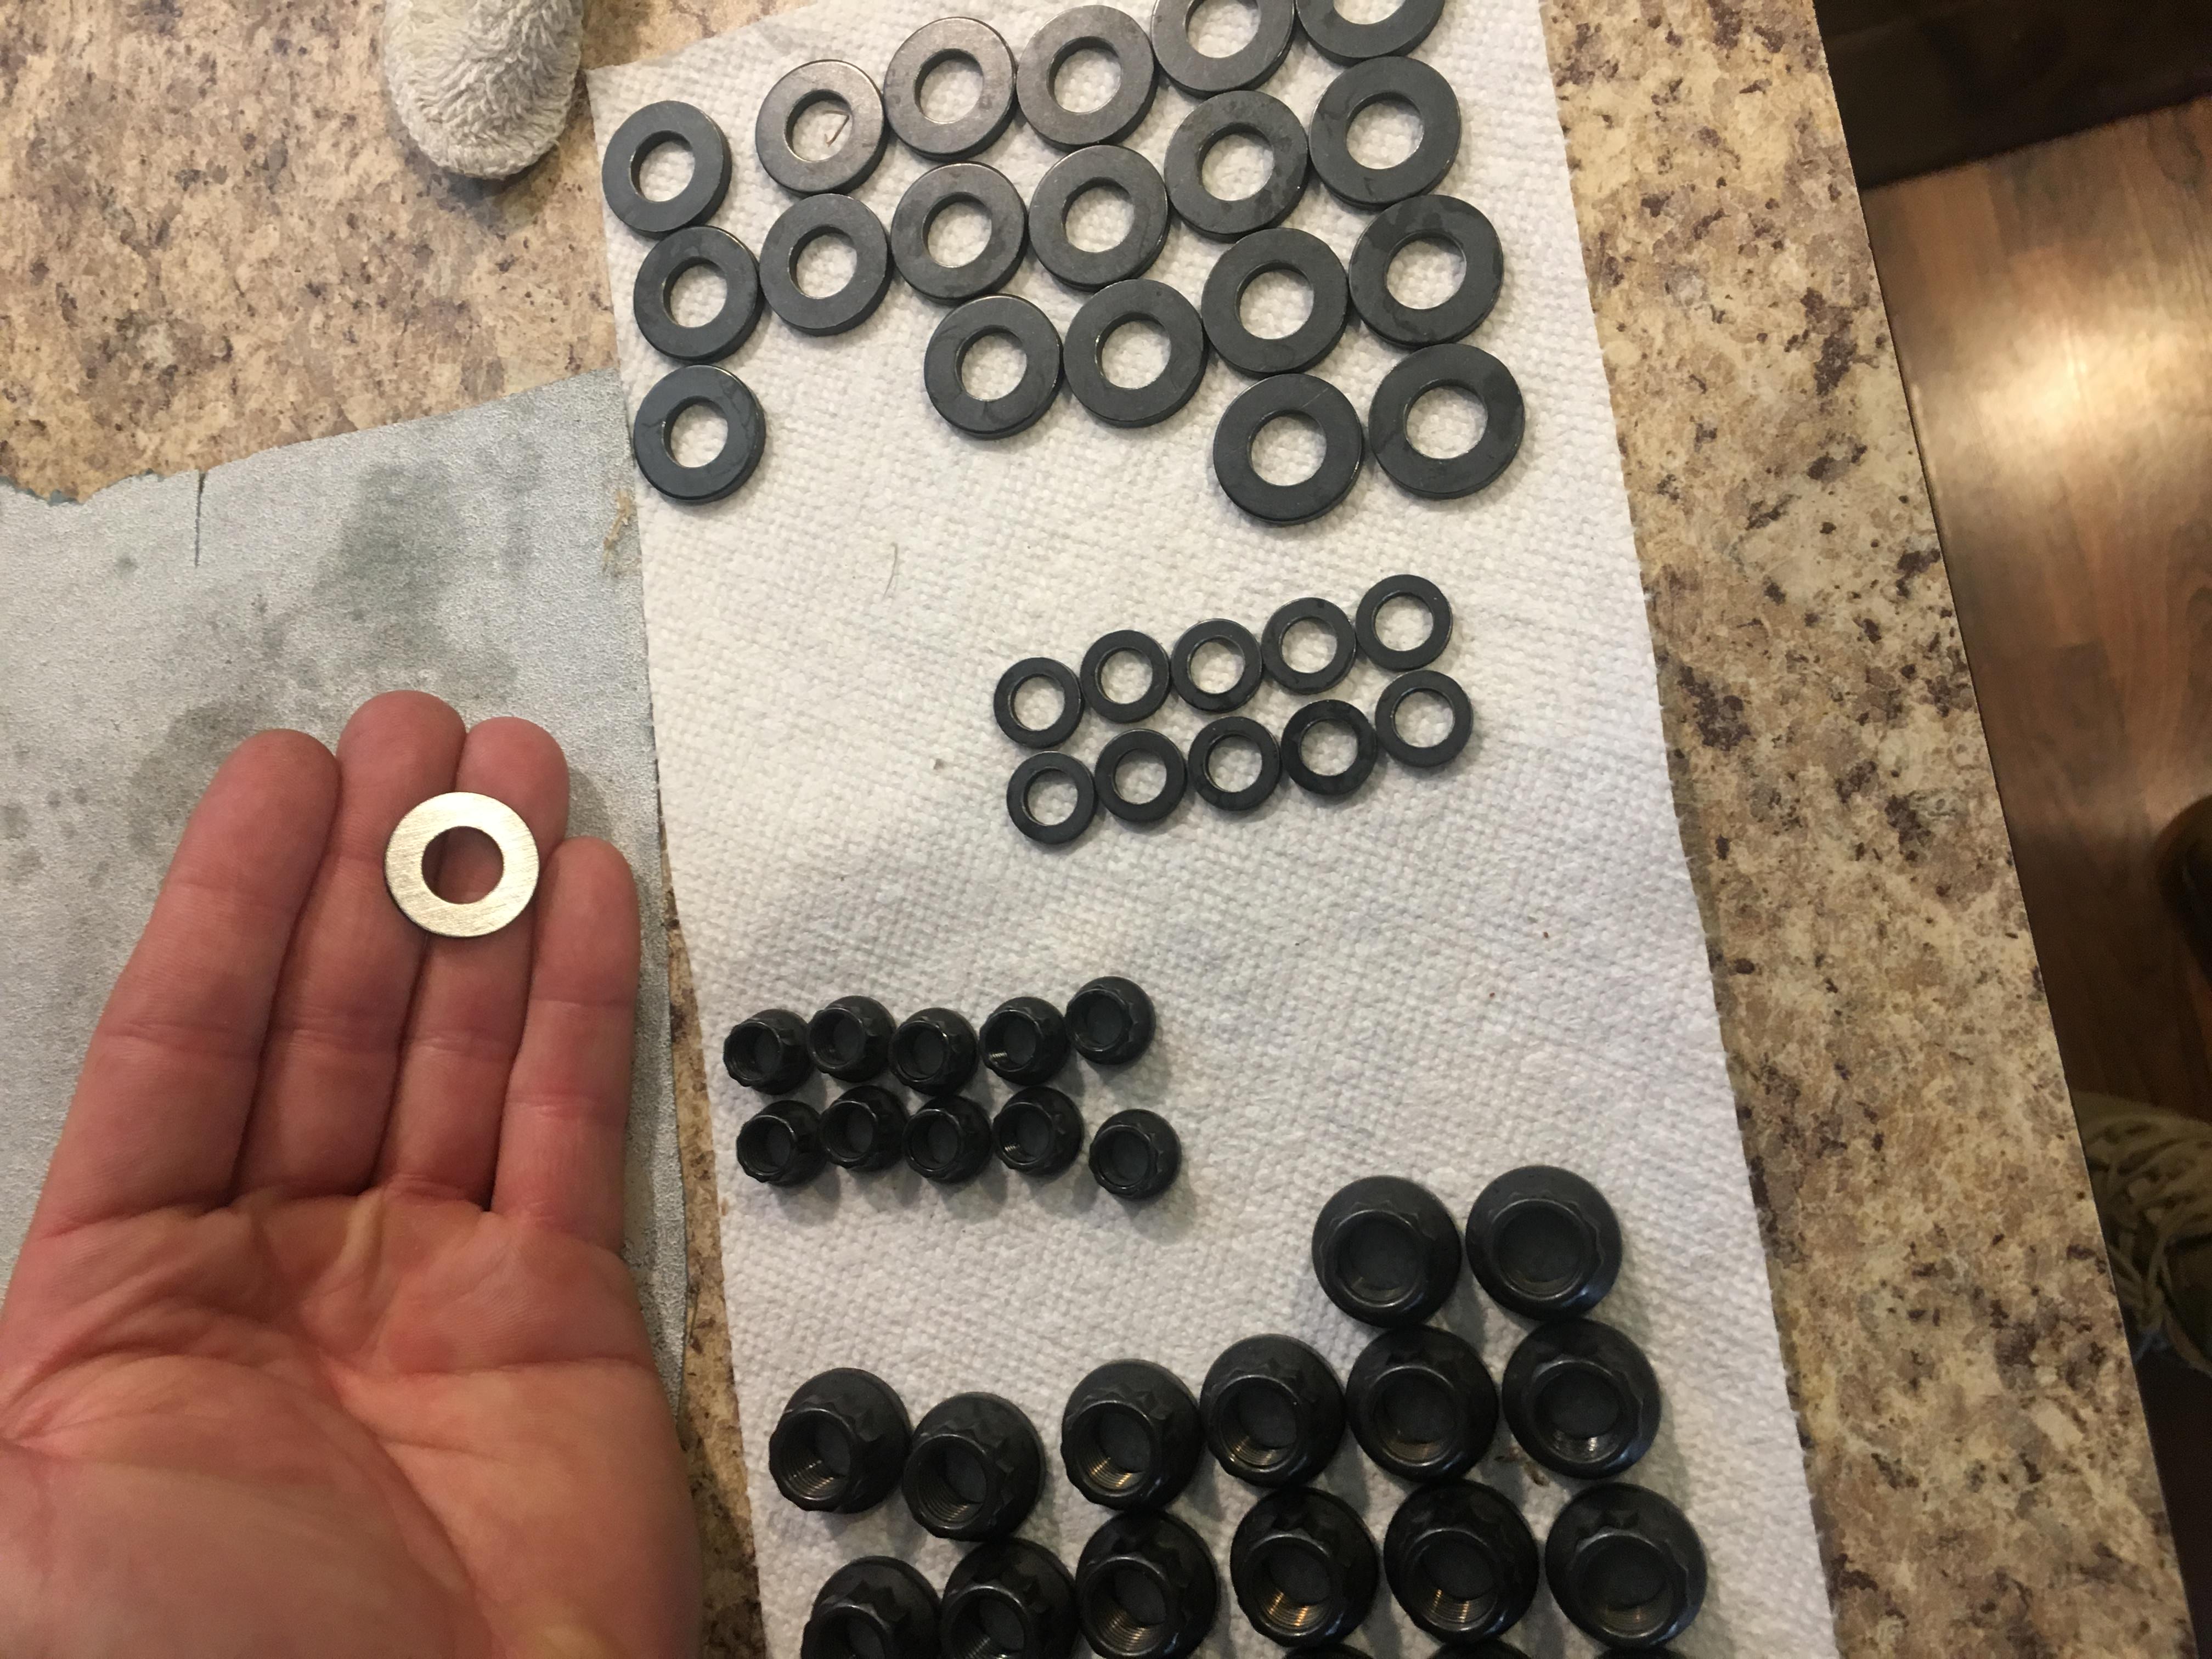
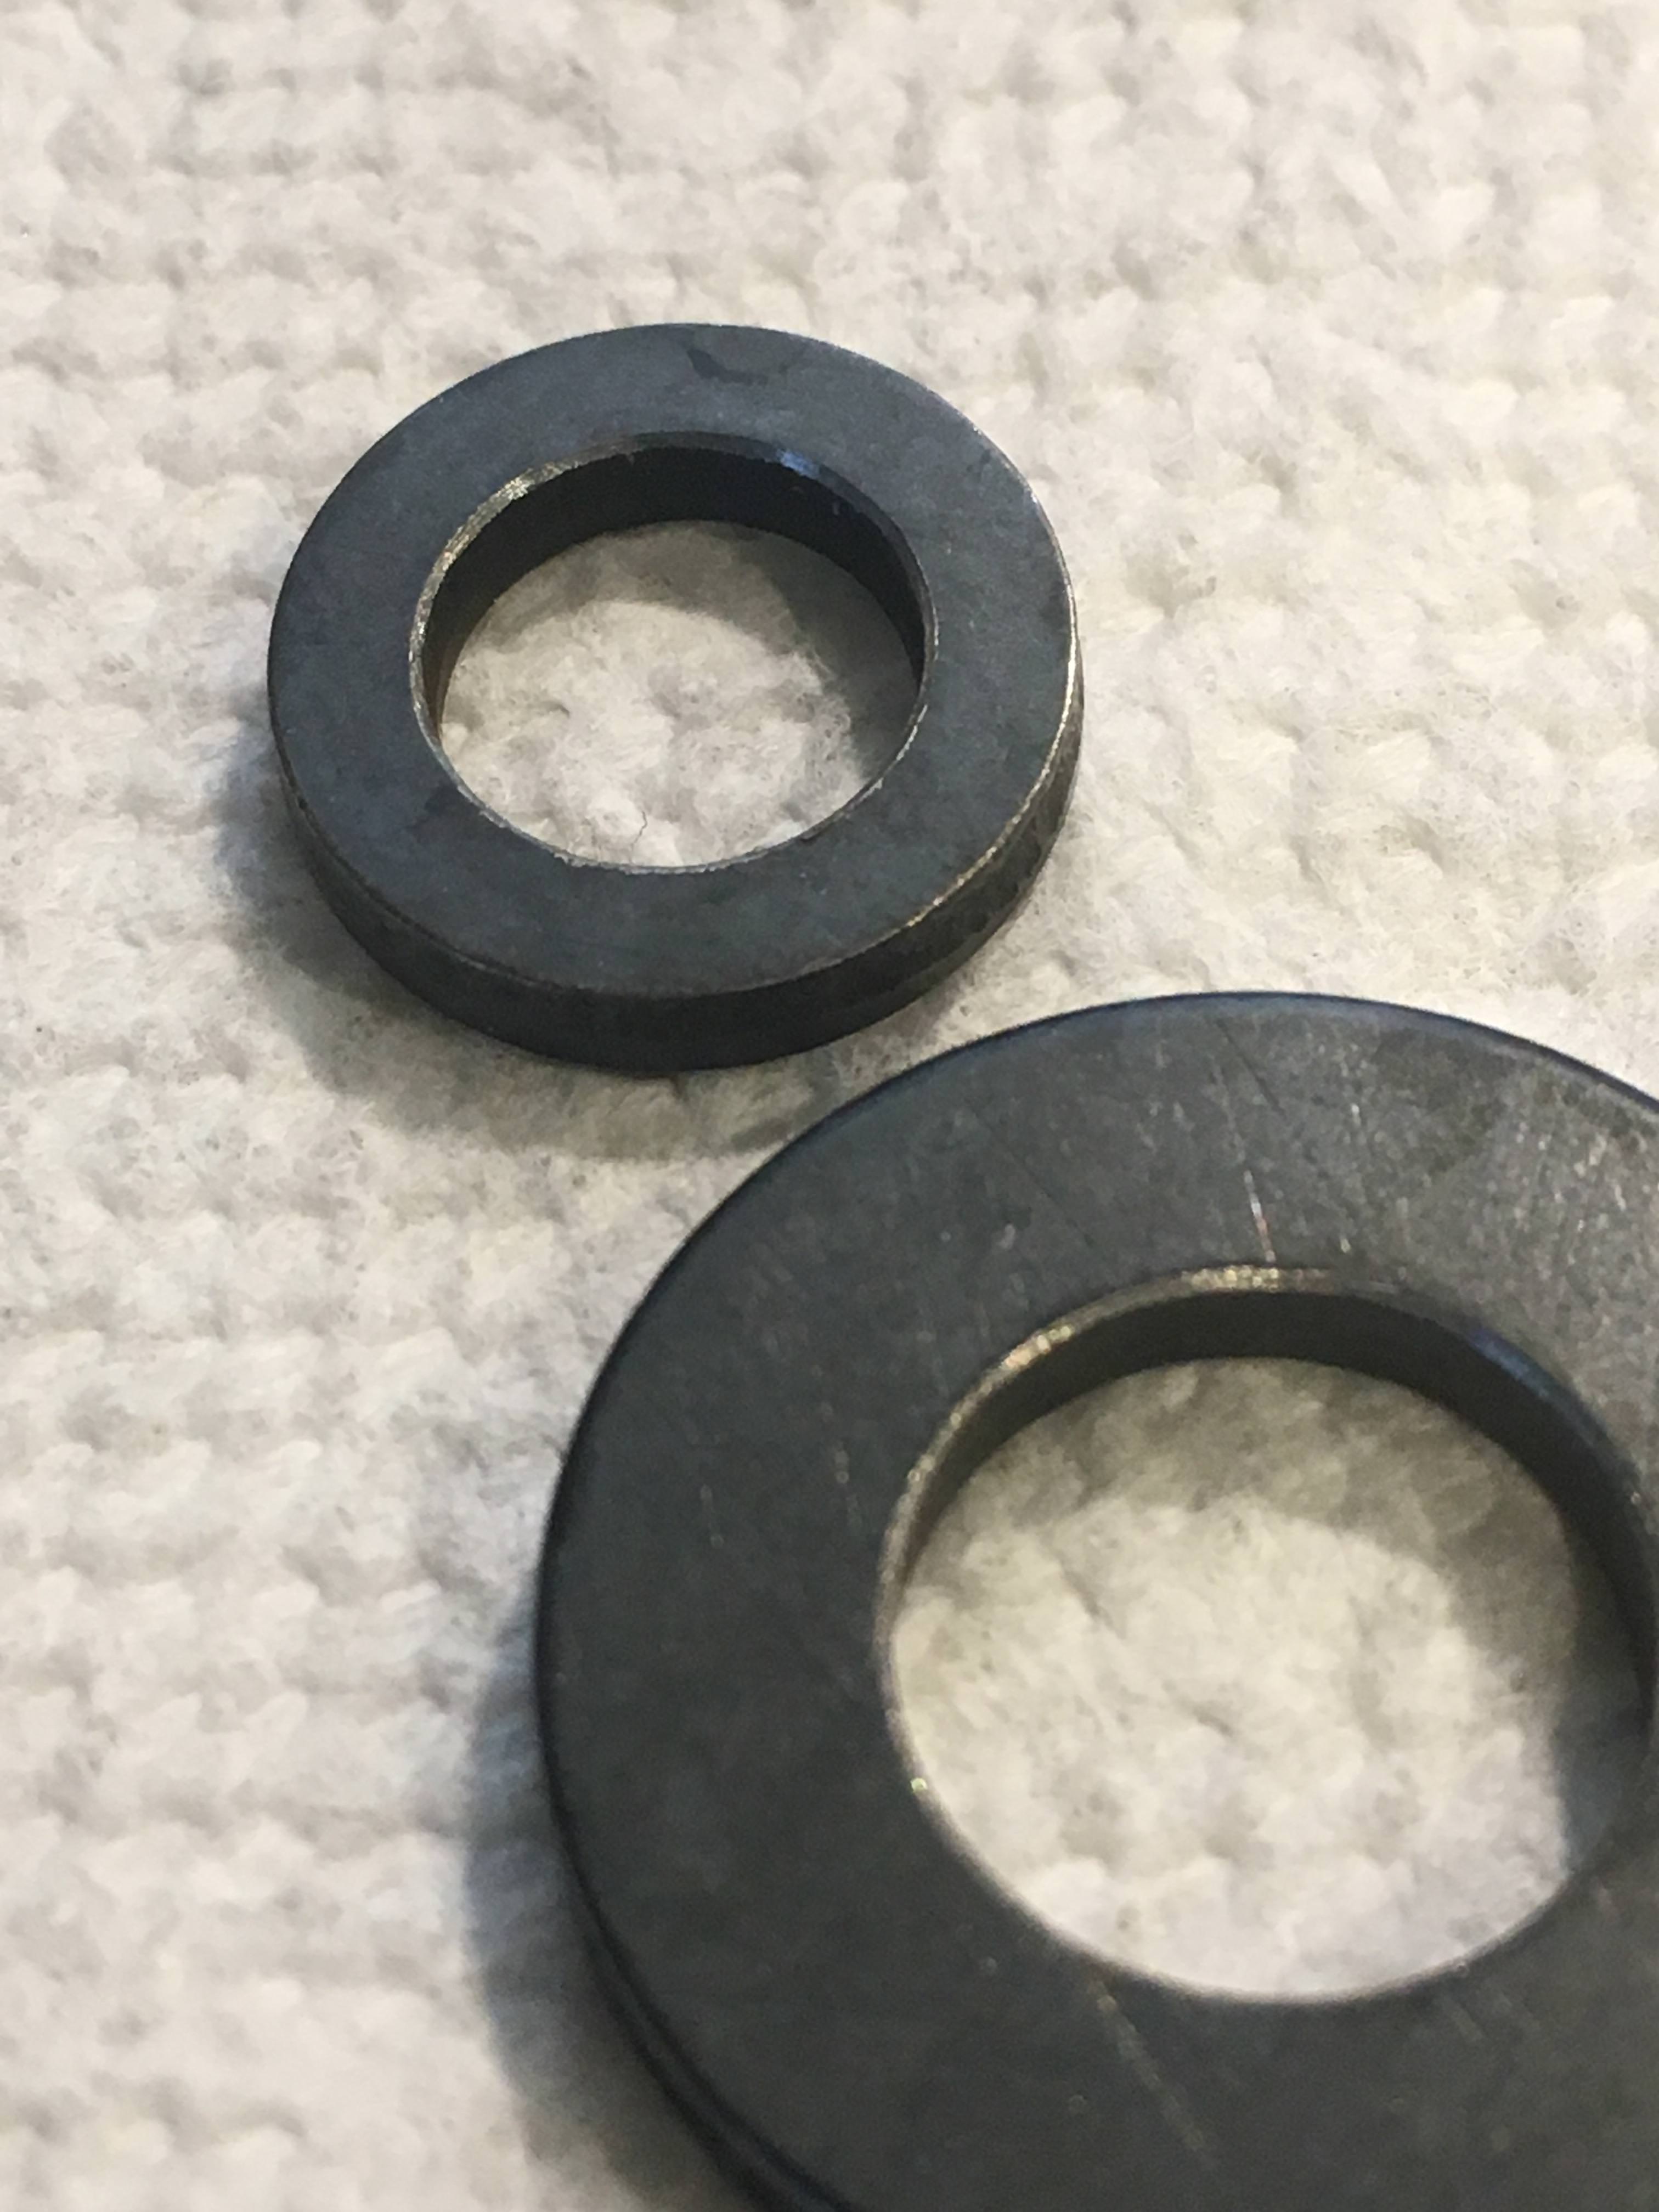
Chamfered both sides of the washers (they’re flat unlike the head bolt style washers with the generous factory chamfer) for the head studs and started roughing up the head surface side. The chamfer relieves the sharp edge which allows the fat surface of the nut to more fully engage/spread the load on the washer. The roughing up on the head surface side keeps the washer from spinning and acting like a bearing which should make for more accurate torque.
 09-29-2018, 05:12 PM
#114
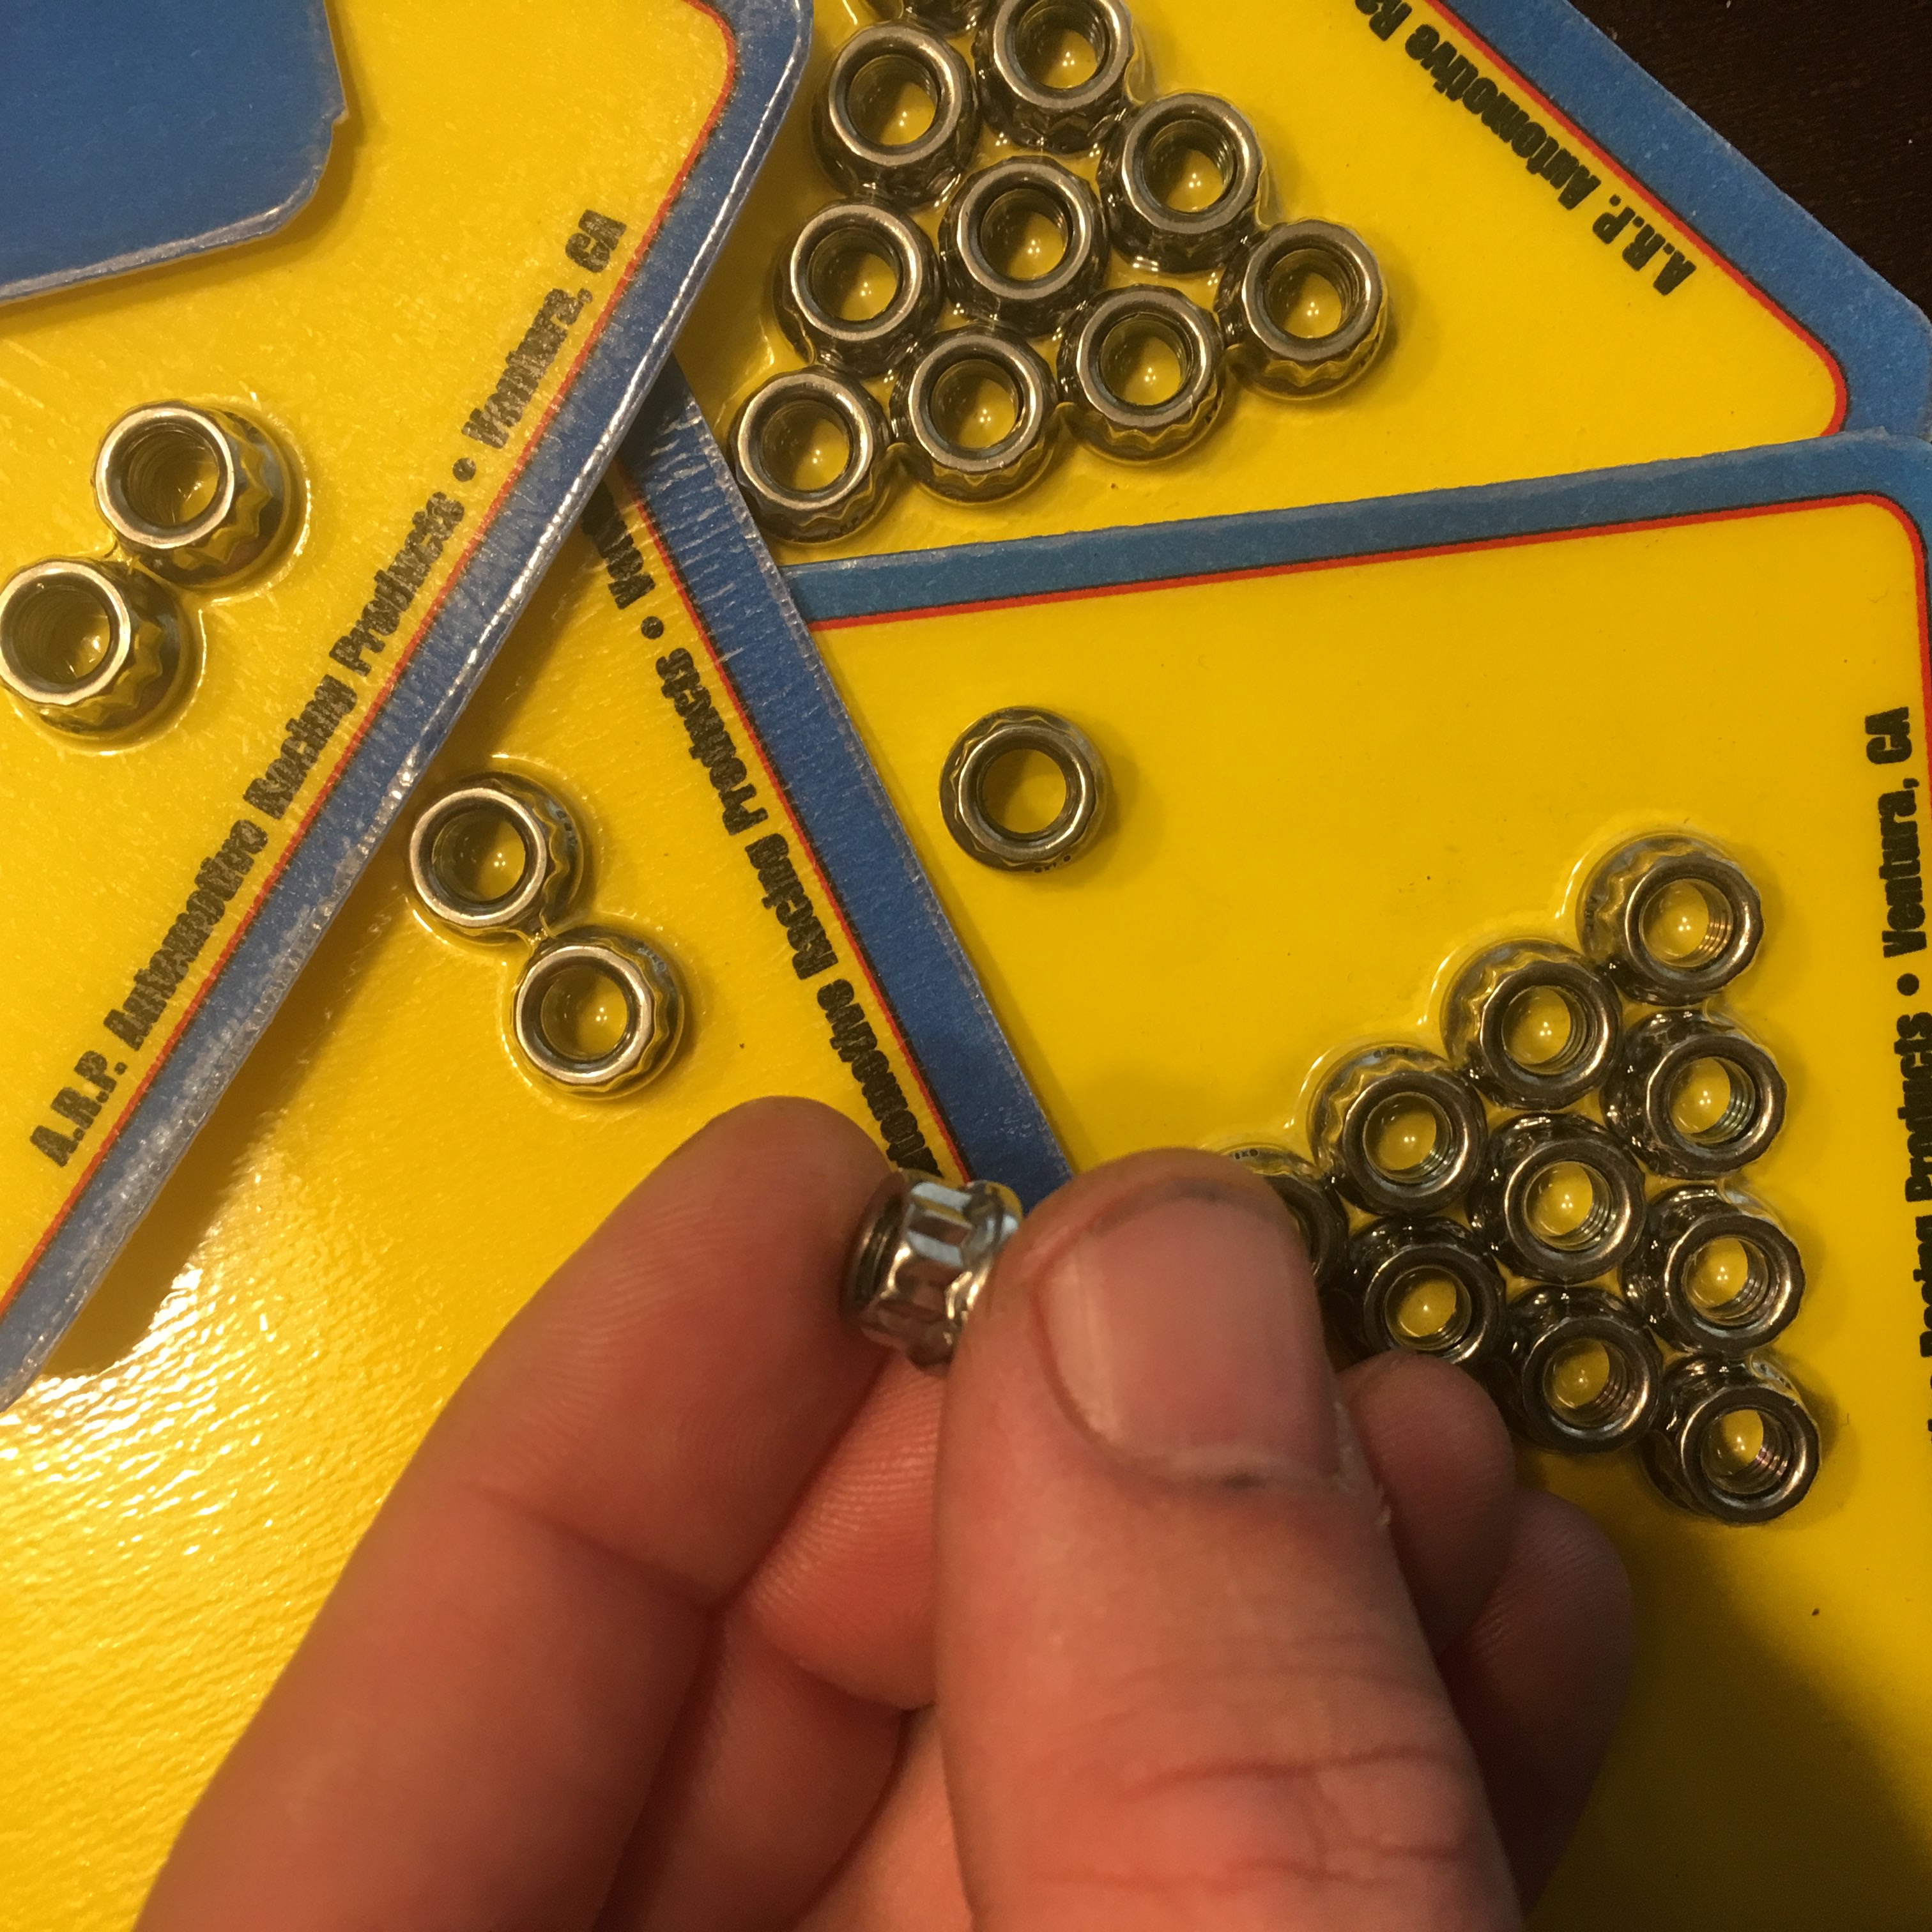
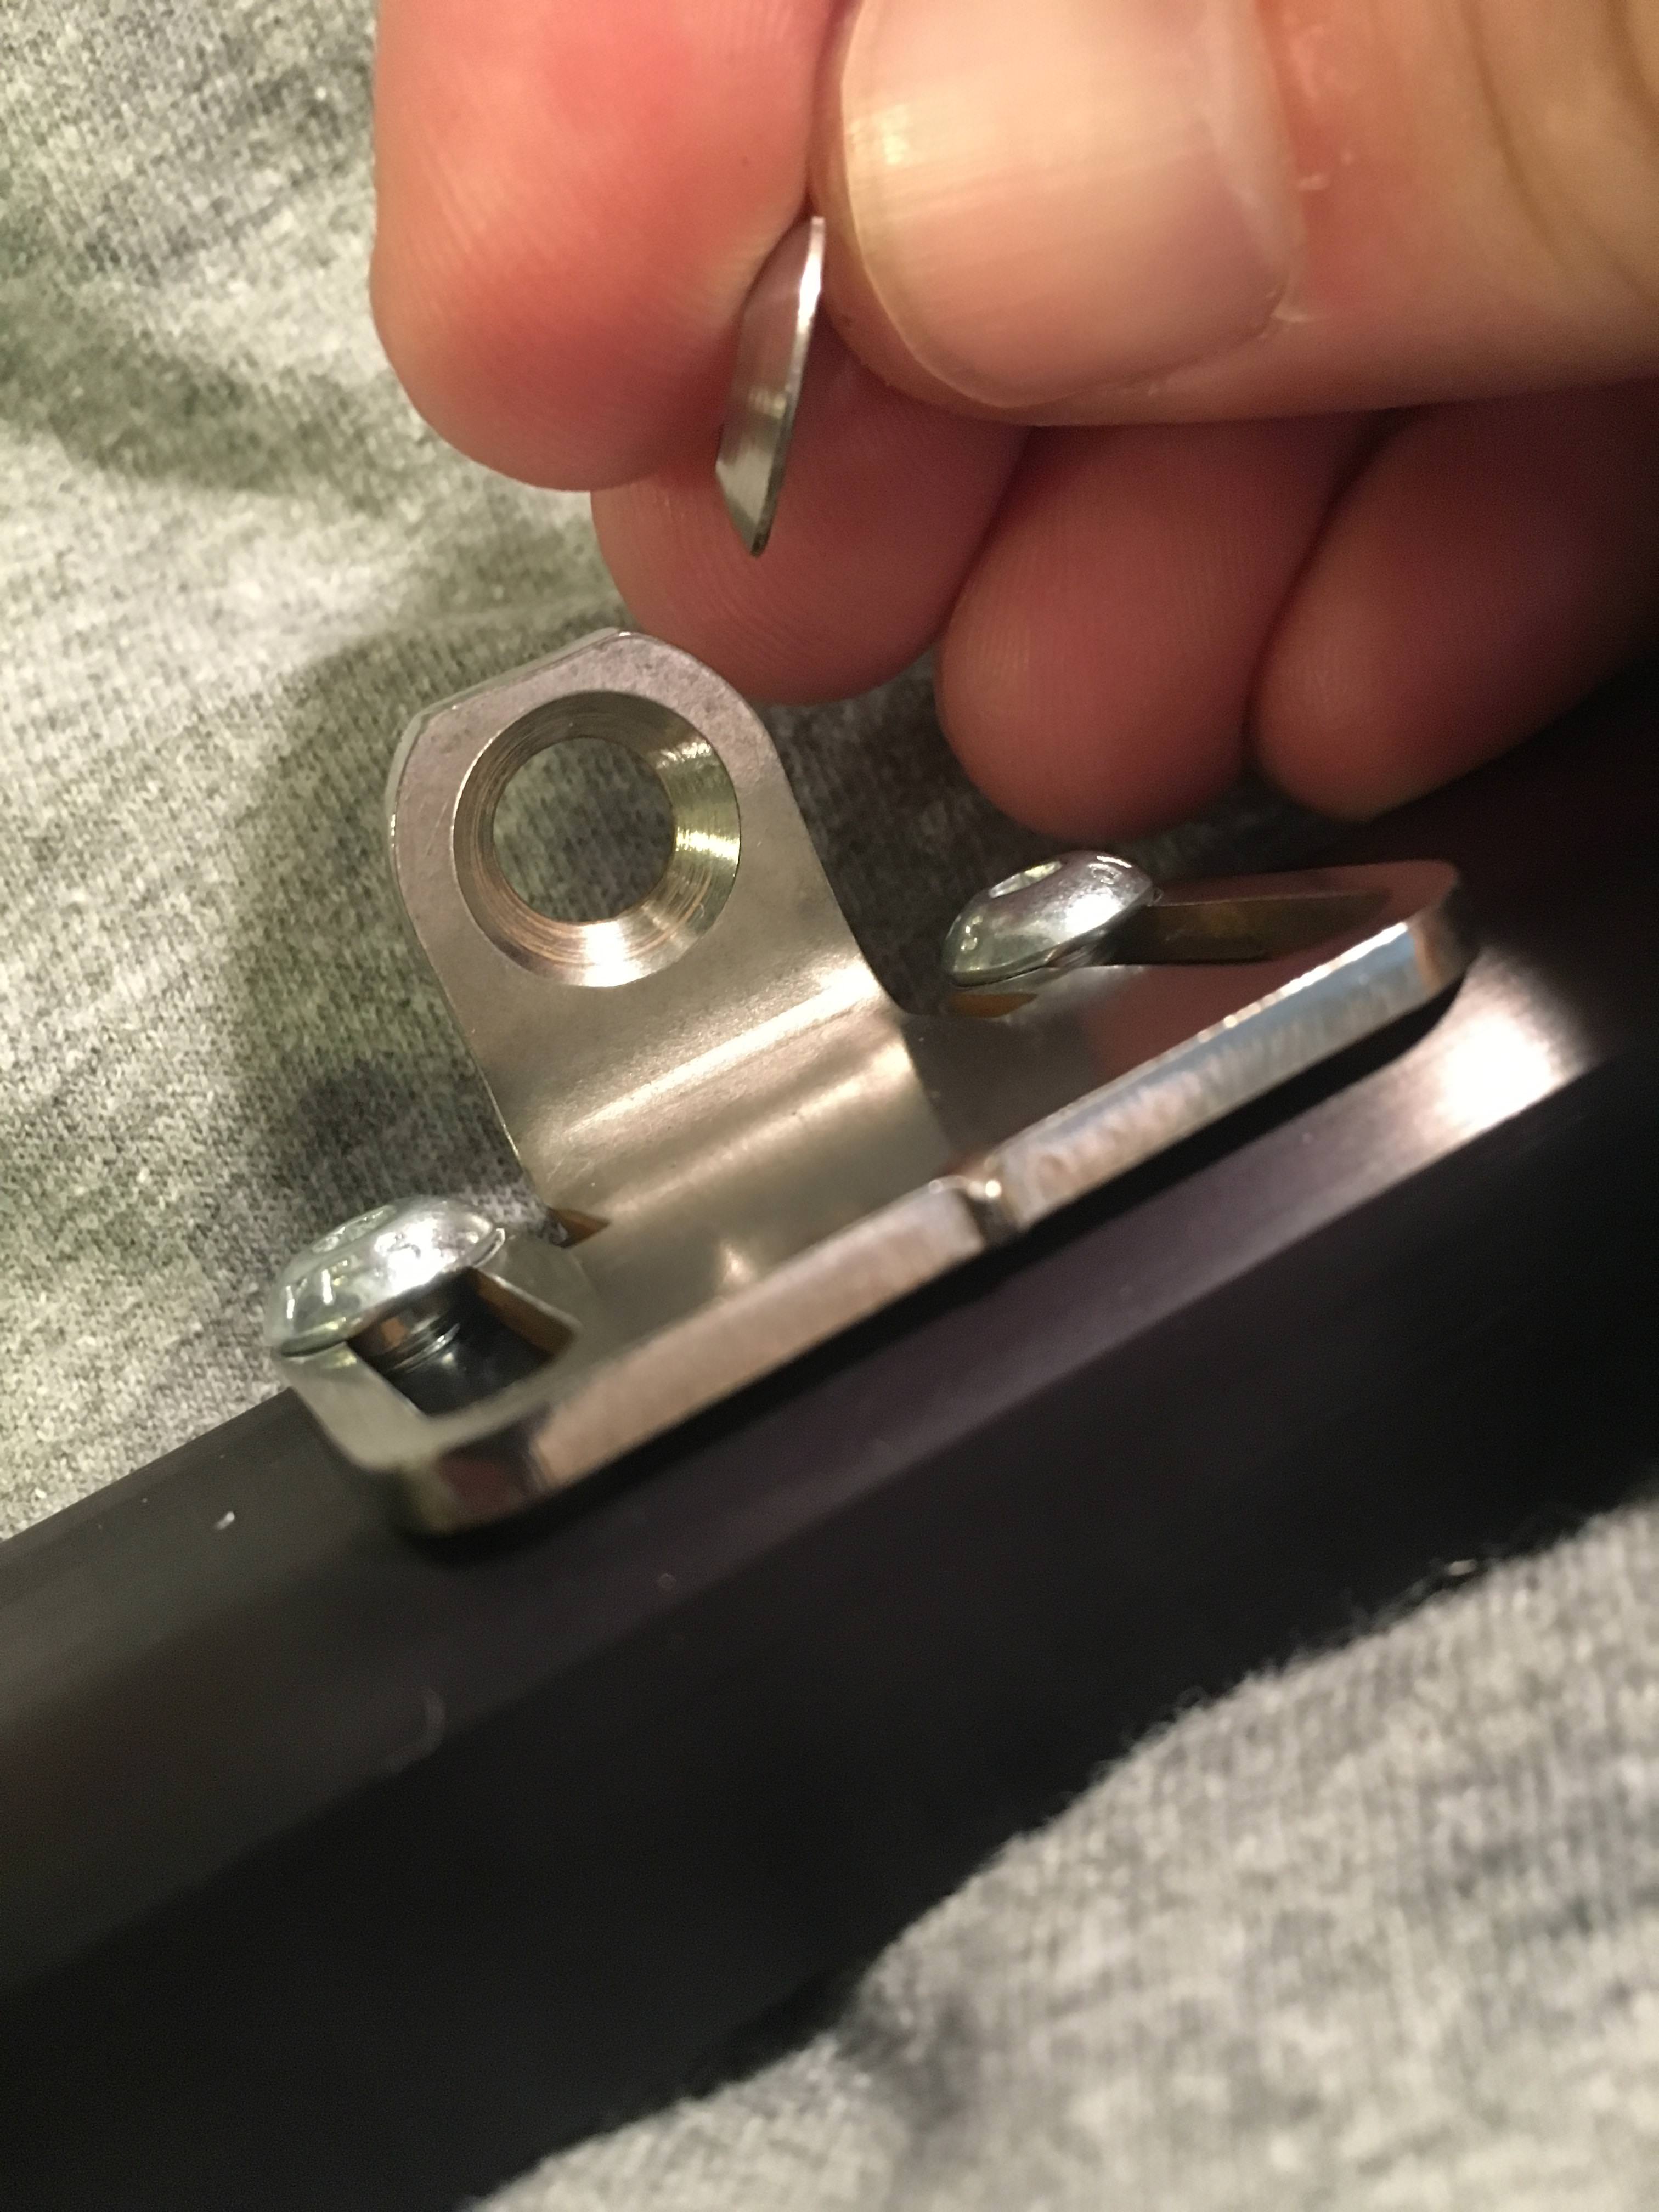
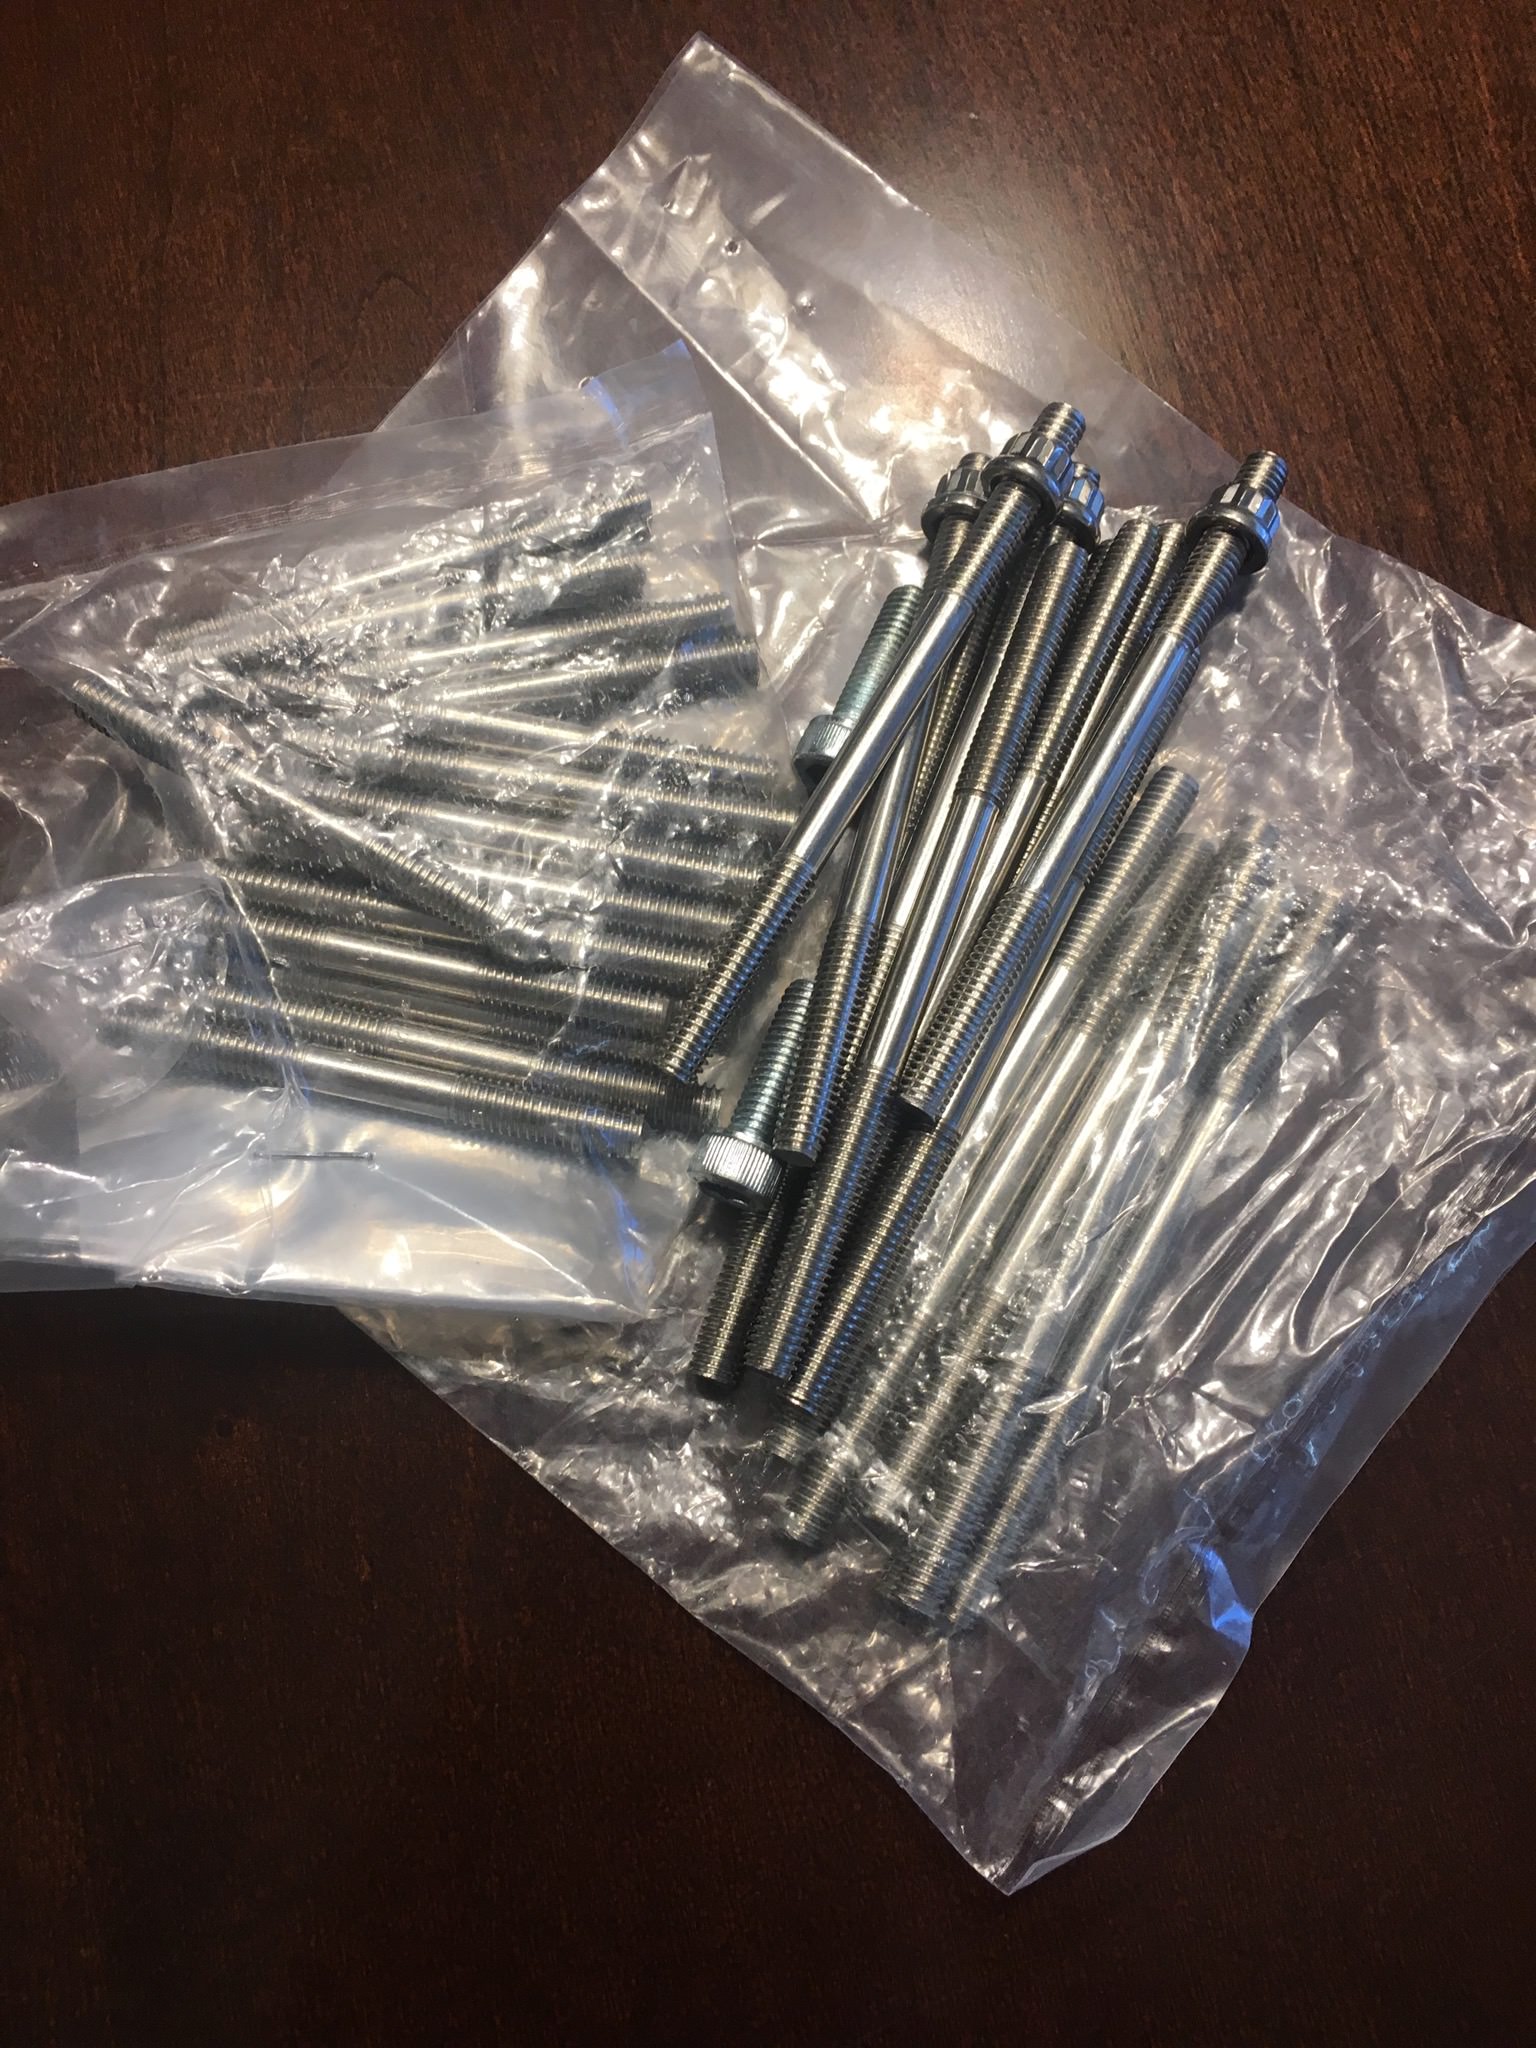
Since I’m using the 1” blower spacer I needed longer bolts. Well on one part of the case I couldn’t fit the longer bolt because of the drive gear overhang. So I ordered some double ended studs along with these nice 12pt stainless nuts. Some other truck pieces I have coming are some A4 stainless spherical washers to match the flat hex head conical seat bolts I replaced with studs. ARP is super proud of these too
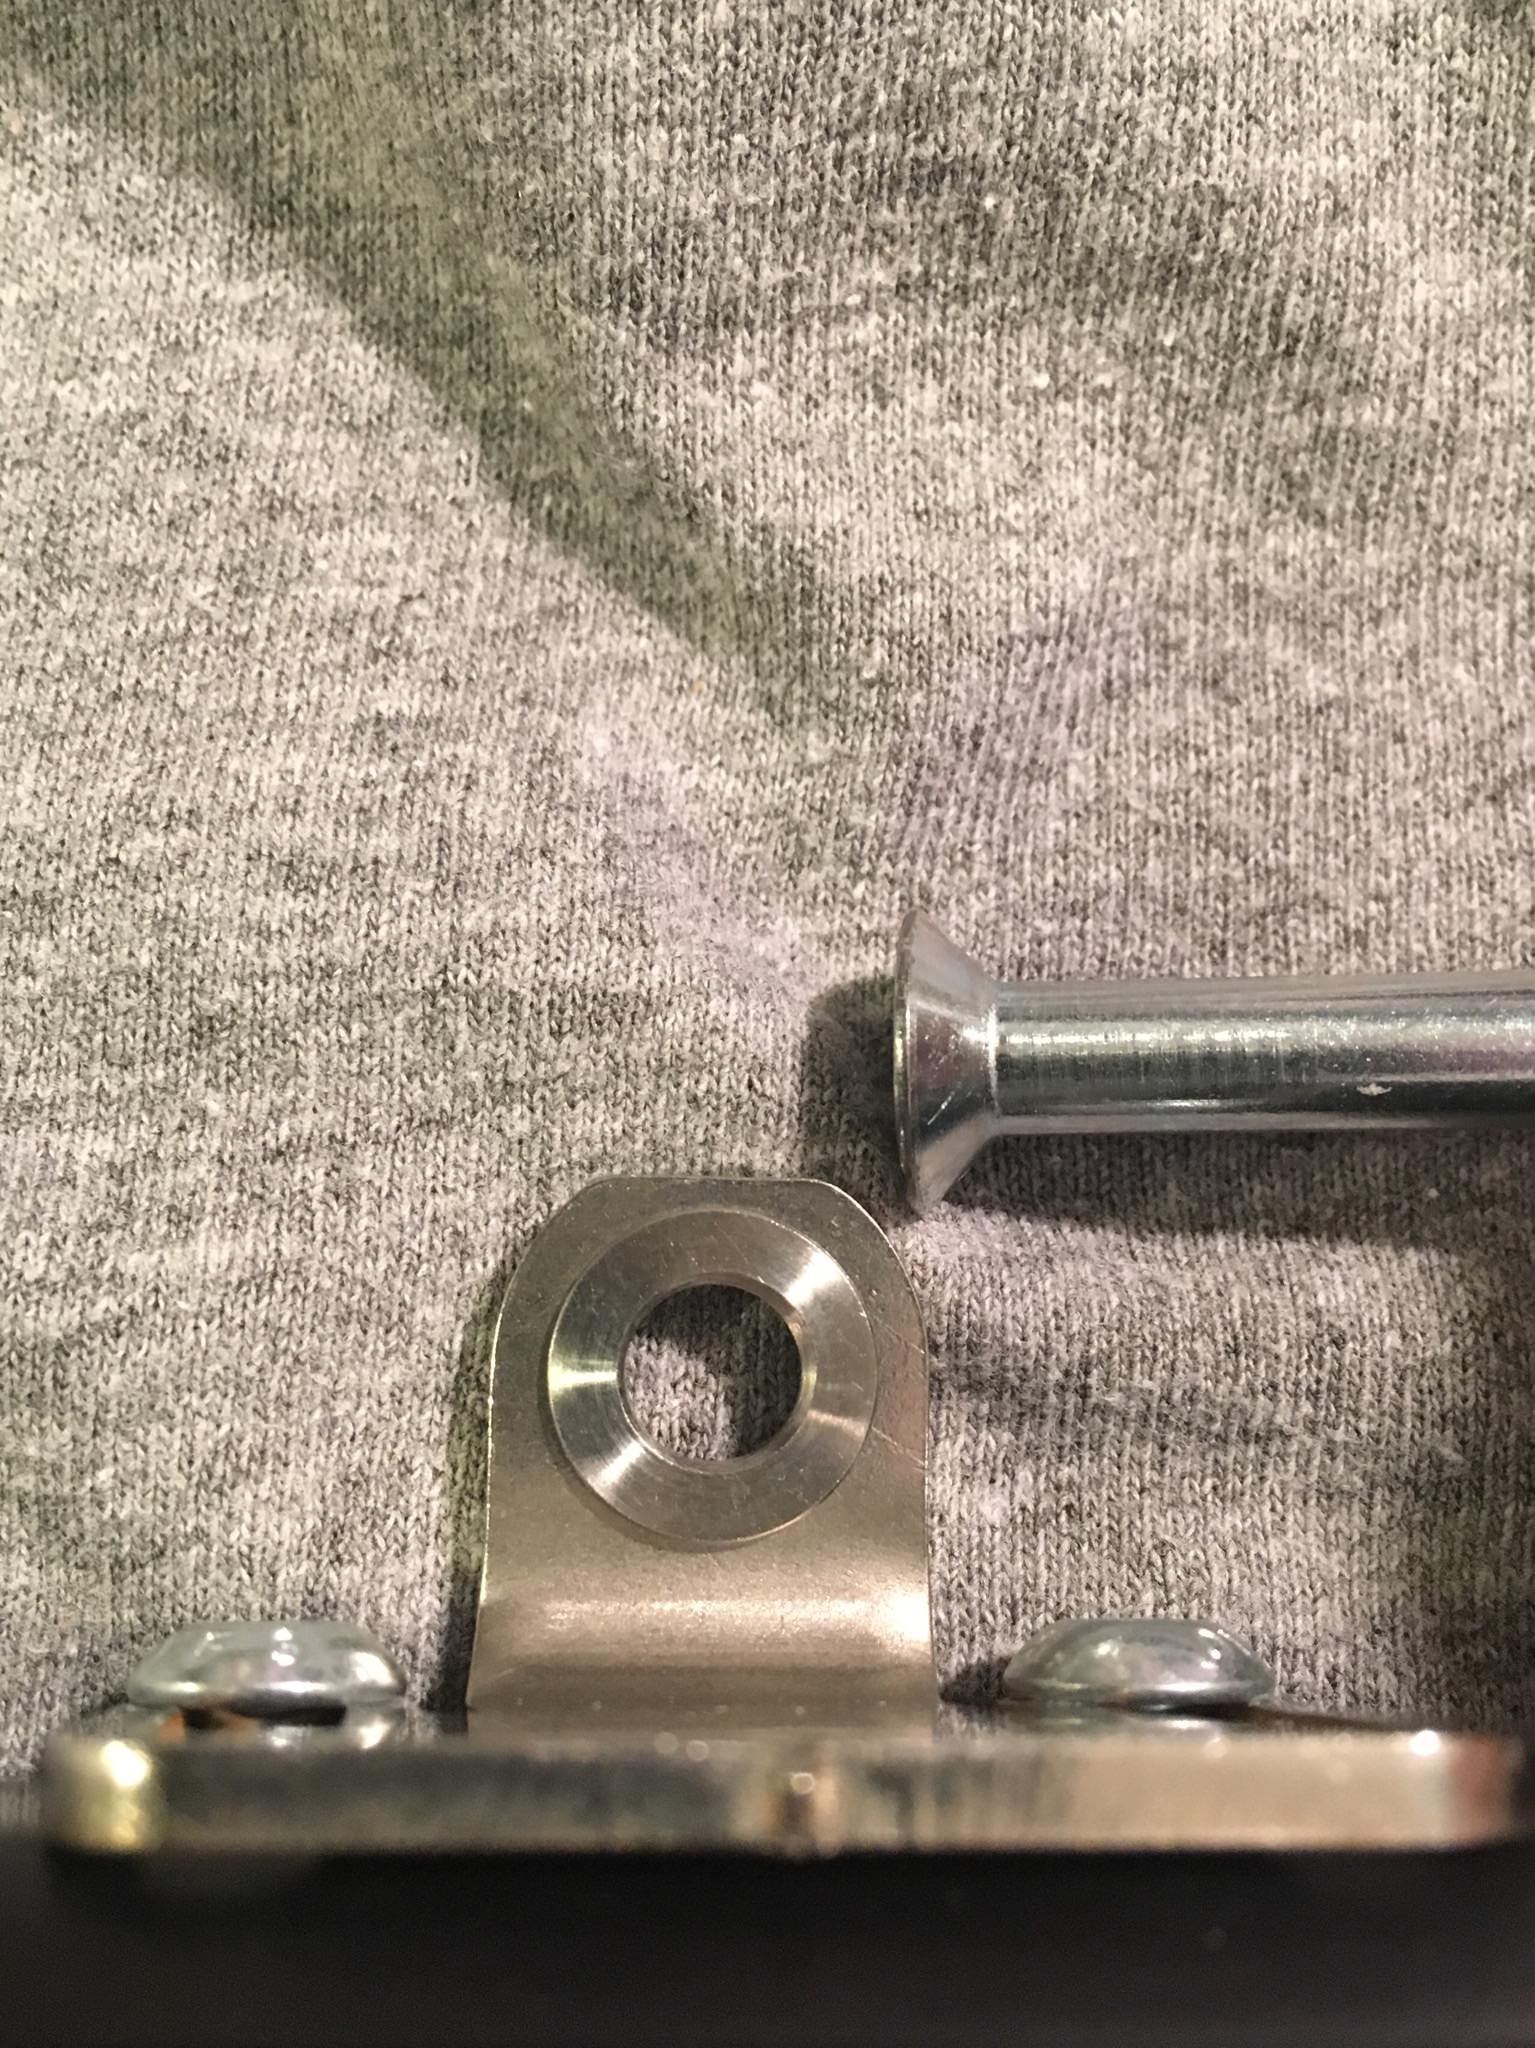
Helluva time finding A4 stainless M6 Spherical Washers 12mm od.....Got these from the UK. I also ordered some A-788 Splash zone to redesign port entries and lower manifold floor.
Thank you China and EBay.....10.9 Stainless Double thread studs for upper/lower manifold, lower/heads, and bypass/upper manifold.


 12-15-2018, 04:39 PM
#118
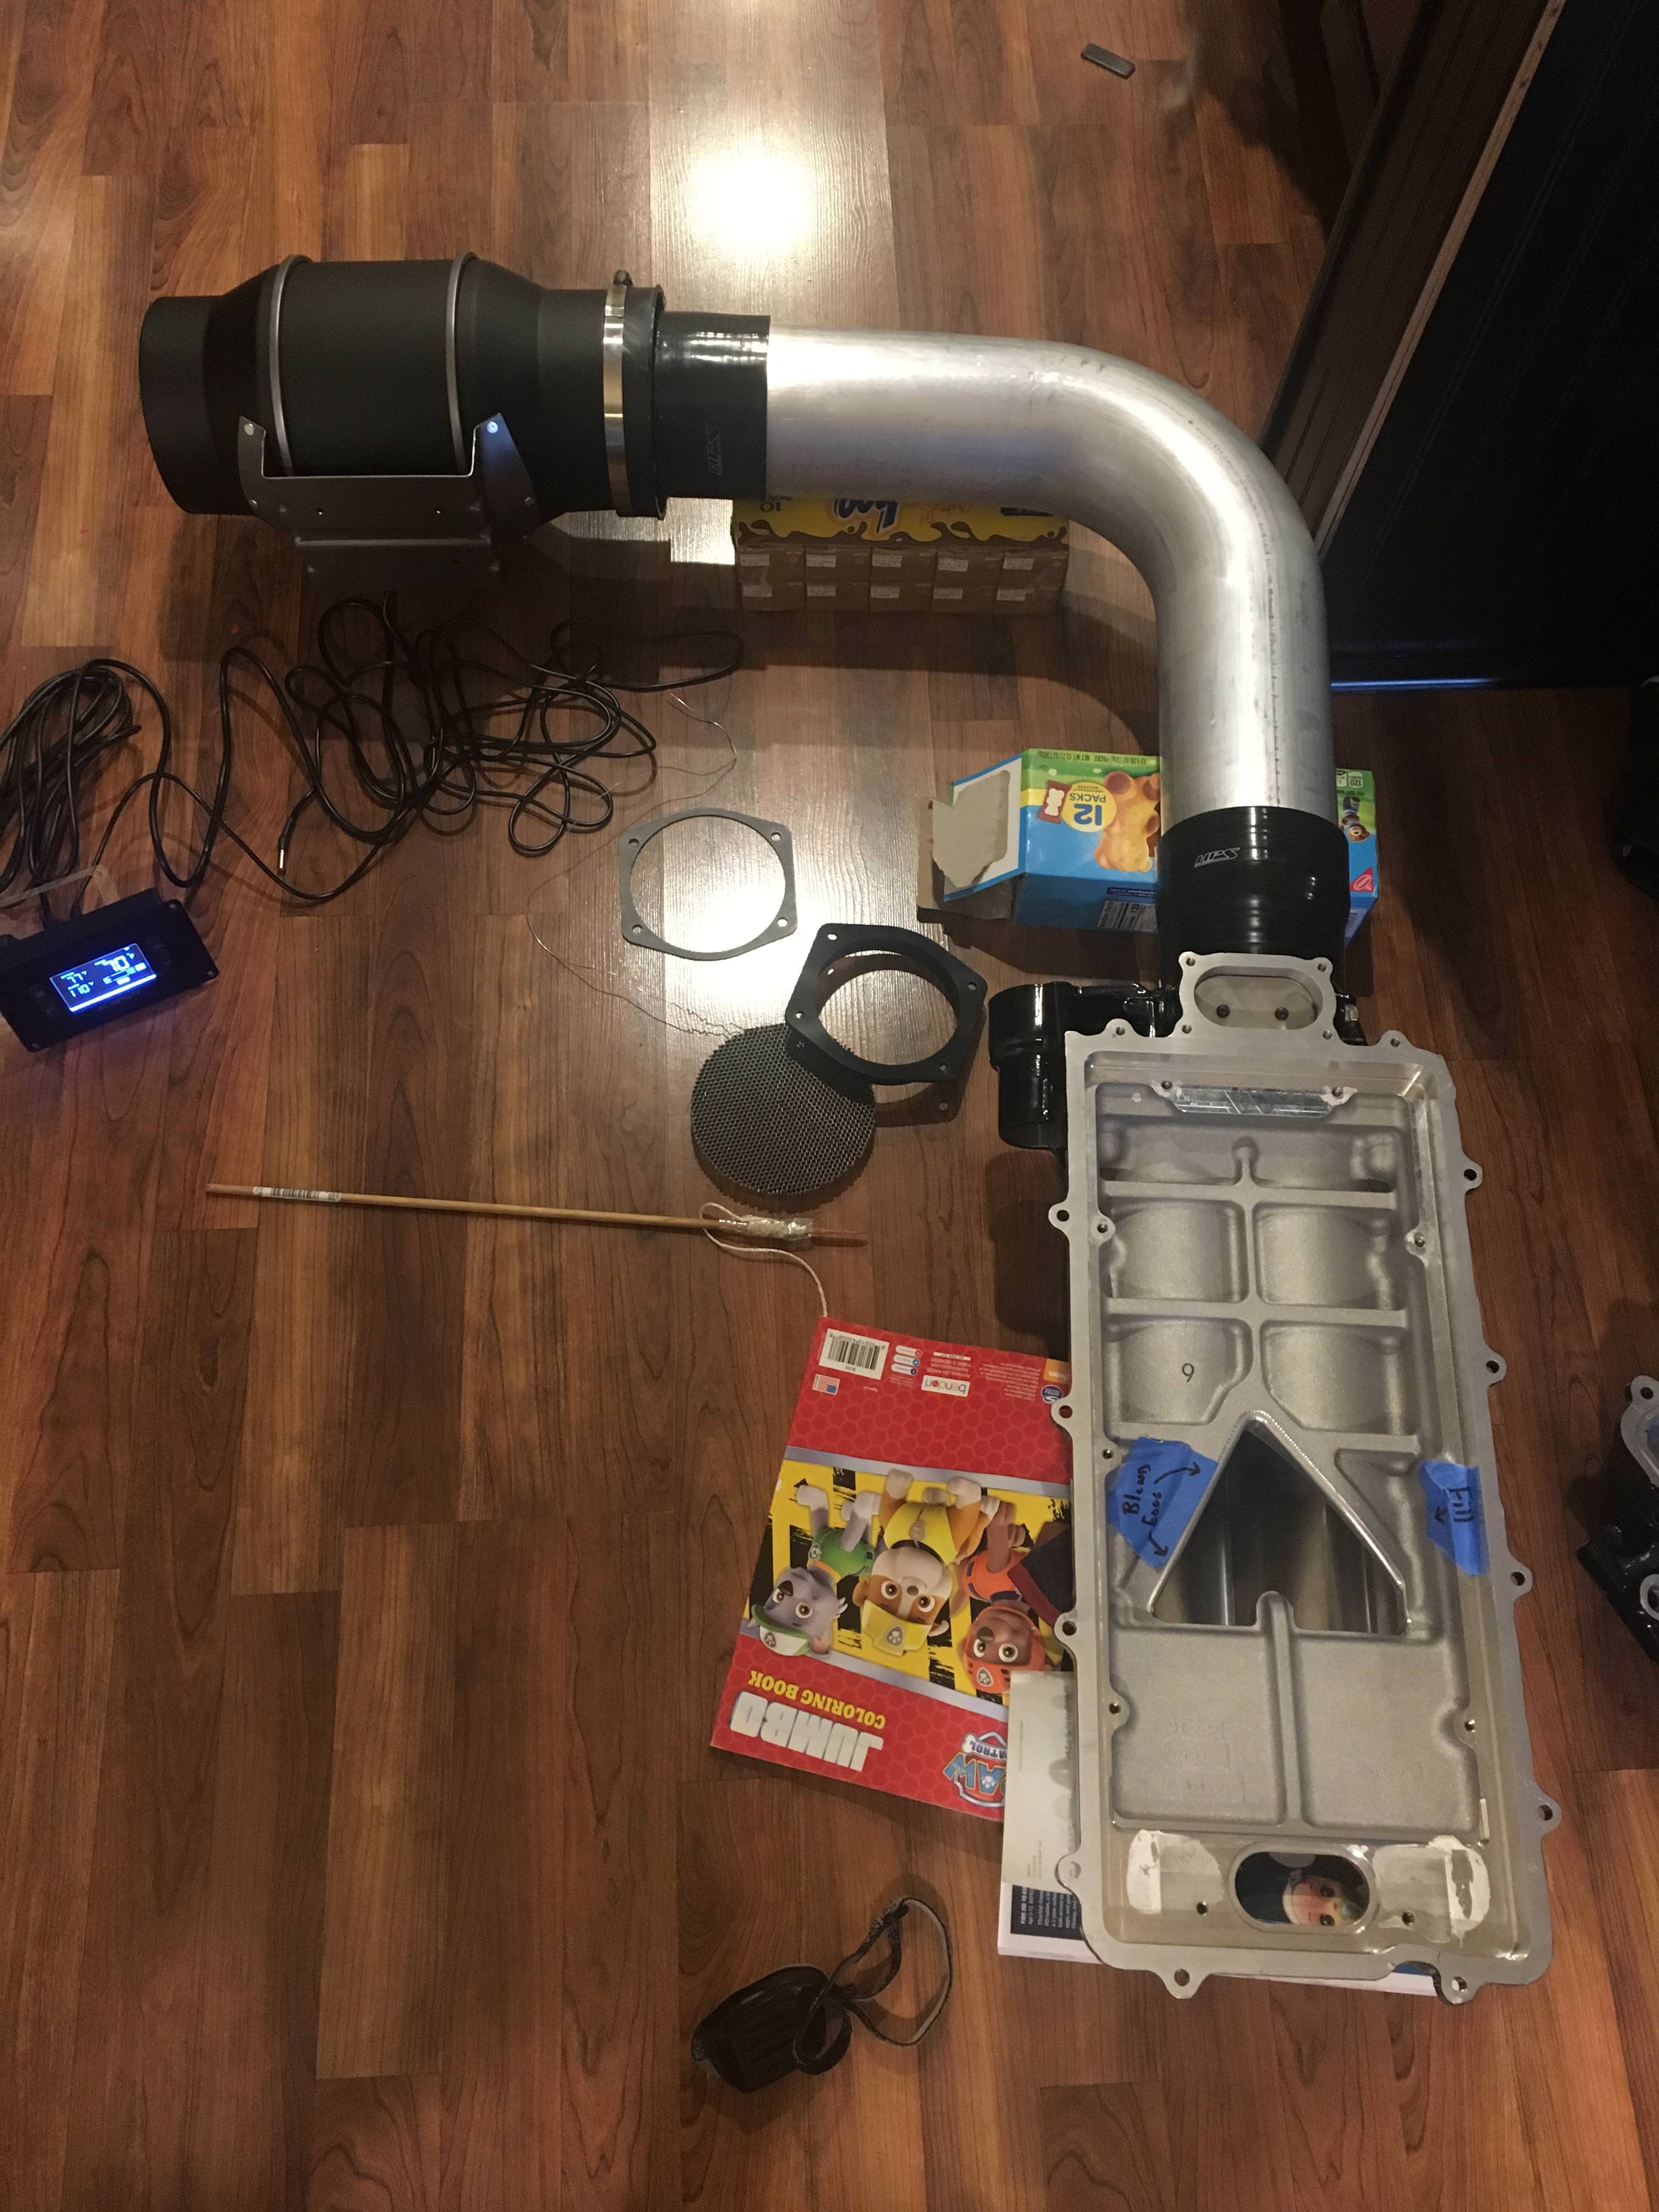
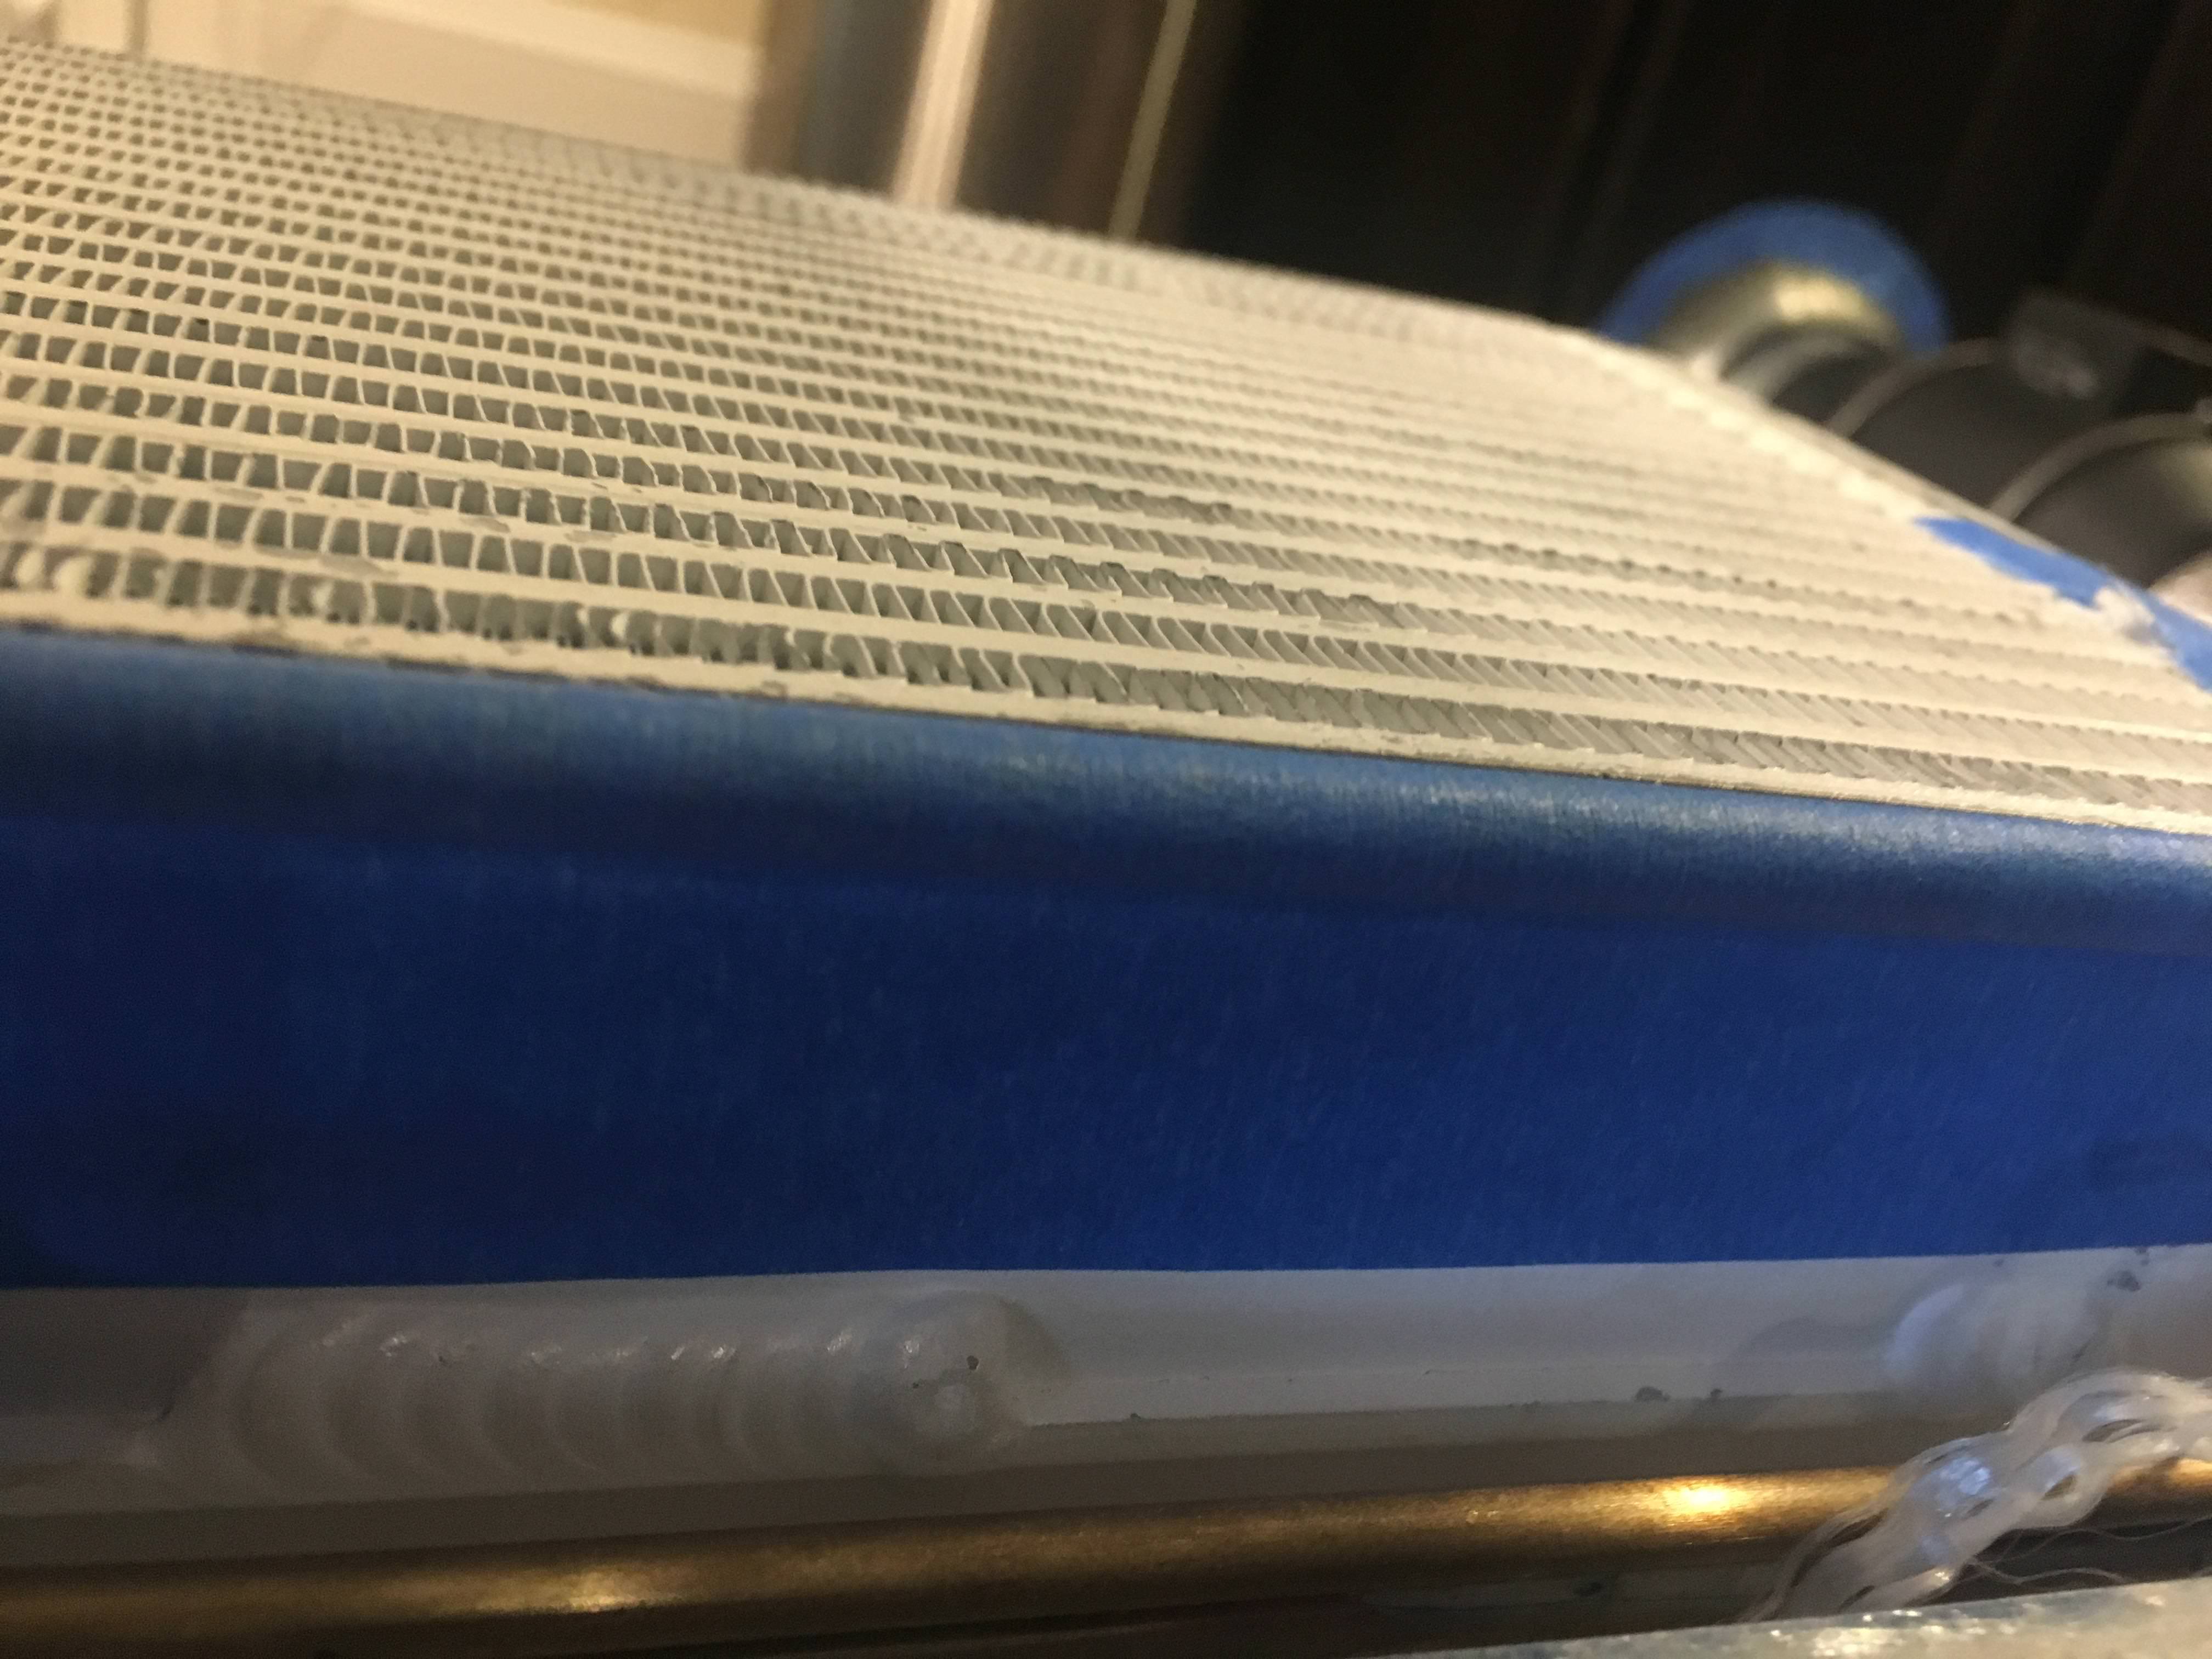
My redneck flow bench has shown me a few things....I’m able to increase the velocity pressure and total pressure using a convergent pressure recovery plate. The flow speeds go from 220mph to 270-300 at 2000cfm though the 4.5” intake tube down to the 4” TB. The increase in mass flow from the system is considerable. I have some more testing to do with vortex generators and turbulator strips/tape. I have some ideas for using them within the lower manifold, intake tube, S/C Inlet, etc. It’s basically a tunnel ram intake I’ve developed with the use of the spacers and epoxy for the floor. My intent is to gain and maintain airspeed post intercooler. (The manufacturer design makes for extra turbulence/heat to be added along with massively decreased airspeed.) I hope for better cylinder fill and fuel shear with the increased speed. I’ve also been tinkering around with using the AN hose inner support springs as “turbulators” within the intercooler hoses. The hoses are insulated from hot engine bay heat with Heatshield Thermal Sleeving so they don’t gain radiate heat. The “turbulators” increase the heat transfer within the system. I also redesigned the inlet/outlets for the reservoir so as not to introduce any air bubbles into the system. (Air = less thermal efficiency) . I’m also on another boron nitride kick....powder .5micron along with brushable and aerosol. This stuff ROCKS! Thermal conductivity, Low friction, low rates of wear, non wettable...All sorts of good stuff coming....
12-19-2018, 01:33 PM
#119
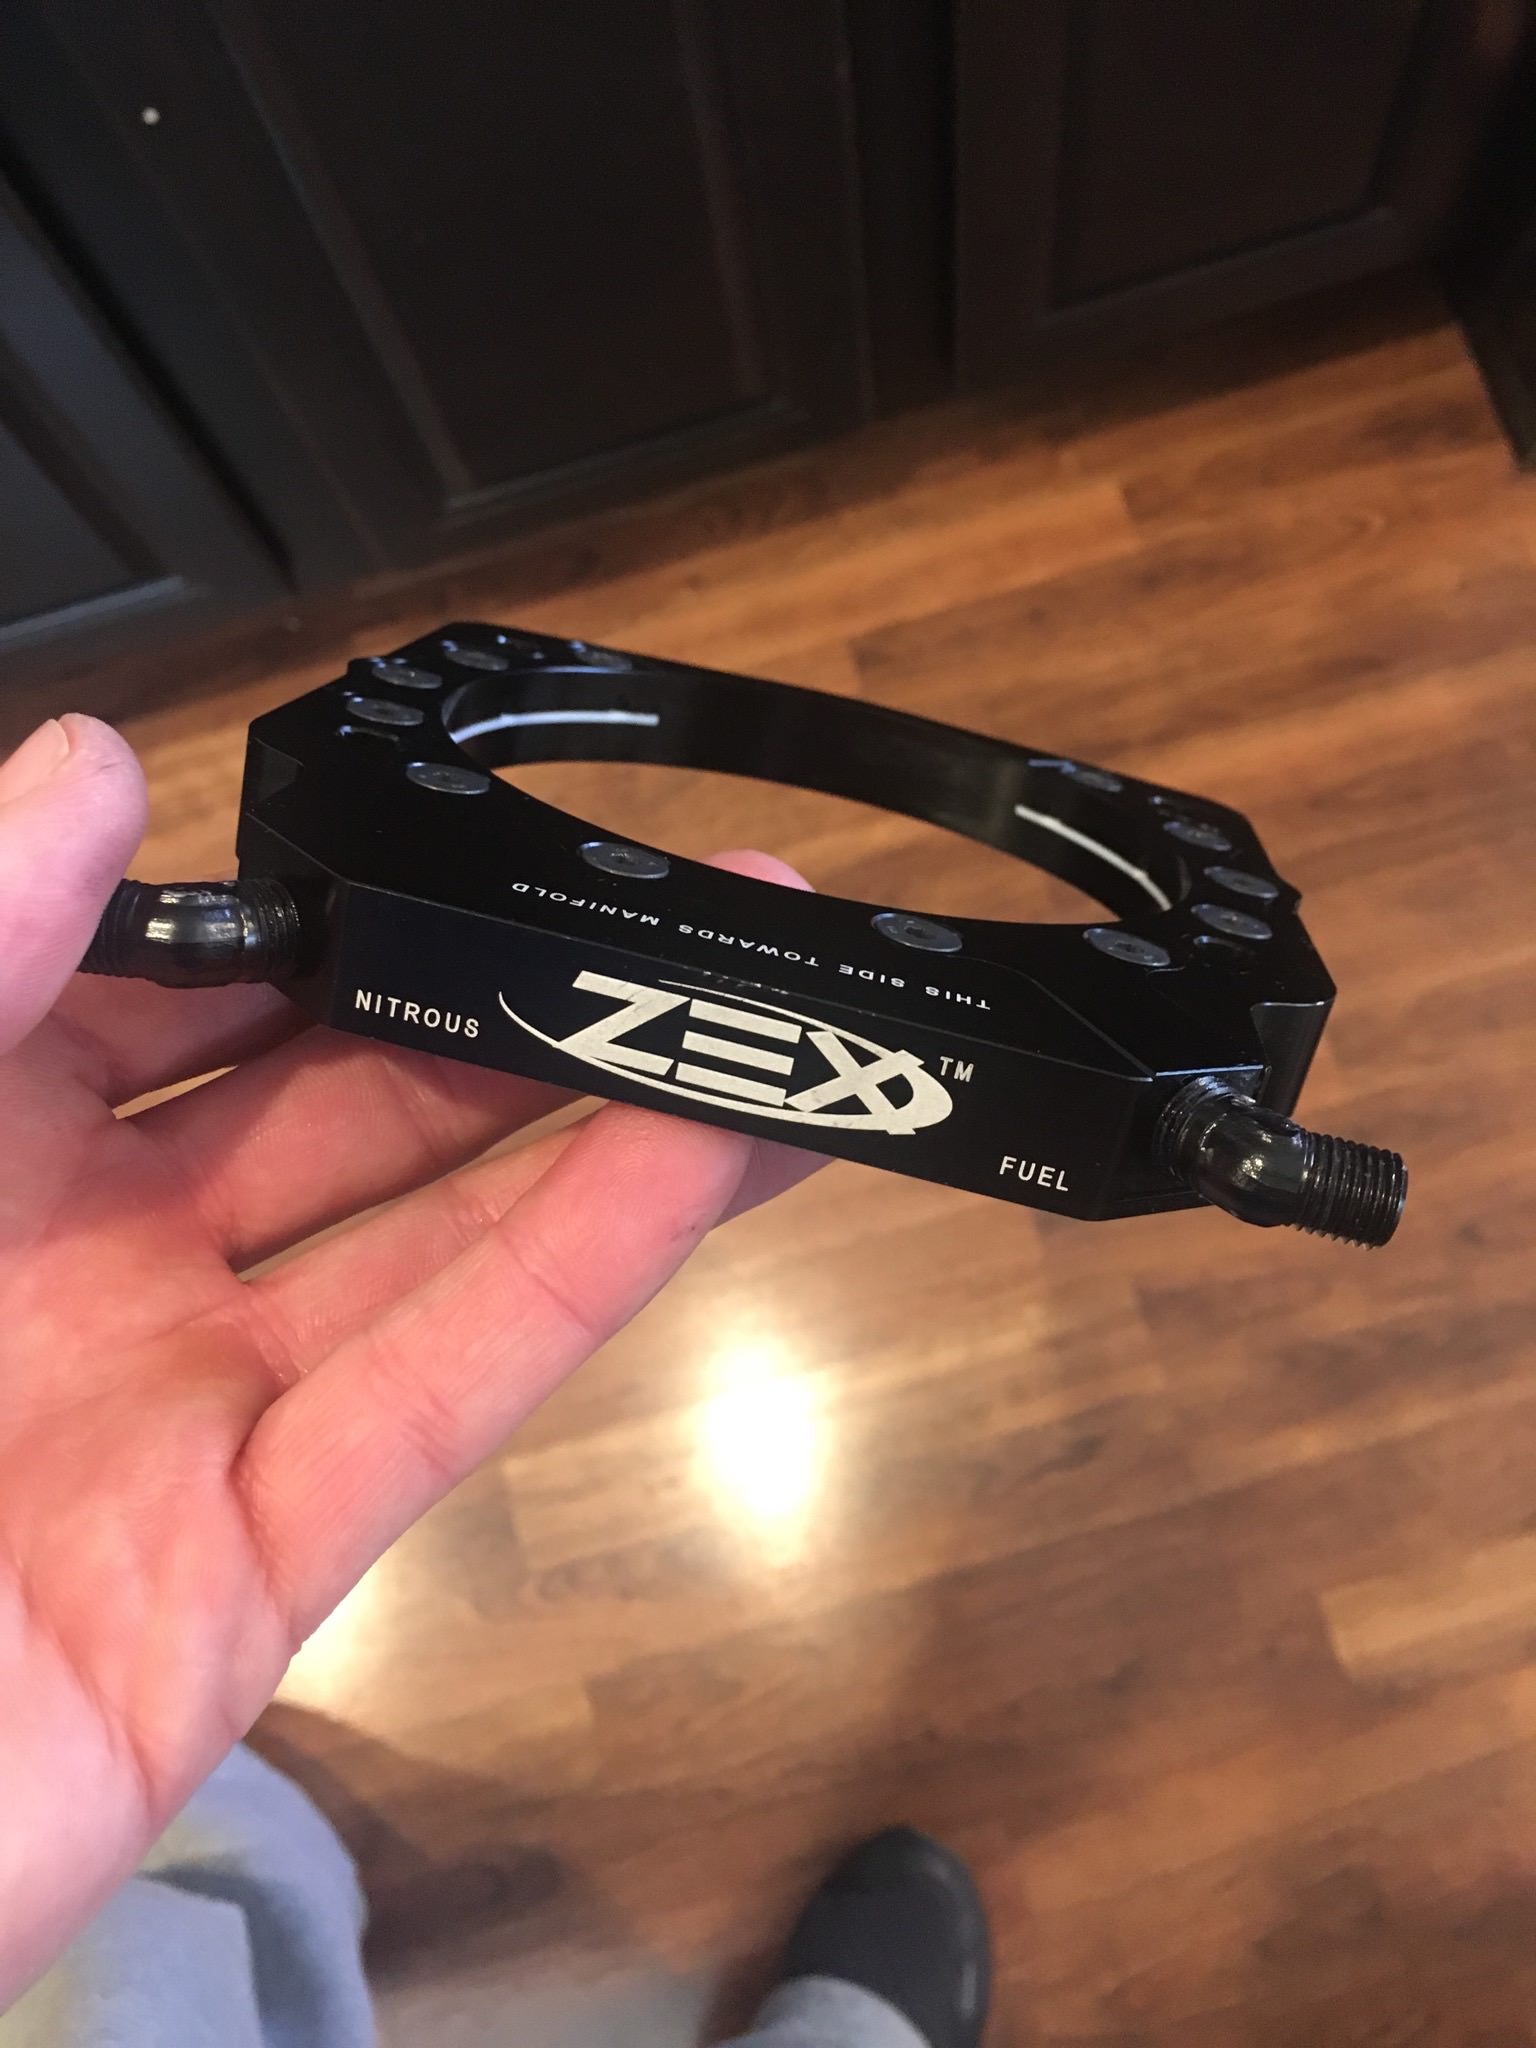
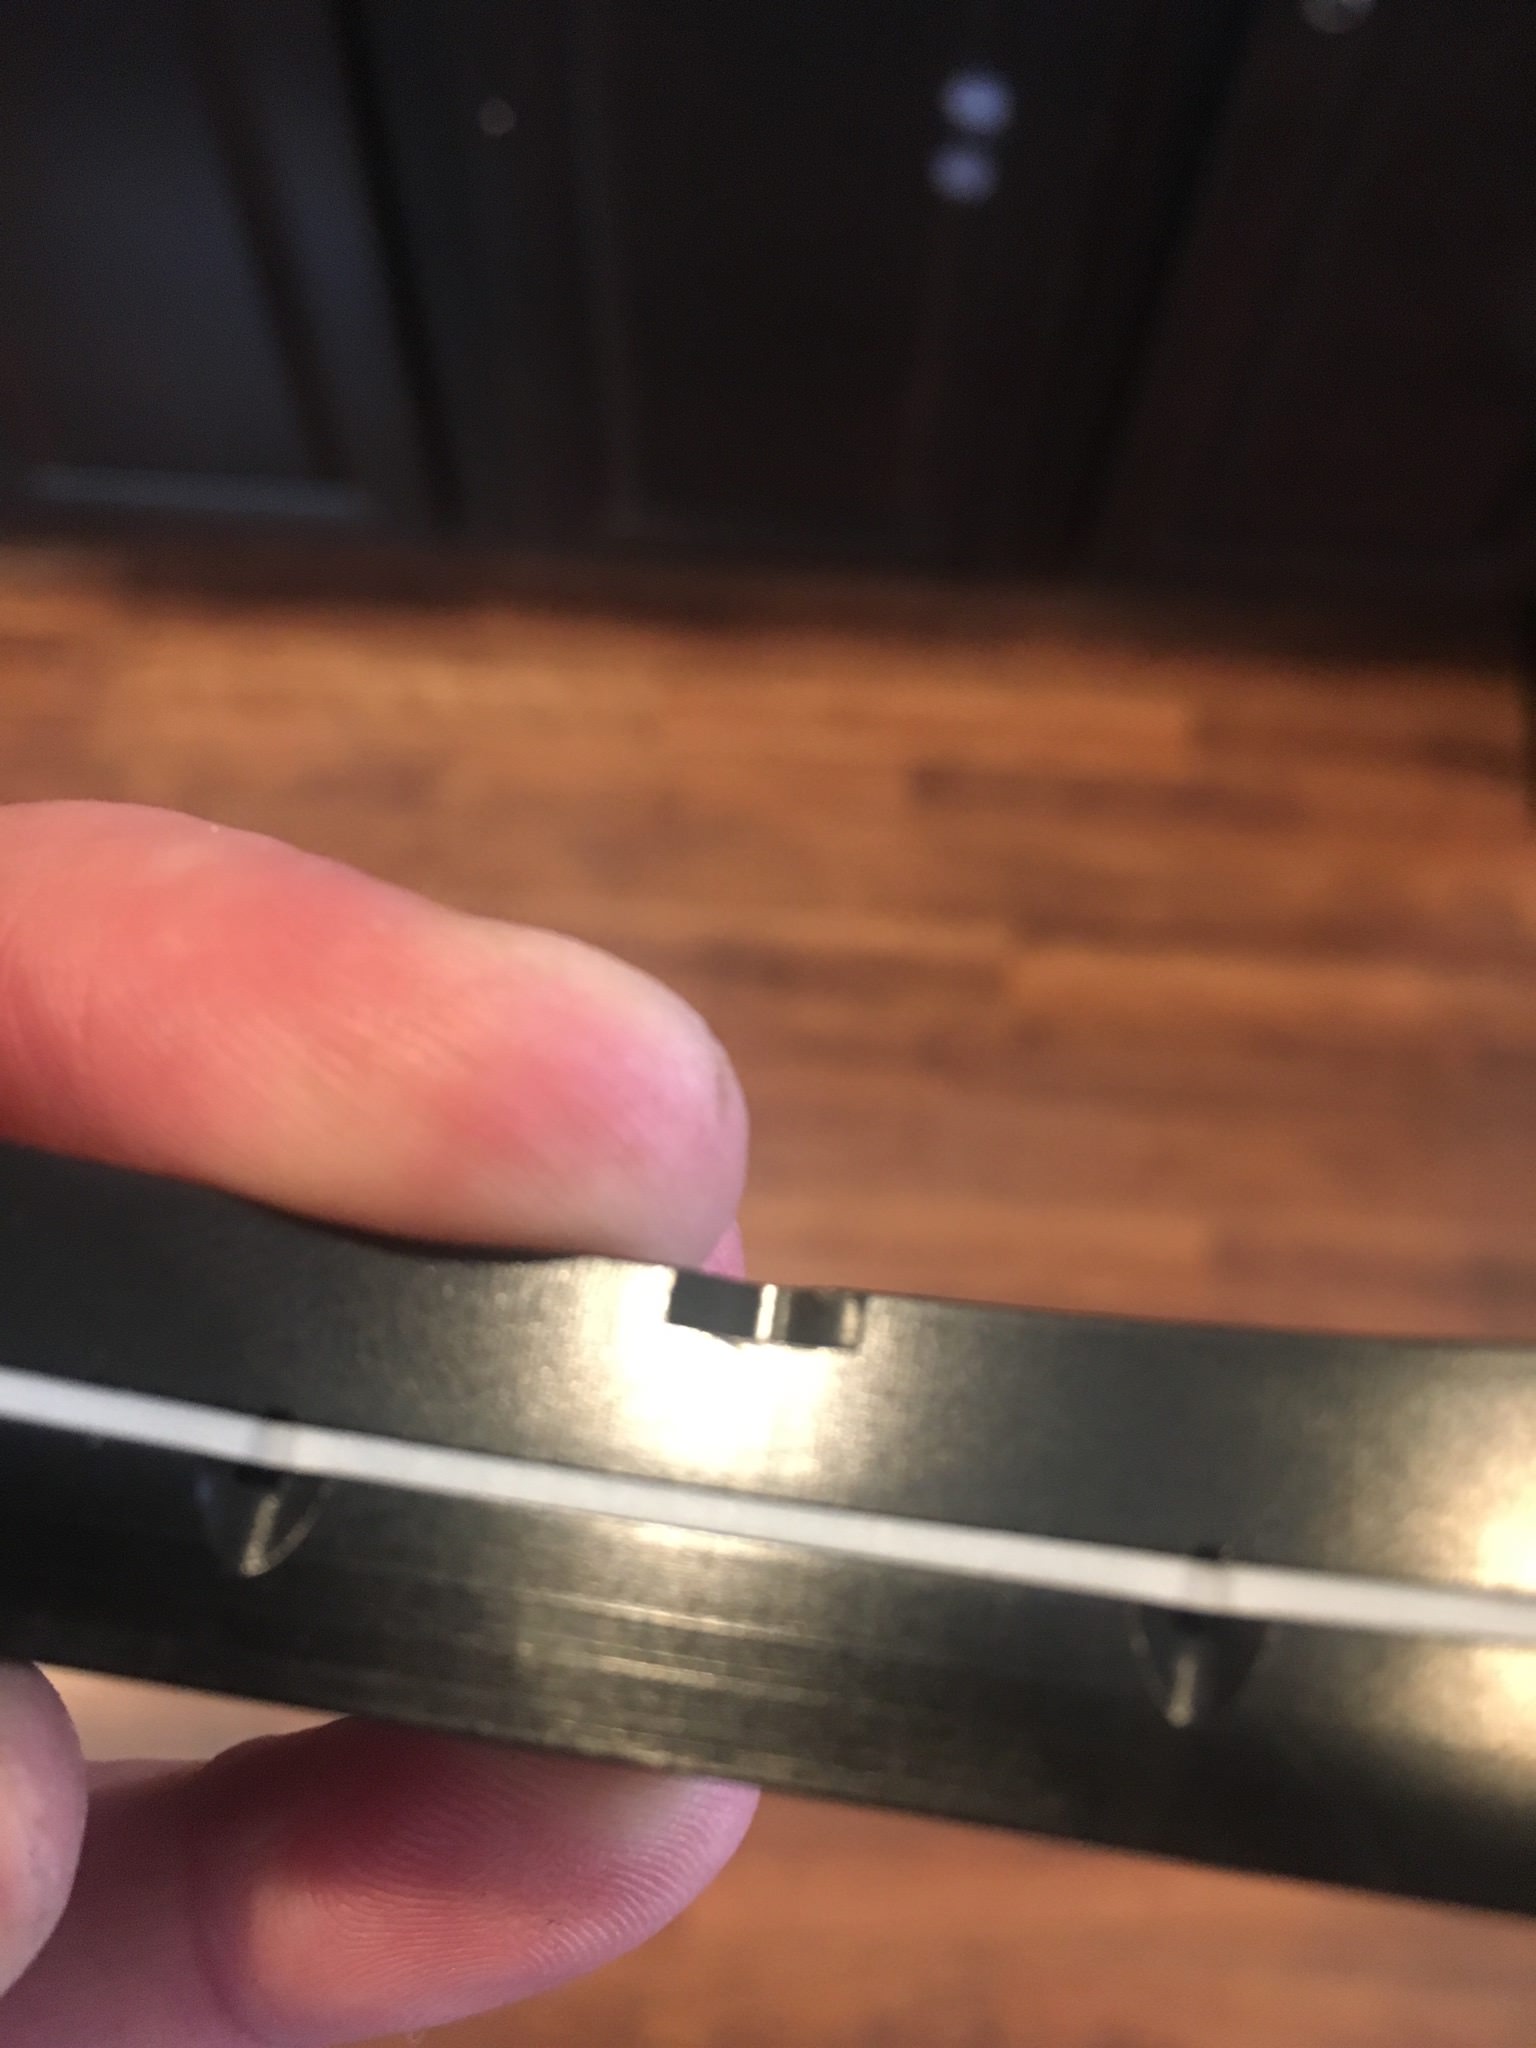
Got a plate to try out with water/meth injection and using the other spacer as a shear plate. Anywho though it was cool...
Also been working on some more airflow mods...I call it the Dynamic InterCooler Knapsack (TM) cause we all like DICK......but it does rearrange the vectors within the quadrants of the port, most specifically within the upper quadrant along the shear plane of the injection phase.
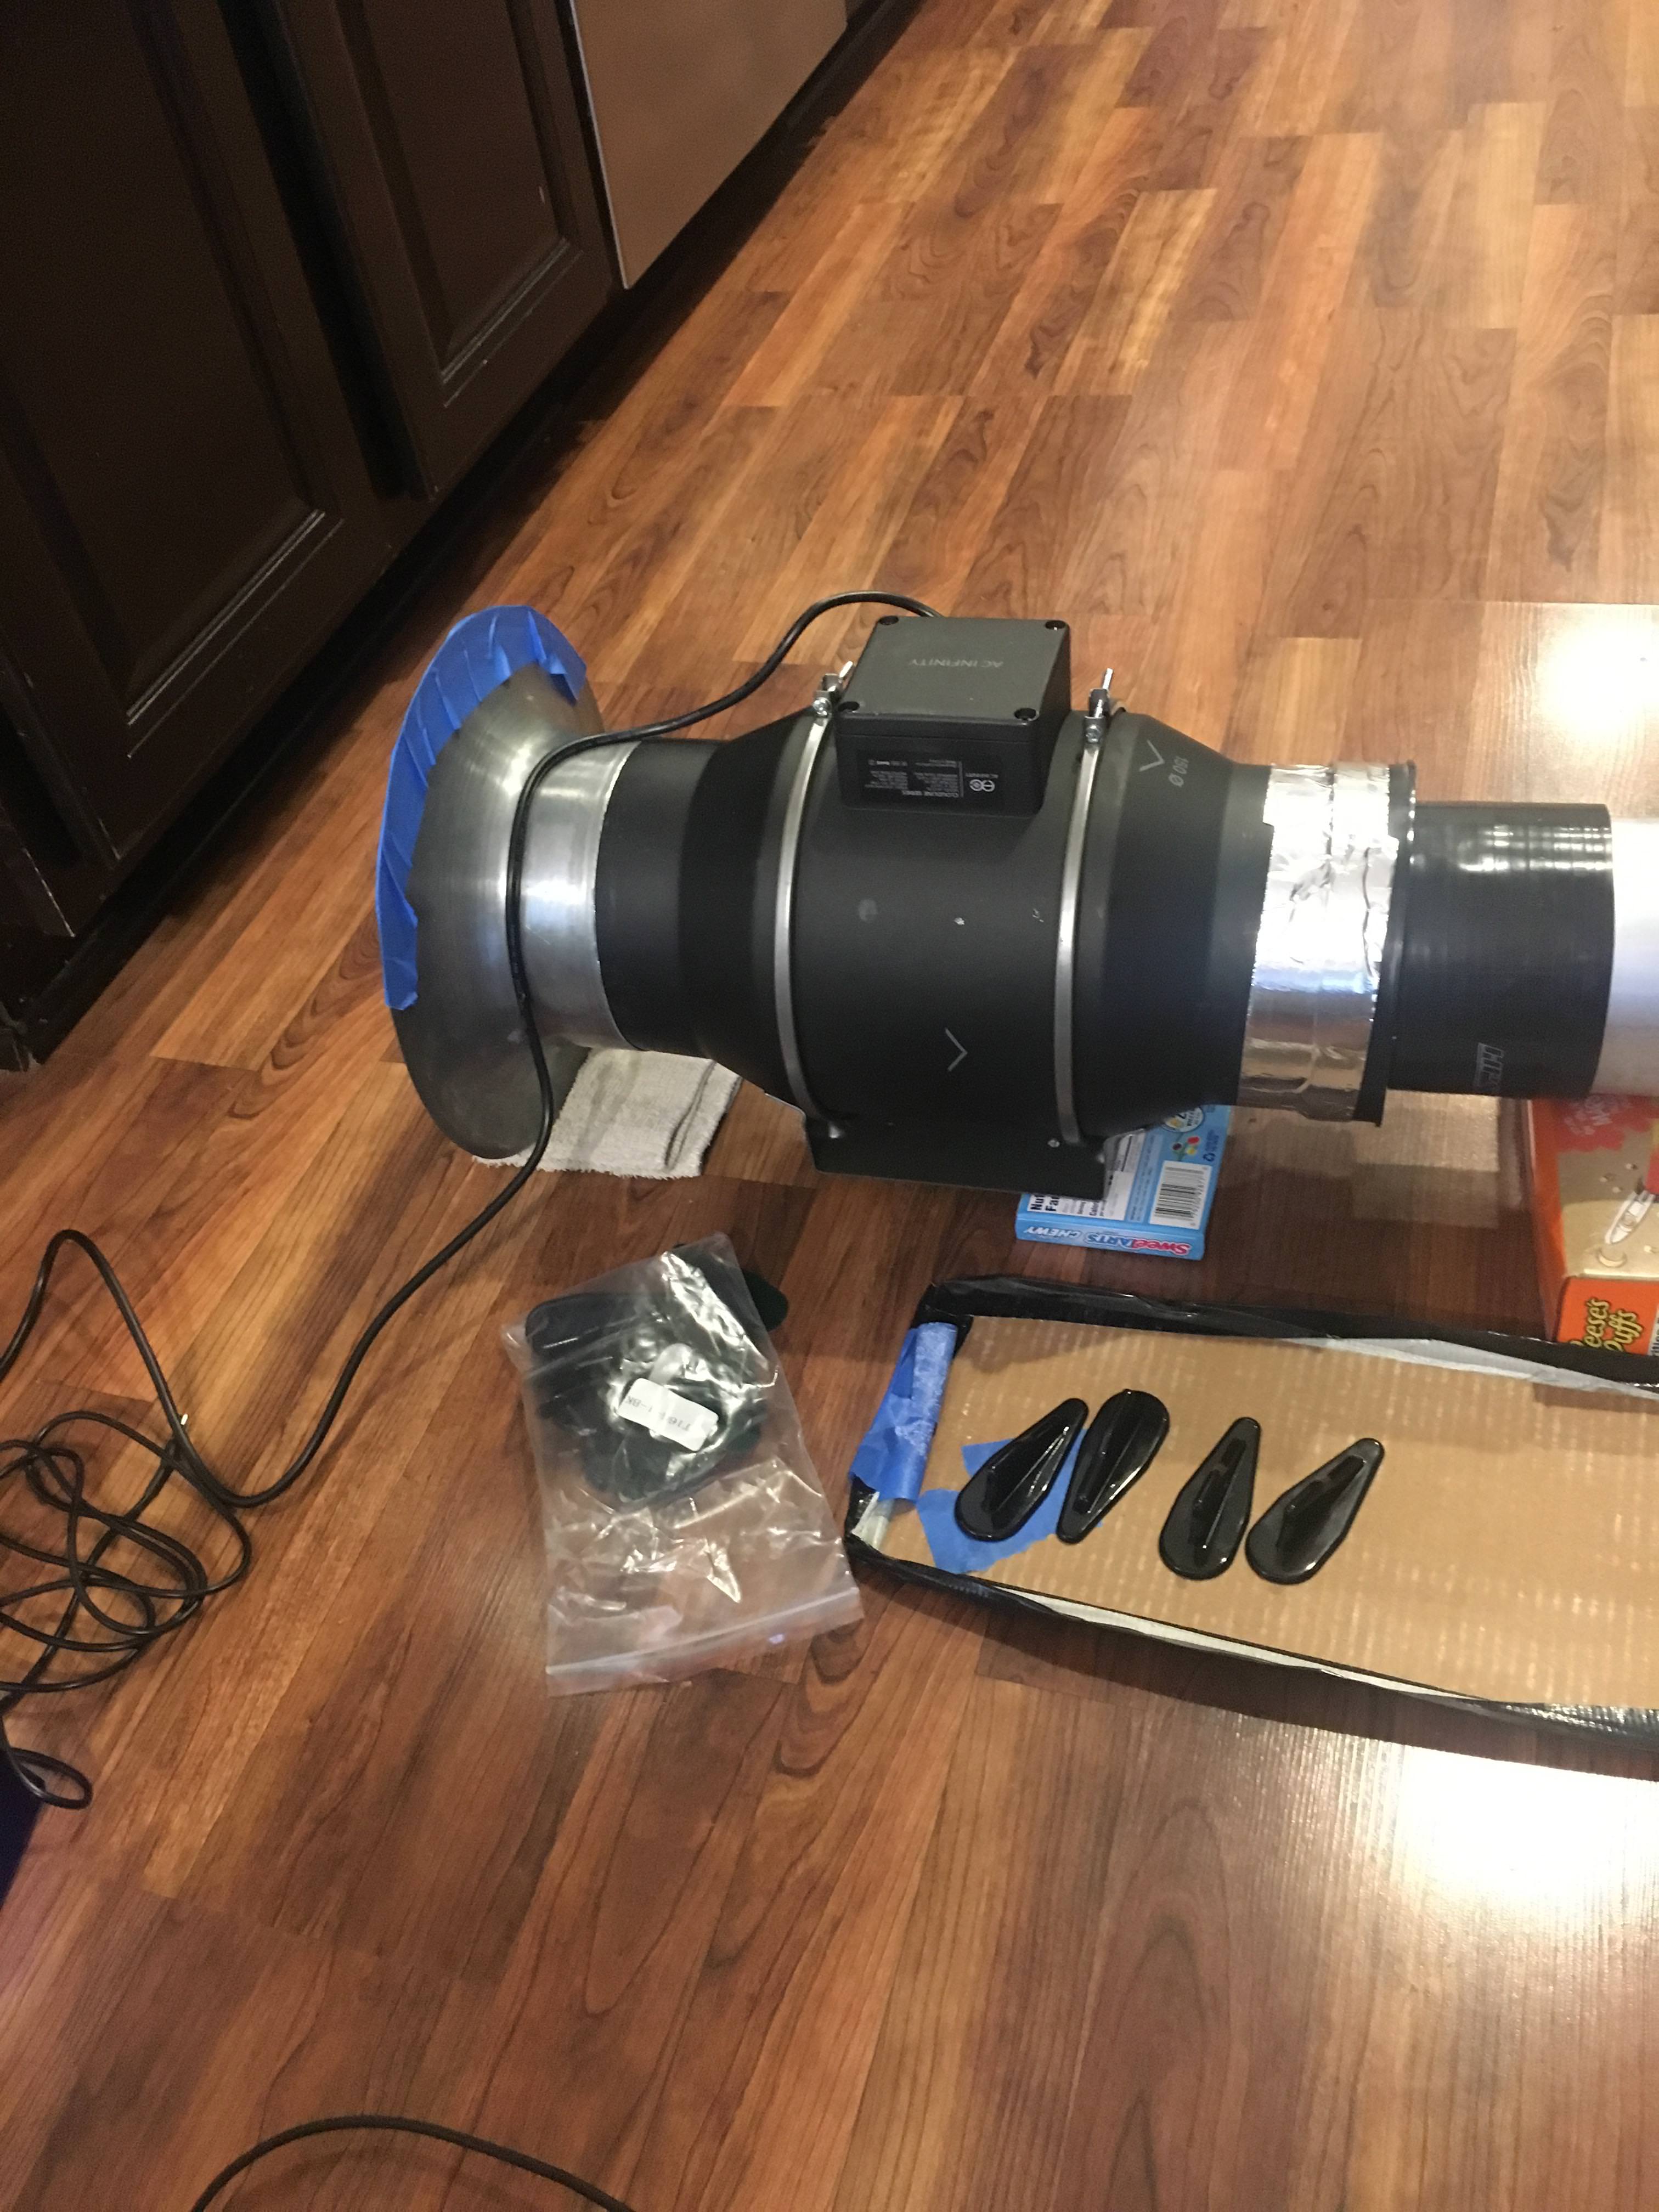
Upgraded the blower too
Also been working on some more airflow mods...I call it the Dynamic InterCooler Knapsack (TM) cause we all like DICK......but it does rearrange the vectors within the quadrants of the port, most specifically within the upper quadrant along the shear plane of the injection phase.
Upgraded the blower too
12-20-2018, 12:40 AM
#120

could you share some of tools you�ve been using and products. Smoothing the metal and applying the coatings and what paints and sprayers and such. I can only imagine your home workshop. Little more than a Dremel kit to be doing it all so precise.


