When you click on links to various merchants on this site and make a purchase, this can result in this site earning a commission. Affiliate programs and affiliations include, but are not limited to, the eBay Partner Network.
Recently purchased a C7 that they installed a supercharger kit on. The attention to detail of the install is top quality. Very very high quality parts and labor. I have called them a few times with questions and they are VERY knowledgeable and willing to help. If you are looking for a great company and product, these guys are def on top of the game.
They installed their Si blower and meth on my C7 and I couldn’t be happier. I left it there for a couple weeks as I didn’t have time to pick it up right away. They had no issues with that and accommodated my every need. I’d definitely use them again.
Those of you that went to Oxnard.. how long did it take to have it installed, and round-about what was the bill? Did you get any other work done besides the A&A?
I'm doing this as soon as my warranty runs out, which should be around my birthday later this year.
I know what Im getting myself.
I ask about the time, 'cause I don't have a choice other than ubering to a near hotel and waiting... I imagine it's a 1 day affair?
I can�t speak for everyone as I dropped my car off for a couple weeks. I�d imagine it�s a couple day affair. Your best bet is to call and ask. Gotta remember it�s the install plus tune, not something you want to rush.
I dropped my car off for 1 week, took a train back home, then train back up to Oxnard 1 week later and Andy picked me up in my car at the train station. lots of smailes after that
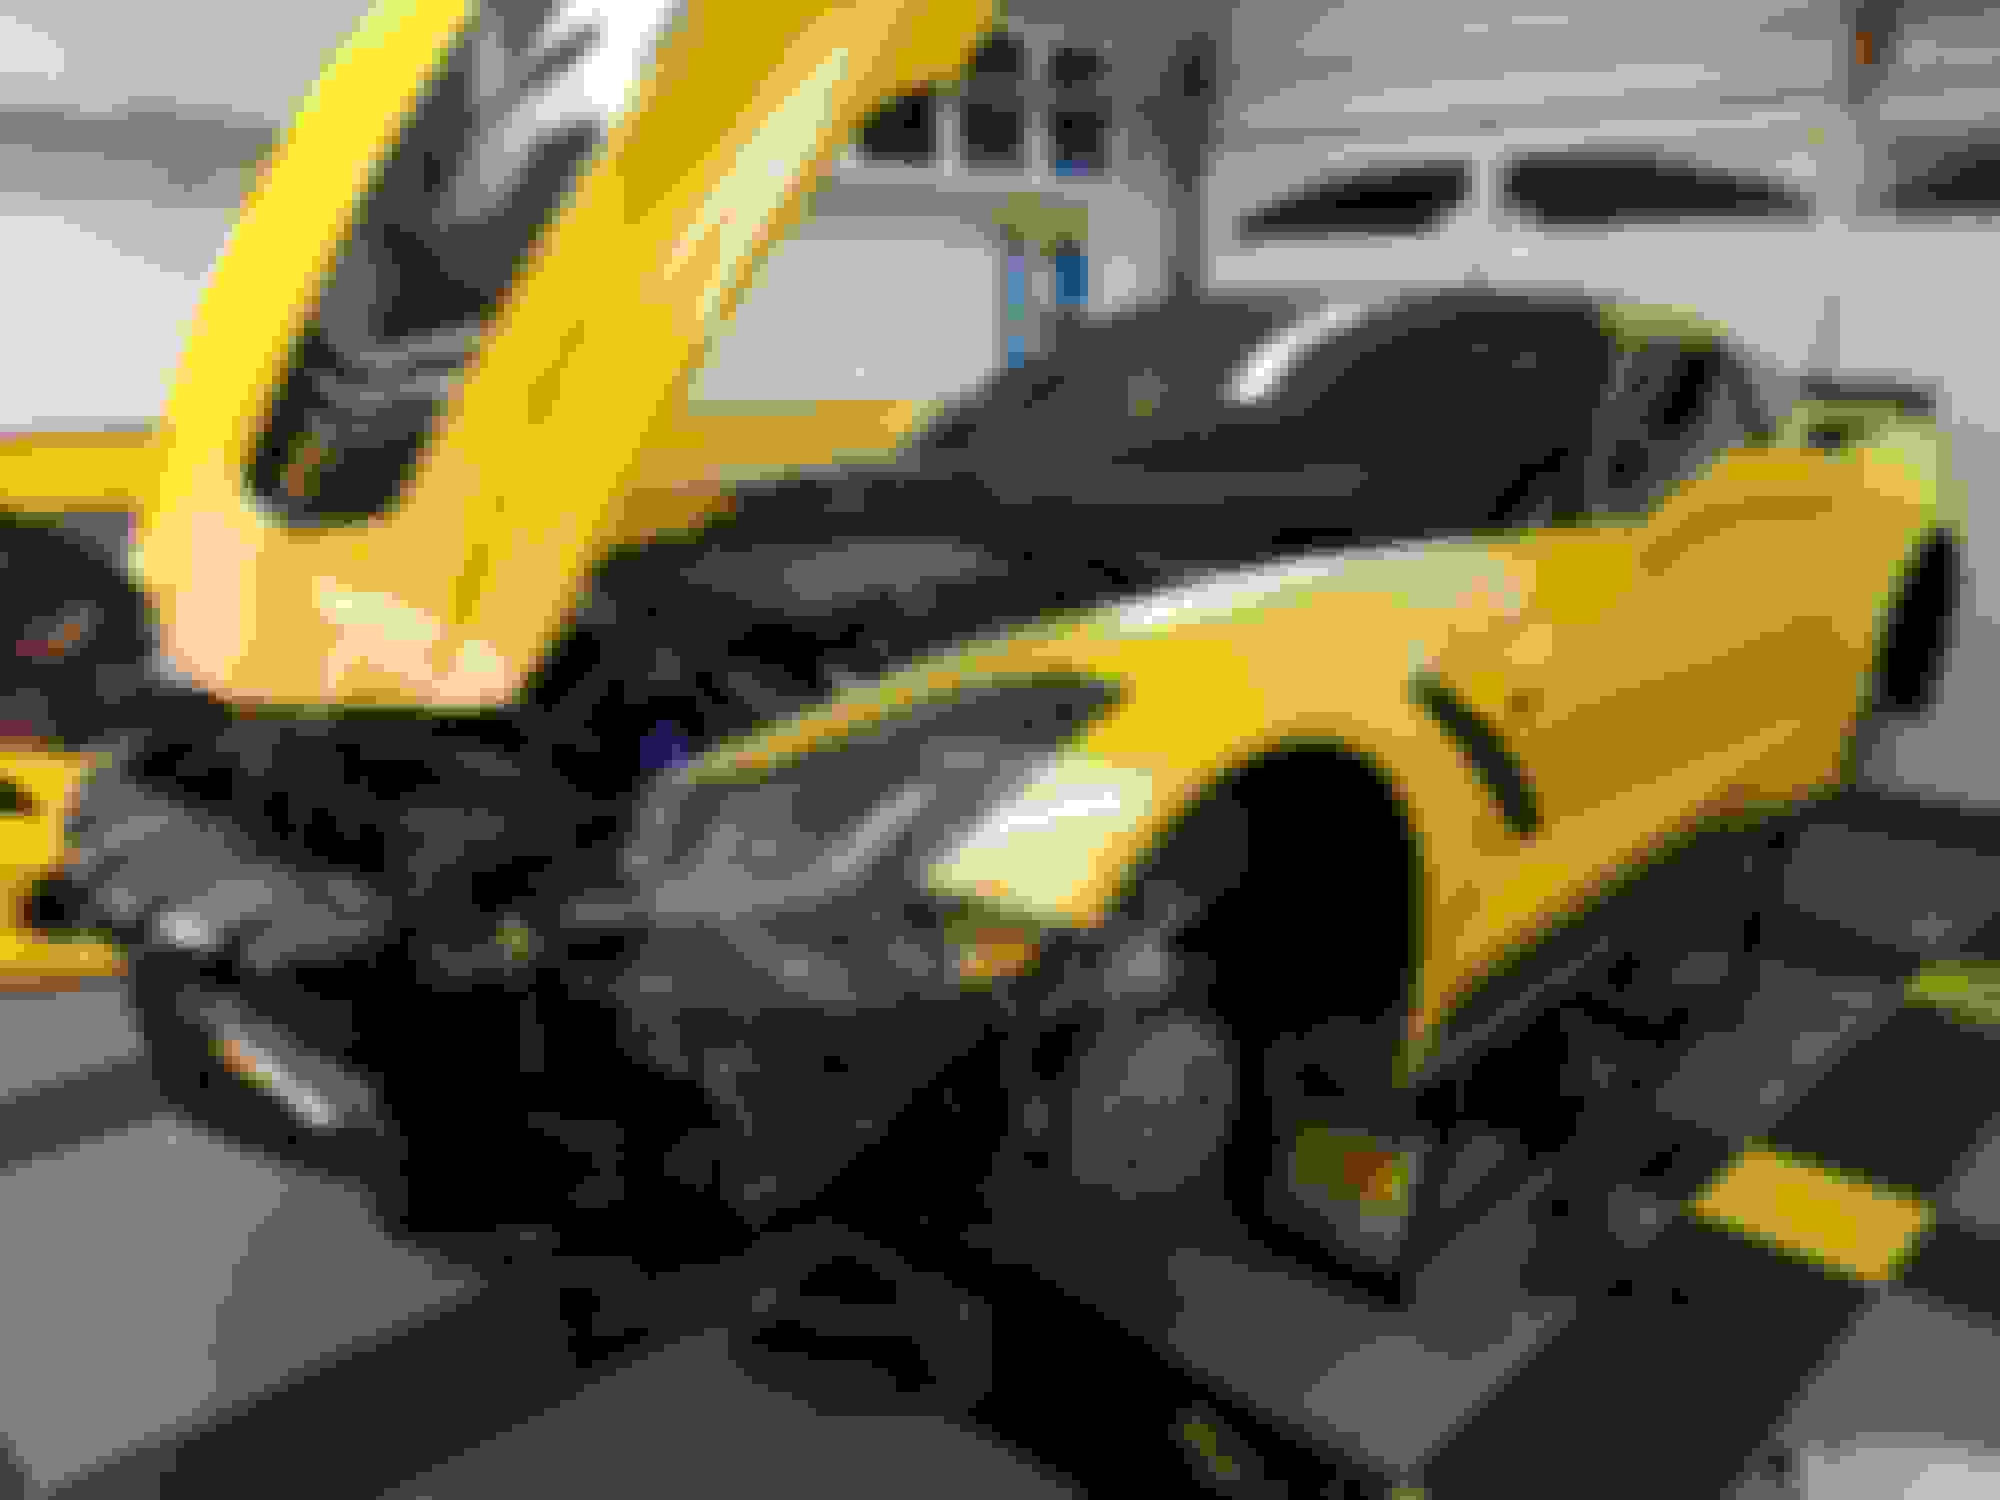
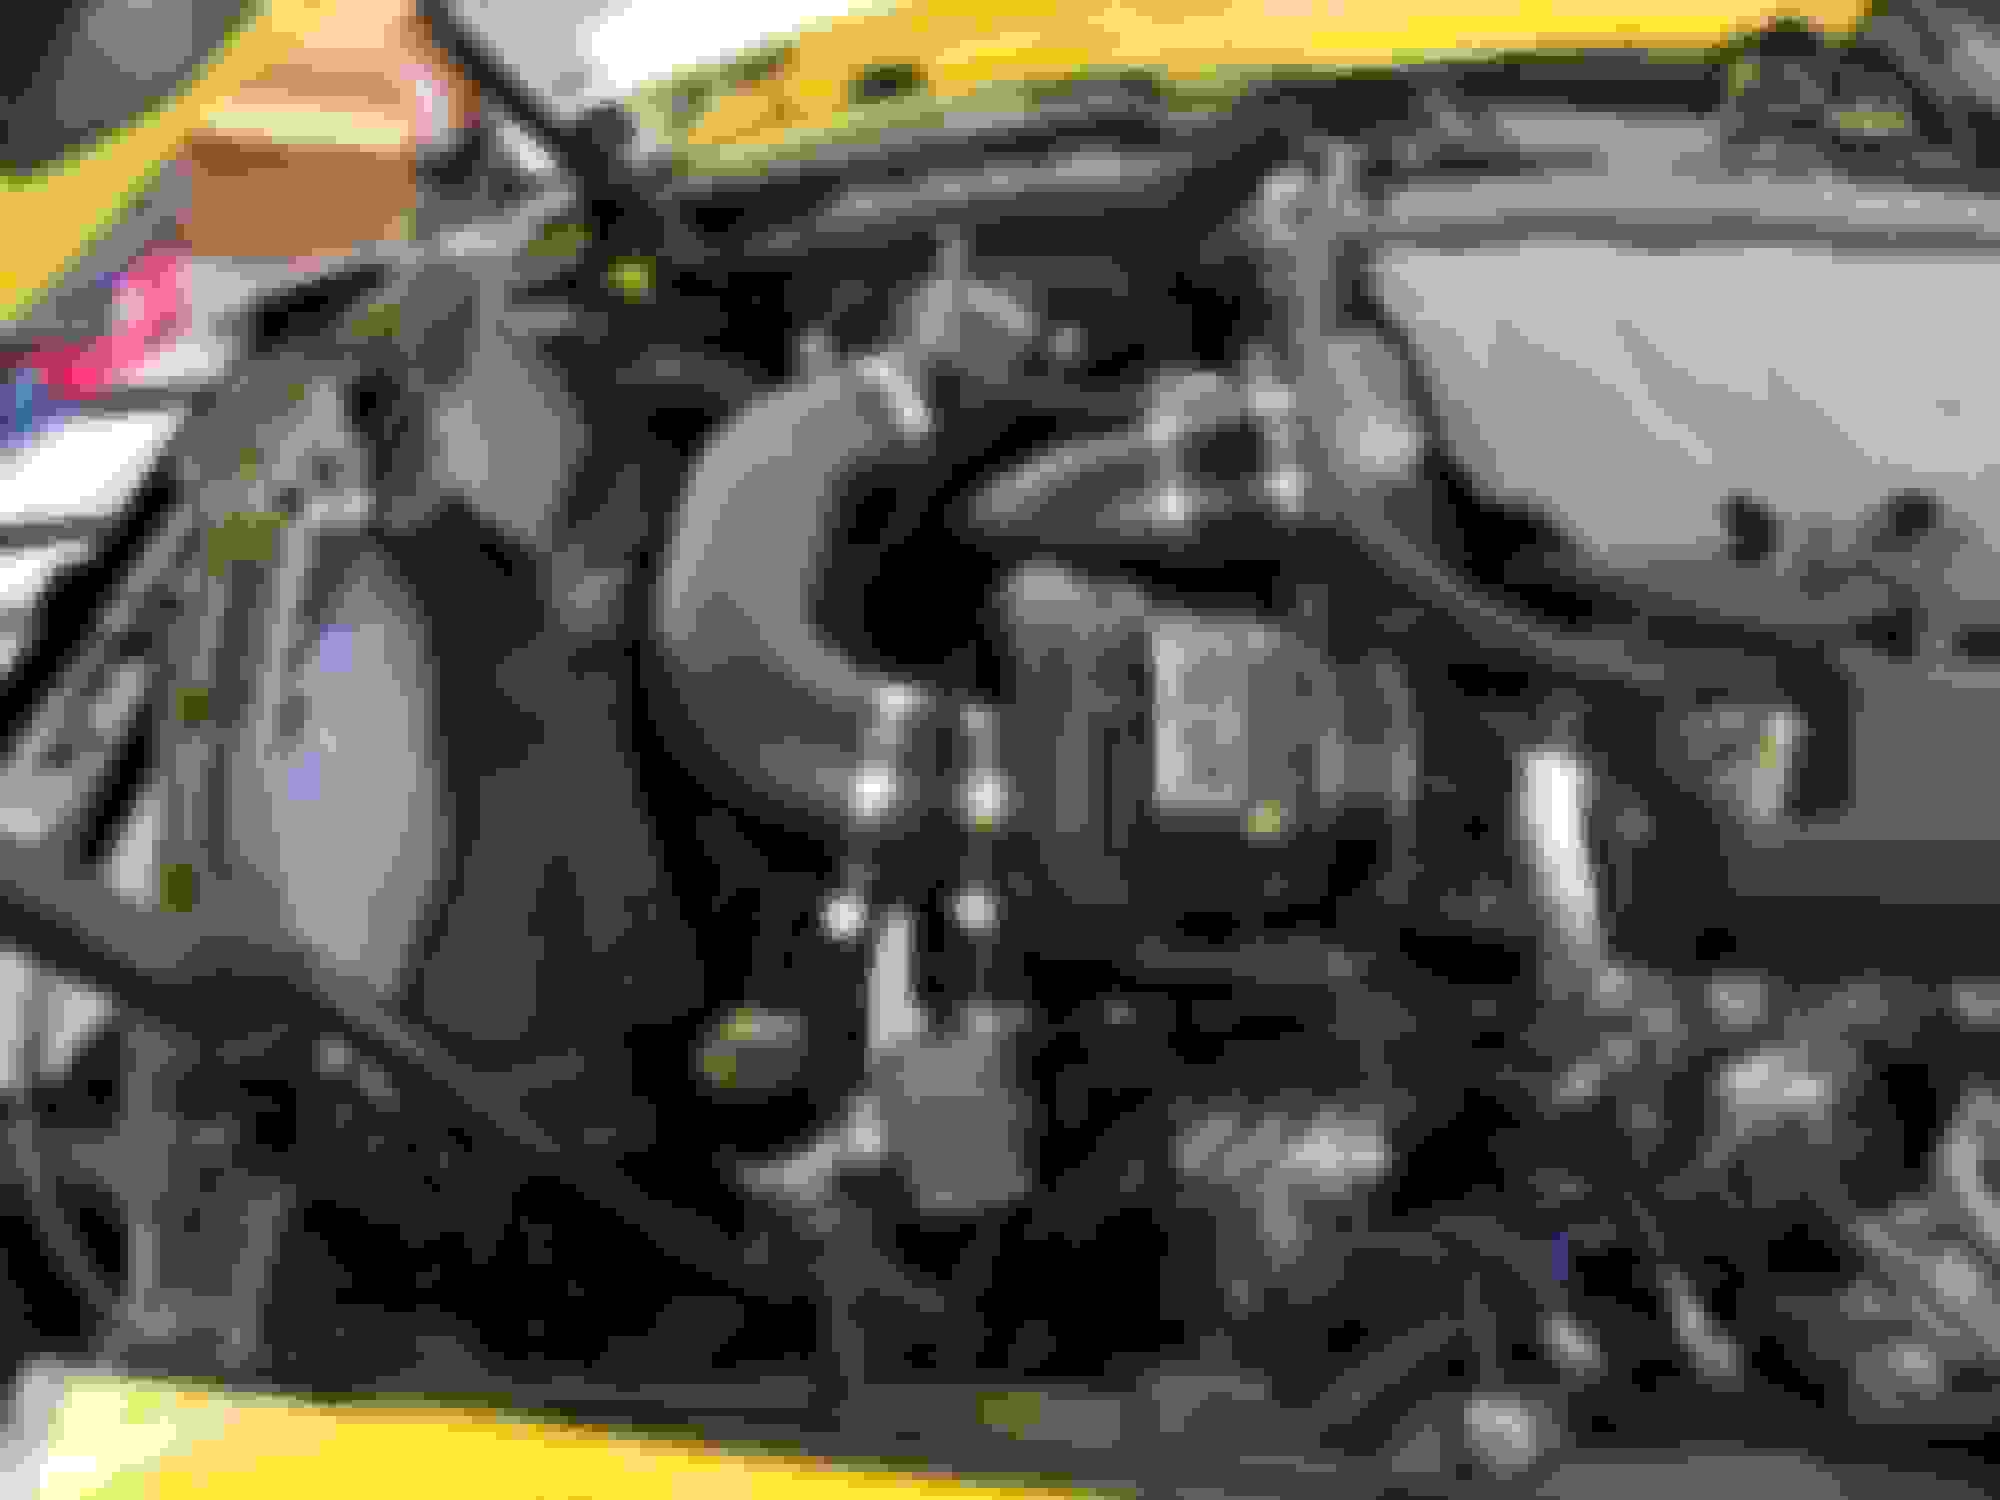
I decided to go the "self install" route, and so far it has been good, the kit is very well put together and Josh has been great to work with (although I am sure I have managed to annoy him at some point)
Should be done in a week or so, since I am waiting on some supporting mods to come in now. So excited! Here are a couple of pics from the process so far...
I just got my kit, obviously excited. Any tips or tricks to share so far?
I guess which tips would be helpful would depend on your comfort level and mechanical background, some things that may seem difficult to some may be a walk in the park for others. I am somewhere in the middle I think, and I also did some things that most people probably wouldn't do, so it made the job easier. These things made it take longer, but I actually don't mind that, since it is like therapy for me to put mods on my car.
That being prefaced, here is what I did (that was not included in the instructions) to make things easier on myself. Take it with a grain of salt, these may not be necessary for you, I am just a little OCD.
- I removed the smaller coolant hose on the lower drivers side of the radiator to aid in the easy removal of the sway bar and steering rack. This required draining the coolant, which, in all honesty, was due to be done anyways. (Cue the mass amounts of comments now forthcoming that will explain how this is totally unnecessary and how they didn't need to do that on their car).
(This next one is going to make heads spin and infuriate people who like to hurry)
- I drained all of the brake fluid from the entire system, and completely removed the ABS module from the car, to move it over to it's new location. Bending the lines by moving it over as a solid unit just looked totally "shady tree" to me, and I felt it was much better to custom bend each line individually to get it where I wanted it. I also removed the main lines from the master cylinder, and carefully bent those at the back (by the master cylinder) to take up some of the slack, so it didn't require such massive bends at the module end. As it turns out, my brake fluid was pretty nasty, so that was a win win!
- Don't forget to tuck the ABS brake module wire harness underneath the mounting bracket the first time. That is all I have to say about that.
- I pulled the supercharger mounting bracket that goes to the head, off of the supercharger assembly, temporarily mounted it to the head, and used it for a guide to make sure the ABS module had clearance to the bracket. Initially mine was an interference fit, and I had to "massage" the lower mounting holes of the bracket to move it towards the driver side fender (away from the bracket) a pinch, and create a small gap between the module and the bracket. Your mileage may vary on this one.
- I removed the fan and shroud to make more room in the engine bay, which was helpful (and easy). I also modified it (drilled the required hole) on the workbench instead of in the car.
- I removed the entire front bumper, because it is a thousand times easier to get to the Intercooler mounting area to cut the plastic, test fit (many times), drill holes, and also route the hoses to the throttle body and supercharger. I also have a Z51 car, and wanted to retain the trans cooler, so I needed to fabricate a mounting solution for that, which required removal of the bumper as well. But, since I have removed it 3 times already in the past, and can remove it completely in about 15 minutes, that was a no brainier for me.
- The steering rack is heavy as hell, so be ready for that when it falls onto your rib cage and paralyzes you
- They send you two bolts for the new balancer/pulley. One is located with the pulley, easy to find, and is the one that will ultimately hold it on the car. The other one (longer one) that is used to get the new pulley started onto the crank is tucked away nicely in some other bag with some random hoses, and if you are lucky enough to realize this before you lose your f'ing mind thinking it was not sent, and then spend 2 hours driving around town trying to find something similar at every local hardware or home improvement store within 20 miles (hint, they don't exist), and then ultimately MacGyver your pulley onto the car using ingenuity and curse words, before discovering the bolt in the bag, the very next morning, it is likely a much smoother process (I can only imagine).
- To get my belt installed, I had to remove the outer bolt on the tensioner, so I could swing it far out of the way, and then bring it back down once the belt was installed (belt was too short to install over the pulley's with both idler pulleys installed).
- Unload and dis-assemble all of your firearms and place them in a safe that you don't know the combination to, before you set out on trying to install the top tube that goes from the air box to the supercharger (basically the last hose). After about 40 minutes of messing around with mine, I had verbally abused my car to the point that it may now need counseling. I may never remove the air cleaner again (unless the nightmares stop), when it comes time to clean it, I may just replace the car.
- I chose not to remove my hood, and just propped it up, which did not seem to hinder me at all.
Hope some of that may help, good luck! Show us an update of your progress.
Last edited by only9balls; 06-20-2018 at 01:56 AM.
Thanks for the writeup O9B. We won't bust you on your choices but a couple of comments:
The long life coolants really don't need to be changed every 2 or 3 years like the old stuff. But if draining it made the job easier that's good.
Draining all the brake fluid and removing the ABS module. Whew. I like the idea of doing the bends better but you need a GM Tech 1 Tool to cycle and bleed the ABS module once the system is back together... or have somewhere to tow it. Will cost some $ if that is the dealer. What is your plan?
Your top hose nightmare reminds me of my old Camaro intake. There was simply no wiggle room and it was always a battle to hook back up. Need all the curse words...
I guess which tips would be helpful would depend on your comfort level and mechanical background, some things that may seem difficult to some may be a walk in the park for others. I am somewhere in the middle I think, and I also did some things that most people probably wouldn't do, so it made the job easier. These things made it take longer, but I actually don't mind that, since it is like therapy for me to put mods on my car.
That being prefaced, here is what I did (that was not included in the instructions) to make things easier on myself. Take it with a grain of salt, these may not be necessary for you, I am just a little OCD.
- I removed the smaller coolant hose on the lower drivers side of the radiator to aid in the easy removal of the sway bar and steering rack. This required draining the coolant, which, in all honesty, was due to be done anyways. (Cue the mass amounts of comments now forthcoming that will explain how this is totally unnecessary and how they didn't need to do that on their car).
(This next one is going to make heads spin and infuriate people who like to hurry)
- I drained all of the brake fluid from the entire system, and completely removed the ABS module from the car, to move it over to it's new location. Bending the lines by moving it over as a solid unit just looked totally "shady tree" to me, and I felt it was much better to custom bend each line individually to get it where I wanted it. I also removed the main lines from the master cylinder, and carefully bent those at the back (by the master cylinder) to take up some of the slack, so it didn't require such massive bends at the module end. As it turns out, my brake fluid was pretty nasty, so that was a win win!
- Don't forget to tuck the ABS brake module wire harness underneath the mounting bracket the first time. That is all I have to say about that.
- I pulled the supercharger mounting bracket that goes to the head, off of the supercharger assembly, temporarily mounted it to the head, and used it for a guide to make sure the ABS module had clearance to the bracket. Initially mine was an interference fit, and I had to "massage" the lower mounting holes of the bracket to move it towards the driver side fender (away from the bracket) a pinch, and create a small gap between the module and the bracket. Your mileage may vary on this one.
- I removed the fan and shroud to make more room in the engine bay, which was helpful (and easy). I also modified it (drilled the required hole) on the workbench instead of in the car.
- I removed the entire front bumper, because it is a thousand times easier to get to the Intercooler mounting area to cut the plastic, test fit (many times), drill holes, and also route the hoses to the throttle body and supercharger. I also have a Z51 car, and wanted to retain the trans cooler, so I needed to fabricate a mounting solution for that, which required removal of the bumper as well. But, since I have removed it 3 times already in the past, and can remove it completely in about 15 minutes, that was a no brainier for me.
- The steering rack is heavy as hell, so be ready for that when it falls onto your rib cage and paralyzes you
- They send you two bolts for the new balancer/pulley. One is located with the pulley, easy to find, and is the one that will ultimately hold it on the car. The other one (longer one) that is used to get the new pulley started onto the crank is tucked away nicely in some other bag with some random hoses, and if you are lucky enough to realize this before you lose your f'ing mind thinking it was not sent, and then spend 2 hours driving around town trying to find something similar at every local hardware or home improvement store within 20 miles (hint, they don't exist), and then ultimately MacGyver your pulley onto the car using ingenuity and curse words, before discovering the bolt in the bag, the very next morning, it is likely a much smoother process (I can only imagine).
- To get my belt installed, I had to remove the outer bolt on the tensioner, so I could swing it far out of the way, and then bring it back down once the belt was installed (belt was too short to install over the pulley's with both idler pulleys installed).
- Unload and dis-assemble all of your firearms and place them in a safe that you don't know the combination to, before you set out on trying to install the top tube that goes from the air box to the supercharger (basically the last hose). After about 40 minutes of messing around with mine, I had verbally abused my car to the point that it may now need counseling. I may never remove the air cleaner again (unless the nightmares stop), when it comes time to clean it, I may just replace the car.
- I chose not to remove my hood, and just propped it up, which did not seem to hinder me at all.
Hope some of that may help, good luck! Show us an update of your progress.
some of your comments made me relive my multiple installs on mine haha
Draining all the brake fluid and removing the ABS module. Whew. I like the idea of doing the bends better but you need a GM Tech 1 Tool to cycle and bleed the ABS module once the system is back together... or have somewhere to tow it. Will cost some $ if that is the dealer. What is your plan?
Plan?
Hmmm, usually my forward thinking on projects like this are akin to loading up two sixguns, pointing 'em to the sky and yelling YEEEHHAAA!! while I let 'em rip!
I figured I would just use my Motive pressure bleeder to force feed that thing all the fluid it can drink, and bleed those baby's until they beg for mercy, but now you have me second guessing myself, thanks for that! Maybe I will take it down a gravel road and lock 'em up a few times to get the air bubbles out, or at least die trying.
I will figure it out, if I have to take it to a shop to bleed it, I know a shop that will help me out.
Motive bleeder is good and will work great on the brakes. I have one. But the problem is the ABS module. You need a way to get the valves to open to push the fluid through the module and the lines to it, and any bubbles out. You might be able to drive it and make the ABS engage to get some of the bubbles out, then you'll have to bleed the brakes again. As you say, this is kind of shady tree. I have done that after brake fluid flushes to get new fluid to go into the module, but never when there might have been air in there.
Originally Posted by only9balls
Plan?
I figured I would just use my Motive pressure bleeder to force feed that thing all the fluid it can drink, and bleed those baby's until they beg for mercy, but now you have me second guessing myself, thanks for that! Maybe I will take it down a gravel road and lock 'em up a few times to get the air bubbles out, or at least die trying.
I will figure it out, if I have to take it to a shop to bleed it, I know a shop that will help me out.

 11-16-2017, 03:04 PM


 Great shop with service the same.


 some of your comments made me relive my multiple installs on mine haha