Rail dust removal on white '08 Vette
 10-11-2009, 10:49 PM
#1
Racer

Thread Starter
Member Since: May 2009
Location: Shakopee MN
Posts: 266
Likes: 0
Received 0 Likes
on
0 Posts
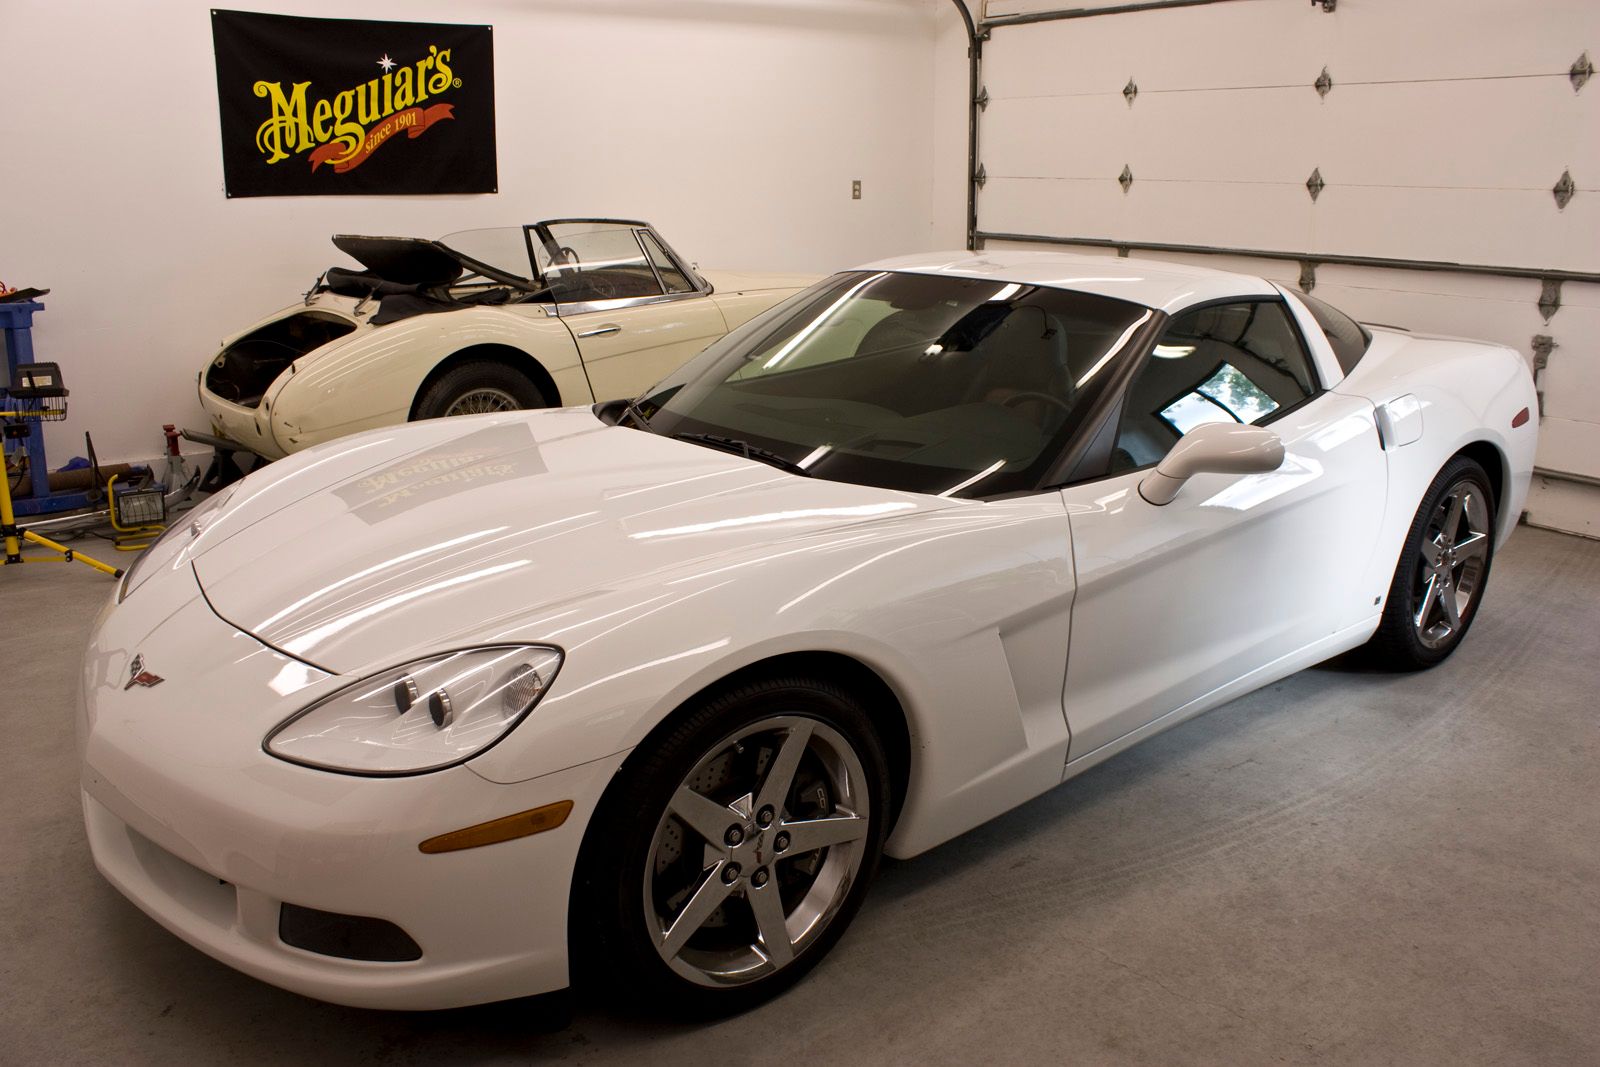
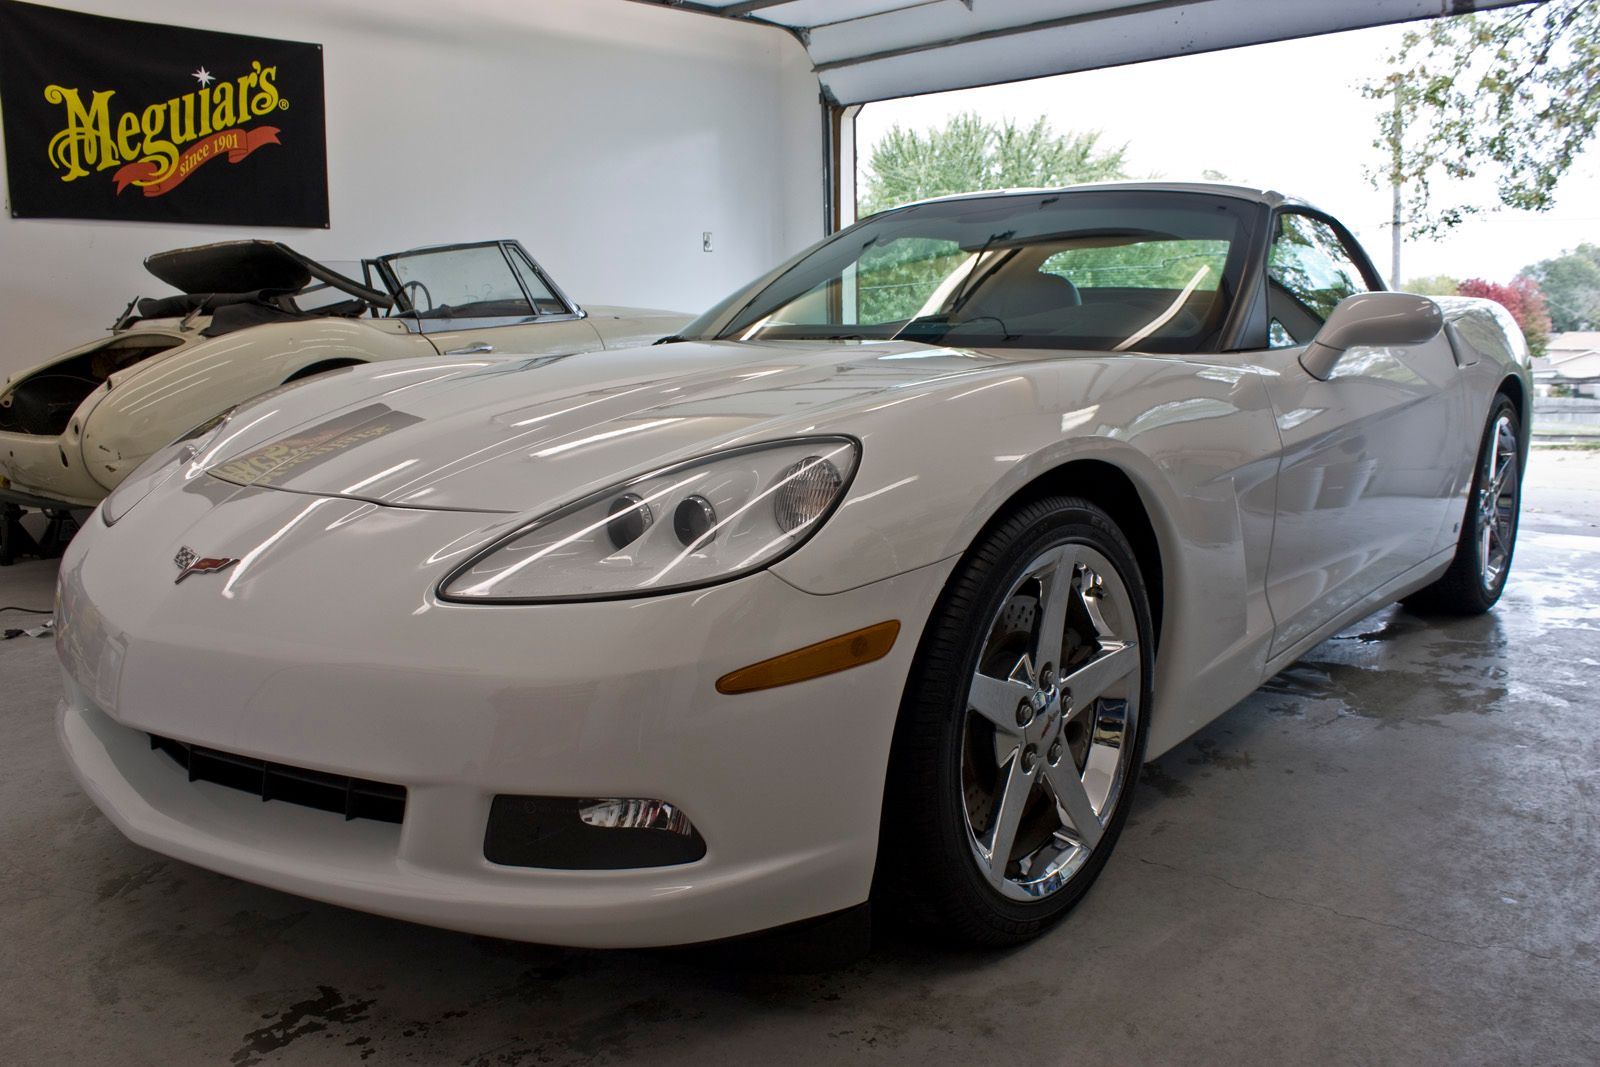
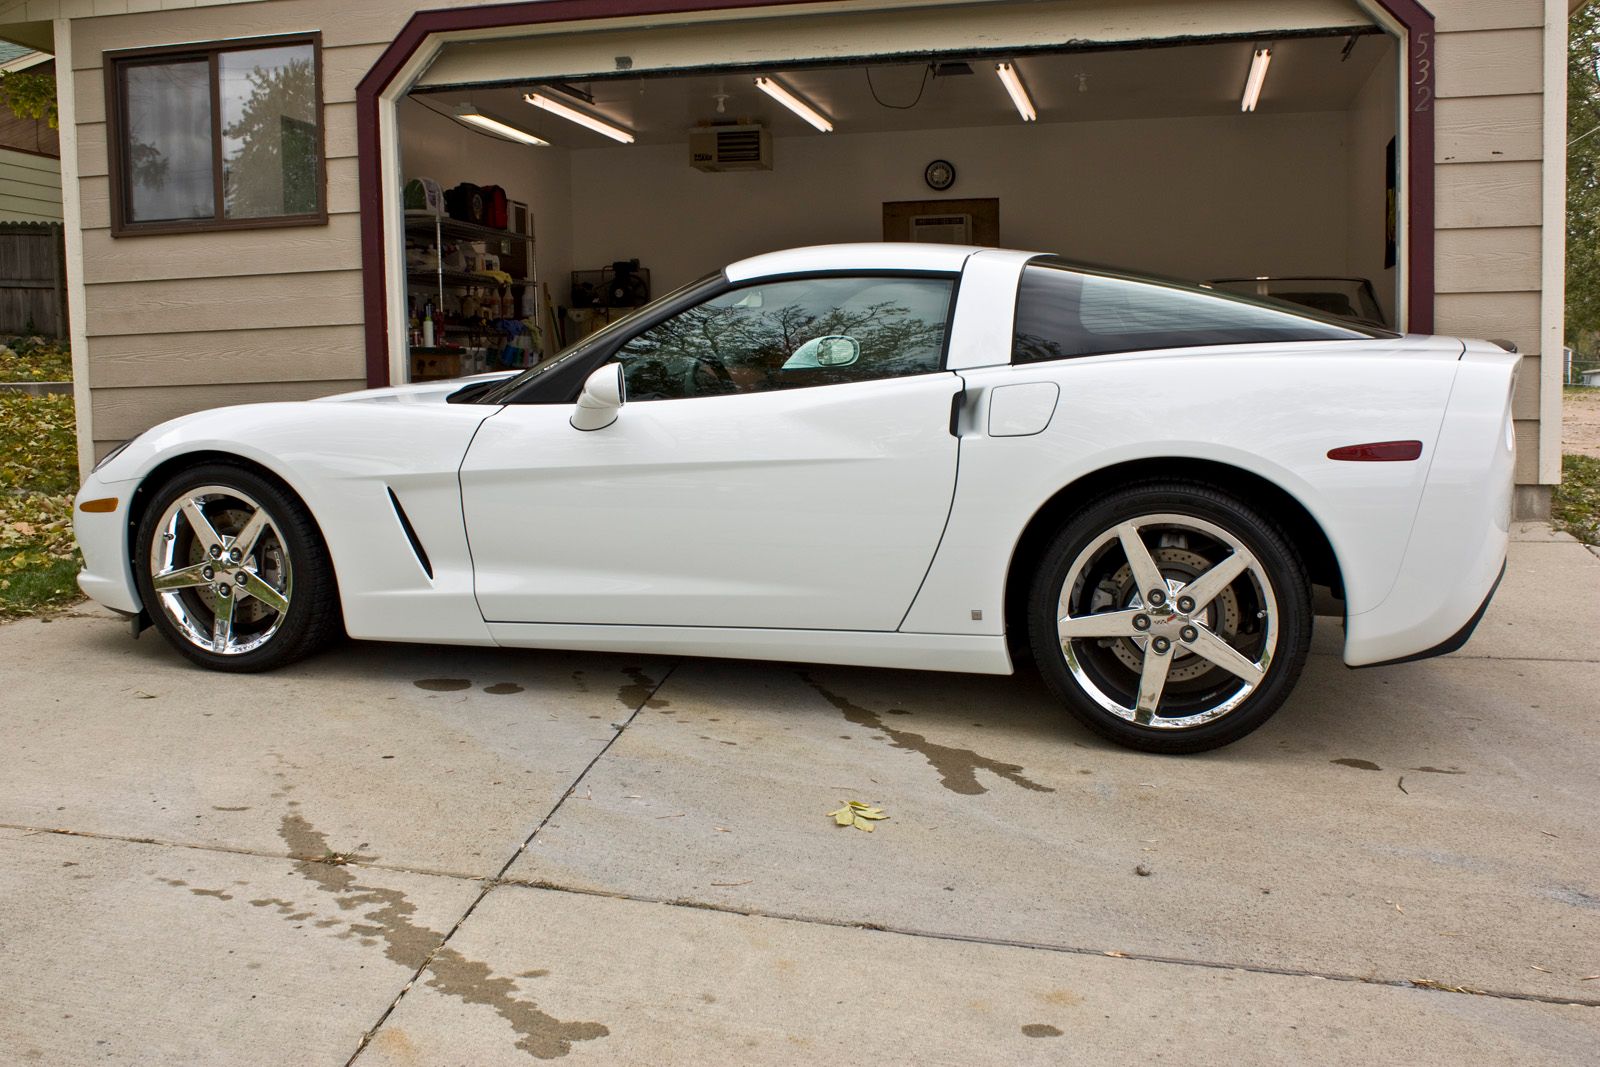
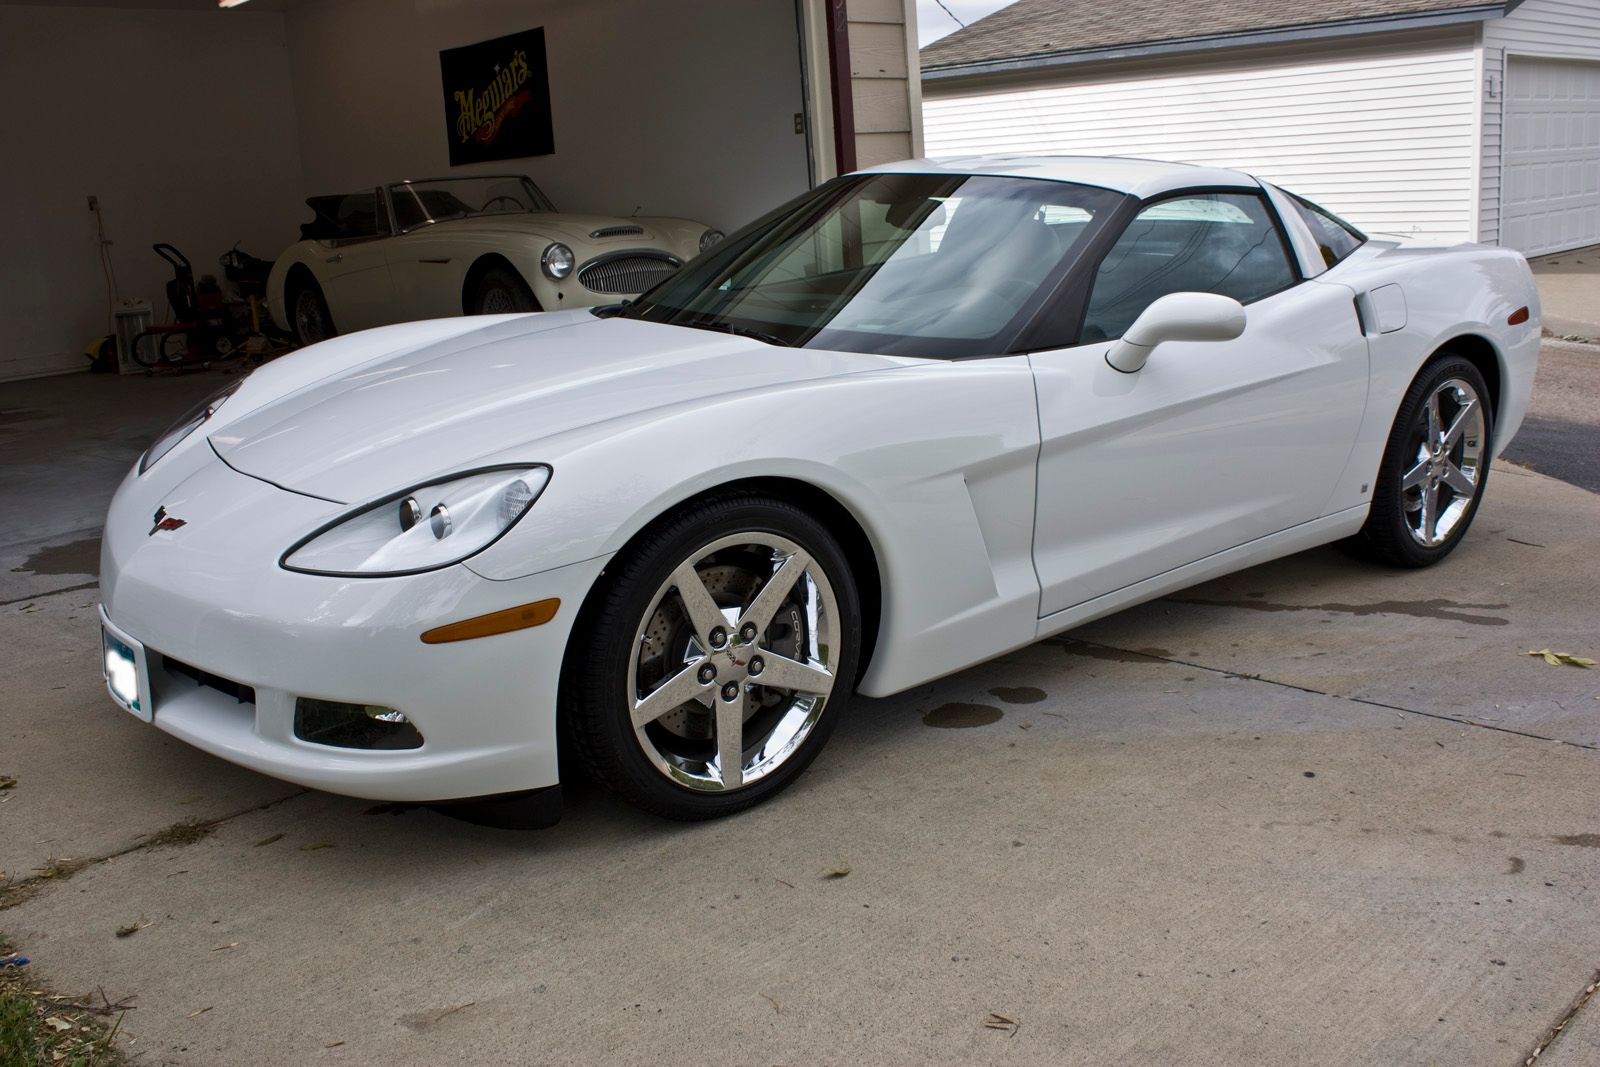
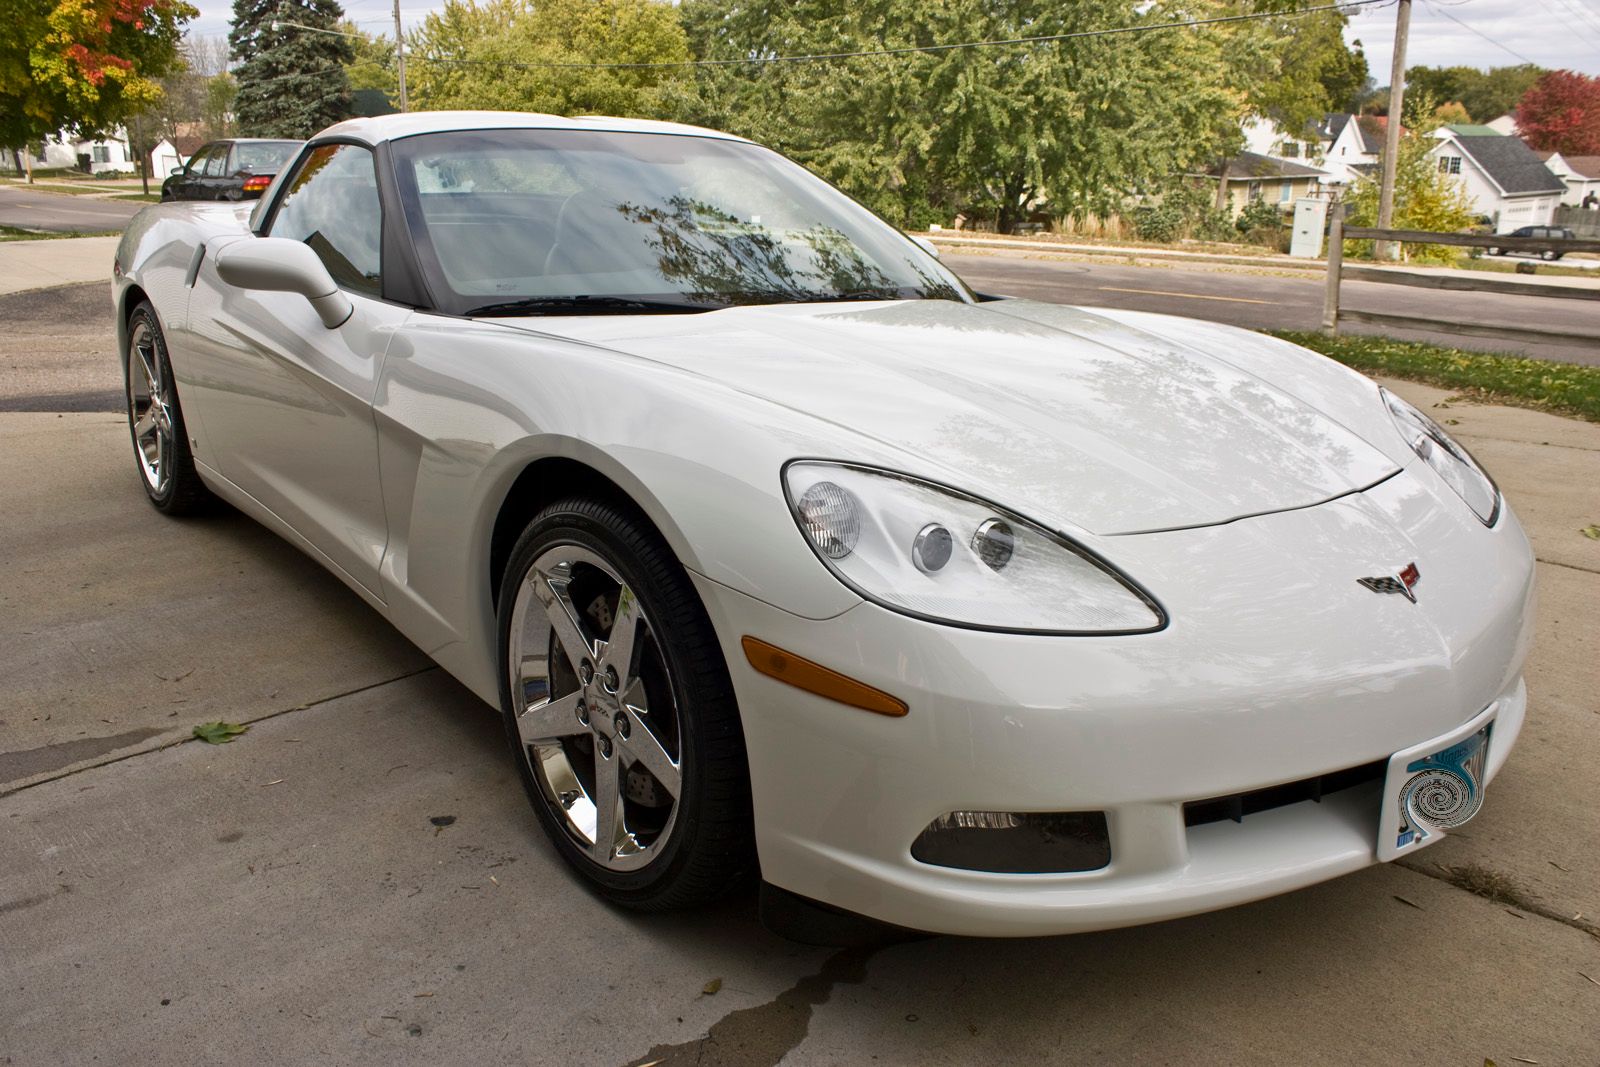
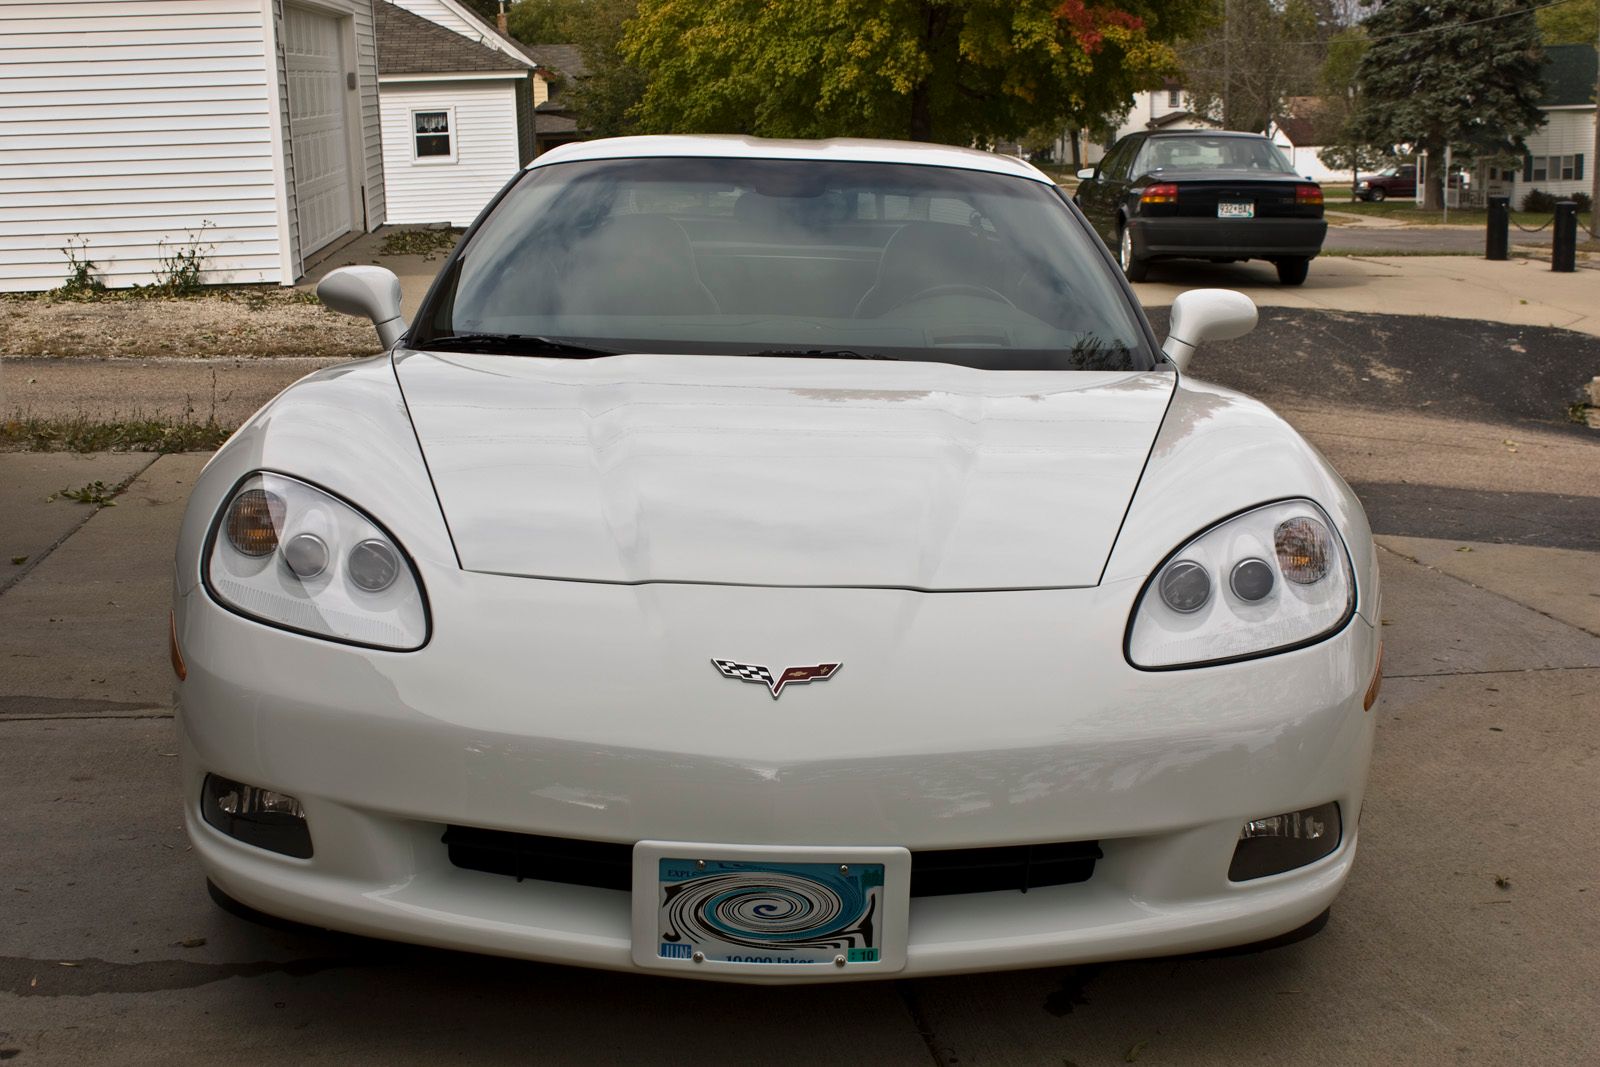
2008 Corvette, heavy rail dust removal...this car belongs to "WhiteLS3"
The owner recently bought this ’08 model Vette new, which had been on the dealers lot for over a year. Over all the car was in great condition with only light marring and a few RIDS, but the rail dust was bothering the owner. He had tried removing it himself using clay, but was unsuccessful. After spending some time on the web researching he was referred to me by another member of a Corvette forum.
After speaking with the owner we set up a time to look at the car so I could evaluate it’s condition. After inspection I felt confident I could remove most, if not all of the contaminates and we scheduled a time to do the car
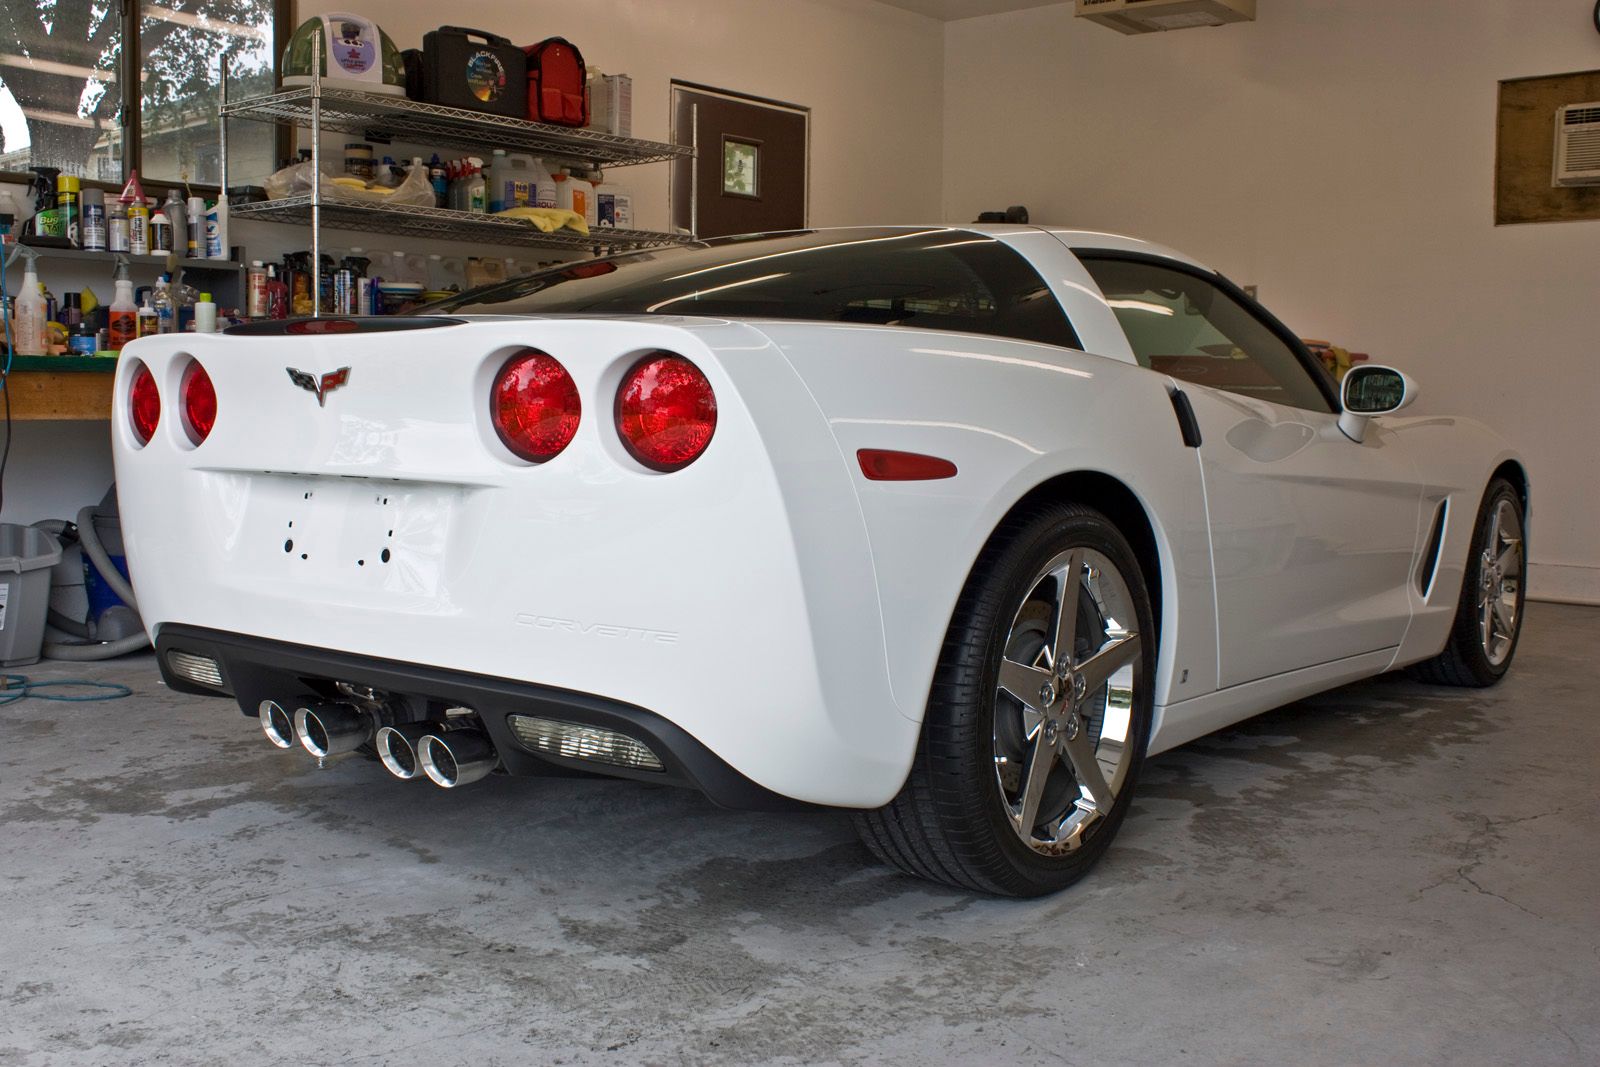
I will say that I definitely underestimated the time needed to remove the contaminates on this car. Originally I had only factored in an extra 2hrs claying time, but I actually spent just under 6 hours doing it! While some of the specs came off rather easily, most were very difficult to remove and required many passes with the clay. One thing that definitely seemed to help was to change direction of the actual claying after a few strokes.
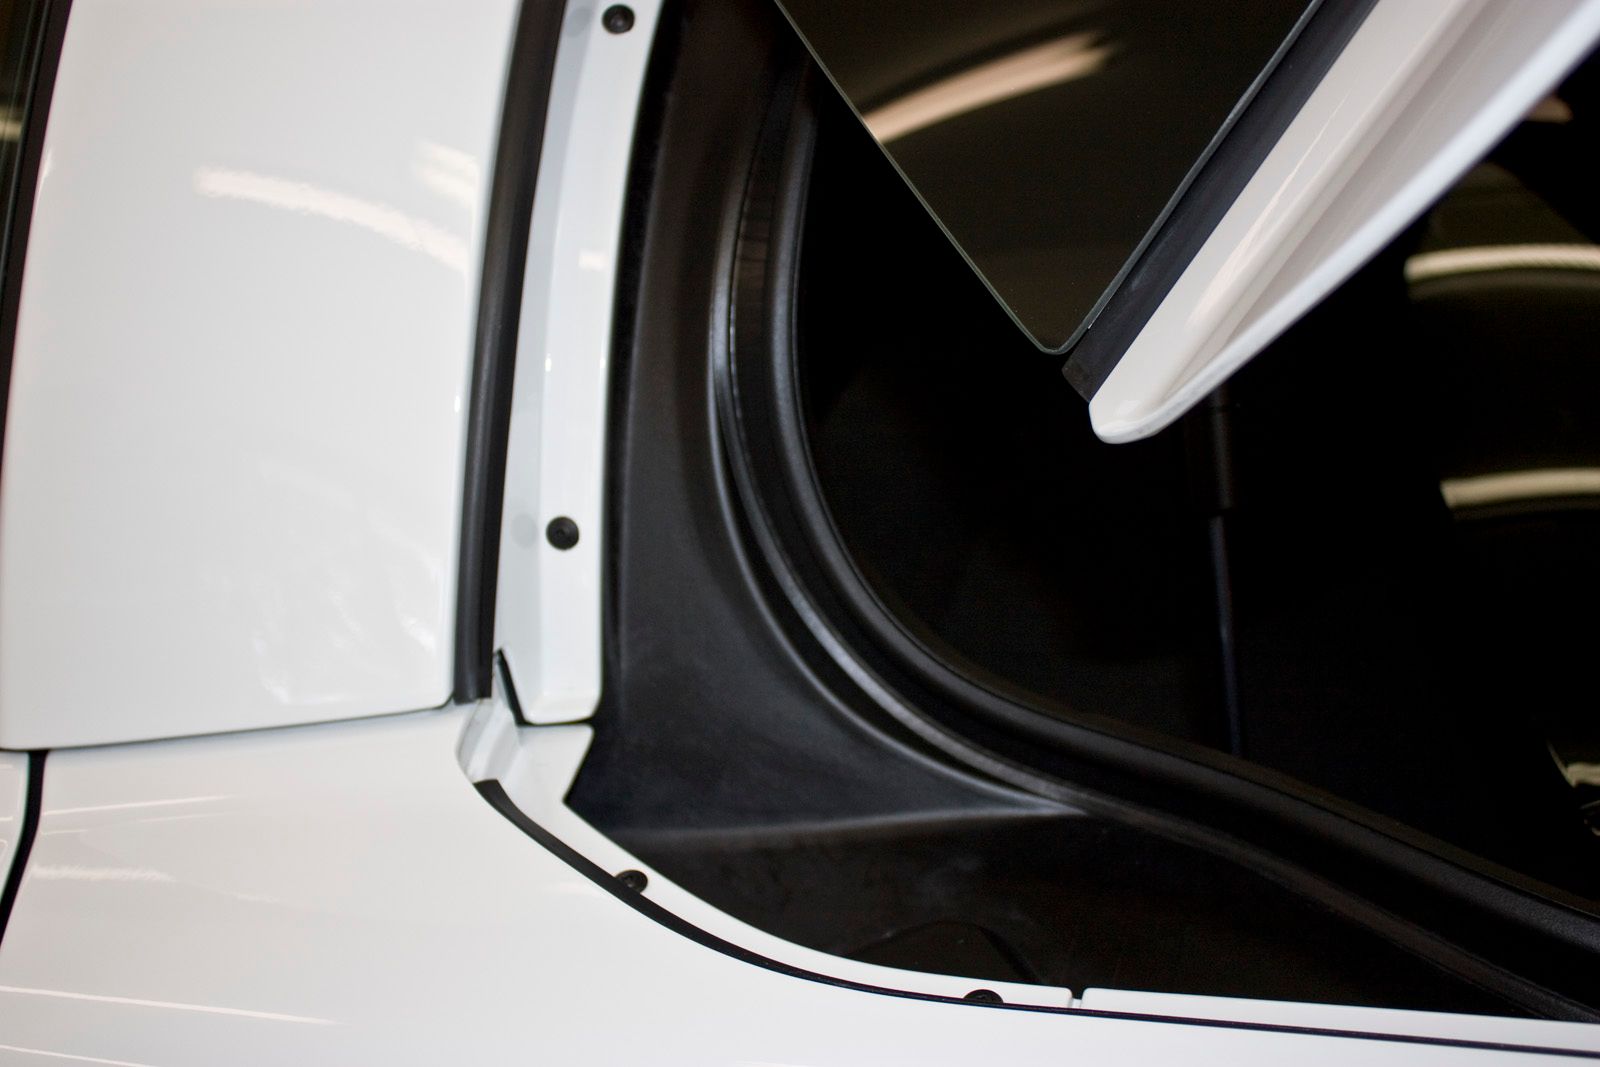
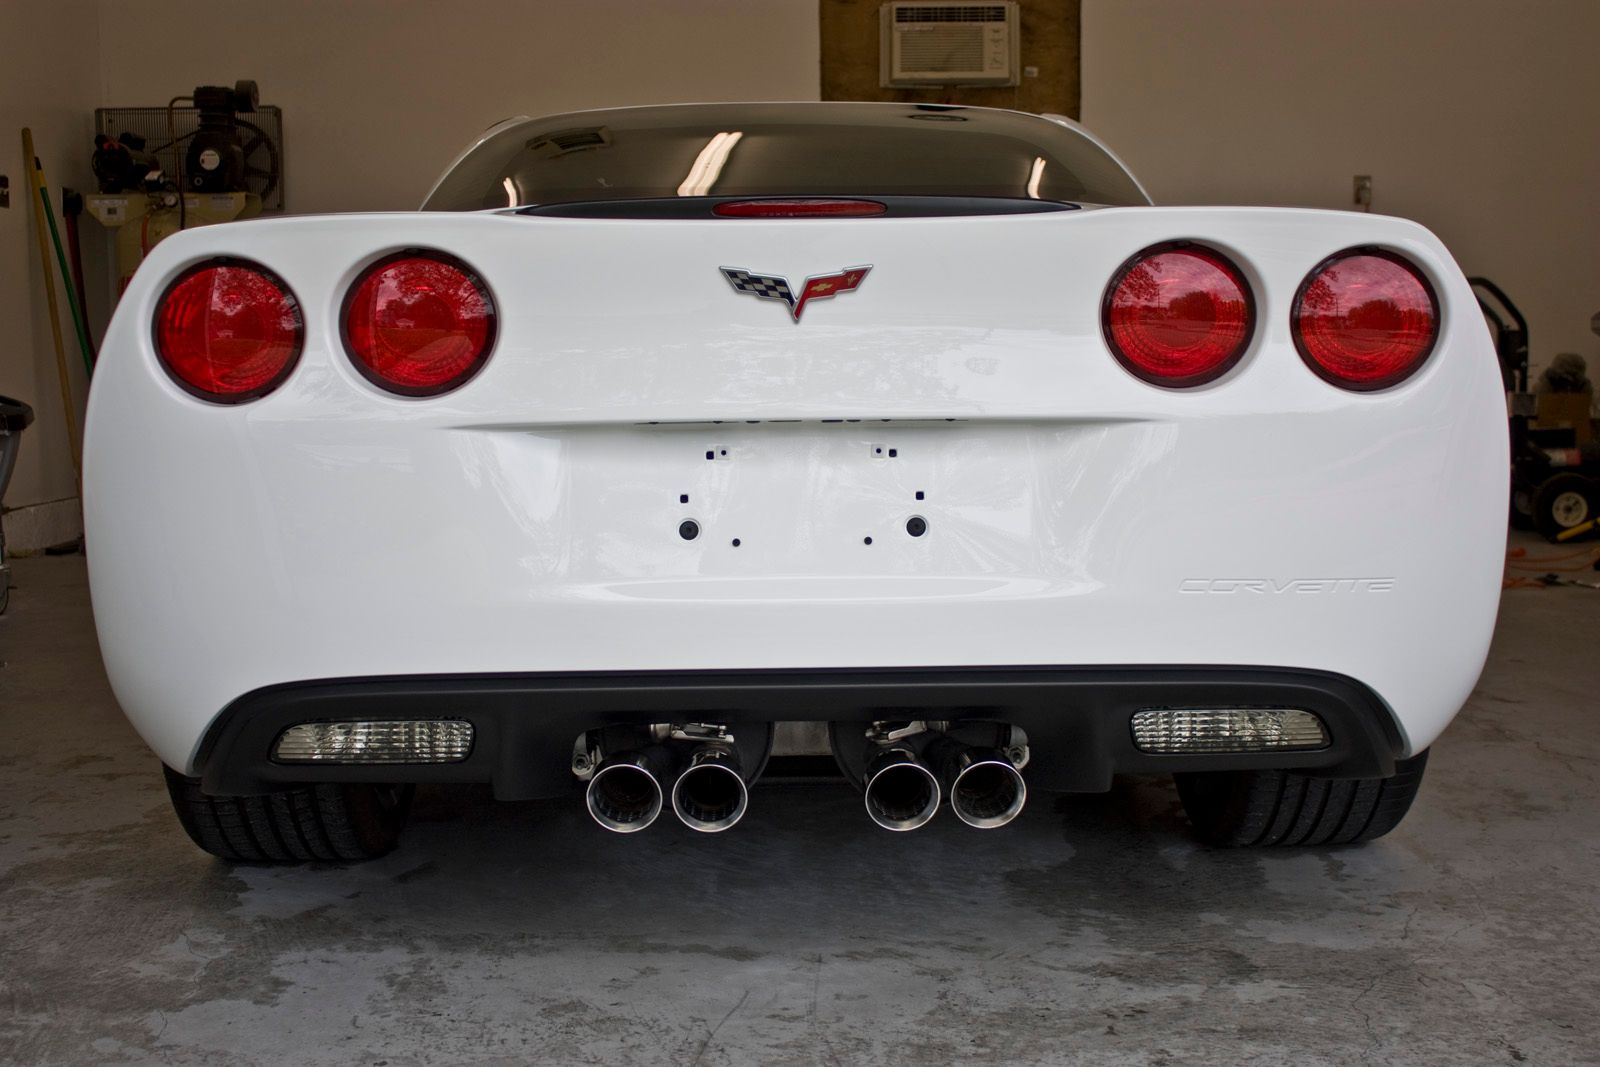
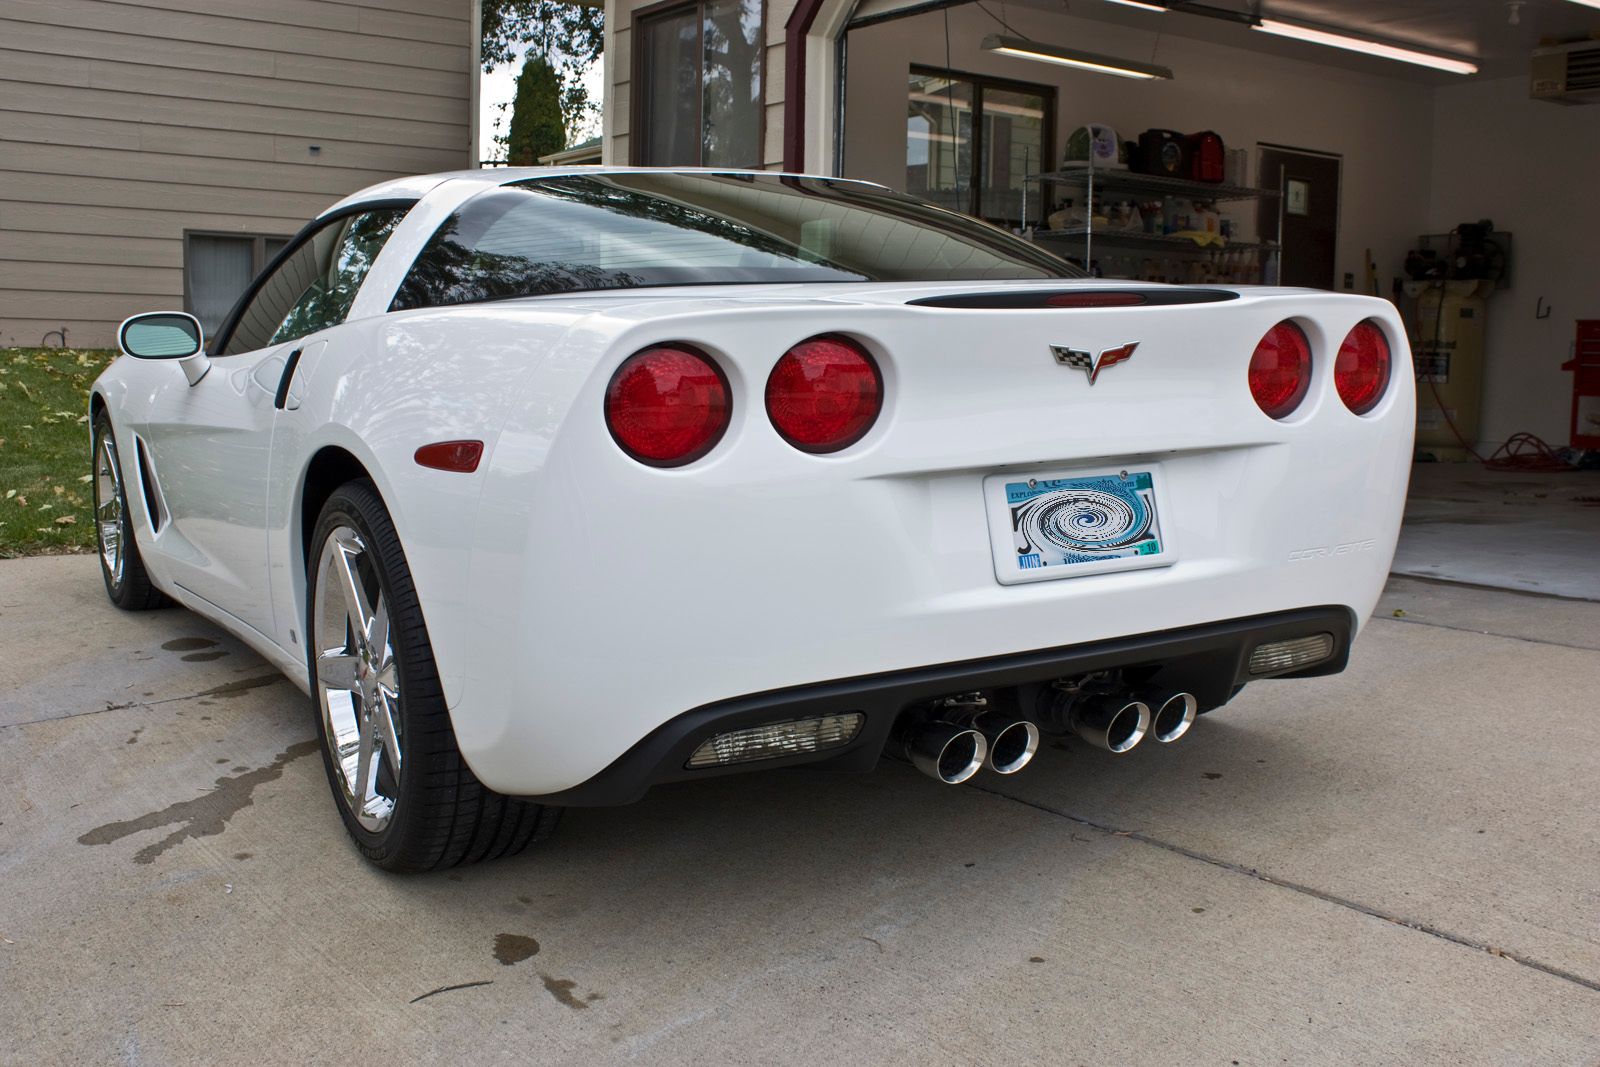
I’d say 99% of the rail dust was removed with only a few specs remaining that could not be reached with the clay (gap between rear glass and rear hatch).
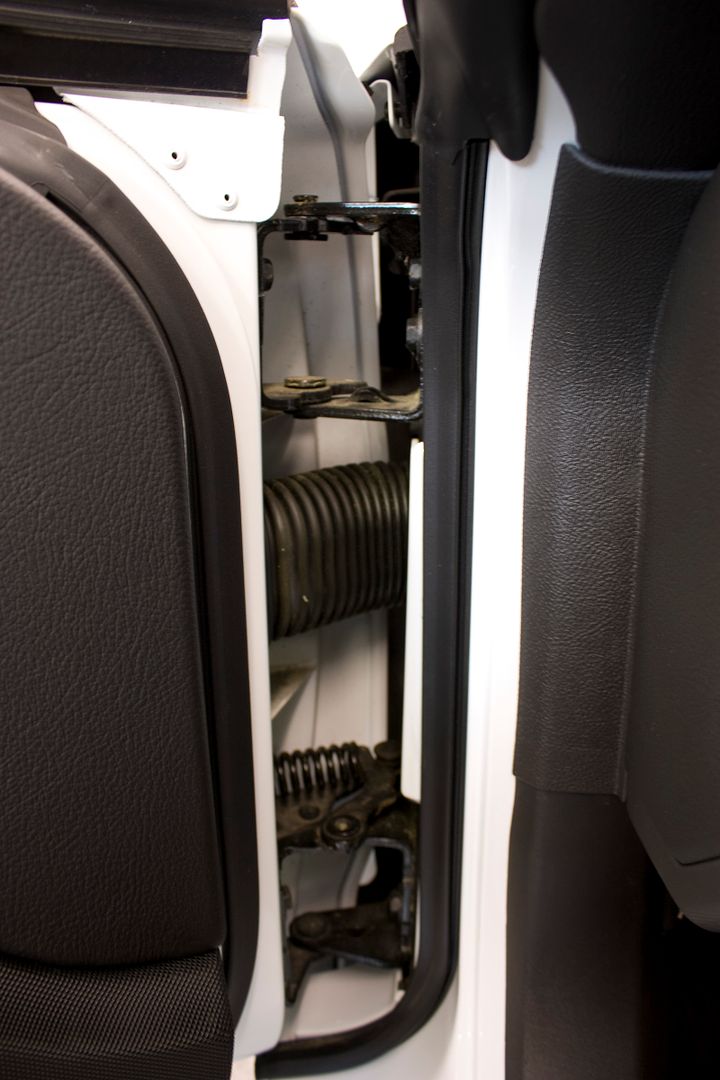
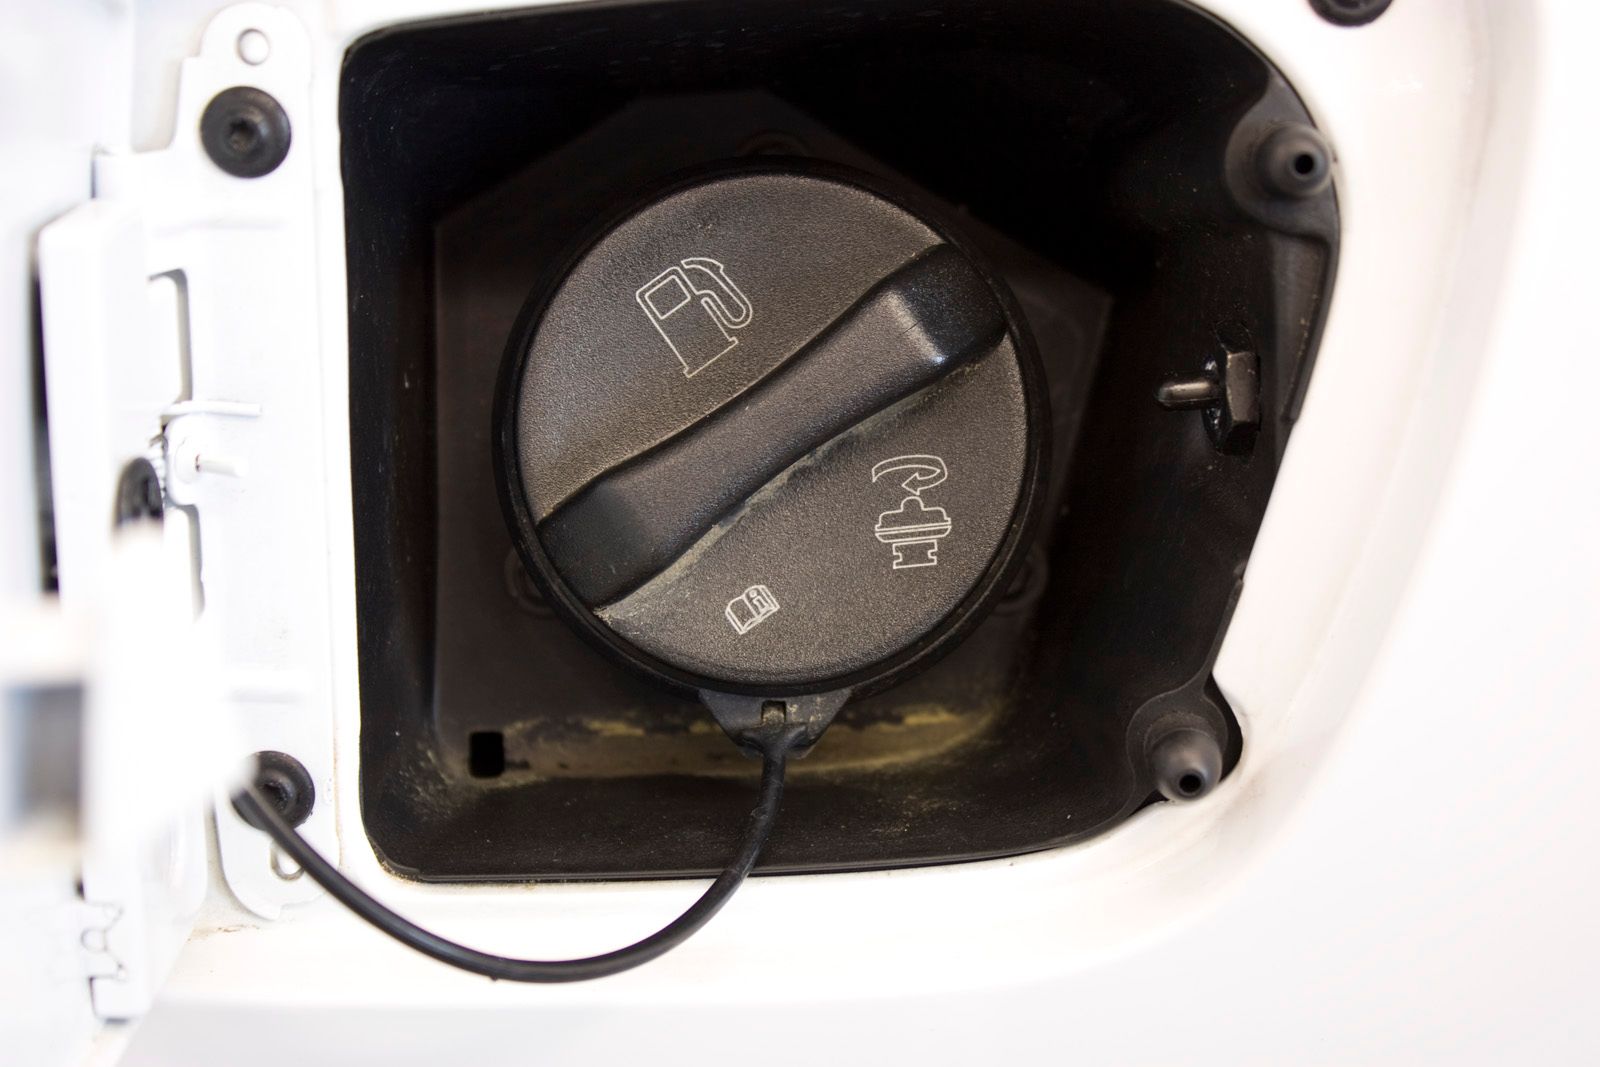
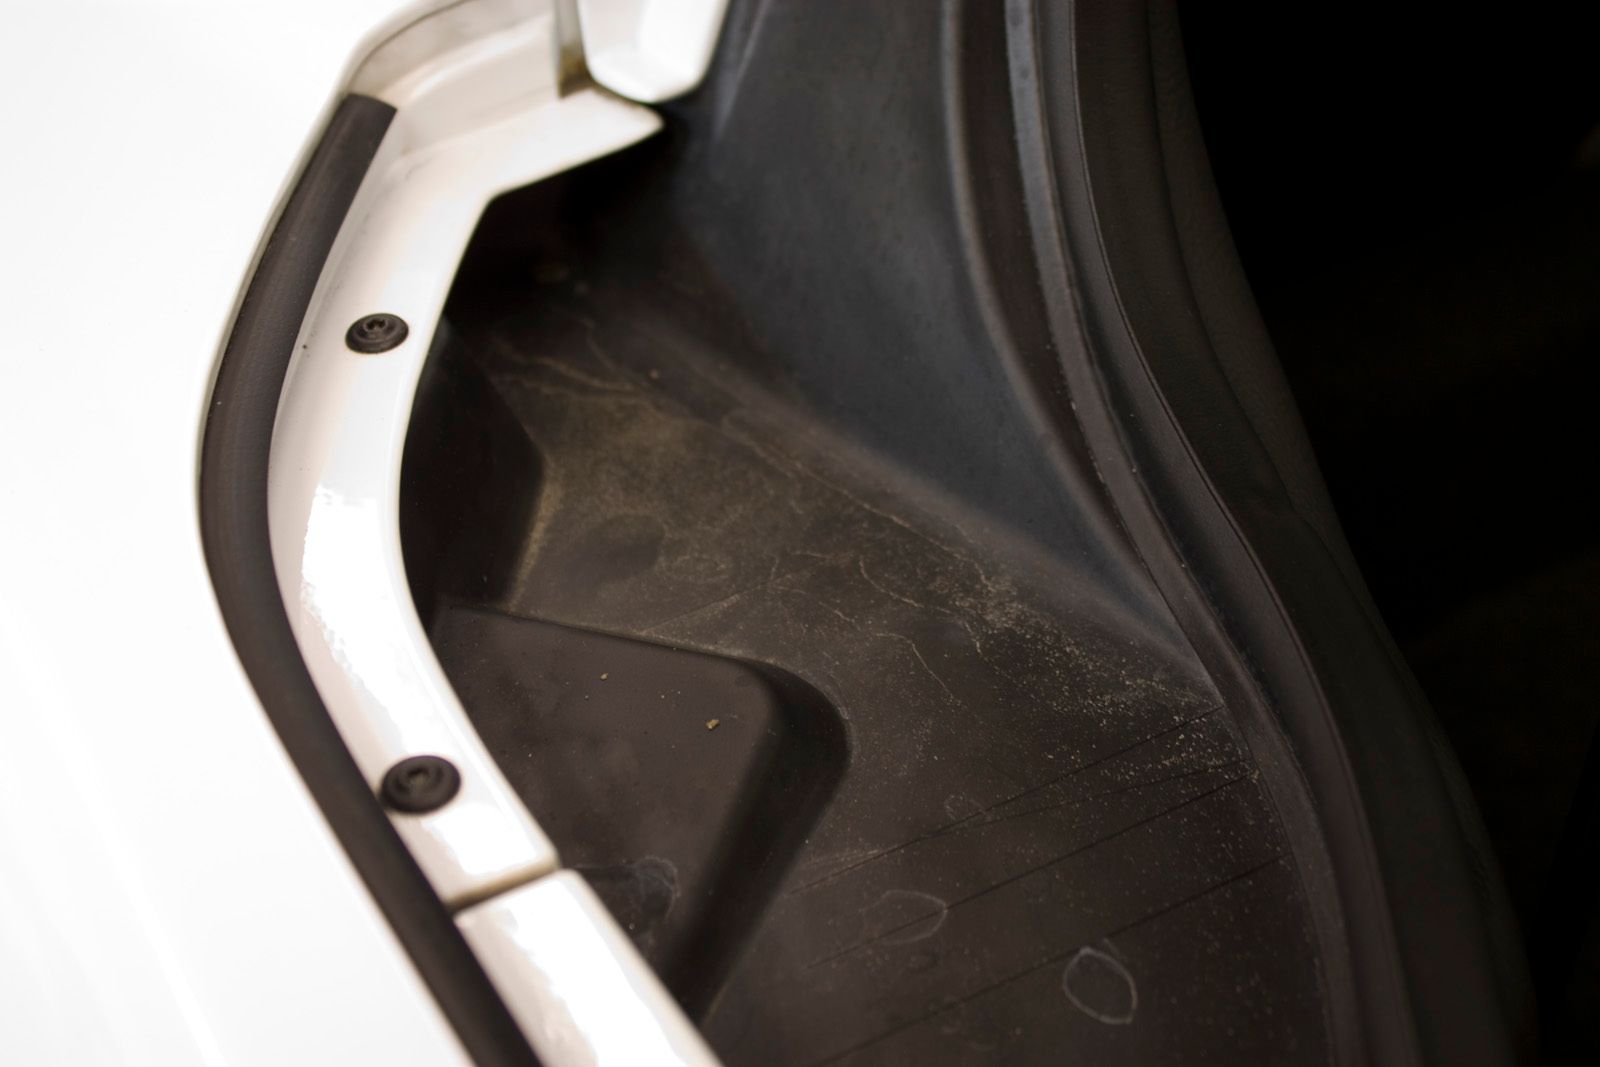
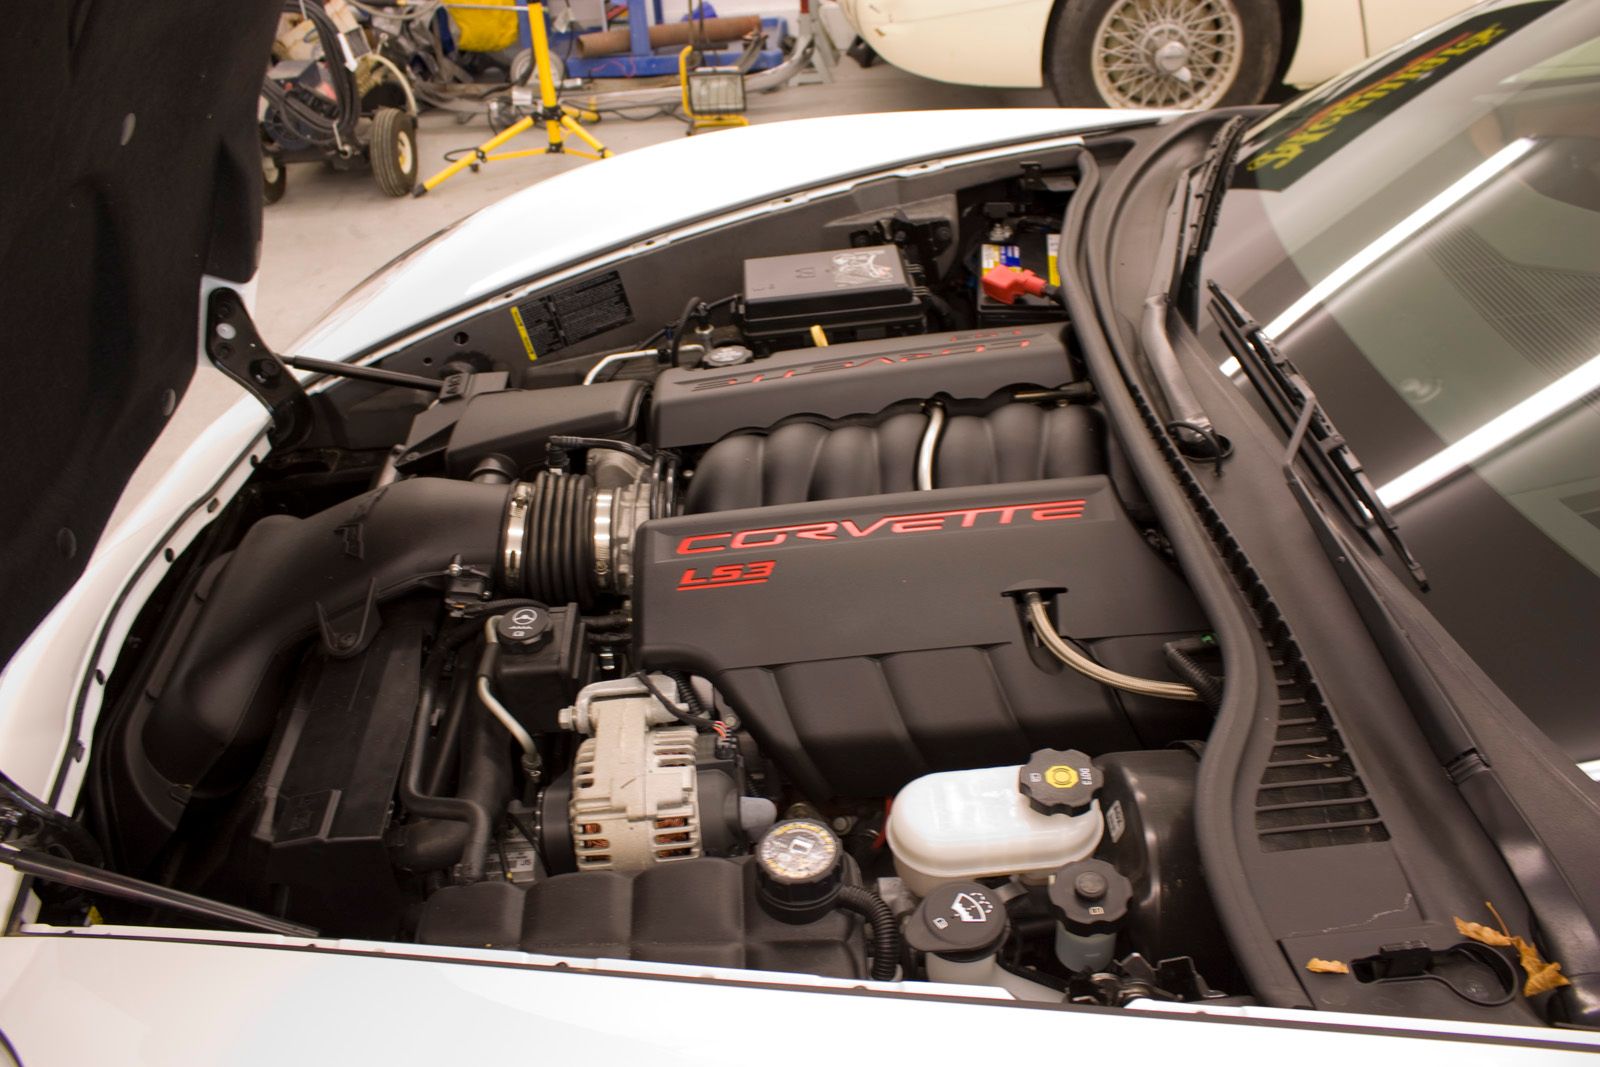
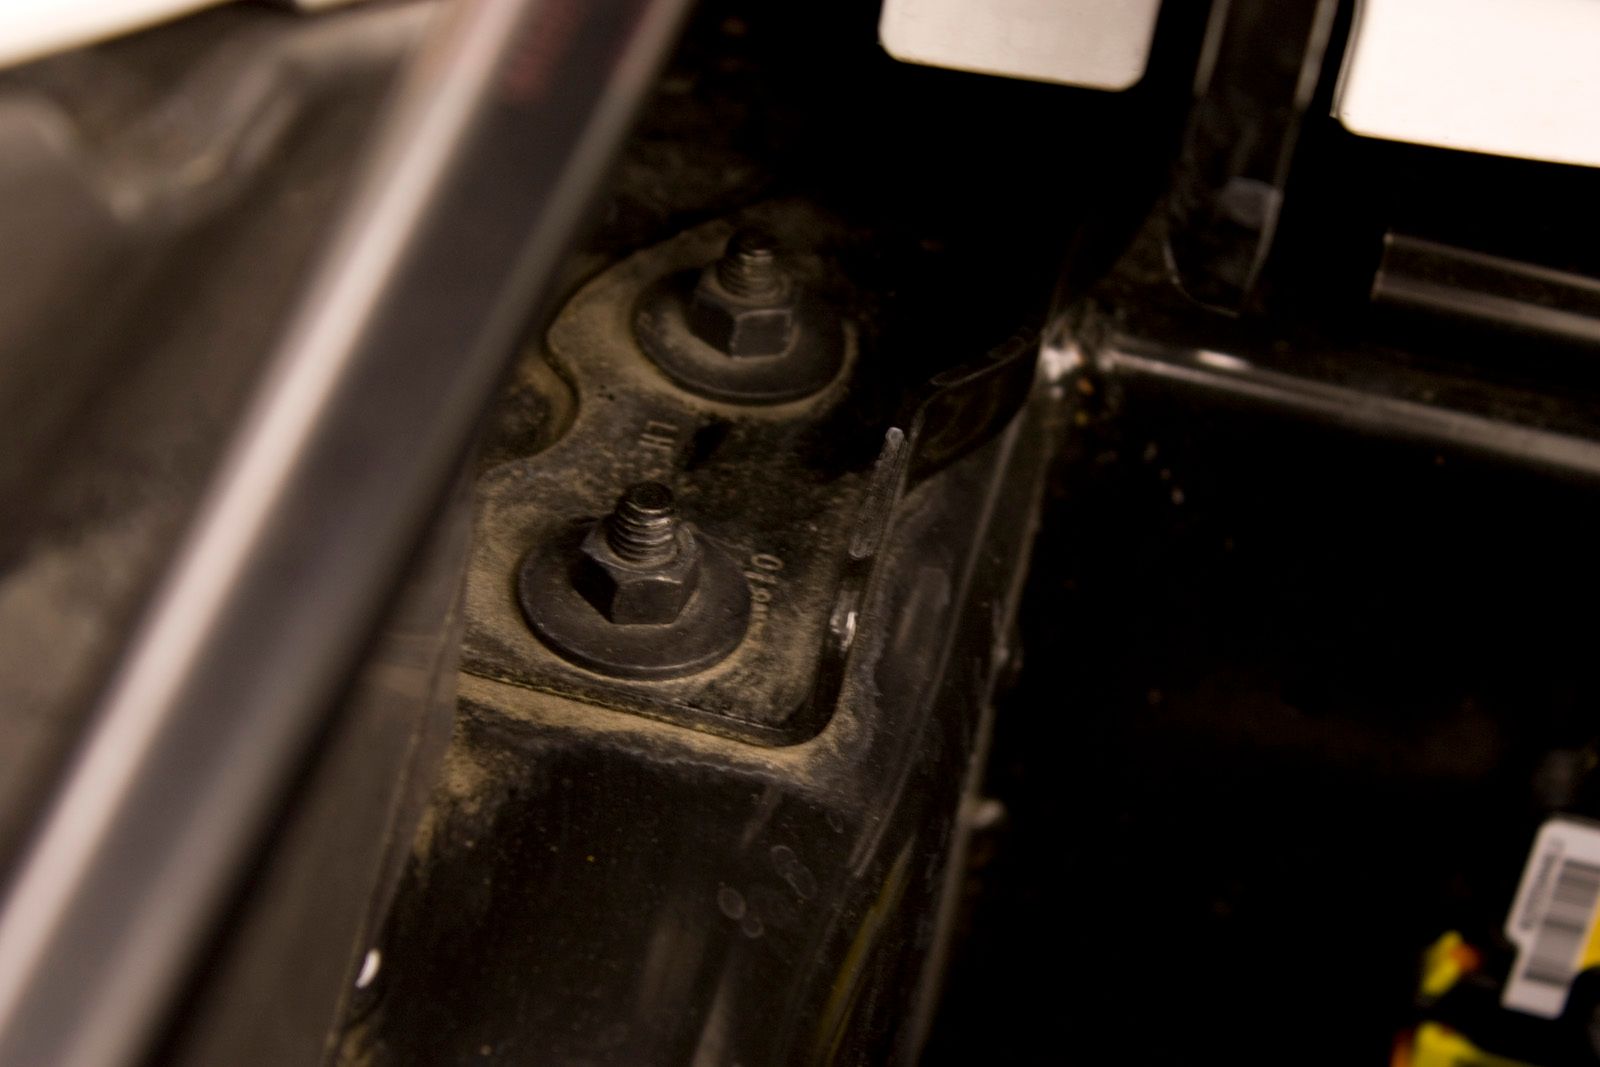
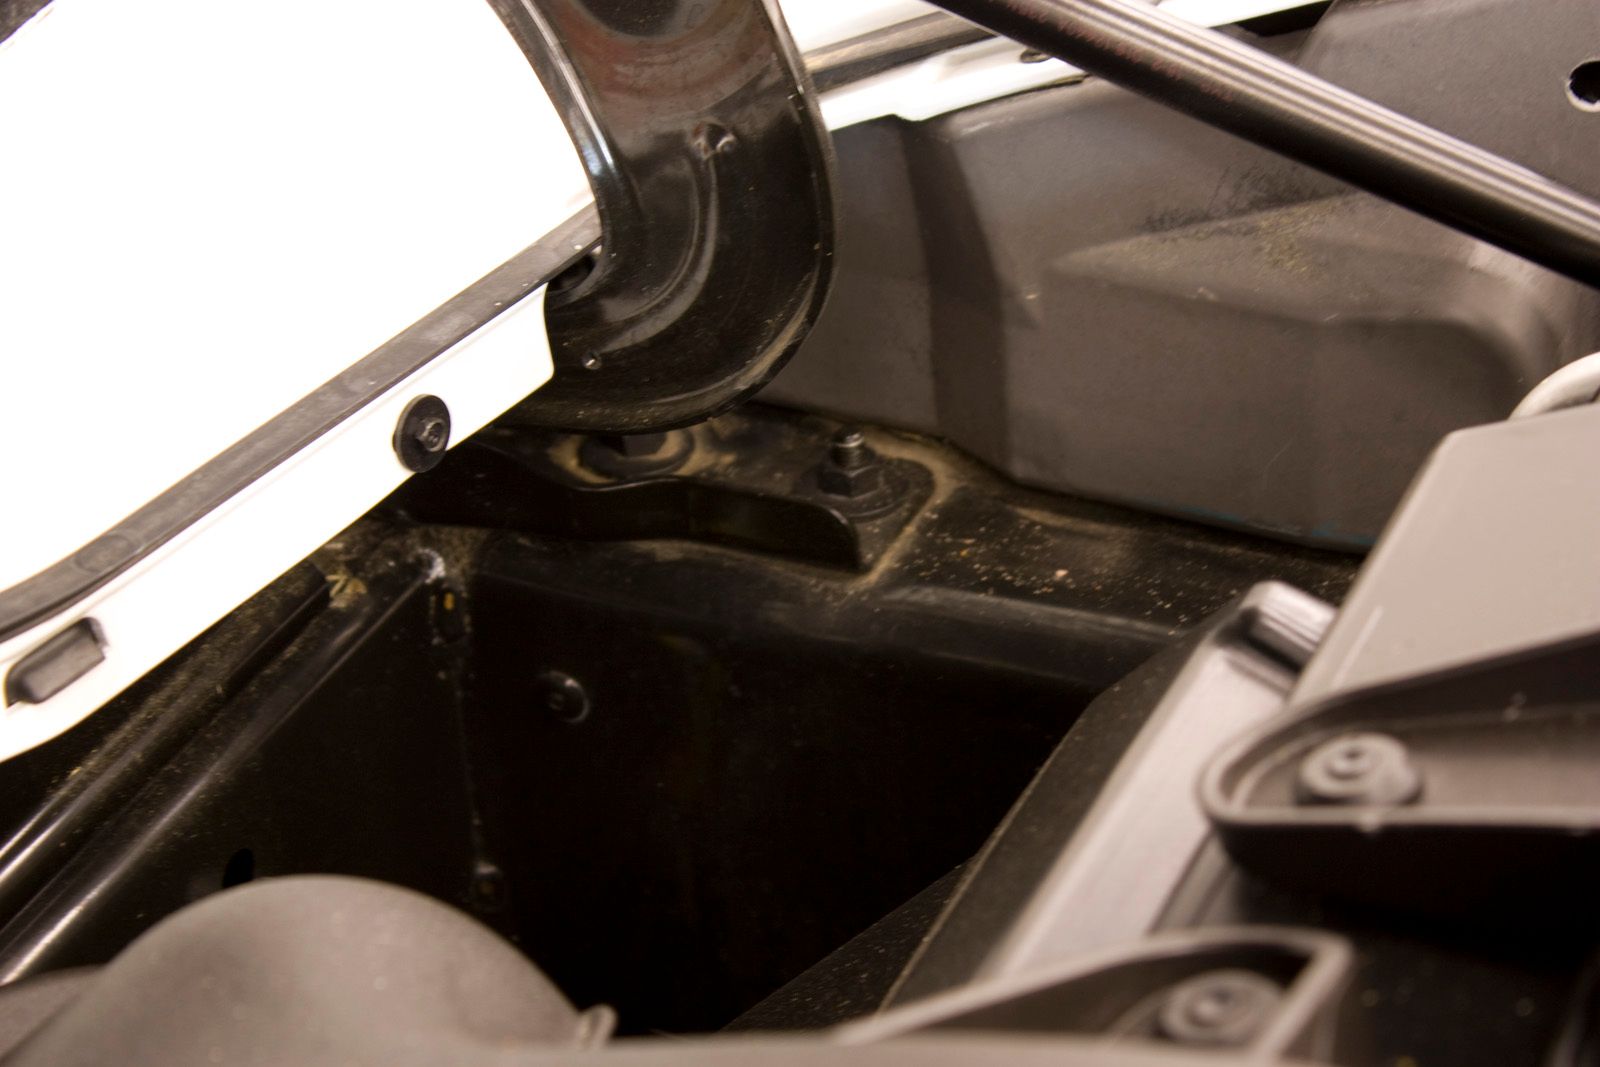
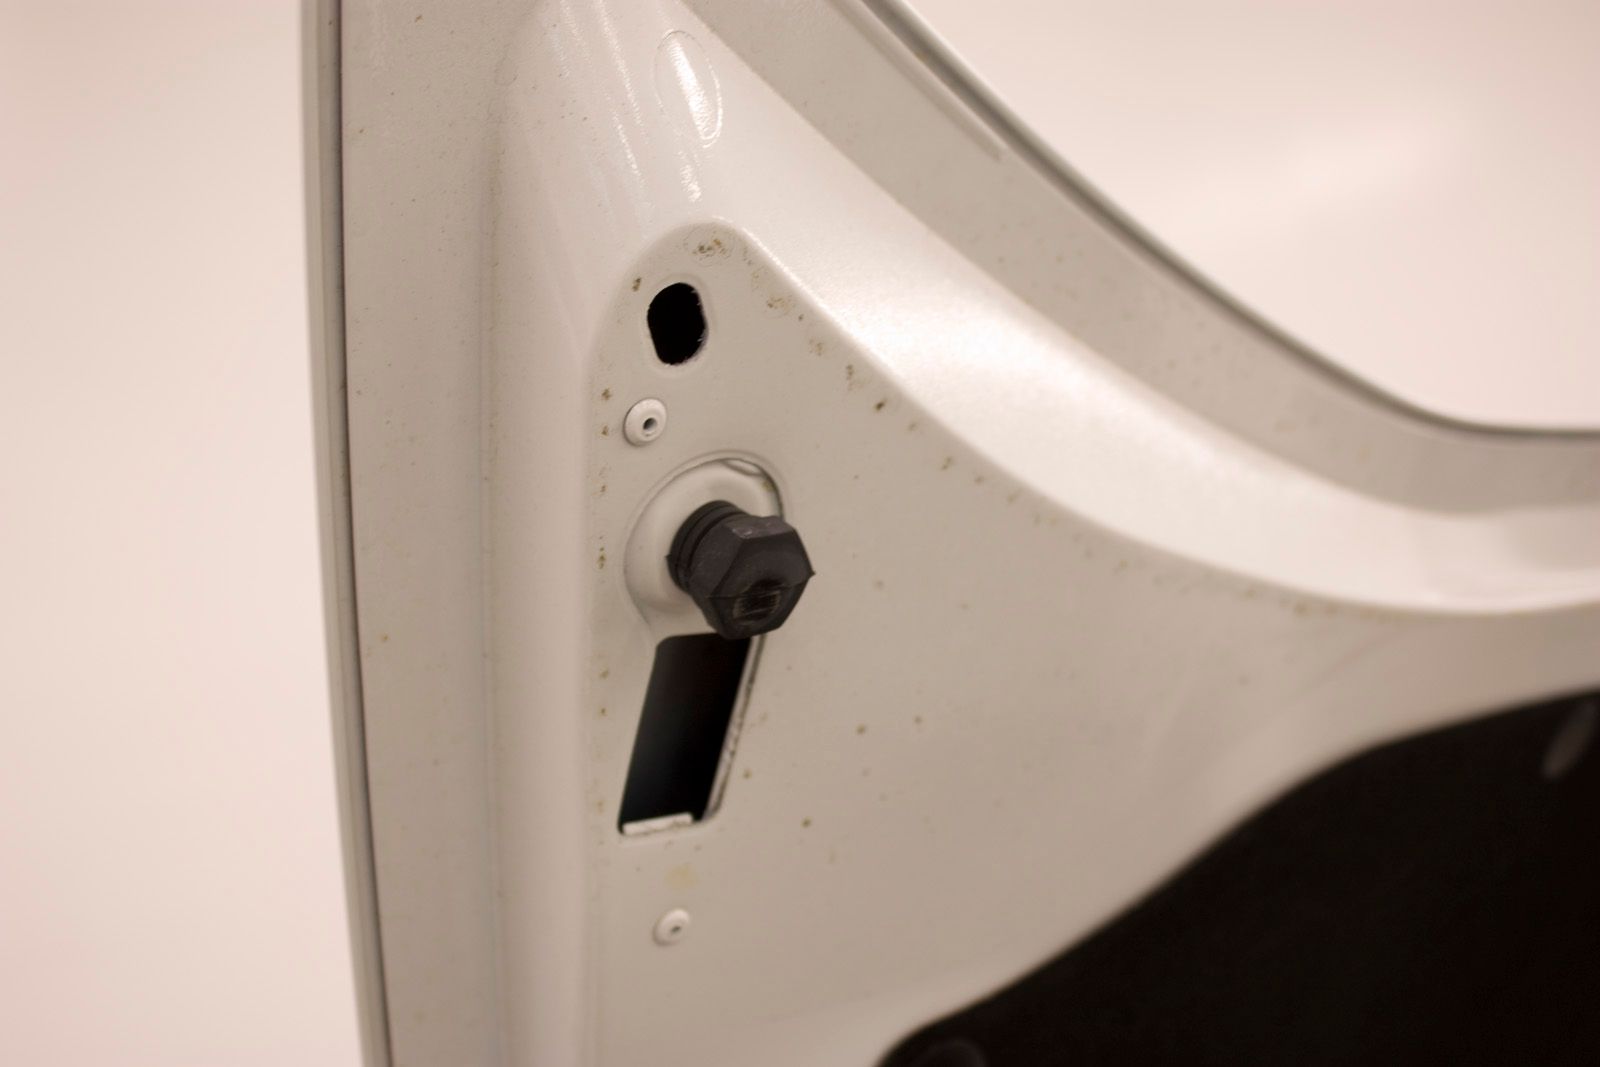
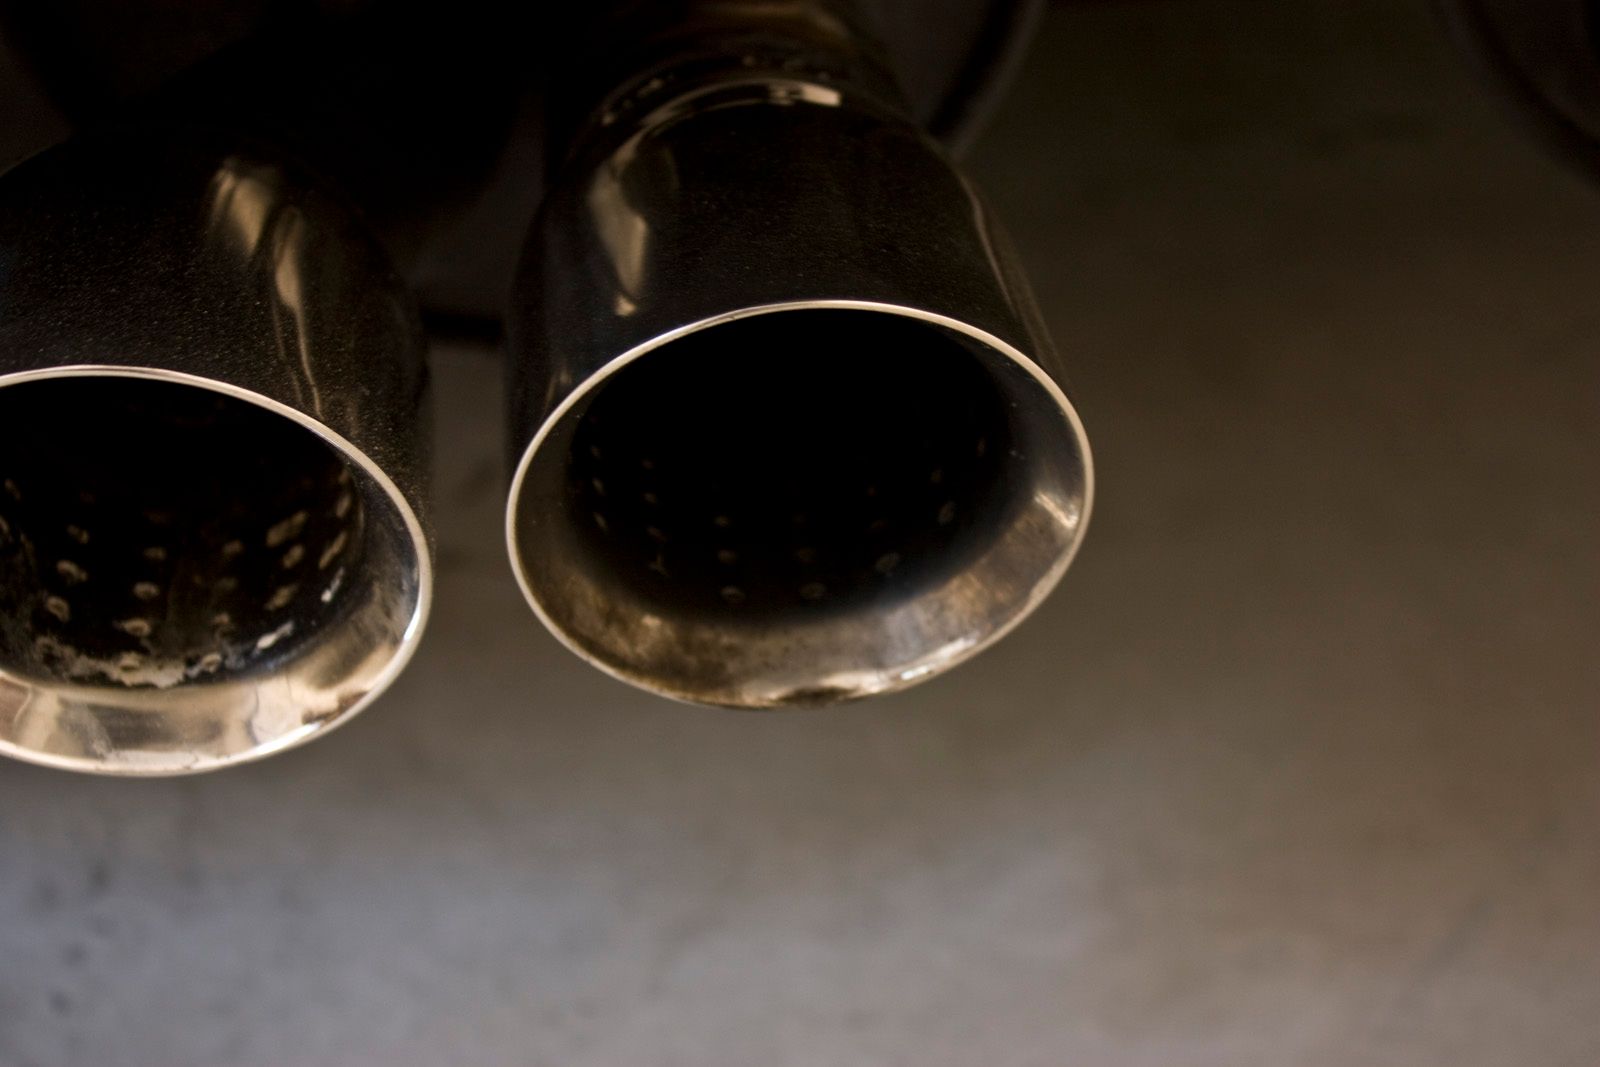
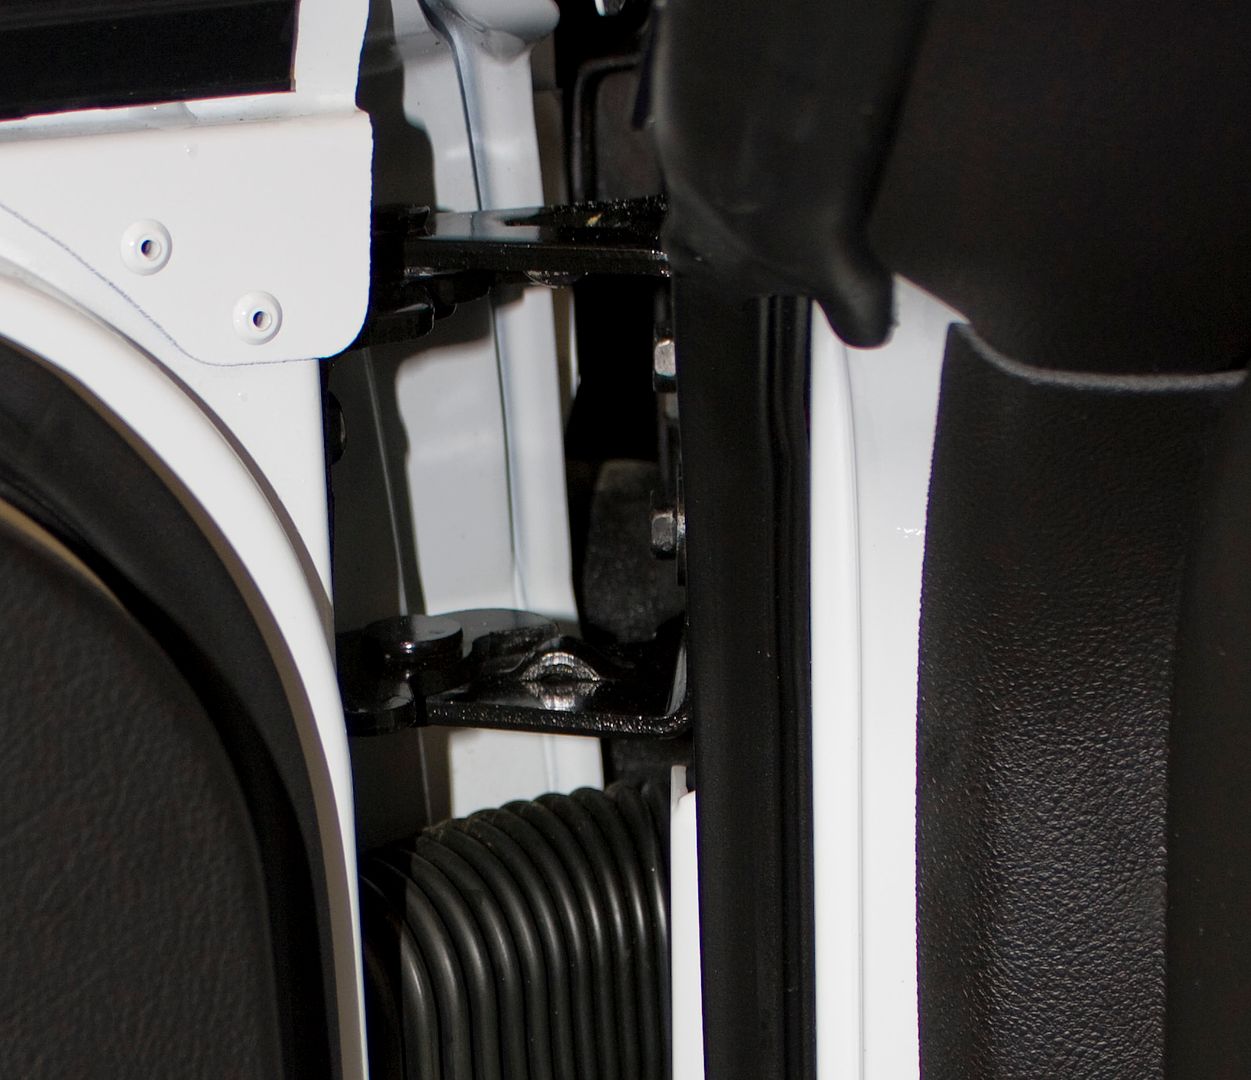
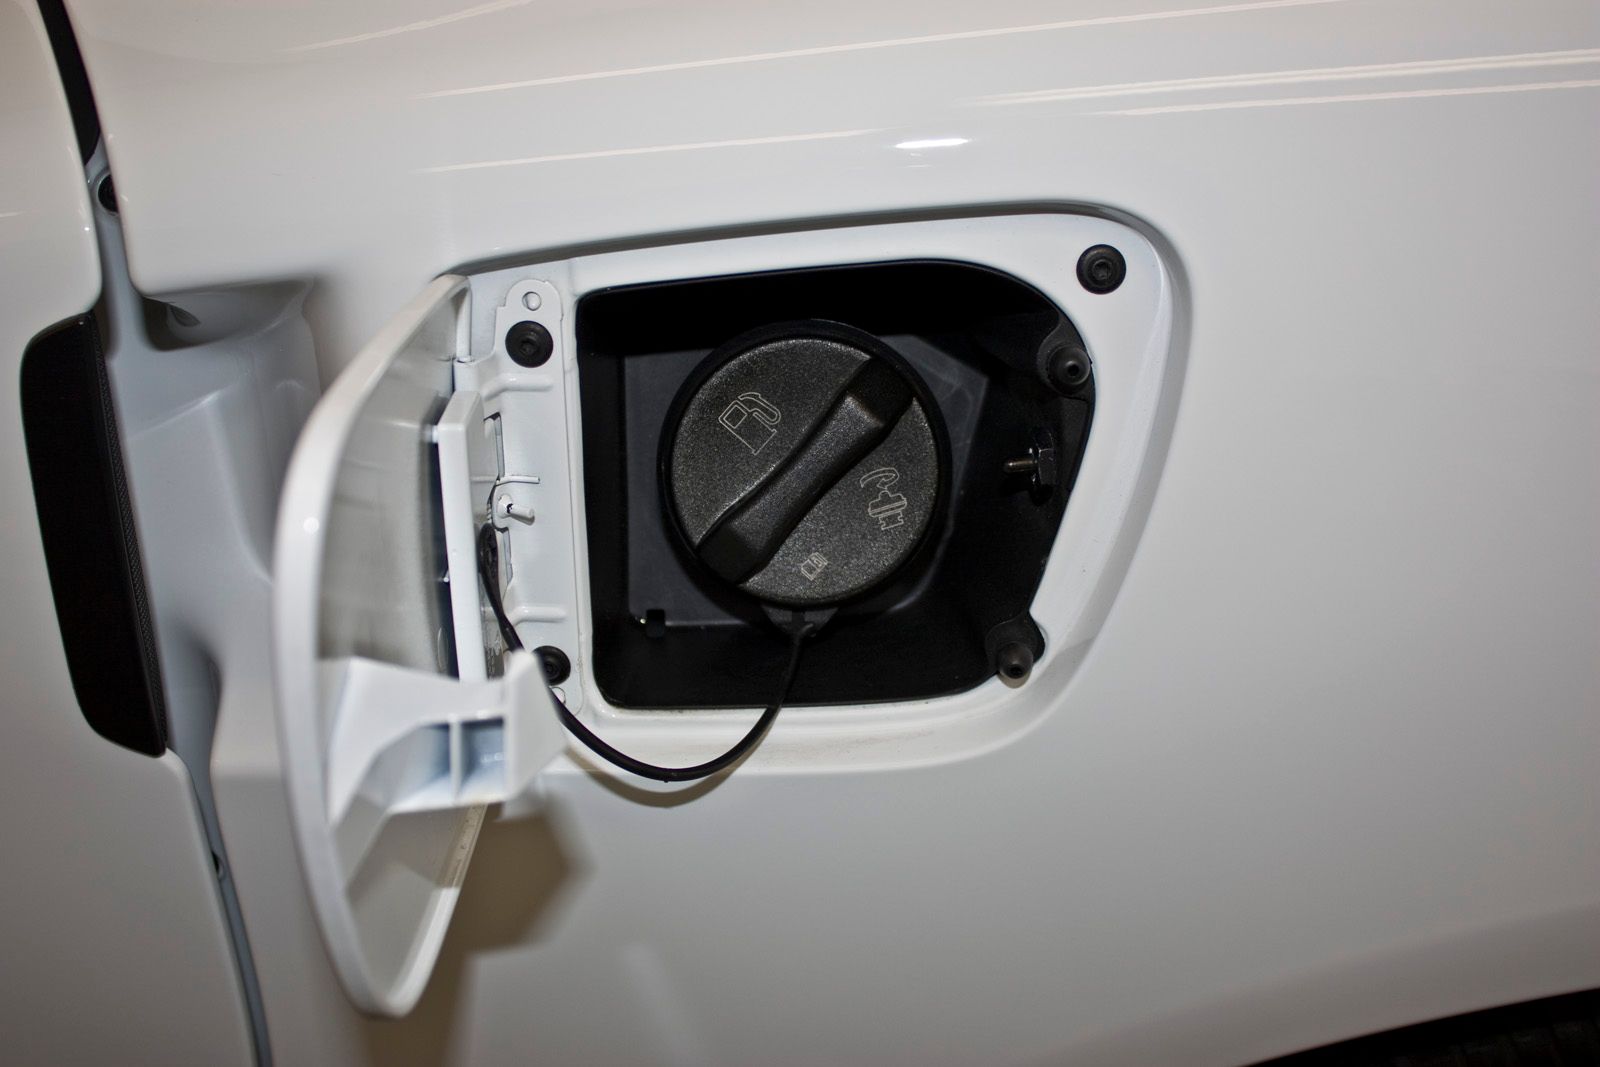
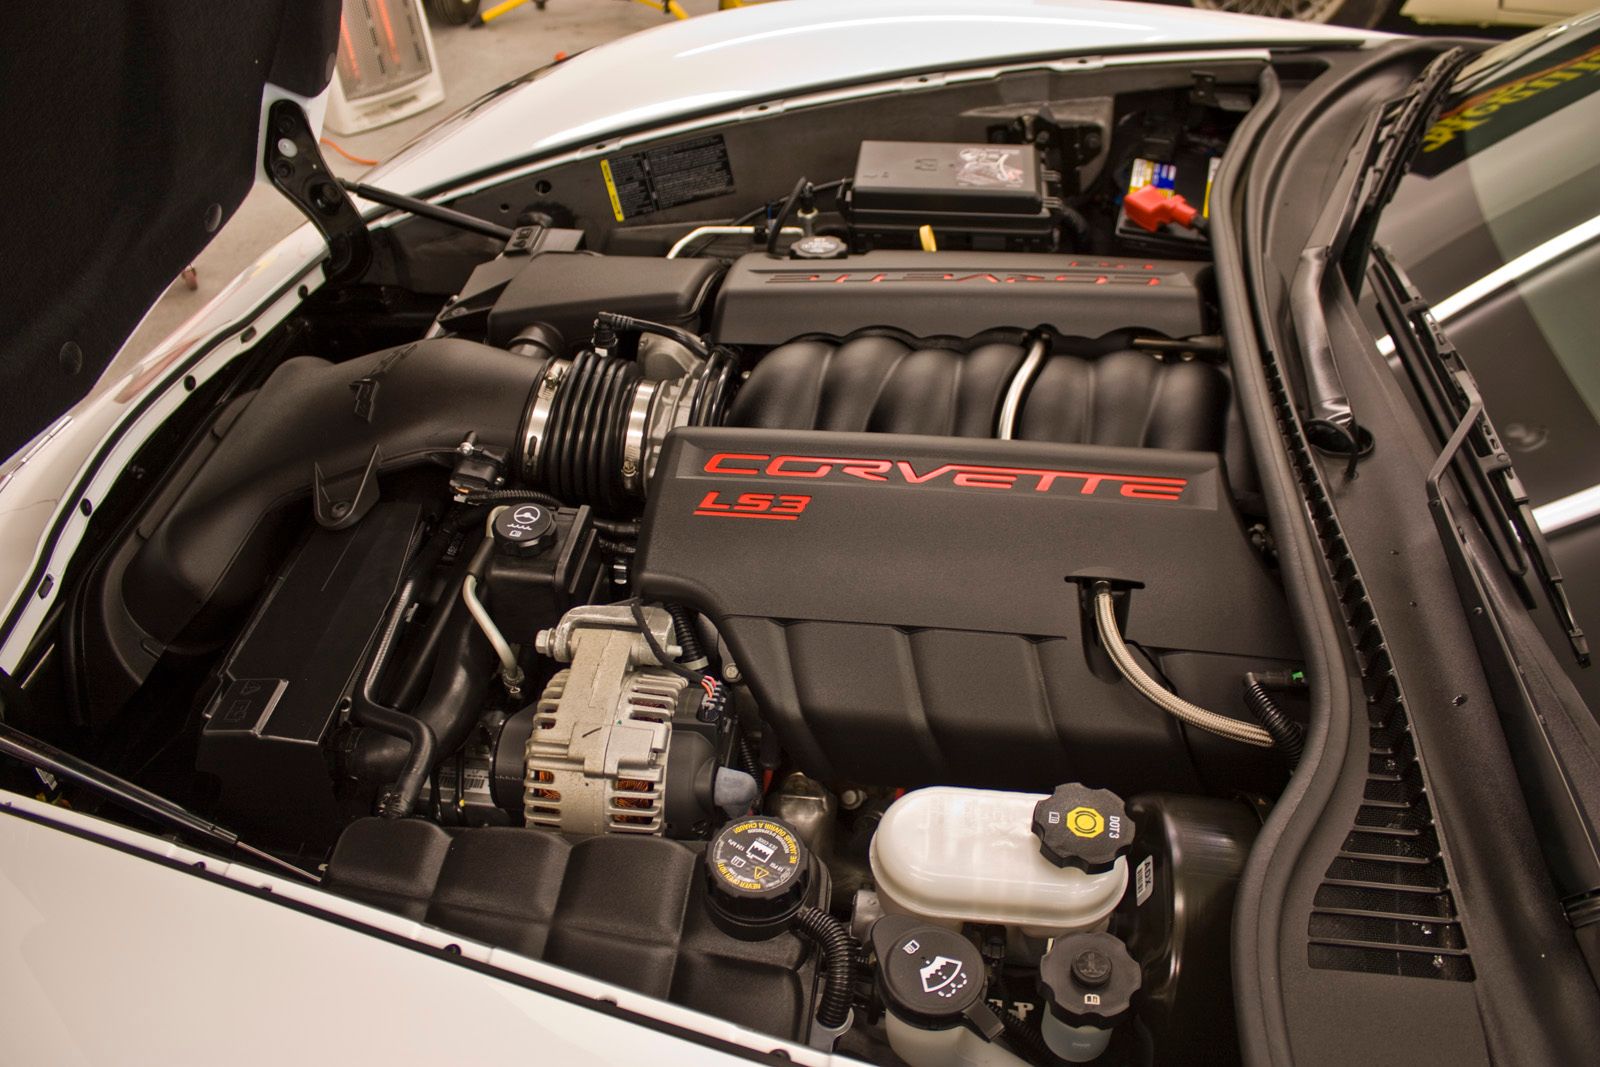
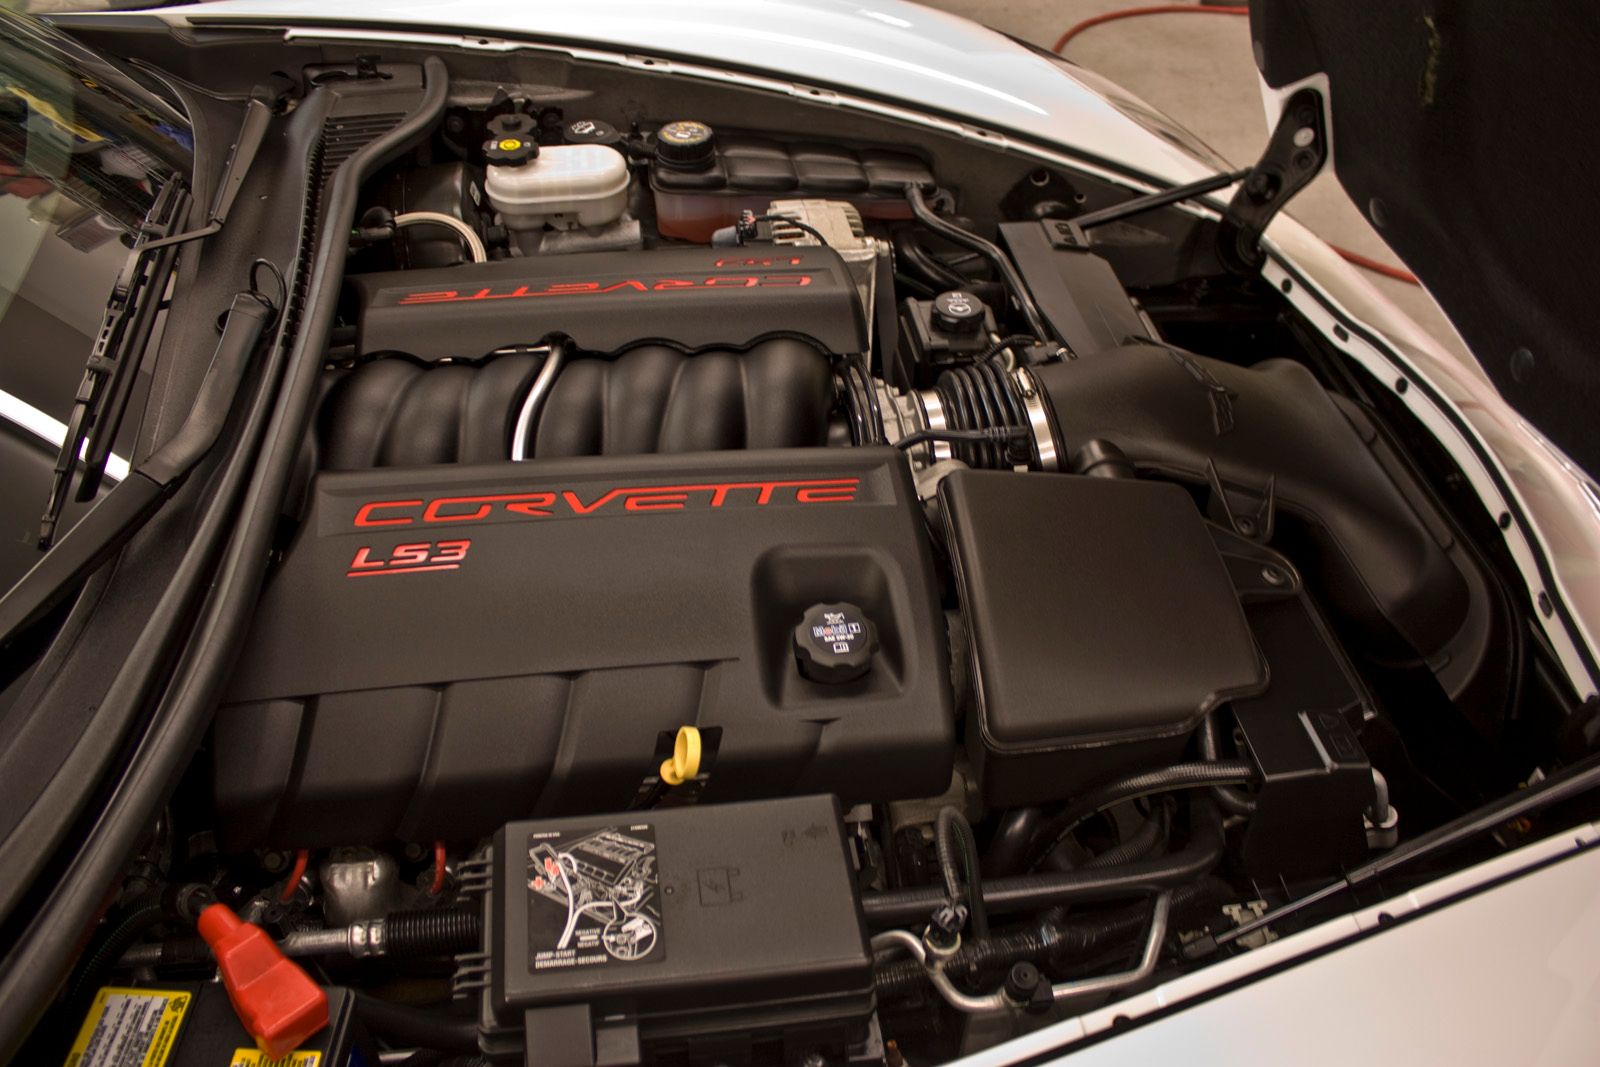
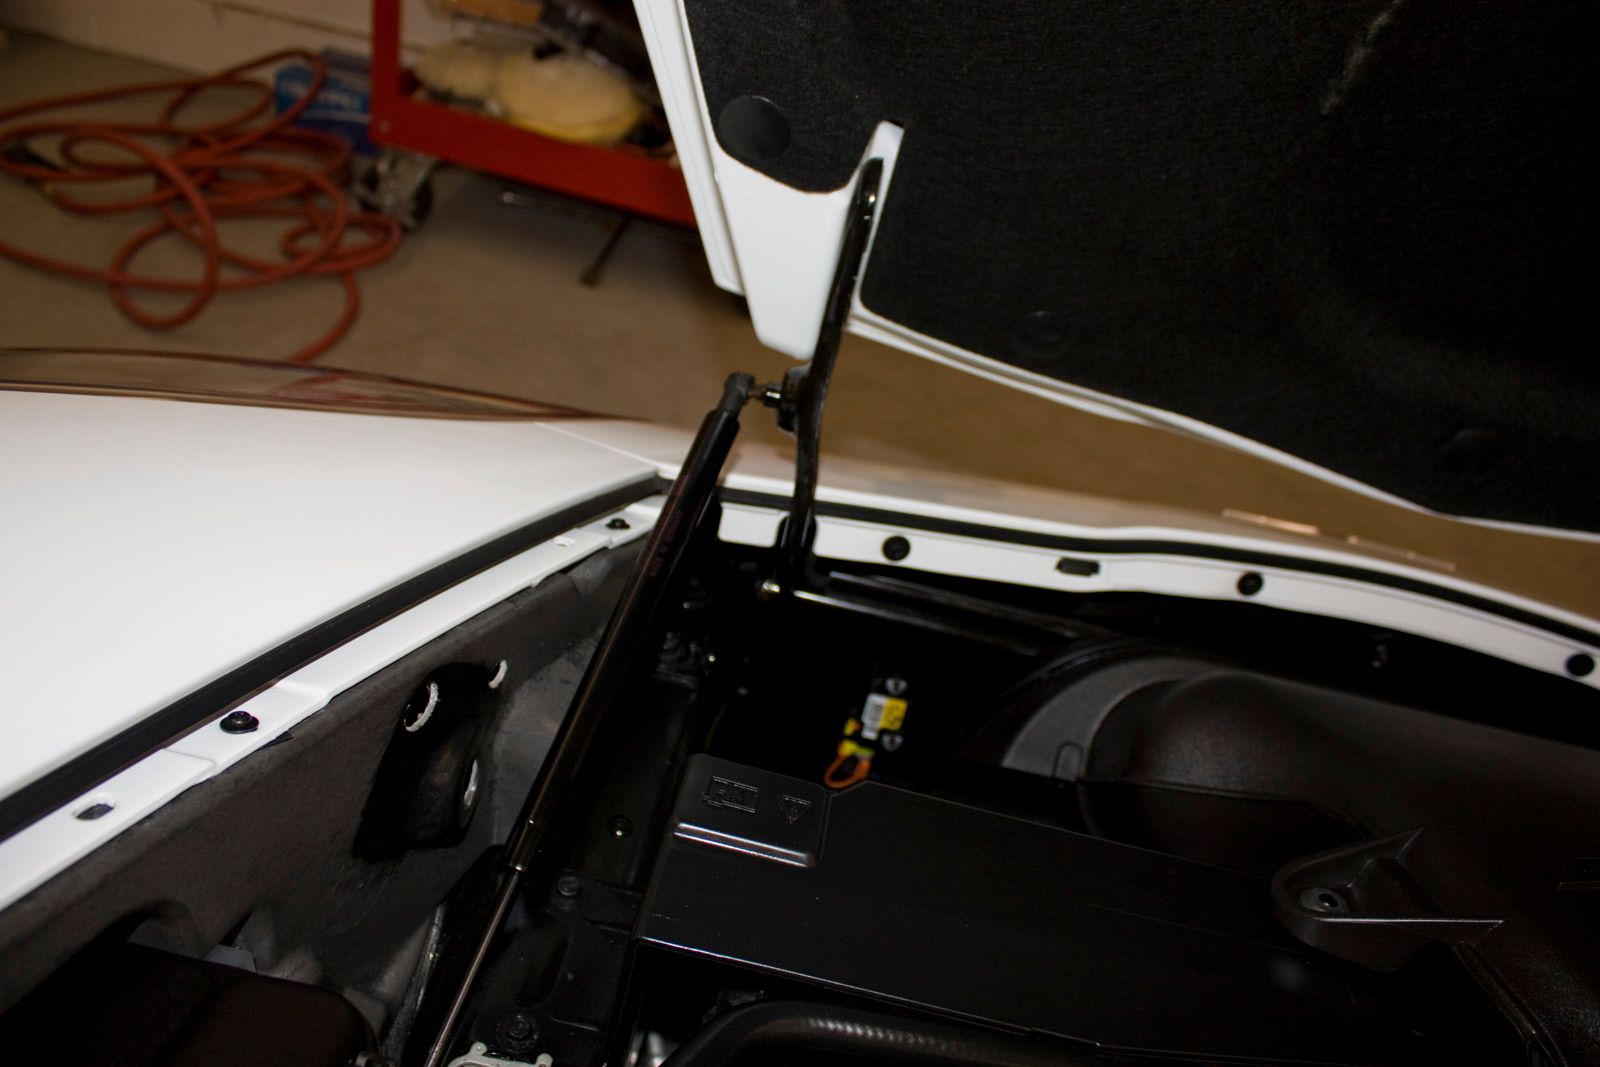
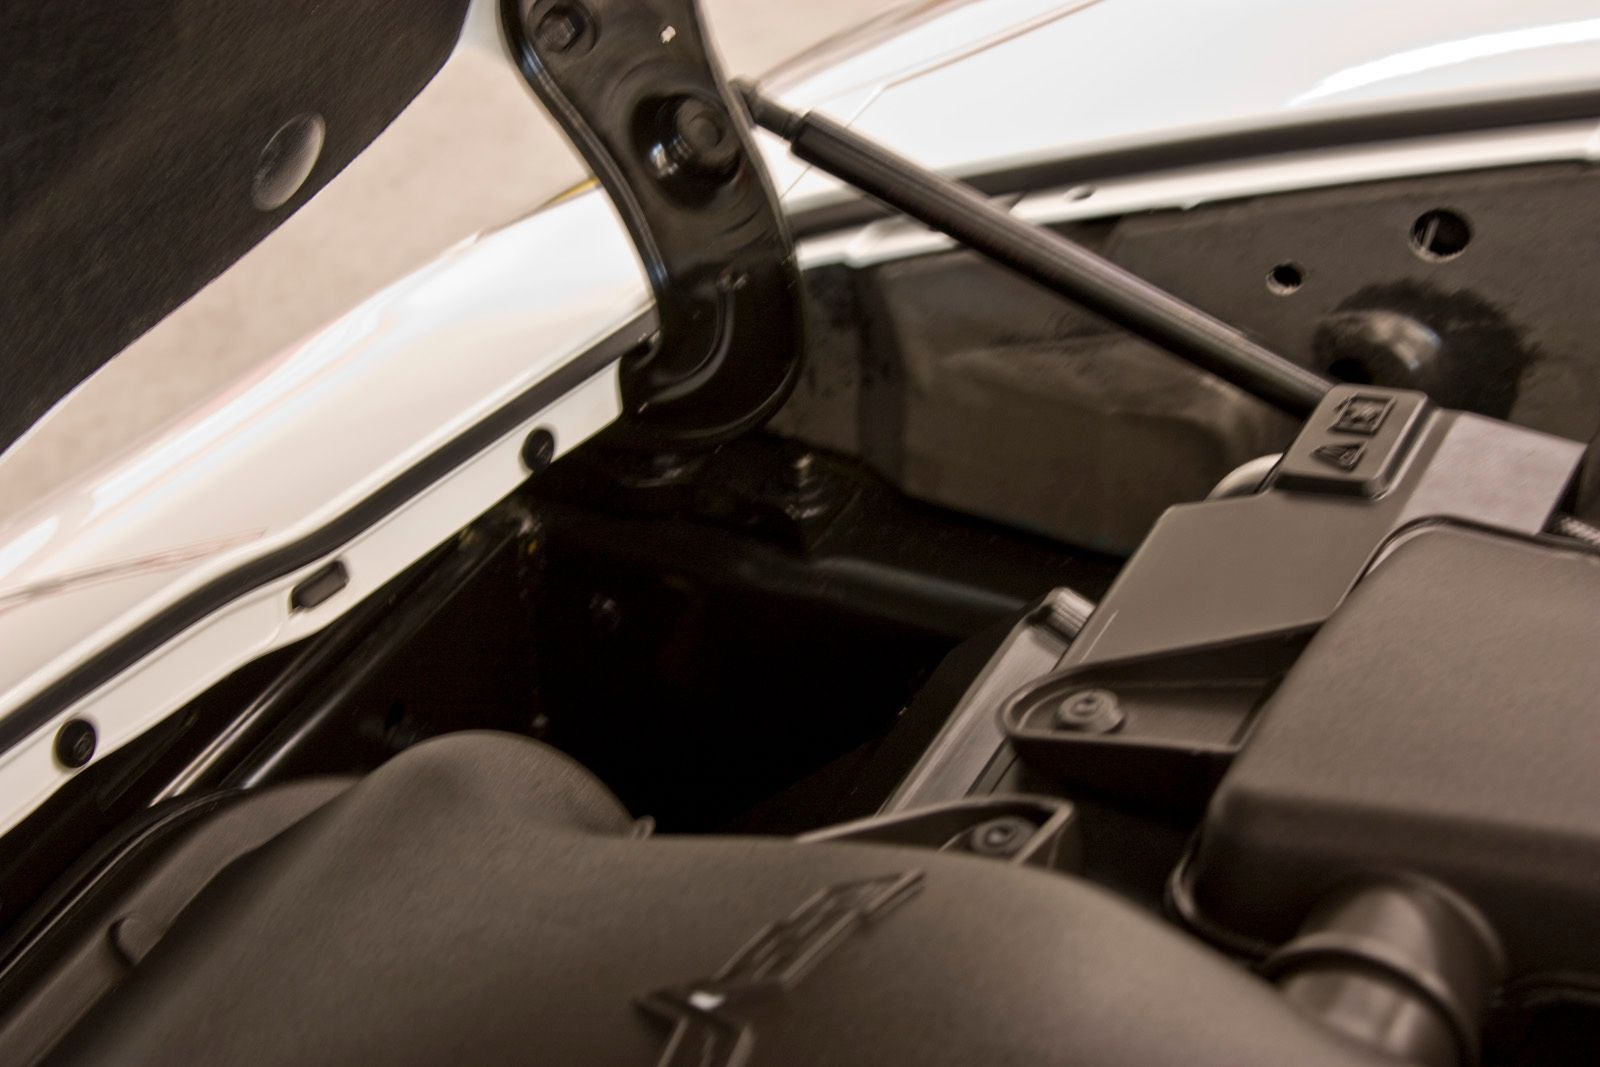
The owner also wanted the engine bay and door shuts cleaned up.
Process:
Wash – ONR
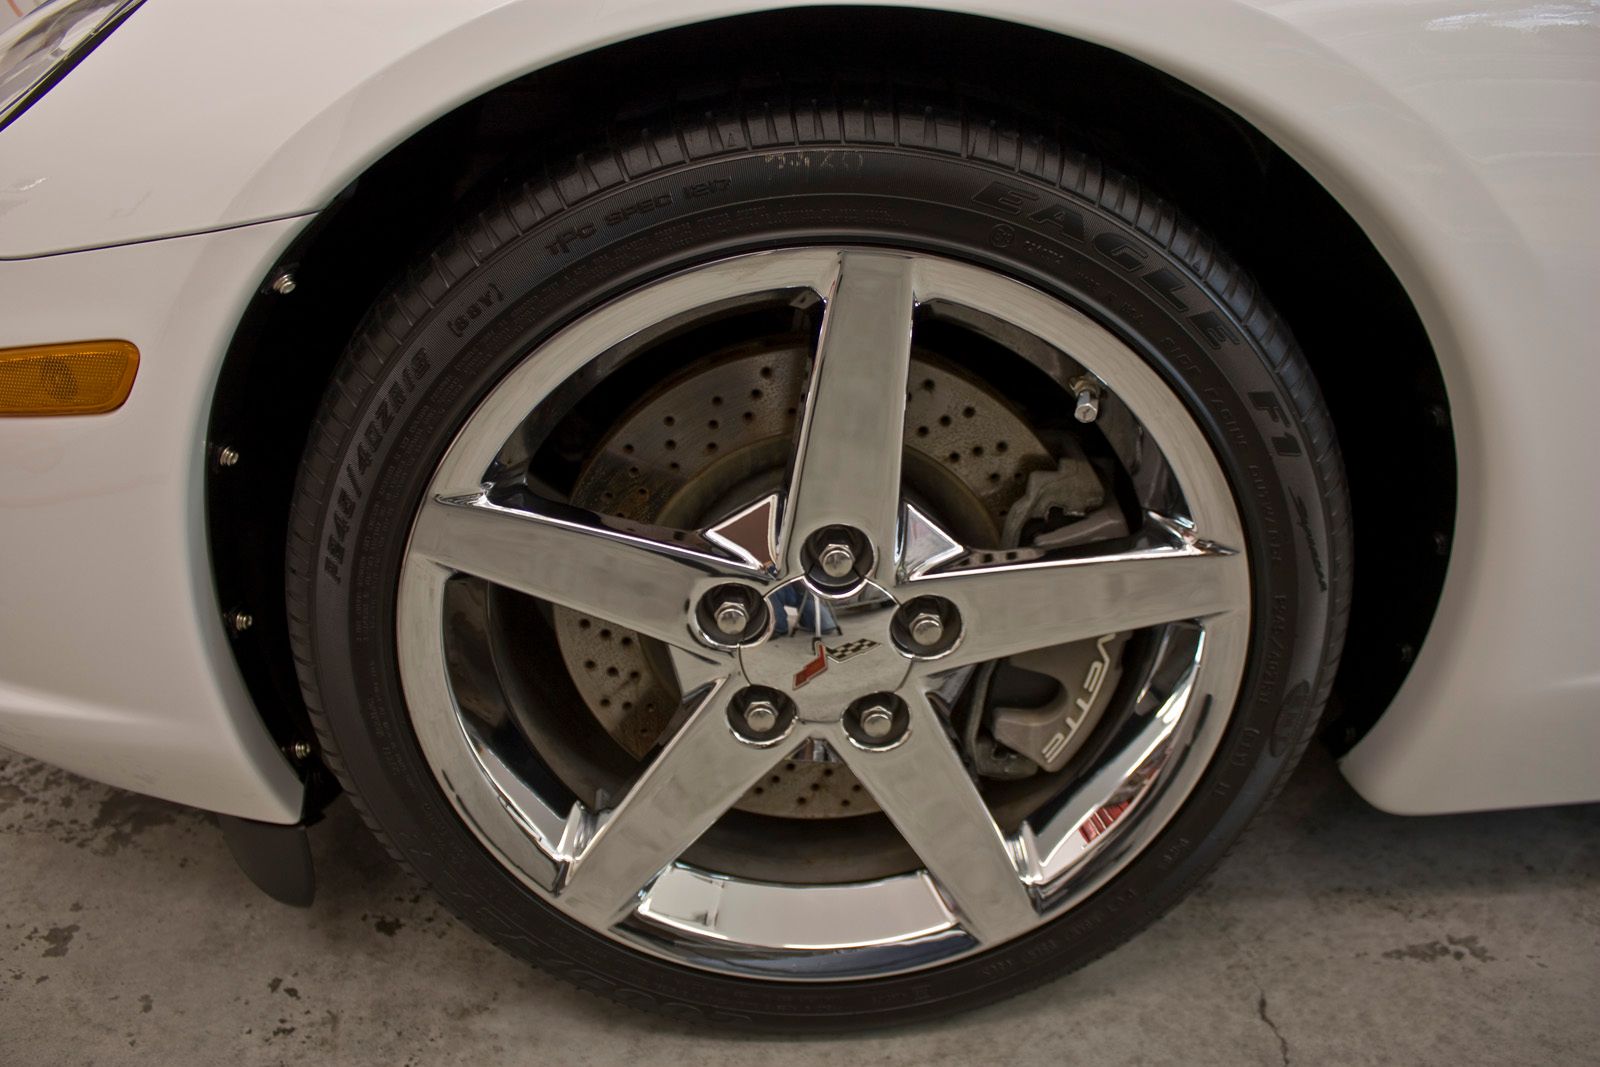
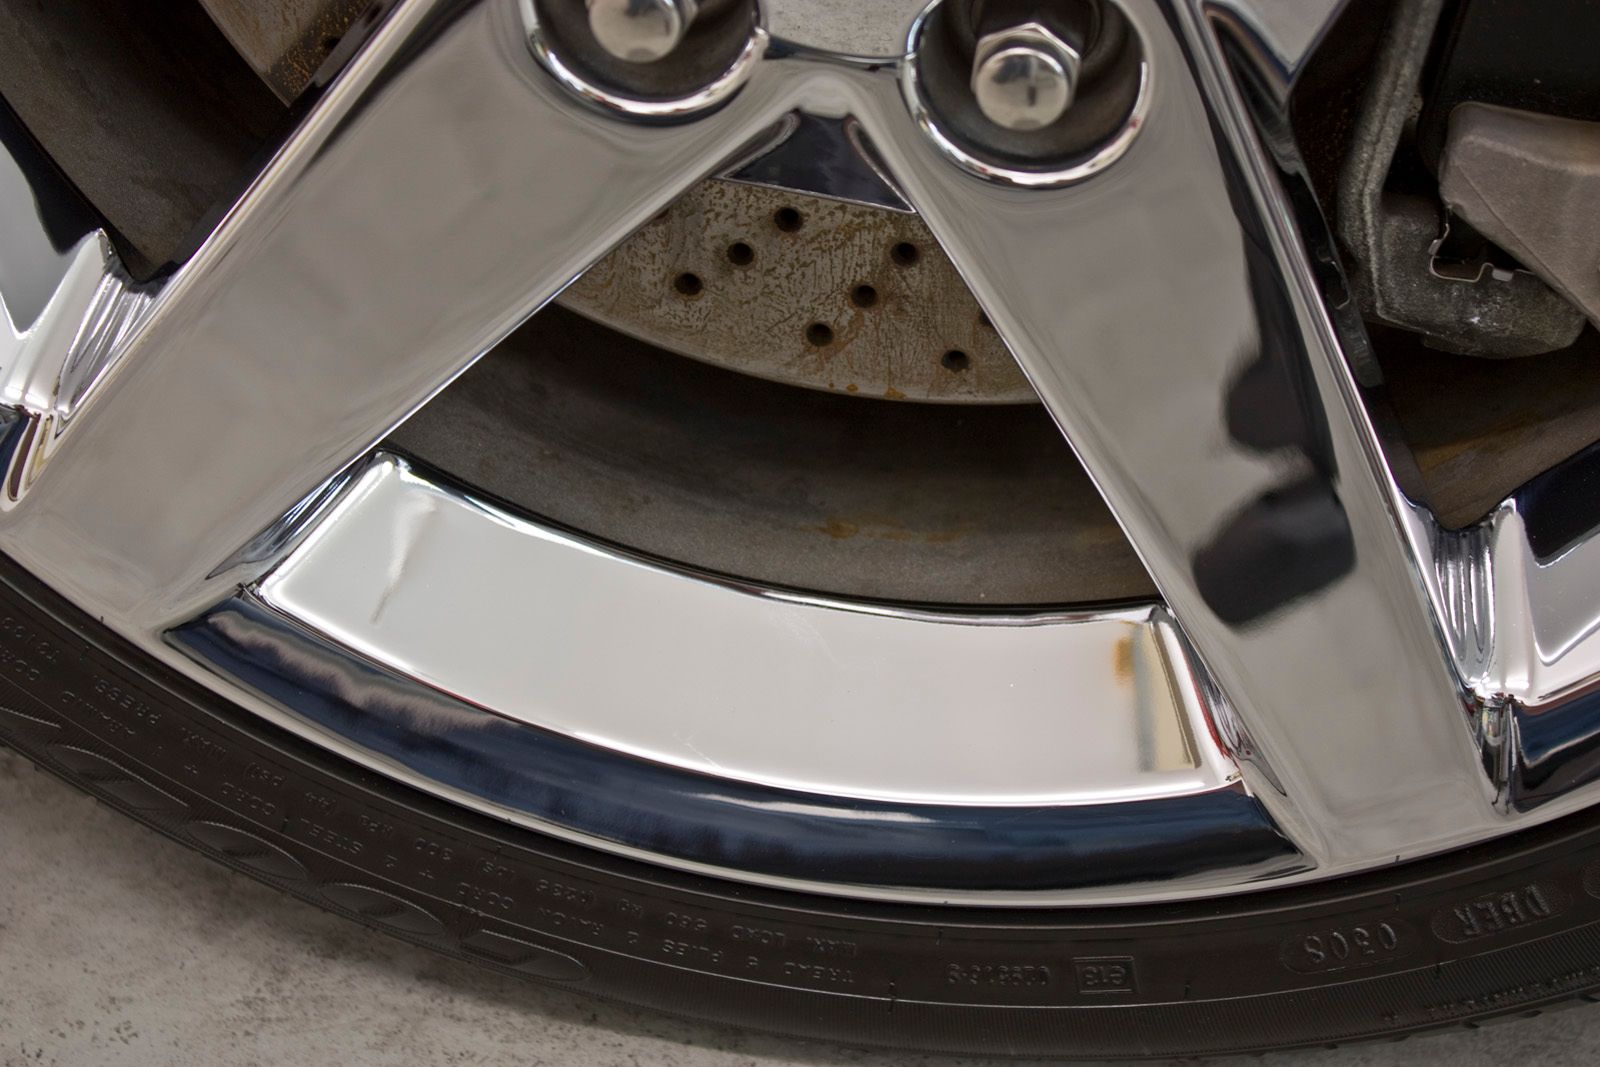
Wheels – P21S Wheel Gel, protected with ZAIO
Tires – Amazing Roll Off, dressed with Hyper Dressing
Engine – P21S TAW and ONR, dressed with Hyper Dressing
Door shuts – P21S TAW and ONR
Clay - 3M Perfect-it III clay and Last Touch as lube
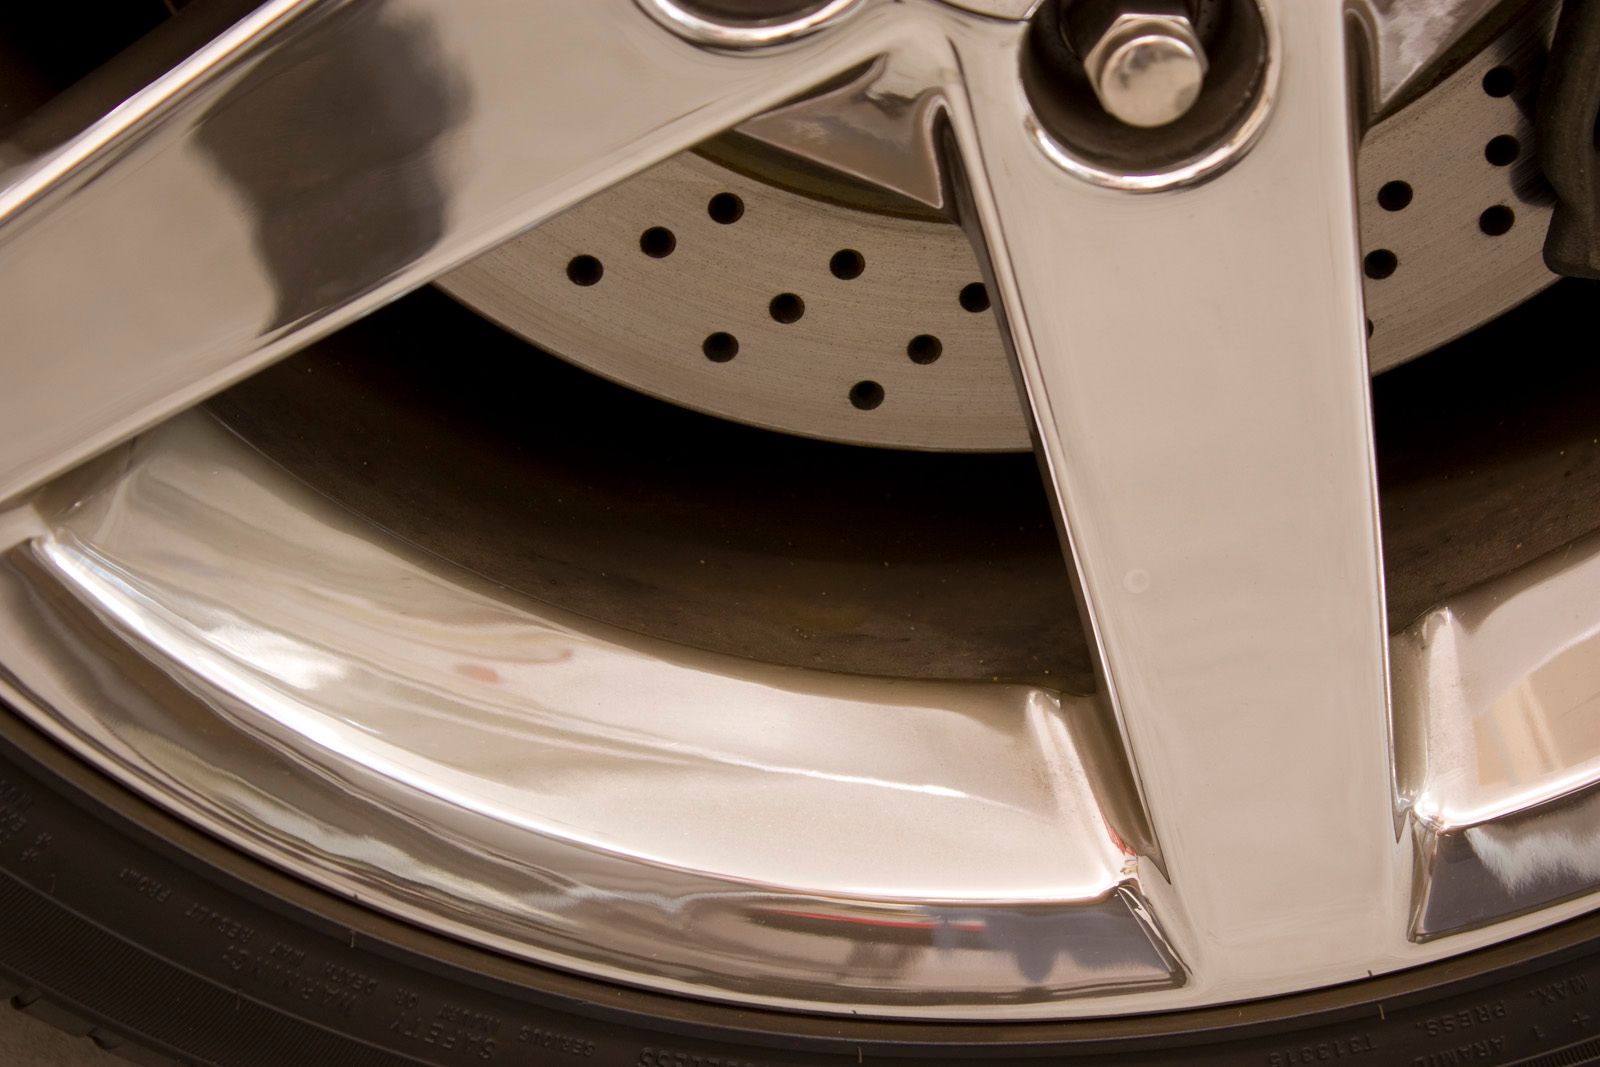
Correction step 1 – M105 via Flex DA and orange LC pad
Correction step 2 – M205 via Flex DA and black LC pad
Head lamps/tail lights – ZAIO
LSP = Blackfire Wet Diamond
Before pics:

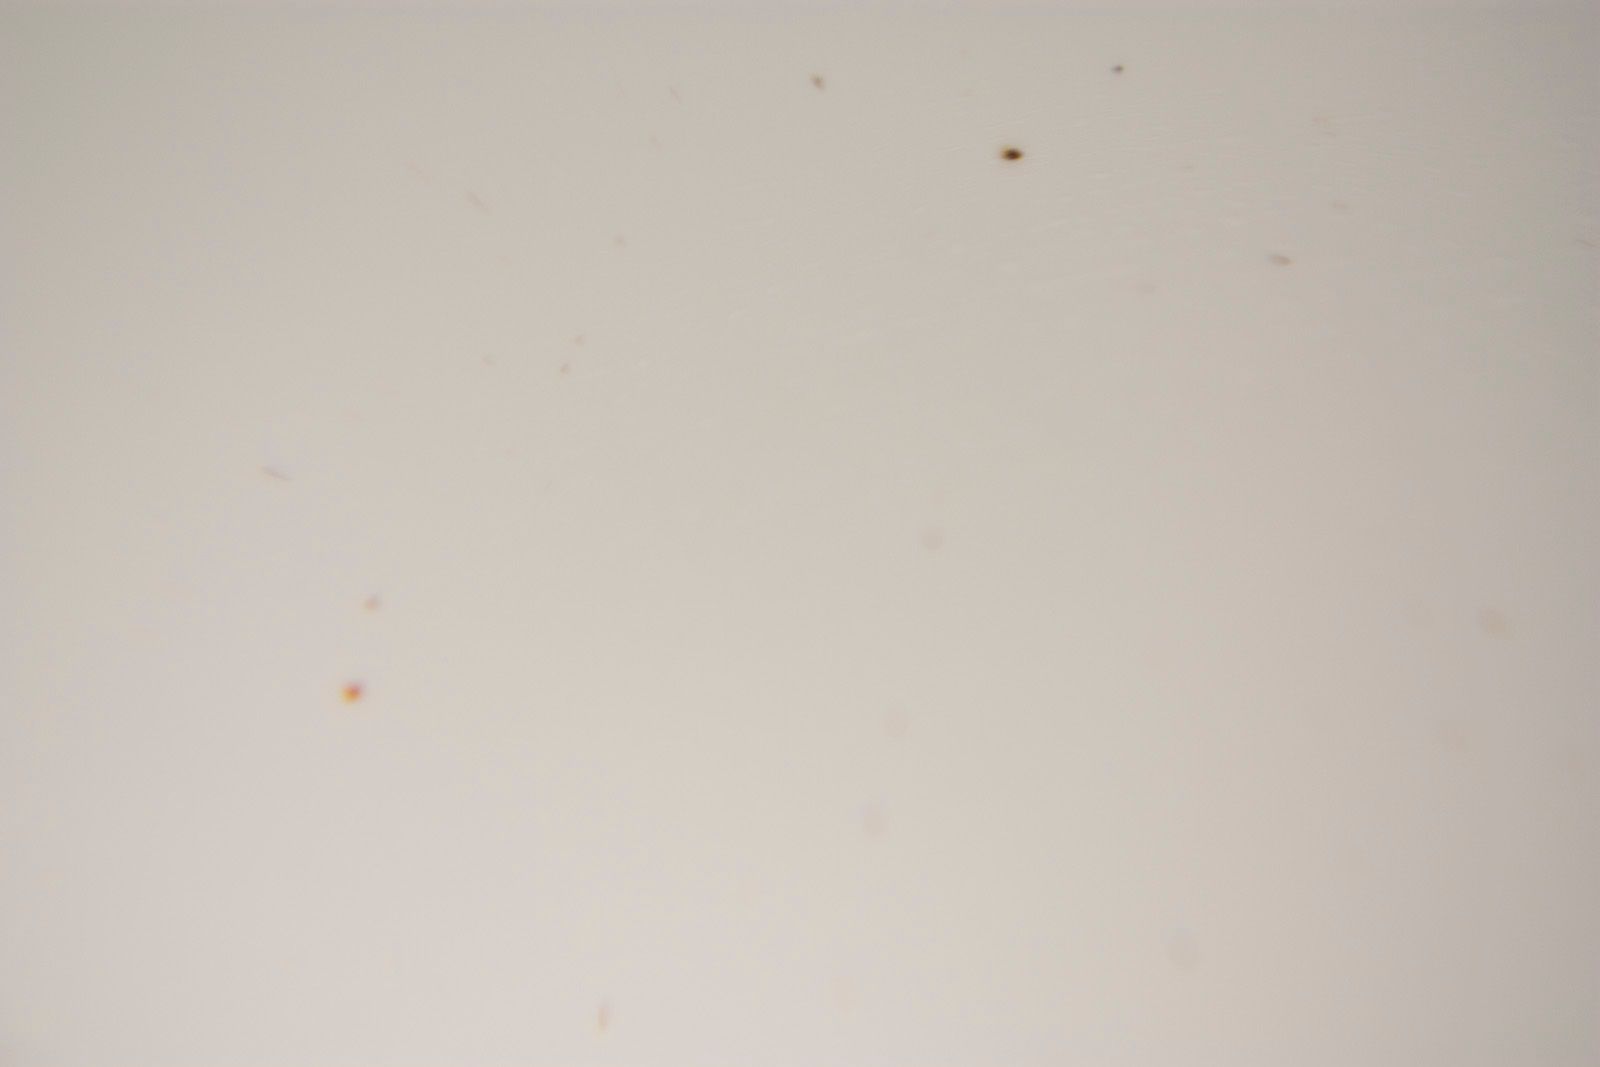
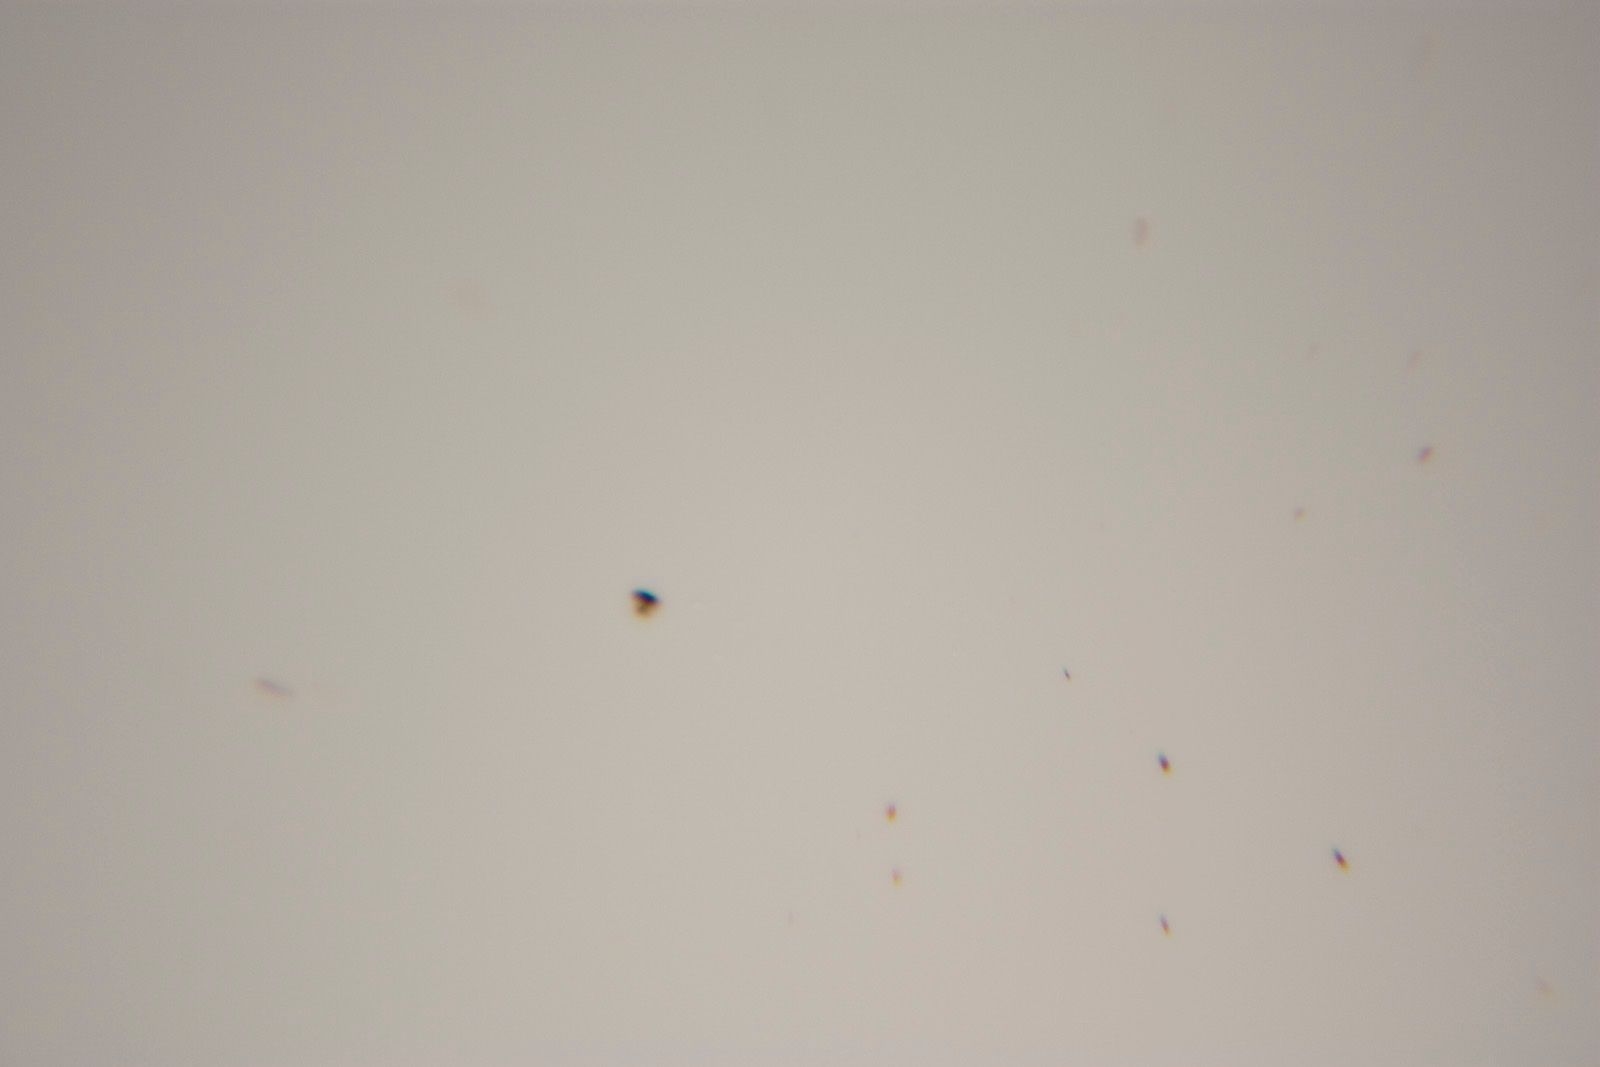
Rail dust was very hard to capture in pics...
The owner recently bought this ’08 model Vette new, which had been on the dealers lot for over a year. Over all the car was in great condition with only light marring and a few RIDS, but the rail dust was bothering the owner. He had tried removing it himself using clay, but was unsuccessful. After spending some time on the web researching he was referred to me by another member of a Corvette forum.
After speaking with the owner we set up a time to look at the car so I could evaluate it’s condition. After inspection I felt confident I could remove most, if not all of the contaminates and we scheduled a time to do the car
I will say that I definitely underestimated the time needed to remove the contaminates on this car. Originally I had only factored in an extra 2hrs claying time, but I actually spent just under 6 hours doing it! While some of the specs came off rather easily, most were very difficult to remove and required many passes with the clay. One thing that definitely seemed to help was to change direction of the actual claying after a few strokes.
I’d say 99% of the rail dust was removed with only a few specs remaining that could not be reached with the clay (gap between rear glass and rear hatch).
The owner also wanted the engine bay and door shuts cleaned up.
Process:
Wash – ONR
Wheels – P21S Wheel Gel, protected with ZAIO
Tires – Amazing Roll Off, dressed with Hyper Dressing
Engine – P21S TAW and ONR, dressed with Hyper Dressing
Door shuts – P21S TAW and ONR
Clay - 3M Perfect-it III clay and Last Touch as lube
Correction step 1 – M105 via Flex DA and orange LC pad
Correction step 2 – M205 via Flex DA and black LC pad
Head lamps/tail lights – ZAIO
LSP = Blackfire Wet Diamond
Before pics:
Rail dust was very hard to capture in pics...
Last edited by RaskyR1; 10-11-2009 at 10:53 PM.

 10-11-2009, 11:12 PM
#3
Pro

Member Since: Feb 2009
Location: Cottage Grove MN
Posts: 510
Likes: 0
Received 0 Likes
on
0 Posts

really great job by rasky on this one! Buying this leftover 08 i loved everything about this car except the problems on the paint were really bothering me. Now i can fully enjoy my first vette.
Car looks beautiful - thanks again rasky!
Car looks beautiful - thanks again rasky!
10-12-2009, 08:31 AM
#4
Team Owner


 Awesome work and results.
 10-12-2009, 09:39 AM
#6
Racer
Thread Starter
Member Since: May 2009
Location: Shakopee MN
Posts: 266
Likes: 0
Received 0 Likes
on
0 Posts
Thank you! 
Thanks Steve!
Yeah, I'm sure the before pics will look about the same as the after for most people. Had it been a darker color I would have been able to capture the light webbing in the paint and the difference would have been very obvious.
The two pics showing the rail dust were actually captured by putting my camera up to a lighted magnifying glass (7x) which should give you an idea of just how much rail dust was on the car. The area in the pic was no more than and inch wide. This was the only way I could capture them in a picture...

 10-12-2009, 09:32 PM
#9
Racer
Thread Starter
Member Since: May 2009
Location: Shakopee MN
Posts: 266
Likes: 0
Received 0 Likes
on
0 Posts
I booked the car short notice and only had Meguiars Mild clay and Pinnacle Poly clay on hand. I was able to find the 3M stuff locally, which seemed pretty close to the Meguiars Aggressive clay.
How does the micro mesh buff out? Orange LC or do you go wool?

I think it's pretty much mandatory for a new car to be at least clayed and polished.

