When you click on links to various merchants on this site and make a purchase, this can result in this site earning a commission. Affiliate programs and affiliations include, but are not limited to, the eBay Partner Network.
been stripping and doing body work amongst the new engine ,brakes ,exhaust and interior for the last few years since I bought it and yesterday I finally got the first coat of epoxy primer on the car... everything went well except 2 spots in the passenger fender where there was extensive fiberglass repairs done in the past and some deep scratches from grating the smc for the resin... It looks like I missed getting some contaminants out of a couple scratches... and the one almost looks like a crack but im sure its not.. I plan on sanding these areas - cleaneing and aplying another coat on the car followed by the doors and bumper/ headlight covers and then the polyester primer and block sanding before cleaning the garage to build the paint booth with plastic. I have had good luck in the past with a fan and furnace filters and a wet floor to keep dust down but we have thise epidemic of caddishflies lately im hoping will die off soon.
I decided to grind/v out those problem areas after sanding away the primer and filled them with short strand fiberglass resin (since im out of vpa) ... will sand and fill if needed before recoating with epoxy...
Question to those who have done this before.. Is one good coat of the epoxy good enough of should I apply another? and can I apply the polyester filer primer a few hrs later or is it best to wait a day? The epoxy has a 5 day recoat / topcoat window without sandingbut of course I would like to get the filler sprayed so I can take advantage of the weekend blocksanding...
Last edited by augiedoggy; 06-10-2016 at 10:58 AM.
I can not answer if 'one coat' is good enough...because I am not there to see what you are using...how your gun is set up...how things are reacting when you apply a coat...and so on.
You are looking for a good consistent coat that covers well.
And..I usually wait few hours when I apply my epoxy and then the polyester primer...but ...once again...I am not flooding the epoxy on.
And a word to the wise....BE CAREFUL when you are using plastic sheeting to mask off a car. There is or can be a point that if paint gets on it and cures...it can blow off the next time air is applied to it. This usually does not occur during a paint job...but if you go back a few days later...do not be surprised.
AND...for what this is worth....I would not use plastic to mask off the areas where you are KNOWING that your paint and clear are going to get on it. In those ares use the correct masking paper. The reason is...when you mask off a car in plastic...which is faster...it has a bunch of creases and ripples which hold trash...and will flap like a flag in the wind..and when you are painting...it can blow out of these areas.
IF a car is masked in paper and the paper is applied and masked FLAT as possible with no creases, ripples or pockets that can hold crap. It can be tacked off with your tack rag and this keeps your paint job cleaner. BECAUSE...when you start to basecoat it..and by the time to shoot your first coat of clear....I may hear the blood curdling scream you let out due to all the micro specks of basecoat that are now in your clear and you will be able to read braille in your clear coat. DO NOT ASK me how I know this.
Yes thanks for the heads up on the plastic. I did learn this lesson when painting in the past. I plan on removing this masking as soon as the poly primer is sprayed., I have a solid coat on everything now except the fender where I made repairs but since i have 2 gallons of the stuff I think I will do one more light coat. I'm using the eastwood low voc white epoxy.
I know nothing about Eastwoods epoxy....or who makes it for them. So the best thing is to contact their tech line or hopefully the spec sheet on the product will answer any questions you may have.
I know nothing about Eastwoods epoxy....or who makes it for them. So the best thing is to contact their tech line or hopefully the spec sheet on the product will answer any questions you may have.
DUB
The tech sheets said it could be topcoated after 30-40 mins but it took a couple hrs to dry on the car so I believe I sprayed it on rather thick.. (first time spraying primer / sealer on a whole car) today I put a much finer coat on the insides of the door and front bumper and it dried faster. It was also warmer today which im sure made a difference since it was below 70 yesterday when I sprayed.
Last edited by augiedoggy; 06-11-2016 at 12:05 AM.
Yes...temperature does come into how products will apply and cure...but how much you apply ALSO effects it...but what is more important is that IF this is your first time using this product and any other product...it is wise to practice and find out what it does or how it reacts...and this is only because you can have countless hours in getting a car ready and screw it all up ROYALLY in 10 minutes if not knowing what is going to happen to what you are spraying...because what is written on a sheet of paper is NOT the same as what you are doing to get it on a panel.
I have thousands of hours of time with using a paint gun...but if I am using a product I have never used before..I will waste some of the product and TEST it out and see what it is going to do so I have NO surprises when I get in the booth. The reason I do that...is because WAY back a long time ago..I did not do that...and the amount of time I spent getting the stuff I shot that went to crap...cost me so much time that I would have gladly practiced with all of the product I bought and bought some more to actually apply on the car and THAT would have been cheaper than me having to re-prep the body and start all over again.
I just finished blocking the whole car and I have to say the panels were a lot straighter than I thought they would be... I have blocked the poly primer with 240 so far and intend on going over that with 400 or 500 grit if thats possible without using say 360 in between? I am using a 2k urethene sealer before the paint and ive read 400-600 is good for spraying this and directly top coating the sealer without sanding?
I also did not use the poly primer on the bumpers since they do not need it. Am I also correct in thinking less layers of soft primers would be good against the bugs and stones regarding chips or am I off base with this one? they are true fiberglass bumpers.
almost ready to spray a test panel with the pearl base and intercoat.. at this point it took soo much work to get here I totally understand what your saying Dub, I'm nervous about spraying the intercoat with the pearl powder now and getting it even. My last corvette I painted with the chameleon pearl paint and I found it was actually very easy to get even with full coverage and the pearl layed down very evenly.. It was the clear I had issues with. I only hope this goes as well but I'm spraying some extra t tops just in case to test it out.
Last edited by augiedoggy; 06-19-2016 at 10:59 PM.
Due to how some people here on the Forum feel that when I reply ...that 'my way' is the ONLY WAY to do something...which if people actually got to know me...would KNOW that that can not be further from the truth. SO...I will write this and you can do as you wish...and that is also not me giving you permission on doing it your way...because honestly...its your car and I have absolutely NO SAY in how anything gets done.
In my opinion: When I sand the polyester primer I stop at 400 grit wet. I never run into issues of the sand scratches showing up. BUT I also do not use the 240 first...I go straight into the poly primer with the 400 grit wet. I feel if you sand it well...all of the 240 grit scratches should come out and not come back and haunt you.
AS I have written many time in past posts. Hopefully you shot a test panel with the polyester primer so you can sand and verify your sanding procedure will work.
And not that this may help you...but seriously. TAKE A BREATH....RELAX. Practice on your test panels as much as you need to so you are COMFORTABLE when you pull the trigger on your car. 'Jumping the gun' and shooting your car..after all the work you put into is it totally idiotic IF you are not comfortable and confident in what you are doing. Being a bit nervous is normal...but totally being 'lost' and not knowing what to expect is totally unacceptable in my book. And...this is becasue...if you have to spend a few more bucks shooting test panels to get the hang of it....well...that the costs of doing it right.
Thanks Dub, I did shoot a test panel but I cheated and did not use the poly primer as the base. I was looking more for things like hiding coverage and how the different amounts of pearl in the intercoat would look and effect color...I realize now that I should of gone through the same primer processes. I went over the car yesterday with 360 grit and have a lot of 500 and 600 grit laying around so I will hit the car with the 500 just to be on the safe side even though I dont see even the 360 grit likely showing through the sealer.
I AM concerned with getting the bumpers to line back up and fit well now that I removed them. when I set them up against the car they do not line up on the ends at all and im nervous that something might crack when I bend and force things to line up... this has me wondering if there is any real advantage at this point to painting them off the car? I do plan on removing the doors to shoot basecoat in them and than assembling everything for the last couple coats of base anyway.
The paint im using has a 24hr window between base and topcoat. I wil be taping off and spraying my fake turbo intakes black during this to prevent tape marks... which tape is best to use at that point? I have yellow and blue and I can get the green but I dont know which has the weaker adhesive.
I also need to build a plastic booth and set up my furnace filters/fan for circulation. Also this is a bit ghetto but I have multiple air compressors due to my main compressor only producing 9cfm at 40 psi I was bought another used on Craigslist and was going to run them together with a splitter, I have before where people have done this with good results. The gun I have is rated for 12cfm... both the priming guns I have used worked great with just my single compressor but they use less air so... I did install multi stage filtering and even desiccant filters. and have had no moisture issues (also drained the tank on every use painting)
Last edited by augiedoggy; 06-21-2016 at 07:05 AM.
You might want to be a bit careful on using finer grit sandpaper when sanding the polyester primer. I wrote 400 grit for reason...but use 500 grit if you want to. If you are not seeing any sand scratches in the 360 grit when you apply the sealer...WHY change what is working fine. Keep in mind...this polyester primer is hard. And when you sand it with 500 grit wet...and dry it off...and look down the side of the panel you sanded....I would BET that you will actually see a shine in the panel....even though you KNOW it is sanded.....then... if you see this 'shine'...sand it again with 400 grit and look at it again. This shine will be more muted or dulled out. NOW...this is my opinion..and it touches on one of my major 'pet-peeves'...and that is panel that is NOT prepped or dulled out for maximum adhesion. And YES...I know about prep.... and I know when a panel can be shiny and not shiny for allowing a product to provide maximum adhesion...so YES...at times the prepping process can change dramatically due to what it being prepped and what is being shot on the material.
PROFESSIONAL OPINION: I would NOT worry about your ducts being painted black DURING your paint job...or waiting day and then painting them and clearing teh hood. And here is why.
Key word here is ...'BLOW-BY'...I would paint the car....clear it and get it all done...except for possibly leaving one coat of clear off the hood. The the next day...I would take the hood off if it is not off already and get it scuffed dull. I then would mask it with whatever tape you want. I prefer using the vinyl tape from 3M so my edges are sharp and clean and I do not use masking tape to create my edges. The reason I do it this way is because when you are masking on your raw basecoat that has no clear on it....if your masking job lets loose and you get black on your raw basecoat...you are screwed.
IF your mask job lets loose and you get a fuzzy edge and have to do it again...you can scuff off the black and do a touch up because you have not hurt your pearl color UNDER the clear you applied.
The TRICK to this is you have to keep things REALLY CLEAN if you are painting a white pearl paint job....because when you get the clear all scuffed and ready for the black out and clear...IF you smudge it with your dirty hands or whatever and do not inspect it really good BEFORE you clear the hood again...you will seal down this smudge and it will be there....unless you allow that clear to cure and scuff it all over again and do you touch up with your paint and pearl and then clear it again.
I depends if you want the black in your ducts to be clear coated or just prep and apply a semi-gloss, satin or flat black paint to it and not worry about it having a clear on top of it to give it contrast.
DUB
Thanks Dub, You know I did end up going with 400 grit yesterday (found a couple sheets) and I think I want the ducts to be satin and argree it would be easier and safer to do it later., I also want to paint my heat shields on my sidepipes a satin black (They stay cool due to header wrap as an insulator under where the clamps attach to the pipes so High heat paint isnt really needed but durability is. They will match my new black/machined rims.
I plan on scuffing the chrome well than etching primer (SEM 1k stuff should work well I think?) followed by a black primer and topcoat. I may just pick up a quart on matt black single. My thoughts are it may hold up better than spray can enamel? powder coating the shield is another good option but not sure I want to buy a system just for that.
Also what you say about the 400 having a better mechanical bond vs 500 makes total sense and I had thought about that. I just kept reading from people that 500 or even 600 was recommended but in the past 400 was as high as I went when sanding and prepping old paint for topcoat.
Last edited by augiedoggy; 06-22-2016 at 08:16 AM.
FWIW, I had BIG problems with Eastwood SS Urethane in LeMans Blue that I sprayed on my S10 Blazer in 2010. It looked great when I finished then almost immediately developed water spotting on the hood that wouldn't come out. In 2 years, it started "fading." Now it is totally faded and needs another repaint. I used Eastwood paint as a test - the test failed miserably.
FWIW, I had BIG problems with Eastwood SS Urethane in LeMans Blue that I sprayed on my S10 Blazer in 2010. It looked great when I finished then almost immediately developed water spotting on the hood that wouldn't come out. In 2 years, it started "fading." Now it is totally faded and needs another repaint. I used Eastwood paint as a test - the test failed miserably.
Thanks for the heads up...I couldnt find any negative reviews at the time I bought it but I only used their epoxy primer. The paint and sealer is from thecoatingstore.com and I have used their paint before with great results.
I plan on scuffing the chrome well than etching primer (SEM 1k stuff should work well I think?) followed by a black primer and topcoat. I may just pick up a quart on matt black single. My thoughts are it may hold up better than spray can enamel? powder coating the shield is another good option but not sure I want to buy a system just for that.
When I have to paint chrome...other than using the special primer I have that I can not get any more....I media blast the chrome and get it blasted so it if a frosted look and NO SHINE. AND yes...the SEM etch will work and also PPG epoxy primer when ti is prepped like that.
Originally Posted by augiedoggy
Also what you say about the 400 having a better mechanical bond vs 500 makes total sense and I had thought about that. I just kept reading from people that 500 or even 600 was recommended but in the past 400 was as high as I went when sanding and prepping old paint for topcoat.
YES...500 and 600 grit is fine to use when prepping some materials...but the polyester primer is so hard...I have found that I personally like the 400 grit and never had a problem with it.
I guess its good that I tried to reinstall the front bumper again before painting because I cracked the body while trying to get the ends of the bumper to line up with the car.(the bumper is wider the bumper is wider than the car even though it fit perfect when removed.. I then remembered last time I left the nuts all loose and lines up the ends and worked my way towards the middle... It was my own fault cracking it for trying to manipulate the body shape. already cut the area out and repaired but this set me back of course since it has to be sanded and primed
I guess its good that I tried to reinstall the front bumper again before painting because I cracked the body while trying to get the ends of the bumper to line up with the car.(the bumper is wider the bumper is wider than the car even though it fit perfect when removed.. I then remembered last time I left the nuts all loose and lines up the ends and worked my way towards the middle... It was my own fault cracking it for trying to manipulate the body shape. already cut the area out and repaired but this set me back of course since it has to be sanded and primed
YEP..if you have a procedure when test fitting parts and then have to put them back on ...I have found that I always install them the SAME WAY that I got them to fit when I tested them.
Not that it makes you feel any better...I have done that also a long time ago. I always chalked it up to the learning curve I was encountering way back then.
I DO applaud you for checking it and testing it again...regardless of the result...BECAUSE...you can fix it somewhat easily now...but if it were painted...it would REALLY ROYALLY SUCK! AND I HAVE BEEN there also.
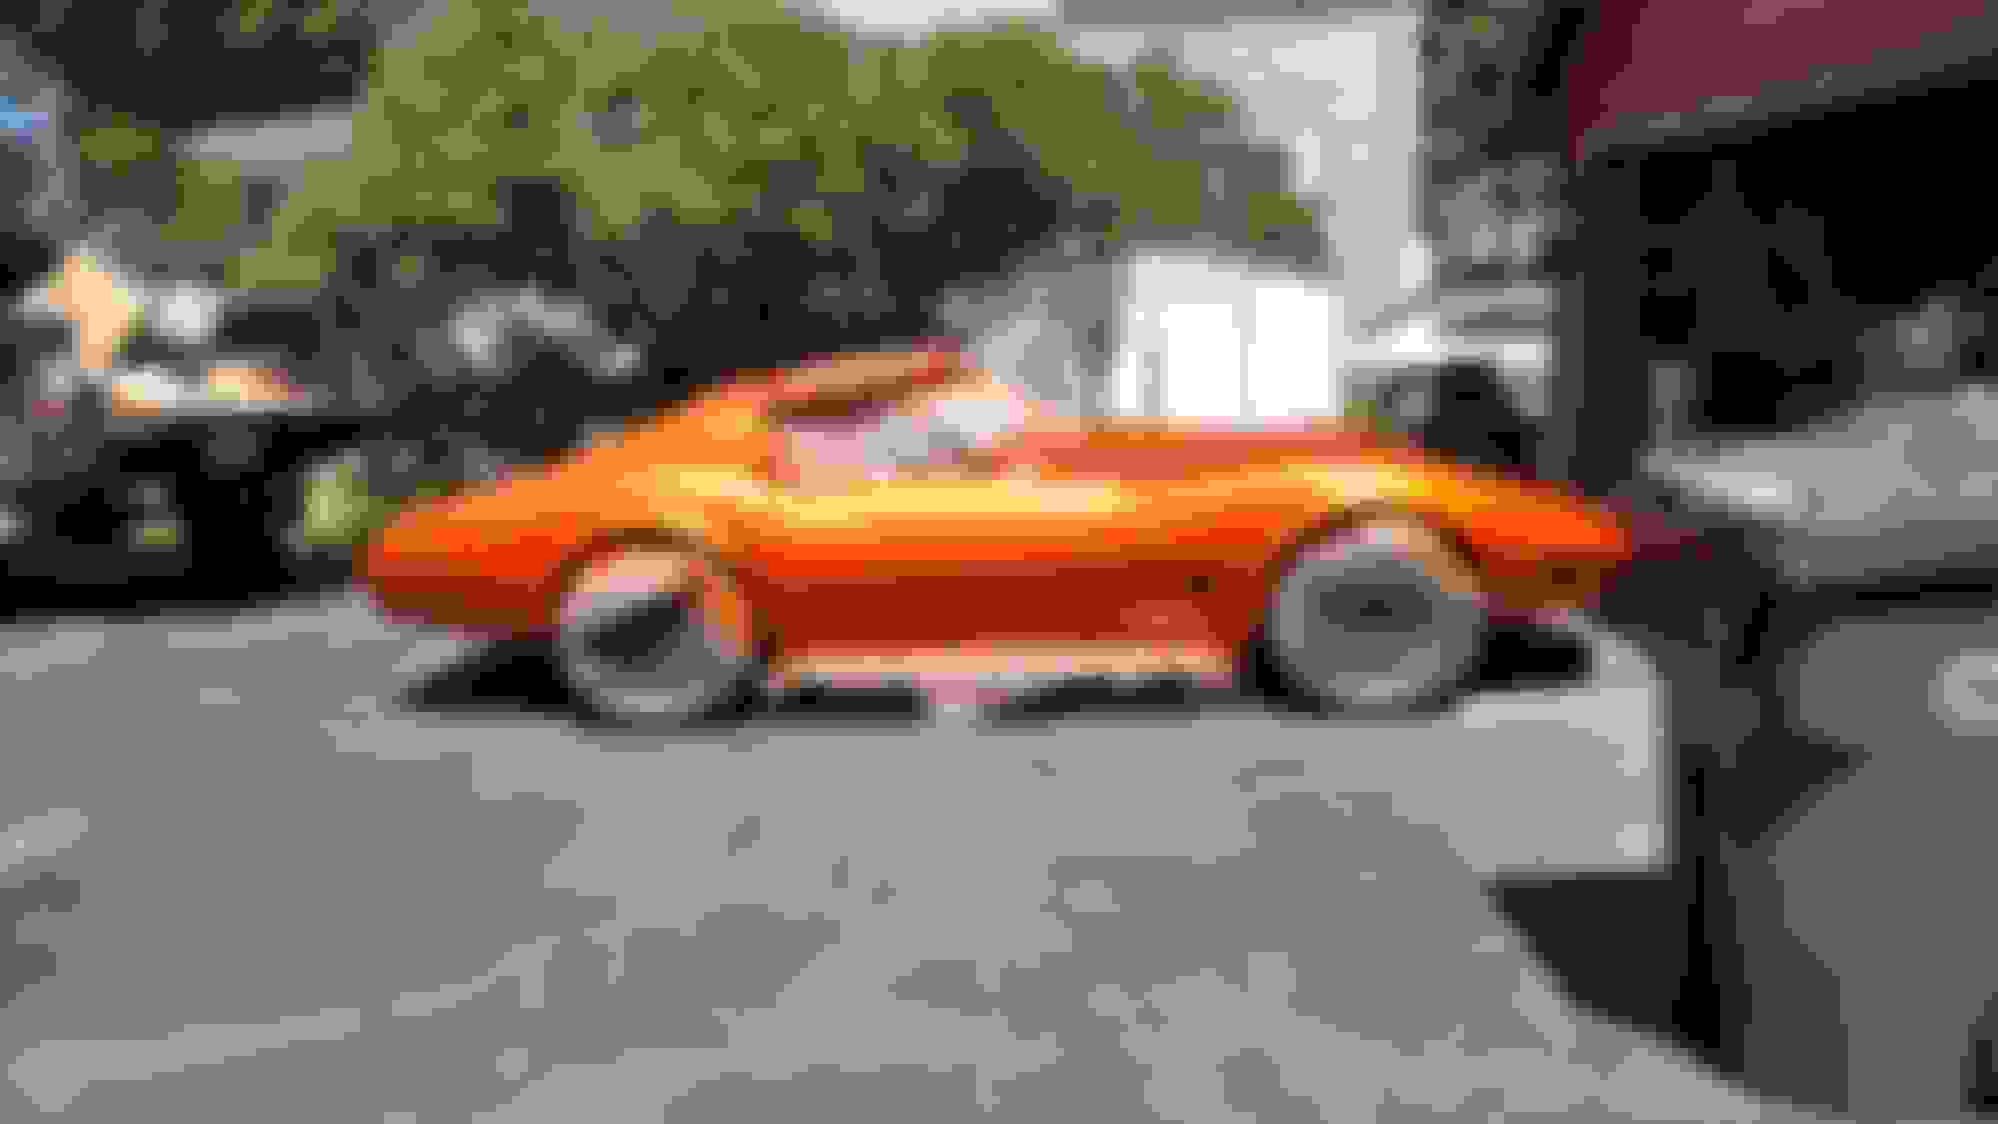
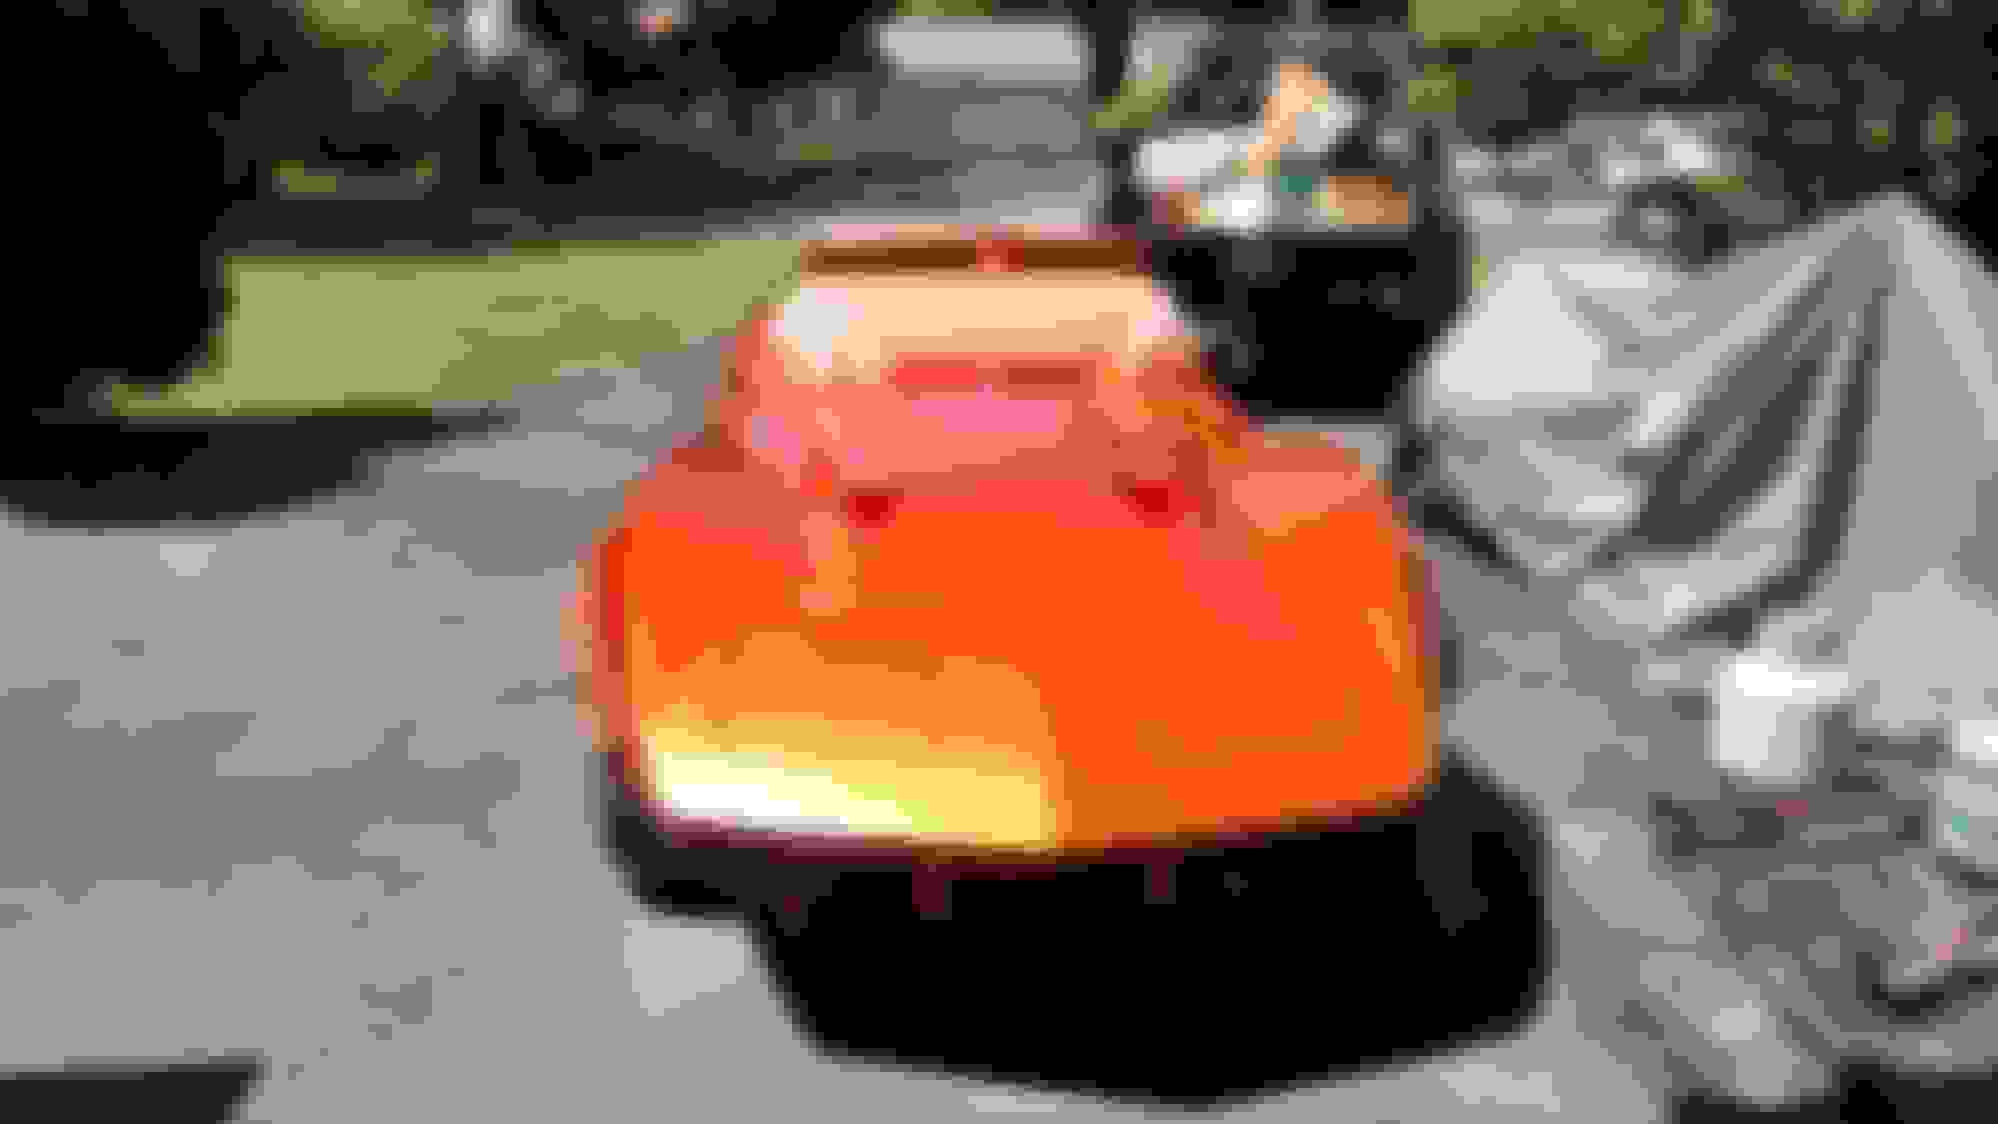
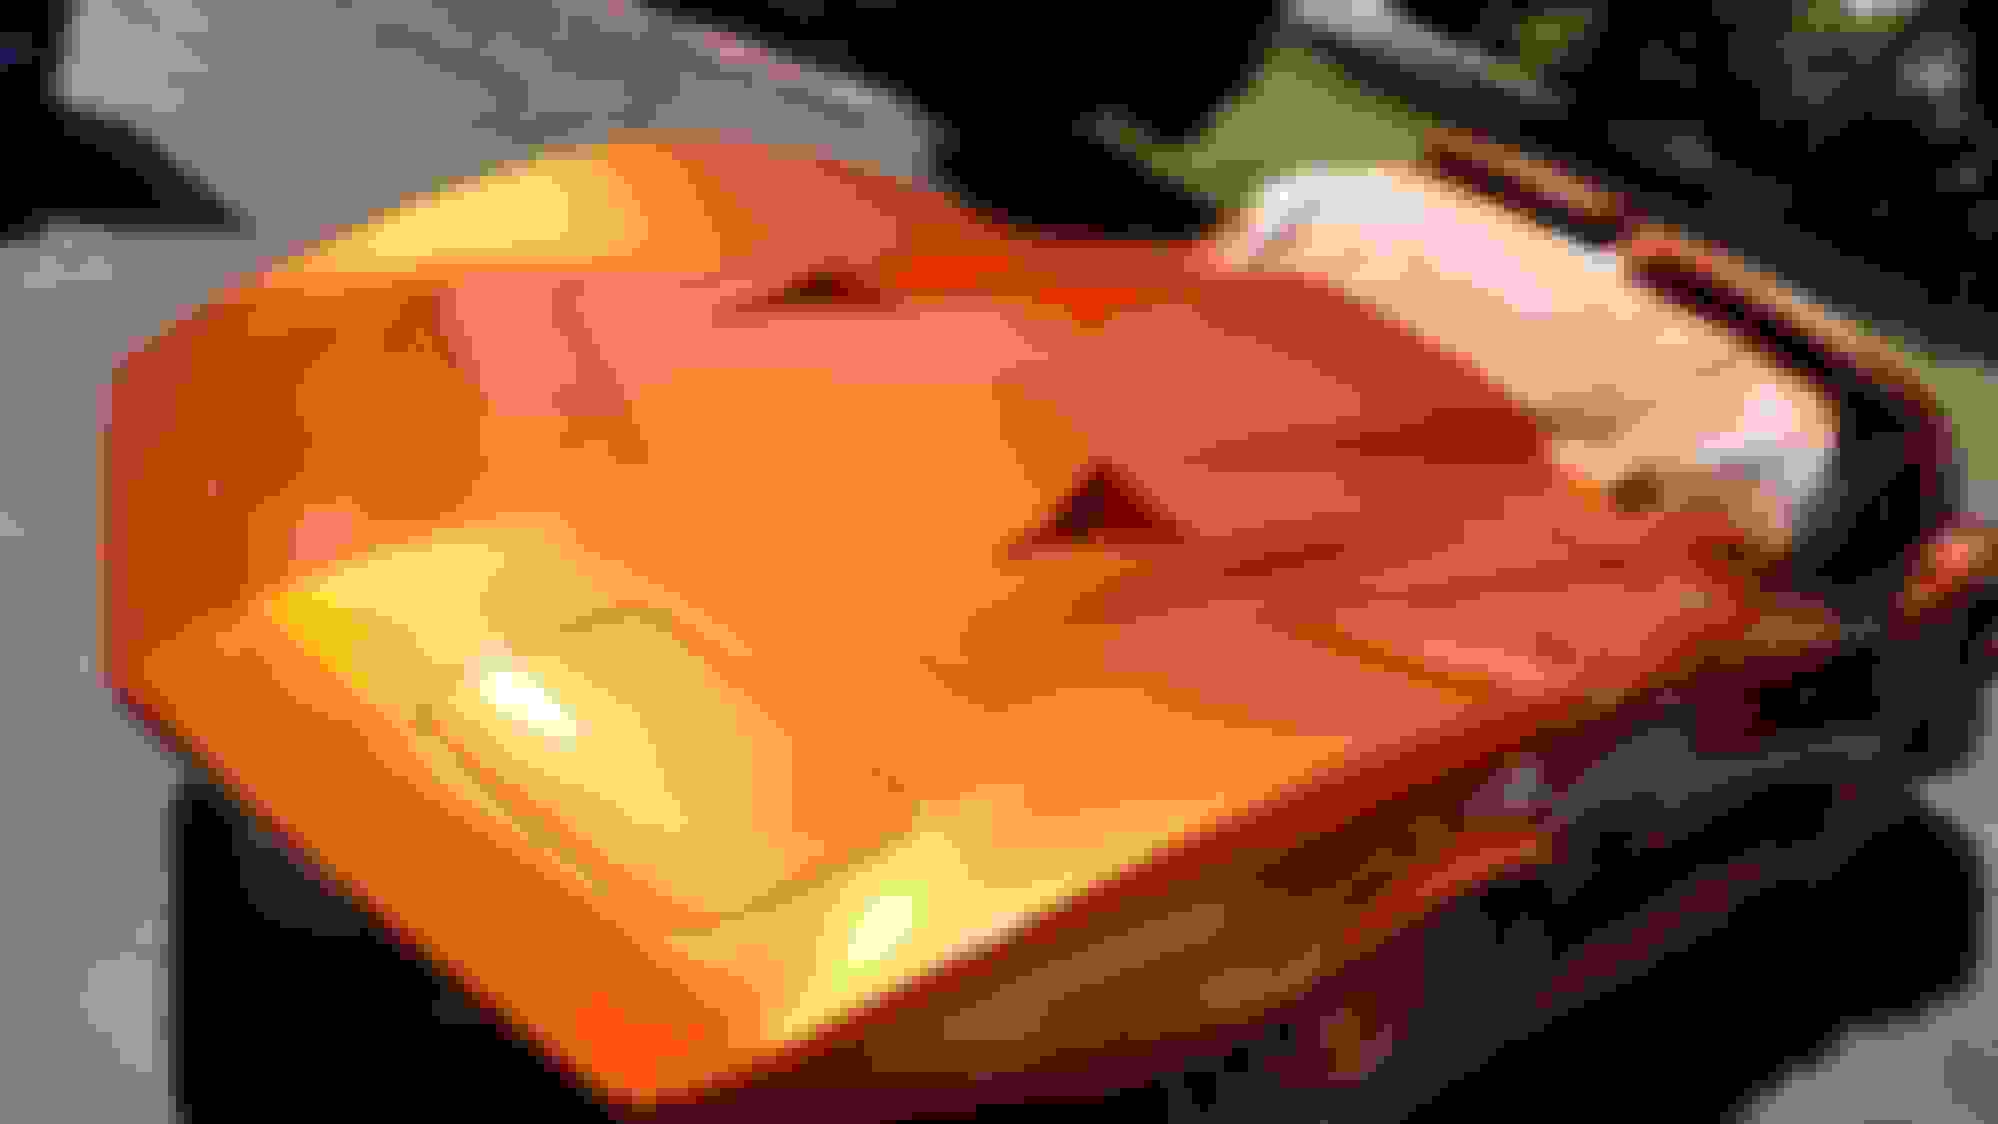
Well I got the car painted. All went well except on the second coat of clear the plastic had stuck to the inside edge of the door and well You called it Dub... Even though I installed new plastic masking before painting that wrinkling of the plastic caused some paint flakes to land on my hood/ passenger fender so I finished clearing the rest of the car but that area and intend on wet sanding the trash out tomorrow and reclearing that area and blending it in prior to buffing the rest of the car..
I shouldnt have any problems right? I know I know.. should have used paper and I cant say you didnt wanr me
I chickened out on adding the intercoat with the gold pearl flake.. can always add it later over the clear but honestly I want to experiment with a large test panel to see how hard it is to get even. I didnt want it to be tiger stripped or blotchy.
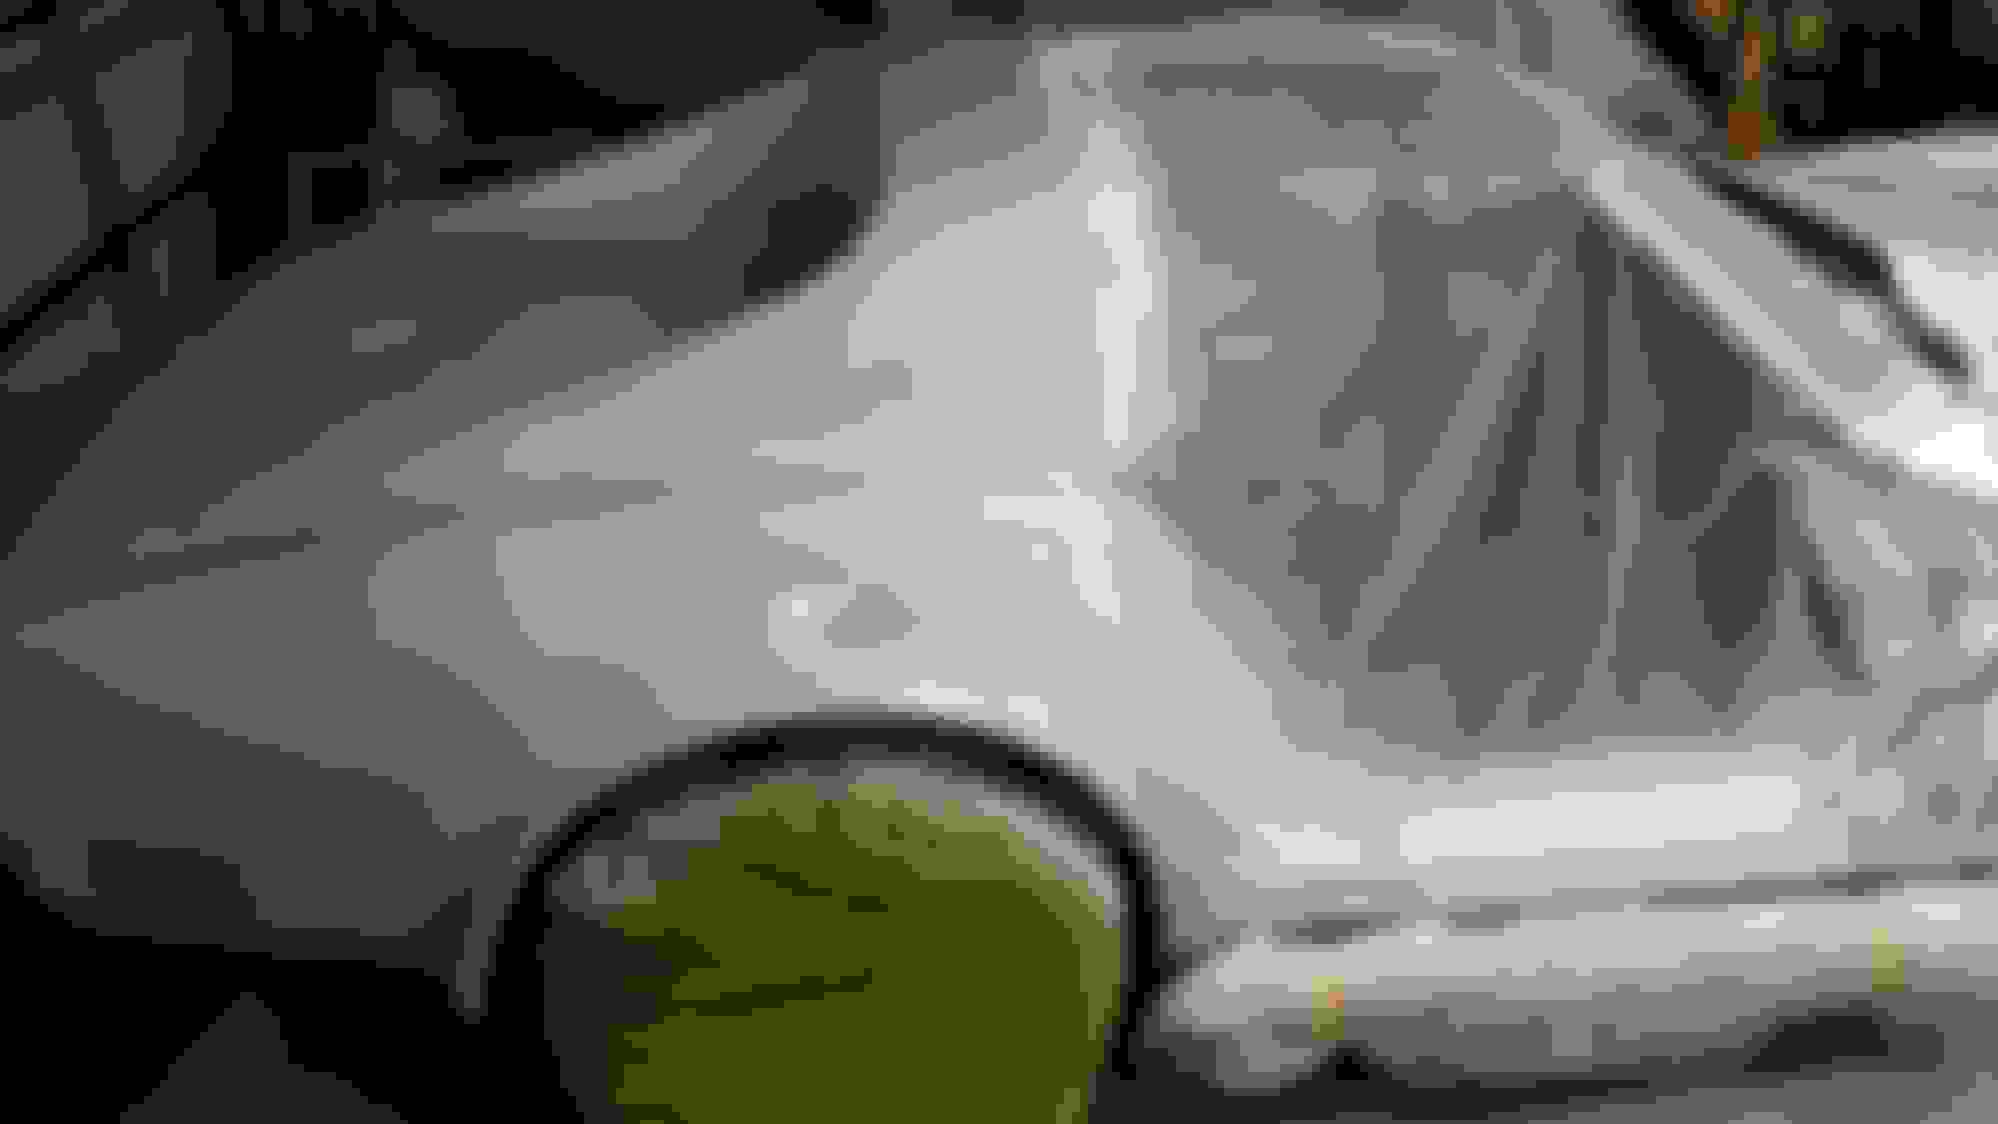
you can see the dull area at the passenger windshield base where the trash blew in... Should have done a better job masking..
Last edited by augiedoggy; 06-26-2016 at 10:59 PM.
letting the clear cure in the sun today and will try respraying the front with 2 more coats after sanding with 500 grit after readdressing the masking situation..
I brushed the rear corner with a hose before completely dry but it should sand out fine.
I do love the color. "molten orange pearl" from Urekem (Thecoatingstore.com) the stuff goes on well and holds up very well too. especially considering it was under $250 for the base and clear kit shipped. I have used their paint before.
Last edited by augiedoggy; 06-27-2016 at 12:12 PM.
 06-10-2016, 07:56 AM


 YEP..if you have a procedure when test fitting parts and then have to put them back on ...I have found that I always install them the SAME WAY that I got them to fit when I tested them.