When you click on links to various merchants on this site and make a purchase, this can result in this site earning a commission. Affiliate programs and affiliations include, but are not limited to, the eBay Partner Network.
Instead of replacing the front clip, I will learn how to repair fiberglass from the experts on this forum and hopefully help someone following in my footsteps (as so many have already helped me).
The above link explains where I'm starting from and how I made the decision to repair instead of replace.
I ordered West Systems epoxy and other tools (as listed in above link) and 1.5 oz mat, 3.7/5/2 kinds of 6 oz fiberglass fabric. Wasn't sure which fabric to order, so ordered a few to experiment with. After testing these, I realized I should have ordered heavier fabric. 2 layers of each of these laminated together was still very flexible, except for the mat which is rock solid and obviously why it is used!
I basically use ounce and a half mat...but I also use woven cloth with it to provide excellent linear strength . And it depends on the repair. And I always apply the woven cloth on the underside and I never apply it on the top side.
The first area for repair is the right rear quarter. The hole borders the original body on top and the SMC quarter repair panel and SMC taillight panel that was grafted onto the body by a PO.
I wanted to start small and from the backside to learn, so I ground out the old repair areas/material with a right angle pneumatic die grinder with 50 grit Roloc discs. I also used a Dremel with a flex shaft and sanding drum to reach tight areas at the top back. After cleaning out the dust I wiped the area with lacquer thinner and applied the masking tape.
Mixed a small batch of epoxy and applied 2 layers of mat:
That went well so I did the same for the crack on top and discovered that upside down is messy:
Keep in mind that if this is your first time at doing it...there is nothing written that says that you have to cover the area all at one time.
Yes..if you go to laminate it again...it must be sanded for adhesion due to it has cured.
As removing it entirely or not...that is subjective. I see things in it I do not like but that is me while others would say to keep going. A lot of it is dealing with your prep prior to application. And the prep time in grinding and getting the original body to be shaped in a way that makes your lamination turn out better and not have the large air pockets at the edges is where many people do not take the time.
If what I wrote and have shown in my John Lingenfelter drag car thread does not make sense...in order to save my time...PM me and I can give you my shop phone number and I can talk to you faster about it instead of typing it all out.
Had a one-on-one coaching session with DUB (he was very generous with his time!) and came to the conclusion that I can do better than this.
I ground out the wrinkled fabric and put a knife edge on the top of the bonding strip to allow the fiberglass to lay down tight to the edge of the hole.
Instead of trying to patch the entire hole in 1 pass, I took DUB's advice and just prepped a 6 inch area for 1 layer of mat (not cloth). I also worked out the mat stiffness with my thumb and finger to "loosen" the seam where the 90 degree bend is so it would lay in flat and minimize air pockets at the edge.
I couldn't find a suitable piece of plastic to tape on for backing, so I used a piece of closed cell foam packing material to create the rough shape. The yardstick is to hold the flap of original fiberglass in place.
This time I took advantage of the long epoxy working time to ensure the mat was properly wetted out and flat at the edges of the hole.
At least I thought I did...there were still some bubbles I missed. But I think it is much better than my first try.
With back-lighting for dramatic effect!
I also laminated 3 layers of mat on the taillight panel side seam valley, this one has the rear bonding strip in place.
It still has a depression in the center, so I will rough it up and apply another 3 layers of mat.
It is looking very good so far. From the photo you posted from the inside. I can visually see that the lamination is laying down much better and due to you tapering the SMC...it is allowing you to more than likely apply the fiberglass bit easier and get the air out.
In the third photo of post #7. I can see that if you can possibly saturate the fiberglass mat on a flat surface and then apply it...it can aid you in not having some dry fibers. It is not that big of a deal because you still have to do exterior filling and so on.
NONN37 - I have one of those profile gauges stashed with my woodworking tools...somewhere...that could help when I'm shaping the outside layers.
That is a good idea with the strips and backer ribs. I'm going to try using a piece of sheetmetal for the top where it rises to meet the fender top profile line, I'll shape it using the left rear top as a mold. Great drawing!
DUB - Proper prepping prevents pockets! That upside down position really tests my patience. I will try wetting out the second layer of mat on a piece of plastic before placing it up there.
I'm going to have to use a light touch to rough up that single layer of mat before the second layer. Going forward I will always start with 2 layers.
Do not let it get to you because like you said...You gotta have fun doing it.
As you are seeing....slight modifications to your procedure will help you out greatly.
I have TOTAL confidence in you getting this SPOT-ON! Mainly because your attitude is right and your willingness to not give in. Two qualities that are PARAMOUNT in projects like this.
After experimenting with a number of different materials (sheet metal was a bust) and methods to apply an exterior form, I stumbled on electrical cable as an easily shaped and fairly stiff "rib" to hold the shape.
I extended a line of tape from the back of the halo sides and another line of tape below the side seam, and marked the tape off in inches. I did this on both sides so I could bend the ribs using the good side as a form, then flipping the rib over and taping it in place over the hole, using the tape marks as a reference. Then placed masking tape over the hole, under and between the ribs. Maybe the picture will make sense?
Then I pre-wetted and laminated 2 layers of mat from the backside. There were still small gaps on the top, so my sanding skills need to improve, but I decided to go with it as is. The 2 layers of mat are very sturdy!
I also extended the mat on the forward area of the hole.
Now I had a basic shape I could cover with layers of masking tape and use my foam sheet as backing. I could also tape the back corner as the shape was established from the previous steps.
I laminated 2 pre-wetted layers of mat to the backside, and it now has a patch over the entire hole!
I added 2 layers of 6 oz cloth to the backside, followed by 2 more layers of mat, for a total of 6 layers.
Then I ground out the dry fiberglass on the front, beveled all the edges, and started filling the low areas with pieces of torn mat. Then I laminated the entire area with a full layer of mat.
I need to build up the curved area at the rear kickup, but am having problems getting the mat to curve over without pulling back up and creating air pockets.
I loosen the mat with my thumb and finger so it will curve over the edge, but then the layer is so thin it doesn't add much thickness. Is there a better way to do this area?
You wrote: I loosen the mat with my thumb and finger so it will curve over the edge, but then the layer is so thin it doesn't add much thickness. Is there a better way to do this area?
Nope...you are doing it just like we talked about and yes it will take numerous applications of your filleted mat...but the bottom line is that you get there....eventually. the 'good thing; is that it goes fast due to you are laminating thin pieces of mat and it does not take that long to get them saturated.
Also remember...that if I were doing this..I would make sure I leave myself enough room so I can cover the entire laminated area with Vette Panel Adhesive and get my shape to where I want it.
What is the thickness you are aiming for on the VPA?
Where I am beveling the original (and SMC) fiberglass to lay the top layers of mat onto, should I be laminating only 1 or 2 layers of mat, and doing the majority of my layers for strength on the backside?
The original body thickness is only 1/8", so that doesn't leave much thickness to add a layer of VPA.
If when you laminated the underside...you went onto the original SMC somewhat...about an inch or two. And applied enough mat and resin on the underside. That is where you can build up panel thickness if needed or concerned.
Then when you apply any mat and resin on the top side...you might find that when you grind it back a bit so the VPA can be applied you might take off the mat and resin that went over the seam area.
Do not worry about that IF that happens....because the VPA is so stout...that if when you laminated it up...you got it the best you could with no major air pockets in the lamination..the VPA will be able to correct any issues and you can get the shape and contour the way you want it.
The minimum thickness of VPA that I would like to see is about the thickness of a compressed paper matchstick. Obviously...it can go thicker.
***CONTRADICTION***
But...if I laminated an area so well that when I ground it flat and got is shaped well with my grinders and I see that my VPA is going to be as thick as the paper for a book of matches..I would not sweat it....If it was literally as thin as a razor blade..I would not sweat that also.......BUT
If the VPA is going to be as thin as a razor blade...then I better know that my lamination is SOLID as a rock. Because if my lamination (when ground on) exposes small bubbles....THEN I want the VPA to be thicker...even if I have to grind down my laminated area further and build it back up with the VPA.
My main concern is not not leave ANY exposed laminated mat and resin.
As for the size of possible air bubbles in your lamination or your applied VPA when you sand it down. I NEVER want to see a bubble the size of a B-B. Then like I would tell the guys who worked for me...if the half cut open bubble... that is now looks like a bowl.... can support and hold a B-B...it is too big. So, either grind out all of the VPA and re-apply it...or grind it down far enough so more can be applied on it that will be solid and not having any fear that these possible bubbles will show up when heated by the sun.
And like I told them..that if in their application of the VPA they had large air bubbles and they wanted to just go around fixing them individually. I asked them: "How do you know that right beside the one you fixed is a huge one that is covered by an ultra thin layer of VPA". they obviously realized that they did not ahve x-ray vision and new that IF a problem came up do to poor application of the VPA..or even in their lamination...they would have to deal with my wrath.
After many more layers of lamination to bring the top radius out where it needs to be, I'm going to call this repair 'good' and do the final shaping with VPA.
Here is the 'Before' repair that was a wad of half-saturated mat and gobs of Bondo:
And this is what it looks like now, solid fiberglass:
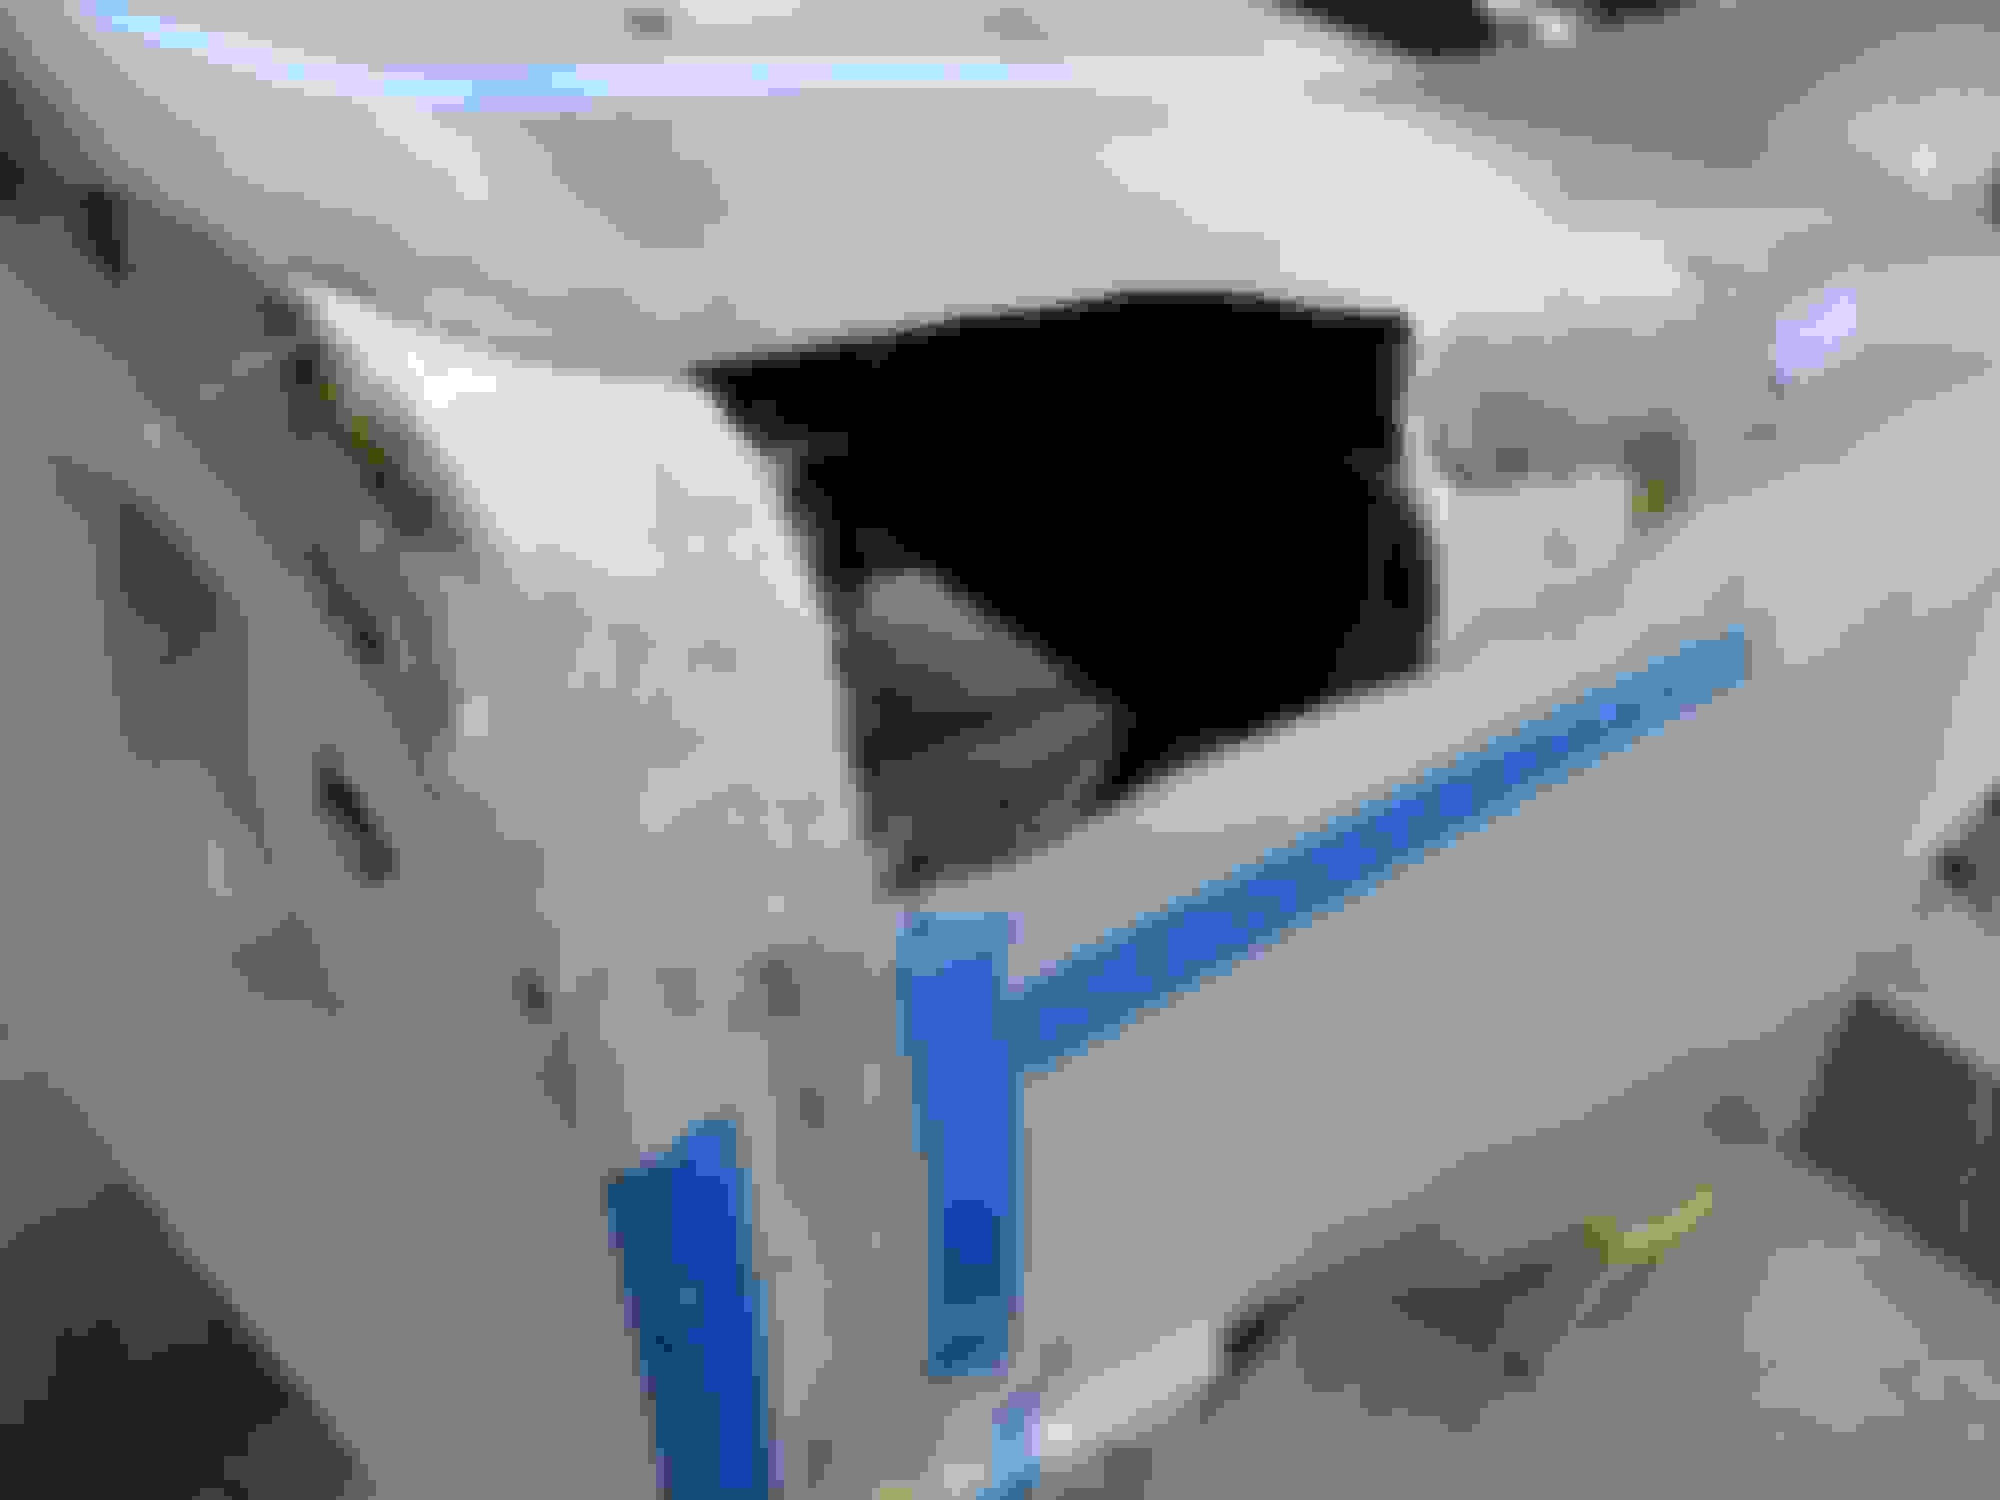
In DUB's post above about the holes, this is what I'm looking at in the bonding seam for the taillight panel:
I ground the seam out using the right angle die grinder and 2" Roloc disc held at a 45 degree angle to the seam.
I noticed what looked like bubbles and kept grinding to verify. It appears to be in the bonding material. Should I continue to grind it out, even if it takes me down to the bonding strip? Or did I grind too far down in the seam?
For future reference for fiberglassing the rest of the seams, how deep should I be grinding down into the seam?
And yes, in the second picture there is a pop-rivet buried in the seam!
I would grind it out until i came to solid 'ground'...so-to-speak...and if that takes me to the bonding strip...so be it.
From what I can tell...it looks like you exposed a rivet. I would get that out and ANY others you find during your prep. They are BAD news and need to be removed.
All of those air bubbles you are exposing that seem to be about the size of a B-B...I would grind them out also.
DO NOT be surprised if you find that you grind out all of the adhesive that someone used.
 08-21-2017, 10:56 PM