C1 & C2 Corvettes General C1 Corvette & C2 Corvette Discussion, Technical Info, Performance Upgrades, Project Builds, Restorations

Front motor mount 1960

Thread Tools
 
Search this Thread
 
Old 02-22-2018, 08:29 PM
  #1  
Captain Bud
Burning Brakes
Thread Starter
 
Captain Bud's Avatar
 
Member Since: Jul 2014
Location: Knoxville, TN
Posts: 945
Received 317 Likes on 124 Posts
2020 C1 of the Year Finalist - Unmodified
Default Front motor mount 1960

I'm going to replace the front cross brace motor mount. Here is the sequence I was going to use. If anyone sees a problem, please advise before I screw it up.
1) Support engine
2) Drain cooling system
3) Remove Fan & belt
4) remove generator support
5) remove water pump
6) remove engine cross bracket
Old 02-22-2018, 08:54 PM
  #2  
wmf62
Race Director
 
wmf62's Avatar
 
Member Since: Jun 2006
Location: Inverness FL
Posts: 17,891
Received 727 Likes on 621 Posts
St. Jude Donor '07

Default

7) replace mount with something that looks like this

Bill
Attached Images  
The following users liked this post:
Larphred (05-03-2020)
Old 02-22-2018, 09:08 PM
  #3  
Pop Chevy
Safety Car
Support Corvetteforum!
 
Pop Chevy's Avatar
 
Member Since: Apr 2001
Location: Sarver Pa
Posts: 4,570
Received 784 Likes on 536 Posts
2021 C1 of the Year Finalist - Modified

Default

I agree totally, especially if you have any HP mods. I got a built 355 in mine and I had to do this. Anytime I ran it hard the wp would start leaking, after I braced it no problems since. If you can't do it , find someone who can or send it me. I have a bare block setting here.
Old 02-22-2018, 09:09 PM
  #4  
Captain Bud
Burning Brakes
Thread Starter
 
Captain Bud's Avatar
 
Member Since: Jul 2014
Location: Knoxville, TN
Posts: 945
Received 317 Likes on 124 Posts
2020 C1 of the Year Finalist - Unmodified
Default

No, the new one does not have the extra supports welded on. I've read many posts concerning this very thing on the forum. My current mount does not have those and I have no leakage problems. The only reason I swapping it out is someone at some time modified the mount to accommodate the incorrect water pump to make it look somewhat like a 61' or the one shown in your picture only worse.
I don't think I have to worry about too much torque. Mine is the basic 230HP. You clock it through the quarter mile with a calendar.

Last edited by Captain Bud; 02-22-2018 at 09:11 PM.
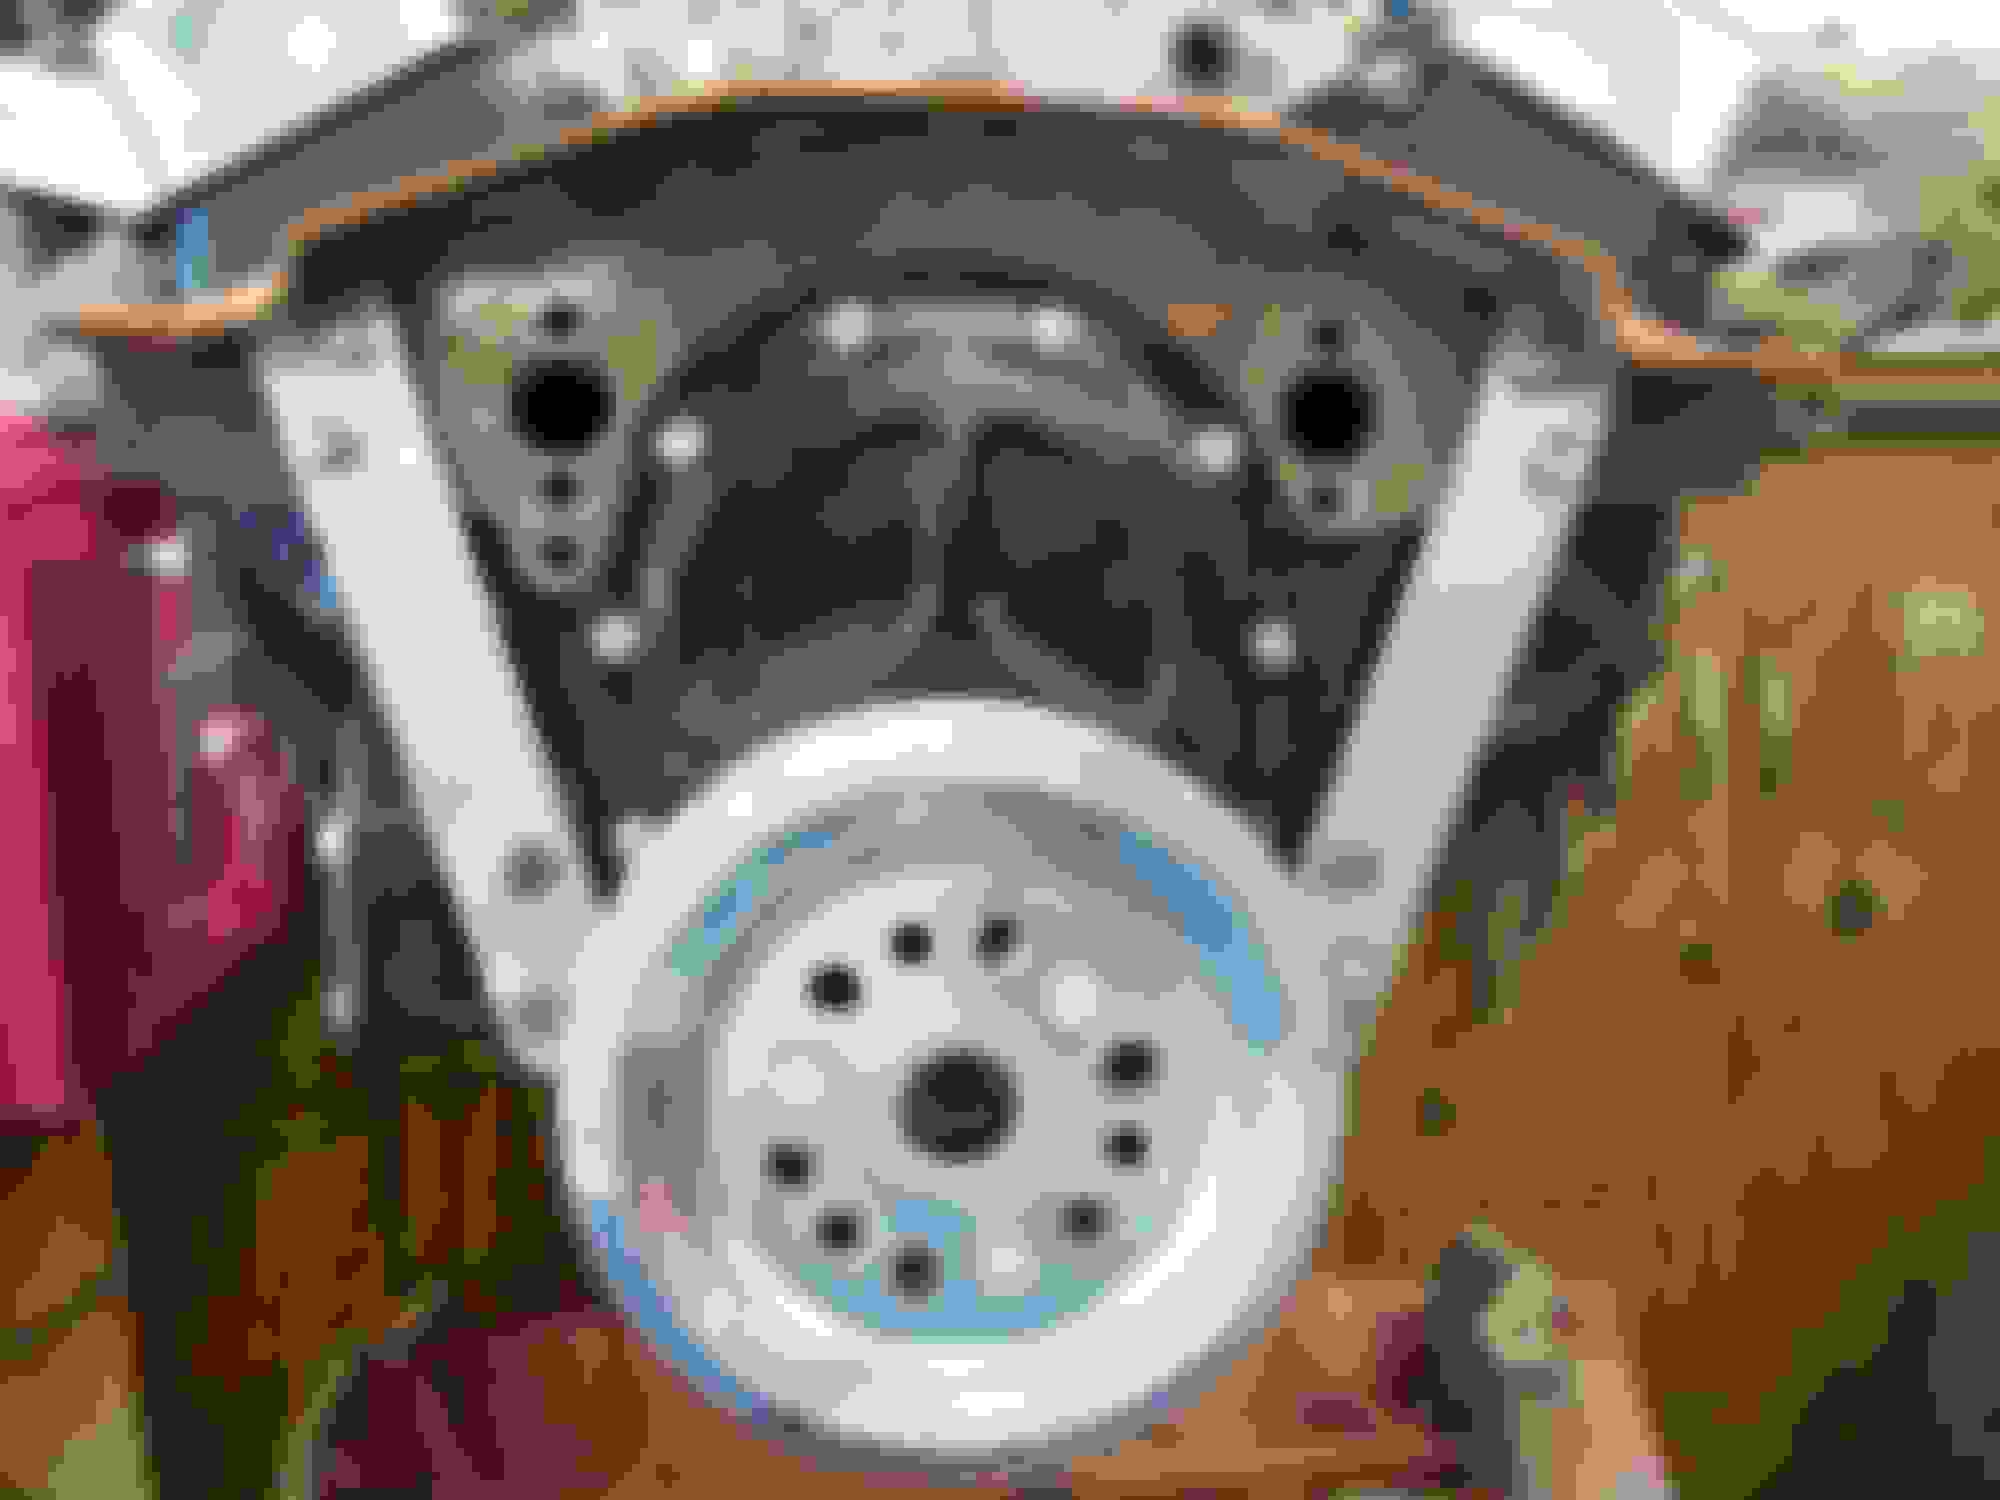
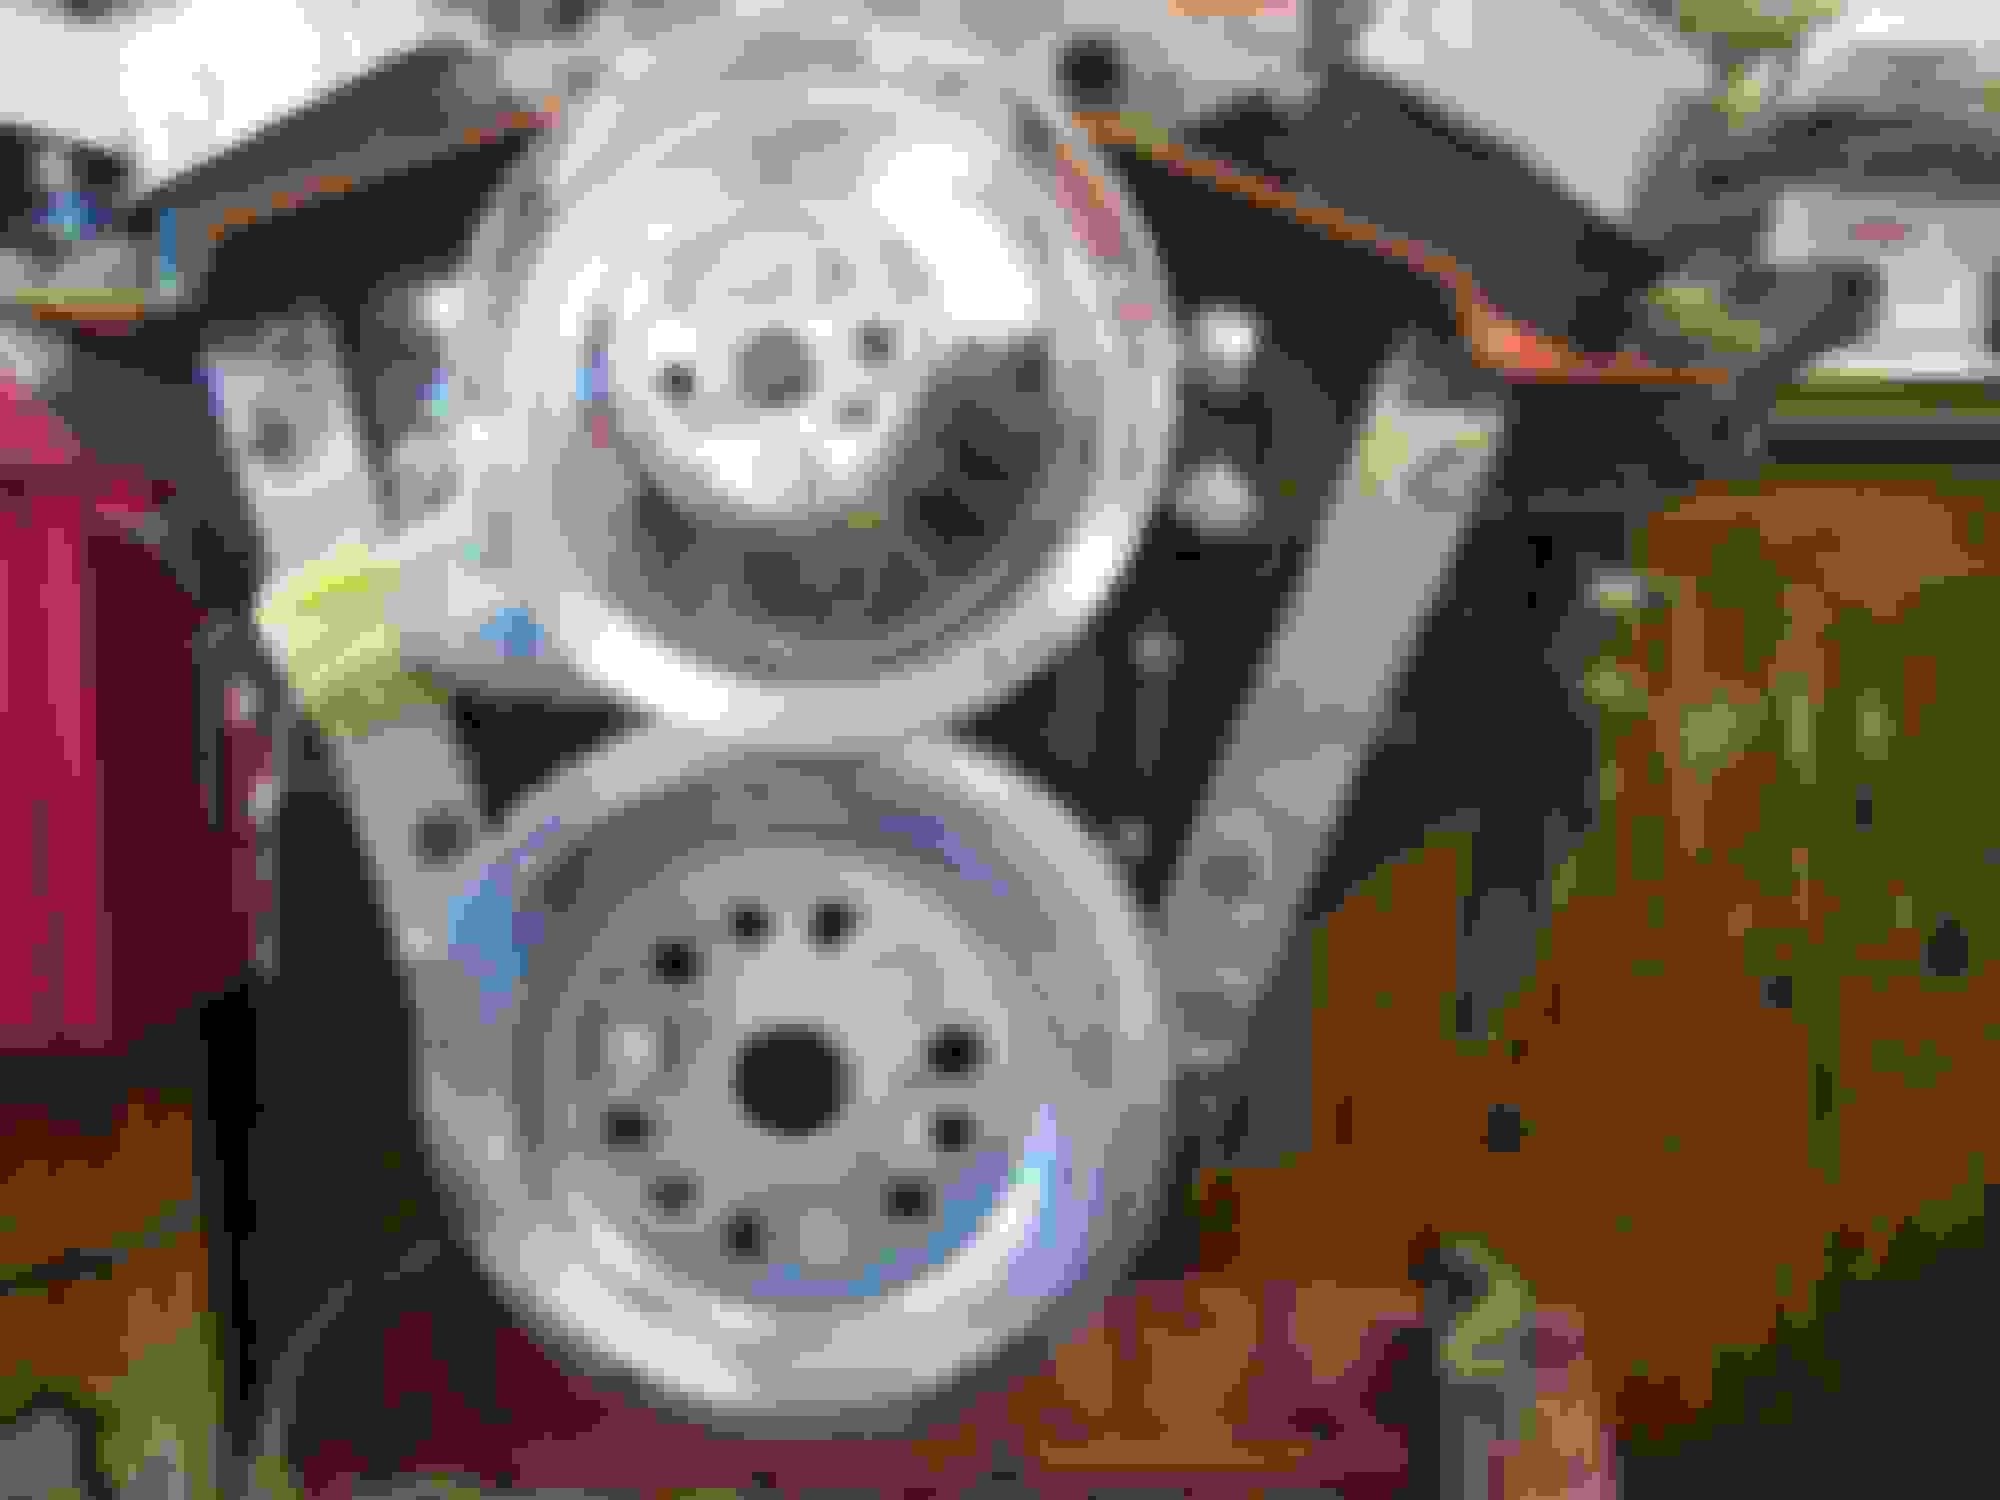
Old 02-22-2018, 09:13 PM
  #5  
Kerrmudgeon
Race Director
 
Kerrmudgeon's Avatar
 
Member Since: Mar 2009
Location: Canada's capital
Posts: 19,777
Received 4,583 Likes on 2,157 Posts
2020 Corvette of the Year Finalist (appearance mods)
C1 of Year Finalist (appearance mods) 2019

Default

Originally Posted by wmf62
7) replace mount with something that looks like this

Bill
Hey Bill.....did you ever make a template for those extentions? Looks like a worthwhile project before I go adding 100 hp to my 62.
Old 02-22-2018, 09:31 PM
  #6  
Pop Chevy
Safety Car
Support Corvetteforum!
 
Pop Chevy's Avatar
 
Member Since: Apr 2001
Location: Sarver Pa
Posts: 4,570
Received 784 Likes on 536 Posts
2021 C1 of the Year Finalist - Modified

Default

O-k, get a pair of 3/8 "studs to ease alignment for reassembly. Makes the job much easier.
Old 02-22-2018, 09:32 PM
  #7  
DZAUTO
Race Director

 
DZAUTO's Avatar
 
Member Since: Mar 2001
Location: Mustang OK
Posts: 13,852
Received 3,772 Likes on 1,674 Posts
2023 C1 of the Year Finalist - Modified
2015 C1 of the Year Finalist

Default

I did this.
This is not the engine in the 56. I used an engine I have on a stand for fitting and testing for clearance. The upper bolts are counter sunk flat head with an Allen head recess along with counter sunk star lock washers. Thus, the bolt heads are flush with the back side of the cross over mount.


Old 02-22-2018, 10:48 PM
  #8  
Pop Chevy
Safety Car
Support Corvetteforum!
 
Pop Chevy's Avatar
 
Member Since: Apr 2001
Location: Sarver Pa
Posts: 4,570
Received 784 Likes on 536 Posts
2021 C1 of the Year Finalist - Modified

Default

That's a neat idea.
Old 02-22-2018, 10:55 PM
  #9  
65GGvert
Team Owner
 
65GGvert's Avatar
 
Member Since: Jul 2006
Location: Kannapolis NC
Posts: 20,580
Received 3,220 Likes on 2,302 Posts

Default

I replace mine in my 60 230hp and I didn't remove any of that. I supported the engine, took out the bolts, pulled the supports, put in the new supports and ran the new bolts through and rebolted. I will admit that the passenger side was a challenge around the radiator hose to get a wrench on, but I persevered.
Old 02-23-2018, 06:45 AM
  #10  
wmf62
Race Director
 
wmf62's Avatar
 
Member Since: Jun 2006
Location: Inverness FL
Posts: 17,891
Received 727 Likes on 621 Posts
St. Jude Donor '07

Default

Originally Posted by Kerrmudgeon
Hey Bill.....did you ever make a template for those extentions? Looks like a worthwhile project before I go adding 100 hp to my 62.
Rob
PM sent
Bill
The following users liked this post:
Kerrmudgeon (02-25-2018)
Old 02-23-2018, 10:53 AM
  #11  
Captain Bud
Burning Brakes
Thread Starter
 
Captain Bud's Avatar
 
Member Since: Jul 2014
Location: Knoxville, TN
Posts: 945
Received 317 Likes on 124 Posts
2020 C1 of the Year Finalist - Unmodified
Default water pump

I want to pull the pump completely out anyway to get things cleaned up in there.
Old 02-23-2018, 12:21 PM
  #12  
emccomas
Team Owner
Support Corvetteforum!
 
emccomas's Avatar
 
Member Since: May 2005
Location: Madison - just west of Huntsville AL
Posts: 31,361
Received 1,283 Likes on 732 Posts

Default

Has anyone completely removed the water pump related engine mount bracket and used custom side mount brackets.

We did that a number of times back in the day, especially when running big block or W series (348 or 409) engines
Old 02-23-2018, 12:26 PM
  #13  
68hemi
Race Director
 
68hemi's Avatar
 
Member Since: Nov 2003
Location: Cottonwood AZ
Posts: 10,698
Received 3,048 Likes on 1,934 Posts
C1 of Year Finalist (performance mods) 2019

Default

Originally Posted by jv04
Has anyone completely removed the water pump related engine mount bracket and used custom side mount brackets.

We did that a number of times back in the day, especially when running big block or W series (348 or 409) engines
The steering column is in the way of doing that on the driver side. I wanted to do that with my new 383 but ran into this problem
Old 02-23-2018, 12:59 PM
  #14  
emccomas
Team Owner
Support Corvetteforum!
 
emccomas's Avatar
 
Member Since: May 2005
Location: Madison - just west of Huntsville AL
Posts: 31,361
Received 1,283 Likes on 732 Posts

Default

We replaced the steering box when we did that as well.

Cars were not exactly "stock"
Old 02-23-2018, 02:41 PM
  #15  
GTOguy
Race Director
 
GTOguy's Avatar
 
Member Since: Apr 2015
Location: Fresno California
Posts: 17,505
Received 3,443 Likes on 2,113 Posts
Default

Whatever you do, use Permatex #2 on the gaskets. NOT RTV Silicone sealer.
Old 02-23-2018, 04:07 PM
  #16  
Frankie the Fink
Team Owner

 
Frankie the Fink's Avatar
 
Member Since: Aug 2007
Posts: 58,062
Received 7,082 Likes on 4,736 Posts
Army

Default

Originally Posted by GTOguy
Whatever you do, use Permatex #2 on the gaskets. NOT RTV Silicone sealer.
X2.... Follow this advice or regret it later nearly every time
Old 02-23-2018, 08:26 PM
  #17  
Captain Bud
Burning Brakes
Thread Starter
 
Captain Bud's Avatar
 
Member Since: Jul 2014
Location: Knoxville, TN
Posts: 945
Received 317 Likes on 124 Posts
2020 C1 of the Year Finalist - Unmodified
Default Permatex

One post in the forum says use Permatex #3. What is the difference between #3 and #2?

Get notified of new replies

To Front motor mount 1960

Old 02-23-2018, 08:36 PM
  #18  
Rick Gower
Racer
 
Rick Gower's Avatar
 
Member Since: Jun 2007
Location: Concord California
Posts: 487
Received 183 Likes on 102 Posts

Default

Originally Posted by Pop Chevy
O-k, get a pair of 3/8 "studs to ease alignment for reassembly. Makes the job much easier.
Pop is correct it makes the job much easier using studs. I might that cut a slot in the end of the studs to make it easy to remove them with a screw driver.

Rick
The following users liked this post:
Captain Bud (02-23-2018)
Old 02-23-2018, 08:40 PM
  #19  
wmf62
Race Director
 
wmf62's Avatar
 
Member Since: Jun 2006
Location: Inverness FL
Posts: 17,891
Received 727 Likes on 621 Posts
St. Jude Donor '07

Default

Originally Posted by GTOguy
Whatever you do, use Permatex #2 on the gaskets. NOT RTV Silicone sealer.
why?

Bill
Old 02-23-2018, 08:50 PM
  #20  
Muttley
Burning Brakes

 
Muttley's Avatar
 
Member Since: Nov 2001
Location: St. Petersburg FL
Posts: 1,044
Received 238 Likes on 177 Posts

Default

Originally Posted by Rick Gower
Pop is correct it makes the job much easier using studs. I might that cut a slot in the end of the studs to make it easy to remove them with a screw driver.

Rick
If you happen to have any exhaust manifold studs laying around, those work fine, and they have a small diameter hex head (smaller than the stud diameter) so no need for a slot.


Quick Reply: Front motor mount 1960


All times are GMT -4. The time now is 08:24 AM.