Corvette: How to Replace Coil Packs
Replacing a bad ignition coil is dead simple. Read on to have your Corvette running on all cylinders in no time.
This article applies to C4-C7 Corvettes (1984-2014).
The coil packs that come stock on the Corvette are fairly tough and rarely need replacing; however, sometimes they do fail. A failing coil pack will feel like a dead spark plug and even the diagnostic trouble code will be the same. Luckily, removing the coil packs is as easy as unscrewing a few bolts.

Materials Needed
- Ignition coils
- Socket wrench
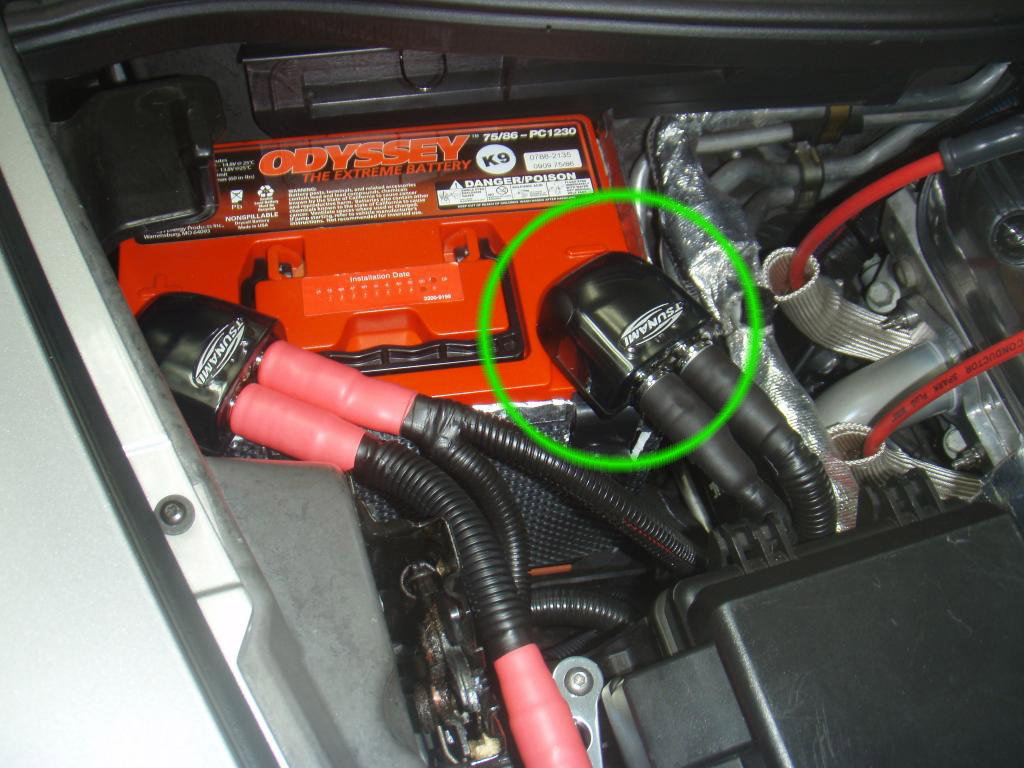
Step 1 – Disconnect the battery
It is always a good idea to unplug the negative battery terminal when working on a vehicle's electrical system. Disconnect the negative battery terminal (black).
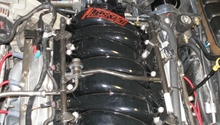
Step 2 – Remove engine covers
Simply pull the engine covers off to expose the fuel rails and ignition coils. Check for cracks on the coil packs, signs of melting or any other damage.

Pro Tip
If you have bad ignition coils, don't be tempted to replace them with expensive aftermarket coils for the sake of improved performance. They're not any "better" in a practical sense. They do, however, look great.
Step 3 – Unplug and unbolt ignition coils
Disconnect the ignition coils from the spark plug wire and the electrical connector. Each ignition coil is secured to the fuel rail cover by two bolts. Remove these bolts with a socket wrench and pull the ignition coil away.
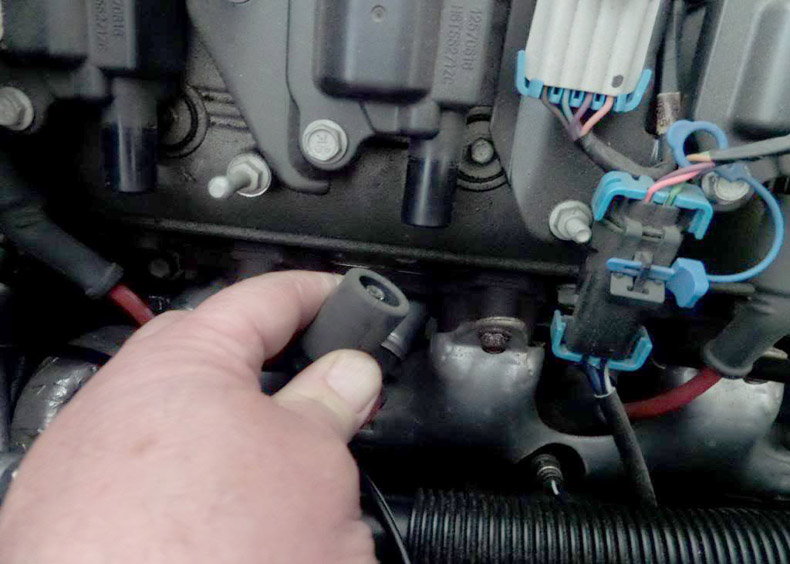
Figure 3. Unplug ignition wires. 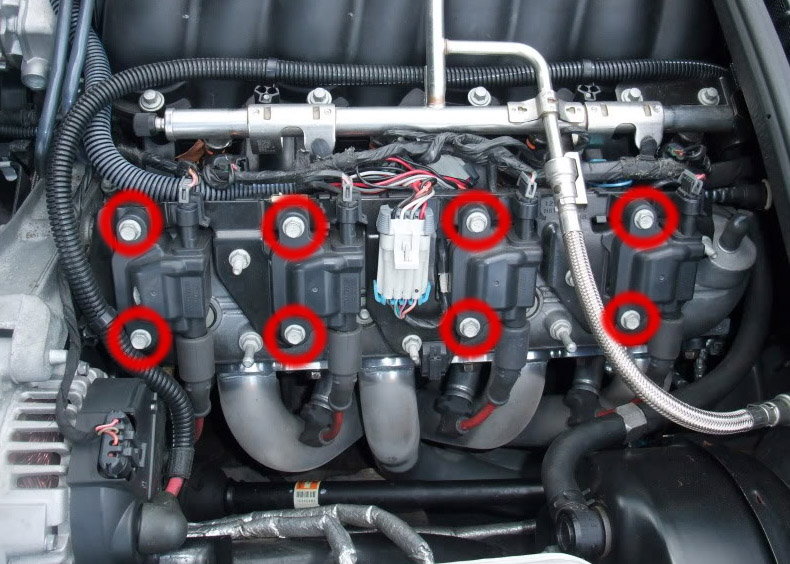
Figure 4. Ignition coil bolts.
Step 4 – Re-installation
Installation is the opposite of removal. Replace the blown coil pack with a new one. Tighten the bolts to reconnect the spark plug wires and electrical connectors.
Featured Video: How to Diagnose a Bad Coil Pack
Related Discussions and Site
- Arcing Coil Packs In the C5 Corvette - CorvetteForum.com
- Which Ignition Coil to Buy - CorvetteForum.com
- Coil Pack Technical Information By Megasquirt - MegaManual.com